

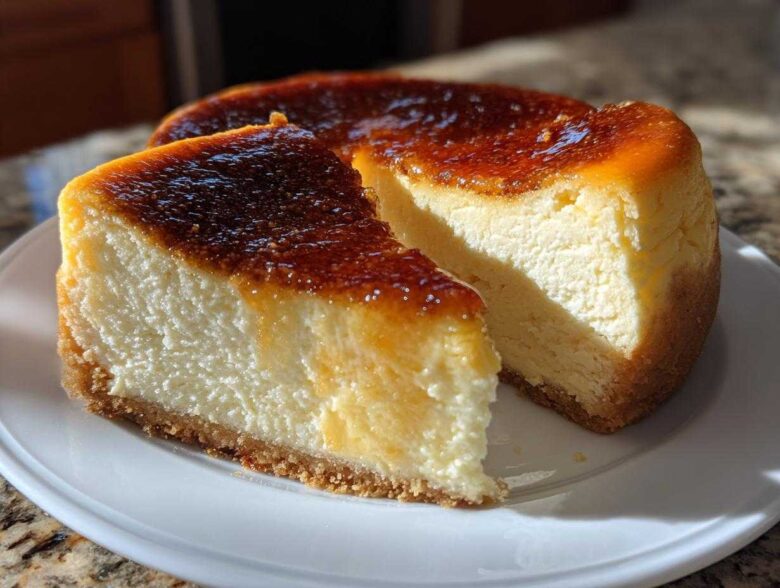
Oh, my goodness, when it comes to desserts that just scream ‘special occasion,’ you know I can’t resist a challenge! I’m talking about throwing two heavyweights together in the kitchen—the satisfying density of a baked cheesecake meeting that sharp, shiny, crackable top of a classic crème brûlée. It sounds fancy, right? Trust me, achieving that perfect marriage of textures in this Creme Brulee Cheesecake is easier than you think, and it’s totally worth the effort.
My first few attempts were either cracking disasters or the top turned into sweet soup, but I finally nailed the technique for that incredible contrast: super creamy filling below and a shatteringly crisp caramel shell on top. This isn’t just a dessert; it’s an experience! I promise you, once you get this down, you’ll be serving this up every chance you get.
Why You Will Make This Creme Brulee Cheesecake Recipe Again
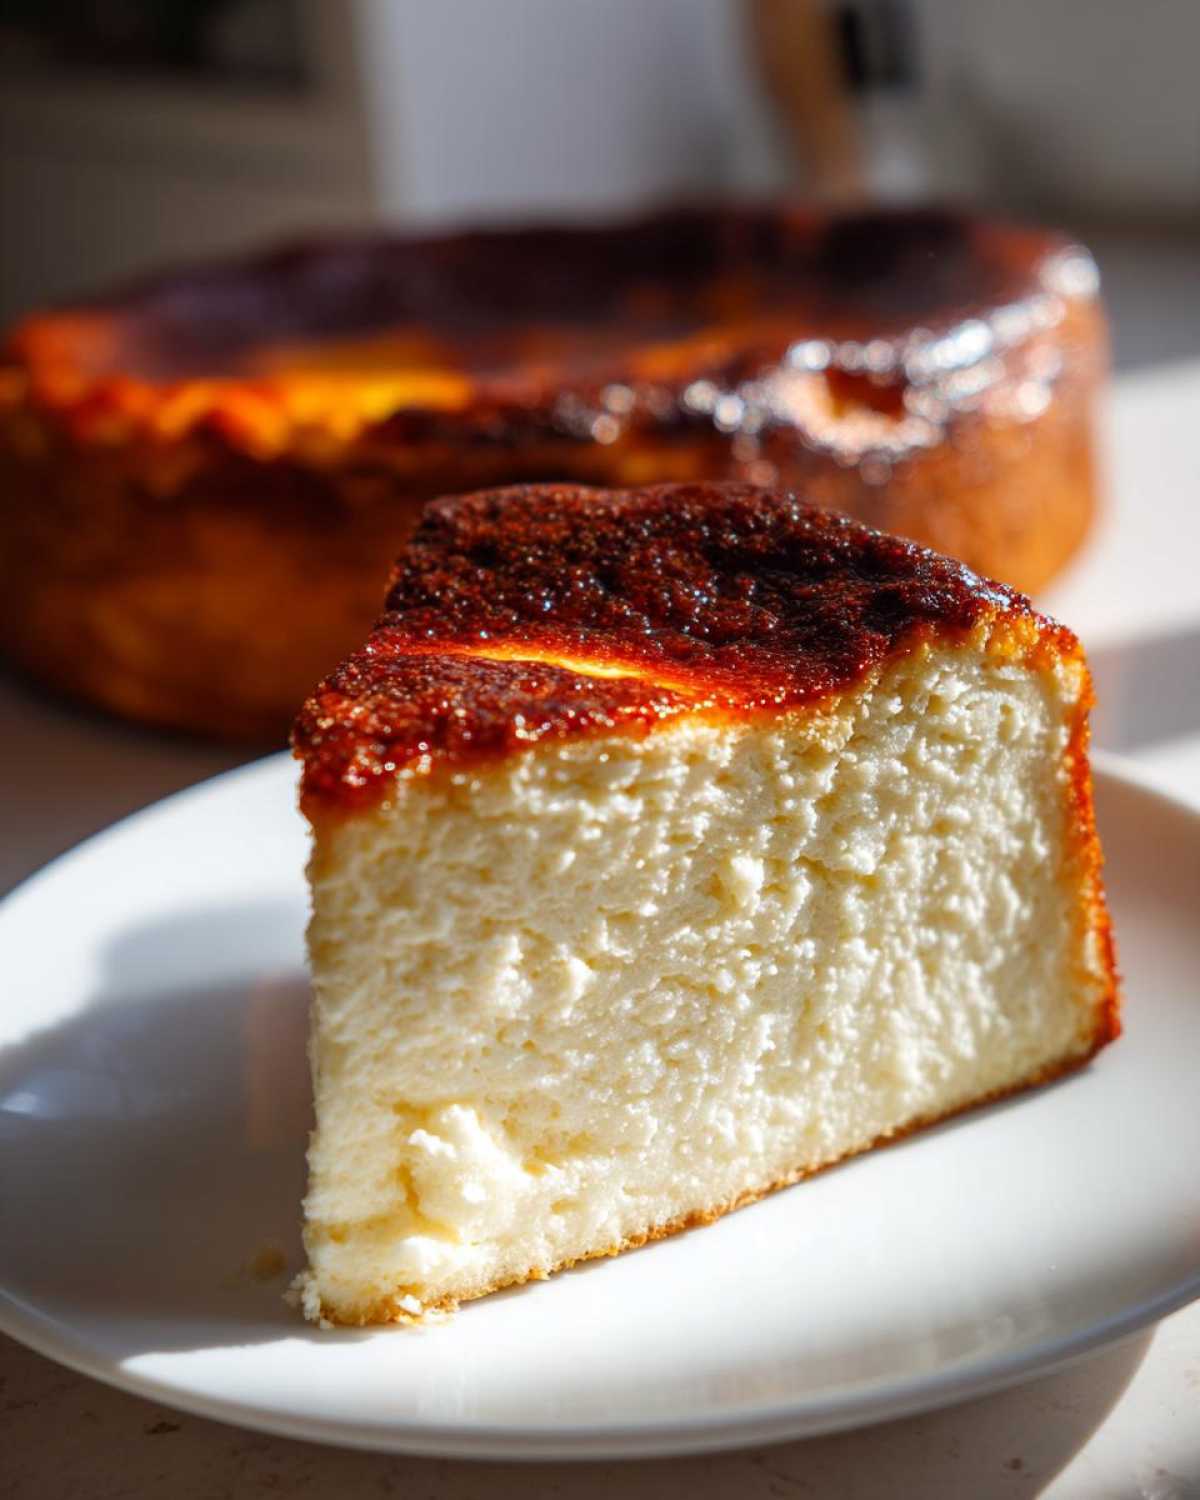
Honestly, this dessert is an absolute showstopper. It guarantees that ‘wow’ factor when you bring it to the table. It’s the perfect fusion for anyone who can’t decide between two amazing treats. Having all the steps really makes it achievable!
- The contrast between the tangy, rich filling and the hard caramel crust is just unmatched.
- It looks incredibly gourmet, making it perfect for special occasions without needing a dozen complicated steps.
- The slow bake using the water bath ensures that amazing, non-crack, silky-smooth texture every single time.
Essential Ingredients for the Ultimate Creme Brulee Cheesecake
Okay, the ingredient list looks long because we’re building two desserts in one, but the list itself is pretty straightforward! The real secret here, which I learned the hard way, is that everything for the filling needs to be at room temperature. I mean everything!
If your cream cheese is cold, you’re going to end up with lumps, and we absolutely do not want that for our smooth, perfect baked cheesecake. Pull out your cream cheese, eggs, and sour cream about an hour before you plan to start mixing.
Here’s exactly what you need to gather for the ultimate marriage of flavors:
- For the Crust: 1 1/2 cups graham cracker crumbs, 1/4 cup granulated sugar, and 6 tablespoons melted unsalted butter.
- For the Filling: Three 8-ounce packages of softened cream cheese, 1 1/2 cups granulated sugar, 1 teaspoon vanilla extract, 1/4 teaspoon salt, 4 large eggs, 1/2 cup heavy cream, and 1/4 cup sour cream.
- For That Crackle: The last 1/2 cup of granulated sugar is strictly for the topping! Don’t mix it in early, or you’ll lose all that glorious crunch.
How to Prepare the Perfect Creme Brulee Cheesecake Layer
This is where we build the body of our dessert, and frankly, it’s all about gentleness. You have to treat that cream cheese batter with respect if you want that silky texture. First things first, you need to protect your pan from the water bath!
Preparing the Graham Cracker Crust Base
Get your oven warmed up to 325 degrees F. Take your 9-inch springform pan and wrap the outside bottom and sides really well—I mean, really well—with heavy-duty aluminum foil. We don’t want any water seeping in. Once that’s done, mix up your graham cracker crumbs, 1/4 cup of sugar, and melted butter until it looks like wet sand. Press that mixture firmly into the bottom of the pan. Pop it in the oven for just 10 minutes to set up, then take it out and let it cool off completely while you whip up the filling.
Mixing the Rich Creamy Cheesecake Filling
Using your big mixer bowl, beat the softened cream cheese until it’s completely lump-free. Now, slowly beat in the 1 1/2 cups of sugar, vanilla, and salt. This part is key for that creamy texture! Next, add your eggs. And I mean one at a time! Mix just until the yolk disappears before adding the next one. If you whip too much air into this gorgeous batter, you’re going to get cracks later. Once the eggs are in, gently fold in the heavy cream and sour cream until it’s smooth. Just smooth—no heavy beating!
Baking the Creme Brulee Cheesecake with a Water Bath
Pour that lovely batter over your cooled crust. Now, set the wrapped springform pan right inside a larger roasting pan. Carefully pour hot water into the roasting pan until it reaches about halfway up the sides of your cheesecake pan. This gentle steam bath is your secret weapon against cracks! Bake it for 60 to 75 minutes. You’re looking for edges that look set, but the center should still have a slight wobble when you gently shake the pan. Turn the oven off, prop the door open a tiny bit, and let it hang out in that warm oven for a full hour to cool down super slowly. Trust me on this slow cooling; it’s crucial!
Achieving the Signature Brûlée Topping on Your Creme Brulee Cheesecake
Okay, we are at the grand finale, the moment of truth! You can’t rush this final step. That beautiful, creamy cheesecake needs to be totally chilled—seriously, at least six hours, but overnight is even better. If it’s warm, the sugar will just melt into soup instead of forming that perfect shell for your Creme Brulee Cheesecake.
Chilling and Sugar Application
Once it’s ice cold, take the cheesecake out. Sprinkle that reserved 1/2 cup of sugar evenly over the top. You need a nice, even blanket—don’t pile it too high in the middle, or it will burn unevenly. Gently tap the pan if you need to settle the sugar layer.
Caramelizing the Sugar Crust
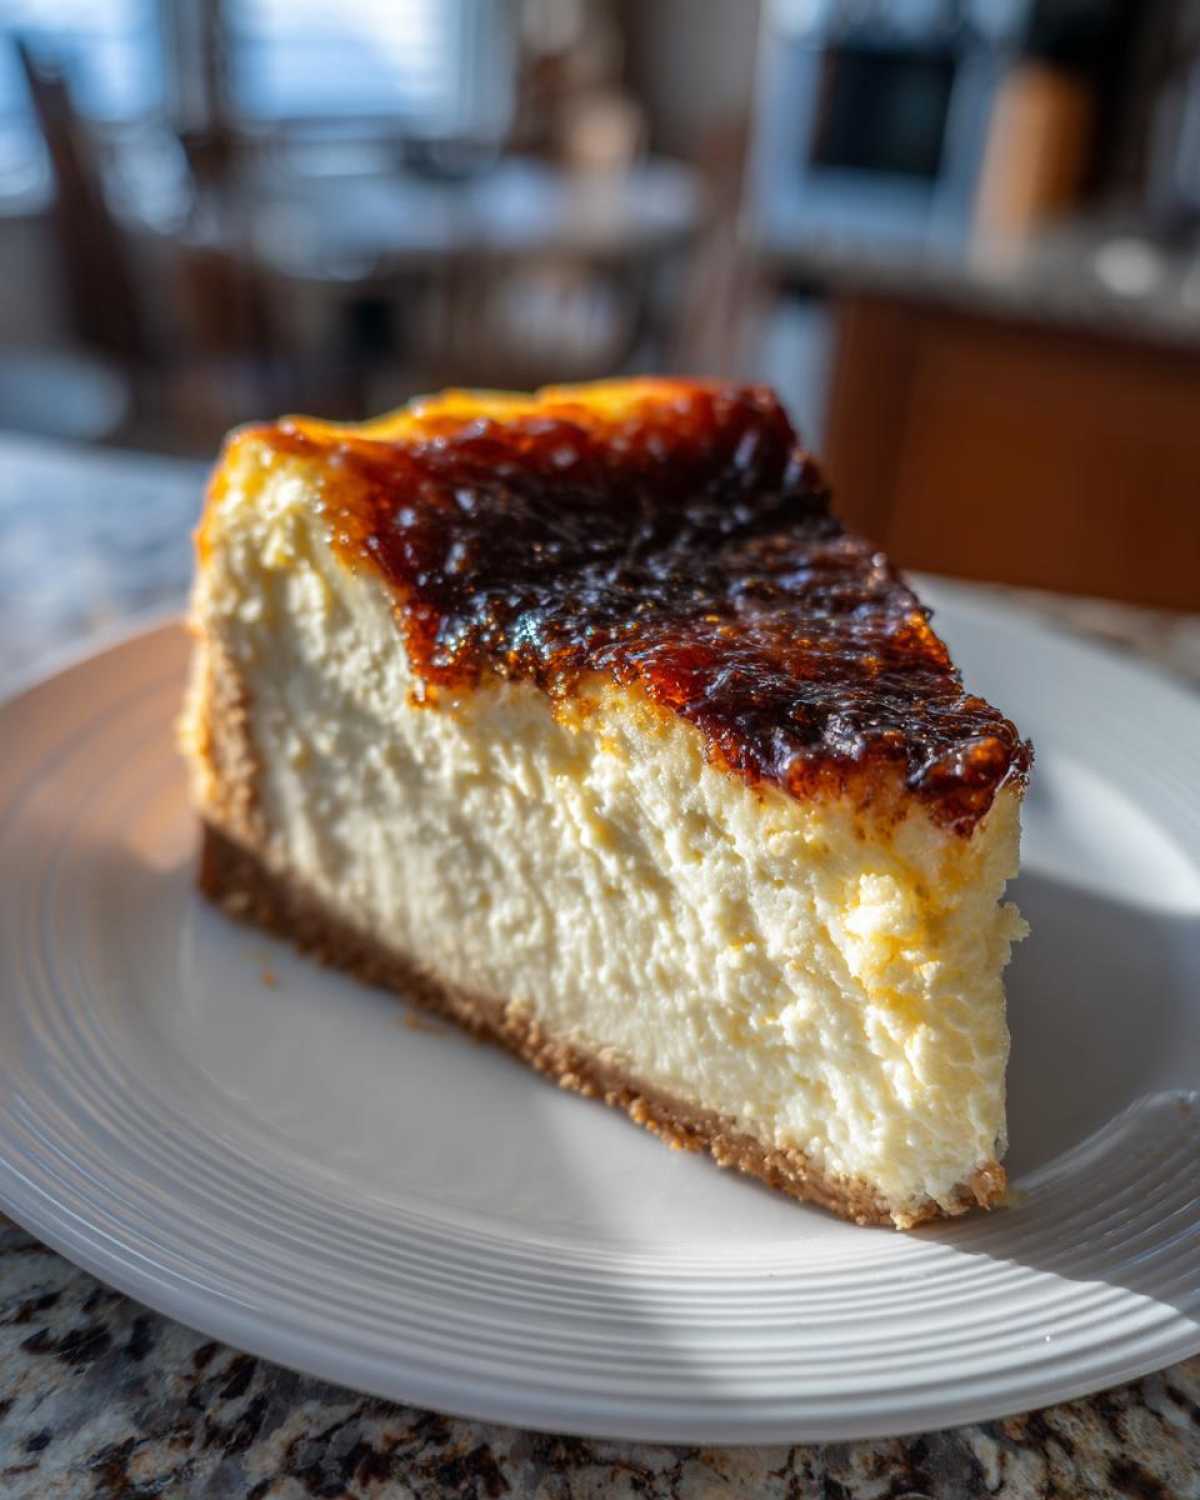
Now for the fun visual part! If you have a kitchen torch, use it! Hold the flame a few inches away and keep it moving constantly in small circles. You’ll see that sugar turn from white to gold to a deep amber caramel right before your eyes. It happens fast! If you don’t have a torch, you can use your broiler, but you have to be right there. Put the cheesecake on the highest rack and watch it like a hawk for just 1 to 2 minutes. The second it bubbles and browns, yank it out! You don’t want bitterness, just that perfect, hard crack!
Tips for Success Making Creme Brulee Cheesecake
Listen, making any gourmet dessert like this can feel intimidating, but these little tricks really make sure you get that smooth texture and never face a cracked top. These are the non-negotiables I stick by now for my Creme Brulee Cheesecake.
First, remember I stressed room temperature ingredients? That applies to your eggs, too! If your eggs are cold when you mix them in, they shock the batter and can cause those tiny lumps that turn into cracks later. Let them sit out with the cream cheese.
Next, don’t skip the water bath, even if it seems like a hassle. That steamy environment keeps the top layer of the cheesecake from setting too fast, which is what causes the dreaded dry surface and cracking. It’s the only way to get that restaurant-style creaminess.
Also, storage is crucial for this fusion dessert. You must chill the cheesecake completely before you even think about torching it. If you decide to bake this ahead of time, wrap it tightly in plastic wrap once it’s fully cooled in the fridge—no topping! The topping is the last 10 minutes of work you do!
Ingredient Notes and Substitutions for Your Creme Brulee Cheesecake
Since we’re combining two amazing things here, people always ask about tweaking the flavor profile, but I like to keep my suggestions simple. You want that incredible base texture to shine through. If you’re looking to boost that classic creamy flavor, ditch the extract for a bit of showmanship!
My favorite little upgrade for this Creme Brulee Cheesecake is using actual vanilla bean paste instead of just extract. You get those beautiful little black flecks throughout the filling, and the flavor is just richer and deeper. You can usually substitute the extract right in, using about 1 1/2 teaspoons of paste for the 1 teaspoon of extract listed.
What about the sour cream? If you don’t have sour cream on hand, you can absolutely swap it out with full-fat Greek yogurt. It brings a similar tang and moisture to keep the filling soft. Make sure you use the full-fat version, though; non-fat yogurt can sometimes mess with the texture when it bakes.
One thing I never mess with is the crust ingredient. Stick to graham crackers here! While I love alternatives for other bakes, the slight sweetness and fine crumble of the graham cracker is what perfectly balances the tang of the cream cheese base before the sugar crust goes on top.
Serving Suggestions for This Decadent Cheesecake Recipe
Because that caramelized top is so beautiful and crunchy, you really want to serve this Creme Brulee Cheesecake right after the sugar cools and hardens. A little contrast is nice—maybe some fresh raspberries on the plate to cut the richness? Honestly though, it’s perfect all by itself with a hot cup of strong coffee. That’s all you need!
Storage and Make-Ahead Options for Creme Brulee Cheesecake
This is my favorite part about making this showstopper: you can do almost all the hard work ahead of time! The cheesecake itself is actually better when it chills overnight, which is such a relief when you’re planning a big dinner or party. However, I cannot stress this enough: do not, under any circumstances, torch the sugar topping until you are ready to serve it.
If you put that sugar crust on too early, especially if it sits in the fridge, the moisture from the cheesecake will soften it until it’s just a sticky mess. Nobody wants soggy brûlée!
For make-ahead storage, once your cheesecake is completely cooled and has set in the fridge (after that minimum of six hours), take it out of the springform ring and place it on your serving platter or cake stand. Cover the whole thing tightly with plastic wrap. It will keep beautifully in the refrigerator for up to four days. This makes it perfect for prepping the day before!
If you need to keep it longer, you can freeze the plain, chilled cheesecake—plastic wrap, then a layer of foil—for about a month. When you thaw it overnight in the fridge, it’s ready for its final step. This is the secret to my Creme Brulee Cheesecake strategy!
When you’re ready to go, unwrap the chilled cheesecake, sprinkle that final layer of sugar, grab your torch, and serve it immediately while that top is still shatteringly cold and crisp. You won’t regret waiting!
Frequently Asked Questions About Creme Brulee Cheesecake
I get so many questions when folks try this recipe for the first time! It combines two temperamental desserts, so it’s natural to have a few worries. Here are the things I hear most often when people are tackling their first Creme Brulee Cheesecake.
Can I skip the water bath when baking the Creme Brulee Cheesecake?
Oh, please don’t try to skip it! That water bath is non-negotiable if you want that rich, creamy texture you’re dreaming of. The steam creates a humid environment that cooks the filling gently and evenly. Without it, the edges set too fast, and you almost guarantee those dreaded cracks. It keeps everything from overheating and results in the best possible baked cheesecake!
How far in advance can I make the cheesecake base?
You should bake the base and then chill it for at least six hours, but overnight is always best for letting the flavors fully settle. You can absolutely make the entire un-topped cheesecake one day ahead of time and keep it wrapped tight in the fridge. Just remember, you have to wait until about 15 minutes before you serve it to sprinkle that final sugar crust on top. That contrast is everything for this Torch Browned Cheesecake Dessert!
Why did my cheesecake crack even though I used a water bath?
If you followed the water bath but still got a crack, it usually means you overmixed the batter, incorporating too much air, or you shocked the cake by taking it out of the oven too fast. Remember that slow cooling process inside the turned-off oven? That gradual temperature change is your second line of defense against cracks. If you see a tiny crack, don’t panic! That’s why we’re covering it with sugar!
PrintCreme Brulee Cheesecake
A recipe for a rich, creamy baked cheesecake topped with a hard, caramelized sugar crust, combining the best elements of cheesecake and creme brulee.
- Prep Time: 30 min
- Cook Time: 75 min
- Total Time: 8 hours 45 min
- Yield: 12 servings
- Category: Dessert
- Method: Baking
- Cuisine: American Fusion
- Diet: Vegetarian
Ingredients
- 1 1/2 cups graham cracker crumbs
- 1/4 cup granulated sugar (for crust)
- 6 tablespoons unsalted butter, melted
- 3 (8 ounce) packages cream cheese, softened
- 1 1/2 cups granulated sugar (for filling)
- 1 teaspoon vanilla extract
- 1/4 teaspoon salt
- 4 large eggs
- 1/2 cup heavy cream
- 1/4 cup sour cream
- 1/2 cup granulated sugar (for topping)
Instructions
- Preheat your oven to 325 degrees F (160 degrees C). Wrap the outside of a 9-inch springform pan tightly with heavy-duty aluminum foil.
- Prepare the crust: Mix graham cracker crumbs, 1/4 cup sugar, and melted butter. Press the mixture firmly into the bottom of the prepared springform pan. Bake for 10 minutes. Let cool.
- Prepare the filling: In a large bowl, beat the softened cream cheese until smooth. Gradually beat in 1 1/2 cups sugar, vanilla extract, and salt until just combined. Do not overmix.
- Beat in the eggs one at a time, mixing only until each egg is incorporated. Gently stir in the heavy cream and sour cream until the batter is smooth.
- Pour the filling over the cooled crust. Place the springform pan into a larger roasting pan. Carefully pour hot water into the roasting pan until the water reaches halfway up the sides of the springform pan (this creates a water bath).
- Bake for 60 to 75 minutes, or until the edges are set but the center still jiggles slightly.
- Turn off the oven, prop the door open slightly, and let the cheesecake cool in the water bath for 1 hour. Remove the cheesecake from the water bath and cool completely on a wire rack. Chill in the refrigerator for at least 6 hours, or preferably overnight.
- To create the brulee top: Just before serving, sprinkle an even layer of the remaining 1/2 cup sugar over the top of the chilled cheesecake.
- Use a kitchen torch to melt and caramelize the sugar until it forms a hard, amber crust. Alternatively, place the cheesecake under a preheated broiler for 1-2 minutes, watching constantly to prevent burning.
- Serve immediately after the sugar crust hardens.
Notes
- For a smoother cheesecake, let your cream cheese and eggs come to room temperature before mixing.
- If you do not have a kitchen torch, use the broiler method, but watch the cheesecake closely as it browns very quickly.
- To prevent cracks, do not open the oven door during the initial baking time and allow the cake to cool slowly in the water bath.
Nutrition
- Serving Size: 1 slice
- Calories: 450
- Sugar: 45g
- Sodium: 250mg
- Fat: 28g
- Saturated Fat: 17g
- Unsaturated Fat: 11g
- Trans Fat: 0.5g
- Carbohydrates: 42g
- Fiber: 1g
- Protein: 9g
- Cholesterol: 110mg
