

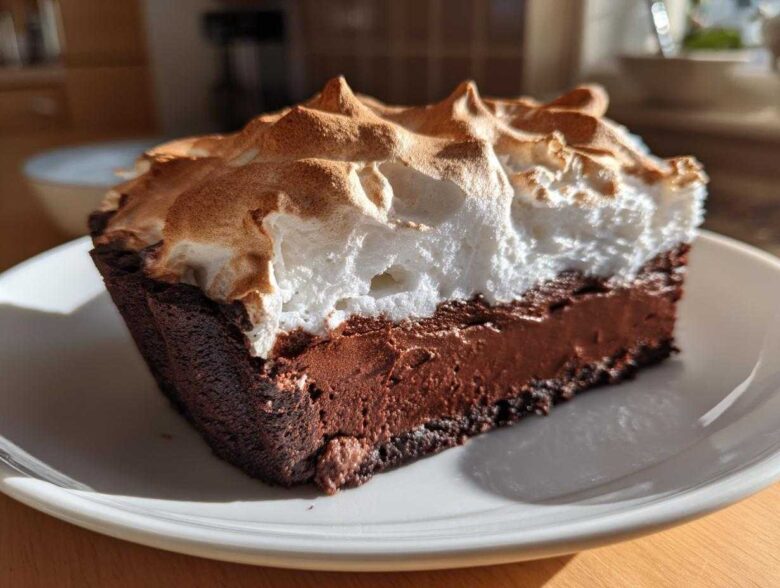
Oh, the Chocolate Meringue Pie. It’s the dessert that promises clouds of fluffy happiness but often delivers a cracked, weeping mess! I used to dread making it, honestly. The runny filling, the way the meringue shrinks back from the crust—it felt like a conspiracy against home bakers. But I’ve finally cracked the code on making The Secret to Perfect chocolate meringue pie, and trust me, this version gives you that deep, dark, velvety custard and a meringue tower that actually stays put! My first attempt nearly ended in disaster, but after years of testing, I found the little tricks to make it foolproof. We’re going to master this classic together.
You can check out more of my absolute can’t-live-without-them tips over on my main recipe index page when you’re ready for more baking adventures!
Why This Is the Ultimate chocolate meringue pie Recipe
So, what makes this Best Homemade Meringue Pie a game-changer? It boils down to two things: the filling and the topping! We are completely eliminating the runny filling by making sure we cook that cornstarch mixture until it properly boils, locking in structure. This is truly my No Fail Chocolate Meringue method.
This recipe isn’t just good; it’s designed to conquer the two biggest struggles people have with this showstopper dessert. Don’t worry, I’ll walk you through exactly why we do things the hard way on a few steps!
Achieving a Velvety Chocolate Filling Dessert
The secret to that lush, Velvety Chocolate Filling Dessert texture is all in the tempering. If you just chuck your egg yolks straight into the boiling sugar water, you end up with sweet scrambled eggs, and nobody wants that! We slowly introduce some heat to the yolks first—that’s tempering—so they gently warm up before joining the main pot. This ensures a smooth, rich custard every single time. That chopped chocolate melting in at the end just pushes the richness over the top!
Tips for Stable Meringue and Fluffy Meringue Topping Recipe
For a glorious, tall Fluffy Meringue Topping Recipe that won’t shrink or weep, keep these points in mind. First, those egg whites absolutely must be at room temperature; cold whites just won’t whip up to their full potential. Second, cream of tartar is the stabilizer hero here—it gives the structure something to cling to! We add the six tablespoons of sugar very slowly, like rain falling, not like a dump truck dumping the load. If you want to see how I use these same principles for my meringue cookies, check out this light and crisp meringue cookies recipe; it’s a great practice run!
Ingredients for the Perfect chocolate meringue pie
Okay, let’s talk about what you need to pull off this beautiful creation. When you’re dealing with something as delicate as a meringue, ingredient quality really matters! Don’t skimp here, or you risk sabotage later. I’ve written out the amounts below, but pay close attention to the little details I noted with the ingredients. For example, those egg whites need to be ready to party, meaning room temperature!
You’ll need one fully baked and cooled pie crust ready to go, by the way—we aren’t baking that today! For anyone who struggles with flaky crusts, I usually rely on a good store-bought one for this recipe, but if you’re feeling brave and want to try my favorite, you can see my tips here for other pie fillings where I talk about crust structure!
For the filling itself, we need 1 1/2 cups of regular sugar paired with about a third of a cup of cornstarch—that’s what gives the filling its body. A tiny pinch of salt helps balance the sweetness. Then comes the liquid: 1 3/4 cups of cold water. For the chocolate goodness, you must have 2 ounces of good unsweetened chocolate, chopped up small so it melts easily. We use two tablespoons of unsalted butter for richness, and just one teaspoon of vanilla extract to bring everything together.
Now for the star of the show, the meringue! Make sure you save 4 large egg whites, and again, they must be at room temperature. You’ll also need 1/4 teaspoon of cream of tartar, which is our insurance policy against falling meringue. Finally, you need 6 tablespoons of granulated sugar reserved just for whipping those whites up into those gorgeous, stiff peaks.
How to Prepare the Rich Chocolate Custard Pie
Alright, this is where we earn our stripes. We need that filling base to be sturdy, smooth, and utterly decadent. Remember, this pie has the honor of holding up that magnificent cloud of meringue, so we don’t want any liquid leaks!
Start by getting your oven preheated to 350 degrees F. You need to bake that crust until it’s just faintly golden—nothing too dark since it’ll be sitting there while we cook this amazing Rich Chocolate Custard Pie filling. Pop it out of the oven and let it cool completely on a cooling rack! This step is non-negotiable; hot filling meets a hot crust? Hello, soggy bottom!
Baking the Crust and Preparing the Base
While that shell is getting friendly with the room temperature air, we work on the custard. In a medium saucepan—this is where the whisking comes in—we mix together 1 1/2 cups of sugar, the cornstarch, and a little salt. It needs to be completely smooth before you even think about turning on the heat. Slowly whisk in the measured cold water until there are zero lumps left. Trust me on this, the whisk is your friend right now!
Now, turn the heat to medium and just stir constantly. You’ll see it start to thicken up, and eventually, it has to boil! Let it boil hard for exactly one minute while you keep stirring—that minute cooks out the starchy taste. Take it off the heat immediately. Next up is the tempering dance: whisk your two egg yolks lightly, and then fetch about a cup of that hot sugar mixture and slowly drizzle it into the yolks while whisking like crazy. This stops them from scrambling. Once tempered, pour those yolks back into the main saucepan. Put it back on the heat, bring it back to a boil for one more minute, then pull it off for good!
Finally, stir in that chopped chocolate until it all melts into submission—don’t forget the butter for shine and that teaspoon of vanilla. Pour this hot, glorious stuff right away into your cooled, baked pie crust. Look at that! That smooth surface is going to be the perfect foundation. If you want to see an older, similar method using baked eggs, check out my notes on the classic old-fashioned egg custard pie, but this chocolate version is superior, I swear!
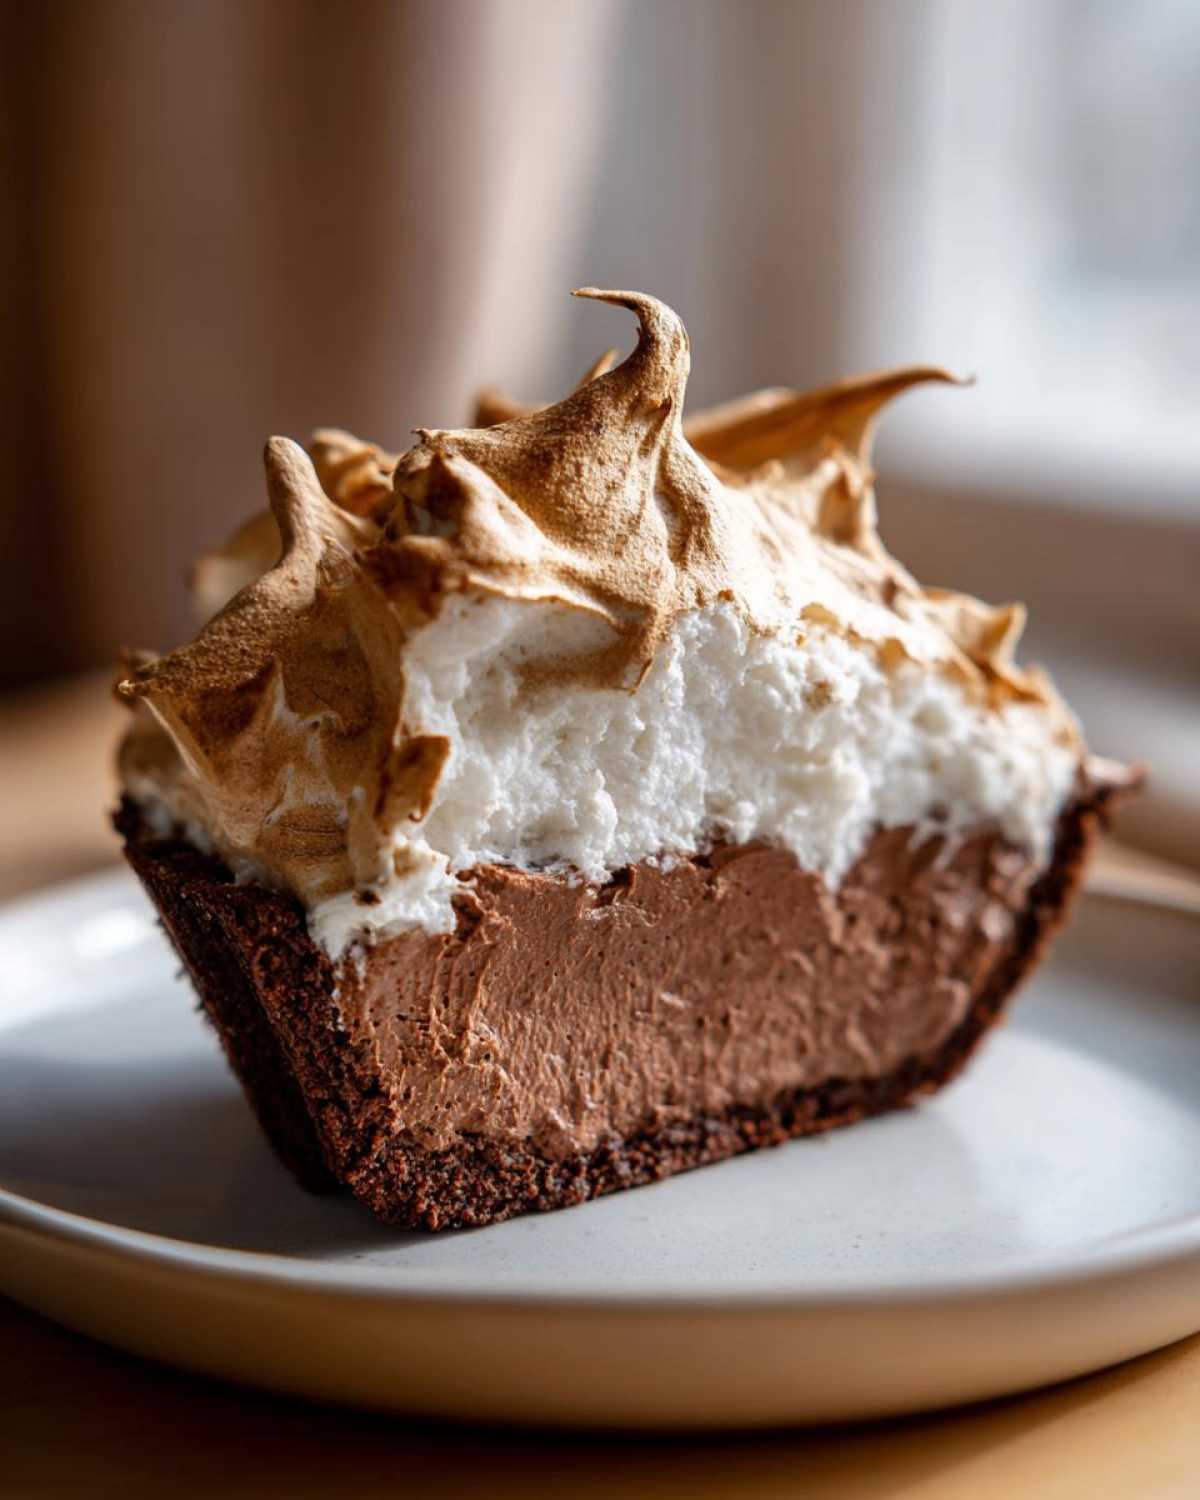
Assembling the chocolate meringue pie
Okay, the dark, creamy filling is settled nicely in its shell, and now it’s time for the part everyone waits for: the meringue! This process needs speed and confidence. Remember what I said? We want the filling to be hot when the meringue kisses it goodbye. This heat transfer is genius; it actually helps weld the meringue to the custard layer, which is a huge defense against shrinkage later on.
You’ve got your 4 room-temperature egg whites waiting with that tiny bit of cream of tartar. Whisk those things until they get soft and billowy. Then those reserved 6 tablespoons of sugar go in gradually. I mean it—a slow sprinkle while the mixer hums away. You’re aiming for stiff, glossy peaks that stick straight up when you pull the whisk out. Don’t under-beat, or it will fold back into liquid sludge!
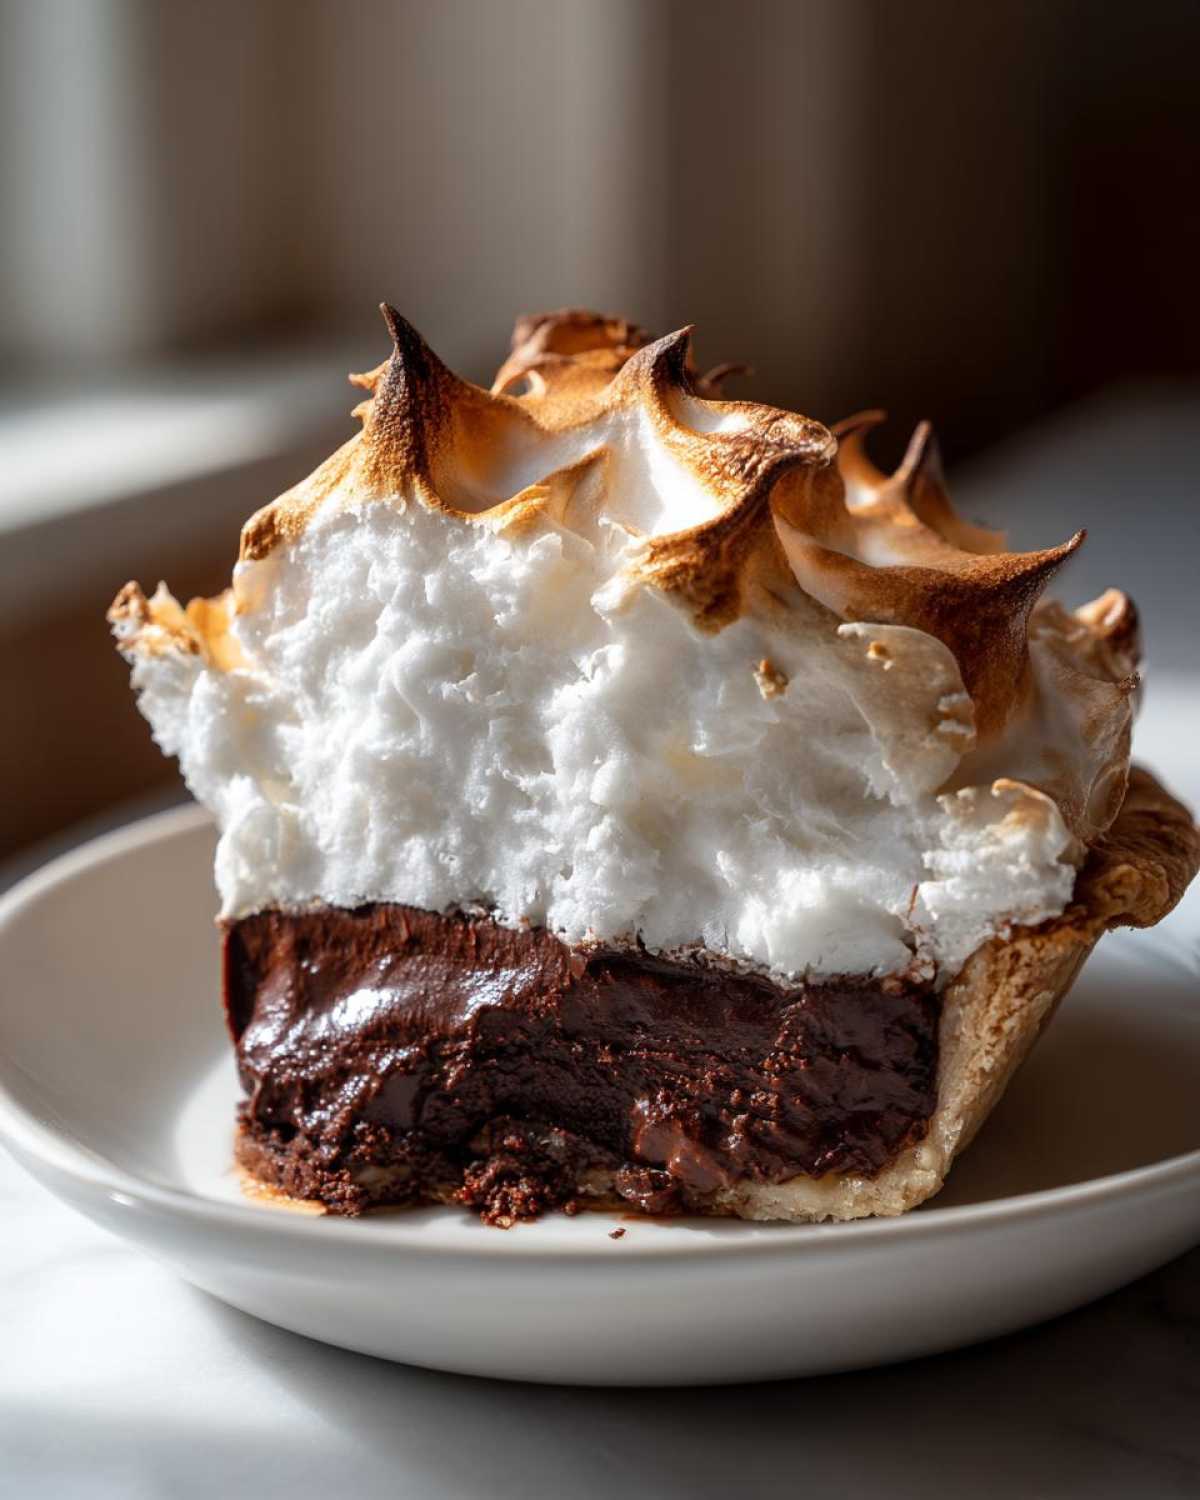
Now, the application! Take your meringue and gently mound it high over that hot chocolate filling. The most critical part of this whole operation, the thing Grandma always made me practice, is to make sure that meringue layer completely covers the filling and touches the crust edge all the way around. Seriously, seal the deal! Use the back of a spoon or a spatula to create pretty, dramatic swirls and peaks on top. These peaks catch the oven heat beautifully and turn into those perfect golden-brown crowns.
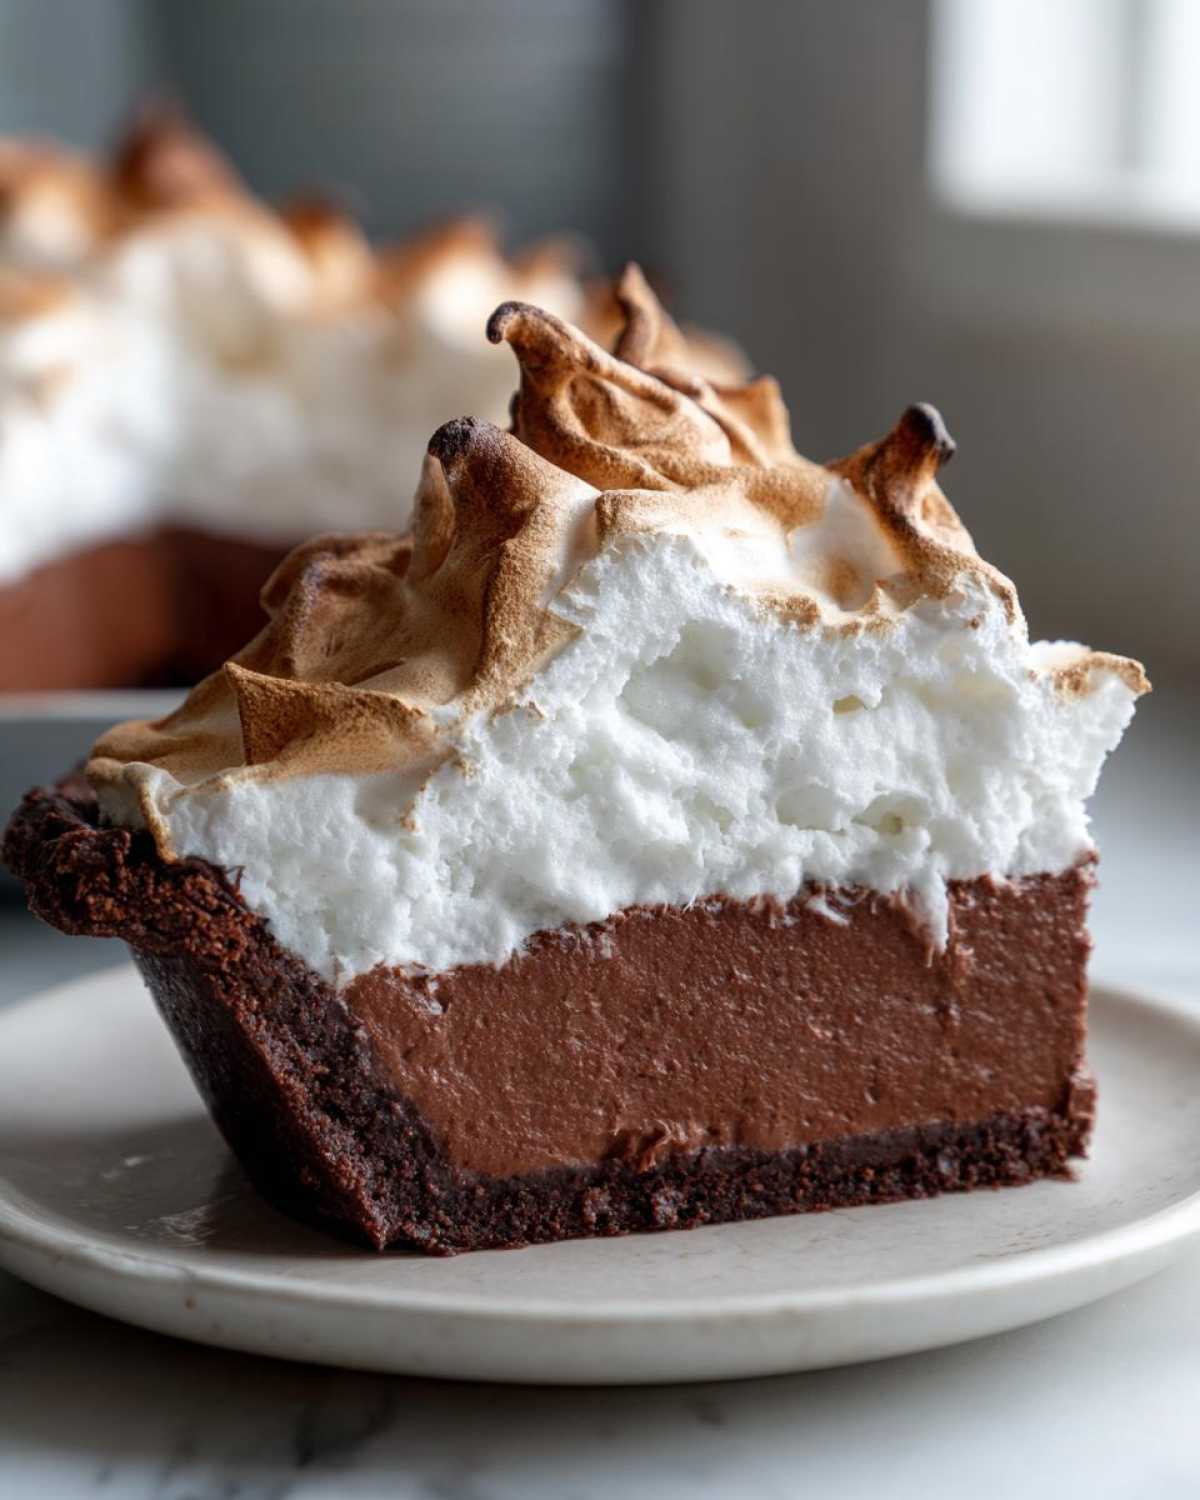
Gently slide the pie into the 350-degree oven. We only need about 12 to 15 minutes, depending on how high your peaks are. You’re just looking for a soft, lovely golden color. Don’t let it go past light brown, or the bottom part of the meringue might start to toughen up. If your meringue looks like it’s getting too dark too fast, you can always cover it lightly with foil, but usually, those 15 minutes are perfect for achieving that beautiful color without baking out all the fluffiness inside. This pie should look like a snow-capped mountain range!
If you want to peek at another recipe where the meringue is the star—like my famous lemon meringue—you can grab those tips here to see how I build height on a lemon meringue classic pie recipe. Honestly, the meringue principles are almost identical!
Baking Secrets for a Showstopper Dessert Recipe
We’ve baked the meringue to perfection, but now comes the hardest part of making any chocolate meringue pie: waiting! Don’t even think about touching this pie for at least four hours. I know, I know, the aroma is intoxicating, but patience is the biggest secret here. If you rush it, you’re going to see those ugly beads of moisture form on top—that’s the notorious weeping meringue!
The reason this happens is rapid temperature change. When you stick a hot pie straight into a cold refrigerator, condensation forms between the hot, sugary meringue and the cool filling. That moisture has nowhere to go but out, leading to a soupy mess on the surface. So, we let it cool slowly at room temperature on a wire rack. This gives the filling time to set up nicely and lets the meringue stabilize without sweating.
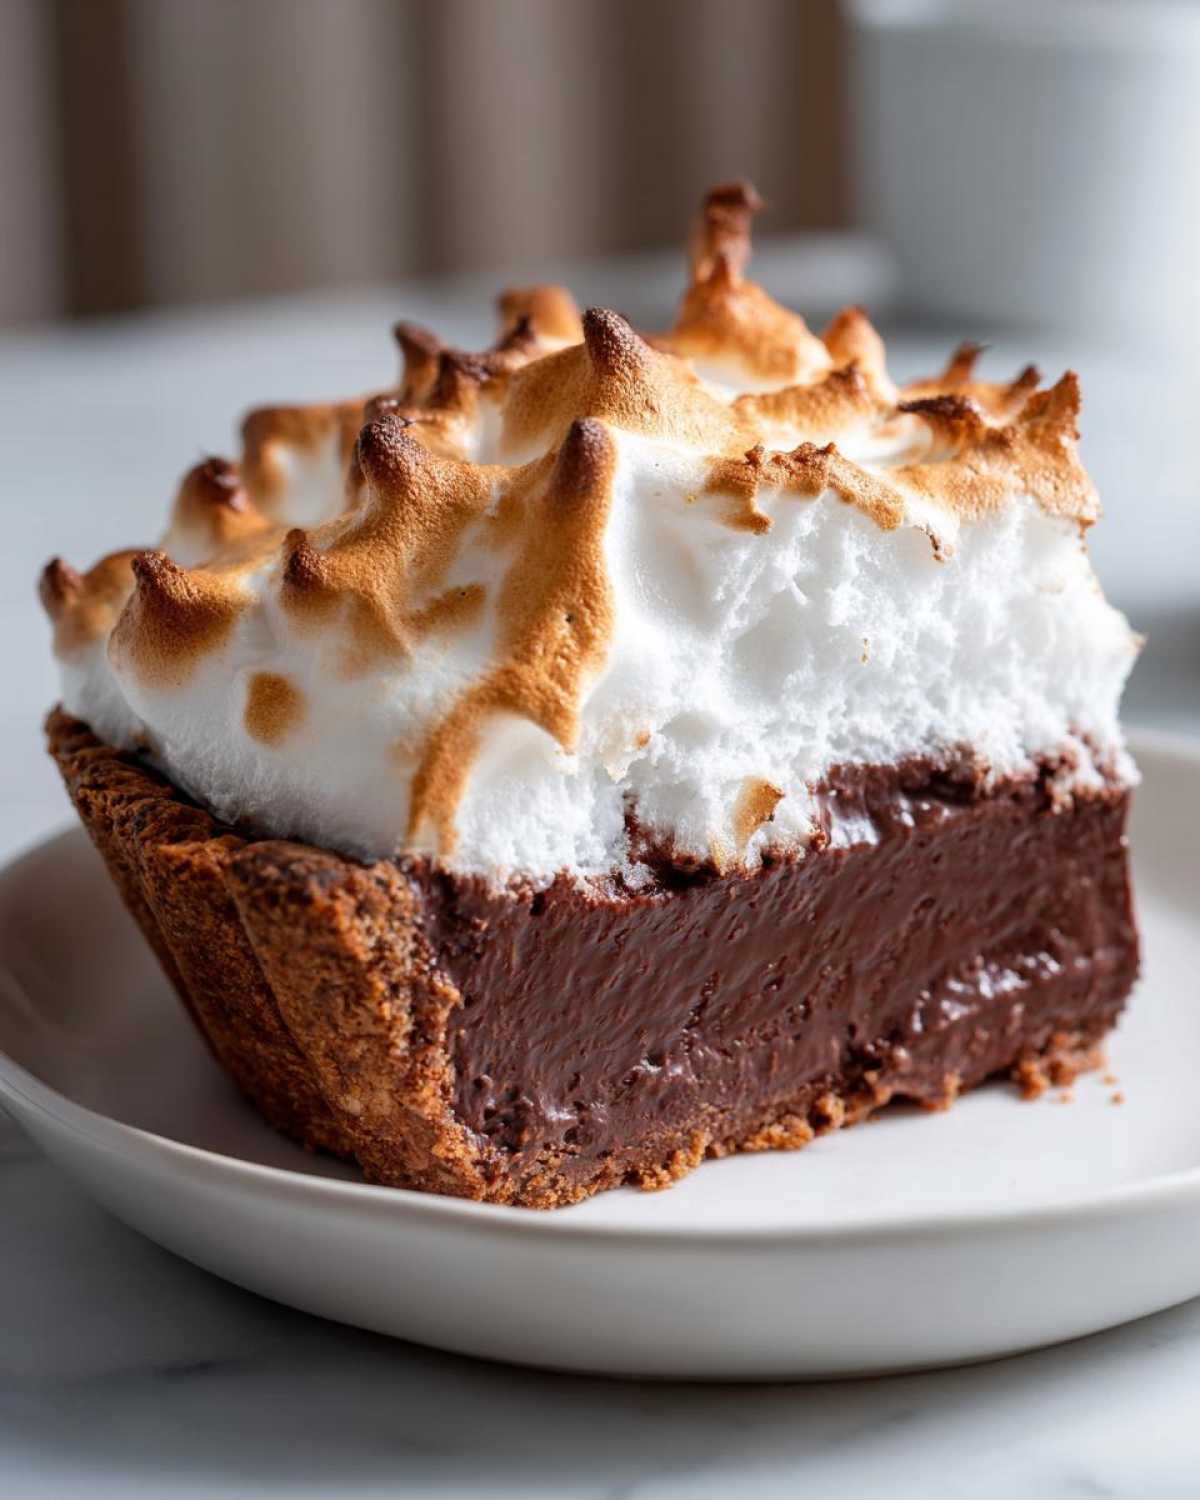
Don’t worry if you need to make this ahead of time! Just cool it completely, then cover it loosely with plastic wrap once it’s totally cool—not before! This recipe is incredible and acts like a wonderful Showstopper Dessert Recipe for any gathering. If you love things that are intensely chocolatey and fudgy, I have an amazing recipe for brownies with a similar rich base that you might want to try after this pie, check out my divine 3-step hot chocolate brownies!
The Crucial Cooling Period for Your chocolate meringue pie
That four-hour cooling time is your golden window. It allows the starches in the filling to fully gelatinize and firm up. If you cut it soft, the whole slice will deflate onto the plate, and you’ll be left with sad, spilled filling. Trust me, I’ve ruined many pies this way in my early days. Set a timer, walk away, and go clean up the kitchen instead!
When it finally comes time to slice this beauty, you need the right tool. A regular knife just drags the sugar across the surface and makes a mess. Grab a very thin, sharp knife and dip it into a tall glass of hot water. Wipe it dry quickly, and then use that hot blade to cut your slice. It glides right through the filling and the meringue without tearing! Dip, wipe, cut. Dip, wipe, cut. Repeat for every single slice, and you’ll have those clean, perfect wedges that look amazing on a plate. It’s such a simple trick, but it makes all the difference when serving up slices of this Old Fashioned Chocolate Pie.
Ingredient Notes and Substitutions for chocolate meringue pie
This is where we talk like real bakers, not just recipe followers! When you are making a chocolate meringue pie, you have to respect the dairy and the eggs. I know sometimes we are in a rush, and maybe that store-bought pie crust is calling your name—and hey, that’s fine sometimes! If you use a pre-made crust, just make sure you give it a really good blind bake so it’s solid and crisp before the hot filling goes in. Soggy bottoms are the enemy!
But when it comes to the custard and the topping, I have to insist on fresh, good-quality ingredients. The chocolate is going to sing the loudest flavor note here, so use the best unsweetened bar chocolate you can reasonably afford—none of those chips, please! The chocolate chips are designed to hold their shape, and we need ours to melt completely smooth for that rich texture.
And egg whites! They simply must be fresh, and I mean, *must* be at room temperature. If you crack an egg and see a lot of watery, thin white surrounding a high, round yolk, that egg is old. Older whites have broken down and won’t trap nearly as much air. You want plump, thick whites that barely move in the shell when you shake them gently. This is crucial for building volume in our tower of meringue.
I know I keep going on about this, but if you want a stable, fluffy topping, the whites must be perfect. If you’re interested in seeing another recipe where quality ingredients make all the difference—specifically around texture—you should check out my post on making easy homemade mayonnaise. It seems unrelated, but the principle of clean, high-quality fats and emulsifiers is exactly the same!
Serving Suggestions for This Decadent Holiday Pie
We finally made it! The chocolate meringue pie is set, cool, and looking absolutely magnificent. Now, how do we make the serving experience even better? This pie is rich enough to stand on its own, of course, but a few small touches can elevate it to centerpiece status, especially if you’re serving it as a Decadent Holiday Pie!
Since we have a beautiful, lightly toasted meringue top, that can be its own decoration. But if you want a little contrasting color, a very light dusting of high-quality unsweetened cocoa powder or finely grated dark chocolate right before you carry it to the table is stunning. It adds a beautiful, matte contrast to the shiny meringue peaks. Just use a small sieve and dust lightly—we aren’t trying to cover the meringue entirely, just accent it.
Another pairing I absolutely adore, especially when I serve this Rich Chocolate Custard Pie in the summer, is fresh fruit. The slight tartness of berries cuts through the intense sweetness of the chocolate and the sugary meringue perfectly. A small pile of fresh raspberries or thinly sliced strawberries alongside each slice? Perfection! The acidity is just what you need to balance everything out.
And if you’re serving this pie to the adults after a big meal? Oh boy, do I have an idea. After you nail this pie, maybe you need a warming beverage to go with it. I love making a decadent, slightly boozy hot chocolate to sip alongside a slice of the pie. It doubles down on the chocolate theme in the best way possible. You can find my recipe for that incredible boozy hot chocolate with bourbon and Bailey’s; it’s the ultimate cozy pairing!
Storage and Reheating Instructions for chocolate meringue pie
Now, let’s talk about the sad reality of leftovers. A glorious slice is nice, but what about the rest of that incredible chocolate meringue pie? Because we used a real, baked meringue, it doesn’t keep as beautifully as, say, a plain pudding pie. The meringue loves humidity, which is the exact opposite of what we want once it’s cooled down.
My absolute rule for this is: eat it within 24 hours. Seriously, the texture starts to degrade fairly quickly. You absolutely cannot wrap it tightly with plastic wrap! If you do, that plastic traps any condensation right against the meringue peaks, guaranteeing weeping by morning. You have to cover it loosely. I usually take a large, inverted mixing bowl or drape a piece of plastic wrap very gently over the pie without letting it touch the meringue peaks. It’s a bit like giving the top a bubble tent!
Because the filling sets so firmly after that long cool-down period, attempting to reheat this pie is a big no-no. Warming up custard with meringue on top is just asking for trouble—the meringue will deflate and weep instantly. Enjoy this pie on the day it’s made, or the next morning for breakfast (don’t judge, I do it!). If you need a fantastic make-ahead chocolate dessert that reheats like a dream, you should definitely look up my recipe for the moist and fudgy chocolate cake; it keeps wonderfully!
Frequently Asked Questions About Making a chocolate meringue pie
I always get questions after people try making this stunning chocolate meringue pie because, let’s be honest, it looks way more intimidating than it actually is once you know the little baker secrets! Here are the top things people always ask me the very next day.
How to Make Meringue Not Weep After Baking?
This is THE question! There are two main lines of defense here, and you have to do both! First, when you are applying the meringue, you must spread it all the way to the edge of the crust so it’s touching the hot filling underneath. This seals the top layer in. Second, and this is huge, you absolutely cannot put the pie straight into a cold refrigerator after it comes out of the oven. Let it air cool on the counter for a minimum of four hours first. Rapid cooling is what causes condensation, and condensation causes weeping. It’s physics!
Can I use instant or pre-made chocolate pudding instead?
Oh gosh, please don’t! I know the temptation when we are trying to save time on an Easy Chocolate Pie Baking project, but instant pudding simply won’t give you that deep, luscious texture that this pie demands. The whole point of this recipe is that cooked, slightly thickened custard base where we temper the egg yolks and cook the cornstarch. That deliberate process creates a sturdy, rich filling that holds up the sugar in the meringue. Instant pudding is too loose and gelatinous; it just won’t have the backbone needed for a truly Classic Chocolate Meringue Pie structure.
What is the best way to slice this pie cleanly?
You are going to want those beautiful slices to look as perfect as they taste! If you use a room-temperature knife, it drags the filling, and the meringue cracks, making a big mess. The trick I mentioned before is a lifesaver: get a sharp, thin knife and dip it into a glass of very hot water. Wipe the blade dry quickly on a paper towel, and then make your first cut. The hot blade slices right through the custard and the meringue without sticking or tearing. You must repeat this dipping and drying process for every single cut you make if you want those restaurant-quality wedges!
When you’re done mastering pies, maybe you need something savory that requires just as much precision but is way less sweet? I have a favorite recipe for a creamy beer cheese dip that is perfect for game days!
PrintThe Secret to Perfect Chocolate Meringue Pie

Follow these steps for a rich chocolate custard filling and a tall, stable meringue topping that does not weep.
- Prep Time: 25 min
- Cook Time: 45 min
- Total Time: 70 min
- Yield: 8 servings
- Category: Dessert
- Method: Baking
- Cuisine: American
- Diet: Vegetarian
Ingredients
- 1 (9 inch) unbaked pie crust
- 1 1/2 cups granulated sugar
- 1/3 cup cornstarch
- 1/4 teaspoon salt
- 1 3/4 cups cold water
- 2 large egg yolks, lightly beaten
- 2 ounces unsweetened chocolate, chopped
- 2 tablespoons unsalted butter
- 1 teaspoon vanilla extract
- 4 large egg whites, room temperature
- 1/4 teaspoon cream of tartar
- 6 tablespoons granulated sugar
Instructions
- Preheat your oven to 350 degrees F. Bake the pie crust according to package directions until lightly golden. Cool completely on a wire rack.
- In a medium saucepan, whisk together 1 1/2 cups sugar, cornstarch, and salt. Gradually whisk in the cold water until smooth.
- Cook the mixture over medium heat, stirring constantly, until it thickens and boils. Boil for one minute, stirring constantly. Remove from heat.
- In a small bowl, whisk the egg yolks. Slowly temper the yolks by whisking about 1 cup of the hot sugar mixture into the yolks. Pour the tempered yolk mixture back into the saucepan.
- Return the saucepan to medium heat. Cook, stirring constantly, until the mixture returns to a boil. Boil for one minute. Remove from heat.
- Stir in the chopped chocolate, butter, and vanilla extract until smooth. Pour the hot chocolate filling immediately into the cooled, baked pie crust.
- In a clean, grease-free bowl, beat the egg whites with an electric mixer until soft peaks form. Add the cream of tartar and continue beating. Gradually add the remaining 6 tablespoons of sugar, beating until stiff, glossy peaks form.
- Spread the meringue over the hot filling, making sure the meringue touches the edge of the crust all around to prevent shrinking. Create decorative swirls with the back of a spoon.
- Bake at 350 degrees F for 12 to 15 minutes, or until the meringue is lightly golden brown.
- Cool the pie completely on a wire rack for at least 4 hours before slicing. Avoid placing the pie in the refrigerator immediately, as rapid cooling can cause weeping.
Notes
- To prevent the meringue from weeping, make sure your mixing bowl for the egg whites is completely free of grease or yolk.
- Bake the meringue on the hot filling; this helps seal the filling to the meringue layer.
- For the best slicing, use a sharp, thin knife dipped in hot water between each cut.
Nutrition
- Serving Size: 1 slice
- Calories: 380
- Sugar: 45
- Sodium: 150
- Fat: 18
- Saturated Fat: 9
- Unsaturated Fat: 9
- Trans Fat: 0
- Carbohydrates: 52
- Fiber: 1
- Protein: 6
- Cholesterol: 75
