

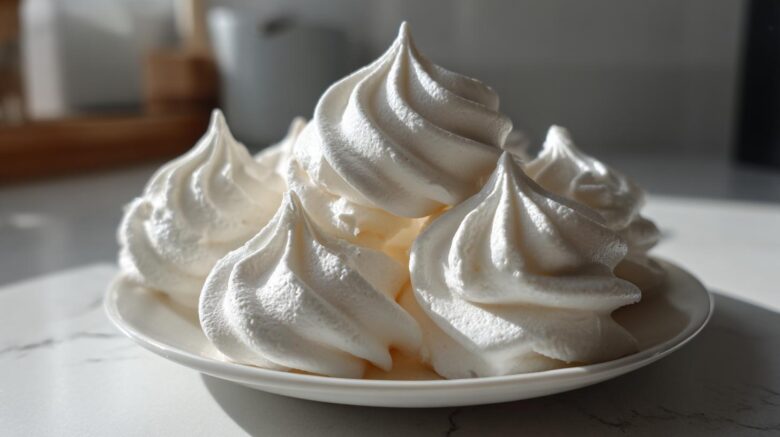
The Secret to Light and Crisp Meringue Cookies
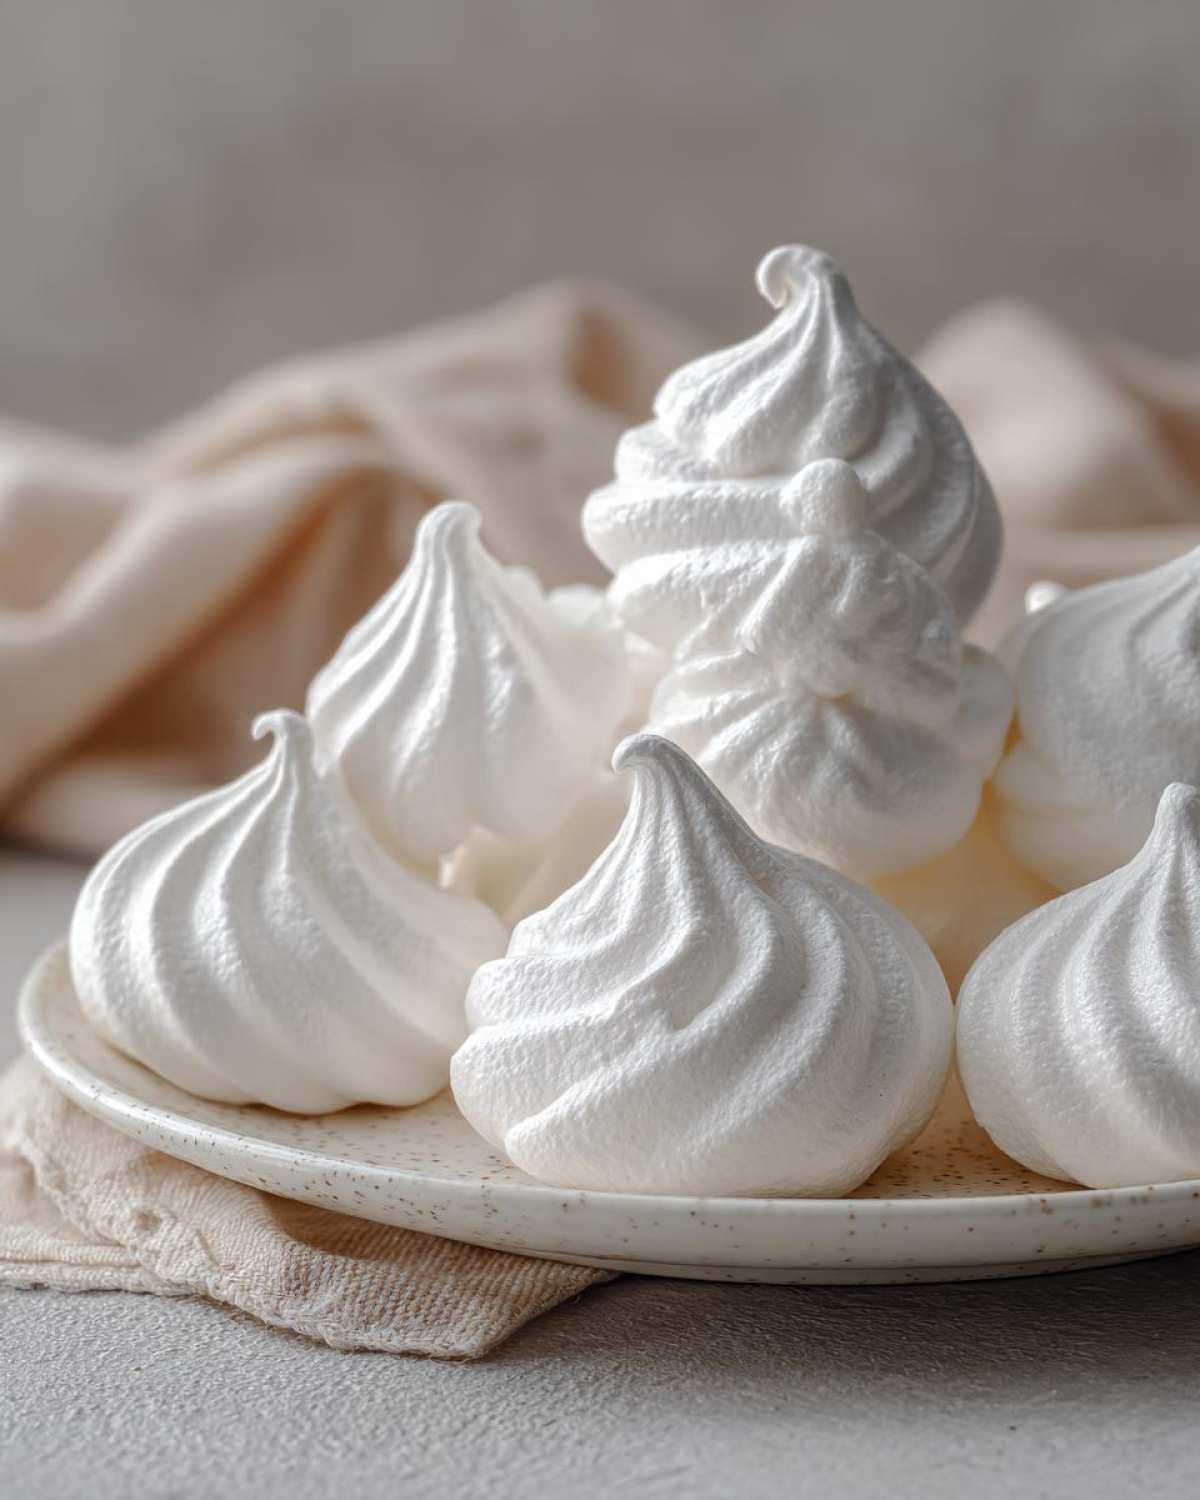
We all dream of those ethereal, cloud-like meringue cookies.
They should shatter delicately. They must be perfectly crisp.
Getting that texture took me years in the kitchen.
Back when Amara and I were just starting out, those first attempts were often sticky messes.
Chef Tariq always stressed patience with these treats.
He taught us the French method is key here.
This recipe channels that hard-won experience.
We focus on slow drying, not fast baking.
This low heat process pulls out all the moisture.
It creates that melt-in-your-mouth quality we crave.
You are going to achieve stunning results easily.
Forget flat, chewy failures from before.
These cookies are light as air, truly.
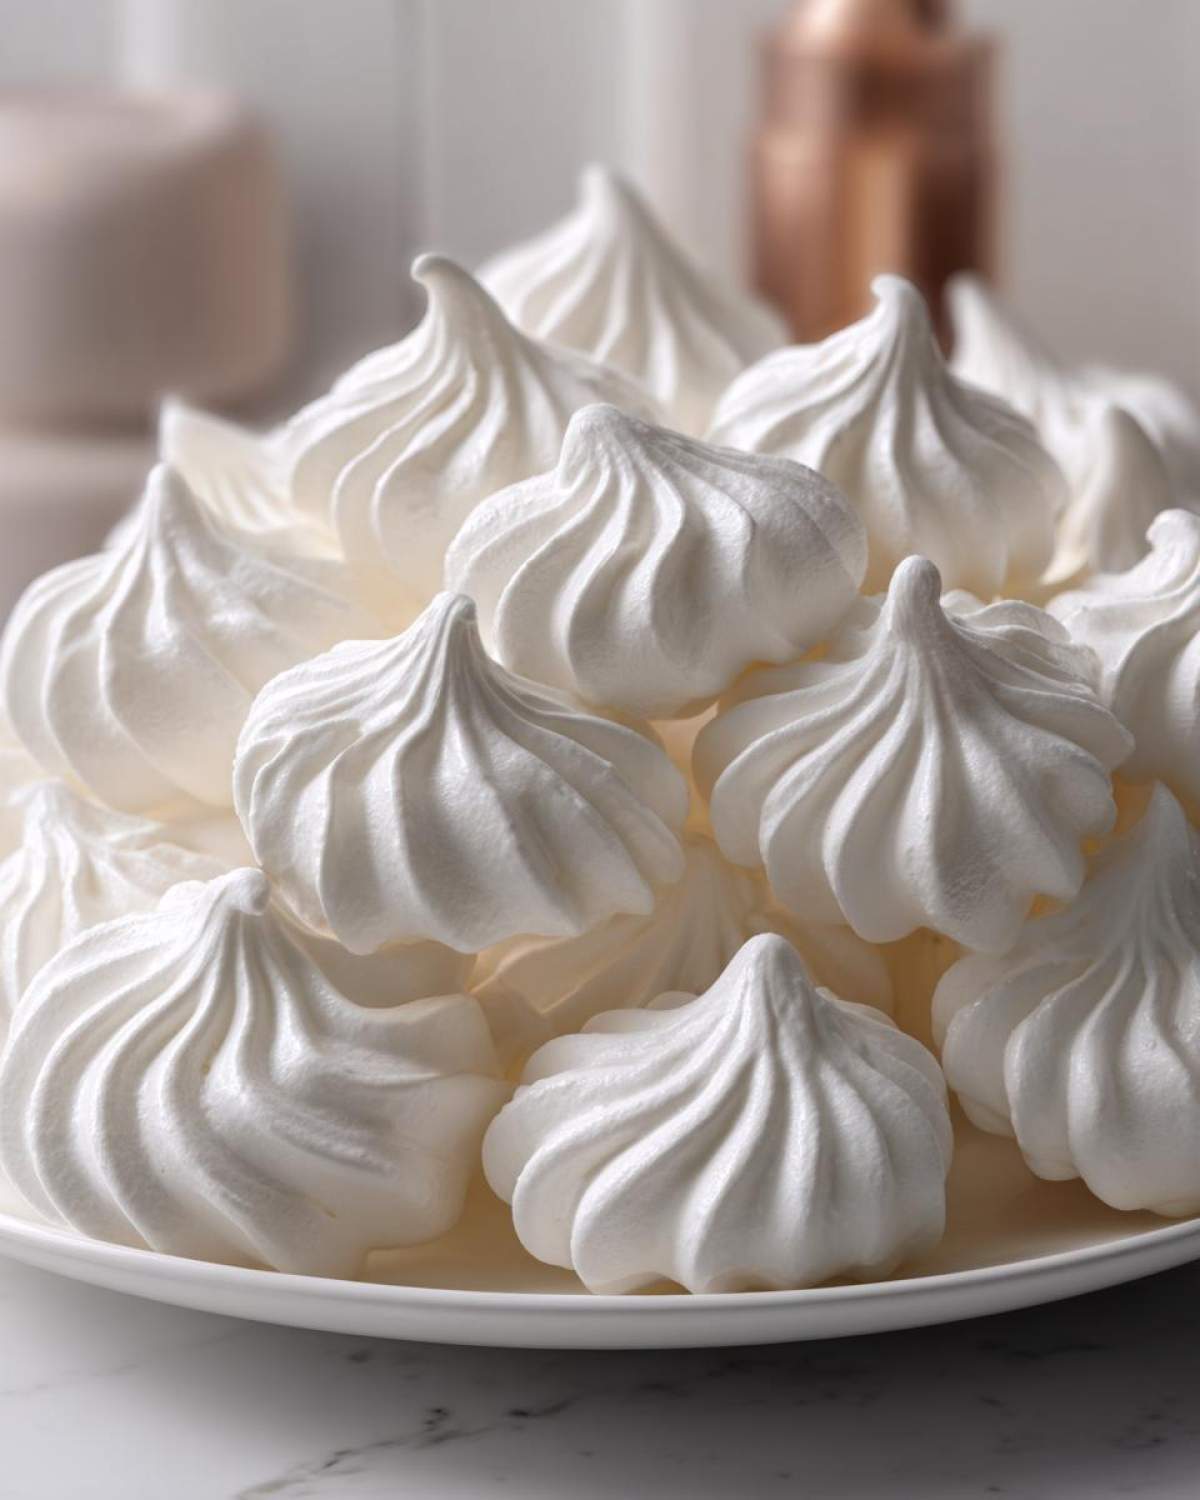
Why You’ll Love These Perfect Meringue Cookies
These fantastic meringue cookies deliver elegance fast.
Prep time flies by, seriously.
You only need a few simple pantry items.
I promise this method brings guaranteed success.
Plus, they are naturally gluten-free goodness.
Everyone deserves a perfect, sweet bite.
They look so impressive on any dessert tray.
Making beautiful, light cookies is simple now.
Essential Equipment for Piped Meringue Cookies
Having the right tools makes piping a joy.
Don’t skip these simple necessities for success.
- A very clean stand mixer or hand mixer.
- Large, grease-free mixing bowl.
- Parchment paper for lining your sheets.
- A sturdy piping bag.
- Your favorite piping tip (star tips work great).
Ingredients for Classic Meringue Cookies
Gathering your ingredients is the first step.
Precision matters a lot here for the best texture.
We need four large egg whites specifically.
Make sure those whites are at room temperature.
This helps them whip up into huge, fluffy clouds.
You must use superfine granulated sugar, sometimes called caster sugar.
It dissolves much better into the egg whites.
We also need a little magic from cream of tartar.
It helps stabilize our fluffy structure.
Vanilla extract adds that familiar, comforting flavor.
A tiny pinch of salt balances the sweetness perfectly.
Trust me, using the right sugar makes a difference.
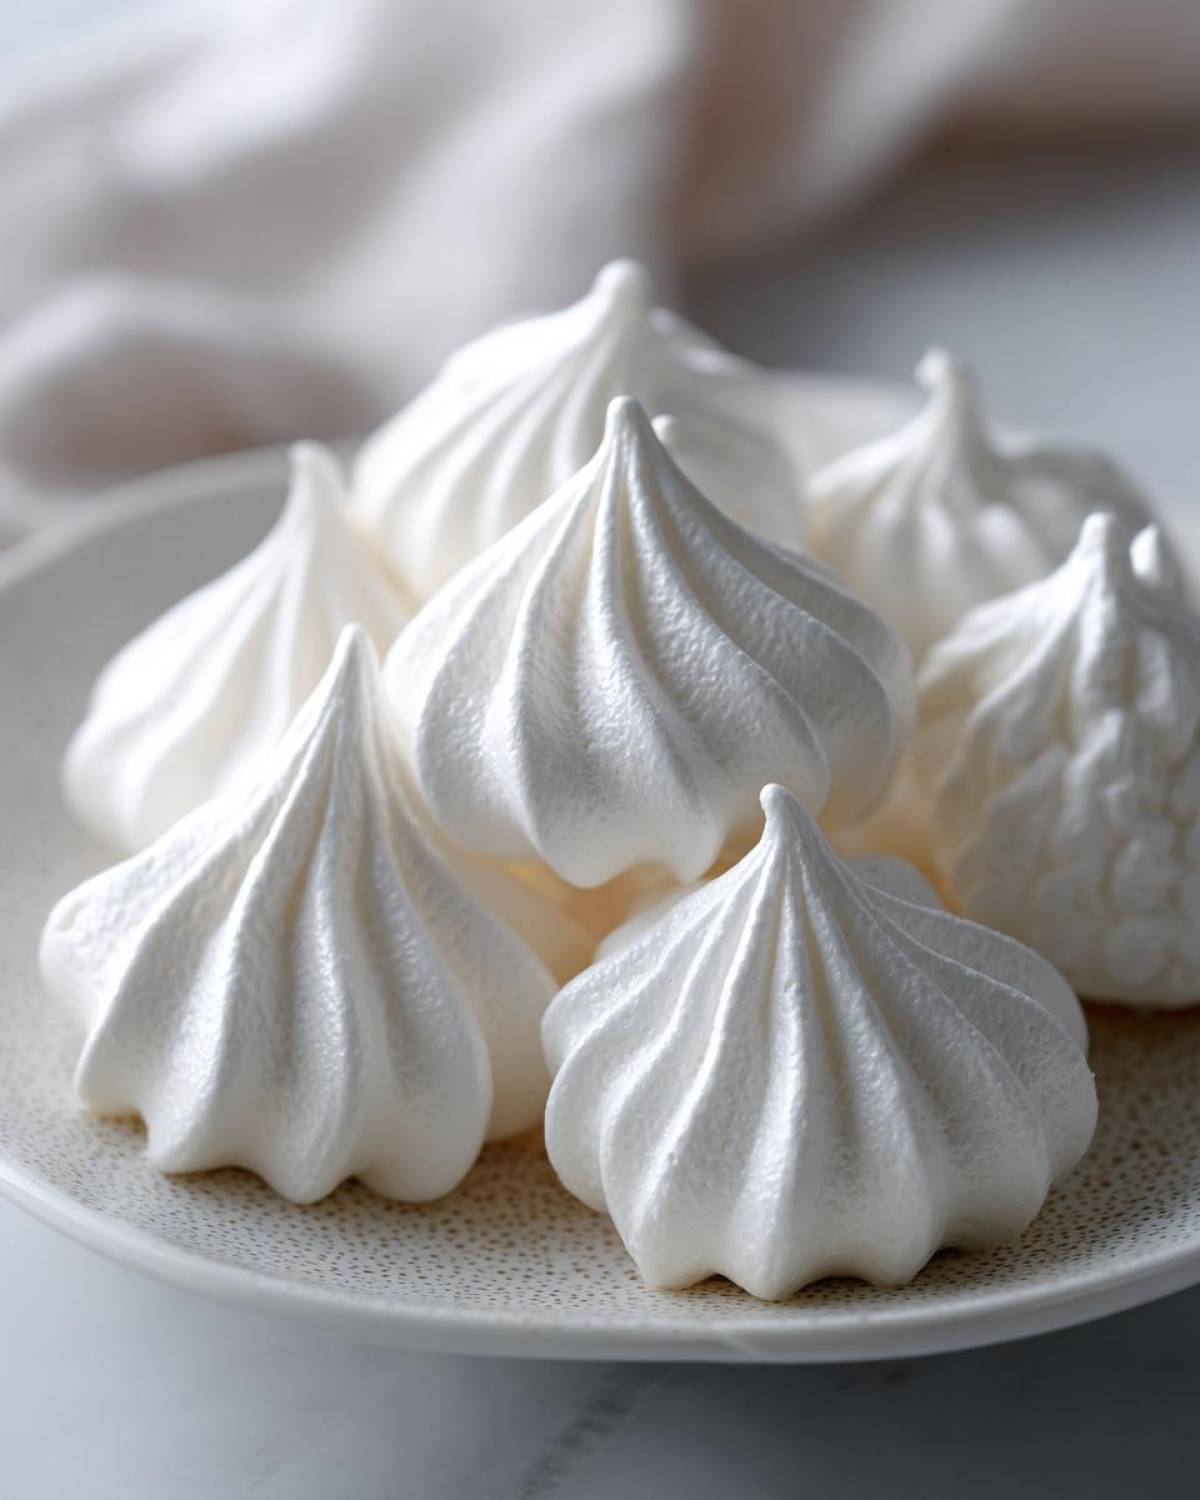
Step-by-Step Instructions for Flawless Meringue Cookies
Let’s get down to the real magic now.
Following these steps closely guarantees success.
Preheat your oven to its absolute lowest setting.
Aim for 200°F or perhaps 225°F maximum.
Line your baking sheets with fresh parchment paper.
This stops any sticking issues later on.
Next, grab your very clean mixing bowl.
Any grease ruins the whole batch fast.
Put the room temperature egg whites in there.
Add the cream of tartar right away.
Start beating on a medium speed setting.
Wait until you see soft peaks forming first.
Now, it’s time to add sugar slowly.
Add just one tablespoon at a time, folks.
Keep beating consistently, then crank up the power.
We need high speed for this part.
Continue whipping until everything looks perfect.
We are aiming for stiff, glossy peaks now.
This process takes patience, don’t rush it.
Once stiff, gently fold in the vanilla extract.
Use a spatula for this gentle mixing motion.
Do not overmix the beautiful meringue.
Transfer this mixture to your piping bag.
Fit it with the star tip you chose earlier.
Pipe small, even shapes onto the sheets.
Keep the cookies spaced apart nicely.
Bake them for about an hour to an hour and a half.
The goal is drying them completely out.
You want zero browning on your meringue cookies.
When baking time is up, shut the oven off.
Prop the door open slightly with a wooden spoon.
Let the cookies cool inside this way.
Leave them there for at least one hour minimum.
Overnight cooling prevents cracking later.
This cooling trick is Chef Tariq’s secret weapon.
Once cool, store them up right away.
Mastering the Stiff Peak Stage in Your Meringue Cookies
The stiff peak stage is where the magic happens.
You need a meringue that stands tall and proud.
When you lift the whisk, the peak must hold firm.
It shouldn’t droop or flop over at all.
Here is my favorite expert check for you.
Take a tiny bit of meringue between your fingers.
Rub it gently back and forth like this.
If it feels gritty, keep beating longer.
It must feel completely smooth, like silk.
Glossiness shows the sugar dissolved well.
This smooth, glossy texture means perfection.
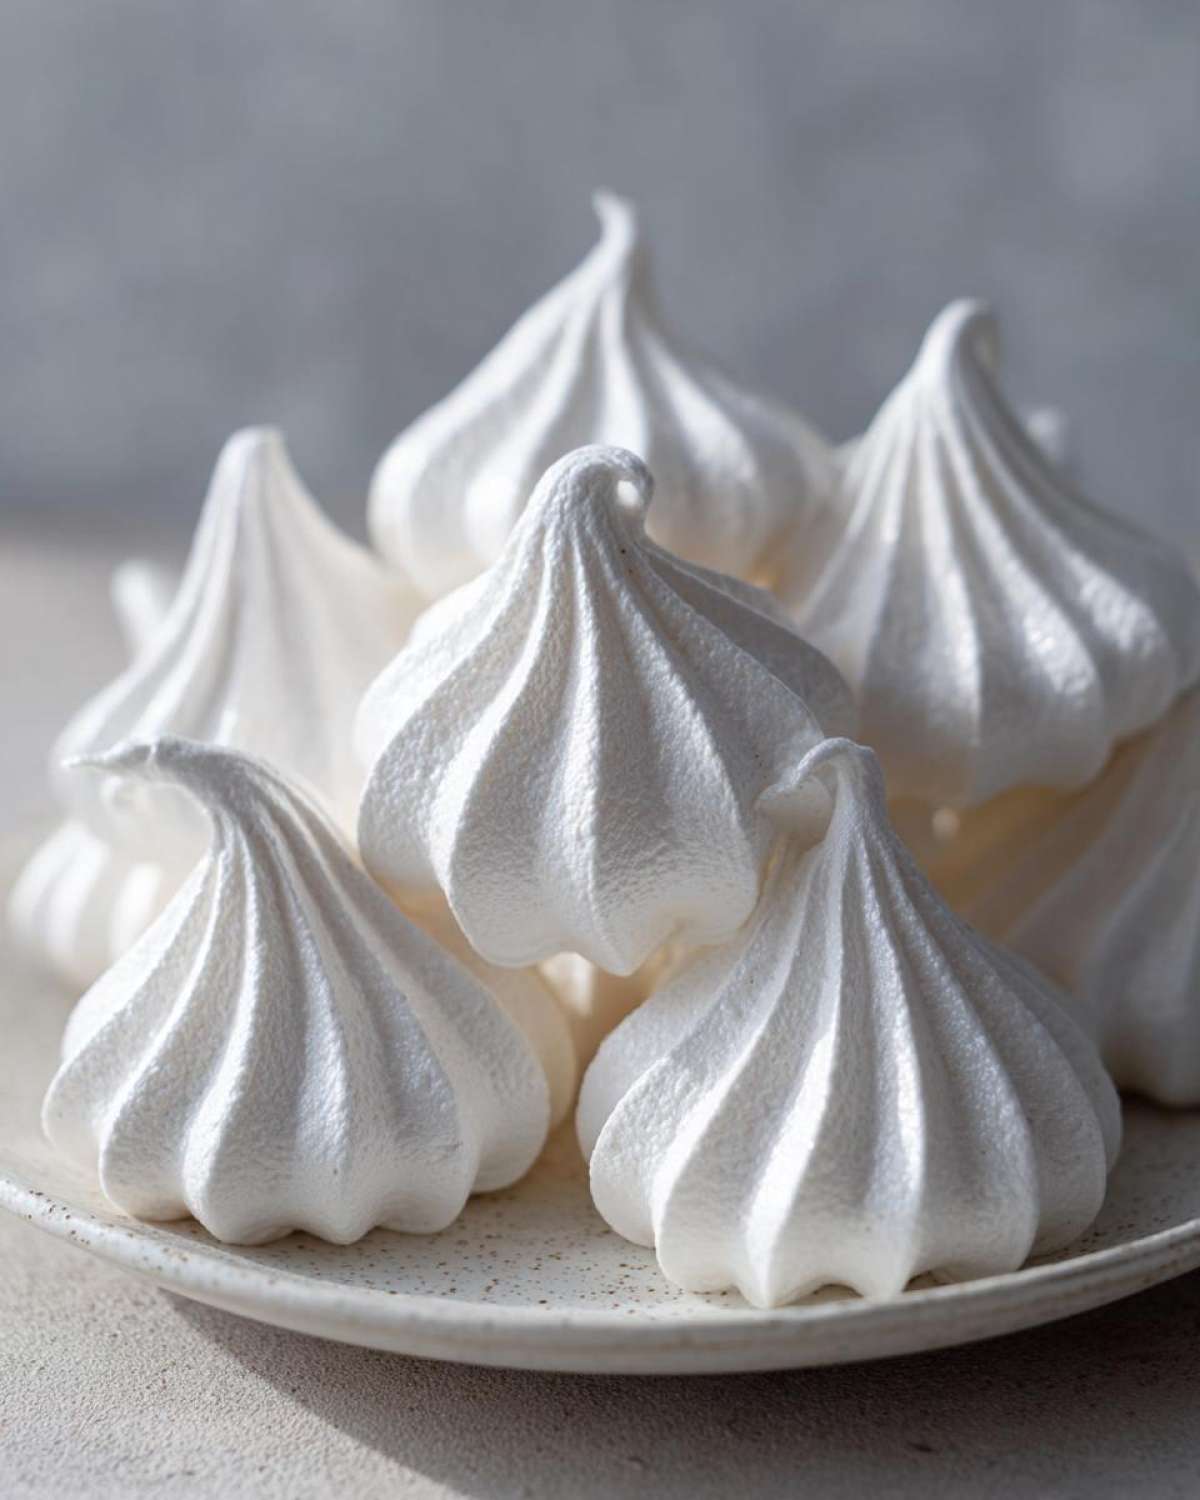
Piping and Baking Your Delicate Meringue Cookies
Uniformity helps your cookies bake evenly.
Try to make every cookie the same size.
This ensures they all finish drying together.
Remember the low-and-slow baking philosophy.
We are dehydrating them, not actually baking them.
High heat causes them to brown too fast.
It also makes them crack and weep later.
Keep that oven temperature super low always.
They should look pale and feel light when done.
The inside must be totally dry and crisp.
Expert Tips for Perfect Meringue Cookies Every Time
Even with a great recipe, things sometimes go sideways.
Don’t let a small hiccup stop your meringue cookies.
First, let’s talk about whipping failure.
If your egg whites won’t form peaks, check for grease.
Even a tiny bit of oil stops the volume.
Use room temperature whites for better lift.
This is critical for light, airy results.
Now, about weeping, that sticky syrup.
It usually means under-baking or rapid cooling.
Slow cooling inside the turned-off oven helps so much.
It lets the delicate structure set gently.
If you want to add mini chocolate chips,
fold them in very gently at the very end.
Be careful with those additions.
Overmixing deflates your lovely meringue cookies.
These simple adjustments make all the difference.
Simple Variations for Your Meringue Cookies
Once you master the classic form, you can get creative.
These meringue cookies take on flavors easily.
Think about adding flavor extracts instead of vanilla.
Almond or peppermint extracts work wonders.
For a festive look, divide the batch in half.
Color one half with gel food coloring lightly.
Swirl the colors in the piping bag gently.
This creates a stunning striped effect.
If you love chocolate, fold in mini chips.
Remember to do this very carefully.
We must protect that airy structure we built.
These simple twists keep things interesting.
Frequently Asked Questions About Meringue Cookies
I know you might have a few questions left.
It’s normal when making delicate treats like these.
Let’s tackle the most common concerns right now.
We want your meringue cookies to be perfect.
I’ve gathered the questions I get most often.
Here is the straightforward advice you need.
How to Store Meringue Cookies for Maximum Crispness
Storage is crucial for keeping things crisp.
Humidity is the number one enemy here.
Do not store these in the refrigerator.
The fridge humidity will ruin them fast.
Use a completely airtight container always.
Place a small piece of plain white paper towel inside.
This absorbs any stray moisture slightly.
Store them at cool room temperature only.
They stay best for nearly two weeks stored this way.
Why Did My Meringue Cookies Collapse or Weep?
This is the most frustrating part of making them.
Collapsing usually happens during cooling.
It means the inside wasn’t fully dry yet.
The rapid temperature change shrinks them too quickly.
Always let them cool slowly inside the oven.
Weeping, that sticky syrup, means under-baking.
Or, they cooled down too fast after baking.
Make sure your oven temperature is truly low.
Bake them longer next time to dry them out more.
Patience during the slow cool-down saves the day.
Estimated Nutritional Snapshot for Meringue Cookies
I always get asked about the nutrition facts here.
These treats are mostly air and sugar, remember that.
The exact nutritional data can really change a lot.
It depends on your specific sugar brand used.
Also, any additions like chocolate chips matter.
Because of this variability, I can’t give exact figures.
The provided numbers are only an estimation.
Please consult a professional for precise dietary needs.
These light cookies are naturally gluten-free, though.
That is a big win for many of my friends.
Share Your Beautiful Meringue Cookies Creations
Now it’s your turn to make some magic happen.
I truly hope this recipe guides you well.
Seeing your finished meringue cookies makes my day.
They are such elegant little edible pieces of art.
Did you try a fun color swirl technique?
Tell me how they turned out in the comments below.
I love hearing about your successes.
Rate this recipe if it gave you perfect, crisp results.
Snap a photo of your delicate creations.
Share it online and tag Savory Skies proudly.
We want to see your starry, whimsical shapes.
Happy baking to you from our kitchen to yours!
Print5 Secrets for Perfect Meringue Cookies Light Crisp

Create stunning, light, and crisp meringue cookies using the classic French method. This recipe ensures a perfectly sweet, airy texture ideal for elegant dessert displays or edible gifts. We focus on simple steps for guaranteed success.
- Prep Time: 15 minutes
- Cook Time: 90 minutes
- Total Time: 1 hour 45 minutes plus cooling time
- Yield: About 3 dozen small cookies
- Category: Dessert
- Method: Baking
- Cuisine: American/Classic
- Diet: Gluten Free
Ingredients
- 4 large egg whites, room temperature
- 1 cup superfine granulated sugar (caster sugar)
- 1/2 teaspoon cream of tartar
- 1 teaspoon pure vanilla extract
- Pinch of salt
Instructions
- Preheat your oven to the lowest setting, typically between 200°F and 225°F (95°C to 107°C). Line baking sheets with parchment paper.
- Ensure your mixing bowl and whisk attachment are completely clean and free of any grease.
- Place the egg whites and cream of tartar into the bowl. Beat on medium speed until soft peaks form.
- Gradually add the superfine sugar, about one tablespoon at a time, while beating continuously. Increase the speed to high.
- Continue beating until the meringue is very stiff, glossy, and holds stiff peaks. When you rub a small amount between your fingers, it should feel smooth, not gritty.
- Gently fold in the vanilla extract using a spatula. Do not overmix.
- Transfer the meringue to a piping bag fitted with your desired tip (star tips create beautiful shapes).
- Pipe small, uniform cookies onto the prepared baking sheets. Keep them spaced apart.
- Bake for 60 to 90 minutes, depending on the size of your cookies and your oven temperature. The goal is to dry them out, not brown them.
- Turn off the oven, prop the door open slightly with a wooden spoon, and let the cookies cool completely inside the oven for at least one hour, or overnight, to prevent cracking and weeping.
- Once completely cool, store them in an airtight container.
Notes
- Use room temperature egg whites for the best volume when whipping.
- Ensure absolutely no yolk or grease gets into the egg whites, or they will not whip properly.
- If your cookies weep (leak syrup), they were likely under-baked or cooled too quickly.
- For chocolate chip variations, gently fold in 1/4 cup mini chocolate chips after the meringue is stiff.
- These cookies are naturally gluten-free.
Nutrition
- Serving Size: 2 cookies
- Calories: 45
- Sugar: 11g
- Sodium: 5mg
- Fat: 0g
- Saturated Fat: 0g
- Unsaturated Fat: 0g
- Trans Fat: 0g
- Carbohydrates: 11g
- Fiber: 0g
- Protein: 1g
- Cholesterol: 0mg
