

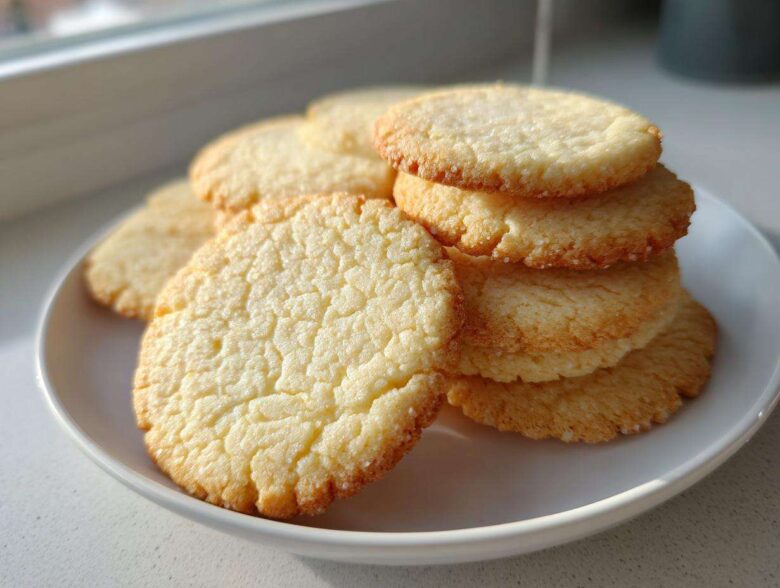
Oh, the sheer frustration of rolling out perfectly shaped little gingerbread men or stars, only to have them melt into sad, shapeless puddles the moment they hit the oven steel! I’ve been there more times than I care to admit, especially when trying to whip up a big batch for a holiday party or just because I needed something cheerful on a Tuesday.
Forget those thin, brittle excuses for a cookie! I finally cracked the code after years of trial and error, and trust me, this is the one you need. Say hello to The Ultimate Soft & Easy Cut-Out Sugar Cookie That Hold Their Shape.
This recipe is my absolute MVP for Festive Cookie Baking. It gives you cookies that are soft and buttery enough to make you close your eyes when you bite in, but sturdy enough around the edges to handle even the thickest royal icing. It’s the perfect balance, and mastering this dough was a real turning point for me! Check out my full baking adventures here.
Why This Is the **Best Sugar Cookie Recipe** for Cutting and Decorating
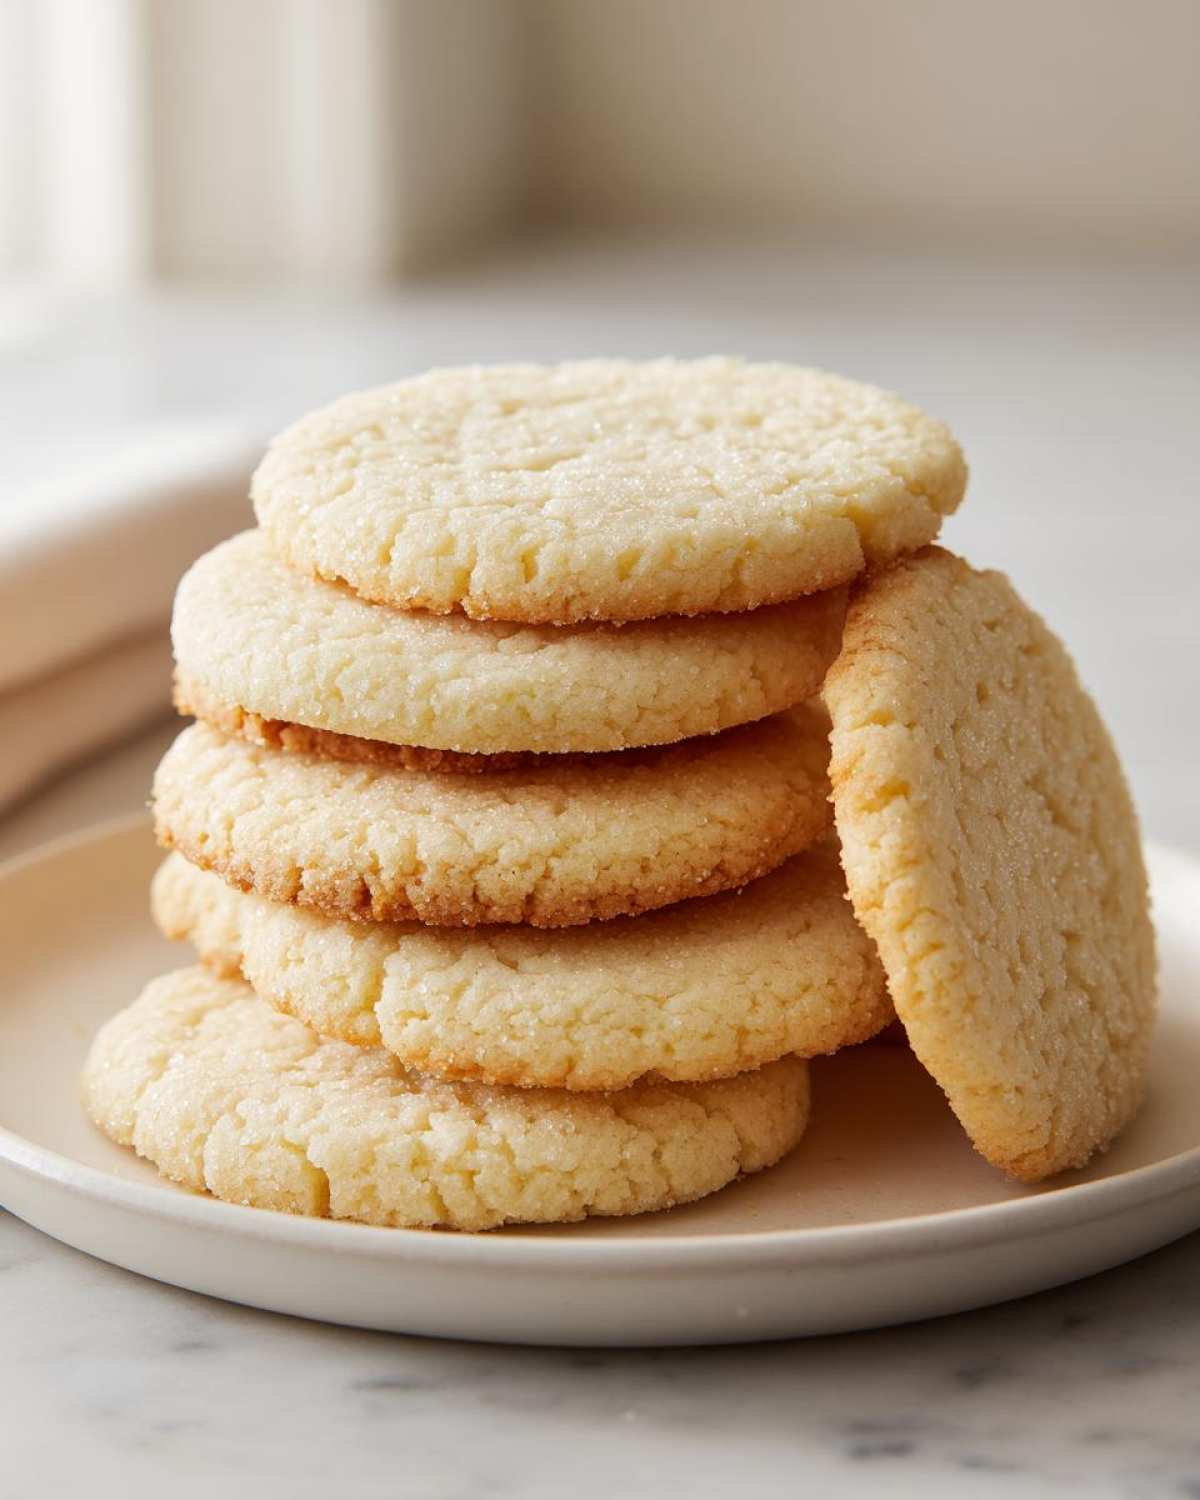
Look, there are soft cookies, and then there are cut-out cookies. Usually, you have to pick one, right? Not with this recipe! This is honestly the Best Sugar Cookie Recipe because it solves that decade-old problem: getting a cookie that doesn’t spread out like a sad pancake.
We end up with these amazing Sugar Cookies That Hold Their Shape flawlessly, even after a good 10 minutes in the oven. I’ve perfected the flour-to-butter ratio so they don’t look like lace when they come out. See more of my favorites here!
Texture Profile: Soft Centers, Defined Edges
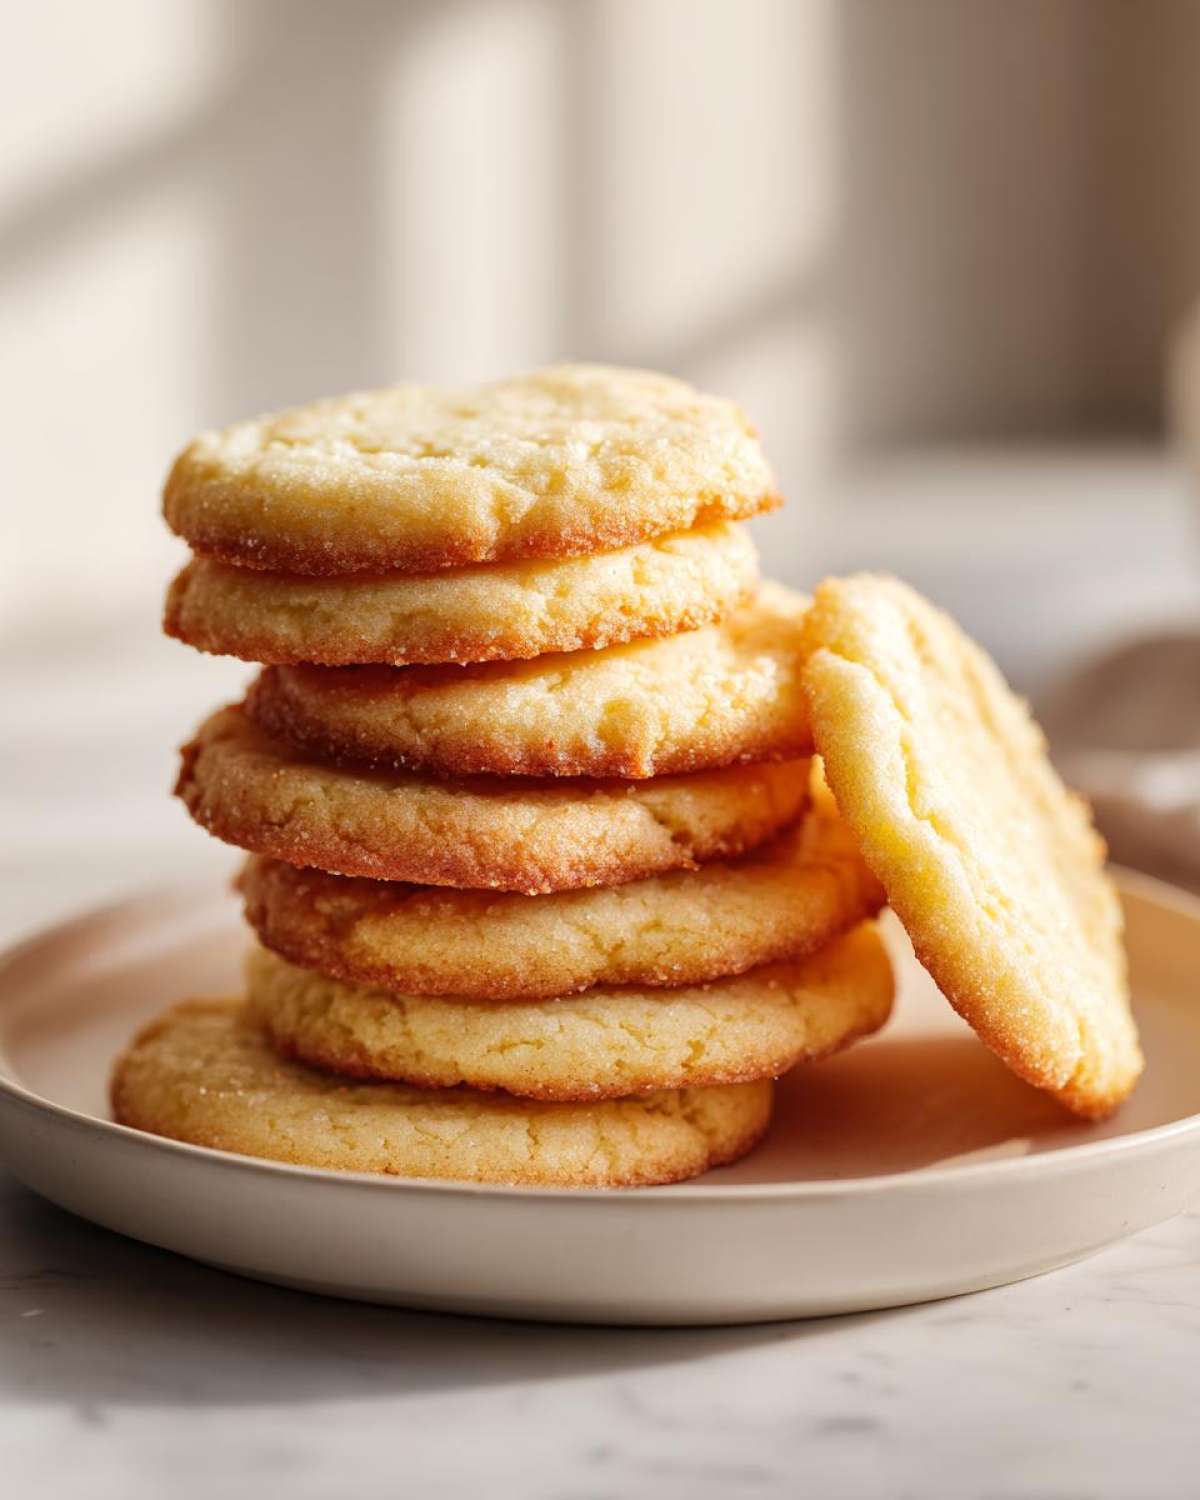
This is the magic part. We aren’t aiming for a hard, crispy wafer here, which is what most non-spreading recipes give you. Nope! These cookies bake up perfectly soft right in the middle. But because we chill the dough just right—more on that later—the edges stay gorgeous and sharp so your little stars or bunnies look exactly like they did when you cut them. It’s the best of both worlds, I promise you.
Gathering Ingredients for Perfect **Sugar Cookie** Dough
Okay, before we even think about turning on the mixer, we need to talk ingredients. This isn’t complicated stuff, which is what makes it an Easy Sugar Cookies winner, but the quality really matters here. We want those gorgeous, rich, Buttery Sugar Cookies, and that starts with the fat we use!
Here’s what you need to round up for about three dozen cookies:
- 3 cups all-purpose flour
- 1 teaspoon baking powder
- 1/2 teaspoon salt
- 1 cup (that’s two full sticks!) unsalted butter, softened
- 1 1/2 cups granulated sugar
- 1 large egg
- 1 teaspoon vanilla extract
See? Simple staples. But remember, you’re going to want to use good quality butter. It really makes the difference in that classic, melt-in-your-mouth flavor. If you’re planning on decorating these cuties—and I hope you are!—you’ll need some icing too. I always use my super simple vanilla buttercream frosting recipe for a thick, delicious layer!
Ingredient Notes and Substitutions for Your **Sugar Cookie**
Listen close, because oven temperature and ingredient consistency are everything when we are trying to prevent spread. Regarding the butter, it absolutely has to be *softened*. Don’t try to rush it in the microwave until it’s melted; if it’s greasy, your dough will struggle to hold shape. It needs to be soft enough to press your finger into easily, but still cool.
Now, about the flour: I call for all-purpose flour because it provides the necessary structure for a Cut Out Cookies Recipe. If you swap this for cake flour to try and make them extra soft, you risk them turning into mush when you try to cut them out. Stick to the AP flour here; the softness comes from the mixing technique, not the flour itself!
How To Make Sugar Cookies That Do Not Spread
Alright, let’s get mixing! This is where we lock in that soft texture while telling the butter it is NOT allowed to melt early. Follow these steps exactly if you want truly Easy Sugar Cookies that are firm enough to handle the rolling pin.
First, you need to get your dry ingredients whisked together—that’s the flour, baking powder, and salt mixed in a separate bowl. Set that aside for a minute. Then, focus on the star of the show: the butter and sugar.
Creaming Butter and Sugar for Buttery Sugar Cookies
Grab your mixer and set it to medium speed. You need to beat that softened butter and granulated sugar together until it’s genuinely pale and totally fluffy. I mean fluffy! You’re looking for about three solid minutes of beating here. This step is huge because we are physically incorporating air into the dough. That air is what helps the cookie rise slightly without spreading out everywhere. Don’t skimp on this creaming time; your Buttery Sugar Cookies will thank you for the patience!
The Critical Step: Chilling Your **Sugar Cookie** Dough
Once you add in the egg and vanilla, and then slowly bring in the dry mix, you stop as soon as it all just comes together into a soft dough. And when I say stop, I mean STOP. Overmixing here develops too much gluten, and that makes your Roll Out Sugar Cookies tough. You might see a tiny streak of flour left; that’s okay! Just scoop the dough, flatten it into disks, wrap it tight, and get it into the fridge for at least an hour.
That chilling is your insurance policy against spreading! Cold dough doesn’t spread easily when it hits the hot oven. This step might feel like forever when you’re eager to bake, but trust me, leaving it chilly is crucial for a successful Cut Out Cookies Recipe.
Rolling and Cutting Your **Sugar Cookie** Shapes
Okay, the dough is chilled—it should feel firm, almost like cold clay. This means we are ready for the fun part: making shapes! Time to pull out your favorite cookie cutters. When you go to roll this dough out, you want to aim for about a quarter of an inch thickness—no thinner, or they will bake up too crispy, and no thicker, or they will take forever to bake through.
Lightly flour your clean counter, or better yet, lay down a big sheet of parchment paper. I find parchment paper makes the cleanup almost non-existent, which is a huge win in my book! Roll out one disk of dough slowly and evenly to that 1/4 inch mark. Then, press your cutters in firmly and straight down. Wiggling them around just makes the edges messy!
Here’s the most important pro tip for success in this Cut Out Cookies Recipe: As soon as you cut out your shapes, use a thin spatula to carefully move them to your parchment-lined baking sheets. But what about the scraps? Don’t let the leftover dough sit out getting warm! Put the scraps back into small piles, wrap those little remnants up tight, and pop them back in the fridge while you work through the first batch. Keeping the dough cold is the single best defense against spreading. Once you have your shapes laid out, I highly recommend putting the whole tray into the freezer for just five minutes before they go into the oven. Trust me on this!
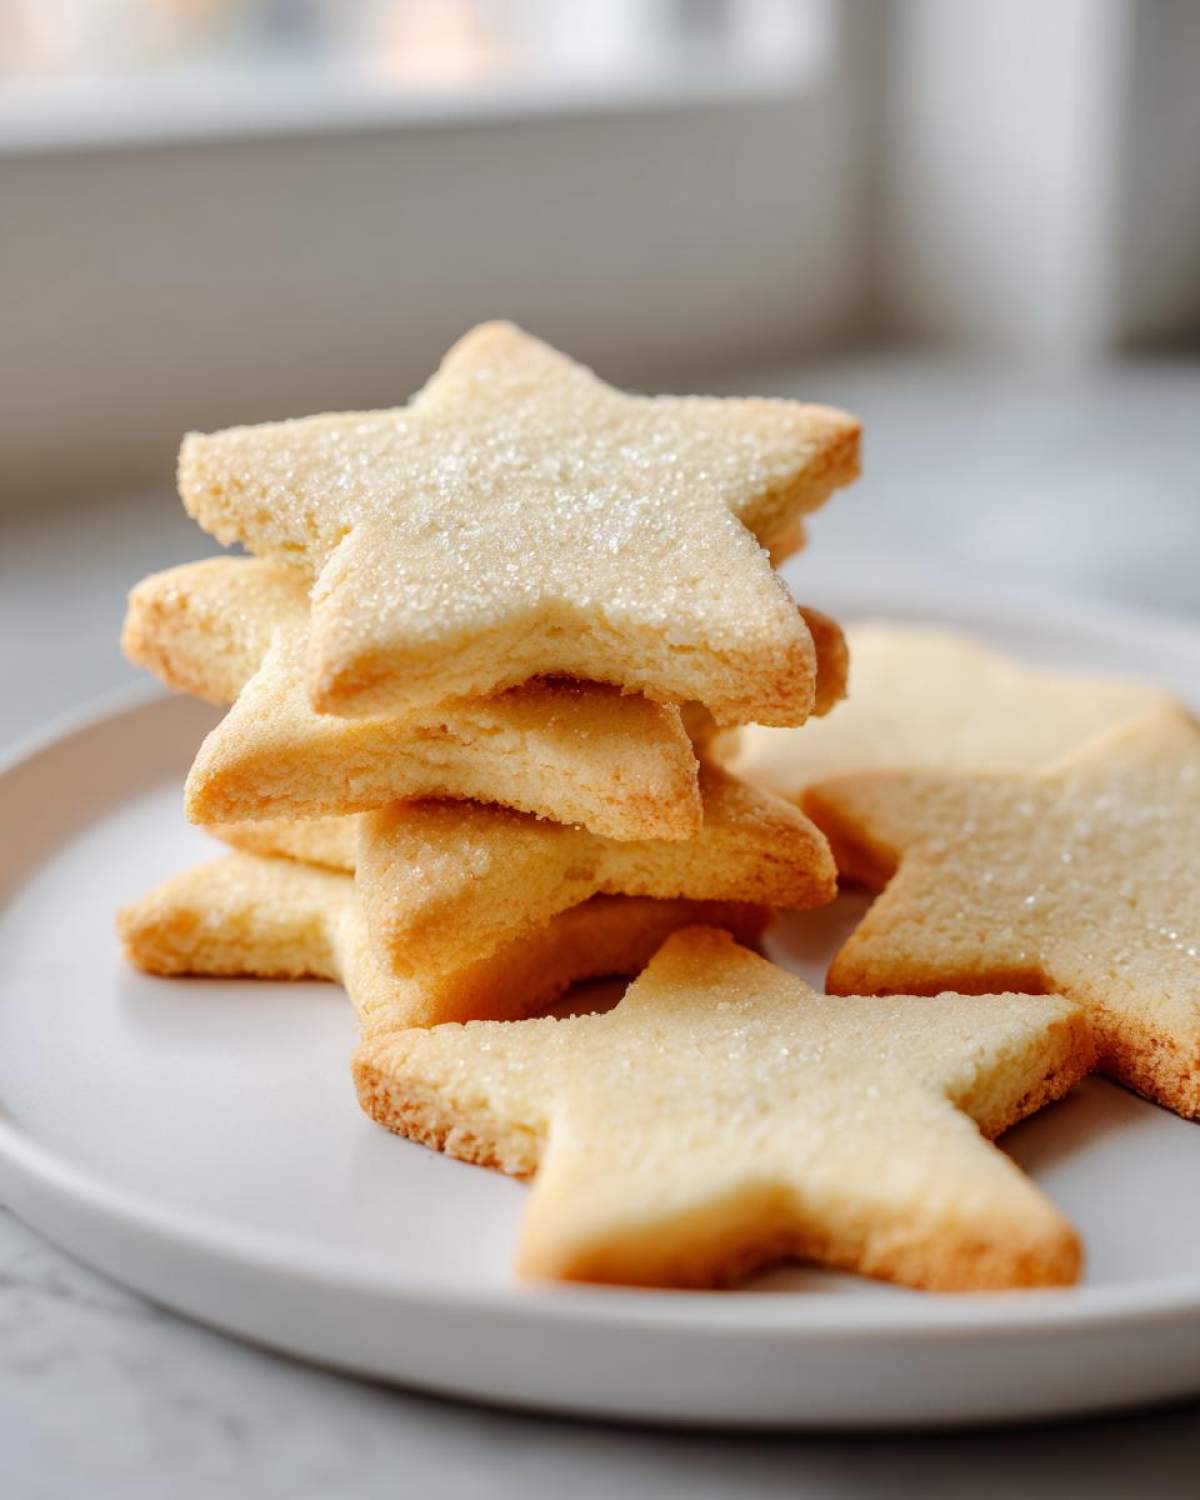
If you’re planning on putting on some fancy icing later, check out my guide on the best sugar cookie icing that dries hard—it makes decorating a dream!
Baking Instructions for the **Perfect Sugar Cookies**
We’ve done all the hard work of mixing and chilling this beautiful dough, so now we just have to treat it right in the heat! This is the moment of truth for any Roll Out Sugar Cookies recipe. You definitely want to preheat your oven right now to 375 degrees F (that’s 190 degrees C).
You should have your baking sheets already lined with parchment paper. If you skip the parchment paper, remember to grease and flour those pans really well, but I always find parchment removes all doubt. Lay your chilled, cut-out shapes onto those sheets, leaving a little space between them because they *will* puff just a tiny bit.
Now, into the oven they go for 8 to 10 minutes. Start checking them around the 8-minute mark, okay? We are looking for a very specific visual cue here. You want the very edges of the cookies to turn just the slightest shade of light gold. If the whole cookie looks golden brown, you’ve gone too far, and you’re moving into the crunchy territory instead of the soft zone.
The centers should still look matte and feel soft to the touch, not wet, but definitely not firm. This is what locks in that incredible texture for a Soft Sugar Cookie Recipe. Once you take them out, don’t be tempted to move them right away! Seriously, leave them right there on that hot baking sheet for about five minutes. They need that short rest to firm up enough to survive the trip to the cooling rack. Peel them gently onto the rack after that five minutes. Letting them cool completely on the rack before you even *think* about frosting them is the final step to achieving the Perfect Sugar Cookies!
Tips for Flawless **Decorating Sugar Cookies**
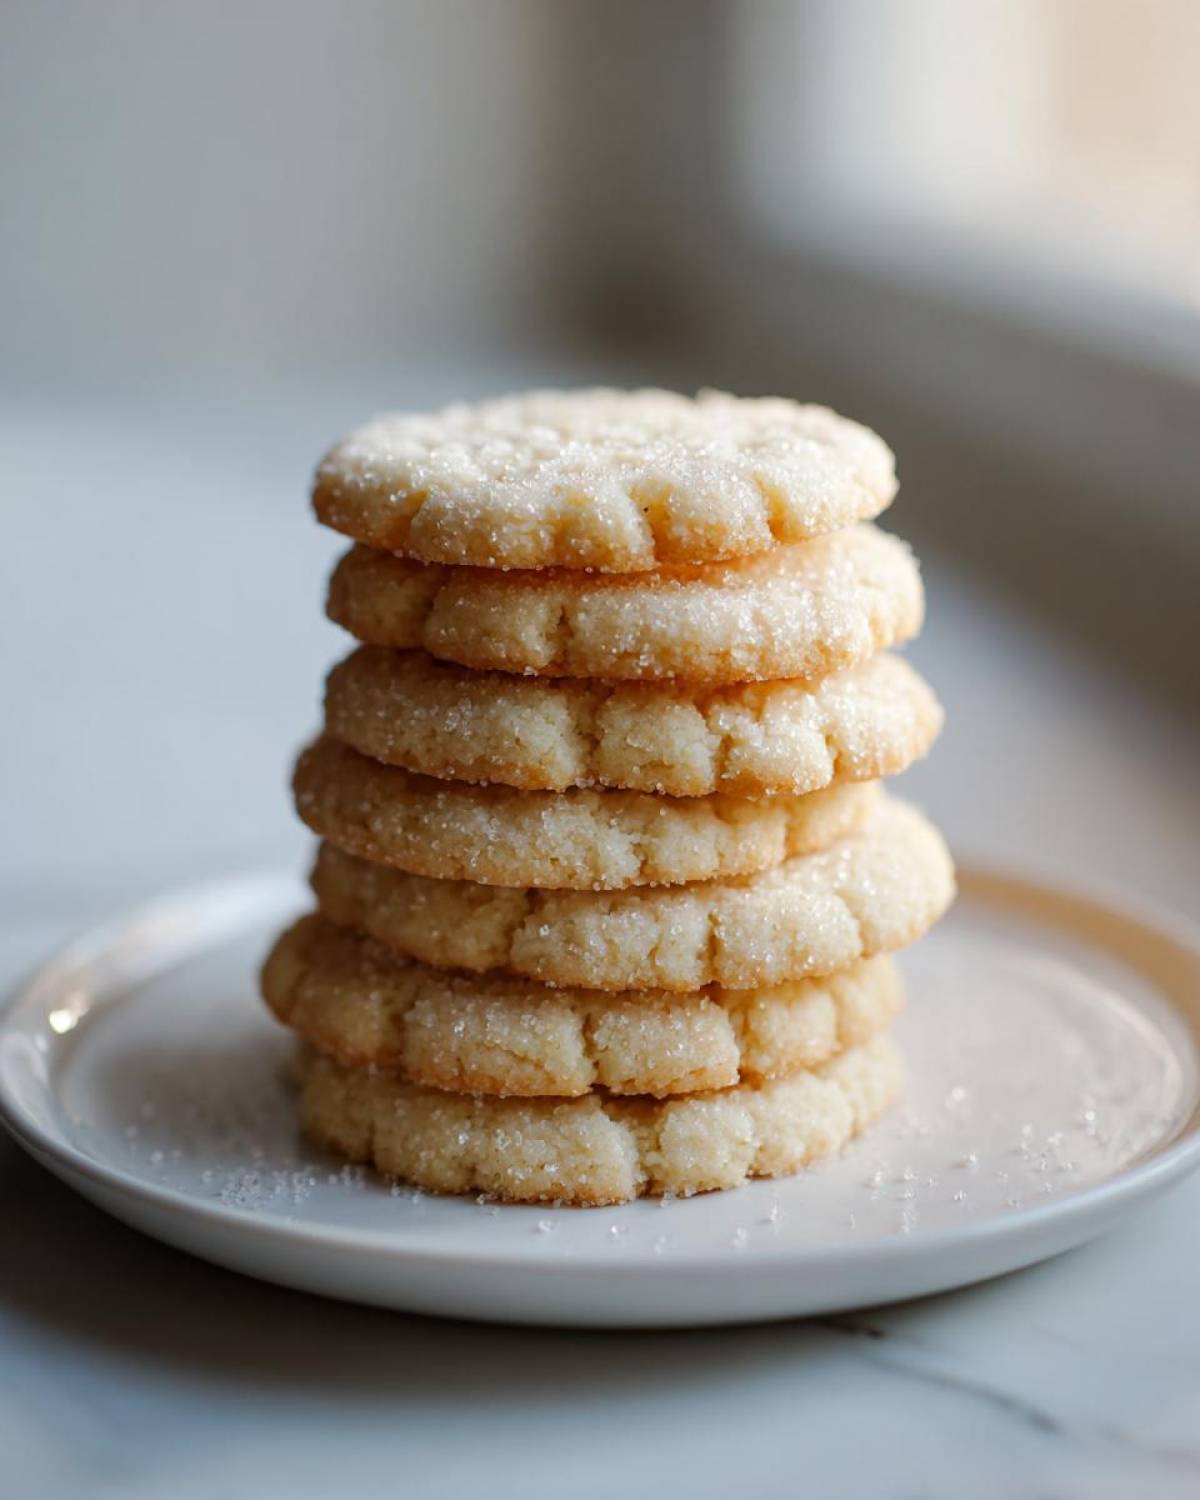
Once these beautiful, sturdy little guys are totally cool—and I mean *totally* cool, room temperature, no residual warmth—it’s time for the main event: painting them with sugary goodness! The best part about having cookies that hold their shape is that you don’t have to stress about the icing ruining the silhouette. They are ready for anything you throw at them!
For decorating, you absolutely need an icing that sets up firmly. If you use a basic powdered sugar glaze, it might stay gummy and start leaking all over your pretty designs. We want something archival! I always whip up a batch of royal icing for this job because it dries hard and smooth, making them perfect for stacking or packaging up as gifts. You can find my go-to recipe for icing that sets firm right here!
Here’s a little tip I learned the hard way: If you are doing detailed flooding or layering different colors, start with a very thin base coat of whatever icing you choose. Let that layer dry completely—we are talking hours if you used a thinner consistency. This seals the cookie surface. Then, when you go in for your final, thicker decorative layer, you won’t have any weird bleeding or texture issues mixing between the layers. It keeps everything looking super professional and neat!
When you are piping borders, use a bag fitted with a small, round tip. It gives you such clean lines, which looks amazing against the defined edges of your baked cookie. Don’t rush the detailing if you want these to look like showstoppers. And frankly, with how well these cookies hold up, you deserve to take your time!
Storage and Reheating Instructions for Your **Sugar Cookie** Batch
You’ve baked them, you’ve decorated them—now the real test: keeping them perfect until you want to eat them! Luckily, because we made sure to use great butter and didn’t overbake them, these cookies are pretty resilient. But we still need a plan!
If you managed to save any undecorated cookies (which is hard, I know, they smell amazing warm!), they are incredibly easy to store. Just make sure they are completely cooled first—no residual warmth allowed! Pop them into a good airtight container at room temperature. I’ve found they stay wonderfully soft and buttery for about a week this way. No crackers here!
For decorated cookies, you have to be a bit more careful, especially if you used royal icing that dries hard. Make sure that icing is 100% dry and set before you stack them. If you layer them too soon, you’ll end up with frosting stuck to the backs of other cookies, and that’s just sad.
If you want to keep them even longer, freezing is your friend! Undecorated, plain sugar cookies freeze like a dream. Wrap the stacks tightly in plastic wrap, and then slip them inside a freezer-safe bag or container. They are good for about three months in the freezer. When you are ready to use them, just sneak them onto the counter while still wrapped and let them thaw slowly. They will come out perfectly soft, just like you baked them yesterday!
For the decorated ones, I usually freeze them only if I absolutely have to, and I lay them out in a single layer on a cookie sheet first. Once they are rock-hard from a couple of hours in the freezer, then I wrap them gently. Thaw them the same way—slow and steady—and try not to stack them until they are completely thawed and settled, okay?
Frequently Asked Questions About Making **Sugar Cookies**
I know sometimes even with the best instructions, questions pop up when you’re in the middle of Baking Cookies! Don’t panic; we’ve covered the major hurdles that always seem to trip people up when they are trying to master their Holiday Cookie Recipe.
My **sugar cookie** dough is too sticky after chilling, what now?
Oh, that happens sometimes! Usually, it means your kitchen was a little warmer than you thought, or maybe your butter was just slightly softer than ideal when you started. If you try to roll it and it’s just clinging everywhere, don’t try to force it with tons of extra flour!
Two quick fixes: First, wrap that disk back up super tight and put it back in the fridge for another 30 minutes. A little more chill time firms it right up. Second, when you start rolling, make sure you dust your surface and your rolling pin lightly with flour. A little dusting goes a long way to keep things from sticking without actually adding more ingredient to your dough, which we want to avoid!
Can I make these **Chewy Sugar Cookies** without chilling the dough?
Okay, this is the one question I get a lot, and I have to be firm here: No, you really can’t if you want them to hold their shape for cutting. I understand—it feels like a huge delay when you are ready to bake right now! But chilling is not just some old wives’ tale; it’s science!
The fats (butter) in the dough need to solidify. When they are cold, they melt slowly in the oven, giving the dough time to set before the edges relax and spread out. If you skip that hour or minimum 45 minutes of chilling time, the dough will be warm, the fat melts instantly when it hits the 375 degrees, and you end up with flat, thin discs that are completely impossible to decorate nicely. For the best results in this Simple Cookie Recipe, chilling is non-negotiable!
If you want to see some other great tips for your next Homemade Dessert Ideas adventure, you can always browse my full recipe index here!
Why did my cookies spread even though I chilled them?
If you chilled them and they still spread, let’s look at the heat source! The oven temperature is the usual culprit. If your oven runs hot, those cookies start spreading before the starches and structure have time to set. Do you have an oven thermometer? They are cheap and usually show if your oven is running 25 or 50 degrees hotter than the dial says!
Also, double-check your baking powder. If it’s really old, it won’t activate properly, which can sometimes lead to a too-soft structure that spreads before it bakes. For a Classic Cookie Recipe like this, always make sure your baking powder is fresh!
How long do these **Sugar Cookies** really stay soft?
These are designed to be soft, so they don’t last as long as a hard gingerbread cookie, but they are definitely better than most Cut Out Cookies Recipe options. Once they are completely cooled, if you store them in an airtight container, I find they are at their absolute peak softness for about 3 to 4 days. After that, they start to slightly firm up, but they are still perfectly delicious for up to a week. If you iced them, they might lose a tiny bit of softness faster, depending on the icing you choose!
Estimated Nutritional Data for One **Sugar Cookie**
I know that some of you lovely bakers are meticulous about what goes into your treats, and I totally get wanting to keep track of those estimates! Since this is a homemade **Classic Cookie Recipe**, every tiny variation in your butter, or how much sprinkles ended up on top, will change the final count a little bit. But for a baseline so you can plan your day, here are the numbers I worked out for just one single cookie based on the ingredients list.
This data assumes you get around 3 dozen cookies from the batch, which is pretty standard for this dough. Remember, this is just a rough guide for your Homemade Dessert Ideas!
- Serving Size: 1 cookie
- Calories: 150
- Total Fat: 8g
- Saturated Fat: 5g
- Total Carbohydrates: 18g
- Sugar: 15g
- Protein: 2g
- Sodium: 60mg
Just a quick little note here: Since we are using real butter and sticking to the recipe as written, the fat content is what drives these numbers. If you were to try using an oil substitute, which I don’t recommend because it ruins that perfect *buttery* flavor, these numbers would certainly shift! Always assume these are just estimates when you are Bake From Scratch!
PrintThe Ultimate Soft & Easy Cut-Out Sugar Cookies That Hold Their Shape

A simple recipe for soft sugar cookies that are sturdy enough to cut into shapes and decorate without spreading during baking.
- Prep Time: 20 min
- Cook Time: 10 min
- Total Time: 80 min
- Yield: 3 dozen
- Category: Dessert
- Method: Baking
- Cuisine: American
- Diet: Vegetarian
Ingredients
- 3 cups all-purpose flour
- 1 teaspoon baking powder
- 1/2 teaspoon salt
- 1 cup (2 sticks) unsalted butter, softened
- 1 1/2 cups granulated sugar
- 1 large egg
- 1 teaspoon vanilla extract
Instructions
- Whisk together the flour, baking powder, and salt in a medium bowl. Set aside.
- In a large bowl, beat the softened butter and sugar with an electric mixer until light and fluffy, about 3 minutes.
- Beat in the egg and vanilla extract until just combined.
- Gradually add the dry ingredients to the wet ingredients, mixing on low speed until a soft dough forms. Do not overmix.
- Divide the dough in half, flatten each half into a disk, wrap tightly in plastic wrap, and chill for at least 1 hour.
- Preheat your oven to 375 degrees F (190 degrees C). Line baking sheets with parchment paper.
- On a lightly floured surface, roll out one disk of dough to about 1/4 inch thickness.
- Use cookie cutters to cut out desired shapes and carefully transfer them to the prepared baking sheets.
- Bake for 8 to 10 minutes, or until the edges are lightly golden. The centers should still look soft.
- Let the cookies cool on the baking sheet for 5 minutes before moving them to a wire rack to cool completely before decorating.
Notes
- Chilling the dough is crucial for cookies that hold their shape.
- For best results when decorating, allow the royal icing or glaze to set completely before stacking or packaging the cookies.
- If you prefer a softer cookie, slightly reduce the baking time.
Nutrition
- Serving Size: 1 cookie
- Calories: 150
- Sugar: 15
- Sodium: 60
- Fat: 8
- Saturated Fat: 5
- Unsaturated Fat: 3
- Trans Fat: 0
- Carbohydrates: 18
- Fiber: 0
- Protein: 2
- Cholesterol: 25
