

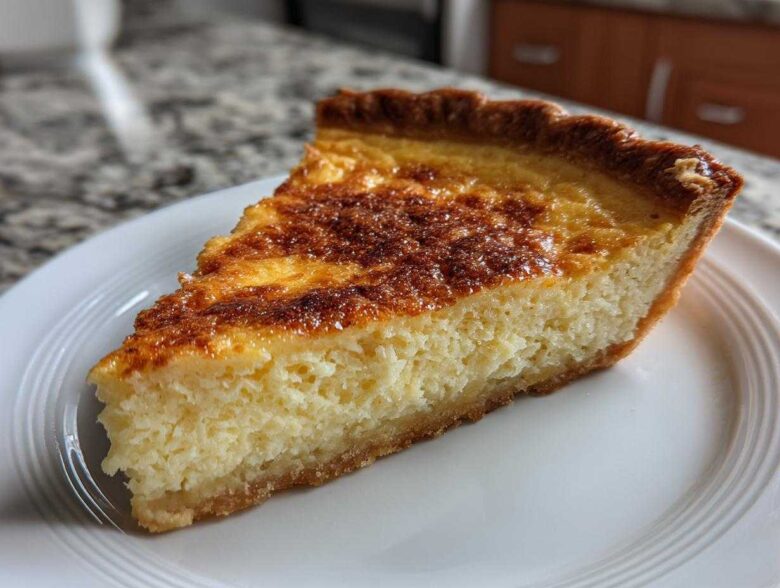
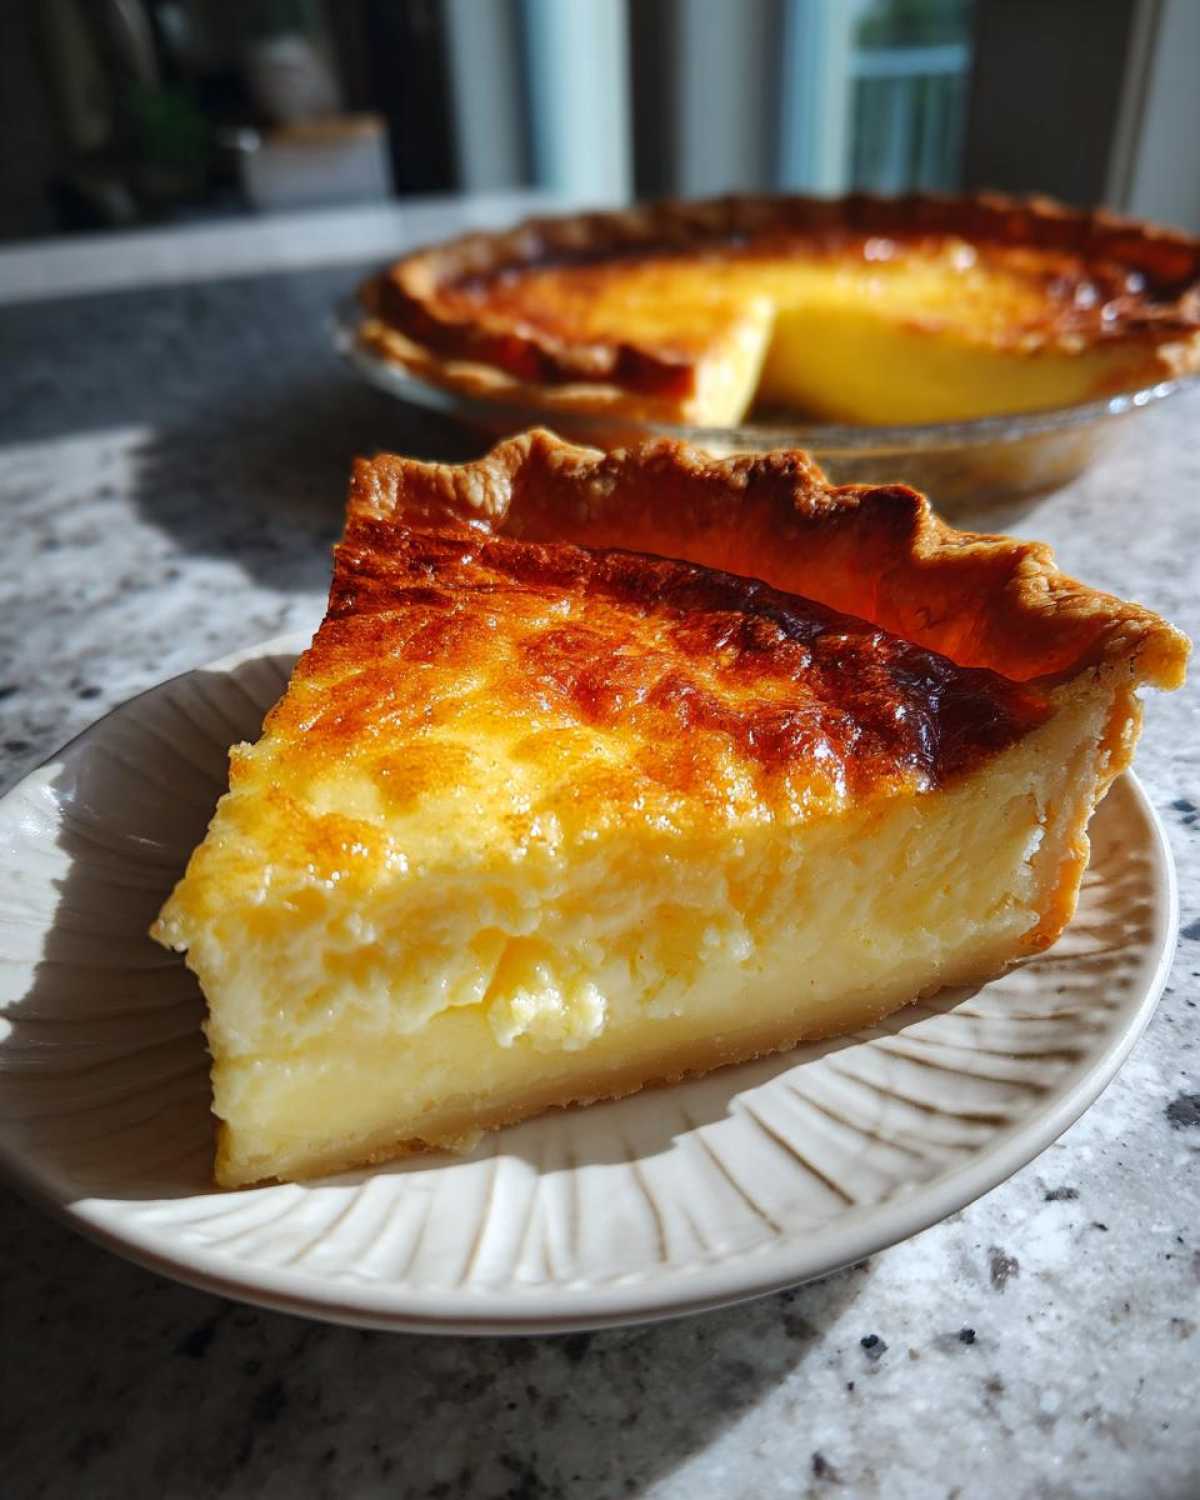
When the weather turns warm, or honestly, any time I need a taste of true Southern comfort, I reach for my grandmother’s recipe card for buttermilk pie. Forget those fancy, fussy desserts; this pie is the definition of an old fashioned pie recipe. It’s ridiculously simple, uses things I almost always have in the pantry, and delivers this incredible, sweet, yet surprisingly tangy custard filling that just melts in your mouth. This isn’t just some recipe I found online, either. This specific Classic Buttermilk Pie Recipe has been tested at every holiday and potluck my entire life. If you want that perfectly golden top and that dreamy, smooth center, trust me, you need this one. It’s my go-to comfort food dessert!
I’m sharing the exact method below so you can skip straight to the good part. If you’re heading over to my main blog page, you can see all my other family favorites over at my recipe index, but this one stays right at the top of my personal list.
Why This Classic Buttermilk Pie Recipe Works So Well
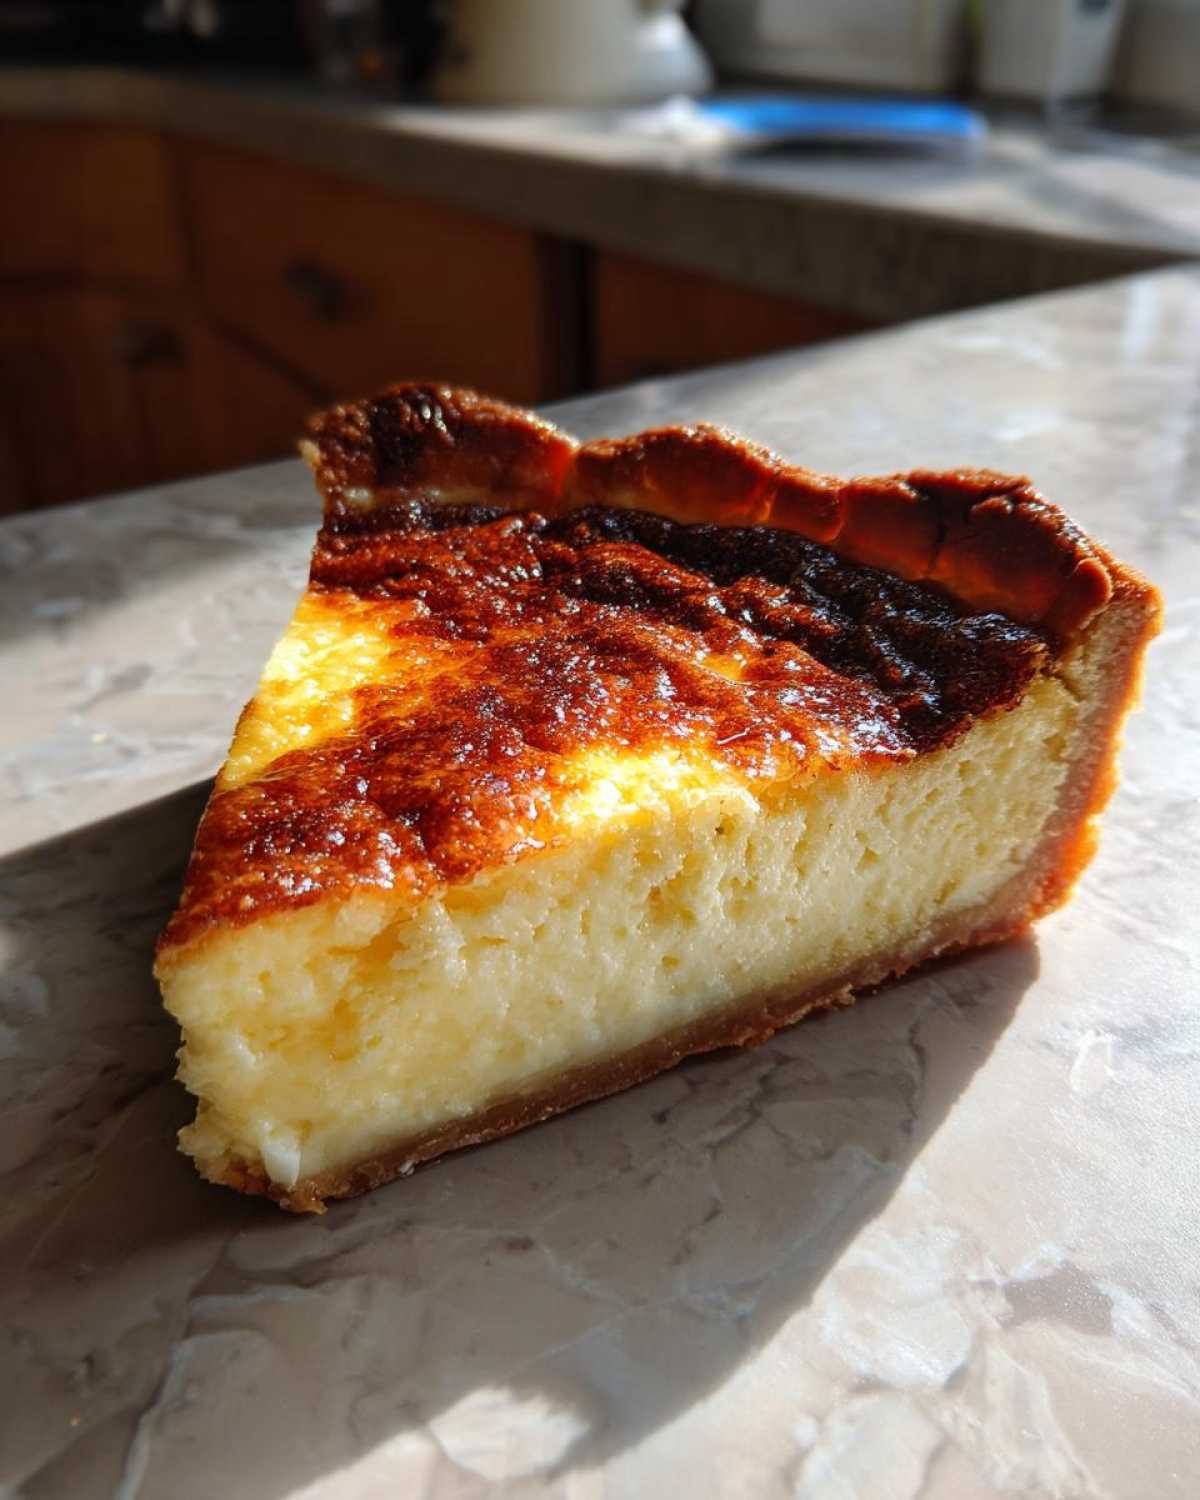
The beauty of this Southern Buttermilk Pie is that it’s pure magic with minimal effort. Seriously, you are mixing pantry staples to create this incredible tangy custard pie. The richness comes from the melted butter binding everything together, but the real secret is that precise balance between sugar, eggs, and that essential buttermilk. It cooks up beautifully set without tasting heavy, which is exactly what you want in a creamy dessert. If you want more inspiration on old-school baking, I always look back at my classic old-fashioned egg custard pie recipe for ideas!
Achieving the Perfect Creamy Dessert Texture
If you want that signature velvety smooth filling, you really cannot overmix this batter once everything is combined. When you start whisking those eggs and sugar, you want to get everything incorporated smoothly, sure, but stop right when you see those ingredients just marry together. Over-whisking introduces tons of air, and when that air collapses in the oven, you get cracks and a grainy texture instead of that lovely, solid-but-soft custard. A gentle hand here is your best friend!
Ingredients for the Best Buttermilk Pie
Alright, here’s where we tackle the actual list. The great thing about this Traditional Southern Baking favorite is that it’s truly a pantry staple pie. You probably have most of this stuff right now! I always lay everything out before I even turn on the stove, mainly because I tend to forget that crucial teaspoon of salt if I don’t. I’ve got a few other great pantry recipes, like my super moist and easy buttermilk cornbread recipe, if you’re looking for more Southern goodness, which you can check out right here! I’m sharing the exact method below so you can skip straight to the good part.
- 1 unbaked 9-inch pie crust (Make sure it’s ready to go!)
- 1 1/2 cups granulated sugar
- 3 large eggs (freshness matters here, trust me)
- 1/2 cup unsalted butter, melted (Make sure this cools slightly before adding!)
- 1 cup buttermilk
- 1 teaspoon vanilla extract
- 1 tablespoon all-purpose flour
- 1/4 teaspoon salt
- Pinch of ground nutmeg (This is just for my personal touch!)
Pantry Staple Pie Ingredient Notes
Let’s talk about the two things that truly make this pie what it is. First, the crust! You absolutely need an unbaked 9-inch pie crust sitting in your pie plate. For the best results, I highly recommend chilling that crust in the fridge while you mix up your filling. That cold shock when it hits the hot oven gives you that flaky edge we all dream about. I’ve heard of people trying to pre-bake this filling, but for an Easy Buttermilk Pie, we keep the whole thing unbaked—it sets beautifully!
Second, the buttermilk itself. Please, please use full-fat buttermilk if you can find it. That extra richness cuts through the sweetness perfectly and helps achieve that deep, luxurious mouthfeel. Don’t try to substitute with regular milk here; it ruins the signature tang that makes this pie famous. If you can’t find buttermilk, I sometimes make a quick cheat version by adding one tablespoon of white vinegar to a cup of whole milk and letting it sit for five minutes before measuring, but the store-bought stuff is always best!
How to Prepare Your Easy Buttermilk Pie Instructions
Okay, buckle up, because this is where the assembly happens! Like I said, this is one of those wonderful Comfort Food Desserts that comes together faster than you can clean up the measuring spoons. First things first, get your oven humming along at 350 degrees Fahrenheit. We want everything ready when that filling goes in.
You’ll need your 9-inch pie plate, already holding that chilled, unbaked pie crust—no need to bake it ahead of time for this one! Grab a medium bowl. I just use a whisk, but if you’re feeling fancy, a hand mixer on low works too. Lightly whisk those three eggs. Don’t go crazy whipping them; we just want the yolks and whites to meet nicely.
Then, we add the rest of the good stuff in this order: sugar, your slightly cooled melted butter, the buttermilk, vanilla extract, flour, and just that tiny bit of salt. Whisk it until it’s completely smooth. I mean zero lumps of flour floating around—that’s important for a good outcome! You can find my famous recipe for an easy, creamy beer cheese dip if you need another fast starter recipe while your oven heats up!
Baking the Classic Buttermilk Pie Recipe
Pour that lovely, thin liquid right into your waiting pie shell. Now is the moment for that tiny optional pinch of nutmeg to go on top. It just gives it a little warmth! Pop it into the preheated oven. Set a timer for 45 minutes right away. Don’t peek too early!
The baking window is usually 45 to 55 minutes, but you’re looking for a very specific cue: the center should still have a *slight jiggle* when you give the pan a gentle nudge. If it looks totally solid, you’ve baked it too long! You want that Sweet and Tangy Dessert to look gloriously golden brown on top, but still soft underneath. If the edges look like they are browning too fast, don’t panic—just grab a ring of aluminum foil and loosely tent the edges, just like you would with a normal pie. Trust me, watching for that tiny bounce in the middle is the secret to a perfect Traditional Southern Baking result.
Tips for Success with Your Buttermilk Pie
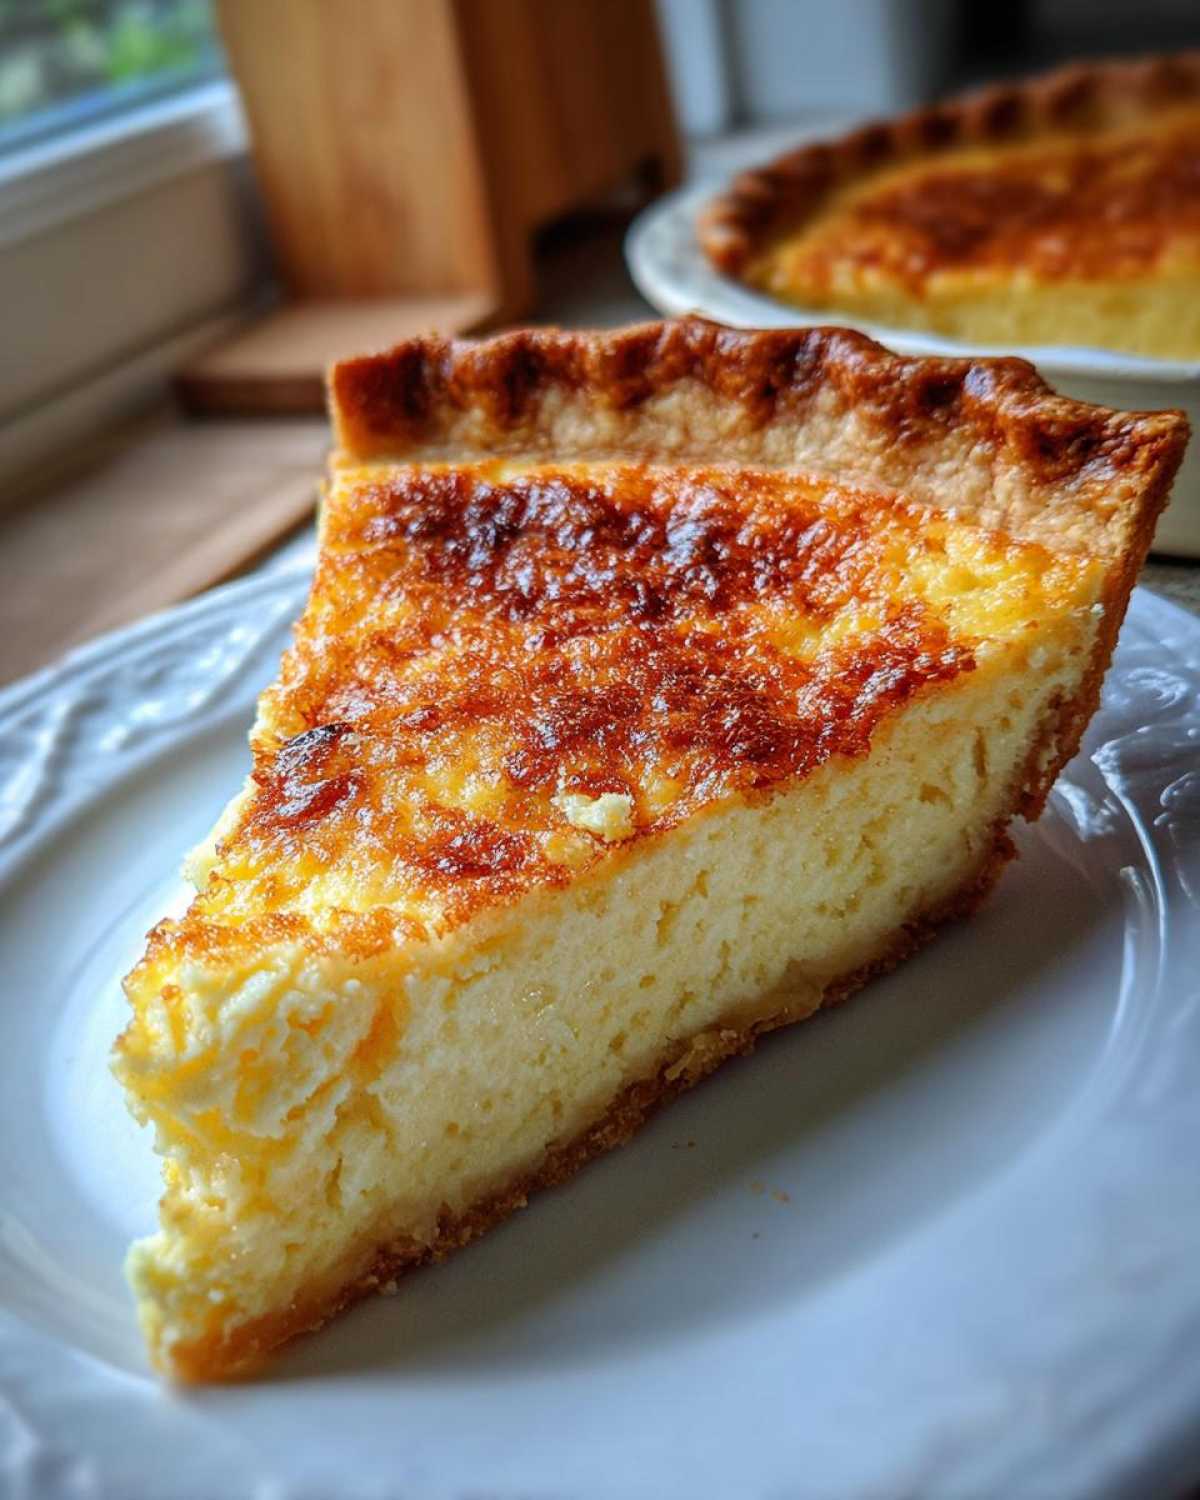
Even though this is an Easy Buttermilk Pie to mix together, there are a few little tricks that take it from good to absolutely legendary. These are the lessons I learned watching my mama and hers before her—especially concerning that crust and that gorgeous final color. If you’ve checked out my pointers on making the best creamy classic egg salad recipe, you know I obsess over details like texture, and this pie is no different!
First off, let’s talk about the crust again. If you are using a homemade crust, chilling it is non-negotiable for flakiness. That cold-shock factor is real magic when baking! Also, if you notice your edges of the crust getting awfully dark before that custard is set, just snip a few small strips of aluminum foil and gently lay them around the rim. This protects the crust while letting the center finish baking up that beautiful golden brown. It’s a simple fix that prevents the sides from burning!
Cooling and Setting the Tangy Custard Pie
This is where most folks mess up their wonderful pie—they get impatient! I know, waiting three whole hours when that pie smells like heaven sitting on the cooling rack is pure torture, but you absolutely have to let it cool completely. Patience here is the key to the whole structure. Remember when I said the center should still have a tiny jiggle when it comes out of the oven? That means it is officially *not* done yet if you intend to slice it cleanly.
If you try to cut into that pie while it’s still warm, you’ll end up with a soupy, runny mess on your plate. The cooling period allows the proteins in the eggs and the structure of the custard to firm up properly. If you slice it too soon, you lose all that amazing, creamy texture you worked so hard for. Serve it closer to room temperature or even chilled from the fridge the next day—it sets up even firmer as it cools down!
Serving Suggestions for This Sweet and Tangy Dessert
Once that pie has taken its sweet time cooling down—and remember, patience is a virtue when dealing with custard—it’s time to actually enjoy this beautiful piece of Traditional Southern Baking! The thing about this buttermilk pie is that it’s actually fantastic served a couple of different ways. My Mama always insisted on letting it come up to room temperature before we sliced it on Sunday afternoons. I think room temperature lets that tangy flavor truly shine through.
But let’s be honest, I’ve also demolished a slice straight out of the fridge after dinner, and it’s just as wonderful. When it’s chilled, that filling firms up even more, making it feel almost like a dense, creamy cheesecake hybrid. Honestly, you can’t go wrong!
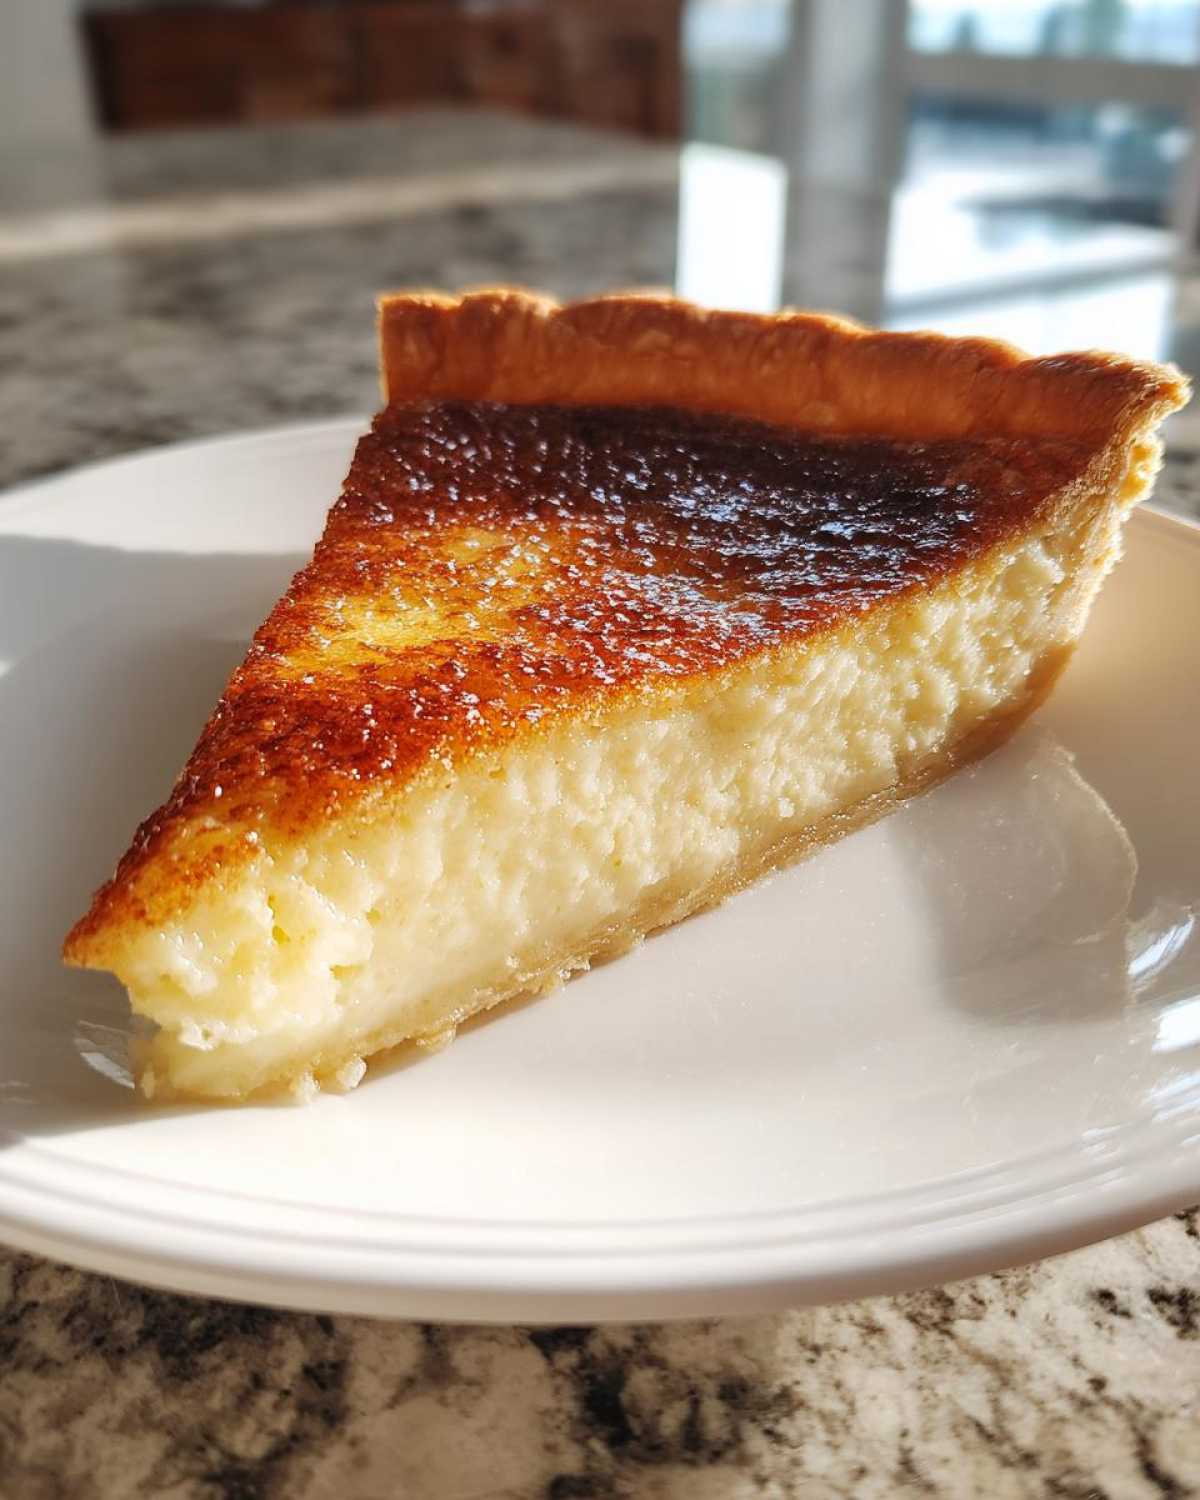
Now, for toppings! This pie is so beautifully balanced that it truly doesn’t *need* anything else, which is why it’s such a brilliant Dessert for Company—less fuss for you! However, if you want to dress it up just a touch, keep it simple. A dollop of freshly whipped heavy cream is perfection. It adds that light, airy contrast to the dense, smooth filling. I use a tiny splash of vanilla in my cream, nothing complicated. If you need a really easy, foolproof frosting recipe for cupcakes or other treats, I keep mine handy over here.
Another thing I love to pair it with is some fresh fruit! Since the pie itself is rich and sweet, the sharpness of fresh berries cuts through it perfectly. Think sliced strawberries, a handful of blueberries, or even some tart raspberries scattered on the plate next to your slice. It just brightens the whole experience up. I promise, whether you serve it warm (if you dare!), room temperature, or chilled, this Southern favorite will disappear fast!
Storage and Reheating for Your Homemade Buttermilk Pie
So, you actually managed to save a slice of that incredible buttermilk pie? Good for you! Now, how do we keep this precious custard perfect? Since this is a custard pie, we have to treat it a little differently than, say, an apple pie. Refrigeration is absolutely necessary to keep that filling safe and perfectly set. I always cover the leftover pie tightly with plastic wrap—make sure the wrap isn’t actually touching the top layer of the pie if you can help it—and pop it into the fridge.
When stored correctly like this, your creamy dessert will keep wonderfully well for about three to four days. I know people who say they’ve pushed it to five, but after day four, I usually start noticing the crust softening up, and honestly, I just can’t risk it! If you’re needing to store it longer than that, your best bet is freezing, though I honestly don’t recommend freezing custard pies if you can avoid it. They can sometimes turn a bit watery when they thaw.
Now, for the big question: reheating! My firm, non-negotiable advice? Don’t do it! Since the structure relies on that cool temperature to hold its shape, heating up a slice of buttermilk pie just turns it back into warm custard soup again. Remember how I stressed letting it sit out for 30 minutes to come up to room temperature? That’s the reheat you need. Just pull the covered slice out of the fridge about half an hour before you plan to eat it. This lets those flavors bloom again without melting the perfectly set custard structure. If you’re interested in making another staple pantry item from scratch while yours chills, I actually have a fantastic easy homemade mayonnaise recipe that uses similar techniques of careful emulsification!
Keep it covered, keep it cool, and enjoy every last bite of this classic!
Frequently Asked Questions About Traditional Southern Baking
I get so many questions about this pie, especially since everyone seems to have a slightly different version they grew up with! Custard pies can be tricky, but once you know the rules for this buttermilk pie, you’re golden. Dealing with old family recipes, especially from the South, is always about understanding *why* an ingredient is there. If you want to deep dive into the background of these classic dishes, you can check out my thoughts on traditional Southern baking techniques.
Can I substitute regular milk for buttermilk in this recipe?
Oh, that is the question I see the most! And my answer, loud and clear, is no, you shouldn’t if you want this to be a true tangy custard pie. Buttermilk is crucial here. It’s acidic, which reacts with the eggs and tenderizes the filling slightly, giving you that distinct, slightly sharp tang that balances the sweetness. Regular milk will just give you a very sweet, flat custard. If you are absolutely desperate, like I mentioned before, you can make a quick stand-in by adding one tablespoon of white vinegar or lemon juice to one cup of whole milk and letting it sit for five minutes before you measure it out. It helps, but the flavor won’t be quite as deep as the real deal!
Is this considered an Old Fashioned Pie Recipe?
Absolutely, one hundred percent, yes! This is the definition of an old fashioned pie recipe. It really traces its roots back to colonial America where vinegar or sour cream were sometimes used when fresh buttermilk wasn’t around. It’s a simple, humble pie made from core ingredients, which is why it remains such a beloved staple among comfort food desserts. It’s the kind of pie that doesn’t rely on complicated layers or expensive fillings; it relies on good technique and quality butter and eggs. That simplicity is what makes it such a timeless classic!
Why did my filling sink a little after cooling?
If you see a slight sink, don’t worry, that’s actually normal! The star of this Classic Buttermilk Pie Recipe is that beautiful, jiggly center. When you pull it out of the oven, it’s puffed up a bit from the heat, but as it cools down to room temperature over those critical three hours, it will naturally settle a little toward the bottom of the crust. As long as it set up firm enough that you had to wait patiently to slice it, you did it right! A big drop usually means you had too much air incorporated during the mixing stage, so just go easier with that whisk next time.
Do I need to use nutmeg on top?
Not at all! The nutmeg is totally, completely optional, and honestly, my brother hates it, so my mom never used it when he was home. It just adds a tiny bit of warmth that complements the vanilla and the tang. If you are serving this to a crowd and you aren’t sure if everyone likes spice, skip it! The main stars here are the buttermilk and the sugar. The best buttermilk pie is the one you and your family enjoy eating, so skip anything that doesn’t make you happy!
Nutritional Estimates for This Creamy Dessert
I always feel a little guilty after eating a huge slice of this rich pie, even though it’s homemade and full of butter! Because this is a traditional recipe relying on sugar, eggs, and fat—the good stuff!—it definitely falls into the category of a true indulgence. Naturally, these numbers are just estimates, right? I mean, how much sugar you use in your buttermilk pie, or the exact brand of butter, can shift things around a bit. But this gives you a general idea of what you’re enjoying when you sink your fork into this sweet and tangy dessert.
I like to compare the nutrition facts to my other favorite comfort foods, like that unbelievably rich creamy potato leek soup recipe. They are both rich, just in different ways!
Here is the breakdown based on one standard slice:
- Calories: Around 320
- Sugar: About 35 grams (It’s dessert, darling, we knew this!)
- Fat: Approximately 16 grams total
- Saturated Fat: Roughly 8 grams
- Carbohydrates: Around 42 grams
- Protein: About 6 grams
- Sodium: Near 150mg
- Cholesterol: Around 95mg
It’s important to remember these figures assume you are using a standard Classic Buttermilk Pie Recipe measurement for an 8-serving yield. If you cut generous wedges like I often do at family dinners, expect those numbers to climb just a tad! Just enjoy every bite, because this is true Southern comfort, and that’s worth every calorie.
Share Your Thoughts on This Classic Dessert
Now that you have the secrets to making the best buttermilk pie—the one that tastes just like it came straight out of a Southern kitchen—I really want to hear from you! Making these comfort food desserts is always more fun when you share the results, even if it’s just with me online!
Did you stick to the traditional method, or did you try adding a twist? Did the custard set perfectly for you after that crucial three-hour cooling time? I truly hope this recipe brings a little bit of that warm, homey feeling to your table, just like it does mine.
Please, please take a moment once you’ve sliced into that golden top and let me know how it went! You can leave a quick rating right below this post—give it a solid five stars if you loved that sweet and tangy punch! I love seeing all your successful bakes, so if you snap a picture of your gorgeous Southern Buttermilk Pie, tag me on social media! I’m always looking for new ways to enjoy this classic.
If you’re trying some of my other recipes, like that simple creamy potato leek soup, leave a comment there too! Happy baking, and enjoy every single bite of that wonderful creamy dessert!
PrintClassic Southern Buttermilk Pie

A simple, old-fashioned recipe for a creamy, tangy custard pie with a golden top and flaky crust.
- Prep Time: 15 min
- Cook Time: 50 min
- Total Time: 4 hours 5 min
- Yield: 8 servings
- Category: Dessert
- Method: Baking
- Cuisine: American Southern
- Diet: Vegetarian
Ingredients
- 1 unbaked 9-inch pie crust
- 1 1/2 cups granulated sugar
- 3 large eggs
- 1/2 cup unsalted butter, melted
- 1 cup buttermilk
- 1 teaspoon vanilla extract
- 1 tablespoon all-purpose flour
- 1/4 teaspoon salt
- Pinch of ground nutmeg (optional)
Instructions
- Preheat your oven to 350 degrees Fahrenheit. Place the unbaked pie crust in a 9-inch pie plate.
- In a medium bowl, whisk the eggs lightly.
- Add the sugar, melted butter, buttermilk, vanilla extract, flour, and salt to the eggs. Whisk until the mixture is smooth and well combined. Do not overmix.
- Pour the filling mixture into the unbaked pie crust. Sprinkle the top lightly with nutmeg, if using.
- Bake for 45 to 55 minutes. The center should be mostly set but still have a slight jiggle when gently shaken. The top should be golden brown.
- Remove the pie from the oven and let it cool completely on a wire rack before slicing. Cooling takes about 3 hours.
- Serve at room temperature or slightly chilled.
Notes
- For a flakier crust, chill the pie shell before adding the filling.
- If your oven tends to brown quickly, you can loosely tent the edges of the crust with aluminum foil halfway through baking.
- This pie tastes best when fully cooled, allowing the custard to set properly.
Nutrition
- Serving Size: 1 slice
- Calories: 320
- Sugar: 35
- Sodium: 150
- Fat: 16
- Saturated Fat: 8
- Unsaturated Fat: 8
- Trans Fat: 0
- Carbohydrates: 42
- Fiber: 1
- Protein: 6
- Cholesterol: 95
