

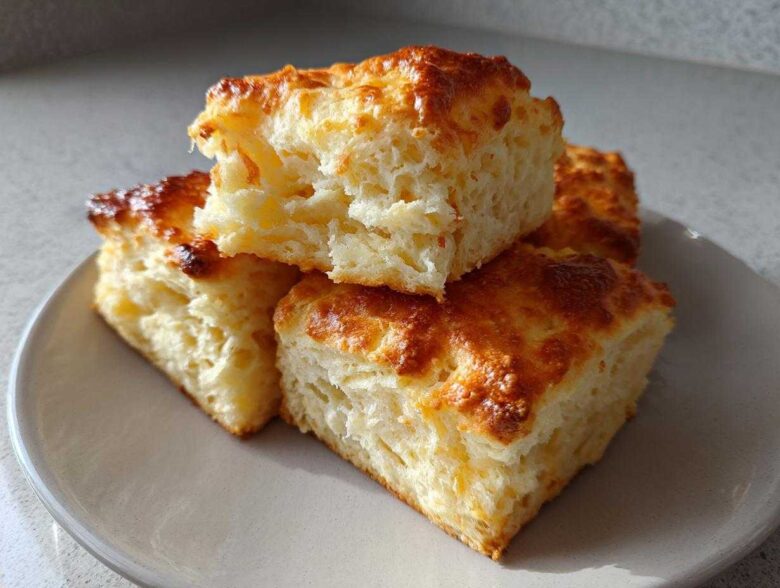
Oh, the smell of real, honest-to-goodness, oven-fresh biscuits—there’s nothing like it, right? It just screams comfort and Sunday mornings. I’ve spent years chasing that perfect, cloud-like texture, trying everything from recipes that called for shortening to those that insisted on a food processor. Honestly, too much fuss!
My obsession finally paid off when I went back to basics. Trust me, this recipe for classic **Buttermilk Biscuits** is the one you need. It delivers those impossibly tall, flaky layers we all dream about, and it all comes down to keeping things super cold and treating that dough gently. You won’t believe how easy it is to get them perfectly tender without all the complicated steps.
Why You Will Master These Flaky Buttermilk Biscuits Recipe
Look, there are biscuits, and then there are *these* biscuits. I’m telling you, after making this recipe a hundred times, I know exactly why it works every single time. We’re not messing around with fancy mixers or obscure ingredients here, just pure, honest baking science!
If you’ve ever ended up with flat hockey pucks instead of fluffy rounds, this guide is going to change everything. With this **Flaky Buttermilk Biscuits Recipe**, you are guaranteed:
- Towering Height: We use a secret folding trick that builds natural layers right into the dough instead of relying on too much baking powder. They practically stack themselves!
- Butter Pockets of Glory: Because we keep that butter *ice cold*, those little pieces melt in the oven and create real steam pockets that explode into flakiness. It’s magic, I tell you.
- Unbeatable Tenderness: The combination of baking soda and acid from the buttermilk ensures a soft, melt-in-your-mouth interior every time. No dry edges here!
- Speedy Results: From start to sitting on your cooling rack, this whole process takes under 30 minutes. Perfect for when you need a quick, warm treat.
- Simple Cleanup: I’ve linked my favorite pan preparation trick below, which means you spend less time scrubbing and more time enjoying. Check out my tips and tricks page if you want more insider secrets.
Ingredients for the Best Old Fashioned Buttermilk Biscuits
The secret to **Best Old Fashioned Buttermilk Biscuits** isn’t fancy; it’s just following the rules—especially the temperature rules! Everything needs to be chilled, okay? Seriously, if your butter melts before it hits the oven, we’re in trouble.
Here’s exactly what you’ll need for about eight glorious biscuits:
- 2 cups all-purpose flour (Make sure it’s fresh!)
- 1 tablespoon baking powder (Crucial for the lift!)
- 1 teaspoon baking soda
- 1 teaspoon salt (Don’t skip this; it wakes up the flavor!)
- 1/2 cup (that’s one whole stick!) unsalted butter, kept ice cold and cut into tiny cubes
- 3/4 cup buttermilk, also straight from the fridge
- 1 tablespoon melted butter for brushing on top—totally optional, but so good!
Essential Equipment for Baking Perfect Flaky Biscuits
You don’t need tons of fancy gadgets for amazing biscuits, but a few key players make the job so much easier, especially when getting that perfect texture. If you have these things handy, you’re already halfway there.
When I first started, I just used two forks, but honestly, my life changed when I picked up a real pastry blender. It makes cutting the butter in so fast that the butter doesn’t have time to warm up, which is everything for flakiness!
Make sure you have these items ready before you pull that butter out:
- A large mixing bowl—big enough for you to really toss things around without making a huge mess!
- A pastry blender or, if you’re feeling rustic, your fingertips (but keep those hands cold!).
- A rolling pin or just a flat, heavy glass if you don’t have one. We aren’t rolling thin here!
- A sharp biscuit cutter, about 2 inches wide is my favorite size. A sharp edge cuts cleanly, which is super important.
- A sturdy baking sheet, preferably one that isn’t too dark, lined with parchment paper.
Biscuit Dough Preparation Techniques for Tall Southern Biscuits Homemade
Okay, let’s get down to the part that makes these **Tall Southern Biscuits Homemade** actually stand up tall! First things first: the dry stuff goes in the bowl. Give your flour, baking powder, baking soda, and salt a good whisk together. You want everything evenly distributed before the cold interrupts the party.
Now comes the most important part if you want those beautiful, flaky layers. You need to cut in your ice-cold, cubed butter. I use my pastry blender, but you can absolutely use your fingertips if you work fast! You are looking for a texture that looks like coarse meal, but you must leave some bigger, pea-sized chunks of butter intact. Those lumps are what turn into steam pockets. If you blend it until it’s fine sand, you end up with dense biscuits, and we definitely don’t want that. I wrote a whole post about why keeping that butter frozen is essential, so check that out if you’re nervous!
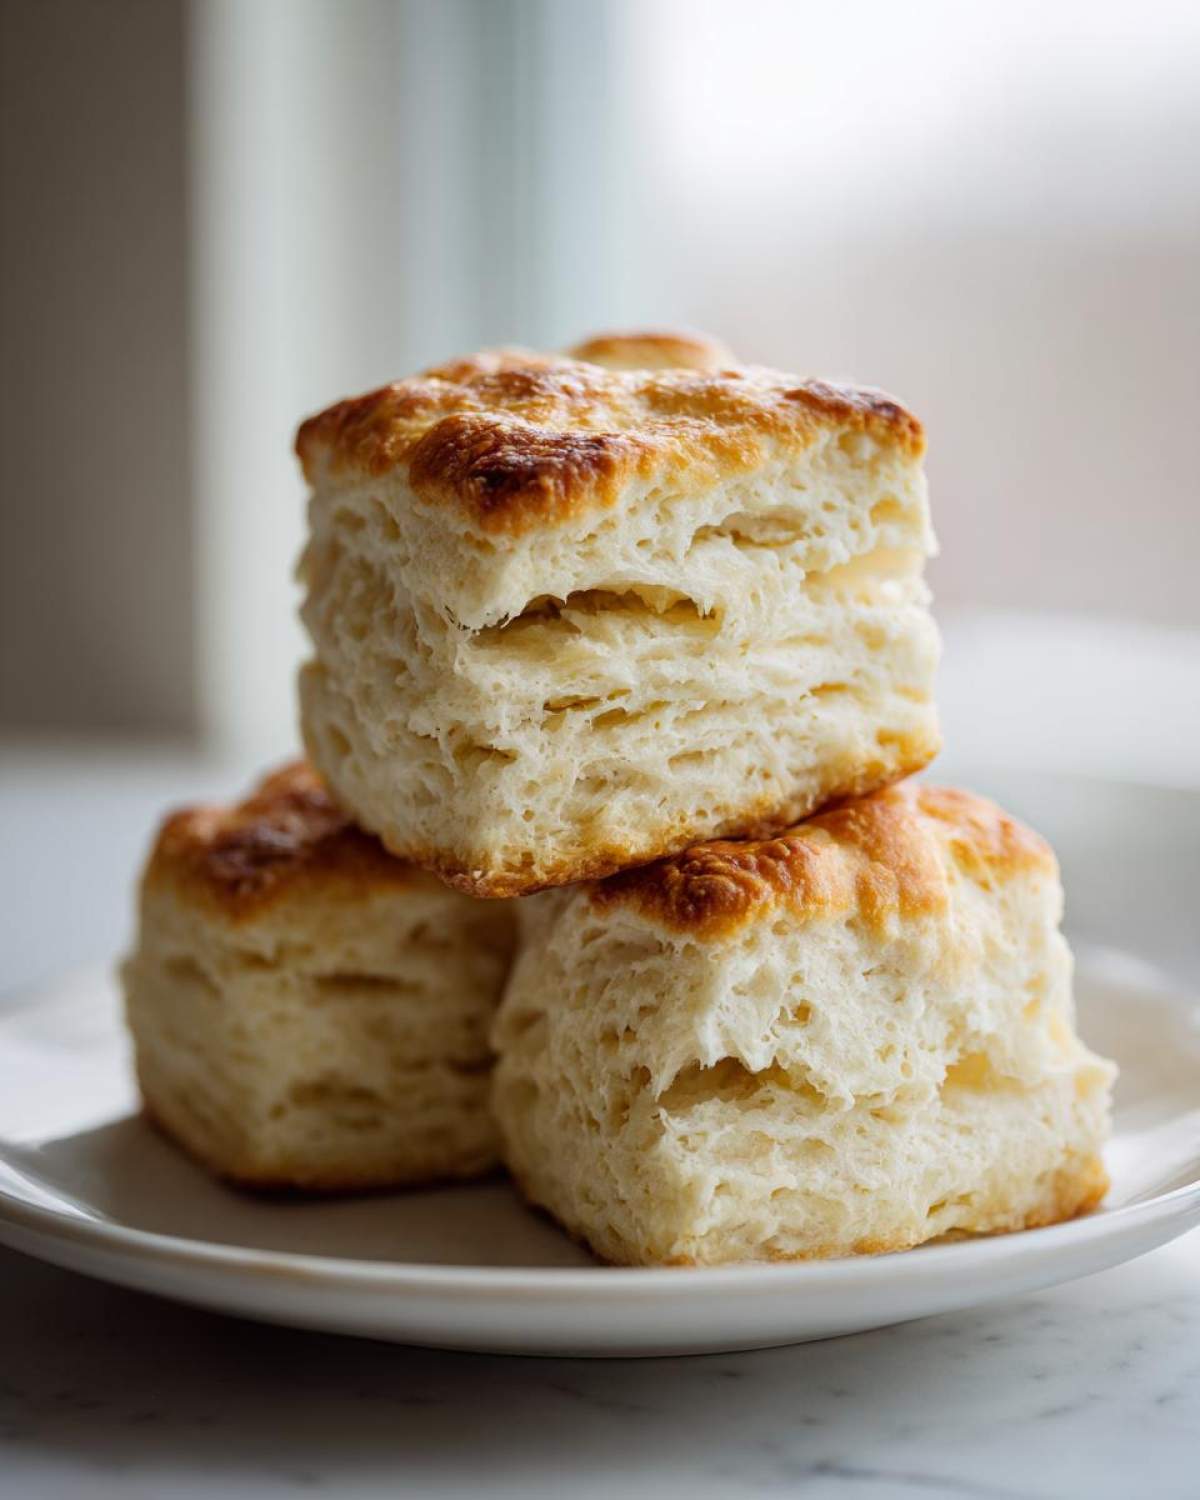
Mixing the Dough: Avoid Overworking Your Buttermilk Biscuits
Once you have your coarse crumbs, slowly pour in that icy buttermilk. Here’s where you stop being aggressive! Stir with just a fork—and stop the second everything comes together. Seriously, stop stirring when you still see a little bit of dry flour. The dough should look shaggy and maybe even a little weird. If you mix it until it’s smooth right now, you’ve developed the gluten too much, and those beautiful biscuits will turn out tough.
How To Make Soft Biscuits: Folding and Cutting Buttermilk Biscuits
Now that our shaggy dough is ready, we move on to building those layers that give you amazing height when baking **Buttermilk Biscuits**. This is where we create laminated layers without using yeast! Turn that messy dough out onto a lightly floured countertop. Gently pat it into a simple rectangle, aiming for about 3/4 of an inch thick. Don’t overthink the shape just yet.
Here’s the trick: Fold it gently, like you’re folding a fancy letter into thirds. Then, give it a quarter turn (90 degrees) and pat it down again to that same thickness. Repeat that folding and turning one more time. That’s it! This simple process creates all the vertical structure you need for super **How To Make Soft Biscuits** that climb high in the oven. If you want to dig deeper into this layering magic, I detail all my favorite $\text{biscuit dough preparation techniques}$ here: Biscuit Dough Preparation Techniques.
Finally, use your biscuit cutter. This is crucial: Press straight down firmly and pull straight up. Do NOT twist! Twisting seals those edges shut, and your biscuits won’t rise up; they’ll spread out sideways. We want straight-up, tender biscuits, so press down, don’t spin!
Spacing Matters: Soft Sides vs. Crispy Edges for Buttermilk Biscuits
Where you place them on the baking sheet makes a huge difference in the final bite. For the softest, fluffiest biscuits where the sides merge together—the classic Southern style—place them right next to each other so they are just touching. They bake up softer because the side heat can’t get to them.
If you prefer those edges nice and crispy, give them some space, maybe an inch or two between each one. They bake up sturdier on the sides and easier to handle if you plan on slathering them with gravy later! Either way, they will be amazing.
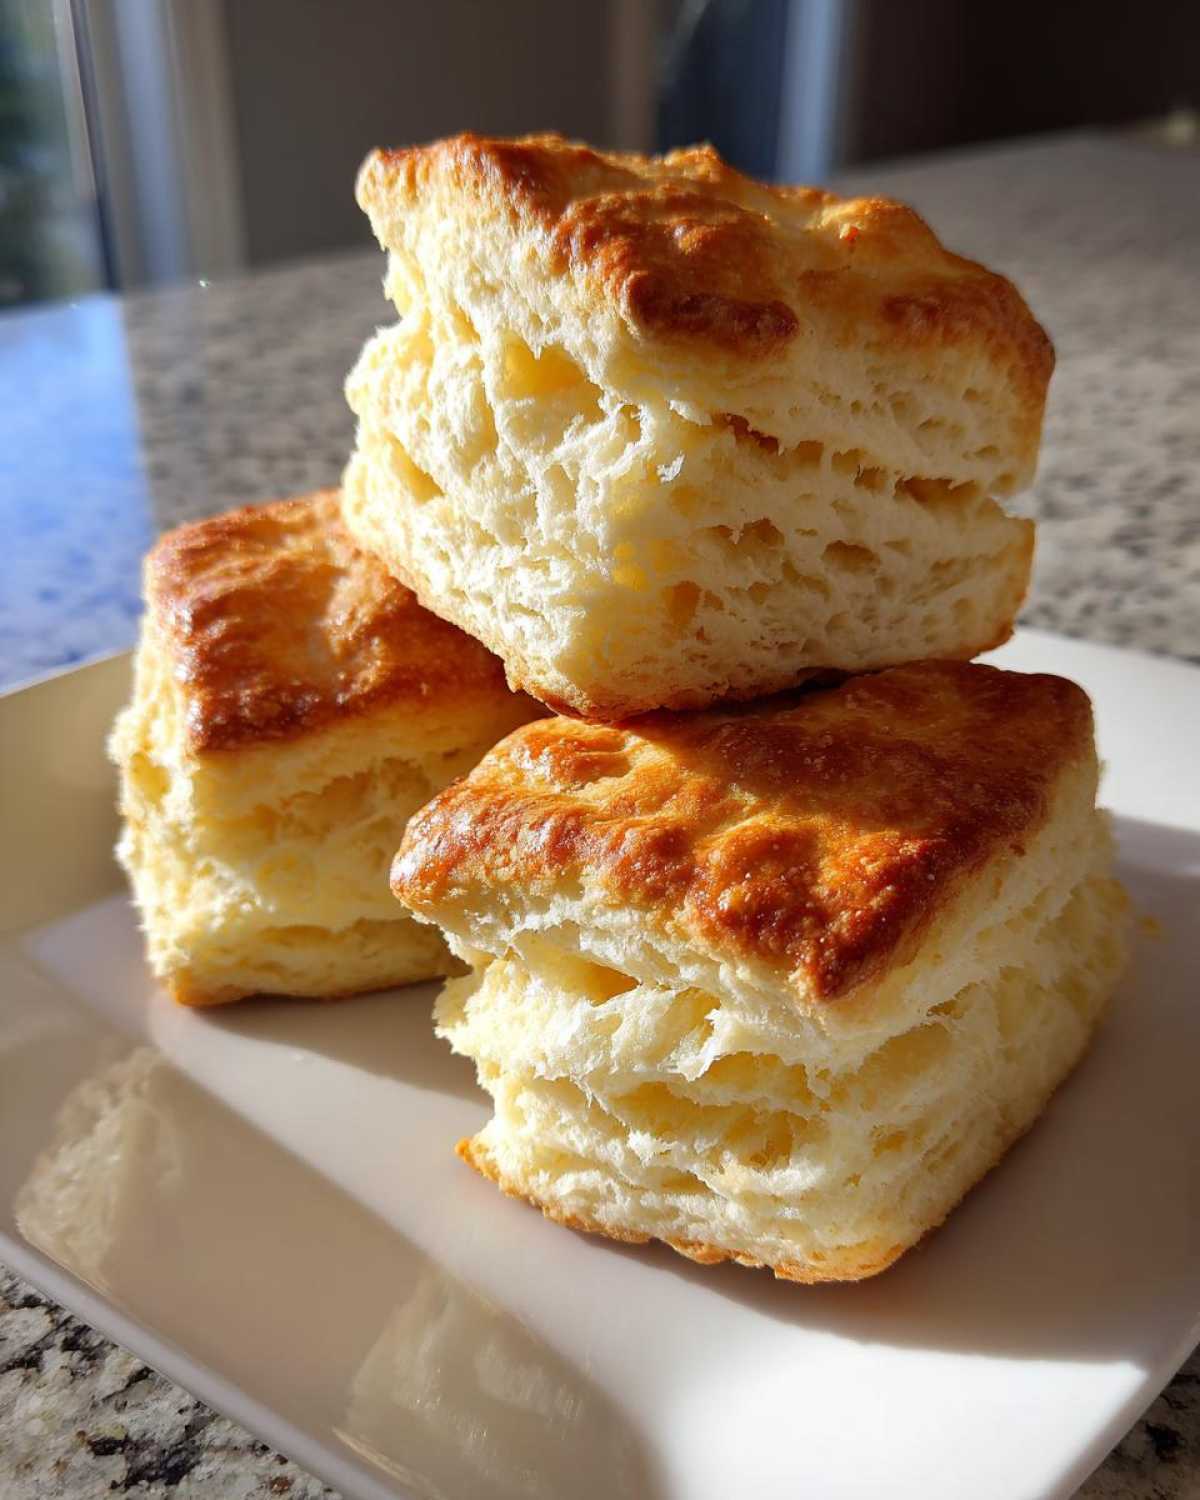
Baking Buttermilk Biscuits: Time and Temperature for Light and Fluffy Biscuits
The oven needs to be screaming hot for these beauties! You absolutely must preheat to 425 degrees Fahrenheit. If your oven isn’t fully hot when the biscuits go in, the cold butter will just melt slowly instead of steaming immediately, and poof—no height for your **Light and Fluffy Biscuits**.
Once they are nestled on the sheet, give them 12 to 15 minutes. Seriously, don’t open that door too early! The tops should look beautifully golden brown. If you want that extra bit of shine and flavor—and oh, you should—brush them immediately with a little melted butter right when they come out. I love doing this because the whole kitchen smells incredible. For more tips on getting that perfect bake every time, I talk about my favorite baking perfect flaky biscuits methods on my site.
Buttermilk Biscuit Secrets: Troubleshooting Common Issues
Even with the best directions, sometimes baking throws us a curveball! If your **Buttermilk Biscuit Secrets** aren’t quite working out, don’t panic or throw the dough away. Usually, one simple adjustment fixes everything. We’ve all been there, staring at a sad, flat stack of dough before realizing what went wrong.
The biggest offender is almost always temperature. If your biscuits are spreading out instead of puffing up tall, it means your butter warmed up somewhere between the fridge and the oven. If that happens, stick the whole tray back in the freezer for just five minutes! Cold, hard butter is your best friend here. For more great tips on avoiding these traps, you absolutely have to read my dedicated guide on Buttermilk Biscuit Secrets.
Another thing that sneaks up on people is the leavening agents. Baking powder and soda lose their punch over time. If your biscuits aren’t rising well at all, check the dates on those containers! Old baking powder is a major reason why **Homemade Baking Powder Biscuits** end up squat instead of fluffy.
What if they taste tough or chewy? That’s the dreaded sign of overmixing. Once that buttermilk hits the flour, you stir *only* until it just barely comes together. If you mix it until the dough is smooth and uniform, you’ve built too much gluten, and you’ll end up with something closer to bread than a biscuit. Remember that shaggy dough we talked about? That’s the texture holy grail!
Storage and Reheating Your Tender Southern Style Biscuits
I know you won’t have any leftovers because they vanish instantly, but just in case you manage to save a few of these **Tender Southern Style Biscuits**, here’s the protocol. Store them in an airtight container at room temperature for up to two days. Do *not* put them in the fridge—that will make them hard!
The microwave is your enemy here; it makes them rubbery fast. To bring them back to that fresh-from-the-oven glory, just wrap them loosely in foil and pop them in a 350°F oven for about 5 to 7 minutes. They reheat perfectly, making them just as tender as when they first came out!
Frequently Asked Questions About Making Buttermilk Biscuits
Okay, I know you have questions! Whenever I share this recipe, people are always curious about substitutions or tiny details they missed. Don’t worry, these are the most common sticking points when trying to bake the very best **Buttermilk Biscuits**!
We’re covering everything from swapping out ingredients to making sure you get that amazing rise. If you love this recipe, you can find more great tips for making Classic American Breakfast Biscuits on my site too!
Can I use baking powder instead of baking soda in Buttermilk Biscuits?
That’s a great question about leavening! Buttermilk is acidic, and baking soda needs acid to activate and create those initial bubbles. So, the baking soda reacts with the buttermilk for a wonderful, early lift. The baking powder is still important, though, because it reacts with the heat of the oven, giving you that extra push upwards later on. I always use both because using just one or the other leaves the biscuits either too dense or slightly metallic tasting.
What is the best way to cut Buttermilk Biscuits without losing height?
This is probably the #1 reason why biscuits lay flat! You have to use a sharp cutter—nothing dull works well. When you press down, press straight down, firmly but smoothly, all the way to the bottom of the sheet, and then pull straight up. Do not rock the cutter back and forth, and definitely do not twist it! Twisting seals the edges of the dough all the way around, which physically stops the biscuit from rising vertically. We want those clean vertical edges!
Can I substitute regular milk for buttermilk?
You certainly can, but you are sacrificing a layer of flavor and texture! If you absolutely must substitute, use regular cold whole milk, but then you need to recreate that acidity. For every 3/4 cup of milk you use, stir in one tablespoon of white vinegar or lemon juice and let it sit for five minutes before adding it to the dough. That creates a DIY buttermilk that works almost as well, but honestly, real buttermilk is what makes these biscuits so tangy and tender.
What if I don’t have a pastry blender?
Honestly, I used to just use my hands! The key here is speed. You want the butter to stay cold. If you’re using your hands, make sure they are as cold as you can stand—maybe even run them under cold water for a quick second before you start. Work quickly, using your fingertips to pinch and press the butter into the flour until you get those pea-sized pieces. Don’t use the warmth of your whole palm!
PrintClassic Flaky Buttermilk Biscuits
A recipe for making tall, tender, and flaky buttermilk biscuits from scratch using cold butter.
- Prep Time: 15 min
- Cook Time: 15 min
- Total Time: 30 min
- Yield: 8 servings
- Category: Breakfast
- Method: Baking
- Cuisine: American
- Diet: Vegetarian
Ingredients
- 2 cups all-purpose flour
- 1 tablespoon baking powder
- 1 teaspoon baking soda
- 1 teaspoon salt
- 1/2 cup (1 stick) cold unsalted butter, cut into small cubes
- 3/4 cup cold buttermilk
- 1 tablespoon melted butter for brushing (optional)
Instructions
- Preheat your oven to 425 degrees Fahrenheit. Line a baking sheet with parchment paper or lightly grease it.
- In a large bowl, whisk together the flour, baking powder, baking soda, and salt.
- Add the cold, cubed butter to the flour mixture. Use a pastry blender or your fingertips to cut the butter into the flour until the mixture resembles coarse crumbs with some pea-sized pieces of butter remaining.
- Pour the cold buttermilk into the flour and butter mixture. Stir gently with a fork until just combined. Do not overmix; the dough will be shaggy.
- Turn the dough out onto a lightly floured surface. Gently pat the dough into a rectangle about 3/4 inch thick.
- Fold the dough into thirds, like a letter. Turn the dough 90 degrees and pat it down again to about 3/4 inch thickness. Repeat this folding and turning process one more time for extra layers.
- Pat or roll the dough to a final thickness of about 3/4 inch. Use a biscuit cutter (about 2 inches) to cut out the biscuits. Press straight down without twisting the cutter to keep the biscuits tall.
- Place the cut biscuits close together on the prepared baking sheet for softer sides, or farther apart for crispier sides.
- Bake for 12 to 15 minutes, or until the tops are golden brown.
- If desired, brush the tops with melted butter immediately after removing them from the oven. Serve warm.
Notes
- Keep all ingredients, especially the butter and buttermilk, very cold for the best flaky results.
- Do not twist the biscuit cutter when cutting; this seals the edges and prevents the biscuits from rising high.
- For extra tenderness, use the folding technique described in step 6 to create layers.
Nutrition
- Serving Size: 1 biscuit
- Calories: 250
- Sugar: 1
- Sodium: 450
- Fat: 13
- Saturated Fat: 8
- Unsaturated Fat: 5
- Trans Fat: 0
- Carbohydrates: 29
- Fiber: 1
- Protein: 5
- Cholesterol: 30
