

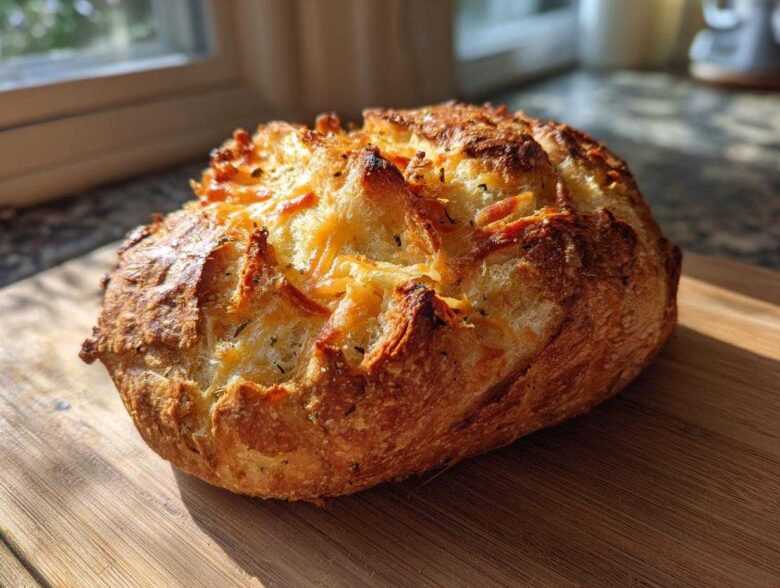
There is nothing quite like the smell of fresh bread filling your kitchen, especially when it tastes this good without all the fuss! Forget kneading until your arms ache—we’re talking about baking the most incredible, savory Italian herb and cheese bread with the press of a button. This recipe practically makes itself in the bread machine, turning out a beautiful, sturdy loaf that’s absolutely perfect for slicing thick for sandwiches or serving alongside any dinner. Here at Savory Skies, whether it’s Amara focusing on that rich, herby heritage flavor or me tinkering to simplify the process, we want your baking to be joyful and delicious. Trust me, this is the easiest way to get that amazing cheesy dinner bread result. If you want to know more about how we started dreaming up simple, high-quality recipes like this, check out our story here!
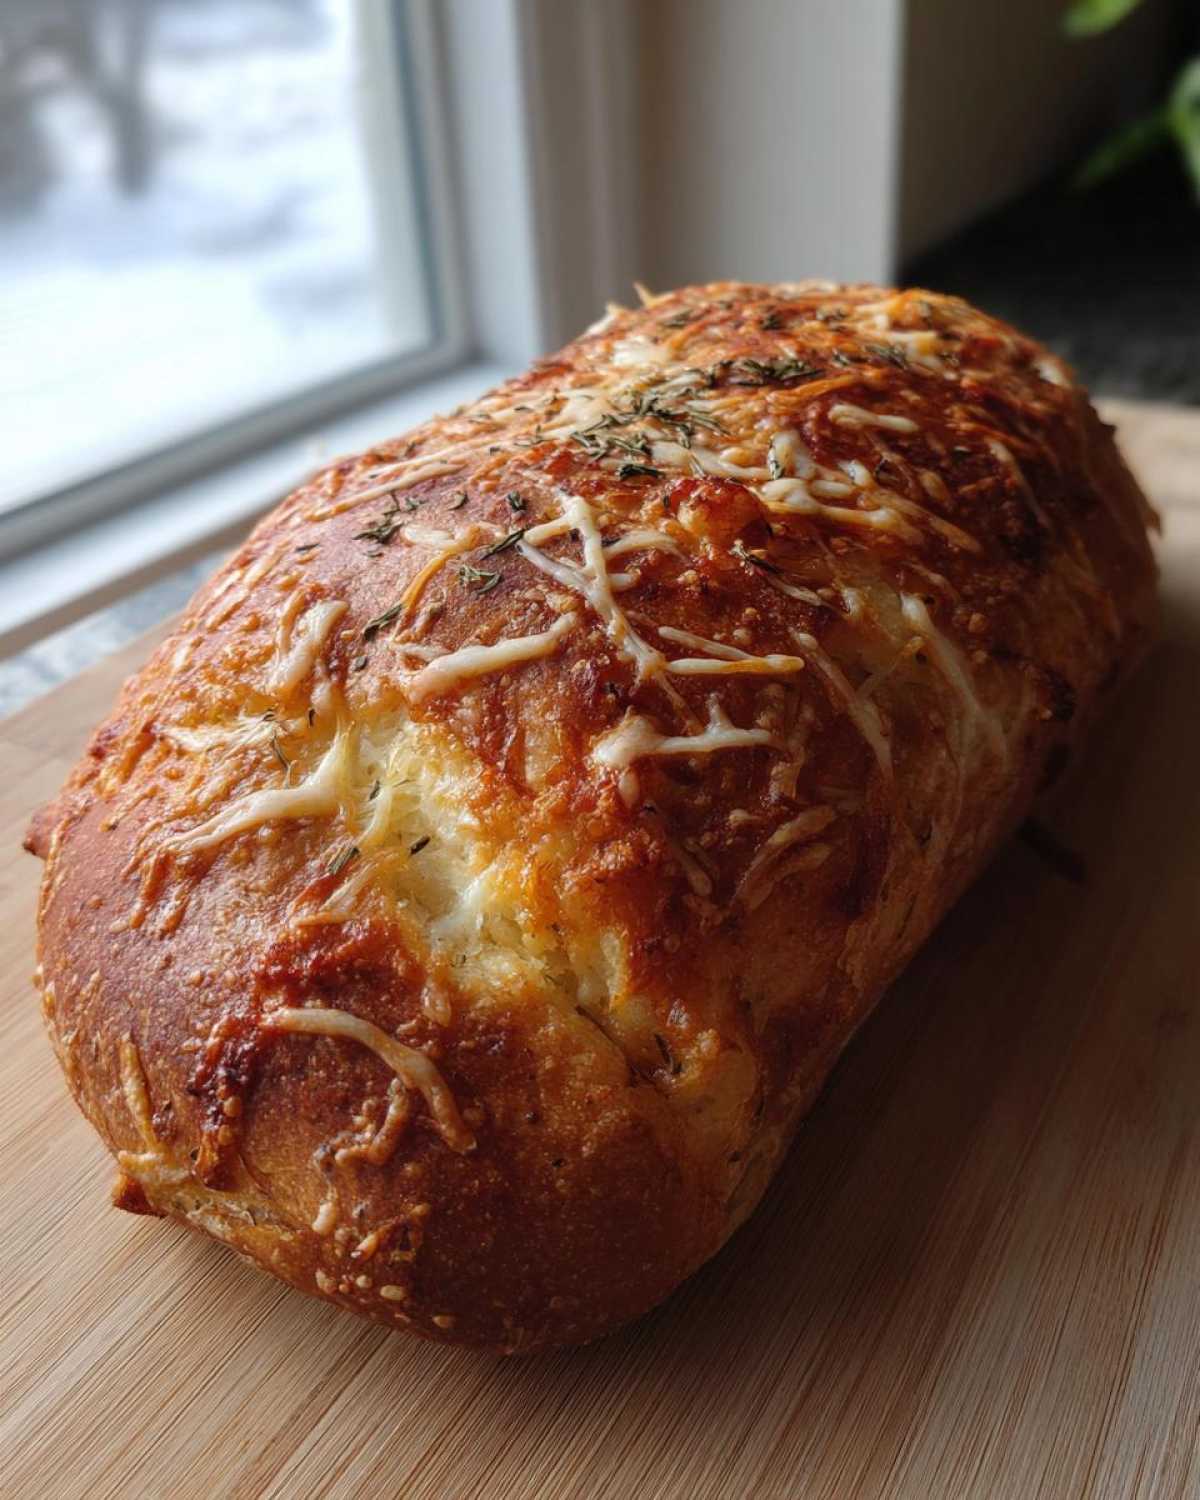
Why This Italian Herb and Cheese Bread Machine Recipe Works (E-E-A-T)
When we work on something like this Italian herb and cheese bread, we aren’t just looking for easy—we’re looking for reliability. This recipe truly shines because it takes the guesswork out of baking for you. It’s definitely one of my favorite easy bread machine recipes because it blends Amara’s appreciation for deep, comforting, heritage flavors with my own need for things to move quickly and efficiently!
Perfect for the Beginner Bread Machine User
If you just unboxed your machine last week, this is your moment! Seriously, this is probably the best bread machine herb bread recipe you could start with. You just layer your ingredients in the right order, press a button, and walk away. The machine manages the tricky temperature control and kneading times for you. It gives the beginner baker total confidence when tackling yeast bread for the very first time.
Flavor Profile: Rosemary Oregano Bread Meets Cheesy Goodness
Don’t let the ease fool you; the flavor is intense! That jar of Italian seasoning basically turns this into a fragrant rosemary oregano bread masterpiece. And then, of course, we hit it with the cheese. The combination here is pure magic, leaning heavily into what makes true parmesan herb bread so addictive. It’s earthy, savory, and wonderfully cheesy throughout the entire crumb.
Gathering Ingredients for Your Italian Herb and Cheese Bread
When you’re working with a bread machine, prep time is minimal, but ingredient quality matters *a lot*. Remember, everything goes in at once (mostly!), so we need precision. We’re aiming for that deep flavor in our parmesan herb bread, so don’t skimp on the cheese quality here! Here is exactly what you need for this loaf:
- 1 1/4 cups water, warm (about 80°F)
- 2 tablespoons olive oil
- 3 cups bread flour
- 1 tablespoon granulated sugar
- 1 teaspoon salt
- 1 1/2 teaspoons active dry yeast
- 1 tablespoon dried Italian seasoning blend
- 1 teaspoon garlic powder
- 1/2 cup shredded Parmesan cheese, divided
- 1/2 cup shredded mozzarella cheese
Ingredient Notes and Substitutions
For this recipe to work perfectly as a bread machine herb bread, you absolutely must use bread flour. It has the higher protein content needed to stand up to those cheeses and seasonings. Also, when adding your yeast, make sure it’s fresh and active! If you don’t have the exact Italian blend, feel free to mix your own—a heavy hand on the rosemary and oregano is perfect for this Italian herb and cheese bread.
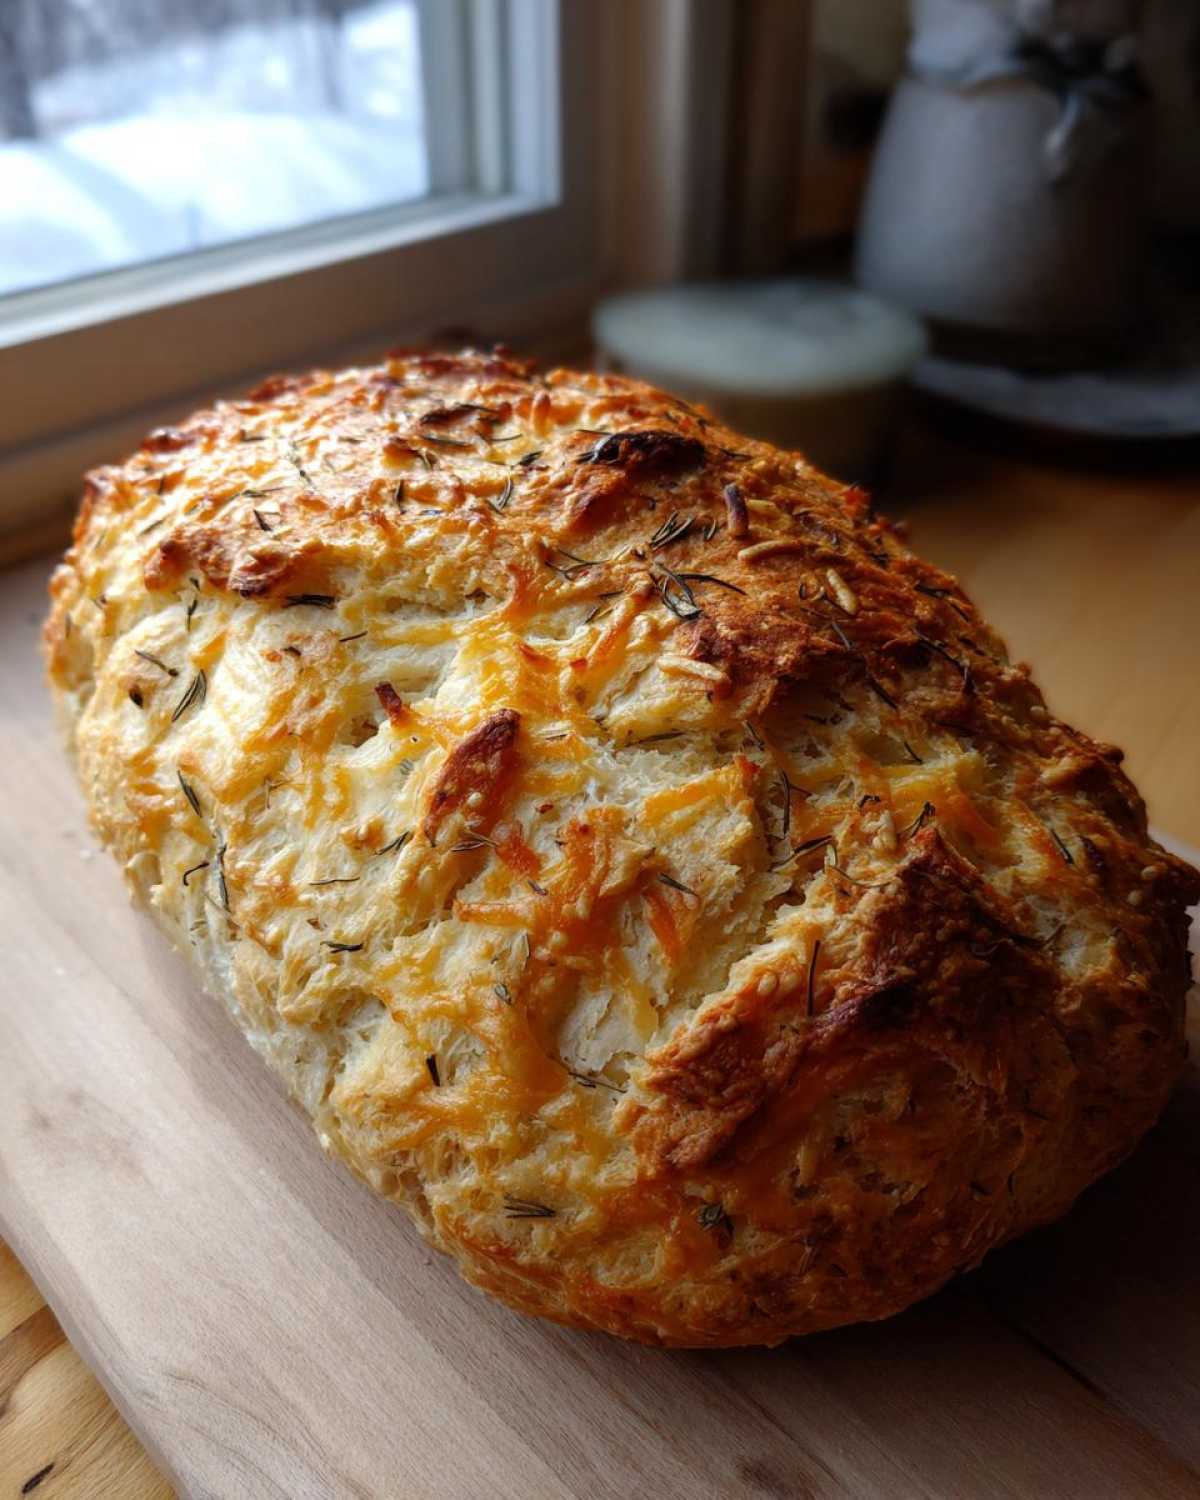
Step-by-Step Instructions for Perfect Italian Herb and Cheese Bread
Okay, this is where the magic happens, and honestly, it’s the easiest part! Chef Tariq always hammered it into us that respecting the order of ingredients is non-negotiable when using the machine. It keeps the yeast happy and keeps the gluten from overdeveloping too soon. We can break this down simply, focusing on timing so you get that beautiful, cheesy dinner bread.
Loading the Bread Machine Pan Correctly
First things first: liquids go in before solids. Pour in your warm water and olive oil first, following whatever order your machine manual recommends. Then, carefully layer in your bread flour, sugar, and salt on top. Now, here’s the essential trick for any beginner bread machine user: make a tiny little divot, or well, right in the center of the flour mound. Add your yeast right into that divot. Do not, I repeat, do *not* let that yeast touch the salt or the liquid yet—it’ll kill the yeast before it even starts working!
Adding Herbs and Cheese at the Right Time
Once you select your Basic/White cycle, the machine starts mixing. Let it run through the initial kneading phase. When it signals for mix-ins—usually about 10 minutes in—toss in your dried Italian seasoning and garlic powder. Let it mix for a bit more! The cheeses are the delicate part of this Italian herb and cheese bread, so we wait until the very end of the kneading cycle when the machine signals for the *final* additions. That’s when you drop in both the Parmesan and mozzarella. This timing ensures the cheese gets incorporated without being overworked or turning into oil slicks.
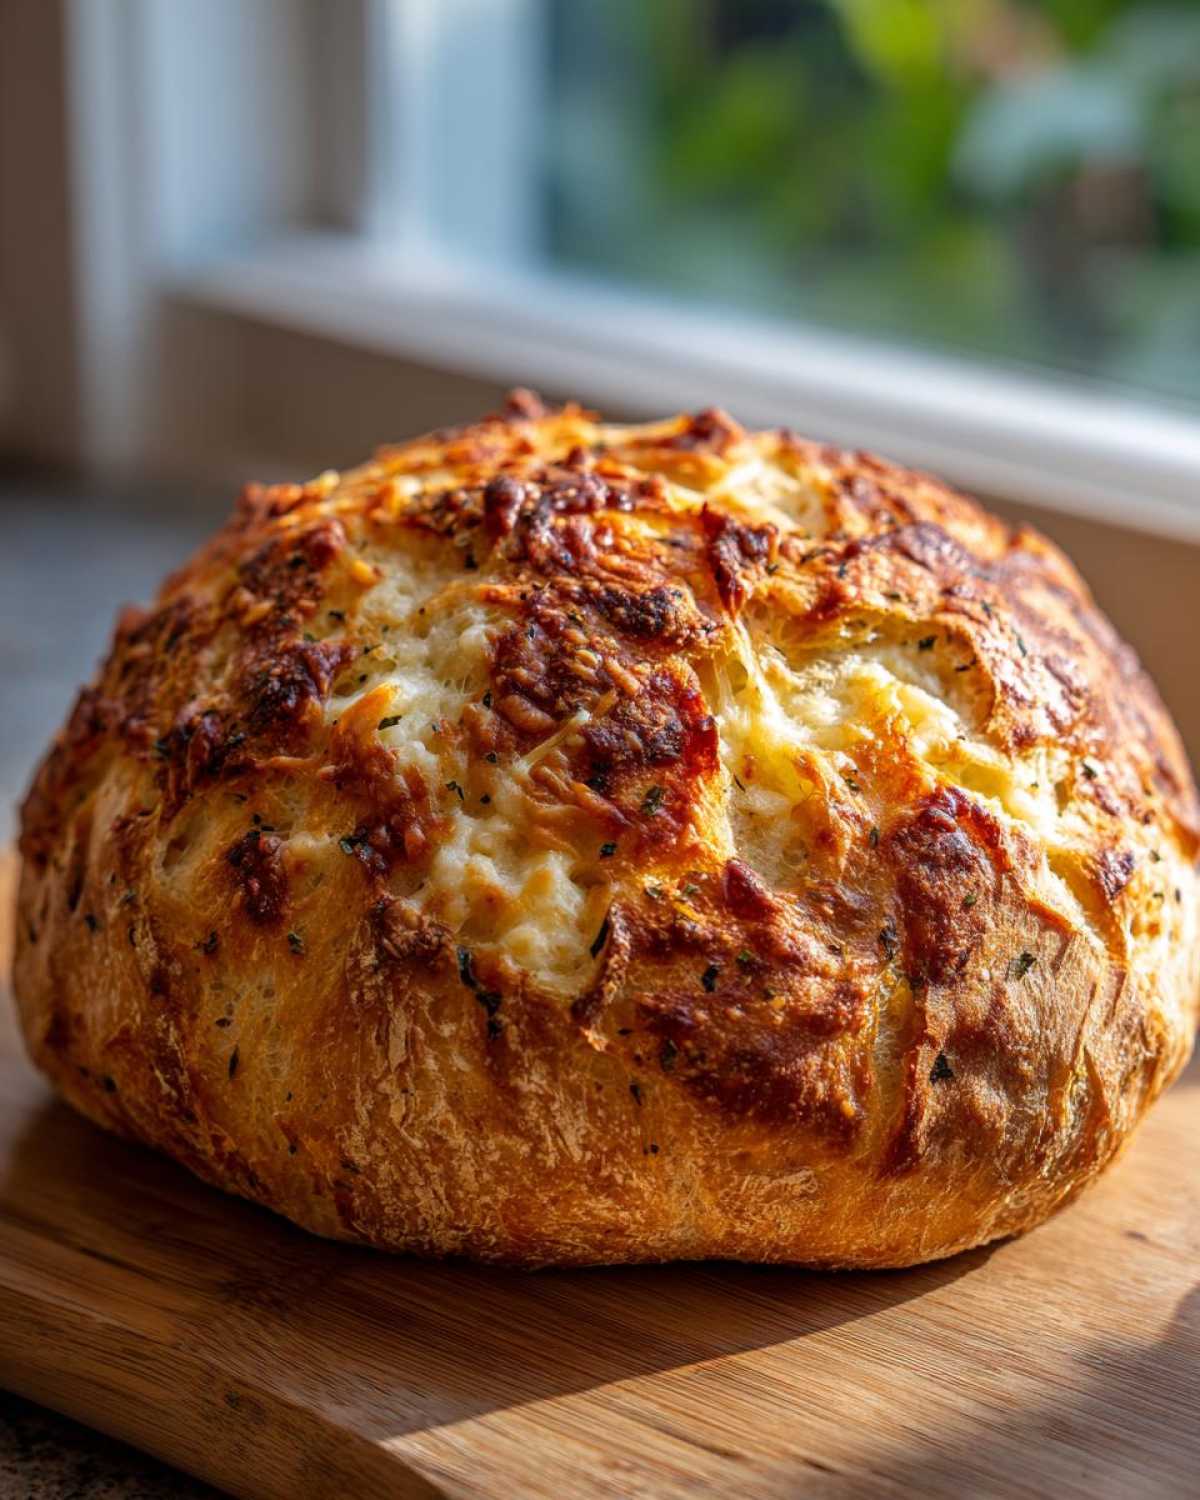
After that final addition, just let the machine run the whole program through baking. Check out more of our baking techniques if you want to level up!
Tips for Success with Your Cheesy Dinner Bread
Even easy bread machine recipes sometimes need a little nudge, right? I’ve learned a few tricks over the years to make absolutely sure you get that perfect crust and crumb every time. Dealing with humidity is a real factor—if it’s super damp outside, you might need an extra tablespoon of flour. How do you check? Wait for that initial 10-minute mix, pause your machine, and peek! You want to see a nice, smooth dough ball, not a sticky, wet mess sticking all over the sides. If it’s too wet, add flour one teaspoon at a time until it cleans the sides.
Achieving the Ideal Sandwich Loaf Texture
This is the big secret for any great sandwich loaf designed for slicing: Patience during the cooling phase! I know, I know, the smell of fresh Italian cheese bread is intoxicating, but you absolutely must let it cool *completely* on a wire rack. If you slice into it while it’s still warm, steam escapes too fast, and the texture turns gummy and dense, which ruins that perfect structure we worked so hard for. Wait at least an hour—it hurts, but it’s worth it!
Storing and Reheating Your Delicious Italian Herb and Cheese Bread
Now that you have this beautiful loaf, we need to protect that wonderful cheesy texture! This Italian herb and cheese bread stays surprisingly fresh at room temperature for about three days, provided you store it correctly. I like to wrap it tightly in plastic wrap first, and then put that whole package inside an airtight zip-top bag. This traps just enough moisture to keep the crumb soft.
If you happen to have leftovers (which, honestly, sometimes happens!), freezing is the way to go. Slice the cooled bread first, then wrap the slices securely before tossing them in the freezer. When you want a piece later—maybe for a quick snack or to make an amazing grilled cheese—you can reheat slices directly from frozen. A quick zap in the toaster or a few minutes in a warm oven will bring back that incredible fresh-baked aroma. For extra flavor when reheating, try spreading some of my homemade garlic butter on it before toasting!
Serving Suggestions for This Italian Cheese Bread
Once your Italian cheese bread has cooled completely and you’ve enjoyed that first perfect slice, you might wonder what else to do with it! Honestly, it’s amazing just standing alone, but it really shines when paired with other hearty dishes. It’s robust enough to be the star of a great lunch. Try transforming it into an epic grilled cheese—check out Leo’s tips for the gourmet grilled cheese secret ingredient to take that lunch game way up!
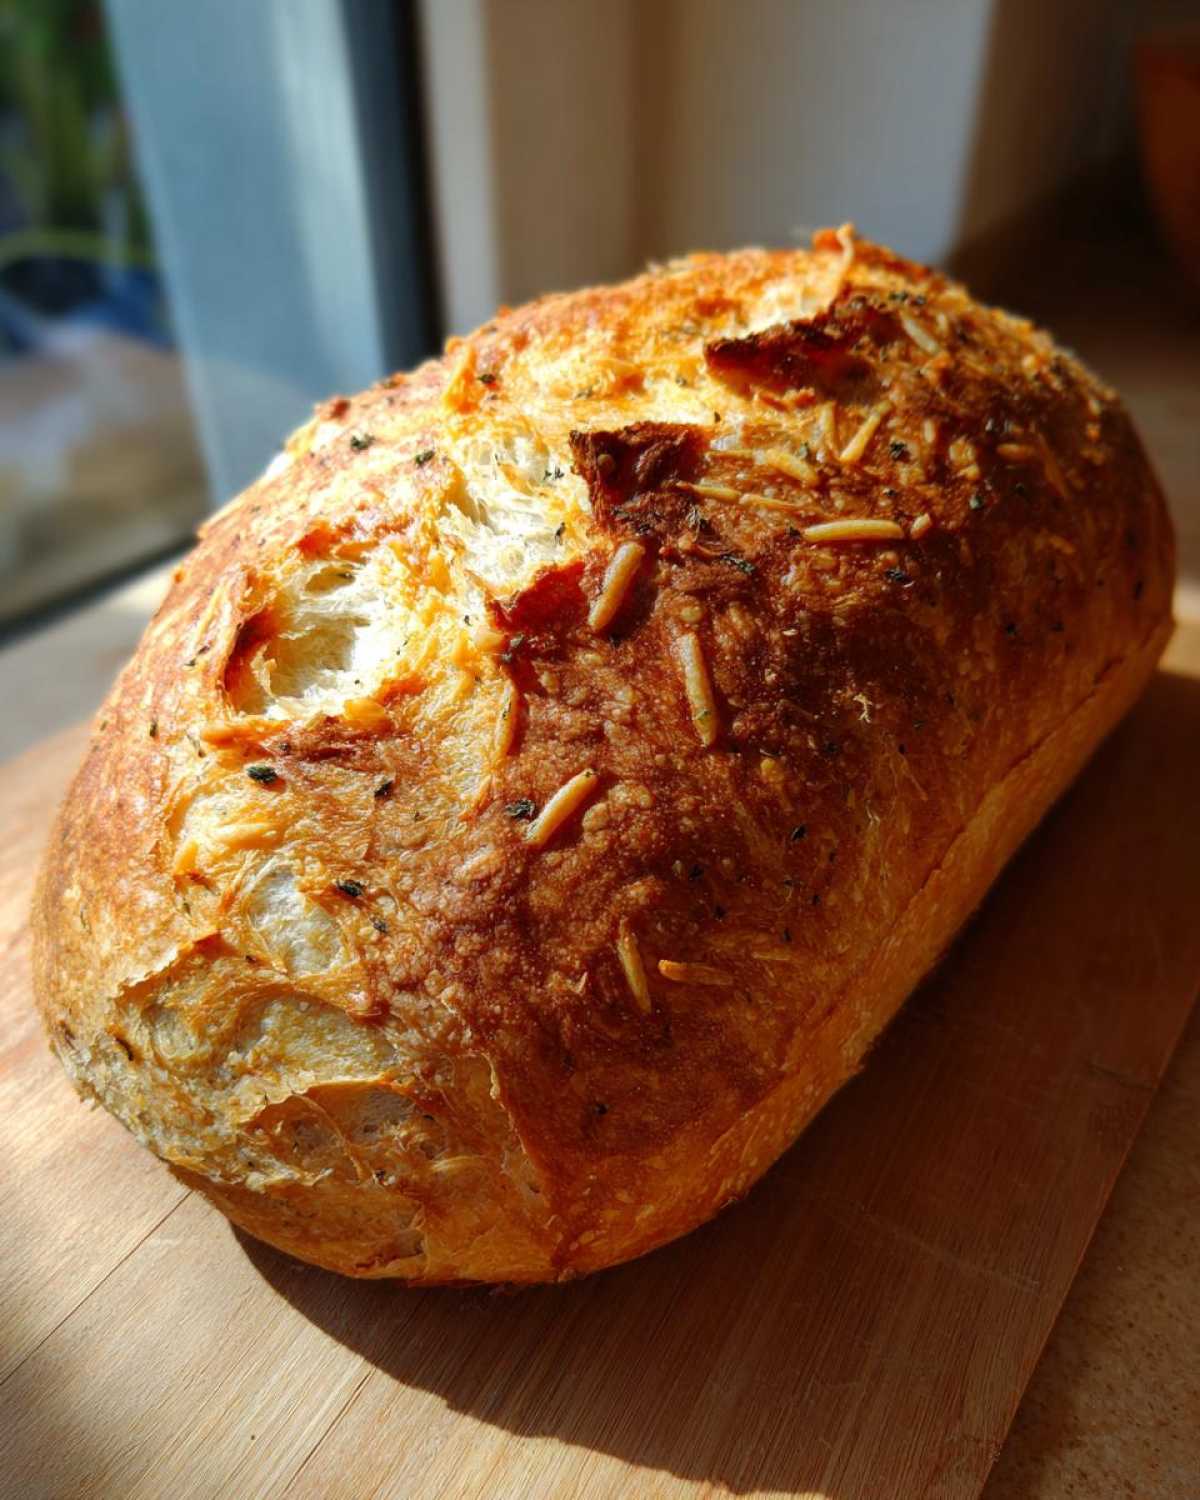
Because of the strong garlic and herb notes, this loaf is also the perfect dipping bread. It’s phenomenal served alongside a hot bowl of soup like a classic tomato basil or, even better, my personal favorite, this unbelievably smooth creamy potato leek soup. Don’t be afraid to use those thick slices for dipping!
Frequently Asked Questions About Bread Machine Herb Bread
I always get asked follow-up questions once folks try their first loaf. Bread machines are amazing, but they have their little quirks! Here are the most common things I hear after someone bakes their first batch of bread machine herb bread.
Can I use regular all-purpose flour instead of bread flour in this Italian herb and cheese bread recipe?
You totally *can*, but I really wouldn’t recommend it for this specific recipe. Bread flour has higher protein, which builds stronger gluten strands. That structure is what keeps the loaf from collapsing under the weight of all that cheese and herbs in the Italian herb and cheese bread. If you use All-Purpose, expect a denser, slightly shorter loaf. It’ll still taste great, but the texture might not be the perfect sandwich loaf we’re aiming for!
My bread machine didn’t signal for mix-ins. When should I add the herbs and cheese for this cheesy dinner bread?
Oh, that happens if you accidentally use the “Basic” cycle instead of the “Basic with Fruits/Nuts” cycle, or if your machine just doesn’t have that signal! No panic needed. Wait about 10 minutes into the kneading process—that’s usually when everything is thoroughly mixed but before the major rising starts. That’s your window to quickly pop in the seasonings and cheeses for this cheesy dinner bread. Watch carefully so you don’t lose too much heat!
How do I ensure my bread comes out as a perfect sandwich loaf and not a dense brick?
Two things matter most for a fluffy loaf: the temperature of your water and the freshness of your yeast. Use water around 80°F—if it’s too cold, the yeast sleeps; if it’s too hot, it dies! Also, always double-check your yeast expiration date. Old, lazy yeast is the number one culprit for sad, dense bread machine herb bread. If the yeast is lively, the bread machine will do the rest of the hard work for you!
Nutritional Estimates for Your Savory Loaf
I always like to include a little snapshot of the numbers, just so everyone knows what they are biting into! We all know cheese bread isn’t ‘diet’ food, but this Italian herb and cheese bread is packed with flavor, not excessive sugar. Remember, just like my grandmother always said about measuring spices, these numbers are estimates. They can change wildly depending on the brand of Parmesan you splurge on or exactly how much olive oil sticks to your measuring spoon! Use these figures as a general guide for your cheesy dinner bread.
Here are the estimates per one slice:
- Serving Size: 1 slice
- Calories: 155
- Sugar: 1g
- Sodium: 280mg
- Fat: 5g
- Saturated Fat: 2g
- Carbohydrates: 24g
- Protein: 5g
So, while it has a touch of sodium from the cheese and salt, the most important things—like sugar—stay incredibly low! That extra protein and fat come from using real cheese and quality flour, helping this sandwich loaf keep you satisfied longer!
Share Your Homemade Italian Herb and Cheese Bread Creations
I absolutely love seeing your results! Seriously, snap a photo of your perfect Italian herb and cheese bread loaf and tag us on social media so we can see your creation. If you made this recipe, please take a moment right below this section to give it a rating—especially if you’re new to bread machines! Tell us how it went; we read every single comment!
PrintEasy Italian Herb and Cheese Bread Machine Loaf
Bake a flavorful Italian herb and cheese bread right in your bread machine. This recipe makes a perfect sandwich loaf or dinner side bread.
- Prep Time: 10 min
- Cook Time: 3 hr 30 min
- Total Time: 3 hr 40 min
- Yield: 1 loaf
- Category: Bread
- Method: Bread Machine
- Cuisine: Italian
- Diet: Vegetarian
Ingredients
- 1 1/4 cups water, warm (about 80°F)
- 2 tablespoons olive oil
- 3 cups bread flour
- 1 tablespoon granulated sugar
- 1 teaspoon salt
- 1 1/2 teaspoons active dry yeast
- 1 tablespoon dried Italian seasoning blend
- 1 teaspoon garlic powder
- 1/2 cup shredded Parmesan cheese, divided
- 1/2 cup shredded mozzarella cheese
Instructions
- Add the warm water and olive oil to your bread machine pan in the order recommended by your manufacturer.
- Add the bread flour, sugar, and salt on top of the liquid ingredients.
- Make a small well in the center of the flour and add the yeast. Do not let the yeast touch the salt or liquid yet.
- Select the Basic or White Bread cycle on your machine.
- Wait for the initial mixing phase to complete (usually about 5-10 minutes).
- When the machine signals for mix-ins (or after the initial 10 minutes of mixing), add the dried Italian seasoning and garlic powder.
- Continue the mixing cycle. When the machine signals for the final additions (usually near the end of the kneading cycle), add the Parmesan cheese and mozzarella cheese.
- Allow the machine to complete the entire baking cycle.
- Once the cycle finishes, carefully remove the bread pan and turn the loaf out onto a wire rack to cool completely before slicing.
Notes
- For the best flavor, use high-quality Parmesan cheese.
- If your machine has a delay timer, do not add the yeast until you are ready to start the cycle.
- This cheesy dinner bread slices well once fully cooled, making it great for sandwiches.
Nutrition
- Serving Size: 1 slice
- Calories: 155
- Sugar: 1
- Sodium: 280
- Fat: 5
- Saturated Fat: 2
- Unsaturated Fat: 3
- Trans Fat: 0
- Carbohydrates: 24
- Fiber: 1
- Protein: 5
- Cholesterol: 7
