

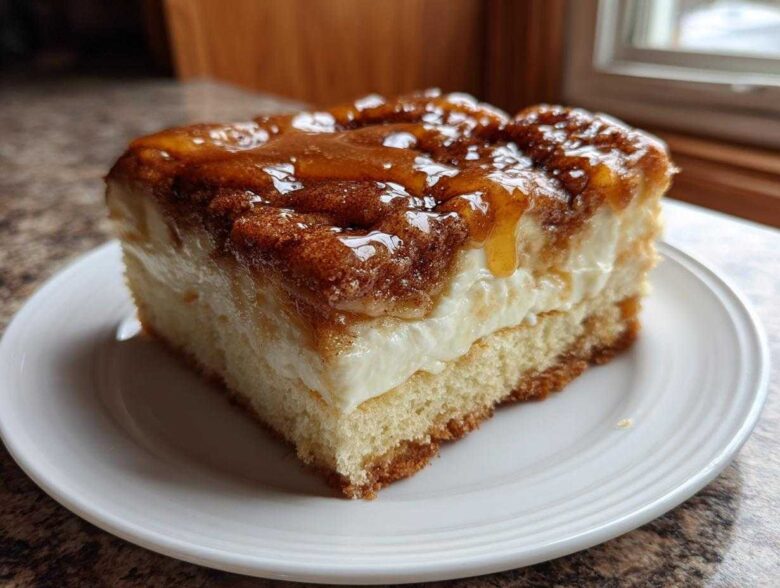
If you’re anything like me, you hunt for that perfect weekend baking project that feels special but doesn’t swallow your entire afternoon whole. Am I right? We all need a trusty go-to for unexpected guests or when the craving for something truly decadent hits. Well, stop looking, because I’ve cracked the code on the incredible sopapilla cheesecake!
This isn’t some fussy layered cake, trust me. This is pure magic packed into what we call sopapilla cheesecake bars. You get that buttery, flaky pastry—we cheat using the ready-made stuff, don’t worry—blanketing the creamiest, dreamiest cheesecake filling you can imagine. Then, we finish it off with that iconic cinnamon and sugar shower. I’ve tested this recipe again and again for parties, and it’s always the first thing gone. You absolutely have to try this easy sopapilla cheesecake recipe!
Why This Easy Sopapilla Cheesecake Recipe Works So Well
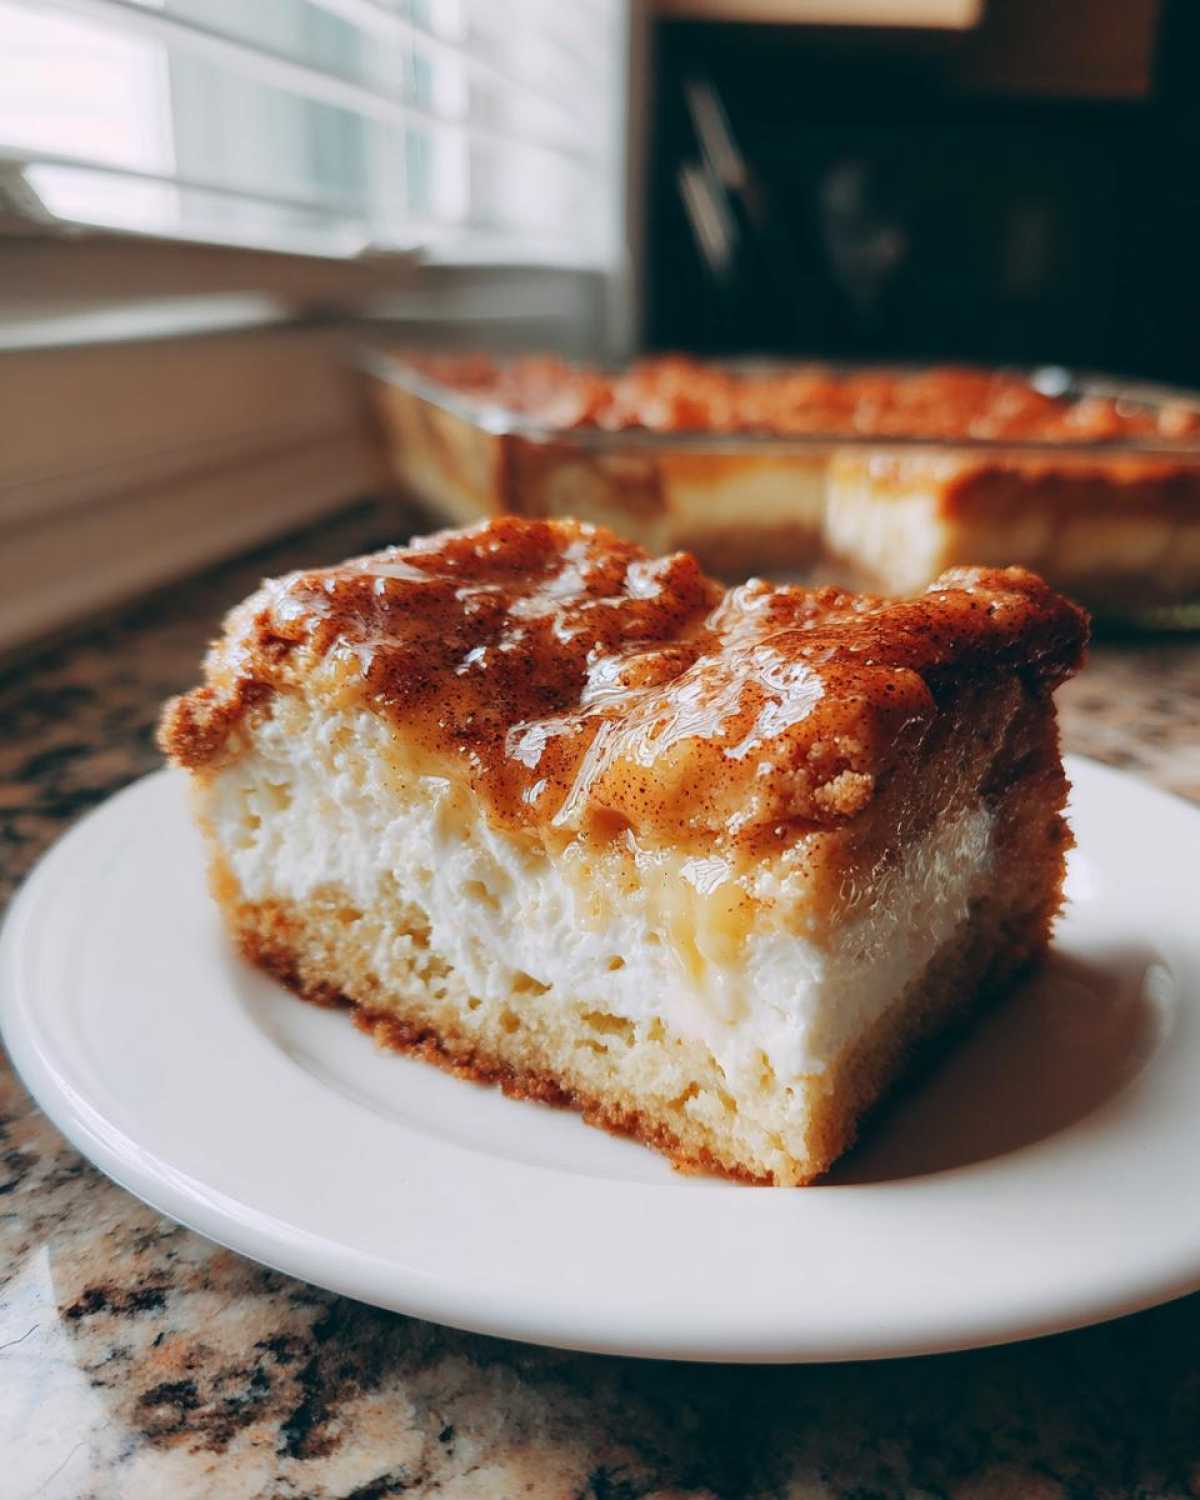
Listen, I get it. Sometimes you need dessert on the table fast, especially when you’re heading out to a gathering. That’s why I keep this recipe tucked away for those ’emergency dessert’ situations. This isn’t complicated baking; it’s smart baking! It’s one of my favorite easy dessert for crowds because everyone devours it, and nobody believes how fast I threw it together.
Quick Prep Time for Your Sopapilla Cheesecake Bars
Seriously, guys, the prep time is shockingly low—only about 15 minutes active time! That’s because we are letting the store-bought crescent roll dough do all the heavy lifting. Forget fiddling with pie crusts or pastry from scratch. You unroll, spread, top, and bake. That’s it! It truly is the definition of a quick sopapilla dessert. I have this mastered down to setting my timer for less than 10 minutes!
Achieving That Melts in Your Mouth Dessert Texture
What sets this apart from a regular cheesecake? Texture! You get the flaky, slightly crispy exterior from the pastry layers that just melts away. Then BAM! You hit that thick, cool, creamy cheesecake center. It’s the combination that makes people request this over and over. It’s rich, it’s sweet, and it absolutely qualifies as a melts in your mouth dessert when finished with that mandatory honey drizzle.
Gathering Ingredients for Your Sopapilla Cheesecake
Okay, the beauty of this recipe is that if you have a well-stocked pantry, you probably have most of this already! We are relying heavily on that fantastic store-bought crescent dough, which is a non-negotiable shortcut in my book. For the filling, everything needs to be ready to go before you start mixing, especially that cream cheese so we don’t get lumps!
Cream Cheese Filling Components for Sopapilla Cheesecake
First up is one full 8-ounce package of cream cheese, and listen closely—it absolutely has to be fully softened to room temperature. If it’s stiff, your filling will look bumpy, and nobody wants that! You’ll mix that with one whole cup of granulated sugar, one large egg, and just a splash of vanilla extract. Beat this until it’s unbelievably smooth; that step sets up the whole texture of our simple cream cheese recipes!
The Essential Cinnamon Sugar Dessert Topping
For the topping, we do a quick mix of another half cup of granulated sugar—that makes the sweet layers more complex—mixed aggressively with one tablespoon of ground cinnamon. Don’t skimp on the cinnamon here; this is where the sopapilla flavor really comes through! You can’t forget the final drizzle element: the stick of unsalted butter must be melted so you can pour it evenly over that sugar mix before it hits the oven.
Step-by-Step Instructions for Perfect Sopapilla Cheesecake Bars
Alright, now that everything is ready to go, this is where we bring the whole beautiful thing together! Make sure you remember to preheat your oven to 350 degrees F—don’t try to rush the preheating, an oven that’s not hot enough messes with the crescent dough structure. Grab your 9×13 pan and give it a light grease. We are building history, one layer at a time here for these amazing crescent roll cheesecake desserts!
Preparing the Crust and Creamy Cheesecake Bars Filling
First, gently unroll one entire package of that crescent dough and stretch it out evenly across the bottom of your pan. You want good, solid coverage so the filling doesn’t leak. While that’s sitting, go back to that filling we perfected earlier. Beat that softened cream cheese, the 1 cup of sugar, egg, and vanilla until it is perfectly homogenous and silky smooth. Spread that glorious mixture right on top of the bottom dough layer. Keep those spatula strokes gentle!
Layering and Topping Your Sopapilla Cheesecake
Next comes the magic moment! Unroll that second package of crescent dough and lay it gently right over the top of the cream cheese. You have to pinch those seams together—make sure they seal tight so you get a nice enclosed filling. Now, grab that cinnamon-sugar mix we made and sprinkle it generously all over the top dough layer. The final touch? Take that melted butter and drizzle it slowly across the entire surface. That butter soaks into the sugar, creating that unbelievably crisp crust for our perfect layered cheesecake bars!
Tips for Success Making Your Sopapilla Cheesecake
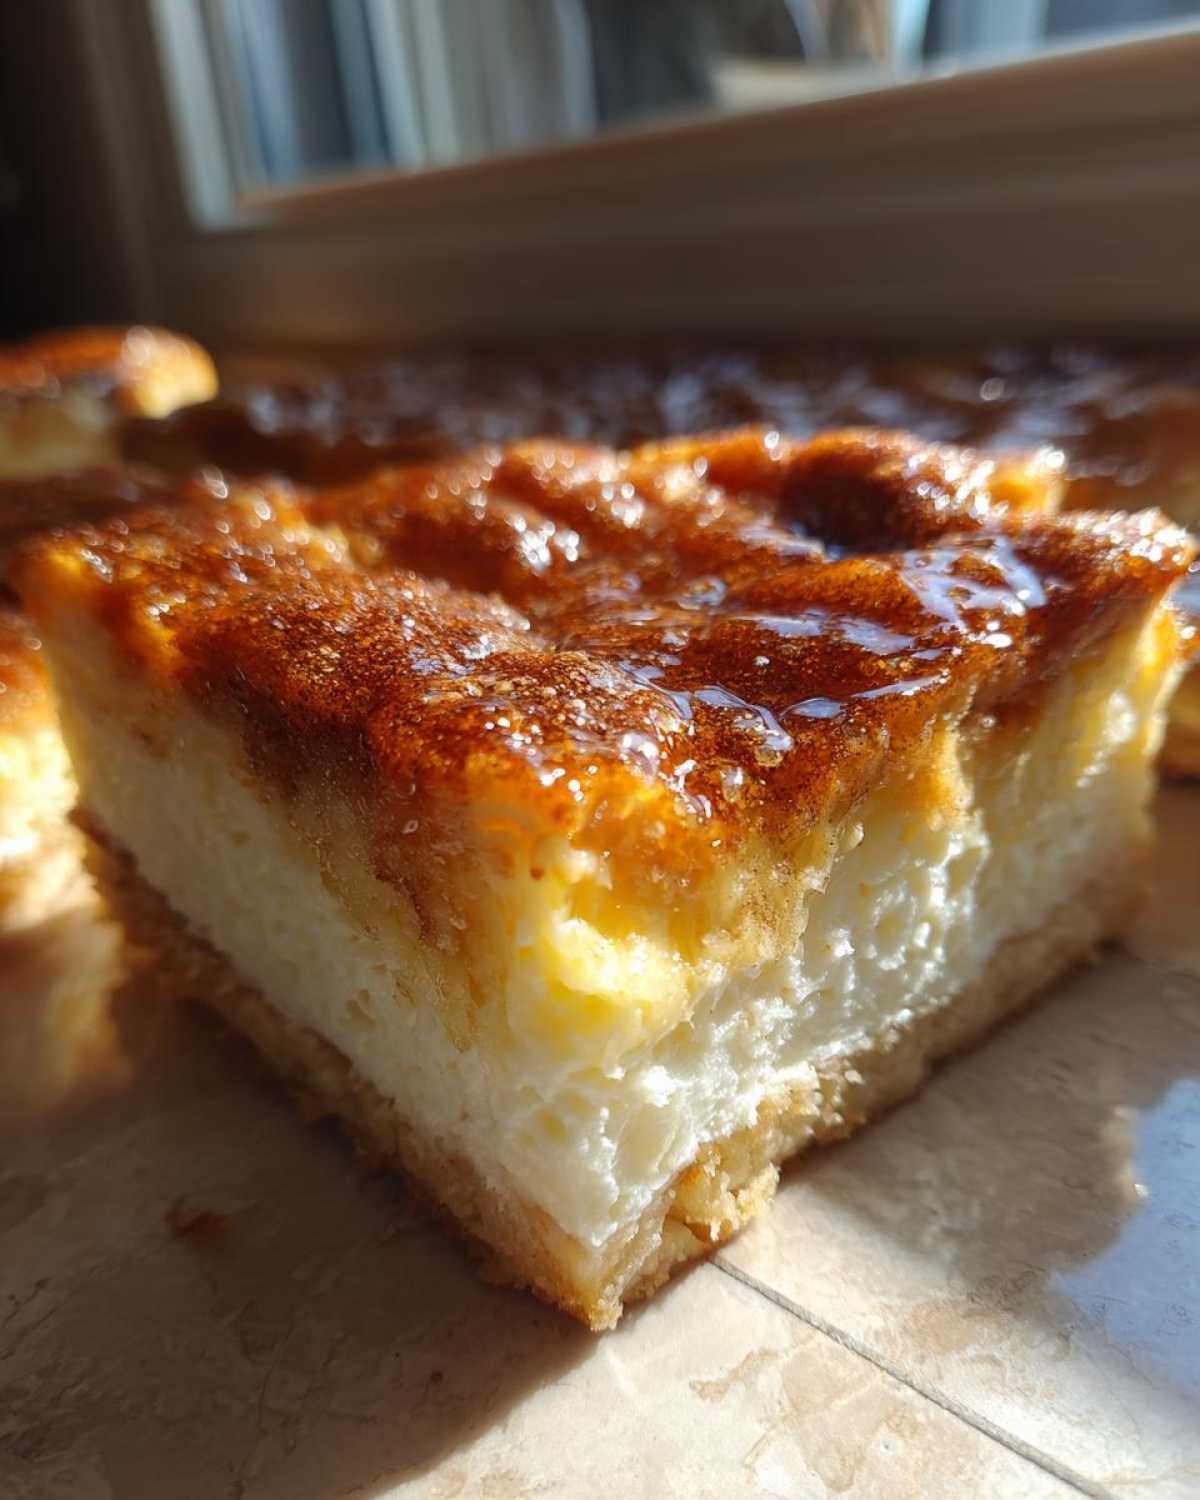
This recipe is already so incredibly straightforward, but even simple things benefit from a few insider knowing glances, right? Baking this gorgeous **sopapilla cheesecake** relies almost entirely on what you do *after* it comes out of the oven. If you try to cut it piping hot, you’ll end up with a delicious mess that looks like a cheese avalanche rather than neat squares! We need patience, my friends, even when it smells this good.
Cooling and Cutting This Flaky Pastry Dessert
The absolute rule here is cooling time. The instruction says 30 minutes, and you need to respect that! If you slice it too soon, that creamy center won’t have time to set up properly, and you’ll just drag the filling right out of the bars. It gets messy fast. I know, I know, you want to sneak a taste immediately, but just wait for that initial cooling period. If you are prepping this for a big party the next day—and I often do—pop the whole pan into the fridge once it’s cooled down a bit after those initial 30 minutes. Chilling solidifies that filling beautifully, making the cleanest cuts possible for this **flaky pastry dessert**. Seriously, chilling makes for stunning squares!
Serving Suggestions for This Mexican Inspired Cheesecake
The honey drizzle is non-negotiable for authenticity, but sometimes the honey is just too thick right out of the jar, especially in winter. If your honey is fighting you, warm it just slightly—maybe 10 seconds in the microwave. It makes drizzling so much easier to get those nice, delicate ribbons across the top. Don’t overdo the heating, though; we want it warm, not hot! Because this dish travels so well and holds its shape after cooling, it remains my number one go-to potluck dessert idea. Everyone loves digging into this rich, sweet bite of **Mexican inspired cheesecake**!
Variations on the Classic Sopapilla Cheesecake
Now that you’ve mastered the absolute perfect classic version of these beauties, you might start wondering how you can switch things up next time. That’s exactly where my head goes after making a batch—how can I make them *different* but still just as addicting? The wonderful thing about these **sopapilla cheesecake bars** is that they are so adaptable. You just have to be careful not to break the fundamental structure: crescent, cream cheese, crescent, topping!
I always stick to the core ingredients because they just work, but if you want to change the flavor profile slightly, I have a couple of easy swaps that I love trying out on those weekends when I feel a little extra adventurous. Plus, it gives the kids something new to talk about!
This recipe is so perfect as a base, and you can look at other tasty ideas when you get bored, check out my recipe for a sugar cookie cheesecake recipe if you need a different kind of inspiration!
Spice It Up Beyond Cinnamon
If you want to lean into that warm, spiced flavor profile, don’t reach for cayenne—that belongs in the actual sopapilla fry bread, not this dessert! Instead, try adding a little pinch of fresh nutmeg into your cream cheese filling. Nutmeg and cream cheese are ancient best friends; they give a wonderfully deep, almost sophisticated flavor without changing the texture at all. You only need about a quarter teaspoon! Or, if you love something zesty, a tiny bit of orange zest mixed in with the cinnamon-sugar topping can brighten everything up beautifully.
Swapping Out the Honey Drizzle
While I champion the honey drizzle—it’s what truly makes it a genuine **churro cheesecake bars** experience—sometimes you just want chocolate, right? If you want to swap that out, you have two great options. First, you can use a thin, melted chocolate glaze instead of the honey. Just melt good quality chocolate chips with a teaspoon of coconut oil and drizzle that over the bars after they’ve cooled completely. It makes it feel extra indulgent!
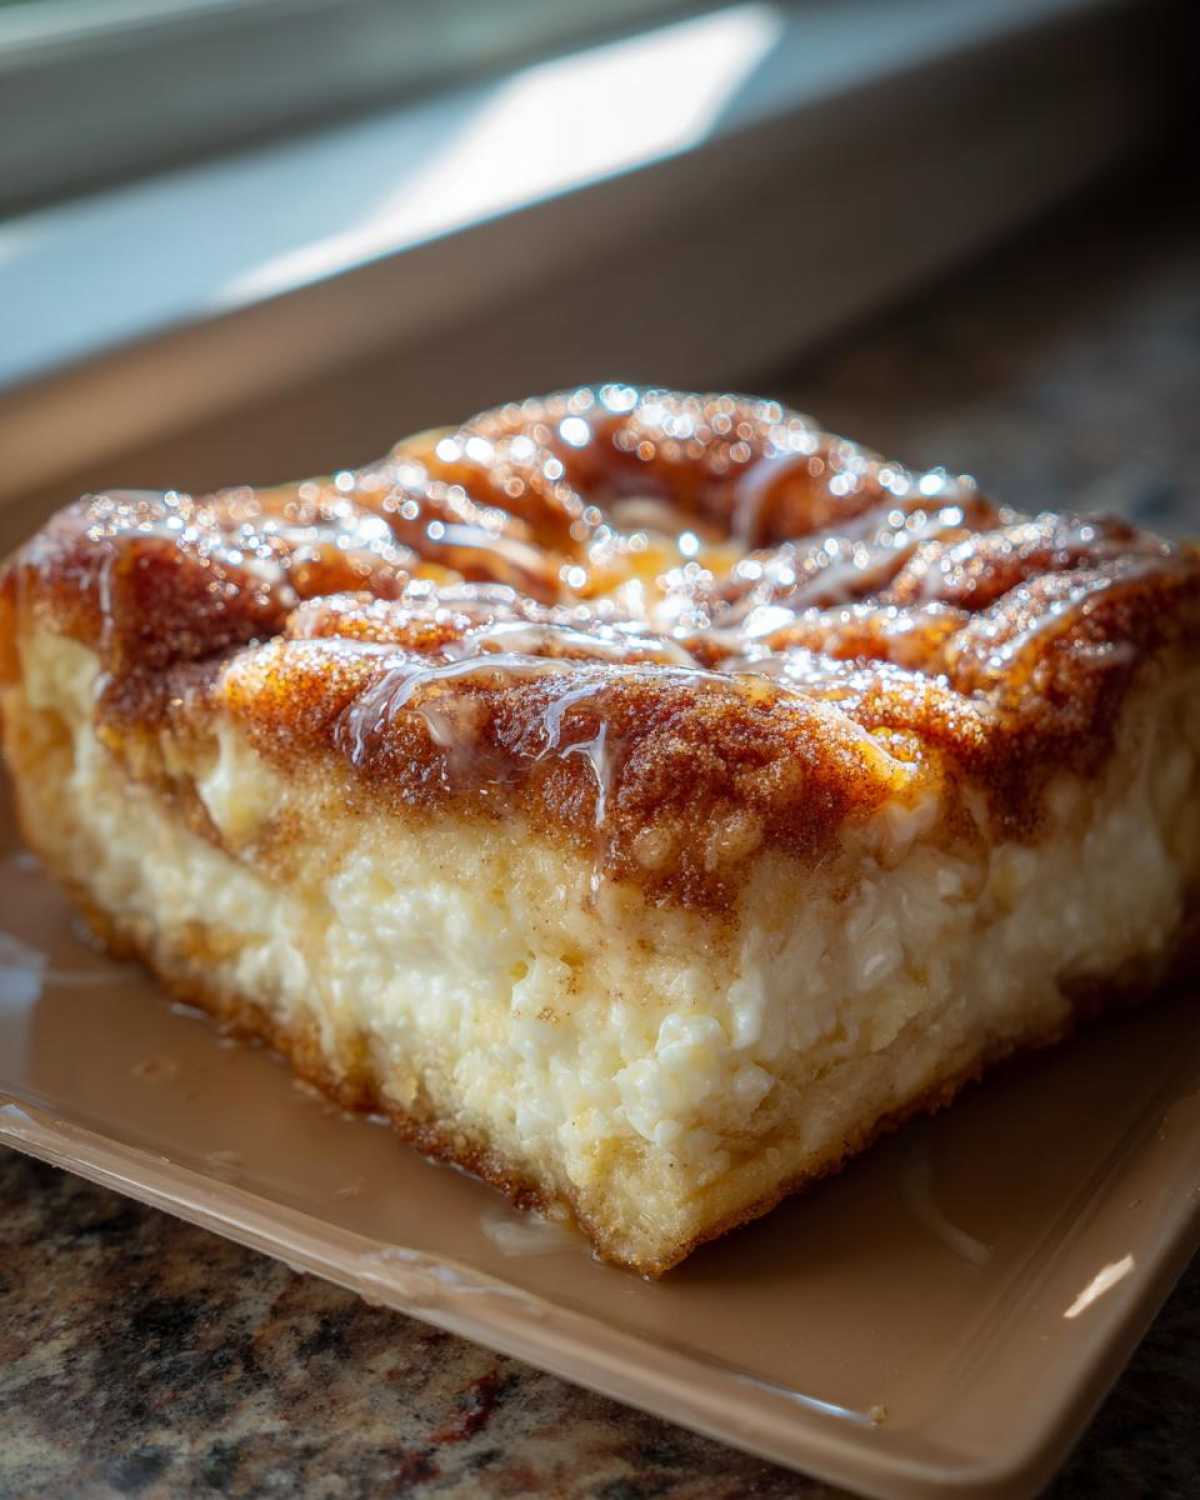
The second option is fun for holiday parties: thin apple butter or spiced pear preserves work wonders spread lightly across the top instead of honey. It keeps that sweet, slightly fruity flavor that complements the pastry so well, making it a fantastic **holiday cheesecake bars** alternative throughout the fall and winter!
Storage and Reheating Instructions for Sopapilla Cheesecake
Okay, so you actually managed to have leftovers! That’s a win right there. These sopapilla cheesecake bars are actually wonderful the next day because the flavors—especially that cinnamon sugar magic—really settle in overnight. But because we have that decadent cream cheese filling, storage is important to keep everything safe and perfectly textured.
The most important thing you need for storage is an airtight container. I can’t stress this enough. If you leave them exposed on a plate or loosely covered in plastic wrap, the edges of that beautiful crescent dough will go stale almost immediately. You want to protect the flaky pastry layers from drying out!
Refrigeration is Your Best Friend
Because this is essentially a cheesecake baked into a pastry, you absolutely must refrigerate any leftovers. Don’t try to keep them on the counter for more than a couple of hours—that cream cheese filling doesn’t mess around! Transfer any uneaten bars into a sturdy, airtight container. They keep perfectly well in the fridge for around four days. I find they are actually *better* on day two when they are cold and fully set up, making them almost like a dense, cold **cinnamon sugar dessert**.
How to Serve Chilled vs. Room Temperature
You have a choice when it comes to serving them after refrigeration. If you want that wonderfully firm, slightly chilled texture—almost like a firm, sweet slice of heaven—you can enjoy them straight from the fridge. They cut very cleanly this way, which is great if you are having people over and want to show off those perfect squares.
However, if you prefer that truly soft, “melts in your mouth” experience we talked about, just pull the container out of the fridge about 30 minutes before you plan to serve them. That little bit of time on the counter takes the chill off the cream cheese filling just enough to soften it up beautifully without compromising food safety. No reheating is necessary for this sweet treat, honestly!
Frequently Asked Questions About Sopapilla Cheesecake Bars
I always get asked the same few questions when I bring these **sopapilla cheesecake bars** to a gathering. It’s natural! When a dessert looks this good and sounds this easy, people want to know all the little secrets. Don’t worry if you have questions—that just means you care about making the absolute **best sopapilla cheesecake** possible. Here are the things I hear most often!
Can I make this sopapilla cheesecake recipe ahead of time?
Yes, you absolutely can, and I highly recommend it if you are serving a crowd! You can assemble the entire thing—crust, filling, top dough, cinnamon sugar, and butter drizzle—and cover the pan tightly with foil or plastic wrap. Keep it in the fridge overnight if you need to. The dough stays great! However, you MUST bake it the same day you plan to serve it, or the dough might get soggy. If you only want to prep a little bit, you can make the cream cheese filling the day before; just make sure it’s super cold when you spread it on the bottom crust so it doesn’t melt the dough!
What is the difference between these bars and churro cheesecake bars?
Oh, this is a fun one! Honestly, if you ask ten different bakers, you might get ten slightly different answers, but in my kitchen, they are neighbors! For all intents and purposes, these are the same thing. Anytime you see something called a **churro cheesecake bar**, it’s relying on that signature cinnamon-sugar crunch and creamy texture we get here. The term ‘sopapilla’ usually refers to the slightly puffed pastry element, which we achieve with the crescent rolls, and ‘churro’ refers to the heavy cinnamon sugar coating. So, when you make this recipe, you are making both! Isn’t that convenient? It’s a great Mexican inspired cheesecake hybrid!
Why did my cheesecake filling sink in my layered cheesecake bars?
This usually happens for two reasons, and both relate back to timing! Reason one: you might have pulled them out of the oven *just* a little too early. If the center still jiggles like gelatin when you move the pan, it hasn’t set, and it will sink when it cools as the structure gives way. You want a very slight wobble, not a slosh! Reason two ties into my cooling advice: you must let them cool! If you try to slice these **layered cheesecake bars** while they are still scorching hot, the internal structure hasn’t fully bonded yet, and the filling collapses under the knife. Give them that full 30 minutes to cool down before you even *think* about slicing.
What is the best way to get that perfect honey drizzle?
I touched on this earlier, but it’s so important for presentation! If your honey is thick, trying to drizzle it thinly and evenly over the entire pan is impossible—you just end up with big globs. Before you drizzle, put your honey spoonful into a small, microwave-safe bowl and heat it for about 10 to 15 seconds, just until it loosens up and flows easily off the spoon. You don’t want it hot, just thin enough to spread. It makes achieving those beautiful ribbons across the top so much easier, which is key for presentation at any event!
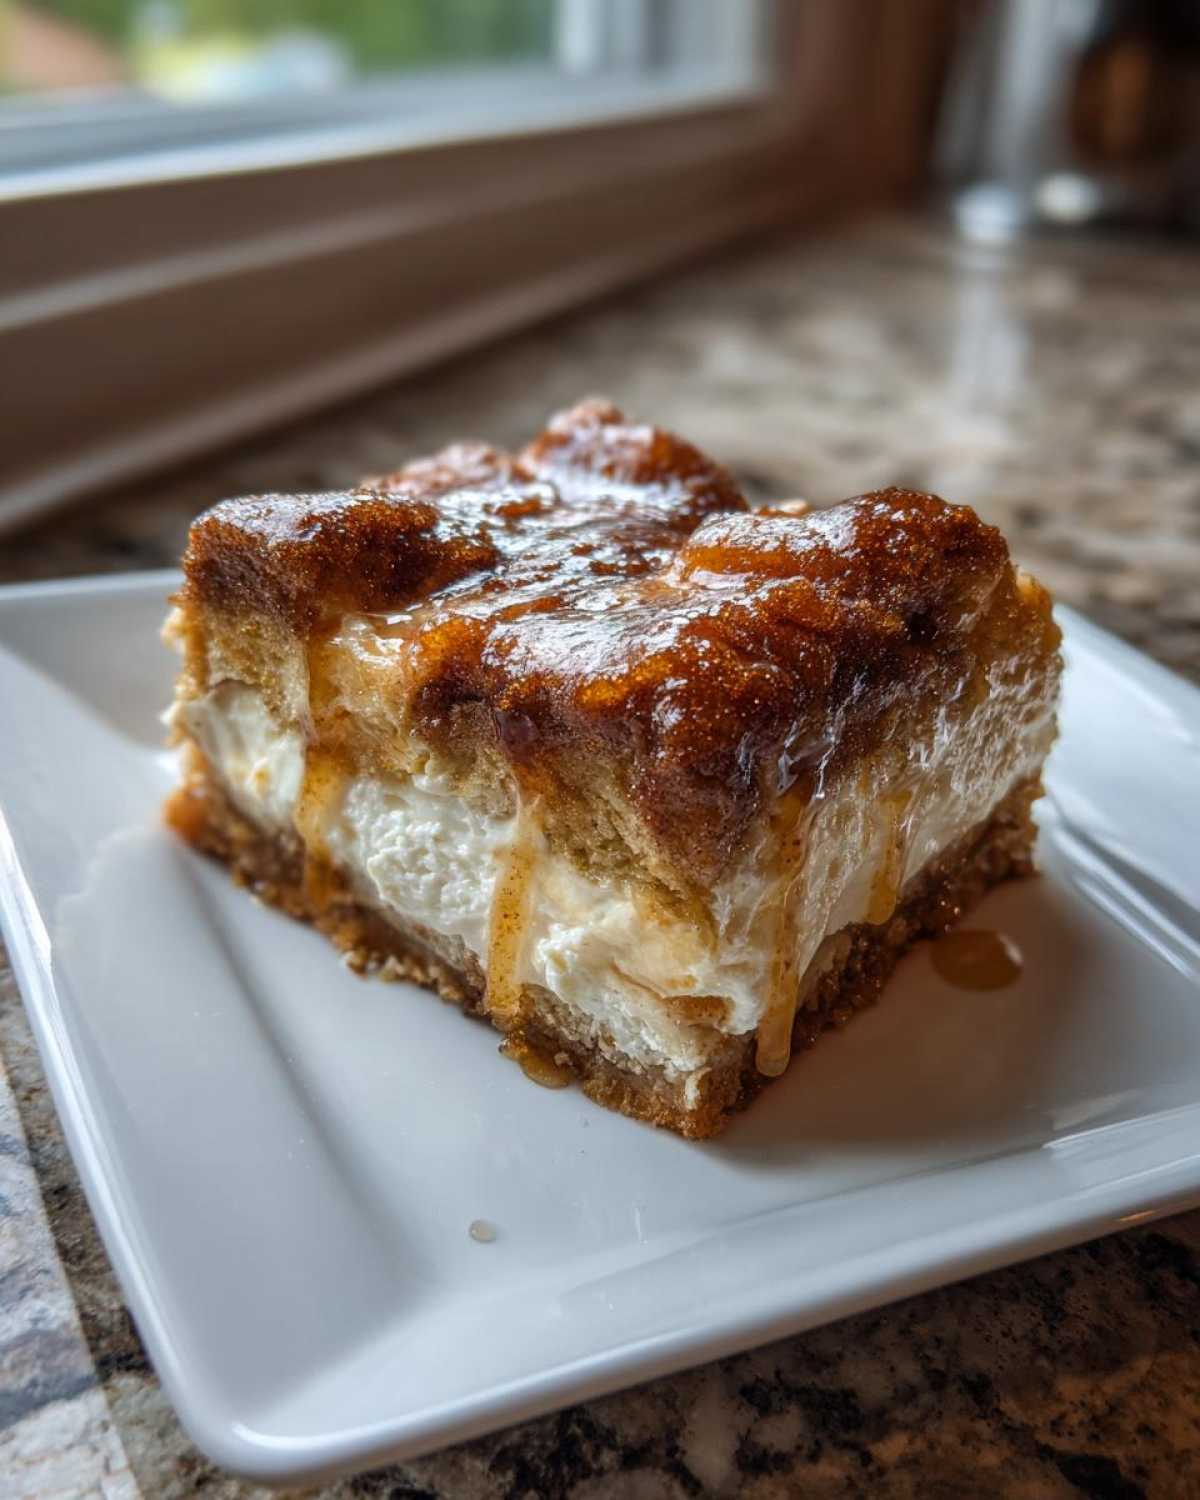
Estimated Nutritional Data for Sopapilla Cheesecake
I always like to give you guys the rundown on what you’re digging into, even though I rarely count calories when dessert is involved! Please remember that these numbers are just estimates, the best I can calculate based on the ingredients listed. If you use a lower-fat cream cheese or skip the honey completely, those numbers obviously shift. But generally speaking, these are a decadent, satisfying slice perfect for a weekend treat!
- Serving Size: 1 bar
- Calories: 250
- Sugar: 20g
- Sodium: 180mg
- Fat: 15g
- Carbohydrates: 25g
- Protein: 4g
As you can see, they pack a punch of flavor, but they aren’t nearly as heavy as some of those deep-fried carnival sweets! It’s a great trade-off for a big, buttery, baked dessert.
Share Your Homemade Sweet Treat Experience
I pour my heart into making sure these recipes work perfectly for you, and honestly, seeing your results is the best part of running this blog! I need to know how your very first batch of **sopapilla cheesecake** turned out. Did you manage to wait the full 30 minutes before cutting? Are you team honey drizzle or team chocolate glaze now?
Hop down to the comments below and rate this recipe out of five stars—it helps other bakers know they can trust this recipe too! And if you snapped any gorgeous photos of those flaky pastry layers and smooth cheesecake squares, tag me on social media! I love seeing all your beautiful **homemade sweet treat** creations. Happy baking, friends!
Estimated Nutritional Data for Sopapilla Cheesecake
I always like to give you guys the rundown on what you’re digging into, even though I rarely count calories when dessert is involved! Please remember that these numbers are just estimates, the best I can calculate based on the ingredients listed. If you use a lower-fat cream cheese or skip the honey completely, those numbers obviously shift. But generally speaking, these are a decadent, satisfying slice perfect for a weekend treat!
- Serving Size: 1 bar
- Calories: 250
- Sugar: 20g
- Sodium: 180mg
- Fat: 15g
- Carbohydrates: 25g
- Protein: 4g
As you can see, they pack a punch of flavor, but they aren’t nearly as heavy as some of those deep-fried carnival sweets! It’s a great trade-off for a big, buttery, baked dessert.
Share Your Homemade Sweet Treat Experience
I pour my heart into making sure these recipes work perfectly for you, and honestly, seeing your results is the best part of running this blog! I need to know how your very first batch of sopapilla cheesecake turned out. Did you manage to wait the full 30 minutes before cutting? Are you team honey drizzle or team chocolate glaze now?
Hop down to the comments below and rate this recipe out of five stars—it helps other bakers know they can trust this recipe too! And if you snapped any gorgeous photos of those flaky pastry layers and smooth cheesecake squares, tag me on social media! I love seeing all your beautiful homemade sweet treat creations. Happy baking, friends!
PrintEasy Crescent Roll Sopapilla Cheesecake Bars with Honey Drizzle
Make simple, crowd-pleasing Sopapilla Cheesecake Bars using crescent roll dough for a flaky crust and a creamy center, topped with cinnamon sugar and honey.
- Prep Time: 15 min
- Cook Time: 35 min
- Total Time: 50 min
- Yield: 16 bars
- Category: Dessert
- Method: Baking
- Cuisine: American
- Diet: Vegetarian
Ingredients
- 1 (8 ounce) package crescent roll dough
- 1 (8 ounce) package cream cheese, softened
- 1 cup granulated sugar
- 1 large egg
- 1 teaspoon vanilla extract
- 1/2 cup granulated sugar
- 1 tablespoon ground cinnamon
- 1/2 cup (1 stick) unsalted butter, melted
- 1/2 cup honey, for drizzling
Instructions
- Preheat your oven to 350 degrees F. Lightly grease a 9×13 inch baking pan.
- Unroll one package of crescent roll dough and press it evenly into the bottom of the prepared pan.
- In a medium bowl, beat the softened cream cheese, 1 cup of sugar, egg, and vanilla extract until smooth. Spread this cream cheese mixture evenly over the bottom layer of dough.
- Unroll the second package of crescent roll dough and place it over the cream cheese layer. Pinch the seams together to seal the edges.
- In a small bowl, mix the remaining 1/2 cup of sugar and the cinnamon. Sprinkle this mixture evenly over the top layer of dough.
- Drizzle the melted butter over the cinnamon-sugar topping.
- Bake for 30 to 35 minutes, or until the top is golden brown and the filling is set.
- Let the bars cool in the pan for at least 30 minutes before cutting.
- Drizzle with honey just before serving. Cut into squares.
Notes
- For easier cutting, chill the bars for one hour after cooling slightly before slicing.
- You can use store-bought honey or warm your honey slightly to make drizzling easier.
- This recipe works well for potlucks and parties because it travels easily.
Nutrition
- Serving Size: 1 bar
- Calories: 250
- Sugar: 20
- Sodium: 180
- Fat: 15
- Saturated Fat: 8
- Unsaturated Fat: 7
- Trans Fat: 0
- Carbohydrates: 25
- Fiber: 1
- Protein: 4
- Cholesterol: 40
