

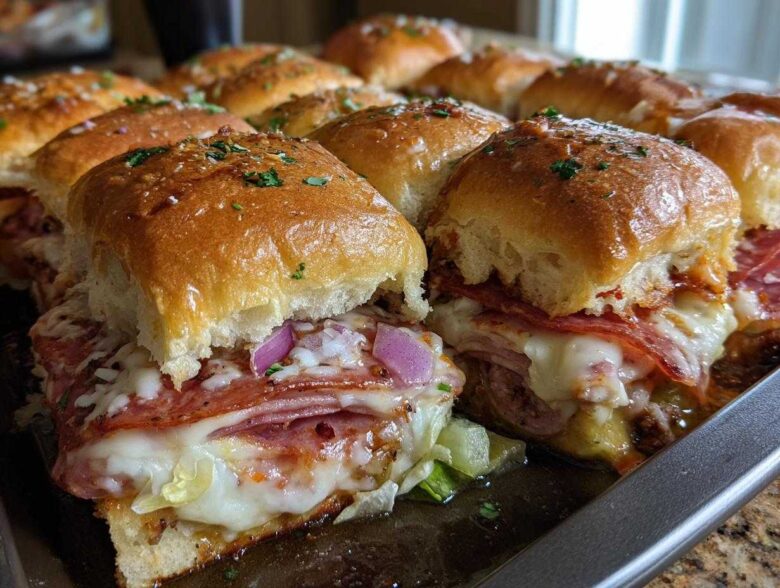
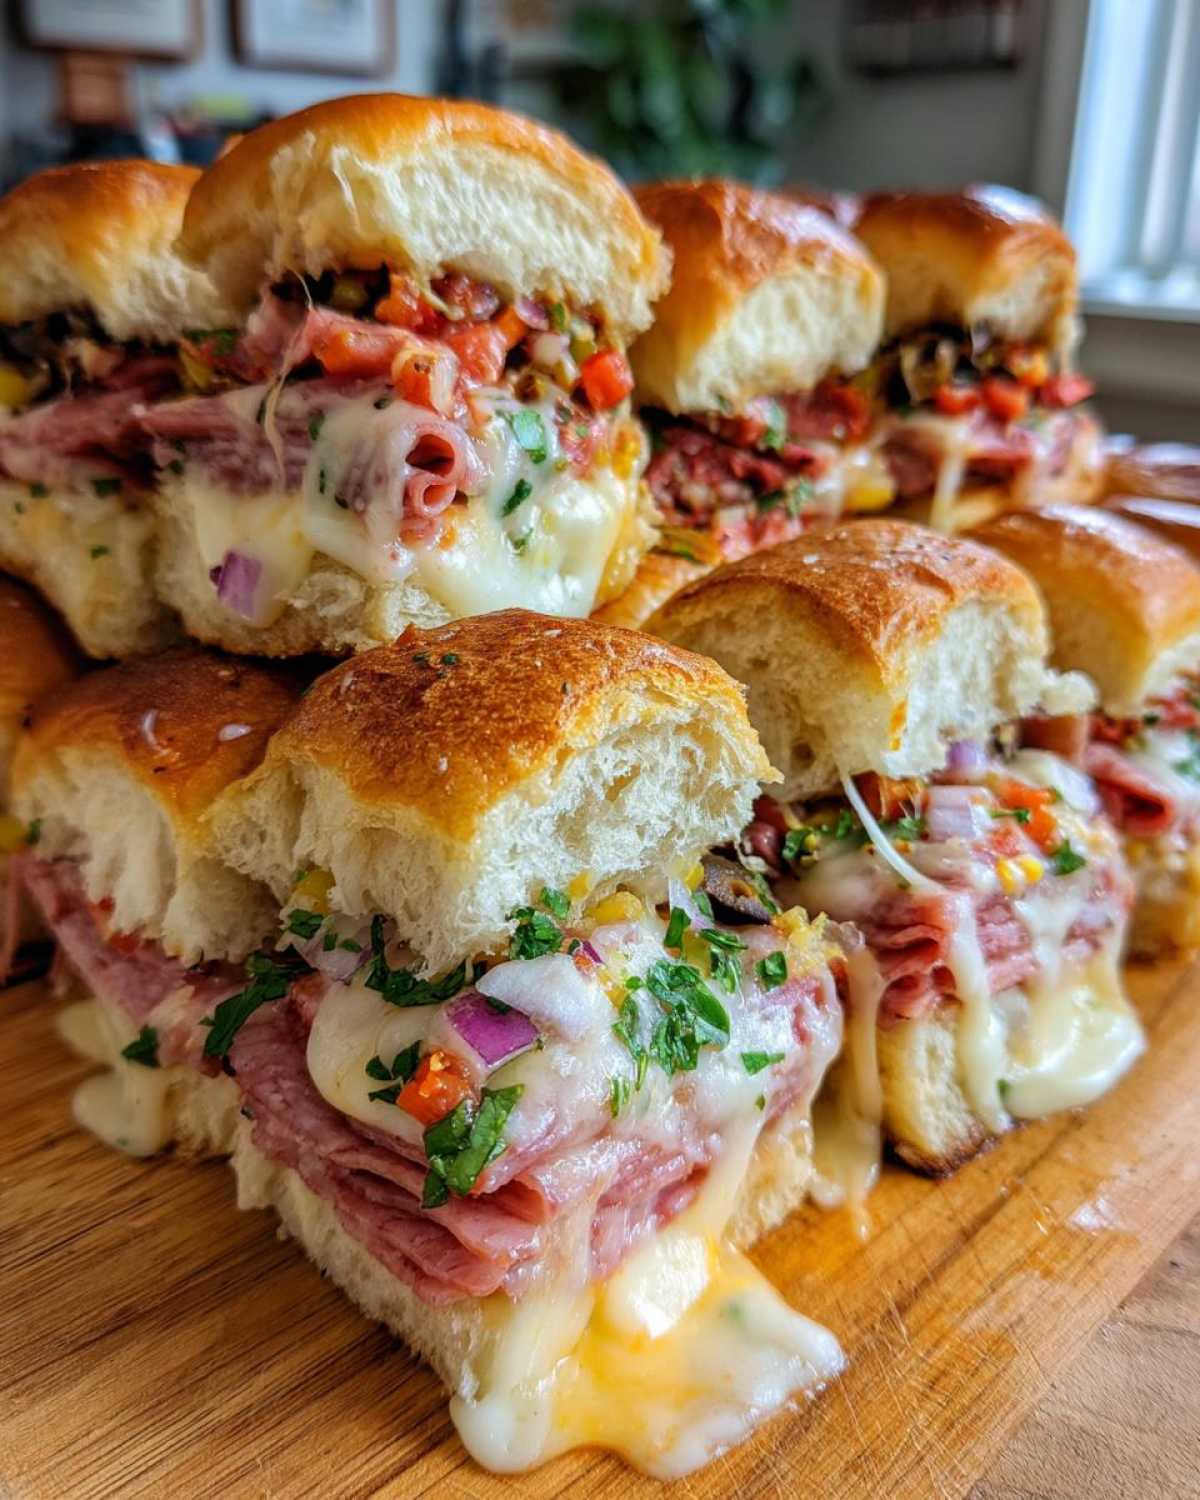
Oh my gosh, if you are looking for something that disappears instantly at any gathering—I mean instantly—you have to try these! Forget fiddling with tiny sandwiches on game day; we’re taking the hearty flavor of a classic Italian deli sub and baking it all together on the sweetest, softest rolls you can find. Yes, I’m talking about those Hawaiian rolls, they are the secret weapon here. These easy game day food heroes are technically grinder sliders, but trust me, they taste like you spent hours assembling individual masterpieces. I spent way too long perfecting that tangy, chopped topping last year just so it wouldn’t make the bottoms soggy. Once you nail that balance, these are unstoppable!
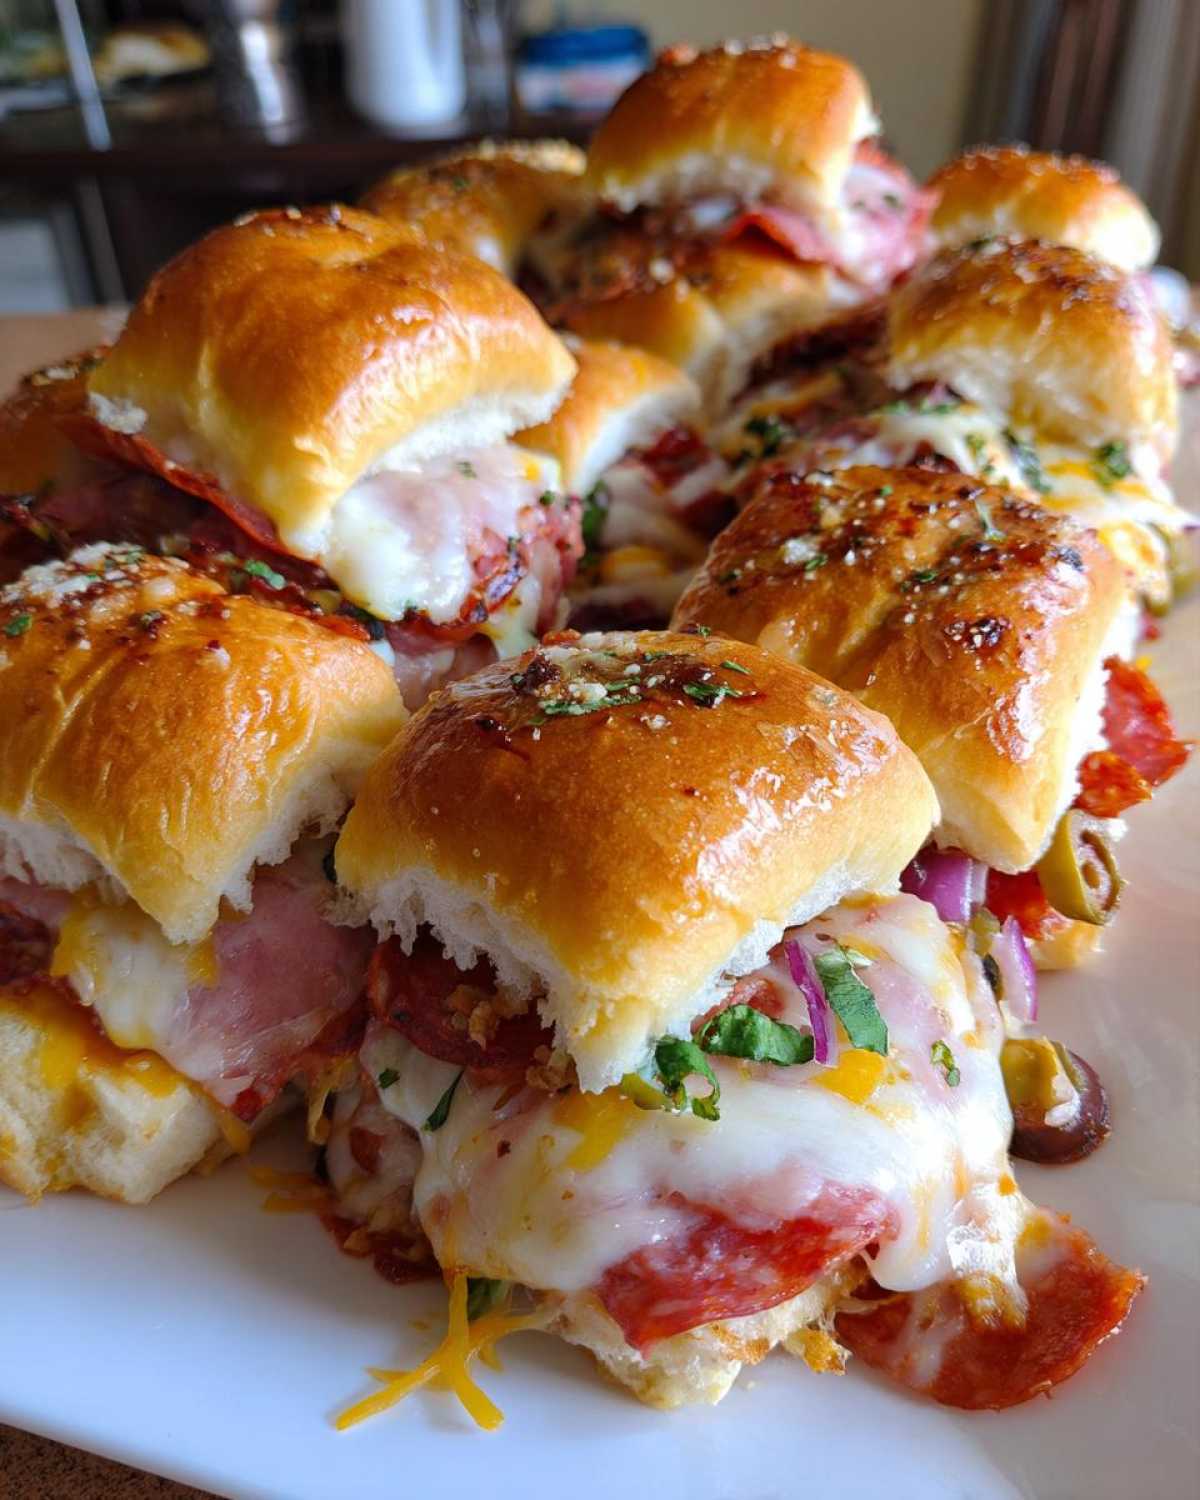
Why You Will Make These Italian Grinder Sliders Often
Honestly, these Italian Grinder Sliders Recipe are going to take over your weekend menu. They hit that perfect spot between simple preparation and maximum flavor payoff. You’ll be pulling these out for everything!
- They are unbelievably fast—less than 40 minutes total!
- The combination of sweet roll, salty meat, and tangy topping is pure magic.
- They are truly a set-it-and-forget-it oven baked favorite.
- You can customize the meats easily for any crowd.
It’s just the best, easiest crowd pleasing appetizer you can dream up.
Gathering Ingredients for Your Grinder Sliders
Okay, don’t panic when you see the list! Truthfully, most of the ingredients are already waiting in your fridge or spice cabinet. We are splitting this up so you know exactly what goes into the signature topping and what gets layered beneath the melted cheese. Getting your ingredients prepped is half the battle for these amazing Deli Meat Sliders.
For the Sweet & Savory Topping
This topping is what makes them taste like a real grinder, so be precise with your chopping! We want texture, not soup!
- 1/4 cup finely chopped red onion
- 1/4 cup finely chopped iceberg lettuce
- 2 tablespoons sliced black olives, chopped
- 1 tablespoon banana peppers, sliced and chopped
- 1 tablespoon red wine vinegar
- 1/2 teaspoon dried oregano
- 1/4 teaspoon salt
- 1/8 teaspoon black pepper
For the Oven Baked Sliders Assembly
This is the decadent, hearty part! Make sure you grab the sweet ones—Hawaiian Roll Sliders really are the gold standard for this recipe.
- 1 package (12 count) sweet Hawaiian slider rolls
- 1/2 cup unsalted butter, melted
- 1 tablespoon Dijon mustard
- 1 teaspoon Italian seasoning
- 1/2 teaspoon garlic powder
- 1/4 teaspoon onion powder
- 1/2 pound thinly sliced ham
- 1/2 pound thinly sliced salami
- 1/2 pound thinly sliced pepperoni
- 1/2 pound thinly sliced provolone cheese
- 1/2 pound thinly sliced Swiss cheese
Step-by-Step Instructions for Perfect Grinder Sliders
I know everyone loves a quick recipe, but for these grinder sliders, we are moving in two distinct stages to make sure the bread stays crisp and the cheese gets perfectly gooey. Pay close attention to the timing—it really matters here for these oven baked sliders!
Preparing the Rolls and Layering the Meats and Cheeses
First things first, get your oven heating up to 350 degrees Fahrenheit. Lightly grease that 9×13 pan so nothing sticks later. Now for the crucial part: take the entire package of rolls and slice them through the middle horizontally, but—and this is key—don’t separate them! You need that big block of connected bottoms.
Place the bottom half in your prepared dish. Now we layer! I like to alternate meats and cheeses. Don’t just throw everything on in one pile. Start with the ham, then salami, then pepperoni. Next, slap down all that provolone, and top it off with the Swiss. My little trick? Make sure the cheese completely covers the edges of the meat underneath. This helps all the layers glue together during that first bake!
Finally, whisk together your butter topping—melted butter, Dijon, garlic powder, Italian seasoning, and onion powder—and brush that glorious mixture *evenly* over the top half of the rolls. Place the top carefully back on your giant sandwich block.
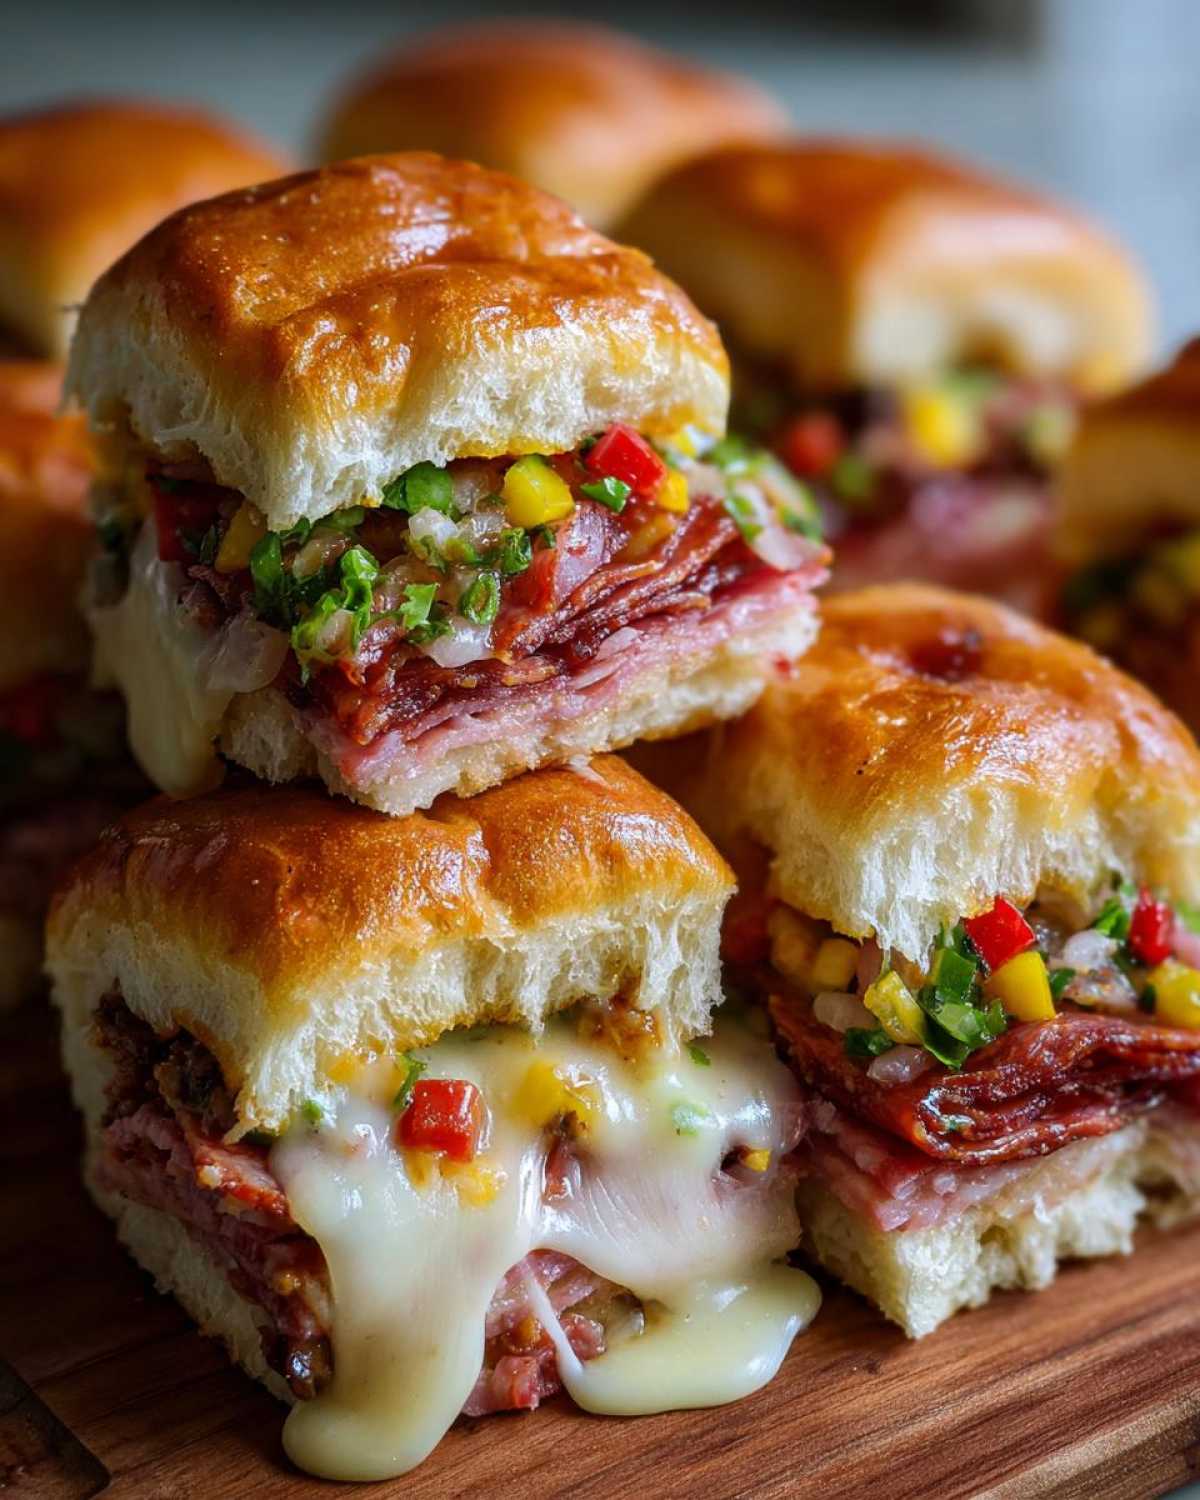
Baking and Adding the Tangy Deli Style Topping Sliders Finish
Into the oven they go for the first round. Bake them for 15 minutes. This is where the magic starts and the cheese begins to melt underneath that beautiful buttery crust. While those are baking, mix up that chopped veggie topping we prepared earlier—the vinegar, onions, olives, peppers, everything! Keep it ready near the stove.
When the 15 minutes are up, pull the tray out carefully. Now, lift that top layer of rolls up (try not to tear them!) and spread your fresh, tangy topping evenly across the hot, melted cheese. This keeps that lovely crunch from getting totally steamed during the second bake. Pop those fantastic grinder sliders back in for just 5 to 7 more minutes. You are looking for golden brown tops and fully melted cheese. Let them sit for five minutes before you slice them apart. Seriously, don’t skip the rest time—the cheese settles just enough!
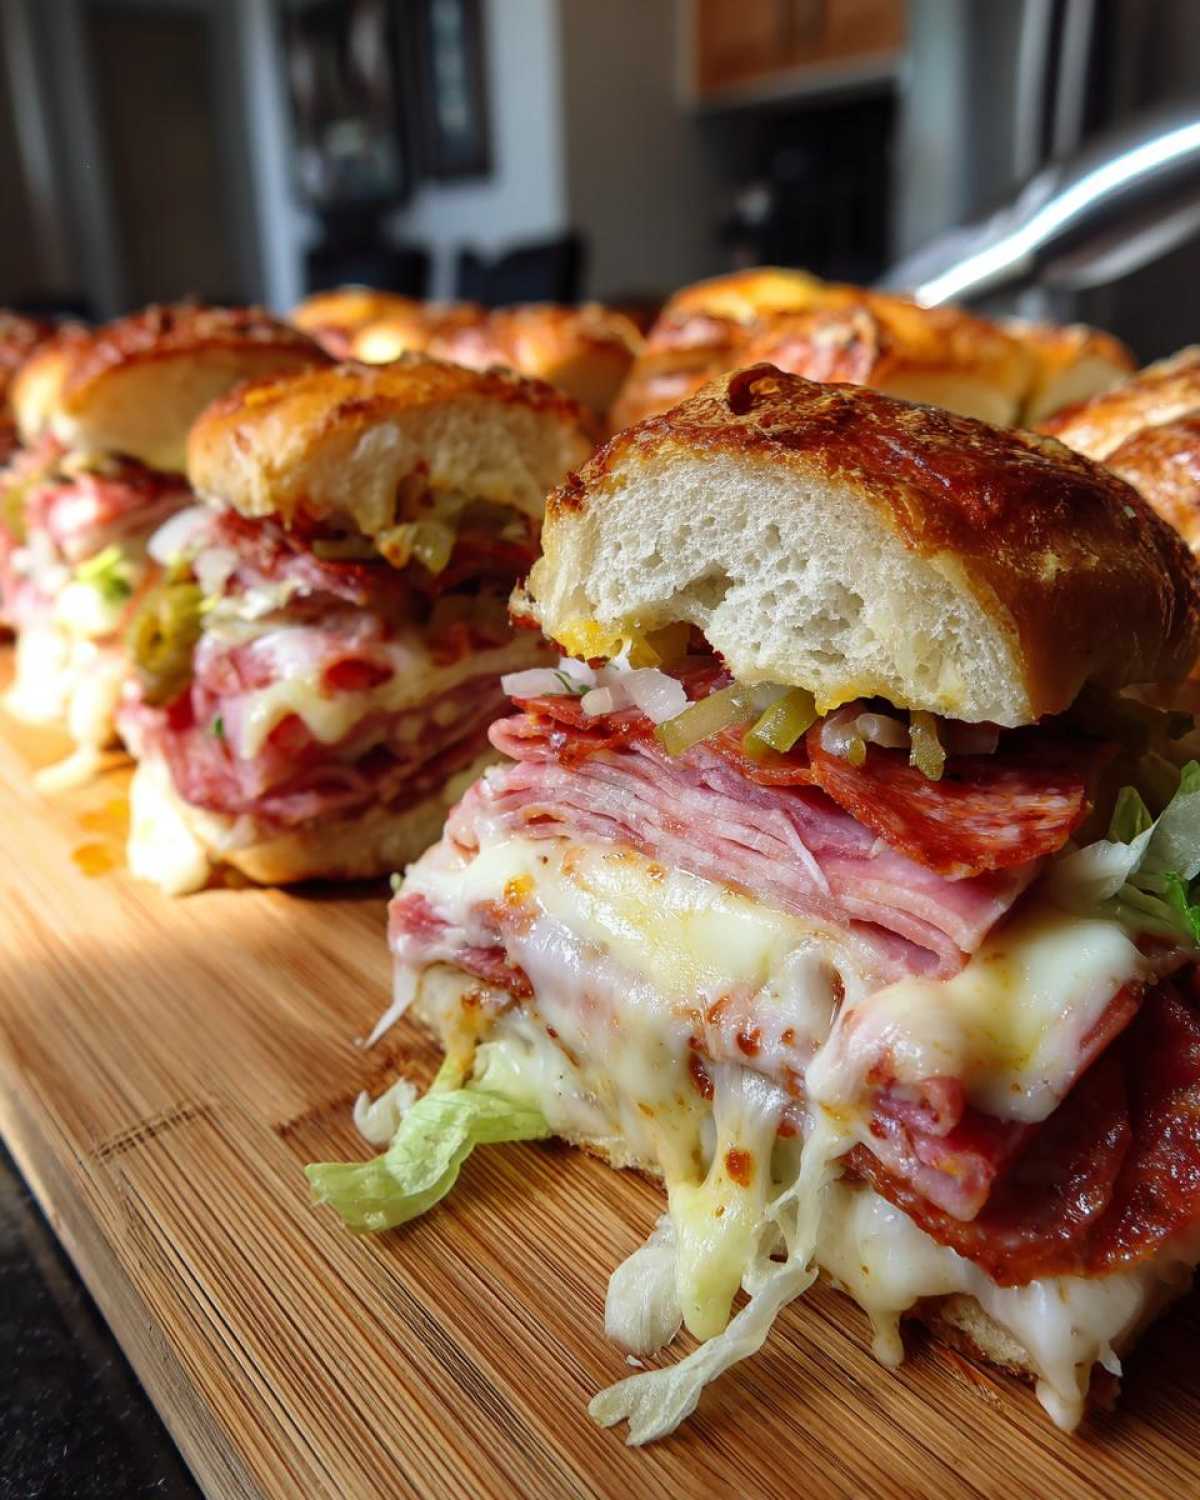
If you need more help with these types of easy layered sandwiches, check out my guide on easy baked slider sandwiches!
Tips for Success with Your Hot Italian Grinder Sliders
I’ve found that while these hot Italian grinder sliders are super easy, a few little tricks elevate them from good to legendary. First, don’t be shy with that butter wash on top! You want that nice, golden crust to form during the first bake. My biggest game-changer, though, is covering the whole pan lightly with foil for those initial 15 minutes.
Wrapping them loosely keeps the buns from browning too quickly before the cheese is fully melted underneath. You want the insides steamy, not the outside hard! Pull the foil off for the last five minutes so you can get that brilliant golden color.
Also, remember what I said about the topping: it needs to be chopped well! If your onions or peppers are too chunky, they just won’t spread nicely over the cheese layer, leading to uneven bites. For more ideas on amazing party food prep, you should check out my post on party appetizer sliders!
Ingredient Notes and Substitutions for Grinder Sliders
One of the best things about these grinder sliders is how forgiving they are! You absolutely do not have to stick to my exact meat combination. If you aren’t a big fan of salami or pepperoni, swap them out! Ground turkey or roast beef works beautifully, especially if you sprinkle a little extra Italian seasoning on them before layering. It gives you a totally different, but equally delicious, profile.
And let’s talk rolls. While I preach the gospel of the Hawaiian rolls—and I stand by it because that little touch of sweetness perfectly cuts through all the salty, savory deli meat—if you can’t find them, any soft slider bun will do the trick. Just know that the sweet/savory contrast is key to making this better than your average sandwich!
The cheeses are a bit more essential for that classic melt, but feel free to mix and match your favorites underneath the topping.
Serving Suggestions for These Crowd Pleasing Appetizers
These mini Italian sandwiches are incredible right out of the oven, but presentation makes them feel extra special! Since they are so rich and flavorful, you want simple sides that won’t fight with that tangy vinegar topping. For game day, just setting the whole sliced tray down with a mountain of crunchy potato chips nearby is always a guaranteed win.
If you’re serving these at a potluck, pair them with a light, crisp side salad—maybe just mixed greens with a lemon vinaigrette—to cut through the richness of all that meat and cheese. Seriously, these are so hearty, people usually only need one or two! Check out my thoughts on other perfect crowd pleasing appetizers for more presentation inspo!
Storage and Reheating Instructions for Leftover Grinder Sliders
Listen, I’ll be honest, there are rarely leftovers when I make these, but if you manage to save some, you gotta treat them right! Store any leftover grinder sliders in an airtight container in the fridge—I usually say they are good for about three days max.
When you are ready to bring them back to life, skip the microwave entirely; it turns the bread totally sad and soft. The best way to reheat these is in the oven! Pop them in a foil packet at about 350 degrees for 10 to 15 minutes, just until that cheese is melty and the internal parts are warm through. That way, you keep that beautiful, savory crust.
Frequently Asked Questions About Deli Meat Sliders
I always get so many questions when I post these because everyone wants their own version of these amazing deli meat sliders to be perfect! Here are the things I hear most often when folks try this recipe for the first time. It’s easy once you know the little insider tips!
Can I make these Baked Slider Sandwiches ahead of time?
Yes, you totally can prep most of it! I put my meat and cheese layers onto the bottom rolls the night before, cover that pan tightly with plastic wrap, and stick it in the fridge. But here’s the crucial part: do not put the butter wash on top until about 20 minutes before you plan to bake. And definitely don’t add that fresh veggie topping until the cheese is already melted after the first bake. You want those components fresh so everything stays crisp where it needs to be!
What cheeses work best for Provolone Cheese Sliders?
The classic combo that melts like a dream is provolone and Swiss, just like in the recipe—the provolone gives you that great stretch and the Swiss adds a little nutty flavor. If you are out of one of those, don’t sweat it! Mozzarella melts beautifully and is a great substitute. You could even throw in some sharp cheddar for a bolder flavor twist, though that takes you a bit further away from the traditional Italian profile.
How do I ensure my grinder sliders are not soggy?
Sogginess happens when the moisture from the vinegar topping steams the bottom bun. We fight this in two ways! First, when you’re chopping up your peppers and olives for that topping, give them a quick pat with a paper towel to get rid of any extra water or oil. Second, and this is huge: the second bake time is key! Lifting the top and placing that fresh topping over the *melted* cheese barrier helps keep the bottom bun dryer and preserves that fluffy texture of the deli meat sliders.
Share Your Ultimate Flavor Sliders Experience
Okay, I’ve shared all my secrets for getting these ultimate flavor sliders perfect, from the careful layering to that tangy surprise topping. Now I want to hear from you! Have you tried these yet?
Let me know in the comments below how they turned out for your crowd, or if you tried a wild meat substitution! Don’t forget to give the recipe a star rating if you loved how easy these batch of bite sized sandwiches were. Happy baking!
PrintItalian Grinder Sliders

Make these baked Italian Grinder Sliders using Hawaiian rolls, layered deli meats, cheese, and a tangy topping for an easy party appetizer or quick dinner.
- Prep Time: 15 min
- Cook Time: 22 min
- Total Time: 37 min
- Yield: 12 servings
- Category: Lunch
- Method: Baking
- Cuisine: American
- Diet: Vegetarian
Ingredients
- 1 package (12 count) sweet Hawaiian slider rolls
- 1/2 cup unsalted butter, melted
- 1 tablespoon Dijon mustard
- 1 teaspoon Italian seasoning
- 1/2 teaspoon garlic powder
- 1/4 teaspoon onion powder
- 1/4 cup finely chopped red onion
- 1/4 cup finely chopped iceberg lettuce
- 2 tablespoons sliced black olives, chopped
- 1 tablespoon banana peppers, sliced and chopped
- 1 tablespoon red wine vinegar
- 1/2 teaspoon dried oregano
- 1/4 teaspoon salt
- 1/8 teaspoon black pepper
- 1/2 pound thinly sliced ham
- 1/2 pound thinly sliced salami
- 1/2 pound thinly sliced pepperoni
- 1/2 pound thinly sliced provolone cheese
- 1/2 pound thinly sliced Swiss cheese
Instructions
- Preheat your oven to 350 degrees Fahrenheit. Lightly grease a 9×13 inch baking dish.
- Slice the entire package of slider rolls in half horizontally, keeping the rolls connected. Place the bottom half of the rolls in the prepared baking dish.
- Layer the meats and cheeses evenly over the bottom half of the rolls. Start with ham, then salami, pepperoni, provolone, and finally Swiss cheese. Place the top half of the rolls back onto the layers.
- In a small bowl, whisk together the melted butter, Dijon mustard, Italian seasoning, garlic powder, and onion powder to create the butter topping.
- Brush the entire top surface of the rolls evenly with the butter mixture.
- Bake for 15 minutes.
- While the sliders bake, prepare the topping. In a separate small bowl, combine the chopped red onion, iceberg lettuce, chopped olives, chopped banana peppers, red wine vinegar, oregano, salt, and pepper. Mix well.
- Remove the sliders from the oven. Carefully lift the top layer of rolls and spread the chopped vegetable mixture evenly over the melted cheese. Replace the top rolls.
- Return the sliders to the oven and bake for another 5 to 7 minutes, or until the cheese is fully melted and the tops are golden brown.
- Let the sliders rest for 5 minutes before slicing them into individual portions and serving immediately.
Notes
- You can substitute the deli meats with turkey or roast beef for a different flavor profile.
- For extra flavor, add a thin layer of mayonnaise to the bottom roll before adding the meat.
- If you do not have Hawaiian rolls, use any soft slider bun.
Nutrition
- Serving Size: 1 slider
- Calories: 350
- Sugar: 8
- Sodium: 850
- Fat: 18
- Saturated Fat: 8
- Unsaturated Fat: 10
- Trans Fat: 0.5
- Carbohydrates: 25
- Fiber: 1
- Protein: 22
- Cholesterol: 55
