

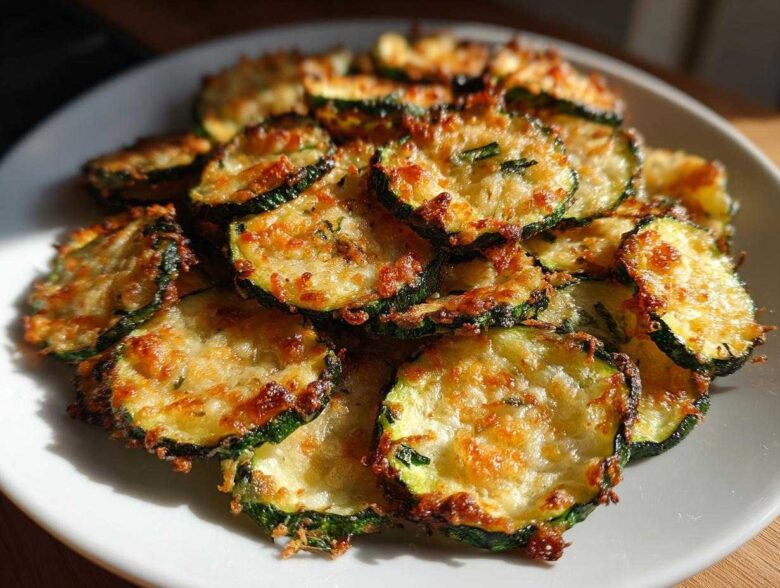
Oh, I know the feeling. You’re craving that satisfying, salty crunch, but you look in the pantry and realize the potato chip bag is empty—or worse, you’re trying to stick to that low-carb life! It’s the worst, right? Well, stop the searching right now because I’ve cracked the code for the ultimate zucchini chips. Forget floppy vegetables; we are making intensely crispy, savory bites using my trusty air fryer. This recipe is my secret weapon for whipping up a guilt-free snack that satisfies anyone, whether you’re strictly keto or just want to sneak more veggies into your day. Trust me, I’ve tested dozens of veggie chip recipes, and this method locks in the crunch every single time!
Why You Will Make These Air Fryer Zucchini Chips Again and Again
I’m not kidding when I say these chips are addictive. You won’t believe how good something so healthy can taste. It’s the perfect intersection of speed, flavor, and crunchy satisfaction. I keep promising myself I’ll only make one batch, and somehow, two batches disappear before dinner!
- Authentic Crunch Guaranteed: Forget soggy veggies! Thanks to the air fryer and a little prep work, these get startlingly close to that satisfying snap you expect from real chips. They stay remarkably crispy, even after cooling for a few minutes.
- Truly Guilt-Free Snacking: This is my go-to healthy snack alternative because they are naturally low in carbs and fat. If you’re doing keto, pull up a chair—these are for you!
- Speed Demon Recipe: Seriously, we are talking about putting these together faster than you can drive to the store to buy a bag of chips. Total prep and cook time is barely over twenty minutes.
- Savory Flavor Bomb: The Parmesan and garlic combo is just magic. It hits those salty, savory notes perfectly, making you forget there isn’t a potato involved at all.
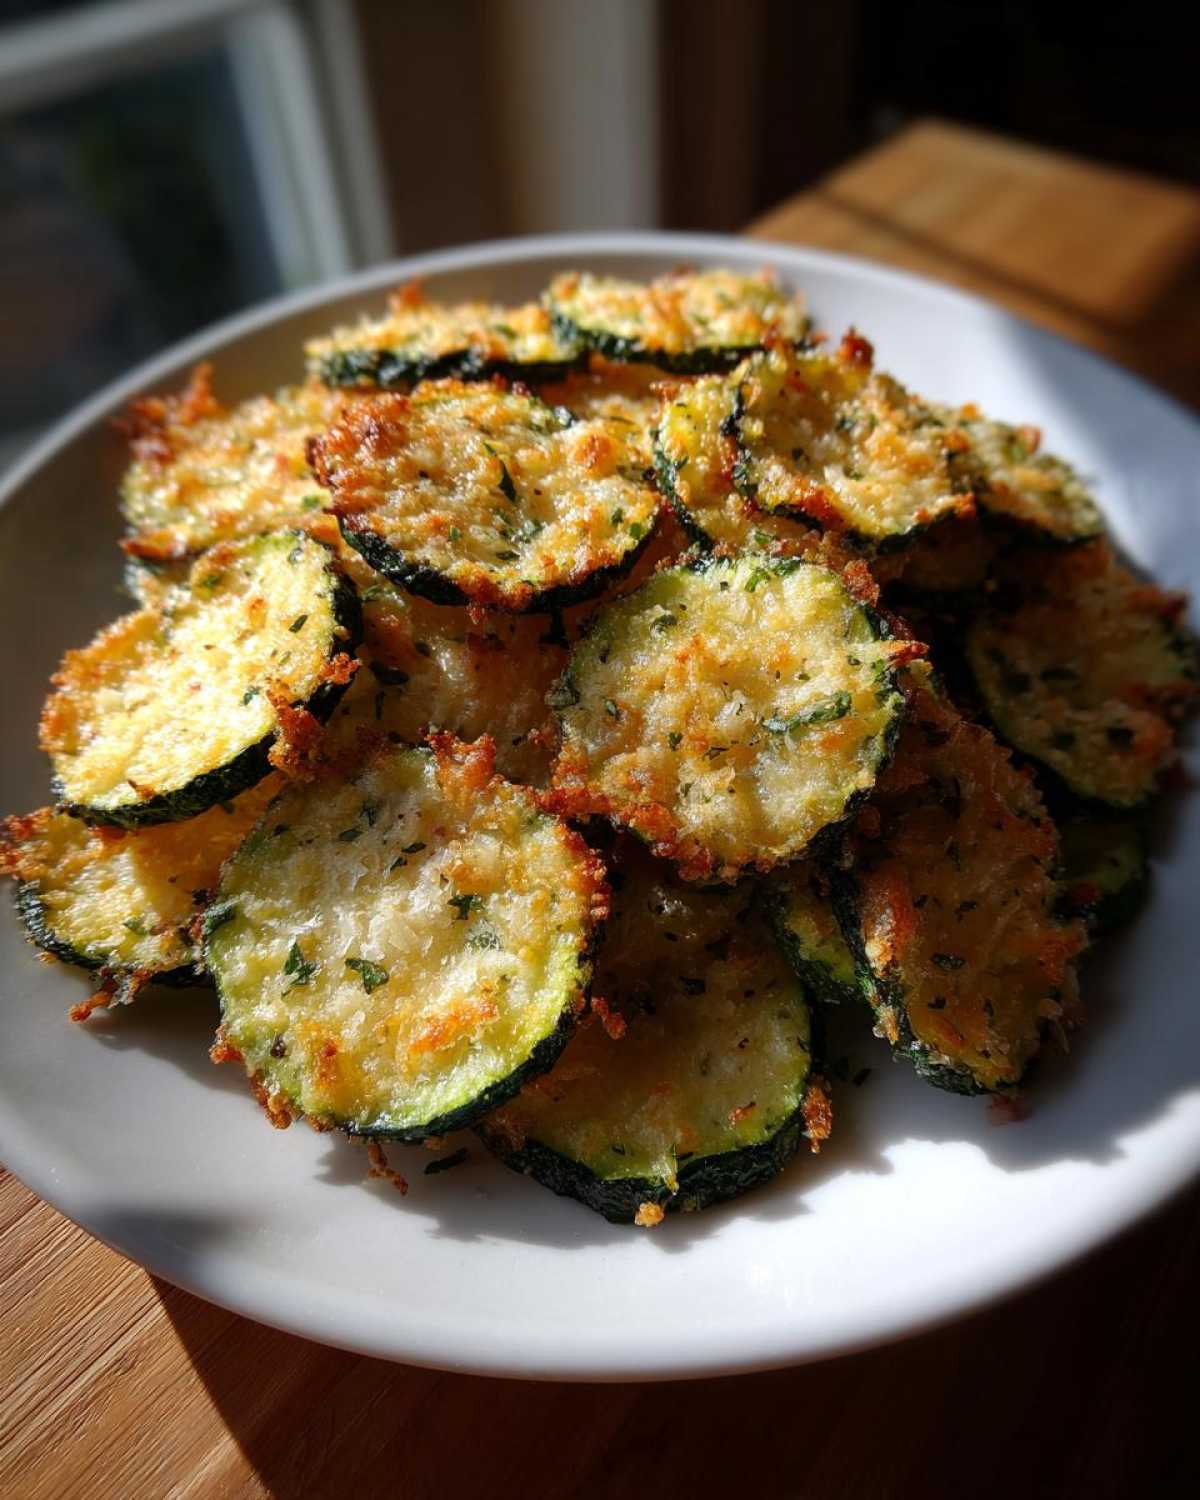
The Essential Ingredients for Perfect Zucchini Chips
Okay, ingredients are non-negotiable, especially when you’re chasing that elusive crunch. For this recipe, we’re keeping it simple and high-impact. We aren’t weighing down our veggies with heavy breading! My favorite version of these savory snacks always relies on good quality cheese for that crispy edge. Before you start throwing things in a bowl, check out the list below and make sure your ingredients are ready to go.
- Two medium zucchini (I measure with my eyes, but stick to medium size!)
- Two tablespoons of olive oil (nothing fancy needed here)
- A ¼ cup of good, finely grated Parmesan cheese—this dust is critical for that golden crisp!
- One half teaspoon of garlic powder (I mean, what isn’t better with garlic powder?)
- One quarter teaspoon of salt
- One eighth teaspoon of black pepper
If you want to make them savory, this Parmesan and garlic mix is everything. You can find all the exact measurements you need for a perfect batch right here while following the recipe.
Ingredient Prep Notes and Substitutions
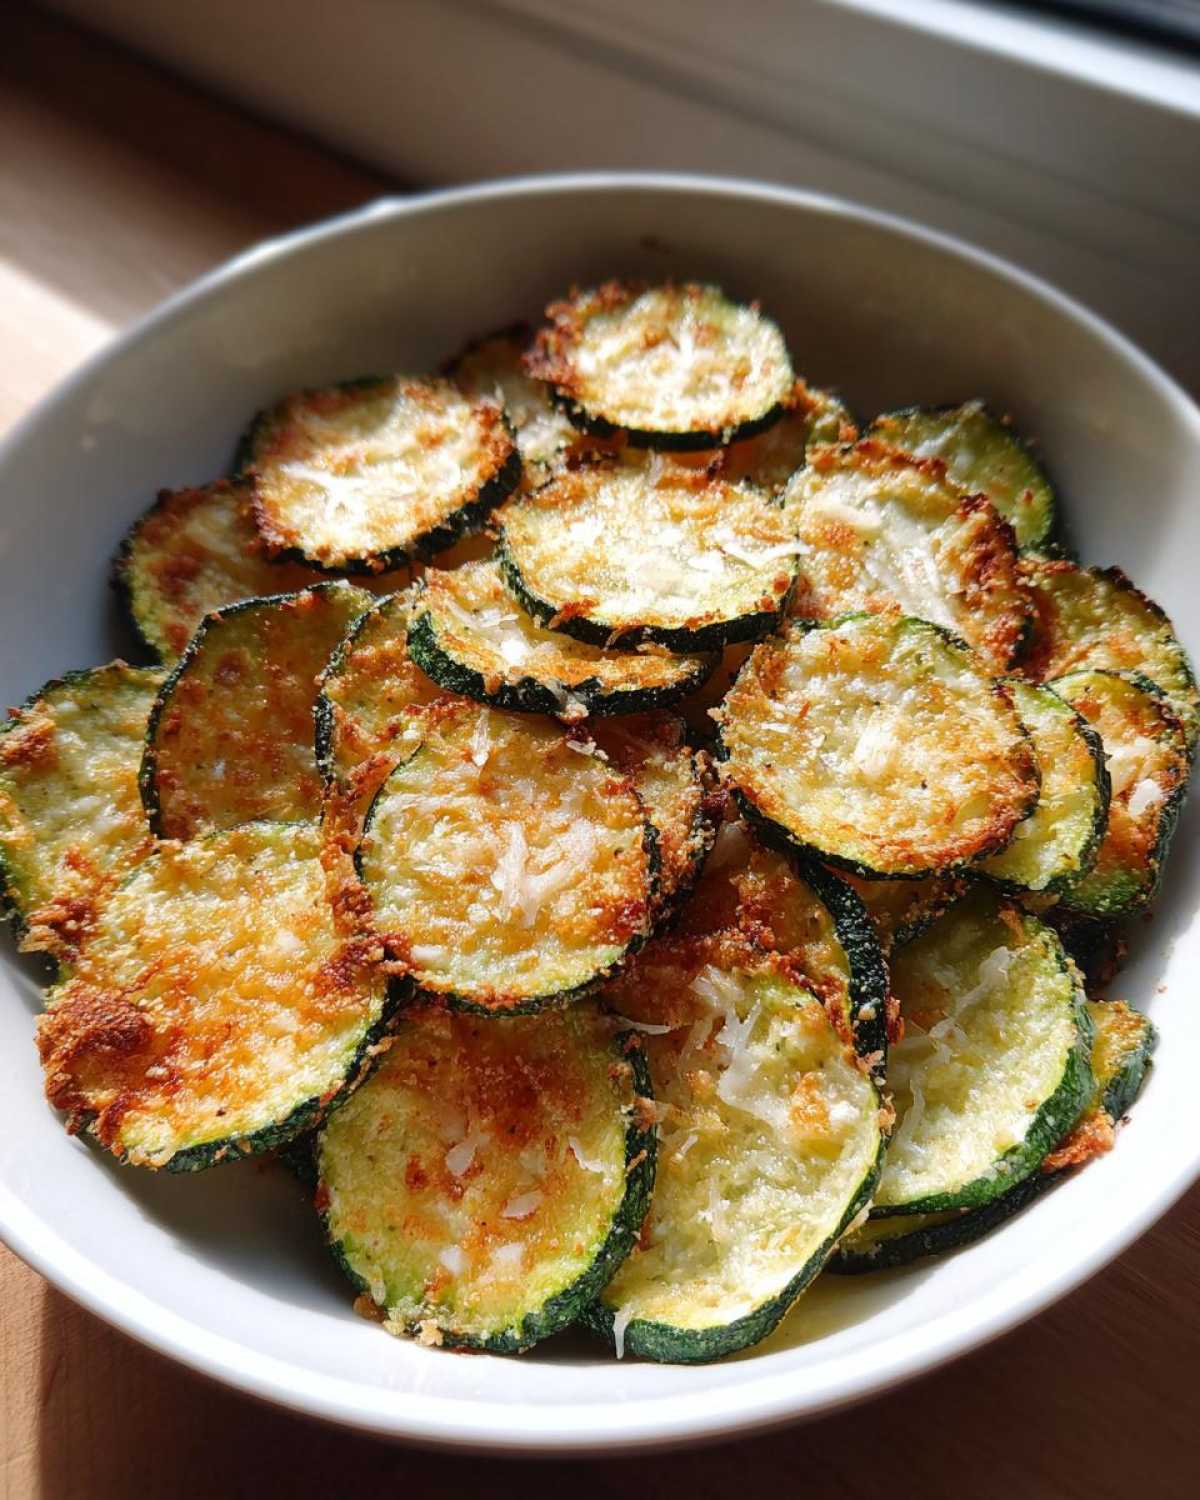
Selecting your zucchini is the first step to success! You absolutely want medium-sized zucchini. If they are too huge, the interior flesh is too watery, and you end up steaming your chips instead of crisping them up. Save those giant ones for bread or fritters.
Now, about the slicing: uniformity is your new best friend! About 1/8 inch thick is the sweet spot. I know, hand-slicing can be tedious, but trust me, if you have a mandoline slicer, now is the time to use it. It makes your life so much easier and ensures every chip cooks evenly. If you skip this, some will be burnt while others will still be floppy.
If you happen to have a dairy intolerance or are looking to make a quick dairy-free version, here’s a secret: swap out the Parmesan cheese for nutritional yeast! It gives you that savory, umami punch without the dairy. It won’t melt quite the same way, but it still gives you a fantastic flavor coating.
Step-by-Step Guide to Making Crispy Zucchini Chips
This is where the magic happens! Honestly, getting the best texture for these zucchini chips comes down to respecting the process. Don’t rush the slices, and for goodness sake, don’t skip the preheat! We’re aiming for perfectly cooked, airy crunch here, not steamed vegetable slices.
Achieving Maximum Crunch: The Moisture Removal Trick
If you look at my notes, you saw the step about drawing out moisture, and I want to emphasize it if you truly want the best zucchini chip experience. This little bit of extra time makes all the difference between a chewy chip and a crunchy one! After you slice them, gently sprinkle the zucchini rounds with a little salt. Let them just sit on a layer of paper towels for about fifteen minutes while you get everything else ready. You’ll be amazed at the little beads of water that rise up! Give them a firm pat dry with fresh paper towels before you oil them. It’s a game-changer!
Air Frying Instructions for Perfect Zucchini Chips
First order of business: get that air fryer roaring. You want it preheated to 375°F (190°C). Once they are oiled and perfectly coated in our Parmesan/garlic mix, arrange those slices in a single layer in the basket. I cannot stress this enough—do not overcrowd them! You’ll have to work in batches, but it’s worth it. Air fry them for about 8 to 12 minutes total. Halfway through, give that basket a good shake to jostle everything around. When they look golden brown and feel light, pull them out! They will feel slightly soft right out of the basket, but as they cool down on a wire rack, they firm right up into those beautiful, crunchy vegetable chips.
How to Make Oven Baked Zucchini Chips Instead
When your air fryer is tied up making dinner, or maybe you just prefer the old-school method, you can absolutely get these chips crispy in the regular oven. I’ve done this countless times when I’m making a huge batch for game day. Honestly, the oven requires a little more watching than the air fryer, but the results are still fantastic—light, salty, and wonderfully crunchy!
The key here is two things: high heat and getting air circulation around every single slice. If you just dump them onto the pan, they steam themselves into soggy oblivion, and no one wants that sad zucchini situation!
Here’s the setup you’ll need for your homemade healthy chips:
- Get your oven dialed up to 400°F (200°C). Make sure to put an oven rack—a wire rack!—on top of a standard baking sheet. This setup is crucial because it allows the hot air to circulate underneath the chips, drying them out completely as they bake.
- Follow the prep steps exactly as we did before: slice them thin, toss lightly in oil, and coat them in that beautiful Parmesan and garlic mix.
- Lay the seasoned slices onto the wire rack in a single layer. Again, no overlapping allowed! If you have too many, use two racks or two sheets. Overcrowding is the enemy of crunch.
- Bake them for about 15 to 20 minutes total. You’ll need to flip them halfway through—around the 8-minute mark—so both sides get nice and golden. Keep an eye on them, especially near the end, because the small ones can go from perfect to burnt surprisingly fast!
When they come out, they’ll be much crisper right away than the air fryer version, but give them five minutes to cool down on the rack, and they’ll set into those perfect, addictive chips!
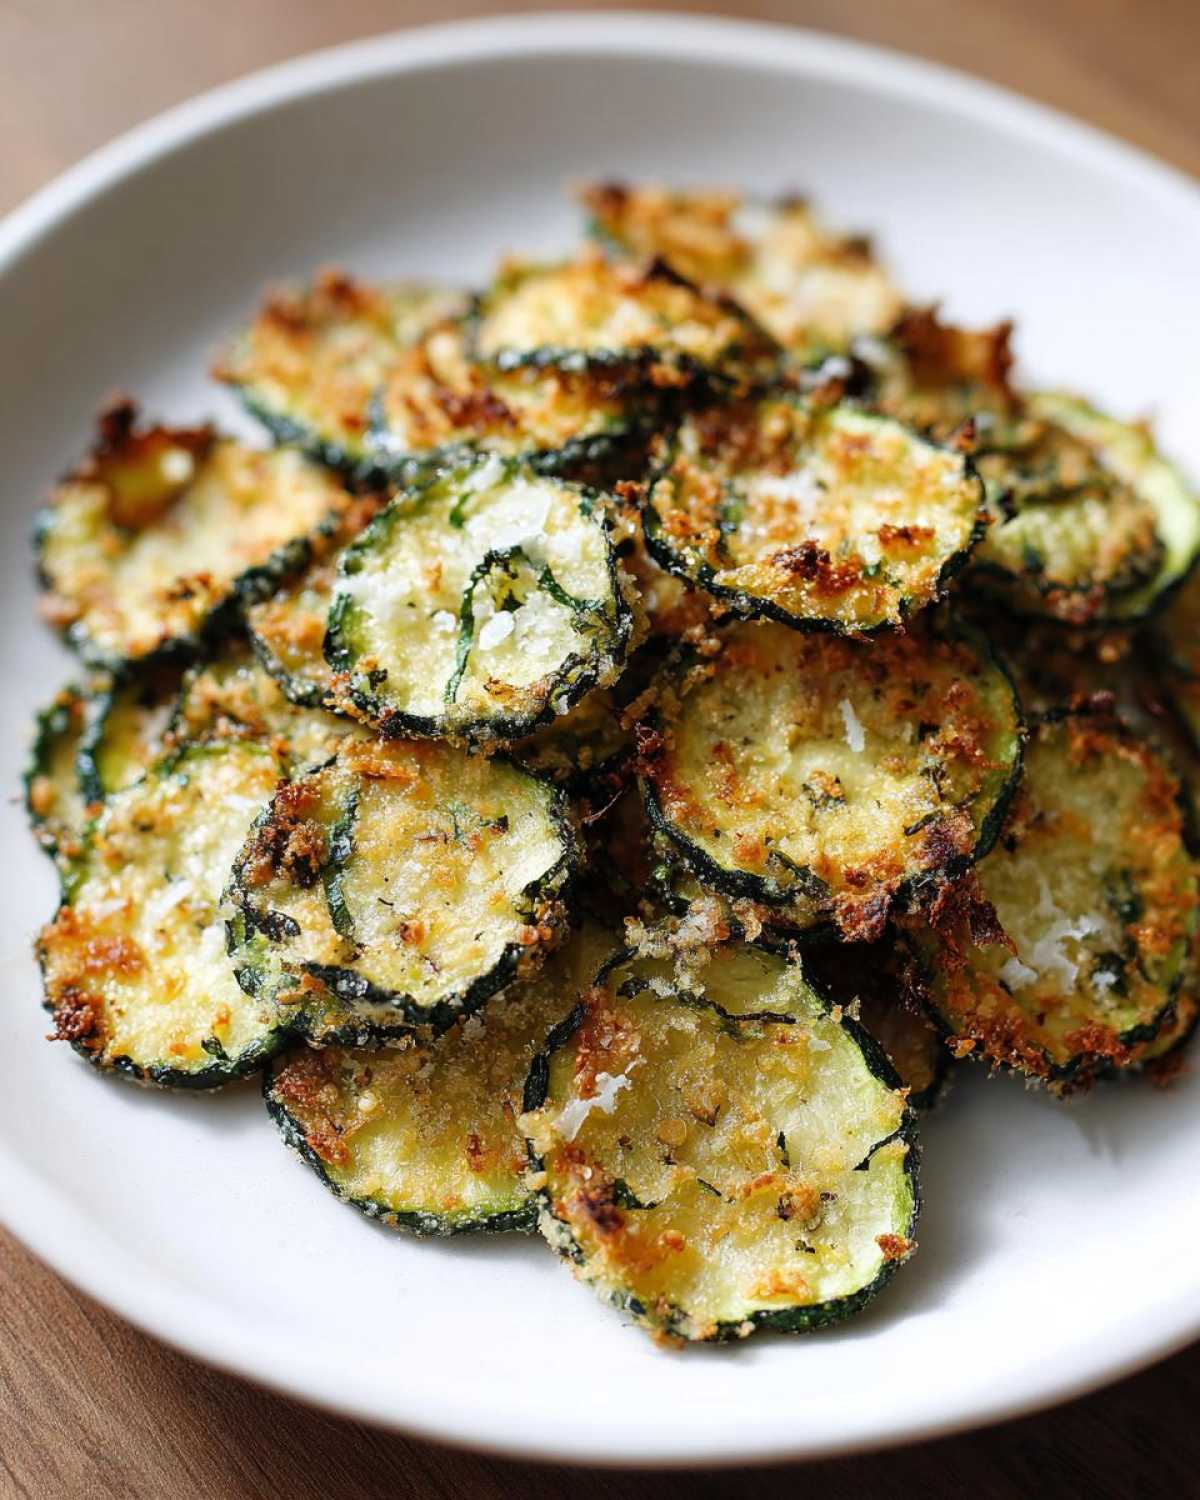
Flavor Variations for Your Homemade Healthy Chips
Now that you’ve mastered the absolute perfection of the Parmesan and garlic version, it’s time to unleash your inner kitchen scientist! If you’re anything like me, you can’t eat the same thing three days in a row, even if it’s the best thing ever. These simple veggie chips are the perfect blank canvas for experimenting with spices. You can easily use the same technique—slice thin, toss in oil, and keep that single layer rule—but swap out the cheese coating for something totally new.
I’ve had so much fun trying different savory profiles while keeping these low carb zucchini snacks in rotation. Don’t forget, you can always pair these with other vegetable chips for a fun medley!
Smoky Paprika and Cumin
If you want a chip that sings with earthy warmth, try this simple swap. Skip the Parmesan in the dry mix! Instead, combine smoked paprika, a pinch of cumin, a dash of onion powder, and a little extra salt and pepper. This blend gives the chips a deep, almost barbecue-like flavor that’s absolutely incredible when paired with creamy ranch dip. It’s totally low carb, totally flavorful, and feels much more sophisticated than regular chips!
The Tangy Kick: Salt and Vinegar Zucchini Chips
This one is a personal favorite for game days! If you want that sharp, acidic kick of traditional chips, you have to adapt the moisture process slightly. Instead of just relying on salt to draw out the water, you’re going to use vinegar. After you slice and blot the zucchini dry (remember that step? It’s crucial here!), instead of oiling them, toss them lightly in a splash of white wine vinegar or apple cider vinegar. Let them sit for just five minutes, pat dry again, and then toss them with the olive oil and a slightly higher amount of salt than usual. The high heat eliminates most of the raw vinegar bite, leaving you with that irresistible tang. These Salt and Vinegar Zucchini Chips disappear astonishingly fast!
Herby Italian Spice Mix
For something bright and fresh, think Italian seasoning. Dried oregano, dried basil, a tiny bit of dried rosemary, and maybe a small pinch of red pepper flakes for subtle heat. This mix works beautifully whether you use the Parmesan or skip it entirely. These are a quick healthy appetizer that feels fancy!
See? It’s so easy to customize your zucchini chips. Just remember the key to any great veggie chip is making sure those slices aren’t too thick and they don’t overlap in the basket!
Serving Suggestions for Your Zucchini Chips
The biggest problem you’ll have with these zucchini chips is having enough left over for anything other than eating them straight out of the air fryer basket! I always make a double batch just so I can save some for snacking later. But when you do want to serve them up formally, they are wonderfully versatile.
Since we made these beautifully low-carb, they pair perfectly with creamy, rich dips that traditional chips would make feel too heavy. Think about making a full keto-friendly spread instead of reaching for processed condiments. It’s truly the best way to enjoy them!
Here are a few of my favorite ways to use these crispy little wonders:
- Creamy Dips: A sharp homemade ranch or a rich onion dip (made with Greek yogurt or sour cream substitutes) are incredible here. The slight sweetness of the zucchini balances the savory dip perfectly.
- Topping Power: Instead of croutons on your salad, crush a few of these chips gently and sprinkle them over the top. It adds that salty, garlicky flavor right into the greens. Honestly, a sprinkle over a bowl of warm tomato soup is fantastic, too!
- Game Day Platter: Arrange them artfully on a platter instead of potato chips for a low-carb snack spread. They look impressive, stack nicely, and everyone always asks what they are!
Don’t forget, even if you plan to serve them later, they are absolutely at their peak crunch right when they cool down. I usually tell my family, “Taste testing is mandatory right now!”
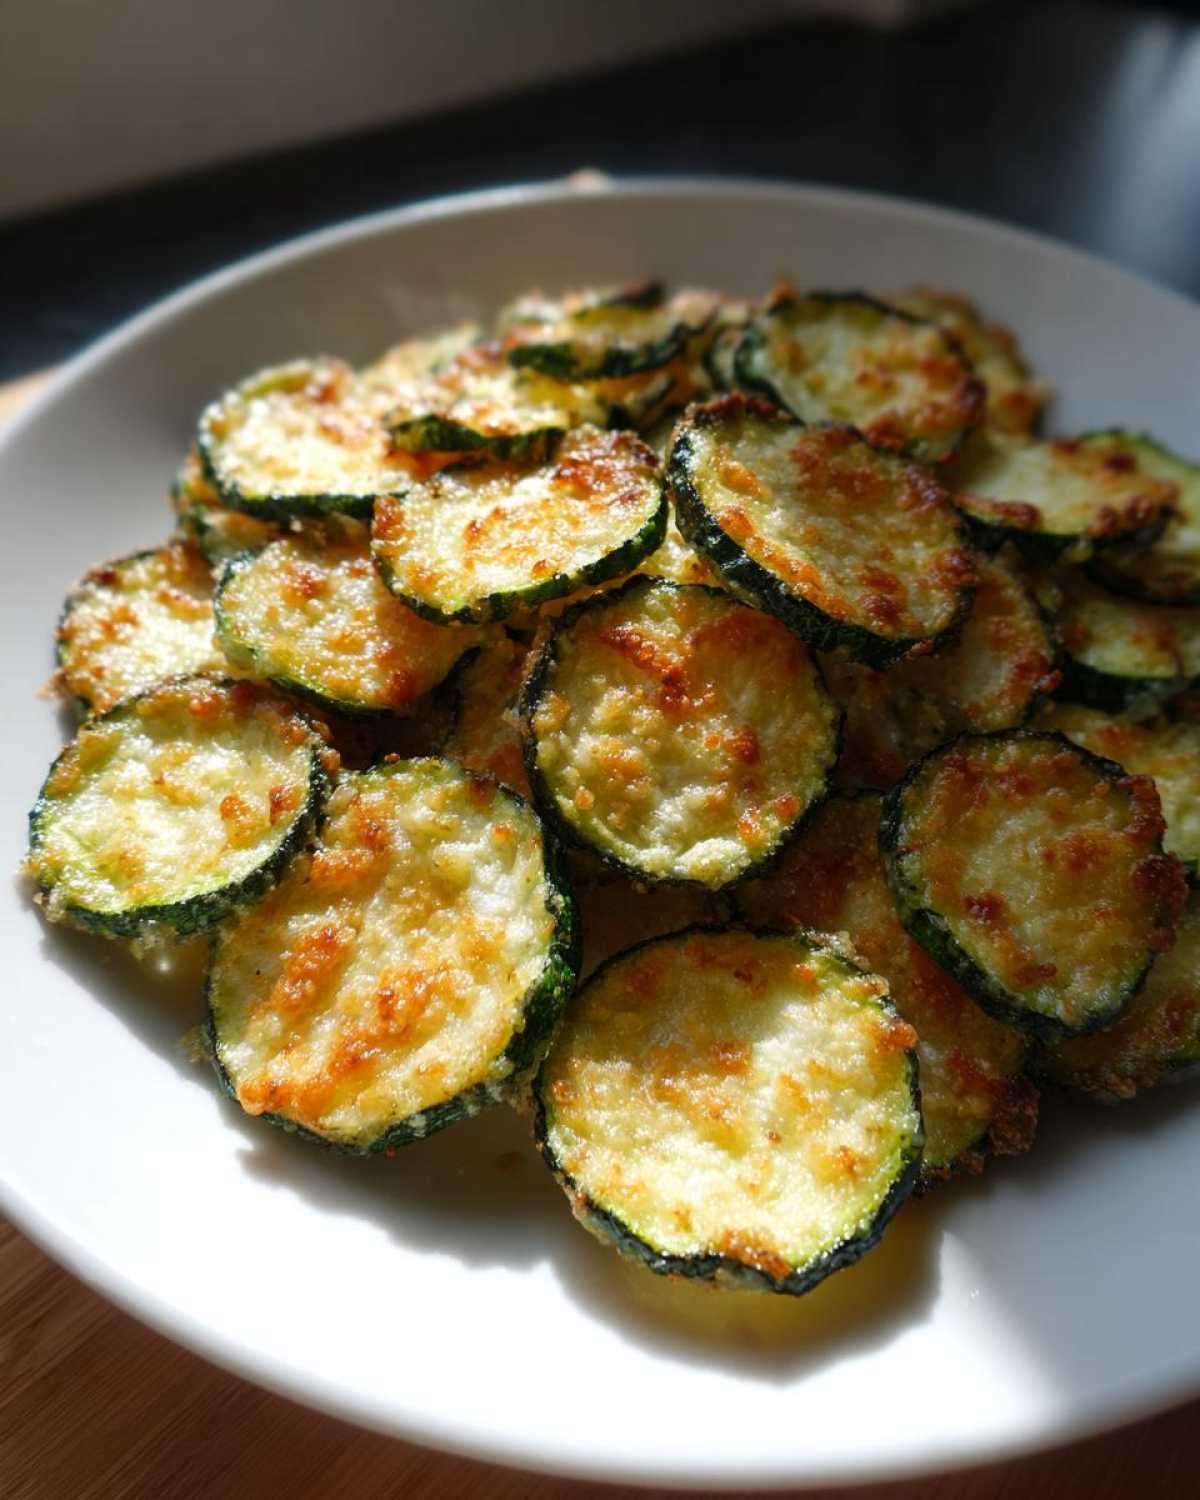
Storage and Reheating Instructions for Zucchini Chips
Look, I’m not going to sugarcoat this for you—these glorious, crunchy miracles taste the absolute best within about thirty minutes of coming out of the air fryer. That guaranteed crispness we worked so hard for starts to fade as they absorb just a tiny bit of kitchen humidity. That’s just the nature of thin, lightly oiled vegetables, sadly! But don’t you dare throw away leftovers!
If you have any of these zucchini chips left over, the key is containment. You need to get them into an airtight container immediately. Make sure they are completely cool first, though! If you seal them up while they are warm, that trapped steam will turn your lovely crispy chips back into sad, soft ones overnight. Store them at room temperature; don’t even think about putting them in the fridge. The fridge is doom for anything crunchy—it sucks the life right out of it!
Generally, they are good for about 24 hours before I seriously notice the crunch decline. If you have a big batch left over after day one, don’t worry, we can usually revive them! Reheating is pretty easy, but you need to use dry heat, not humidity.
Here’s what I do to resurrect slightly sad chips:
- Air Fryer Rescue: Pop the chips back into the air fryer basket. You don’t need to add oil or seasoning again. Hit it with a lower temperature, maybe 300°F (150°C), for just 3 to 5 minutes. Watch them *very* closely! They heat up fast because they are so thin, and they should crisp right back up.
- Oven Flash: If you’re using the oven method to reheat, set your temperature to 350°F (175°C) and spread them out on a baking sheet. Give them about 5 to 7 minutes. You want them to feel hot and snappy again.
It really is worth the extra two minutes of reheating to bring that crunch back. But seriously, try your best to eat them fresh. These zucchini chips are always an instant hit when they are straight from the basket!
Frequently Asked Questions About Making Zucchini Chips
I get so many questions about these savory little bites because everyone is trying to nail that perfect crisp factor! These are some of the things I hear most often when people try this recipe for the first time. Don’t worry if you have any of these hang-ups; we all start somewhere!
Can I use a mandoline slicer for this recipe?
Yes, please! If you have one, use it! A mandoline is absolutely the secret weapon for getting those perfect, crispy zucchini chips. Remember I mentioned aiming for 1/8 inch? A mandoline ensures every slice is identical, which guarantees they all finish cooking at the same time. It saves your fingers too! Just be super careful when you get down to the last bit of zucchini—always use the safety guard they come with. If you don’t have one, just take your time with a sharp knife, but expect it to take a few extra minutes of prep work.
What should I do if my chips aren’t crispy after the air fryer cycle?
This is the most common panic I hear! Don’t worry; 99% of the time, it’s because of excess moisture or overcrowding. If they come out looking pale and feeling soft, they just need a little more time to dehydrate. First, check if they’re touching; if they are, pull some out and work in smaller batches next time. Then, pop them back in the air fryer at 375°F (190°C) for another 2 to 4 minutes. They crisp up super fast once they reach that tipping point. If they still aren’t snappy after that, remember the golden rule: they crisp up significantly more as they cool down completely!
Can I make these Low Carb Zucchini Snacks ahead of time?
To be totally honest? They are best eaten the day you make them. Nothing beats the texture right off the cooling rack. If you are prepping for a party later in the day or the next morning, make them earlier, let them cool completely, store them airtight, and then use the 3 to 5-minute reheat trick I mentioned in the storage section using your air fryer. That will bring most of the crunch back! If you try to make them two days ahead, you’re going to lose too much texture.
Is the Parmesan coating absolutely necessary?
It’s not technically necessary for cooking, but oh my gosh, you’ll want it! The grated Parmesan really helps draw out oil and moisture while baking and actually browns up perfectly, forming a thin, savory crust that locks in the texture. If you skip it, you definitely need to do that proactive salting/blotting step to make sure you don’t end up with soft chips. The flavor boost it gives your zucchini chips is worth every sprinkle!
Nutritional Snapshot of These Guilt Free Chips
I always feel better about snack time when I know exactly what I’m eating! Since these guilt free chips are packed with vegetables and feature that lean Parmesan coating, they feel like such a responsible choice. Remember, these numbers are just estimates based on the ingredients listed in the recipe—your exact counts might vary depending on the size of your zucchini or the specific brand of cheese you use.
But look at these macros! This is why I keep making batches of these healthy snack alternative favorites. They fit perfectly into almost any eating plan. Here is the general breakdown per serving:
- Calories: About 110
- Fat: Only 8 grams (and most of that is healthy olive oil!)
- Carbohydrates: A fantastic 6 grams total, with 2 grams coming from fiber, keeping the net carbs super low.
- Protein: A surprising 5 grams, thanks to that Parmesan!
- Sugar: Just 2 grams—all natural sugar from the zucchini itself.
When you compare that to a standard bag of deep-fried potato chips, it’s a no-brainer, right? You get the crunch factor you crave without all the processed junk. Enjoy!
PrintUltimate Crispy Air Fryer Parmesan Zucchini Chips

Make crispy, low-carb zucchini chips in your air fryer. This recipe uses Parmesan and garlic for a savory, guilt-free snack alternative.
- Prep Time: 10 min
- Cook Time: 12 min
- Total Time: 22 min
- Yield: 4 servings
- Category: Snack
- Method: Air Frying
- Cuisine: American
- Diet: Low Fat
Ingredients
- 2 medium zucchini
- 2 tablespoons olive oil
- 1/4 cup grated Parmesan cheese
- 1/2 teaspoon garlic powder
- 1/4 teaspoon salt
- 1/8 teaspoon black pepper
Instructions
- Preheat your air fryer to 375°F (190°C).
- Wash and thinly slice the zucchini into rounds, about 1/8 inch thick. You can use a mandoline for uniform thickness.
- In a medium bowl, toss the zucchini slices with olive oil until lightly coated.
- In a separate small bowl, mix the grated Parmesan cheese, garlic powder, salt, and pepper.
- Sprinkle the cheese mixture over the zucchini slices and toss gently to coat evenly.
- Arrange the zucchini slices in a single layer in the air fryer basket. Do not overcrowd the basket; work in batches if necessary.
- Air fry for 8 to 12 minutes, shaking the basket halfway through, until the chips are golden brown and crisp. Cooking time depends on your air fryer model.
- Remove the chips and let them cool slightly before serving. They will crisp up more as they cool.
Notes
- For extra crispness, you can lightly salt the slices and let them sit on paper towels for 15 minutes to draw out excess moisture before seasoning. Pat them dry before oiling.
- If you prefer an oven method, bake on a wire rack set over a baking sheet at 400°F (200°C) for 15-20 minutes, flipping halfway.
- These chips are best eaten the day they are made for maximum crunch.
Nutrition
- Serving Size: 1 serving
- Calories: 110
- Sugar: 2
- Sodium: 250
- Fat: 8
- Saturated Fat: 3
- Unsaturated Fat: 5
- Trans Fat: 0
- Carbohydrates: 6
- Fiber: 2
- Protein: 5
- Cholesterol: 10
