

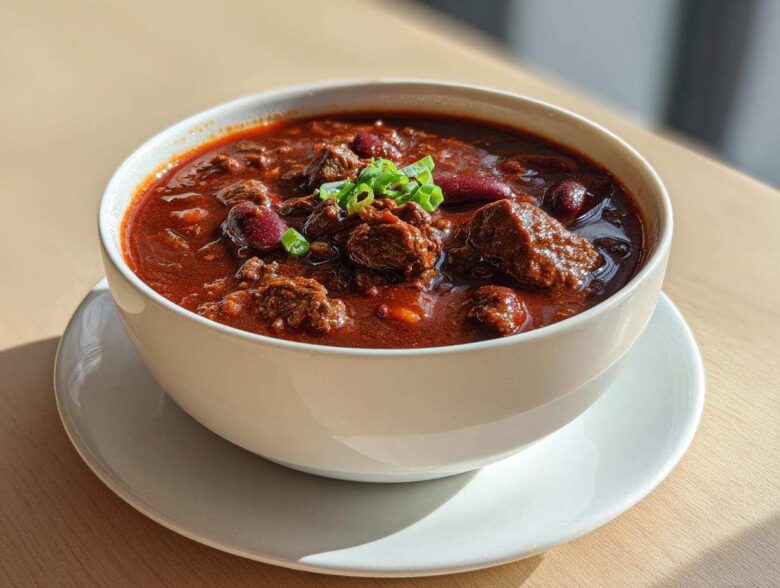
When the weather starts turning crisp, or maybe you just have a massive crowd coming over for the big game, nothing hits the spot quite like a huge, steaming bowl of chili. Forget those complicated recipes that take three days to develop flavor! I mean, who has time for that on a Tuesday?
This Simple One-Pot Beef Chili—and yes, it *is* simple—is my absolute go-to. I’ve made it for last-minute neighborhood potlucks, and I’ve served it when my family is starving after a long road trip. It comes together fast, uses basic pantry stuff, and it’s the definition of cozy comfort in a bowl. Trust me, this recipe is going to become your new weekly staple because it requires minimal cleanup and maximum flavor payoff!
Why This Easy Chili Recipe is a Weeknight Essential
Seriously, if you need dinner on the table fast, this is the one. I clocked the hands-on time on this batch, and even with chopping veggies, it’s less than 15 minutes before it’s just bubbling away all on its own. That’s why I call it my go-to easy chili recipe. I usually throw this together before kickoff on Sundays, so it’s ready when everyone piles in.
It tastes like it simmered all day, which is the real magic trick here. You can find more tips on weeknight meal planning over on my general blog, but this chili is the foundation of our busy schedule!
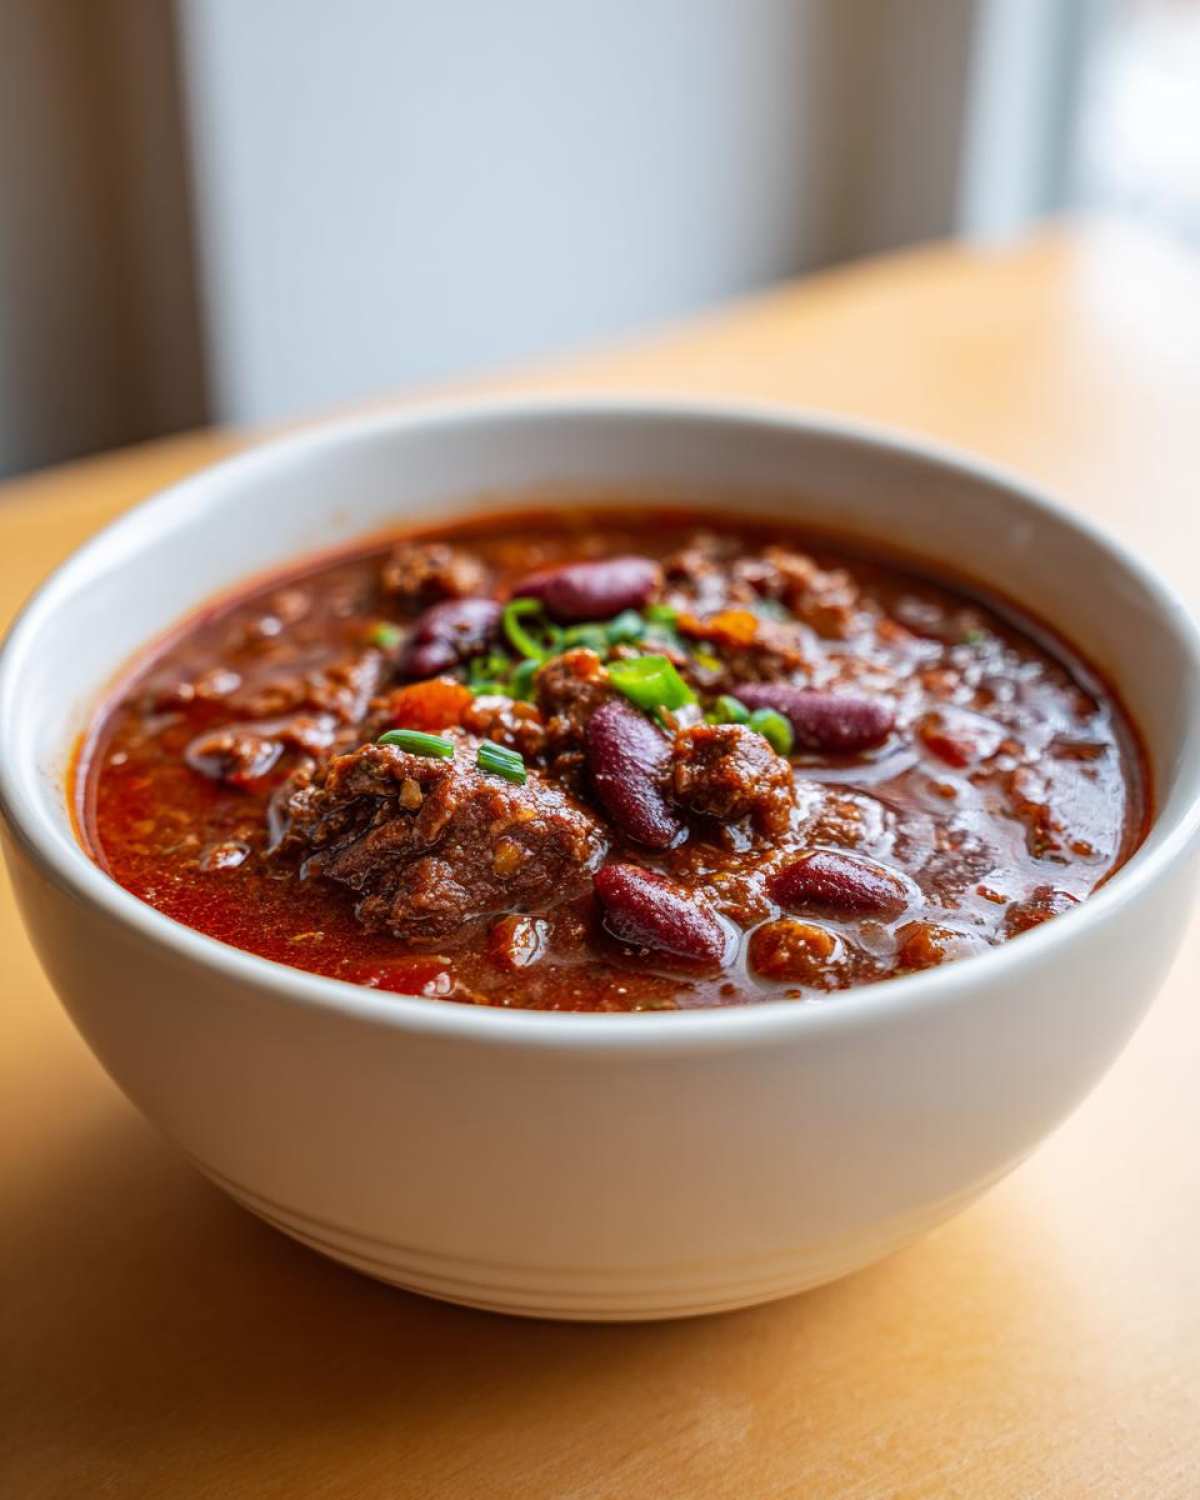
Versatility: From Stovetop to Slow Cooker Chili
What I love most is that you don’t need to own a fancy appliance to make this great. If you need it faster, it’s lightning quick on the stovetop—just 30 minutes of simmering does a great enough job! But, if you’re looking ahead, you can totally dump it all into the device of your choice.
If you’ve got a morning to spare, toss everything into the slow cooker chili pot. It’s also fantastic as a true crockpot chili, gently melting the flavors together over 8 hours. It tastes even better the next day, honestly!
Ingredients for the Best Beef Chili
When we talk about what makes a pot of chili truly great, it starts right here with the components. You don’t need anything exotic, but you do need quality, especially when you’re aiming for that rich texture that makes people ask for the recipe. I always recommend using 85% lean ground beef; if you go too lean, you lose flavor, and if you use anything fattier than that, you’ll spend half your time draining!
I’ve laid out exactly what you need below. Don’t skip smelling that spice mix once it hits the hot pan—that’s the scent of victory right there! For more classic ideas on tweaking your spice mix, I have a whole deep dive on ingredient ratios over at my full chili guide.
- 2 lbs ground beef (Please try the 85% lean or leaner—it makes a difference!)
- 1 large onion, chopped
- 1 green bell pepper, chopped
- 2 cloves garlic, minced (Don’t cheat! Real garlic all the way.)
- 1 (28 ounce) can crushed tomatoes
- 1 (15 ounce) can tomato sauce
- 1 (15 ounce) can kidney beans, rinsed and drained (Very important to rinse!)
- 1 (15 ounce) can pinto beans, rinsed and drained
- 1 cup beef broth
- 2 tablespoons chili powder
- 1 tablespoon ground cumin
- 1 teaspoon dried oregano
- 1/2 teaspoon salt
- 1/4 teaspoon black pepper
Ingredient Notes and Turkey Chili Swaps
Okay, a couple of quick pointers on making sure these ingredients behave! First up, those beans. I always give them a good rinse under cold water, even if the can says they are pre-rinsed. It washes off that starchy residue that can make your beautiful chili look cloudy. I promise it’s worth the thirty seconds.
If you are trying to lighten this up or just ran out of beef, you can absolutely swap it for ground turkey. A straight substitution works perfectly for a great turkey chili, though you might want to add a little extra smoked paprika for depth since turkey is naturally leaner in flavor.
Also, I stress the broth. Don’t skip it! That’s where you get the necessary liquid lift to keep everything simmering nicely without burning on the bottom of your pot.
Step-by-Step Instructions for Perfect Chili
My method for this chili is really designed to get maximum flavor without spending your entire afternoon hovering over the stove! Honestly, the whole thing starts by building layers of flavor in one single pan. That’s why this is such a reliable, cozy meal when you’re tired.
If you want to see my notes on how I adapt this for my very favorite slow cooker, check out my article on crockpot chili perfection! But for now, let’s get this stovetop version cooking.
Building Flavor: Browning Meat and Spices for Rich Chili
First things first: we brown the beef in your Dutch oven or large pot. Get it broken up while it cooks, and once it’s perfectly done, drain off every last drop of grease. Nobody wants greasy chili!
Next, toss in your chopped onion and that beautiful green pepper. Let them cook down until they start getting soft—about five minutes usually does the trick. They sweat out their own moisture and start tasting sweet.
Now for the fun part! Stir in the minced garlic right along with all those amazing spices: the chili powder, cumin, and oregano. Please, please, please cook this fragrant mix for just one full minute before you add any liquid. This tiny step blooms the spices, waking them up so they give you that deep, rich base for what will become the best beef chili you’ve made all year.
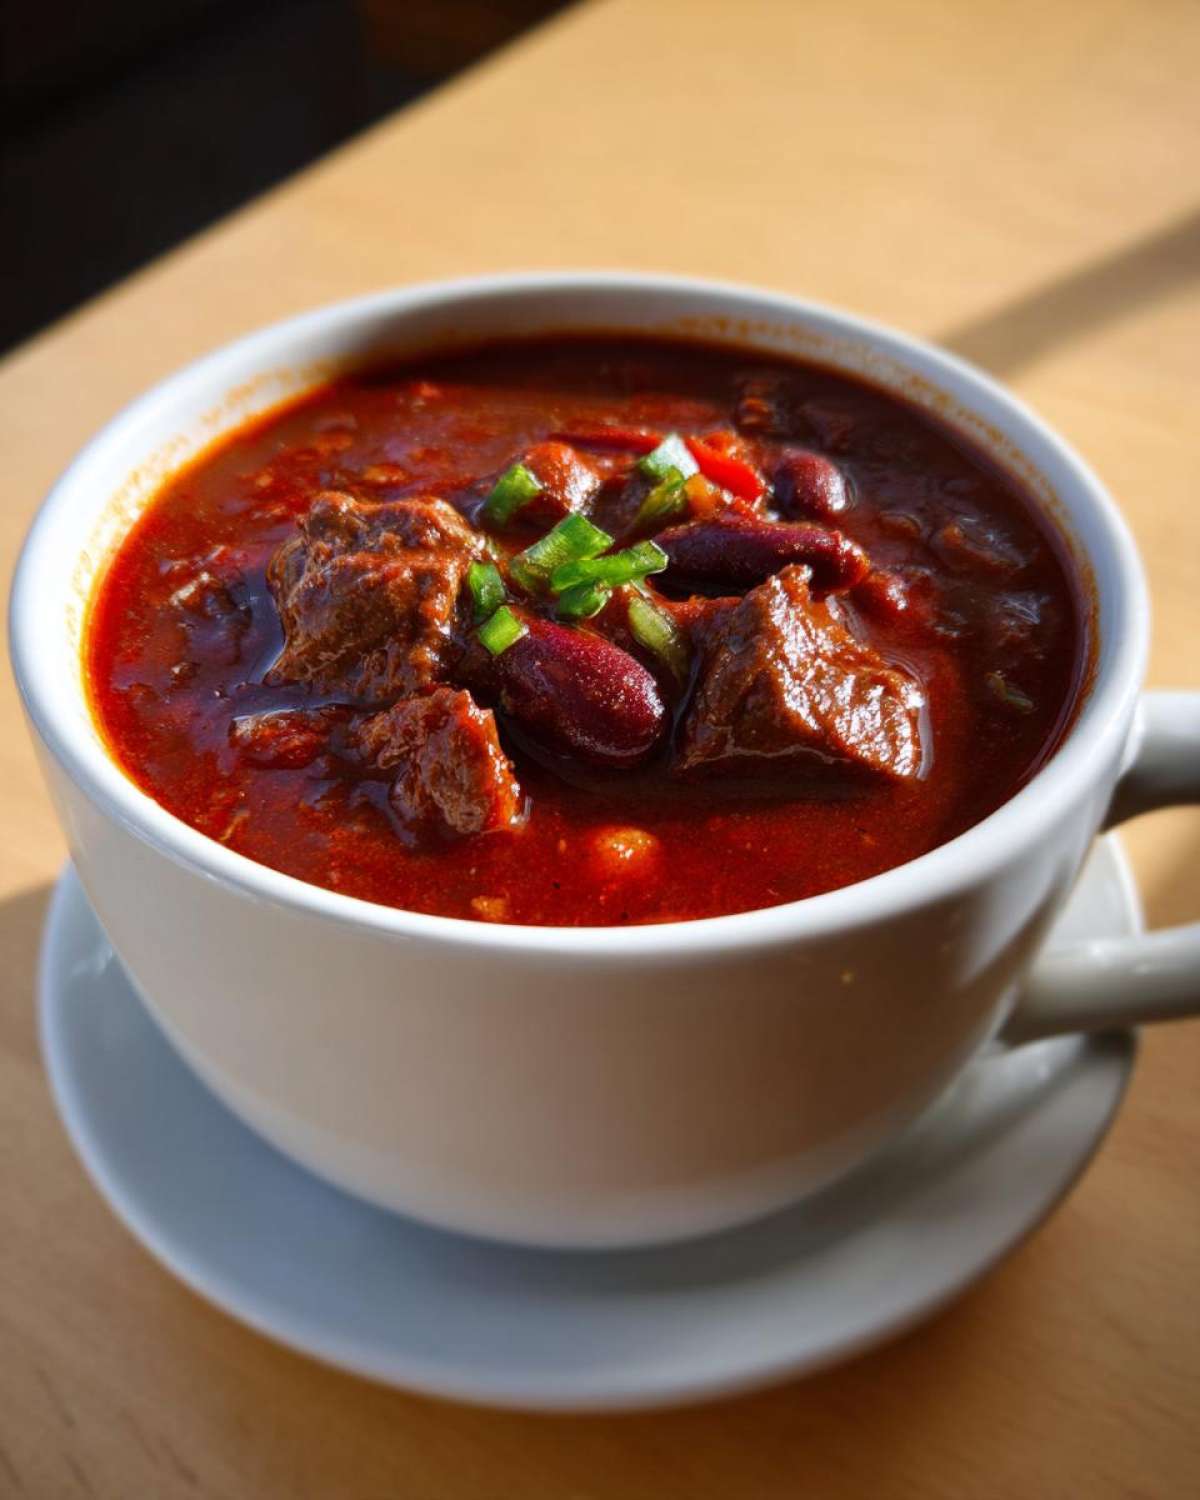
Simmering Time for the Best Beef Chili
Once the spices are fragrant, pour in your crushed tomatoes, tomato sauce, and that splash of beef broth. Give it a good stir to make sure you scrape up any tasty brown bits from the bottom of the pot.
In go the rinsed and drained kidney and pinto beans! Don’t forget to season everything with your salt and pepper right now. Heat the whole pot up until it just starts to bubble, then immediately turn the heat way, way down to low. Cover it and let it do its thing for at least 30 minutes.
Thirty minutes gives you a perfectly fine weeknight meal, I promise! But if you have the patience—and if you’re aiming for something that tastes truly deep and complex, maybe worthy of a blue ribbon—letting it simmer for a full hour, stirring occasionally, transforms the flavor entirely. That’s how you get that homemade, slow-cooked depth, even on a busy night. That longer simmer time is one of my secrets to an award winning chili!
If you decide halfway through that you’d rather use the slow cooker, just transfer the whole mixture now, set it to low for 6 to 8 hours, and walk away. Easy peasy!
Making Award Winning Chili: Spice Blend Secrets
So, we talked about cooking the spices briefly after the veggies softened, right? That one minute is crucial because it keeps the chili tasting fresh and bright. But when I’m aiming for that truly ‘award winning chili‘ flavor—you know, the kind where people ask you to host every game day—I switch things up just a hair.
The standard is heavy on the chili powder, sure, but the real backbone is the supporting cast. You absolutely need that earthy warmth from the cumin; it gives the beef a deeper, almost smoky flavor without adding any actual smoke. And don’t sleep on the oregano! I prefer Mexican oregano if I can find it, but any good quality dried oregano adds that herby, almost citrusy lift that cuts through the richness of the beef and tomato.
Here’s the real pro-tip that I learned from my Uncle Joe, who used to run some chili cook-offs: You need to bloom those spices! Even though our super quick recipe just asks you to stir them in for a minute, if you want that next level depth, melt a tablespoon of butter or use a dash of the drained beef fat *after* you’ve pulled the meat out, but *before* the veggies go in. Toss your chili powder, cumin, and oregano into that warm fat for about 30 seconds until it smells intensely aromatic. It takes longer than a minute, but blooming the flavor compounds in fat versus just dry heat is what separates a good pot from a great one. You do have to watch carefully so it doesn’t burn! I cover this in much more detail in my deep dive on my best beef chili guide, but just blooming those spices is an easy upgrade!
Remember, it’s the balance between the main spice and those background players that makes people keep going back for another bowl.
Freezer Friendly Chili Storage and Make-Ahead Tips
You know, one of the greatest things about making a big batch of chili is realizing you have zero dinner plans for next week! This recipe is unbelievably freezer friendly chili. It freezes beautifully because it’s tomato-based and doesn’t have a lot of ingredients that go weird texture-wise after thawing, like sometimes happens with cream-based soups.
My biggest rule, and I learned this the hard way after freezing one batch that tasted slightly… watery? You have to let it cool completely before it goes anywhere near the freezer. Like, get it out of the hot pot and let it sit on the counter for a good hour or two. If you put hot chili into an airtight container, the steam traps moisture, and that’s just asking for trouble.
Once it’s totally room temperature, portion it out into Ziploc freezer bags—lay them flat on a baking sheet while they freeze so they store neatly! Or use heavy-duty freezer-safe containers. The recipe notes say it keeps for up to 3 months, and honestly, it tastes just as robust after month two as it did the day after I made it. It’s the ultimate make-ahead dinner!
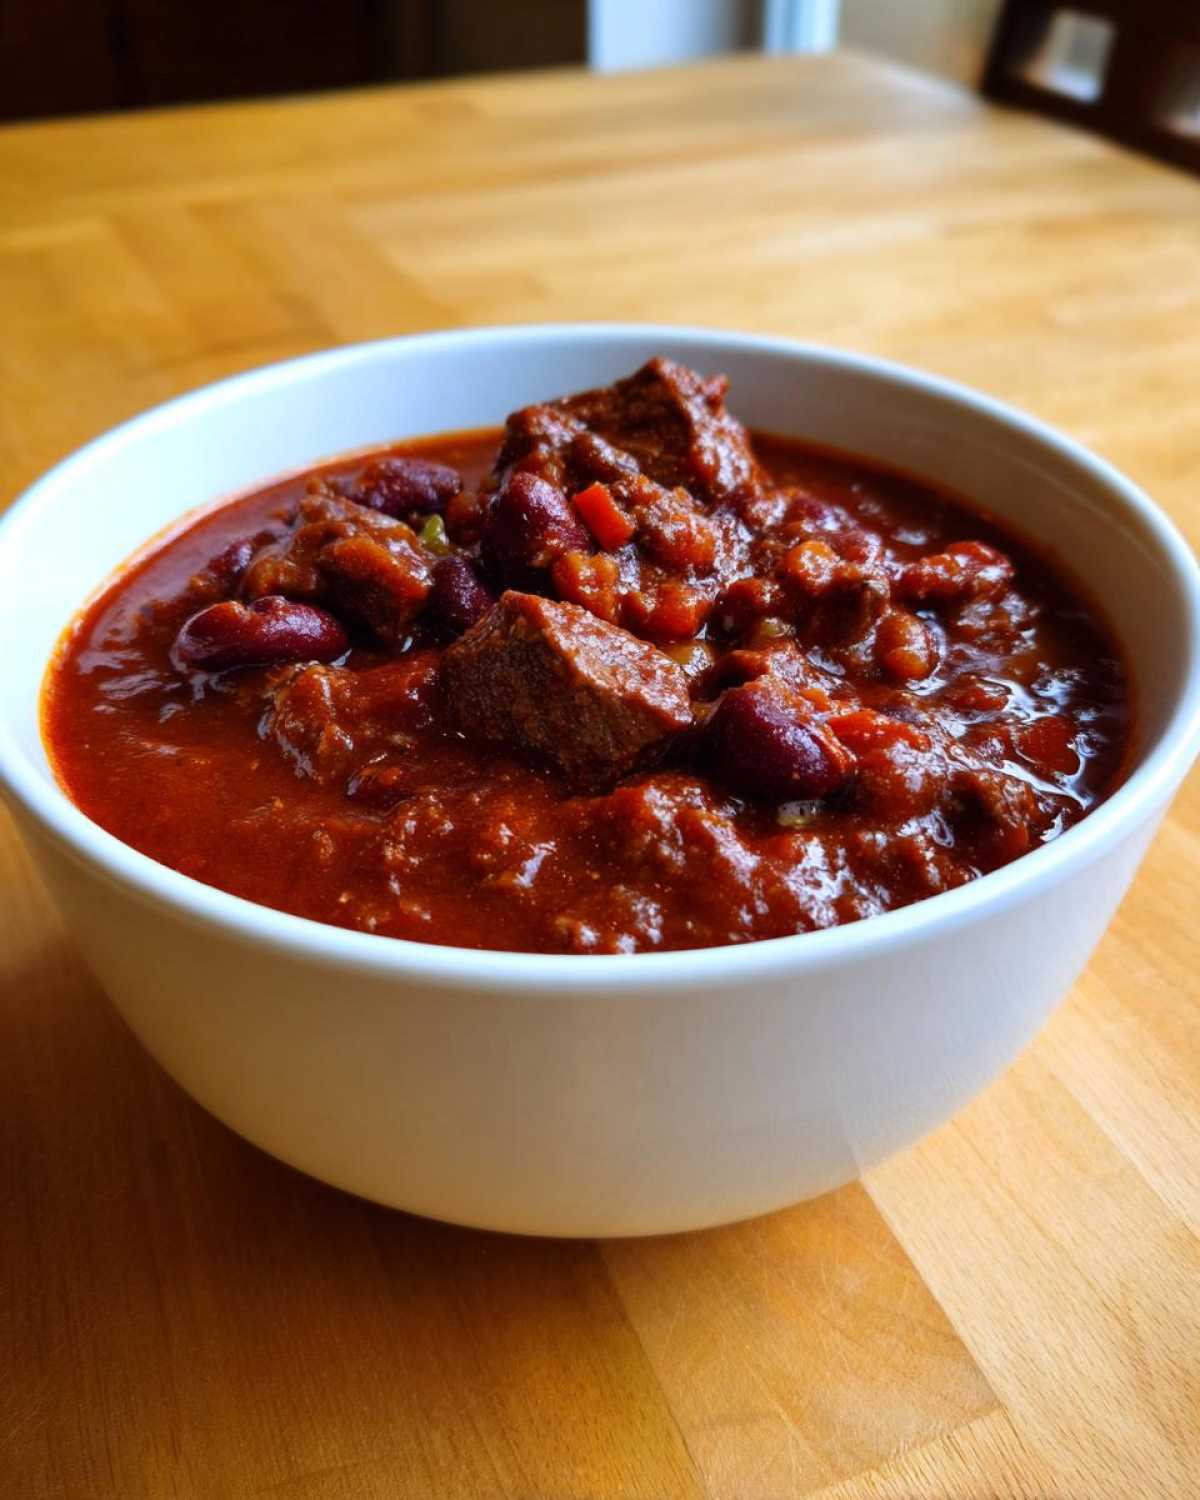
This foresight always saves my bacon when I’m totally swamped during the week. If you want to see some of my other make-ahead strategies for busy weekends, I cover a few tricks over on the main blog page!
Serving Suggestions for Your Hearty Chili
Okay, we’ve got this massive, flavor-packed pot of chili ready to go, and now comes the really fun part: the toppings! A great chili is like a blank canvas, and you deserve to load it up with all your favorites. This isn’t the time to be shy with the garnishes, believe me.
The absolute, non-negotiable partner for this beef chili has to be cornbread. There is something ancient and perfect about dunking a warm, slightly sweet piece of bread into that savory, spicy sauce. If you’re looking for a recipe that complements this dish perfectly—moist on the inside and perfectly crackly on top—you have to check out my recipe for cheesy Mexican cornbread. It’s incredible!
But toppings aren’t just for show; they add crucial texture and temperature contrast. You need something cool and creamy to balance that heat! I always set out little bowls for people to customize their own bowl. Think about adding:
- Shredded sharp cheddar cheese—the sharper, the better!
- A dollop of full-fat sour cream or even plain Greek yogurt.
- Finely chopped white or red onion for a sharp crunch.
- A side of sliced avocado if you’re feeling fancy.
- A dash of your favorite hot sauce, like Cholula or Tabasco.
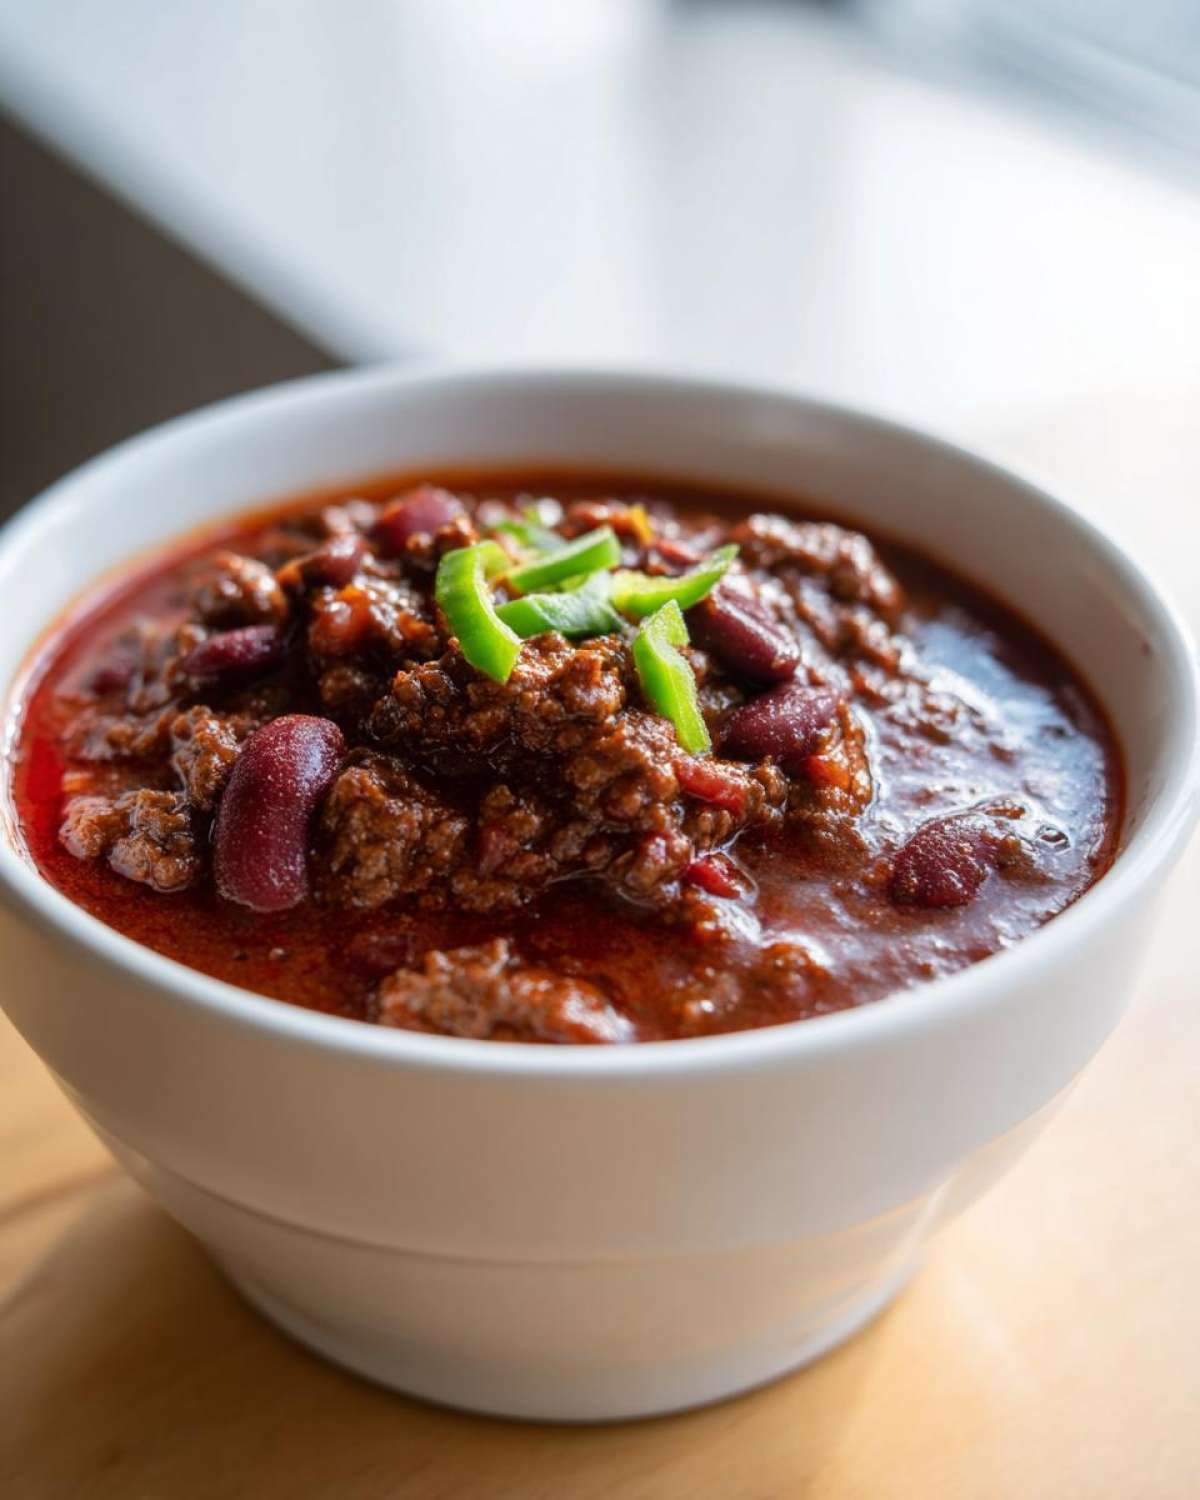
When people serve themselves, they get to control the spice level and texture contrast. It makes the whole meal feel a lot more special than just ladling it straight from the pot. It’s amazing how much a handful of toppings can elevate this simple one-pot meal!
Common Questions About This Chili Recipe
I always get a ton of questions after people try this for the first time—mostly because they’re shocked how much flavor we packed into something so fast! Here are the top things people ask me when they are planning their batch of this great, hearty chili.
Can I make this a vegetarian chili?
That’s a great question! Absolutely, you can turn this into a veggie-friendly meal. You’ll definitely want to swap out that ground beef. I usually lean heavily on lentils—either red or brown lentils work wonders because they break down just slightly and give you that wonderful, meaty texture. You can also just double up on the beans you already have, maybe adding black beans for third bean variety!
If you are looking for a recipe specifically designed to skip the meat entirely, I have a fantastic lentil-based version on the site that I adore where I build the flavor base differently. It’s perfect for those lighter meals!
How do I make this a slow cooker chili?
This is the easiest conversion you’ll ever do, which is why I constantly push people toward this method when they’re busy. For slow cooker chili perfection, you still do the browning step on the stovetop—that’s mandatory for flavor!
So, brown your meat, sauté your veggies, cook your spices for that crucial minute, and then dump *everything else* right into your appliance. If you’re cooking on low, plan for 6 to 8 hours. If you need it faster, set it to high, and it’ll be ready in about 3 to 4 hours. It’s the perfect way to come home to that amazing, savory aroma!
How spicy is this chili?
When I wrote this recipe, I kept it squarely in the middle ground—a friendly, warm medium heat that pleases most palates. We rely on the chili powder mostly for that foundational warmth, not burning heat.
If you’re serving it to someone who likes things hotter, I always suggest labeling a bottle of your favorite hot sauce next to the toppings bar! You can always add heat at the end, but you can’t easily take it out once it’s in the pot. If you’re feeling brave and want to boost the heat level right in the pot, try adding just a pinch of cayenne pepper along with the cumin and oregano when you bloom your spices. That little bit of bite really makes people happy!
Nutritional Information Estimate for This Chili
I know some of you are tracking macros or just want an idea of what you’re fueling up with, especially since this is such a satisfying meal! Because we’re using lean beef and a ton of beans, this hearty pot of chili is actually pretty balanced for dinner. It’s packed with protein, which is great for keeping you full!
Here’s the breakdown based on a standard serving size of about 1.5 cups, but remember, this is a rough estimate. Every brand of canned tomato or broth is slightly different, so please use this as guidance!
- Serving Size: 1.5 cups
- Calories: Around 410
- Protein: A whopping 30 grams!
- Fat: About 18 grams total, with only 7 grams being saturated fat.
- Carbohydrates: 38 grams (lots of great fiber in those beans!)
- Fiber: 10 grams
- Sugar: 11 grams (mostly natural sugars from tomatoes and onions)
- Sodium: 650mg (This one tends to be higher because of canned goods, so feel free to use low-sodium broth if you are watching salt intake!)
Because ingredient sourcing really makes a difference—especially with things like broth and canned beans—I always tell folks to take these numbers with a grain of salt. For more official details on our site policies, you can check out the nutrition disclaimer here. But the good news is, this is a genuinely hearty meal that keeps you full for hours!
Share Your Perfect Chili Batch
Now that you have the secrets to making a truly easy, hearty, and flavorful chili, I genuinely want to see what you come up with! We cooks are a community, and I love hearing how you customize things in your own kitchen.
If you made this recipe and it warmed you right up—whether it was for a game day centerpiece or just a Tuesday night lifesaver—please take a second to leave a star rating right below the recipe card. Five stars is always my favorite, haha! Seriously though, your feedback helps other busy people know they can trust this recipe.
And don’t be shy about sharing your favorite toppings! Did you add smoked Gouda instead of cheddar? Did you throw in some pickled jalapeños? Let us all know your best serving suggestions in the comments!
If you snap a picture while you’re digging in, tag me on social media! Sharing the love of simple, delicious food is what this whole site is about. If you have any specific questions about ingredient sourcing or storage that I didn’t cover above, don’t hesitate to reach out through my contact page. Happy cooking, everyone!
PrintSimple One-Pot Beef Chili

A hearty, easy-to-make beef chili suitable for weeknight dinners or feeding a crowd. This recipe works well in a slow cooker or on the stovetop.
- Prep Time: 15 min
- Cook Time: 30 min
- Total Time: 45 min
- Yield: 6 servings
- Category: Dinner
- Method: Stovetop
- Cuisine: American
- Diet: Low Fat
Ingredients
- 2 lbs ground beef (85% lean or leaner)
- 1 large onion, chopped
- 1 green bell pepper, chopped
- 2 cloves garlic, minced
- 1 (28 ounce) can crushed tomatoes
- 1 (15 ounce) can tomato sauce
- 1 (15 ounce) can kidney beans, rinsed and drained
- 1 (15 ounce) can pinto beans, rinsed and drained
- 1 cup beef broth
- 2 tablespoons chili powder
- 1 tablespoon ground cumin
- 1 teaspoon dried oregano
- 1/2 teaspoon salt
- 1/4 teaspoon black pepper
Instructions
- Brown the ground beef in a large pot or Dutch oven over medium heat. Drain off any excess fat.
- Add the chopped onion and bell pepper to the pot. Cook until softened, about 5 minutes.
- Stir in the minced garlic, chili powder, cumin, and oregano. Cook for 1 minute until fragrant.
- Pour in the crushed tomatoes, tomato sauce, and beef broth. Stir to combine.
- Add the rinsed and drained kidney beans and pinto beans. Season with salt and pepper.
- Bring the chili to a simmer. Reduce heat to low, cover, and cook for at least 30 minutes, stirring occasionally. For deeper flavor, simmer for 1 hour.
- If using a slow cooker, transfer the mixture to the slow cooker and cook on low for 6-8 hours or high for 3-4 hours.
- Serve hot with your choice of toppings.
Notes
- For turkey chili, substitute ground turkey for the ground beef.
- This chili freezes well for up to 3 months. Cool completely before storing in freezer-safe containers.
- Serve with cornbread for a complete meal.
Nutrition
- Serving Size: 1.5 cups
- Calories: 410
- Sugar: 11
- Sodium: 650
- Fat: 18
- Saturated Fat: 7
- Unsaturated Fat: 11
- Trans Fat: 0
- Carbohydrates: 38
- Fiber: 10
- Protein: 30
- Cholesterol: 75
