

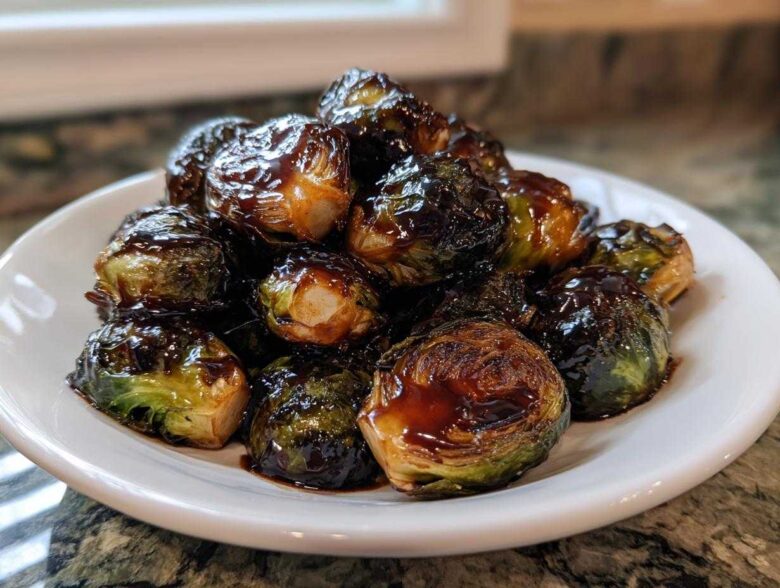
Honestly, you know those Brussels sprouts you get at fancy restaurants? The ones that look totally caramelized, crispy at the edges, but coated in this impossibly shiny, thick blanket of sweet-and-sour goodness? I used to think they used some secret vegetable shortening that only chefs had access to. Nope! It all comes down to mastering one thing: the Sticky Brussels Sprouts Glaze. I spent an entire fall perfecting this sauce.
I remember one Thanksgiving when my sprouts just looked sad and limp after roasting. I slapped some weak maple syrup on them, and it just ran right off! Never again. Now, I swear by this balsamic-maple reduction method. It turns a simple side dish into the star of the plate. Trust me, once you nail this technique, you’ll use this sticky sauce formula for everything from carrots to green beans. It’s game-changing!
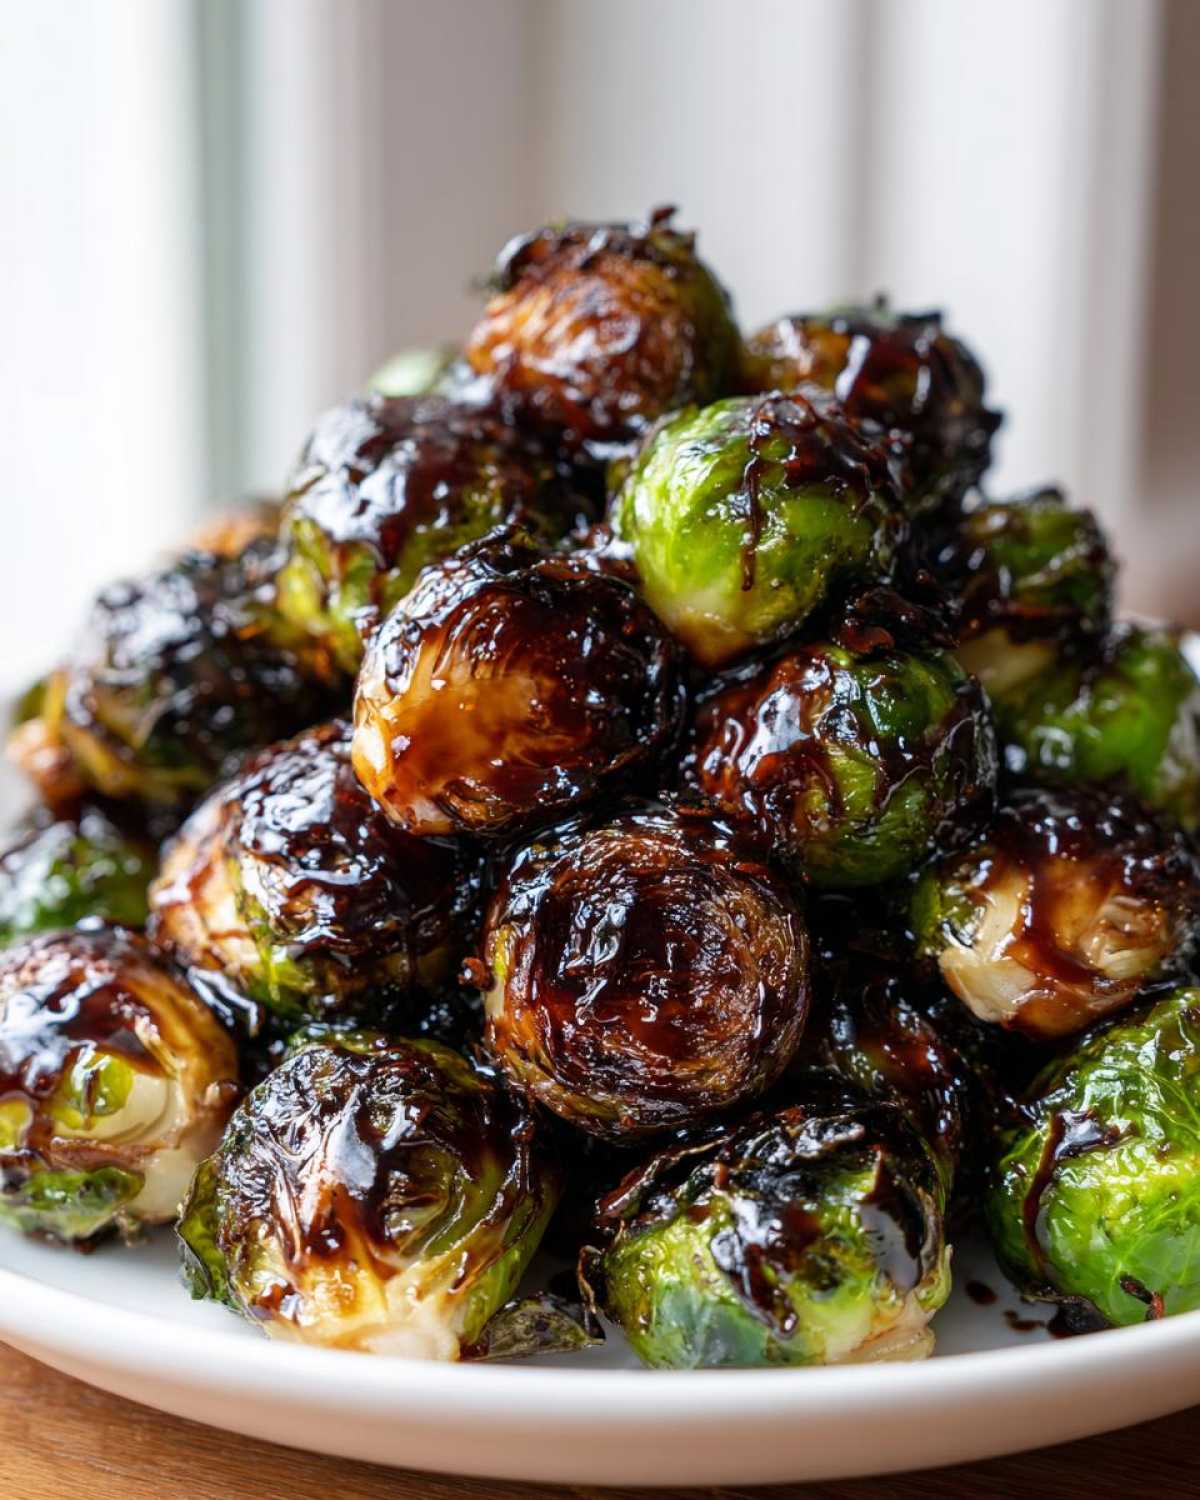
Why This Sticky Brussels Sprouts Glaze Recipe Works (The Science of Stickiness)
So, what makes this specific combination stick and shine like that? It’s all about managing sugar and liquid. Sugar alone burns, and too much liquid just makes things runny. We are creating a quick reduction here, which is the real secret behind true stickiness. If you want more ideas on great cooking techniques, swing by my main blog page!
- It’s a beautiful blend where the maple syrup brings intense, rich sweetness, but the balsamic vinegar cuts through it all. This balance stops it from tasting like straight candy.
- The magic of making a proper Sticky Brussels Sprouts Glaze is that when you simmer the balsamic, it naturally concentrates and thickens up all on its own. That reduction process creates that perfect, thick vegetable coating.
- We get depth, not just sweetness, because of the slow simmer. It takes a little patience, but that’s where the restaurant quality comes from!
Balancing Sweetness with Acidity for Perfect Caramelized Roasted Vegetables
You need that sharp acidity from the balsamic vinegar. If you only use sugar—even maple syrup—the result will be flat. The vinegar has natural pectin and sugars, and when it boils down, it creates this incredibly glossy finish that clings beautifully to the sprouts. Plus, the low-sodium soy sauce isn’t for saltiness; it’s for savory depth, which keeps the whole dish tasting grown-up and complex. It really elevates simple roasted vegetables every single time.
Gathering Ingredients for Your Ultimate Sticky Brussels Sprouts Glaze
Okay, the ingredient list for this sauce is thankfully short, but quality really matters here! We’re working with just a few heavy hitters, so don’t try to swap them out with low-quality versions if you want that amazing sweet and savory Brussels sprouts flavor. You’ll need that balsamic vinegar, pure maple syrup, soy sauce, Dijon, oil, pepper, and one little clove of garlic. That’s it!
Ingredient Clarity: Notes on Balsamic Vinegar and Maple Syrup
Listen, you cannot use pancake syrup here; it’s too thin and full of corn syrup that won’t reduce correctly. You need 100% pure maple syrup. For the balsamic, I always look for one that’s moderately thick already. If you use a super watery balsamic, it will take ages to become the ideal thick vegetable coating we’re aiming for. Good ingredients mean you get the best result without fuss!
Preparing the Brussels Sprouts for the Sticky Brussels Sprouts Glaze Coating
While the sauce is the star, we need a brilliant stage for it! You can’t just pour this incredible coating over soggy sprouts and expect magic. We’re roasting them first to get that tender-on-the-inside, slightly craggy-and-crispy-on-the-outside texture we all love. First things first, turn your oven up to 400 degrees Fahrenheit. This high heat is essential for caramelization. Trim them up, slice them in half—I like halves so they don’t roll around too much—and toss them with just olive oil and black pepper. Don’t oil them too heavily; we want them to brown, not steam!
Get them on a baking sheet for about 20 to 25 minutes. Give them a stir halfway through. You’re watching for those darker brown spots. If you want to see how I get my potatoes perfect for a big dinner, check out my tips for crispy roasted potatoes—the heat principle is the same!
Tips for Crispy Brussels Sprouts Before Applying the Sticky Brussels Sprouts Glaze
Here is my biggest secret for texture contrast: moisture management! Before you even toss those sprouts with the oil, pat them down with a paper towel, especially if you washed them. Any surface water turns to steam in the oven, and steam prevents browning. We want that beautiful crisp edge so when we come in later with that phenomenal Sticky Brussels Sprouts Glaze, you get a loud crunch followed by sweet, savory goodness. That contrast is everything!
How to Make the Best Brussels Sprouts Glaze Recipe Through Reduction
Alright, this is where the magic happens! Remember, we’re making the ultimate Sticky Brussels Sprouts Glaze, and that means we need to thicken liquids down without burning the sugar. While your sprouts are roasting away, grab a tiny saucepan. Toss in your balsamic vinegar, your pure maple syrup, the soy sauce, and that little dab of Dijon mustard. Set it over medium heat and bring it to a gentle simmer. Don’t walk away! Things happen fast when you’re working with sugar.
Now, turn the heat down just a touch—medium-low is perfect—and let that beautiful mixture bubble gently for about 8 to 12 minutes. You’re watching for the sauce volume to decrease noticeably and for it to thicken up. The absolute test? Dip a spoon in and pull it out. If the liquid coats the back of the spoon and you can draw a clean line through it with your finger, you’re done! That’s how you get that restaurant-style finish.
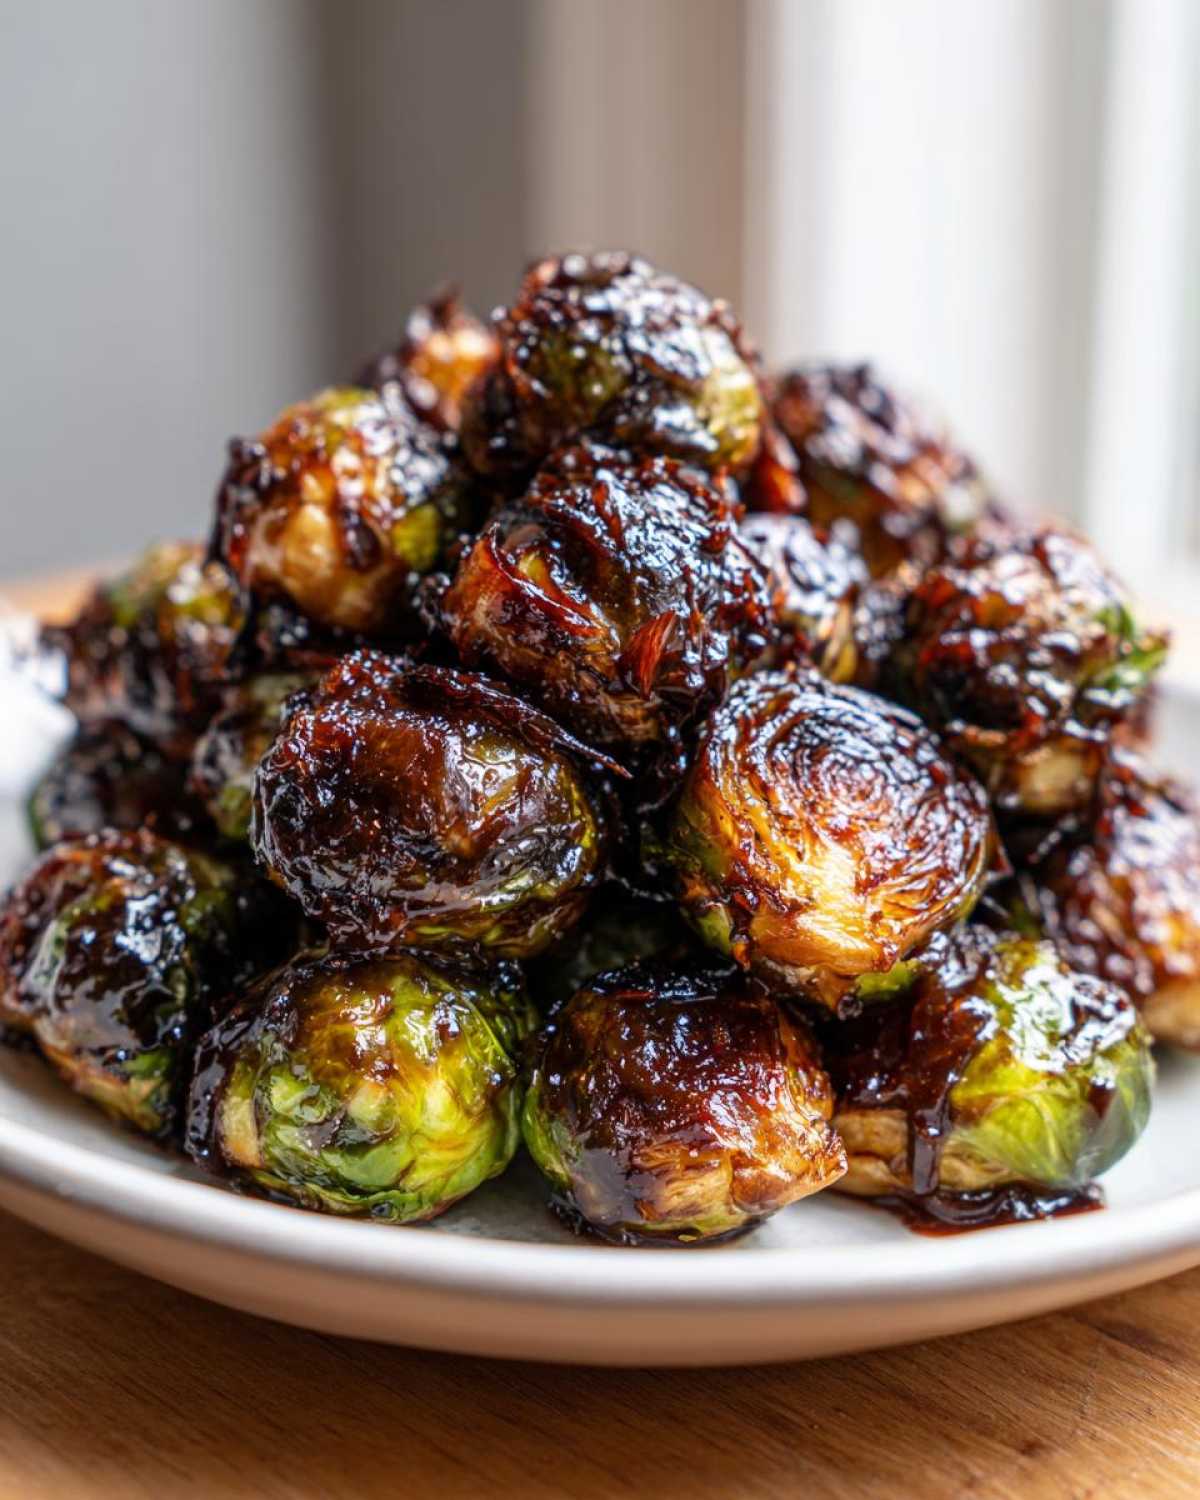
If you want to learn more about managing sugar in cooking, I have a whole guide on making homemade caramel that shares similar reduction principles!
Achieving a Thick Vegetable Coating: Simmering Time Matters
If it seems like it’s taking forever, you can turn the heat up slightly, but you absolutely MUST whisk constantly to keep everything moving, or the maple syrup will scorch. Conversely, if it looks like it’s going to scorch too quickly, pull it off the burner for a minute. The most important thing is adding the minced garlic right at the very end, after you take the pan off the heat. Garlic burns in seconds during reduction, and nobody wants bitter sprouts!
The Final Toss: Applying the Sticky Brussels Sprouts Glaze
Once your sprouts come out looking golden and tender, move fast! Get them right off the hot pan and into a big mixing bowl—this is crucial. Pour that warm, gorgeous Sticky Brussels Sprouts Glaze right over the hot sprouts. You need that residual heat to help the sauce really adhere. Toss everything super gently with tongs. You don’t want to smash the crispy edges we worked so hard to achieve. Just enough stirring so every single piece gets that perfect, glossy coat. Serve them immediately while they are hot and the glaze is at its peak stickiness!
Ingredient Notes and Substitutions for Your Sticky Brussels Sprouts Glaze
Look, I totally get it. Sometimes you run out of something right when you need it most, and you just have to improvise. While I stand by this specific combination for the ultimate Sticky Brussels Sprouts Glaze, this sauce is wonderfully forgiving! The main goal is getting that right balance between sweet sugar and sharp acid to help you achieve that perfect thick vegetable coating.
If you are out of maple syrup, you can definitely substitute honey. Just use the same amount. But heads up—honey tends to be a little sweeter and can seize up faster when it cools, so keep an eye on the simmering time. If you’re feeling truly adventurous and need a quick flavor pivot, you could swap half the balsamic vinegar for apple cider vinegar, but you’ll need to add a bit more sugar to compensate for the tartness.
For the soy sauce, if you need to keep things strictly gluten-free, just swap it out for tamari—no sweat! And if you want to go deeper into the caramelized flavor profile, check out my guide on how to properly caramelize things—it really teaches you how to coax the flavor out of sugars.
Serving Suggestions for This Perfect Vegetable Side Dish Coating
Now that you have literally mastered the shiniest, stickiest, most craveable vegetable coating ever, what do you serve these amazing sprouts alongside? The beauty of this sweet and savory combination is that it works with practically anything that needs a little brightness to cut through richness. They are honestly delicious completely on their own, but they truly shine as supporting players.
I find they pair perfectly with roasted poultry or pork. That sticky maple-balsamic flavor is just heaven next to a juicy roasted chicken breast or a slow-cooked ham. If you’re making a weeknight meal, these sprouts are incredible served over something creamy, like a simple risotto or polenta. The creamy base soaks up any little bits of glaze that drip off, which is heaven.
If you need fantastic ideas for the main attraction, I highly recommend pairing these with my incredible baked chicken dish. It’s easy and gets a huge thumbs-up from my picky eater. You can find the recipe for my Garlic Parmesan Chicken Bake right here on the site!
Storage and Reheating Instructions for Leftover Sticky Brussels Sprouts Glaze
You know what’s great? Having leftover roasted sprouts for lunch the next day. You know what’s slightly less great? That leftover Sticky Brussels Sprouts Glaze turning into a solid, sticky brick in the fridge! Maple syrup and balsamic reduction are incredible when warm and saucy, but they firm right up once they cool down. Don’t panic, though; they are totally salvageable!
Any finished sprouts that aren’t devoured right away need to go into an airtight container. Seriously, seal that lid tight. They hold up great in the fridge for three or maybe four days. When you’re ready to eat them again, don’t just microwave them straight from the fridge—they’ll be chewy and tough.
The trick to reviving them and getting that wonderful glaze back is low, slow heat, and a little added moisture. Pop them back in a 350-degree oven for about ten minutes. Before they go in, splash just a tiny bit of water—maybe a teaspoon—over the sprouts. If you’re feeling fancy, a drop of apple cider vinegar instead of water helps re-activate that sweet and sour quality of the Sticky Brussels Sprouts Glaze. They come out almost as good as new, perfectly glistening and ready to eat!
Frequently Asked Questions About Making a Sticky Sauce for Vegetables
I know you might have run into a snag or two while trying to perfect that restaurant style glazed sprouts look at home. It happens to everyone! That’s why I pulled together the questions I get asked most often about achieving the perfect sticky coating. Don’t hesitate to reach out if you have another question—you can always reach me through my contact page!
Can I use honey instead of maple syrup in the Sticky Brussels Sprouts Glaze?
Absolutely, you can! If you use honey instead of maple syrup, you are perfectly fine, and it follows the general Honey Glazed Sprouts instructions. The main difference is the underlying flavor. Maple syrup has a deeper, almost earthy sweetness, while honey is usually brighter and a bit more floral. Both will give you a fantastic thick vegetable coating, but the maple lends itself better to that deep balsamic reduction flavor we are going for.
How do I make this glaze thicker if it remains too thin?
If you’ve simmered your sauce for twenty minutes and it still looks a little watery, don’t sweat it; this happens! To get that perfect crispy Brussels sprouts topping texture, you need to let the reduction work longer. Take it off the direct heat, but keep the saucepan warm, and let it sit for five minutes. If it hasn’t thickened enough, put it back on the lowest heat you have and let a tiny bit of the water evaporate—maybe 2 or 3 more minutes—stirring constantly. Do not shake it while it’s simmering, or you might crystallize the sugars!
Can I use this recipe for Honey Glazed Sprouts instructions on other vegetables?
Oh, you definitely can! This recipe isn’t just for Brussels sprouts; it’s one of my go-to formulas for just about any roasted vegetable. It works wonderfully on chunks of butternut squash, thick-cut sweet potatoes, or even carrots. When roasting carrots, I usually give them a five-minute head start before I toss them with the glaze, just because they’re so much denser. It’s the best simple sweet and sour vegetable glaze I know for crispy textures!
PrintUltimate Sticky Balsamic & Maple Glazed Brussels Sprouts
Make a thick, flavorful glaze using balsamic vinegar and maple syrup to coat roasted Brussels sprouts for a restaurant-style finish.
- Prep Time: 10 min
- Cook Time: 35 min
- Total Time: 45 min
- Yield: 4 servings
- Category: Side Dish
- Method: Roasting and Simmering
- Cuisine: American
- Diet: Vegetarian
Ingredients
- 1/2 cup balsamic vinegar
- 1/4 cup pure maple syrup
- 2 tablespoons soy sauce (low sodium)
- 1 tablespoon olive oil
- 1 teaspoon Dijon mustard
- 1 clove garlic, minced
- 1/4 teaspoon black pepper
- 2 pounds Brussels sprouts, trimmed and halved
Instructions
- Preheat your oven to 400 degrees Fahrenheit (200 degrees Celsius).
- Toss the trimmed Brussels sprouts with olive oil and black pepper on a baking sheet.
- Roast the sprouts for 20 to 25 minutes, stirring halfway, until they are tender and slightly browned.
- While the sprouts roast, prepare the glaze: Combine balsamic vinegar, maple syrup, soy sauce, and Dijon mustard in a small saucepan.
- Bring the mixture to a simmer over medium heat.
- Reduce the heat to medium-low and let it simmer gently for 8 to 12 minutes, stirring occasionally, until the sauce thickens enough to coat the back of a spoon. This creates the sticky reduction.
- Remove the glaze from the heat and stir in the minced garlic.
- Remove the roasted sprouts from the oven. Place them in a large bowl.
- Pour the warm sticky glaze over the hot sprouts.
- Toss gently until every sprout piece is evenly coated.
- Serve immediately for the best sticky texture.
Notes
- For extra crispiness, roast the sprouts without oil initially, then toss with the glaze after they come out of the oven.
- If your glaze seems too thin after simmering, return it to low heat and let it reduce for a few more minutes.
- You can substitute honey for maple syrup, but the flavor profile will change slightly.
Nutrition
- Serving Size: 1/4 of recipe
- Calories: 210
- Sugar: 18
- Sodium: 350
- Fat: 7
- Saturated Fat: 1
- Unsaturated Fat: 6
- Trans Fat: 0
- Carbohydrates: 35
- Fiber: 7
- Protein: 5
- Cholesterol: 0
