

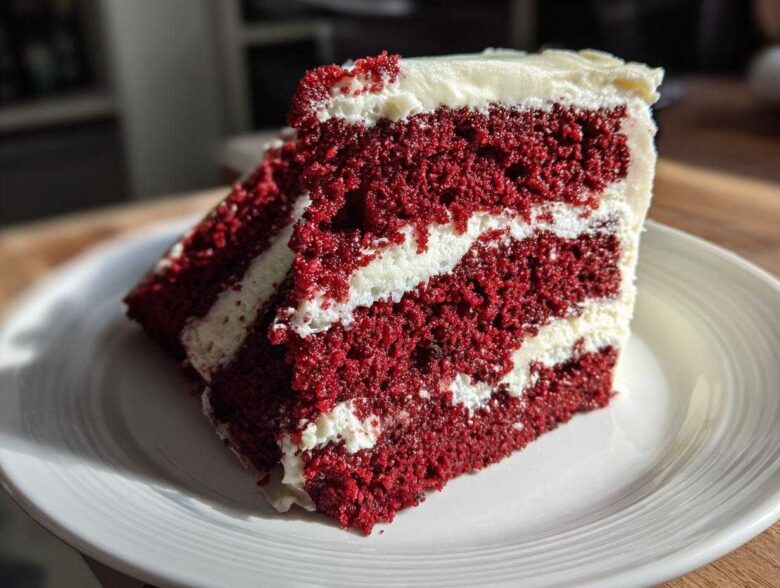
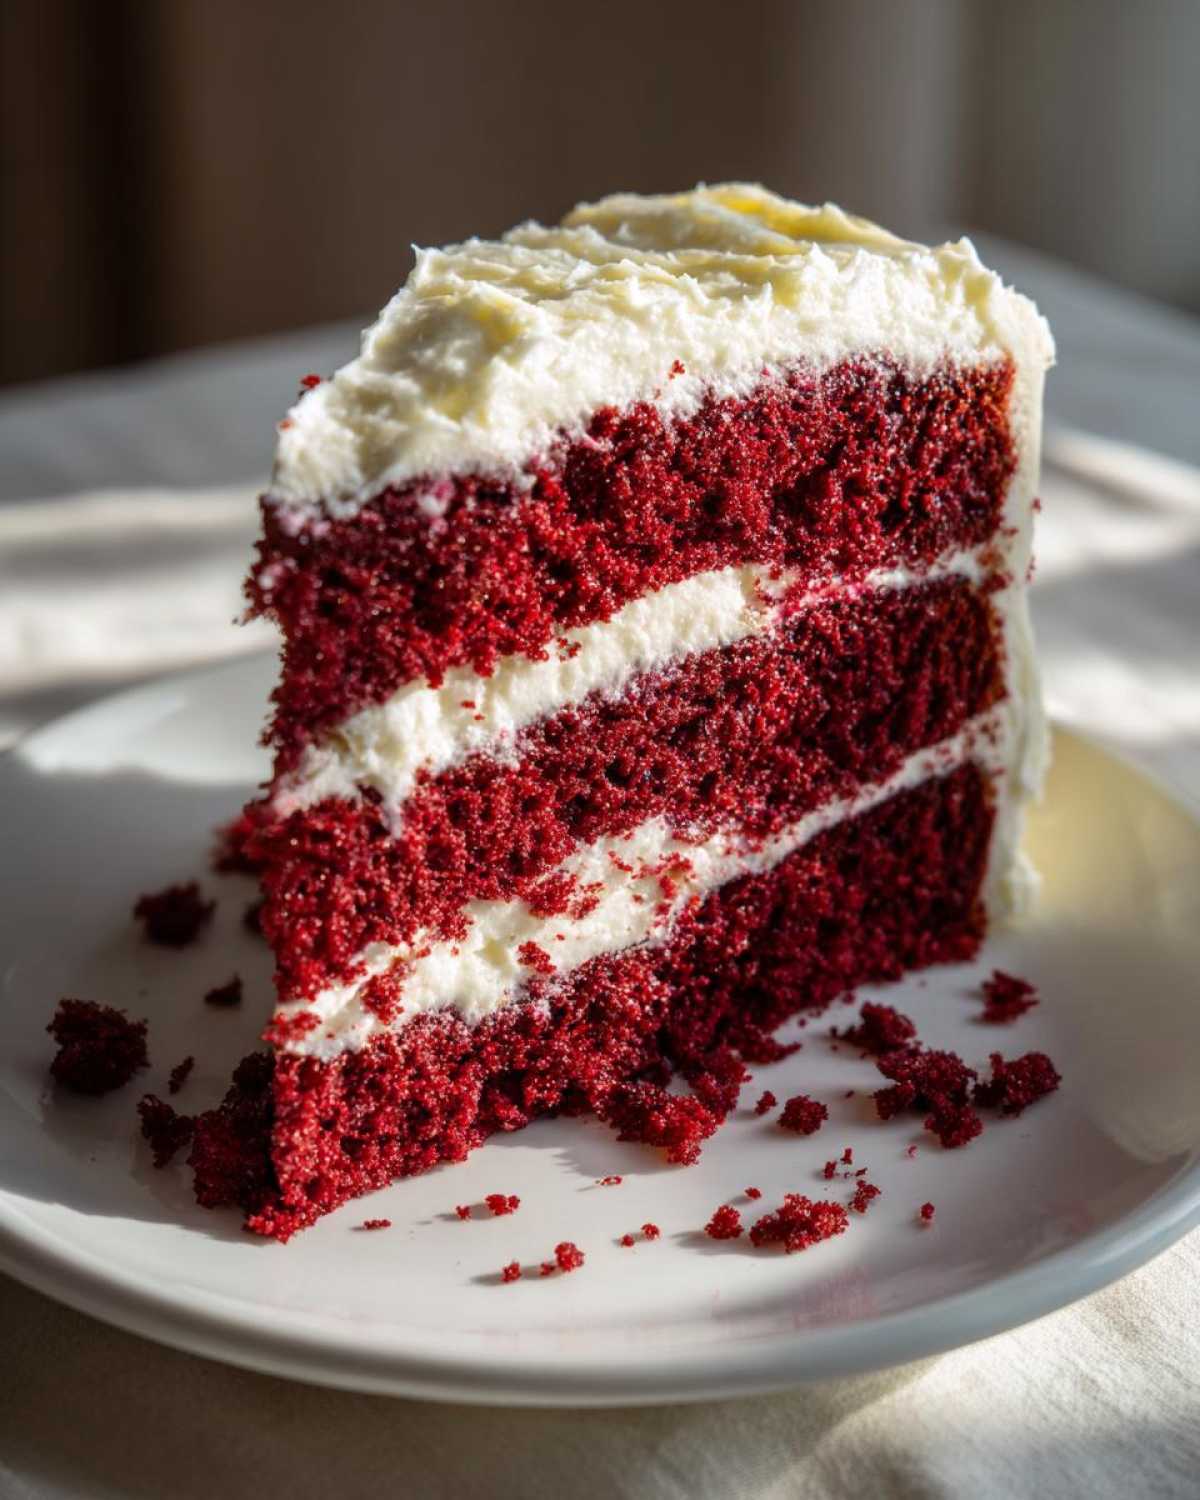
Oh man, if there’s one thing that instantly screams ‘celebration’ in the South, it’s that unmistakable crimson hue peeking out from under a cloud of tangy cream cheese frosting. For us here at Savory Skies, this isn’t just a cake; it’s family history! Chef Tariq always insisted that the true mark of a baker is mastering the classics, and this is the one that matters most. Forget those dry, overly sweet imitations you sometimes find. We are sharing with you what we genuinely believe is The Best Southern Style Moist Red Velvet Cake from Scratch with Classic Cream Cheese Frosting. It’s rich, it’s unbelievably soft, and it tastes exactly like comfort.
This isn’t some quick box-mix shortcut, no sir! We spent years tweaking this recipe with Tariq until we got that perfect, velvety crumb. If you’re ready to bake a showstopper that tastes like it’s been lovingly made for seventy years, then grab your apron. You can learn a bit more about how we all came together to perfect this gem over at our About Us page!
Why This Moist Red Velvet Cake Recipe is a Southern Staple
What makes this recipe stand out from the dozens of imitation chocolate cakes dyed red? It’s all about those authentic Southern techniques Tariq drilled into us. This isn’t just about adding food coloring; it’s about flavor development! If you want that truly moist red velvet cake recipe experience, you must respect the chemistry happening in the bowl.
The traditional flavor relies on a very small amount of good quality unsweetened cocoa powder—just enough to give you that signature subtle tang, not dominate the cake. Pair that with rich, room-temperature buttermilk, and you get a flavor profile that regular chocolate cakes just can’t touch. This is what separates an authentic southern red velvet from anything else. We’ve got all the secrets, including how to get the perfect texture, over in our primer on classic egg salad—because good technique travels!
Achieving the Soft Homemade Cake Texture
When we talk about a soft homemade cake, we’re talking about careful aeration. You absolutely have to cream that butter and sugar until it’s puffy enough to float away—don’t rush it! That trapping of air is Step One for a fluffy red velvet cake. Then, we alternate the dry ingredients (flour, cocoa) with the buttermilk mixture. Slow and steady wins this race!
But the real kicker? That final little step where vinegar meets baking soda! It foams up right before you fold it in, creating extra lift right when the batter needs it most. This chemical reaction is what gives us that tender crumb without relying on a ton of leavening agents.
The Secret to a Vibrant Red Velvet Cake Color
Everyone wants that deep, almost shocking red when they bake a red velvet cake, right? Tariq always laughs because, back in the day, the color came partly from the reaction between the acidic buttermilk and the old-fashioned natural cocoa powder. We don’t get that reaction as much now, so we need help!
My advice, which I got straight from Tariq, is this: Ditch the basic liquid food coloring if you want a truly vibrant red velvet cake look. Get a high-quality gel food coloring. You use way less, and the pigment is concentrated, so you don’t end up throwing off the delicate moisture balance of the cake. A little goes a long way toward making your red velvet layer cake look absolutely stunning for Valentine’s Day or any big party!
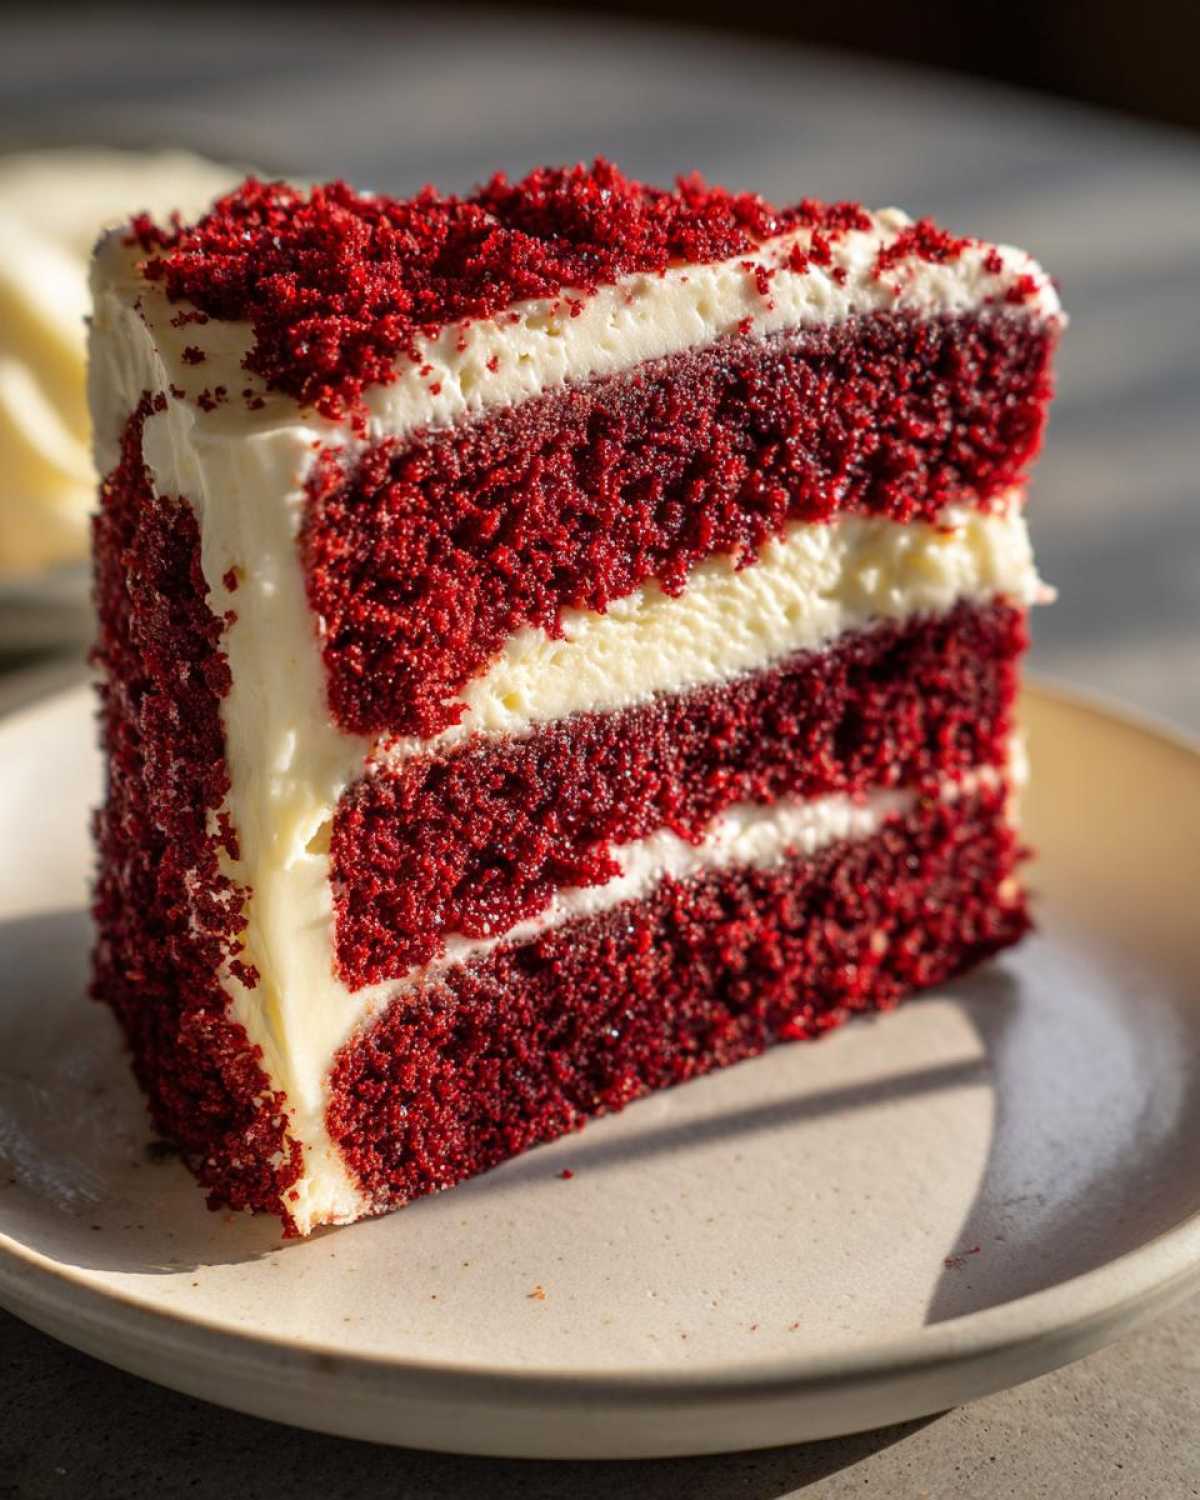
Essential Ingredients for Your Red Velvet Cake from Scratch
Okay, now that we know *why* this cake works its magic, we need to talk about the players on the field. For a truly red velvet cake from scratch that lives up to the hype—moist, fluffy, unforgettable—you can’t just eyeball things! Every single component plays a role, whether it’s balancing the cocoa or getting that frosting perfectly smooth. If you forget to bring your butter or buttermilk to the right temperature, that perfectly moist red velvet cake recipe can fall apart on you, trust me!
Let’s break down exactly what you’ll need for both the cake structure and that wonderful tangy topping.
For the Authentic Southern Red Velvet Cake Layers
This is the core of the magic, folks. Pay close attention to the details here. You absolutely must have your butter and eggs at room temperature—it makes such a huge difference in how light the batter gets!
- 2 1/2 cups all-purpose flour
- 1 teaspoon baking soda and 1 teaspoon salt
- 1 tablespoon unsweetened cocoa powder (Use the good stuff!)
- 1 cup unsalted butter, fully softened
- 1 1/2 cups granulated sugar
- 2 large eggs, room temperature
- 1 teaspoon vanilla extract
- 1 cup buttermilk, room temperature (This is crucial!)
- 1 teaspoon white vinegar (For the final lift!)
- 1/2 teaspoon red liquid food coloring (or a bit more for that pop)
For the Best Cream Cheese Frosting Recipe
This is non-negotiable. If you skip the classic topping, you don’t have red velvet, you just have slightly red cake! Make sure the cream cheese and butter are soft, but NOT melty—Leo tends to rush this, and it ends up looking a bit soupy!
- 1 cup cream cheese, softened
- 1/2 cup unsalted butter, softened
- 1 teaspoon vanilla extract
- 1 teaspoon white vinegar (A tiny bit brightens the tangy flavor!)
- 4 cups powdered sugar, sifted (Sifting keeps it smooth!)
Step-by-Step Instructions for the Easy Red Velvet Cake
I know you’re eager to get this beautiful cake in the oven, and honestly, it moves fast once you get going! We’re aiming for an easy red velvet cake experience here, which means we follow a very specific order. First things first: get your oven preheated to 350°F (175°C) and get those pans greased and floured. We can’t have anything sticking, especially a cake this good!
Mixing the Fluffy Red Velvet Cake Batter
Time to make friends with your stand mixer or your trusty hand mixer. You have to spend good uninterrupted time creaming that soft butter and sugar together until it gets seriously pale and fluffy—seriously, push it until it looks cloud-like. That’s where the air bubbles come from for our fluffy red velvet cake.
After the eggs go in one at a time (don’t forget the vanilla!), we move to the alternating dance. Add about a third of your flour/cocoa mix, blend it gently. Then mix in half of that gorgeous red buttermilk mixture. Repeat, finishing with the last bit of dry stuff. Mix only until you see no white streaks left! The final secret to this amazing batter is folding in that bubbly mixture of vinegar and baking soda right at the end—it gives the red velvet cake that final boost of lightness.
Baking and Cooling the Red Velvet Layer Cake
Once the batter is divided evenly between your pans, into the preheated oven they go for about 30 to 35 minutes. You want that wooden skewer inserted right in the center to come out clean, or with just a few moist crumbs clinging to it. Remember, we are aiming for a moist red velvet cake recipe, so don’t overbake it waiting for it to be bone dry!
Let them chill in the pans for 10 minutes—no more, no less. If they sit too long, they stick! Then invert them onto a wire rack to cool completely. And I mean *completely*. If you try to frost even a slightly warm red velvet layer cake, you’ll end up with a sweet, soupy mess, and nobody wants that heartbreak.
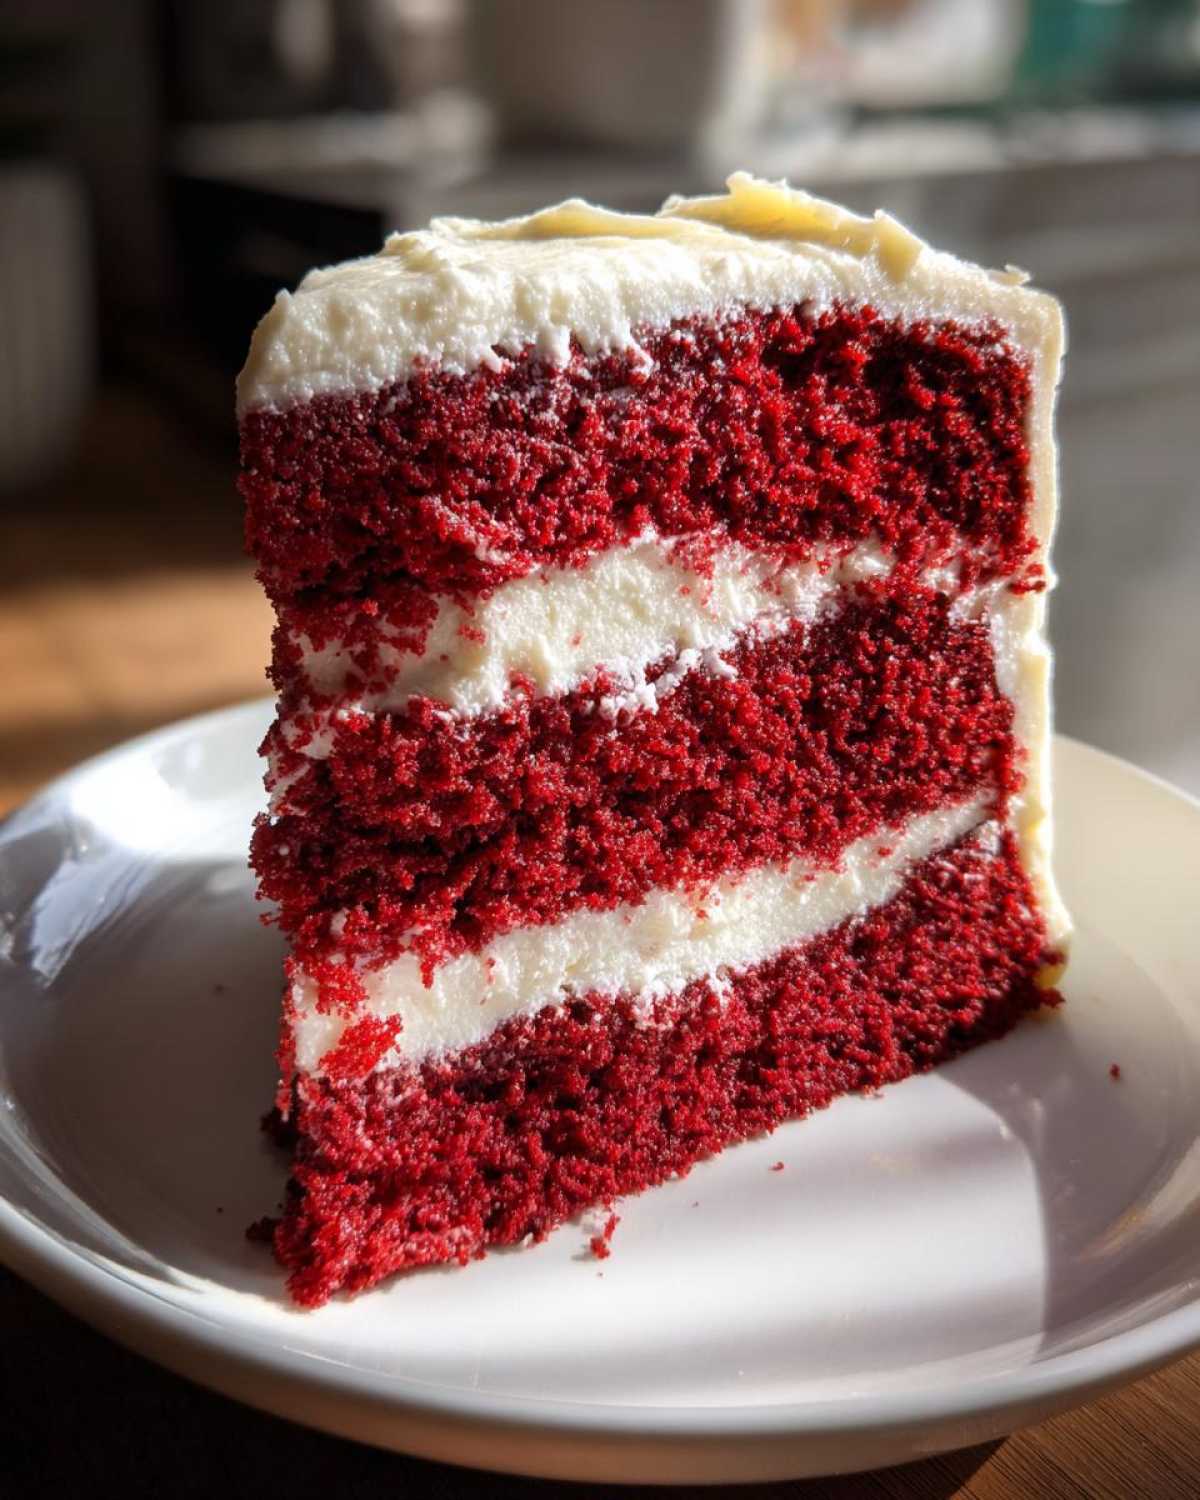
Crafting the Perfect Cream Cheese Frosting
While those layers cool down, let’s tackle the topping! This is where we ensure you get the best cream cheese frosting recipe possible. Again, soft butter and soft cream cheese are mandatory. Beat them together until they look like perfectly whipped clouds; Tariq calls this ‘fluffing the foundation.’ Add your vanilla and that dash of vinegar.
Slowly, slowly, beat in that sifted powdered sugar. If you dump it all in at once, you’re going to wear half of it on your face! Keep mixing until it’s thick enough to hold a peak but soft enough to spread like velvet over your cake! If you ever want to compare techniques with a different style of frosting, you should check out how we handle our easy vanilla buttercream to see the textural differences!
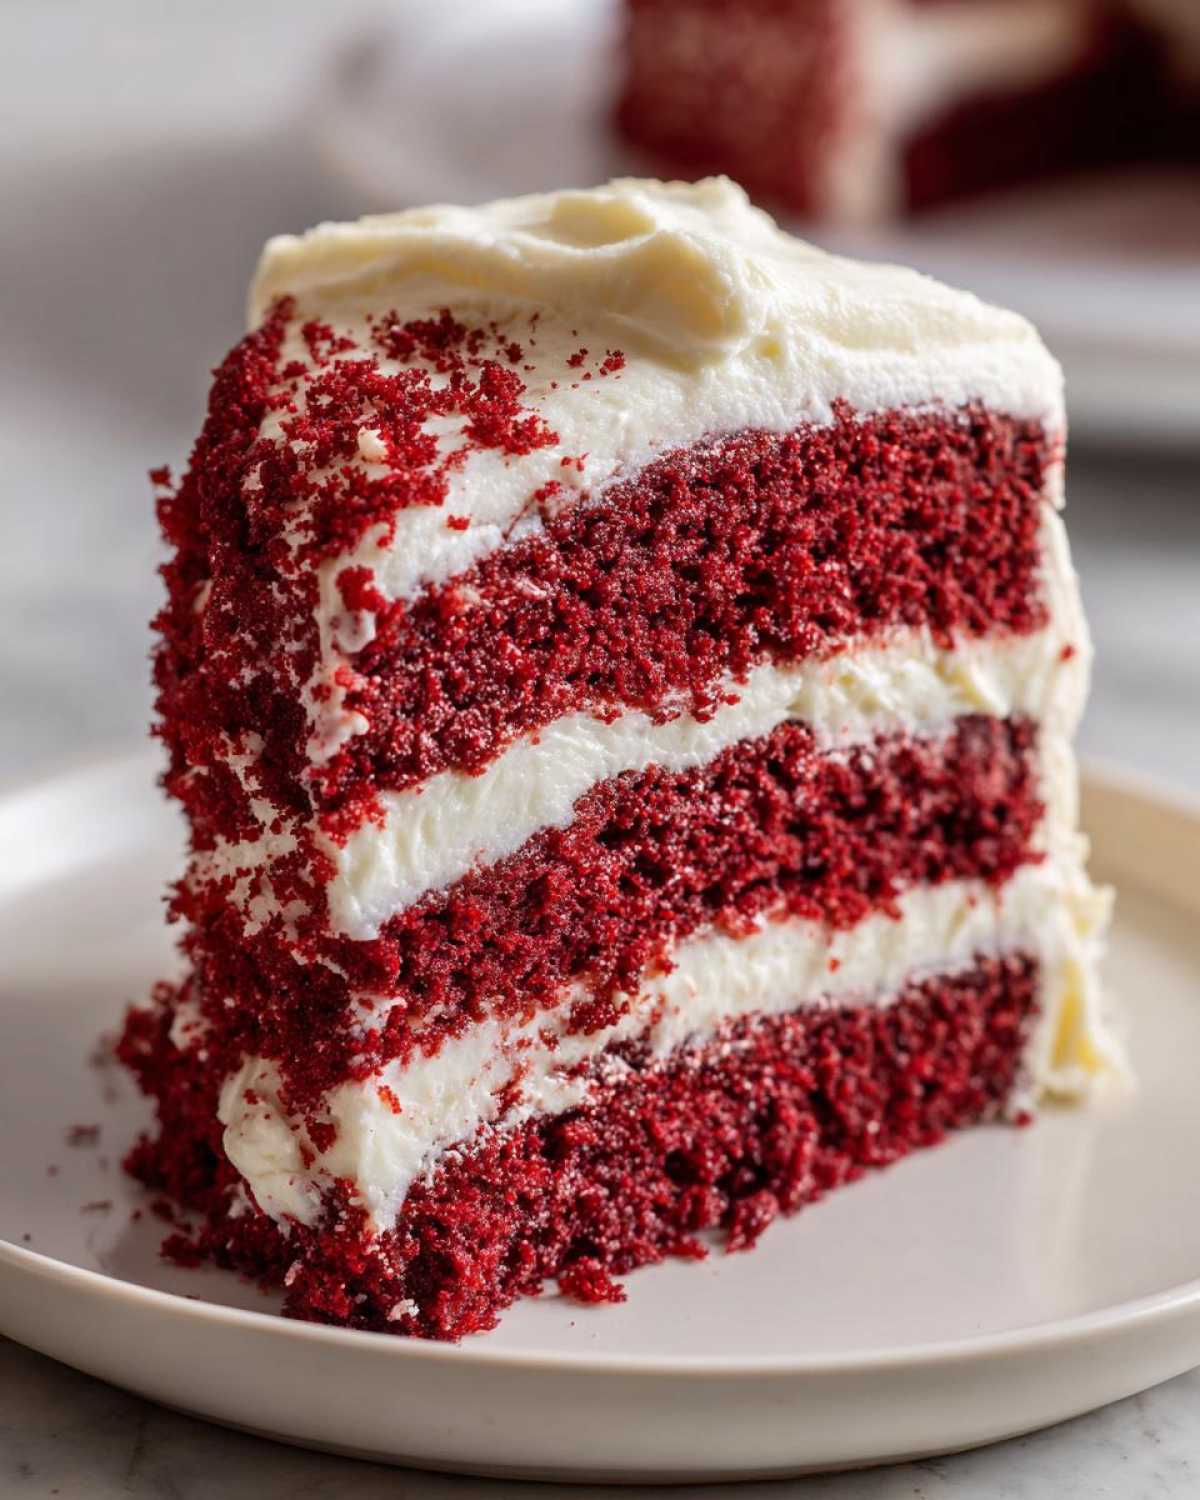
Tips for Success with Your Red Velvet Cake Tutorial
Baking is fun, but troubleshooting—that’s where you really learn! If you follow the main steps, you’ll get a beautiful cake, but let me toss a couple of Tariq’s little nuggets of wisdom your way so you nail that perfect texture every time you make this red velvet cake.
Ingredient Temperature Matters for Red Velvet Cake
This cannot be stressed enough! If your eggs are cold, they shock the creamed butter, and suddenly your batter looks curdled. Yuck! For the ultimate moist red velvet cake recipe, your butter, eggs, AND especially your buttermilk need to be at true room temperature. It allows everything to emulsify, creating those essential tiny air pockets we talked about that lead to a perfectly soft homemade cake. Taking 30 extra minutes to let things sit on the counter pays off tenfold in the final texture of your amazing red velvet cake!
If you ever need another little kick of baking inspiration or just want to poke around our site a bit more, feel free to check out our main blog!
Making Variations on the Classic Red Velvet Cake
It’s great that you’ve nailed the classic, soft, and tender red velvet cake, but sometimes you need something a little different for a party! I love watching Leo and Amara riff on Tariq’s foundations, and we’ve come up with some seriously fun ways to use that signature flavor without making a traditional layer cake.
It’s so tempting just to make the same thing, I know! But trust me, these twists are just as easy and totally satisfying. If you want to see what happens when we give this flavor profile a breakfast makeover, you have to check out our recipe for red velvet cinnamon rolls. It uses the same spice and color profile but makes for a totally unexpected treat!
If you are looking for something even more decadent—something that screams ‘showstopper’ for a big birthday or holiday gathering—we upgraded the concept into a triple-layer dream that brings in that creamy tang we all crave.
You absolutely have to try our best red velvet cheesecake recipe! We alternate layers of that perfectly colored, moist cake with a smooth, tangy cheesecake batter. It’s rich, it’s stunning on display, and honestly, it takes the cake (pun intended!) for the most requested dessert at our holiday parties now. It keeps that wonderful moisture but adds a cool, creamy counterpoint to the cocoa.
And hey, don’t forget one of the easiest route: the poke cake! Just bake your layer according to the instructions, poke holes all over it while it’s still warm, and pour in some vanilla pudding or even white chocolate ganache. Cover it with whipped topping, and you’ve got a simple, melt-in-your-mouth dessert that still tastes just like your favorite red velvet cake!
Storage and Reheating Instructions for Red Velvet Cake
Alright, let’s talk about keeping this masterpiece fresh! You’ve poured your heart into this fluffy red velvet cake, and the last thing you want is for that gorgeous frosting to get weird or for the cake to dry out. Because we are using that classic cream cheese frosting—which is just dreamy by the way—storage rules are slightly different than a standard buttercream cake.
Here’s the deal: If you’re serving the cake the same day, leaving it covered at cool room temperature for a few hours is perfectly fine. The sugar content helps keep things sound, and honestly, the flavor seems best when it’s not ice cold.
However, if you’ve made a magnificent red velvet layer cake and you need it to last more than a day, refrigeration is your friend. Wrap each layer tightly—and I mean tightly, maybe in plastic wrap followed by foil once it’s frosted—and tuck it into the fridge. It will easily last four to five days this way. Just remember to pull it out about an hour before serving; the cake firms up in the cold, and you want those flavors and that soft texture we worked so hard for to shine through!
Frequently Asked Questions About Red Velvet Cake
I love getting questions about this recipe! It helps me see where you all might be running into snags, and honestly, Tariq drilled into us that the difference between a good cake and the *best* cake is understanding the little details. I’ve gathered some of the most common things people ask me when trying out these easy baking recipes!
Is red velvet cake just chocolate cake with red dye?
That’s the biggest myth out there! No, ma’am! If it were just chocolate cake with dye, we wouldn’t need the buttermilk or the vinegar, would we? The traditional authentic southern red velvet relies on a small measure of cocoa powder reacting with the acidity from the buttermilk and vinegar. This interaction is what gives the cake its slightest, characteristic tang and helps create that beautiful crumb structure. If you use Dutch-processed cocoa, you lose that reaction completely, so stick to natural cocoa powder!
Can I use regular milk instead of buttermilk in this red velvet cake recipe?
You sure can, but you have to help it along! If you don’t have buttermilk on hand, take one cup of regular milk—your whole, two percent, whatever you have—and stir in one tablespoon of white vinegar or lemon juice. Just let it chill out on the counter for about five minutes until it starts to look slightly curdled. It mimics the acidity needed to activate the soda, which is vital for a moist red velvet cake recipe. That said, if you can grab the real stuff, the homemade substitution just doesn’t quite hit the same depth of flavor Tariq insists upon!
If you’re looking for more simple, reliable baking guidance, you can browse all our fail-proof suggestions over at easy baking recipes!
Estimated Nutritional Data for This Red Velvet Cake
Now, I know some of you look at a glorious cake like this and immediately wonder about the numbers side of things. I get it! We all gotta balance the indulgence, right? Tariq always says knowing what’s in your food is part of respecting it. So, here are the estimates based on the standard serving size for this showstopper.
Please keep in mind this is just a helpful guideline, a snapshot, if you will. Because we all bake a little differently—maybe you use a little more frosting, or perhaps you use one brand of flour over another—these numbers are sure to shift slightly! That’s just the nature of making something truly homemade and special.
- Serving Size: 1 slice
- Calories: 450
- Sugar: 55g
- Sodium: 300mg
- Fat: 24g
- Saturated Fat: 14g
- Unsaturated Fat: 10g
- Trans Fat: 0.5g
- Carbohydrates: 60g
- Fiber: 1g
- Protein: 4g
- Cholesterol: 80mg
Don’t sweat the details too much; this gorgeous red velvet layer cake is for celebrating! Just know that when you make this red velvet cake from scratch, it’s worth every single bite.
Share Your Showstopping Red Velvet Cake Creations
Wow, we made it! You’ve just conquered one of the absolute best, most iconic desserts out there. I truly hope you’re staring at a gorgeous, impossibly moist red velvet cake right now. We put all our heart and Tariq’s decades of wisdom into making sure this easy red velvet cake works perfectly for you!
Now, that’s where you come in! We can’t wait to see your beautiful crimson creations lighting up your kitchen counters. Did you go for the maximum vibrant color? How did your best cream cheese frosting recipe turn out? Don’t keep all that beauty to yourself!
Please, please leave a star rating right below this section—even a simple five stars tells us you enjoyed the process and the resulting dessert. And if you have any questions, or if you tried something fun with your batch, drop a comment! We read every single one, and chatting with you all about baking is the highlight of our week.
If you want to see what other bakers are saying about this recipe, you can check out some of the buzz over at the recipe source! We love seeing your photos on social media too, so tag us! Enjoy every single soft, velvety bite!
PrintThe Best Southern Style Moist Red Velvet Cake from Scratch with Classic Cream Cheese Frosting
Make this authentic Southern Red Velvet Cake from scratch. This recipe delivers a perfectly moist, soft, and fluffy cake with the classic hint of cocoa, topped with rich cream cheese frosting. It is easy to make and perfect for birthdays or holidays.
- Prep Time: 25 min
- Cook Time: 35 min
- Total Time: 60 min
- Yield: 12 servings
- Category: Dessert
- Method: Baking
- Cuisine: American
- Diet: Vegetarian
Ingredients
- 2 1/2 cups all-purpose flour
- 1 teaspoon baking soda
- 1 teaspoon salt
- 1 tablespoon unsweetened cocoa powder
- 1 cup unsalted butter, softened
- 1 1/2 cups granulated sugar
- 2 large eggs
- 1 teaspoon vanilla extract
- 1 cup buttermilk, room temperature
- 1 teaspoon white vinegar
- 1/2 teaspoon red liquid food coloring (or more for vibrant color)
- 1 cup cream cheese, softened
- 1/2 cup unsalted butter, softened
- 1 teaspoon vanilla extract
- 1 teaspoon white vinegar
- 4 cups powdered sugar, sifted
Instructions
- Preheat your oven to 350°F (175°C). Grease and flour two 9-inch round cake pans.
- In a medium bowl, whisk together the flour, baking soda, salt, and cocoa powder. Set this dry mixture aside.
- In a large bowl, cream together the 1 cup of butter and 1 1/2 cups of granulated sugar until the mixture is light and fluffy. This step helps create a soft homemade cake texture.
- Beat in the eggs one at a time, mixing well after each addition. Stir in 1 teaspoon of vanilla extract.
- In a separate small bowl, mix the buttermilk, 1 teaspoon of vinegar, and the red food coloring until the color is uniform.
- Gradually add the dry ingredients to the wet ingredients, alternating with the buttermilk mixture, beginning and ending with the dry ingredients. Mix until just combined; do not overmix.
- In a final small bowl, mix the 1 teaspoon of vinegar with the baking soda until it foams slightly. Gently fold this mixture into the cake batter.
- Divide the batter evenly between the prepared cake pans. Bake for 30 to 35 minutes, or until a wooden pick inserted into the center comes out clean.
- Let the cakes cool in the pans for 10 minutes before inverting them onto a wire rack to cool completely.
- Prepare the cream cheese frosting: Beat the 1 cup of cream cheese and 1/2 cup of butter until smooth. Add 1 teaspoon of vanilla extract and 1 teaspoon of vinegar. Gradually beat in the powdered sugar until the frosting is creamy and spreadable.
- Once the cakes are completely cool, frost the layers and the outside of your red velvet layer cake.
Notes
- For the most vibrant red velvet cake color, use a high-quality gel food coloring instead of liquid, or increase the amount of liquid coloring slightly.
- Buttermilk is key for the authentic Southern flavor and moist crumb; do not substitute it with regular milk if possible.
- To make a quick buttermilk substitute, mix 1 cup of milk with 1 tablespoon of white vinegar or lemon juice and let it sit for 5 minutes.
Nutrition
- Serving Size: 1 slice
- Calories: 450
- Sugar: 55g
- Sodium: 300mg
- Fat: 24g
- Saturated Fat: 14g
- Unsaturated Fat: 10g
- Trans Fat: 0.5g
- Carbohydrates: 60g
- Fiber: 1g
- Protein: 4g
- Cholesterol: 80mg
