

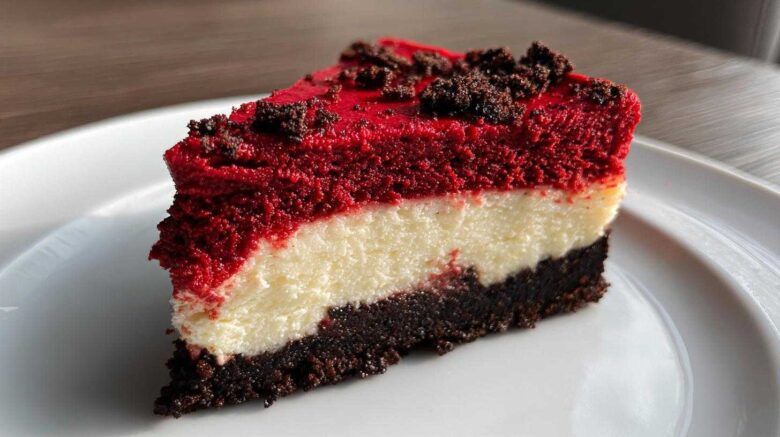
Welcome to Savory Skies: Crafting Your Best red velvet cheesecake
Welcome to Savory Skies, friends! I’m Leo.
We are tackling a true showstopper today. This dessert is pure drama on a plate. I mean, who can resist that deep crimson color?
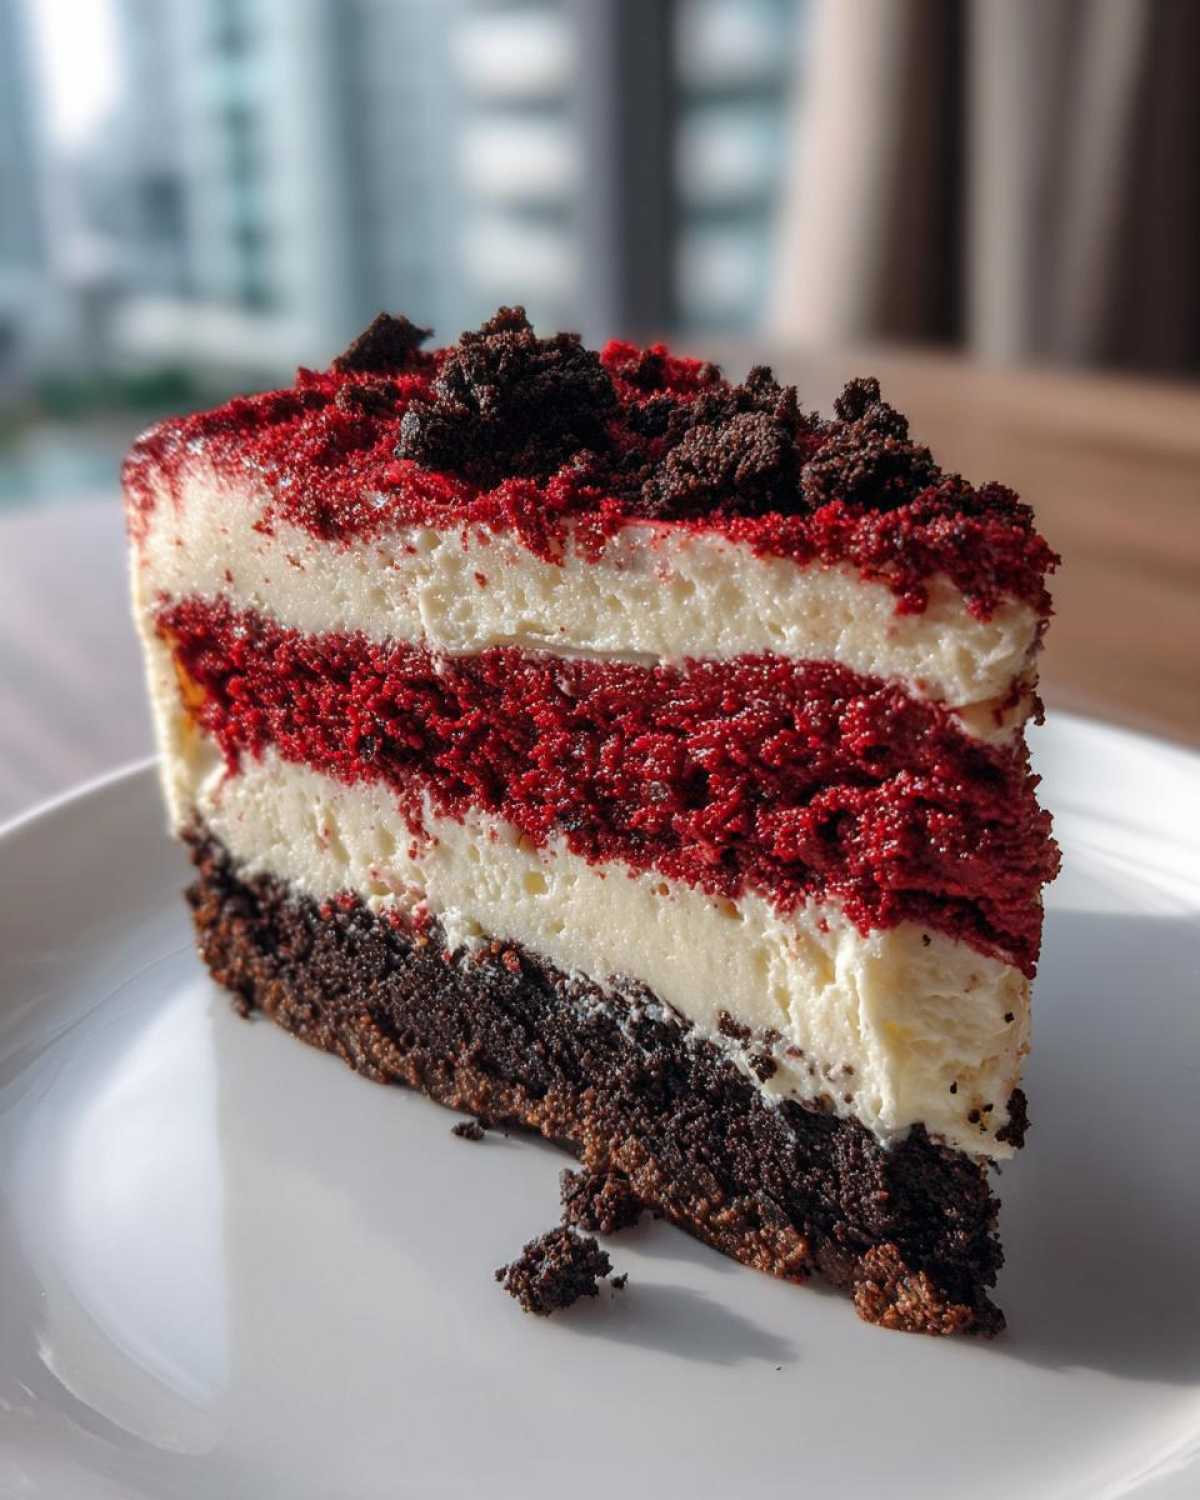
Creating the ultimate red velvet cheesecake was a journey for us. Back in my early days in professional kitchens, perfecting anything layered took serious focus. Amara and I spent countless late nights trying to nail textures.
Chef Tariq always said the best food connects people. This recipe truly does that.
We combined the richness of a classic New York style cheesecake. We merged it with that famous, moist red velvet cake flavor. The result? A stunning, decadent treat. You deserve a dessert this impressive.
Get ready to bake something unforgettable. I know you’ll love this version.
Why This red velvet cheesecake Recipe Stands Out
So many desserts look good but taste just okay. Not this one.
This specific red velvet cheesecake recipe delivers on every promise. It’s all about that perfect construction. We layer textures beautifully. That’s the secret Chef Tariq taught us.
You get the satisfying crunch from the crust. Then comes the smooth, tangy filling. It’s truly a showstopper experience.
The Foundation: Building a Showstopping Dessert
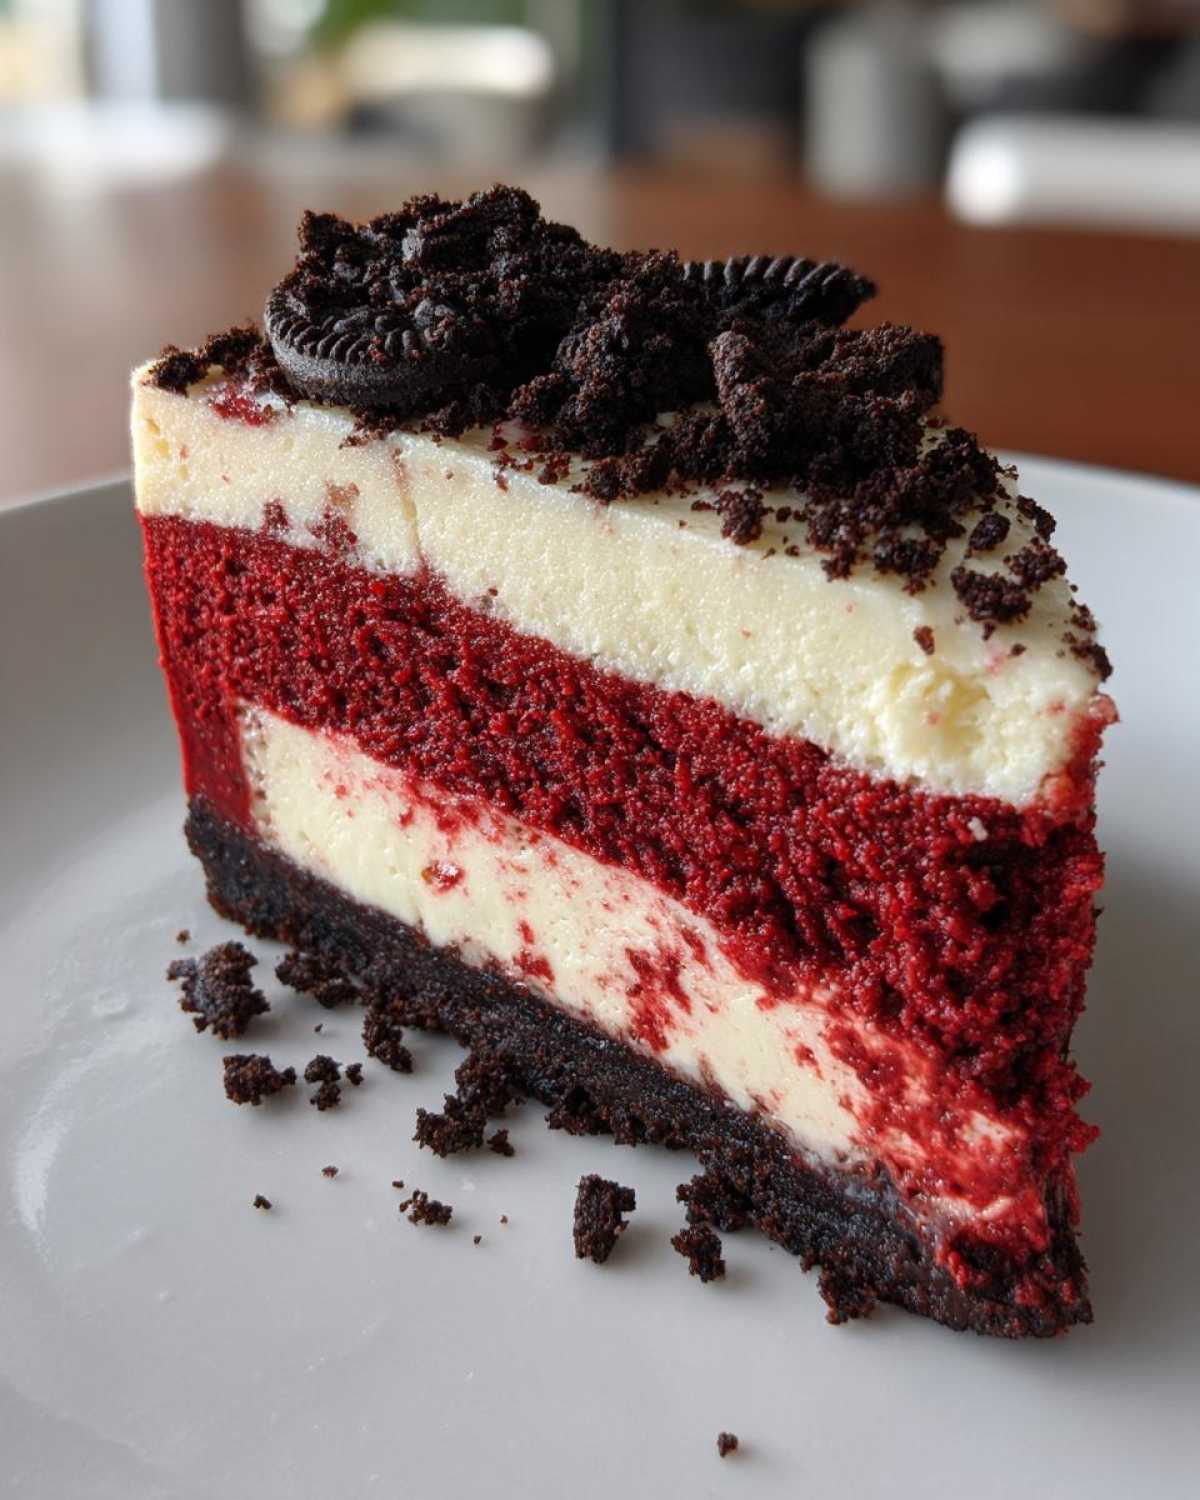
Texture is everything here. I want your cheesecake top to be creamy. It should melt in your mouth perfectly.
We use a dark Oreo crust. It offers a fantastic contrast. It keeps the creamy layer from getting soggy. Don’t skip baking that crust first.
It sets the stage for the richness above it. You’re building layers of deliciousness. Be patient during the mixing stage.
Ingredients for the Ultimate red velvet cheesecake
Gathering your supplies is half the battle won. For this amazing red velvet cheesecake, detail matters. I learned this the hard way!
Using ingredients at the right temperature prevents lumps. Lumps are the enemy of smooth cheesecake, trust me.
We need specific components for the crust and the filling. Make sure you have high-quality red coloring ready too.
These elements come together for that deep cocoa tang. It’s what makes this dessert famous across the board.
Crust Components
- 8 oz Oreo cookies, finely crushed
- 1/4 cup unsalted butter, melted
Creamy Cheesecake Filling Requirements
- 16 oz cream cheese, fully softened
- 1 cup granulated sugar
- 1/4 cup sour cream
- 1 teaspoon vanilla extract
- 2 large eggs
- 1/4 cup all-purpose flour
Achieving That Signature Red Velvet Flavor
- 1 tablespoon red food coloring (high quality gel works best)
- 1 teaspoon white vinegar
- 1/2 teaspoon baking soda
- 1 tablespoon unsweetened cocoa powder
- 1/2 cup buttermilk
- 1/2 cup all-purpose flour (extra for structure)
- 1/4 cup granulated sugar (extra for cake flavor)
- 1/4 teaspoon salt (for balance)
- 1 large egg (extra for the cake bit)
Equipment Needed for Your red velvet cheesecake
You don’t need a full commercial kitchen for this beauty.
Just a few key pieces make the job simple.
Grab your 9-inch springform pan first. This pan is non-negotiable for easy release.
Heavy-duty aluminum foil is next. We wrap that pan tightly for protection.
You’ll also need standard mixing bowls and a good electric mixer. A large roasting pan is essential too. That holds the water bath perfectly.
Step-by-Step Instructions for Your red velvet cheesecake
Now for the fun part, putting it all together.
Follow these steps closely for that showstopping result.
We’re aiming for creamy perfection here, not a cracked top.
Preheat your oven right now to 350°F (175°C). Before anything else, wrap that 9-inch springform pan well. Use heavy-duty foil for safety.
We need this pan protected for the water bath later on.
Preparing the Oreo Crust Base
First, mix those crushed Oreos and melted butter. You want a damp, sandy texture.
Press this mixture firmly into your prepared pan bottom. Use the bottom of a measuring cup for even packing.
Bake this crust for just 10 minutes. Then pull it out to cool down a bit.
Mixing the Smooth Cheesecake Batter
Get that softened cream cheese going in a big bowl. Beat it with the sugar until it’s totally smooth.
Add the sour cream and vanilla next. Mix those in gently.
Now, add your two eggs. Add them one at a time only. Stop mixing once they disappear. Overmixing brings in air bubbles. Air bubbles cause cracks later.
In a separate small bowl, whisk your red coloring. Mix it with the vinegar, soda, cocoa, and buttermilk. Whisk these until they are just combined.
Gently fold that red velvet mixture into the cream cheese base. Keep folding until the color is uniform. Then, fold in the final cake layer ingredients we set aside.
Creating the Water Bath for a Perfect Bake
Pour that gorgeous batter over your cooled crust. Smooth the top gently.
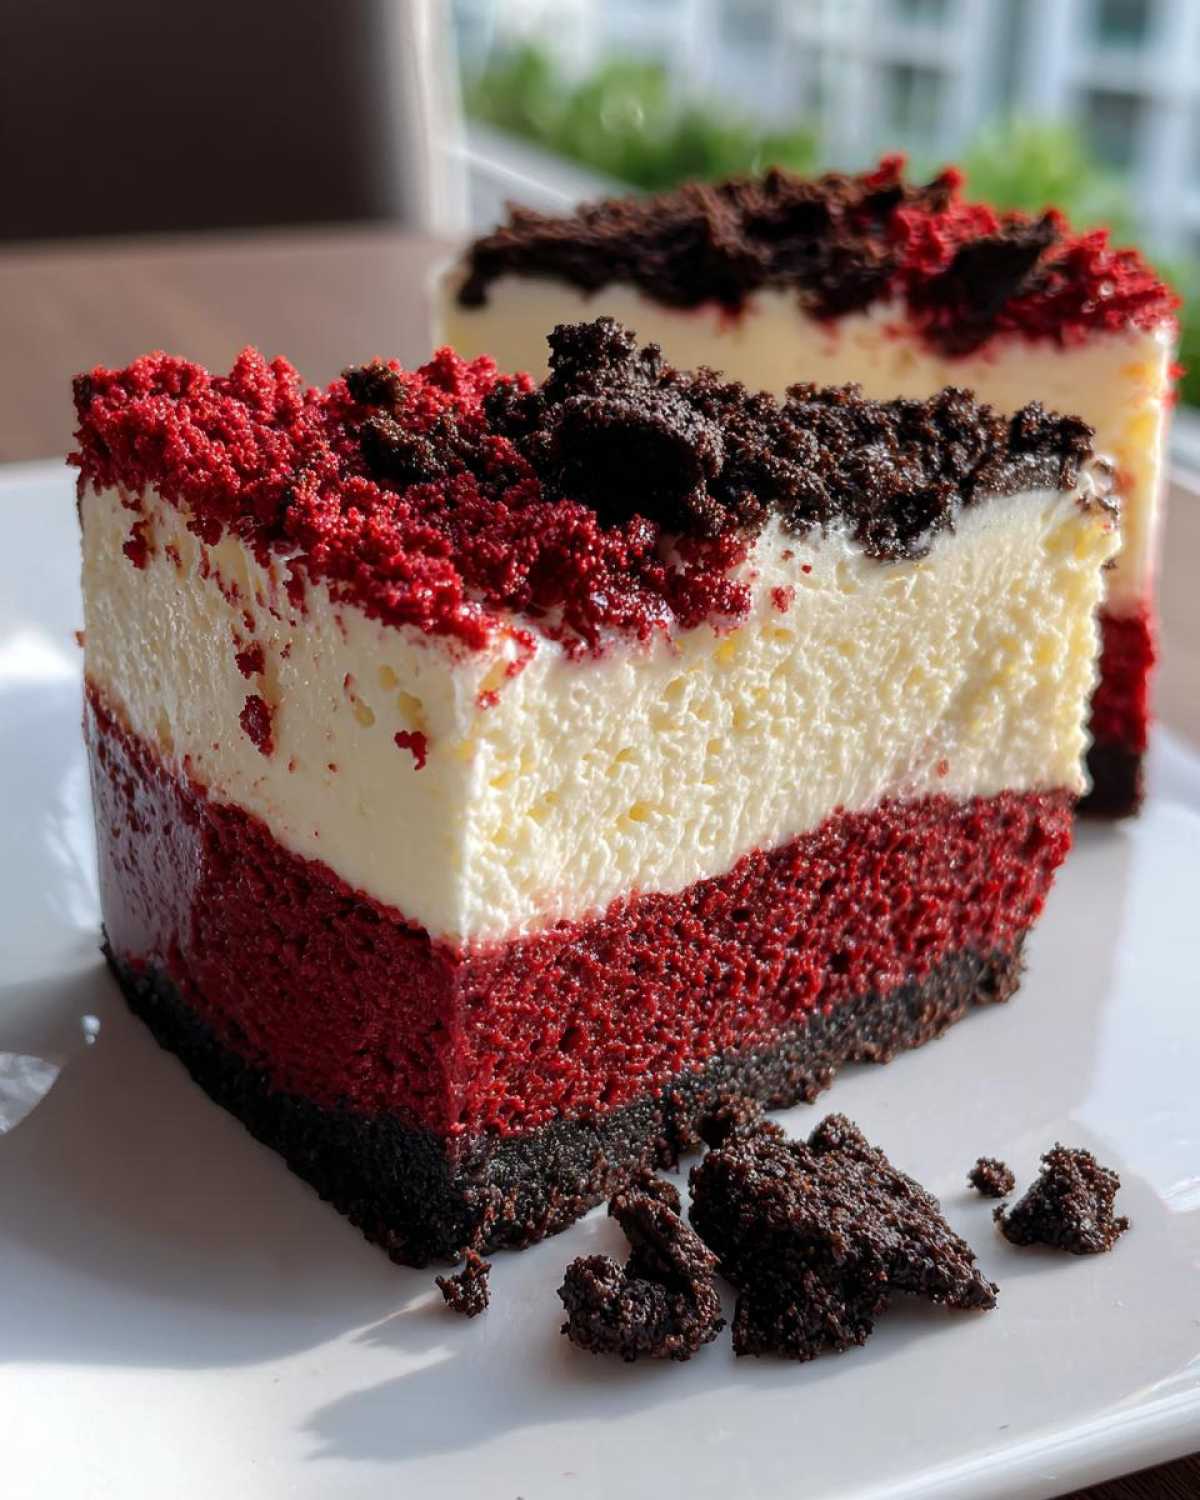
Place the foil-wrapped springform pan inside a larger roasting pan. This is critical for a smooth red velvet cheesecake.
Carefully pour hot water into the roasting pan. Make sure the water comes halfway up the sides of your springform pan.
This water bath cooks the cheesecake gently. It keeps the edges from setting too fast. It guarantees that ultra-creamy texture you want.
For more general baking science tips, you can check out resources on Serious Eats regarding baking techniques.
Cooling and Chilling: The Secret to Success
Bake for about 50 to 60 minutes. The edges should look set now. The center should still wiggle slightly.
Turn the oven off completely. Prop the oven door open just a crack.
Let the cheesecake cool slowly inside the oven for a full hour. This slow cool prevents sudden temperature drops. Sudden drops lead to ugly cracks.
After that hour, take it out. Remove the foil. Chill it in the fridge for at least six hours. Overnight is always best, I promise you.
Tips for the Smoothest red velvet cheesecake
We’ve come so far together. Now let’s talk about avoiding common kitchen disasters.
A cracked top is the nightmare of every baker. But we can prevent that easily.
These little tricks keep your red velvet cheesecake looking picture-perfect.

Remember, the slow cooling process is your best friend here. Don’t rush it!
These tips come from years of trial and error in the kitchen.
Room Temperature Matters for Texture
This tip is golden, seriously. Your cream cheese must be fully softened.
If it’s cold, you get lumps in your batter. Lumps mean uneven baking.
Let the cream cheese and sour cream sit out. Aim for room temperature comfort.
This allows them to beat into a silky smooth base. It makes all the difference.
Coloring and Flavor Depth
I love experimenting with flavor profiles, you know that.
When it comes to color, skip the grocery store liquid dye.
Liquid coloring adds too much water content. That thins your batter out.
Use a high-quality gel coloring instead. A little bit goes a long way. You get that deep, bold red easily.
This keeps the cheesecake texture firm and rich.
Serving Suggestions for Your Decadent Dessert
The hard work is done now!
This dessert is rich all on its own. But a little garnish boosts the wow factor.
I often top mine with simple whipped cream. It adds a lovely lightness.
Dark chocolate shavings look great against the red. A little dusting of powdered sugar works too.
Serve it chilled straight from the refrigerator.
Storing Your Leftover red velvet cheesecake
What if you have leftovers? Good news, friend.
This amazing red velvet cheesecake keeps beautifully.
Cover the remaining slices tightly with plastic wrap. Keep it refrigerated always.
It stays fresh for about four days this way.
For serving, let it sit out briefly. About 15 minutes softens it slightly.
Serving it slightly cool tastes best.
Frequently Asked Questions About Red Velvet Cheesecake
I always get questions after I serve this dessert.
Let’s clear up a few things about your red velvet cheesecake.
These common worries pop up often for home bakers.
What if I don’t have Oreos for the crust?
You can totally use graham crackers instead. Mix them with butter and a bit of sugar.
It gives a slightly different, nuttier base flavor.
Why is my cheesecake batter cracking?
Usually, it’s overmixing or cooling too fast. Remember the water bath. Also, slow cooling is essential.
Be gentle when mixing in those eggs.
Can I skip the water bath?
Honestly, I wouldn’t recommend skipping it for this recipe. The water bath steams the edges gently. It creates that perfect, smooth texture.
It’s the key to a crack-free surface.
Share Your Savory Skies Red Velvet Cheesecake
I truly hope you loved making this dessert.
Baking is better when shared, right?
Tell me about your beautiful creation!
Did your red velvet cheesecake turn out perfectly layered?
Drop a comment below with your experience. You can see other recipe discussions on our recipe blog.
I read every single note you send.
Nutritional Estimate for Red Velvet Cheesecake
I want to be clear about this part. Nutrition facts are tricky business for home recipes.
These numbers are just helpful estimates, okay?
They are based on the ingredients I listed above. Serving size matters a lot here.
This is a rich dessert, so enjoy it mindfully.
Here is a general look at what one slice might contain:
- Serving Size: 1 slice
- Calories: 450
- Fat: 30g
- Carbohydrates: 40g
- Protein: 7g
Remember, every fridge holds slightly different ingredients. Your final count might vary a bit.
We focus more on flavor than strict counting here at Savory Skies.
PrintBold red velvet cheesecake: 1 smooth secret.
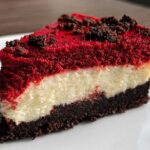
You can create a showstopping, decadent Red Velvet Cheesecake that features a rich, creamy cheesecake layer atop a crisp Oreo crust, often including a layer of moist red velvet cake. This recipe aims for that perfect balance of deep cocoa flavor, tanginess, and stunning visual appeal.
- Prep Time: 30 minutes
- Cook Time: 60 minutes
- Total Time: 7 hours 30 minutes (includes chilling)
- Yield: 10 servings
- Category: Dessert
- Method: Baking (Water Bath)
- Cuisine: American
- Diet: Vegetarian
Ingredients
- 8 oz Oreo cookies, finely crushed
- 1/4 cup unsalted butter, melted
- 16 oz cream cheese, softened
- 1 cup granulated sugar
- 1/4 cup sour cream
- 1 teaspoon vanilla extract
- 2 large eggs
- 1/4 cup all-purpose flour
- 1 tablespoon red food coloring (high quality)
- 1 teaspoon white vinegar
- 1/2 teaspoon baking soda
- 1 tablespoon unsweetened cocoa powder
- 1/2 cup buttermilk
- 1/2 cup all-purpose flour (for cake layer)
- 1/4 cup granulated sugar (for cake layer)
- 1/4 teaspoon salt (for cake layer)
- 1 large egg (for cake layer)
Instructions
- Preheat your oven to 350°F (175°C). Wrap the outside of a 9-inch springform pan tightly with heavy-duty aluminum foil for a water bath.
- Combine the crushed Oreos and melted butter. Press the mixture firmly into the bottom of the prepared springform pan to form the crust. Bake for 10 minutes. Set aside to cool slightly.
- In a large bowl, beat the softened cream cheese and 1 cup sugar until smooth. Mix in the sour cream and vanilla extract.
- Beat in the eggs one at a time, mixing only until just combined. Do not overmix.
- In a separate small bowl, whisk together the flour, red food coloring, vinegar, baking soda, cocoa powder, and buttermilk until just combined into a thin red velvet batter.
- Gently fold the dry ingredients mixture into the cream cheese batter until the color is uniform.
- Prepare the small red velvet cake portion: Whisk together the remaining flour, sugar, and salt. Whisk in the remaining egg. Stir this mixture into the main cheesecake batter for color and texture.
- Pour the cheesecake batter over the cooled Oreo crust.
- Place the springform pan into a larger roasting pan. Carefully pour hot water into the roasting pan until it reaches halfway up the sides of the springform pan (water bath).
- Bake for 50 to 60 minutes, or until the edges are set but the center still has a slight wobble.
- Turn off the oven, crack the door open, and let the cheesecake cool inside the oven for one hour. This prevents cracking.
- Remove from the water bath, remove the foil, and chill in the refrigerator for at least 6 hours, or preferably overnight, before serving.
Notes
- Use a high-quality gel food coloring for the most intense red hue without thinning the batter.
- The water bath is key to achieving a smooth, crack-free surface.
- Allow all dairy ingredients, especially the cream cheese, to come fully to room temperature for the creamiest texture.
Nutrition
- Serving Size: 1 slice
- Calories: 450
- Sugar: 35g
- Sodium: 300mg
- Fat: 30g
- Saturated Fat: 18g
- Unsaturated Fat: 12g
- Trans Fat: 0.5g
- Carbohydrates: 40g
- Fiber: 2g
- Protein: 7g
- Cholesterol: 110mg
