

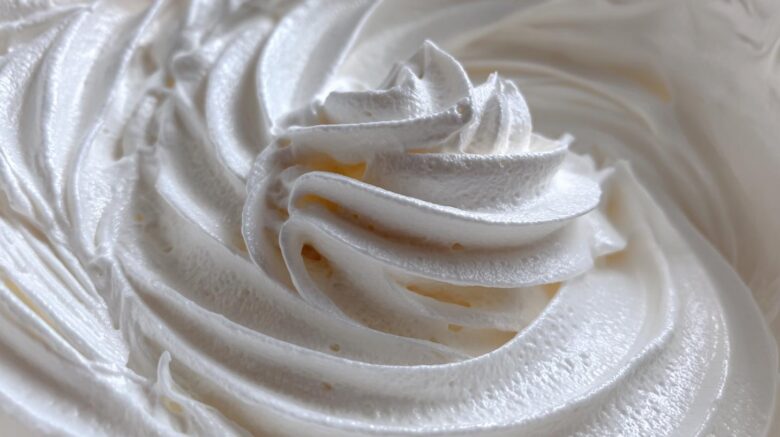
Why This Gingerbread House Icing Secrets Work
Building a gingerbread house feels magical. Until it collapses, right?
I remember my first attempt. Walls slid right off the roof. It was a sugary disaster!
That failure taught me everything about the need for proper gingerbread house icing. It must be strong glue.
This recipe gives you that necessary structural power. It hardens like cement, I swear.
Chef Tariq showed us how whipping time builds serious strength. He knew the secret to sturdy construction.
Plus, this stiff icing pipes beautifully for details. It’s the perfect dual-purpose holiday essential.
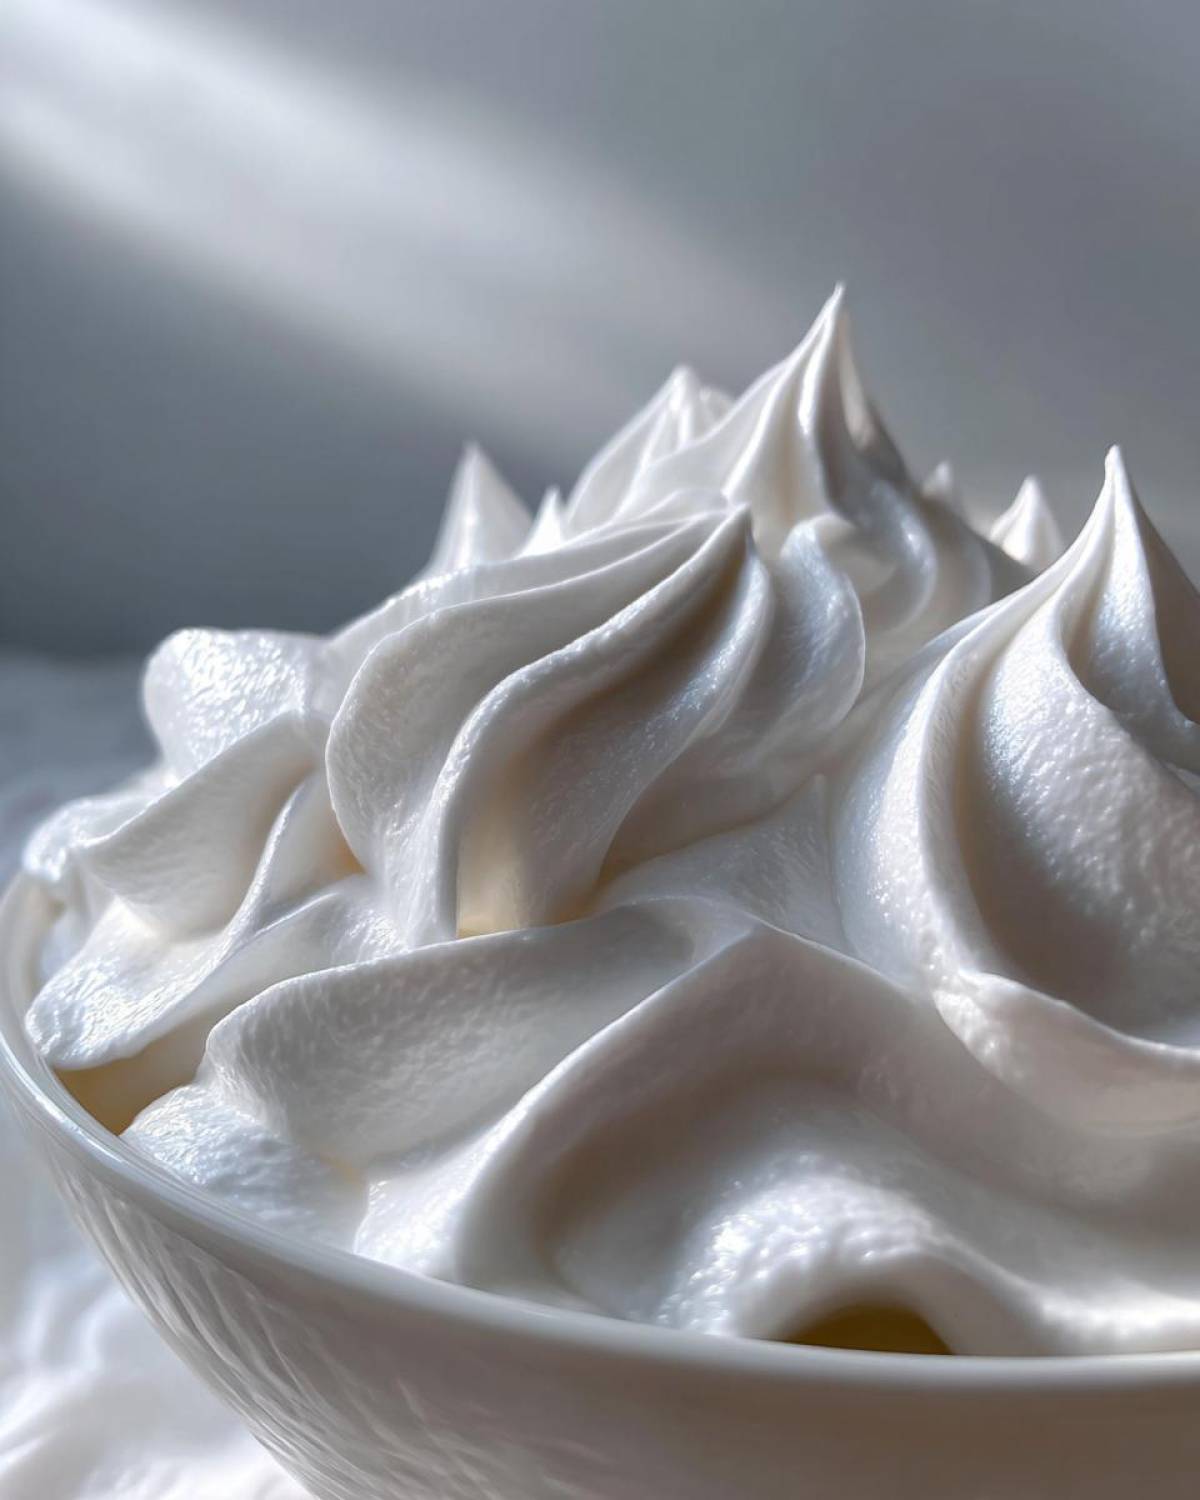
Why This Gingerbread House Icing Recipe Works
This formula succeeds because we focus on stiffness first. Structure is non-negotiable for tall walls.
We beat this icing longer than any other frosting. That develops sharp, rigid peaks.
This extended mixing creates tiny air pockets. These lock together when dry.
Think of it as edible mortar. It secures every seam and corner firmly.
But don’t worry about decoration. A little water thins it down for pretty swirls later.
Tariq always said, “A beautiful house needs a strong foundation.” This icing is that foundation.
The Best Sturdy Royal Icing for Gingerbread Houses Ingredients
Getting the right ingredients matters a lot here. This royal icing recipe needs precision.
We aren’t making fluffy frosting for cupcakes. We need edible building material.
These items create that rock-solid hold. Don’t skip the careful measuring!
This mix gives you enough glue for one standard home.
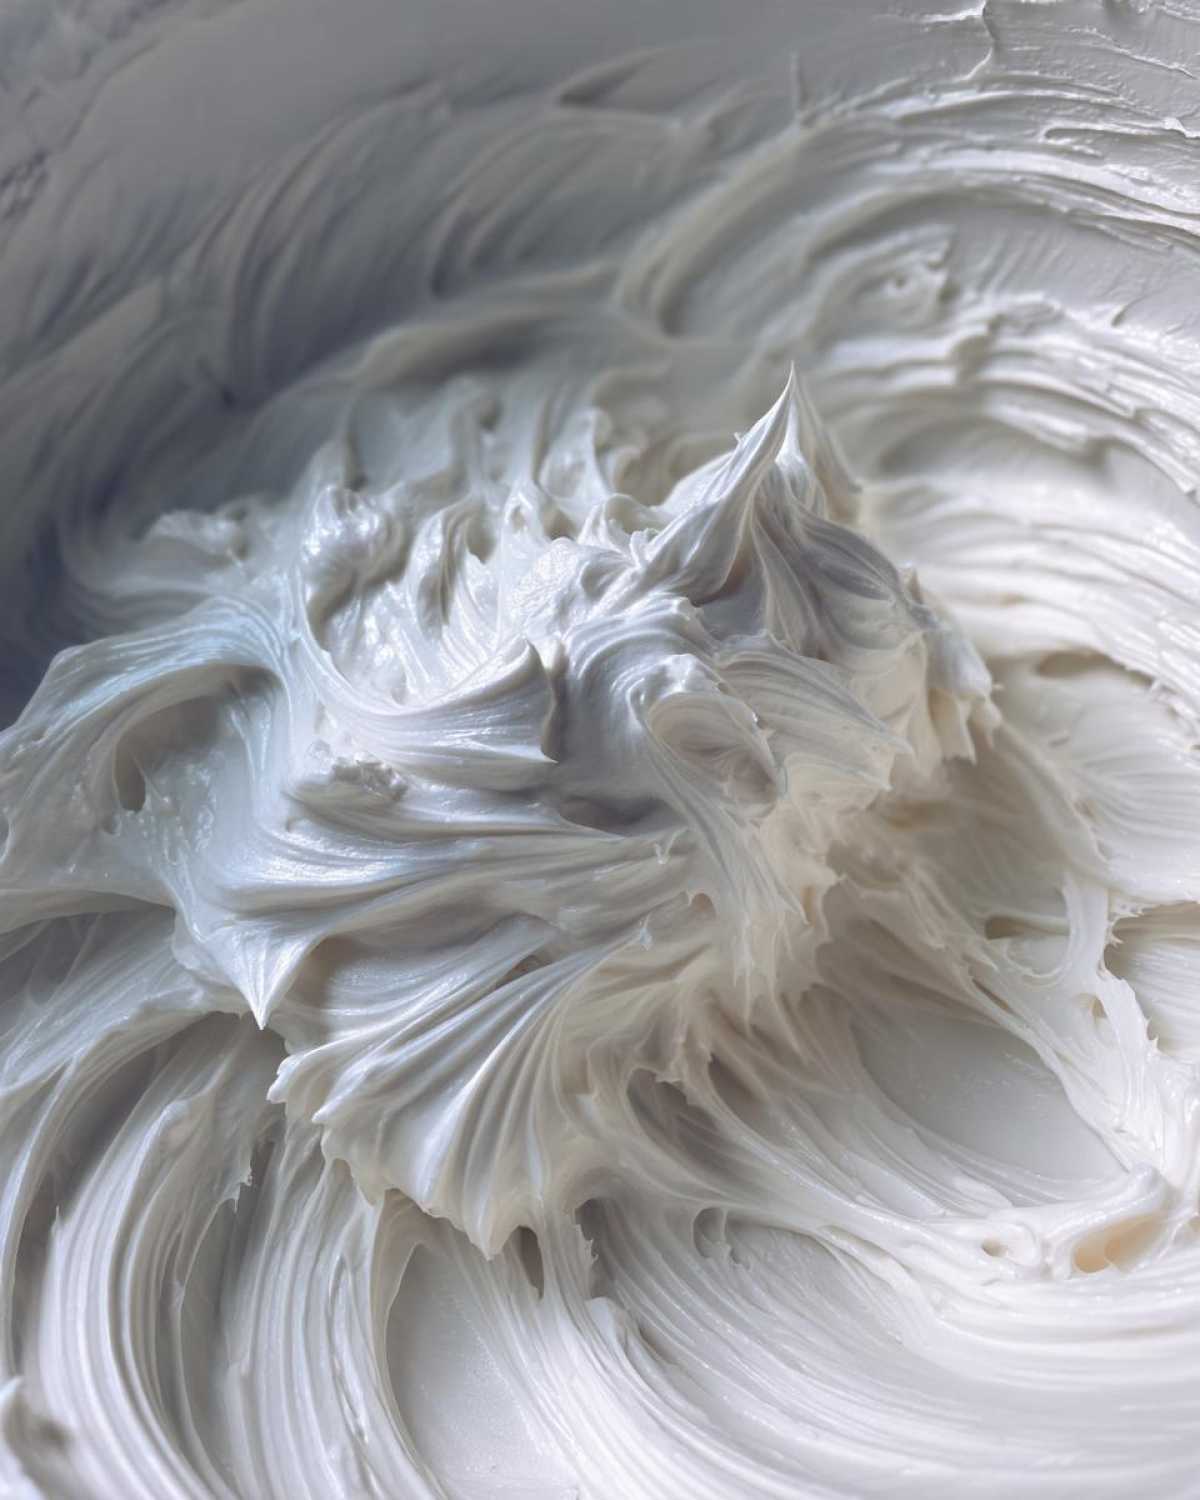
Gathering Your Gingerbread House Icing Components
Grab these things before you start mixing.
- Four large egg whites, room temperature is best.
- Or, use six tablespoons of meringue powder instead.
- One teaspoon of vanilla extract for flavor.
- A half teaspoon of lemon extract, if you want whiter icing.
- Eight cups of confectioners’ sugar, and you must, must sift this!
- A quarter teaspoon of cream of tartar if you use fresh egg whites.
Necessary Equipment for Perfect Gingerbread House Icing
You can’t whip this stiff icing by hand. Trust me, your arm will quit first.
A stand mixer is your best friend here. It handles the long beating time easily.
You’ll need a very clean, grease-free mixing bowl.
Also, have spatulas and piping bags ready to go.
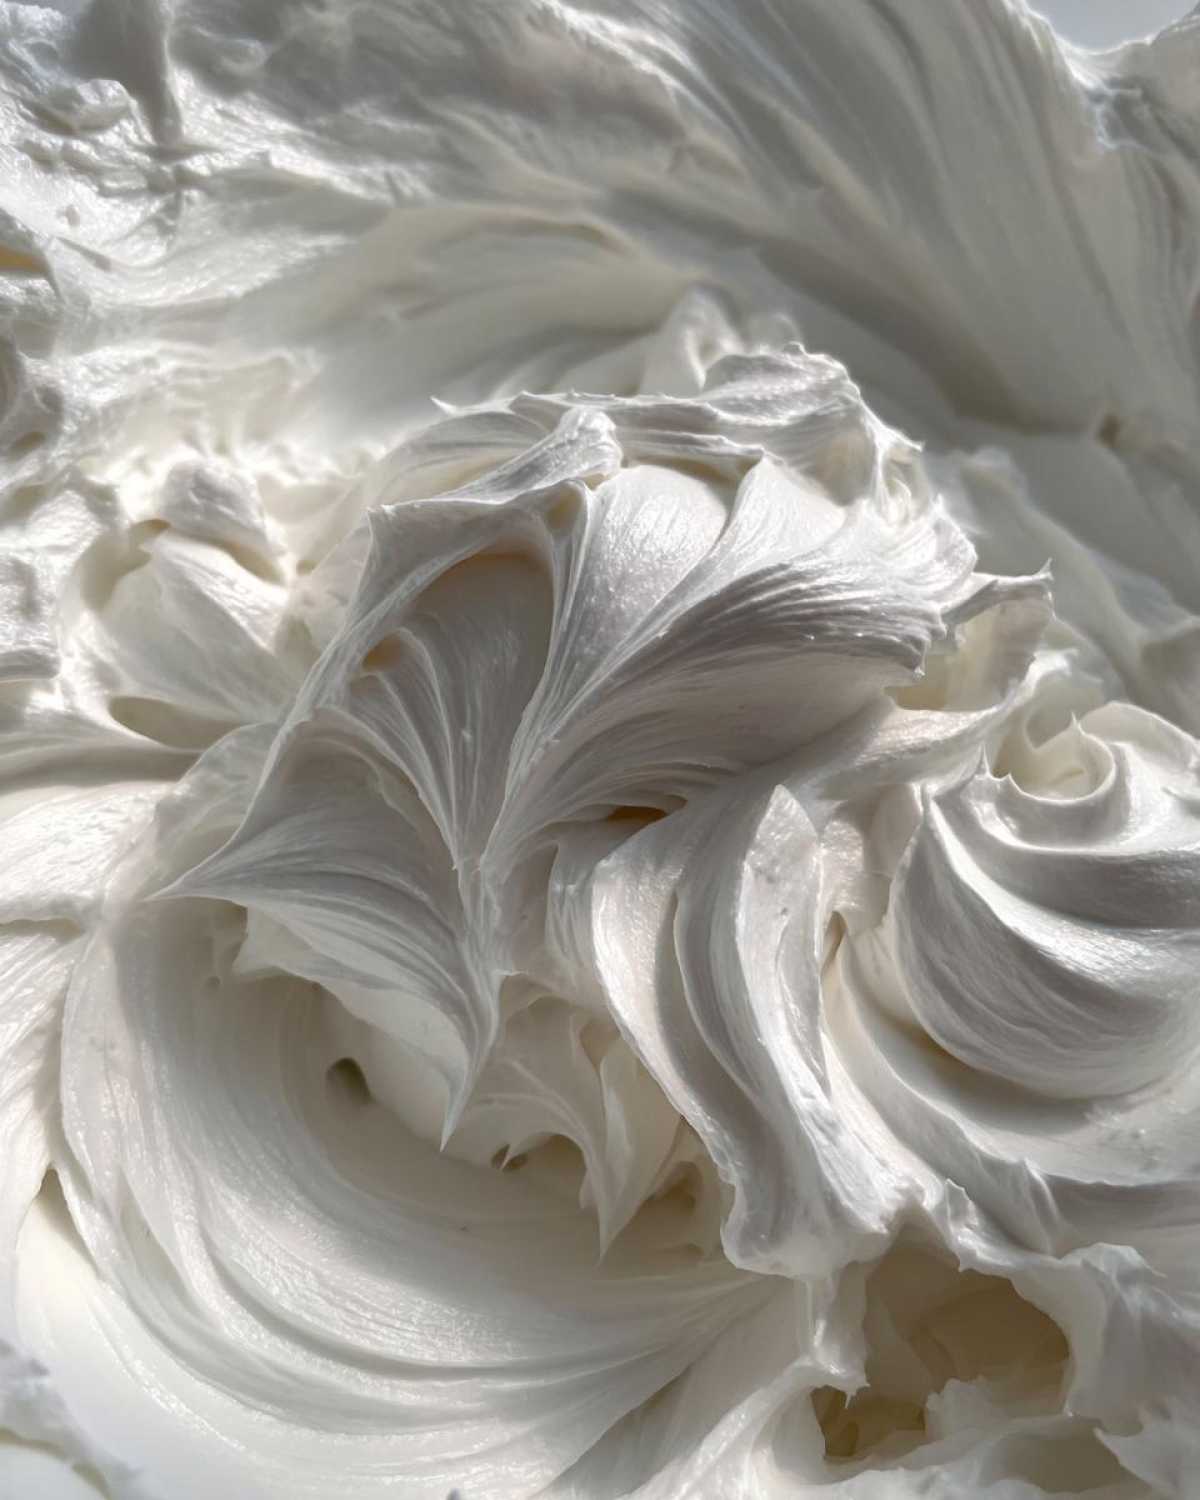
Crafting Strong Gingerbread House Icing: Step-by-Step
Making this gingerbread house icing takes about fifteen minutes total. That includes prep and whipping time.
We want rock-solid results, so follow these steps closely.
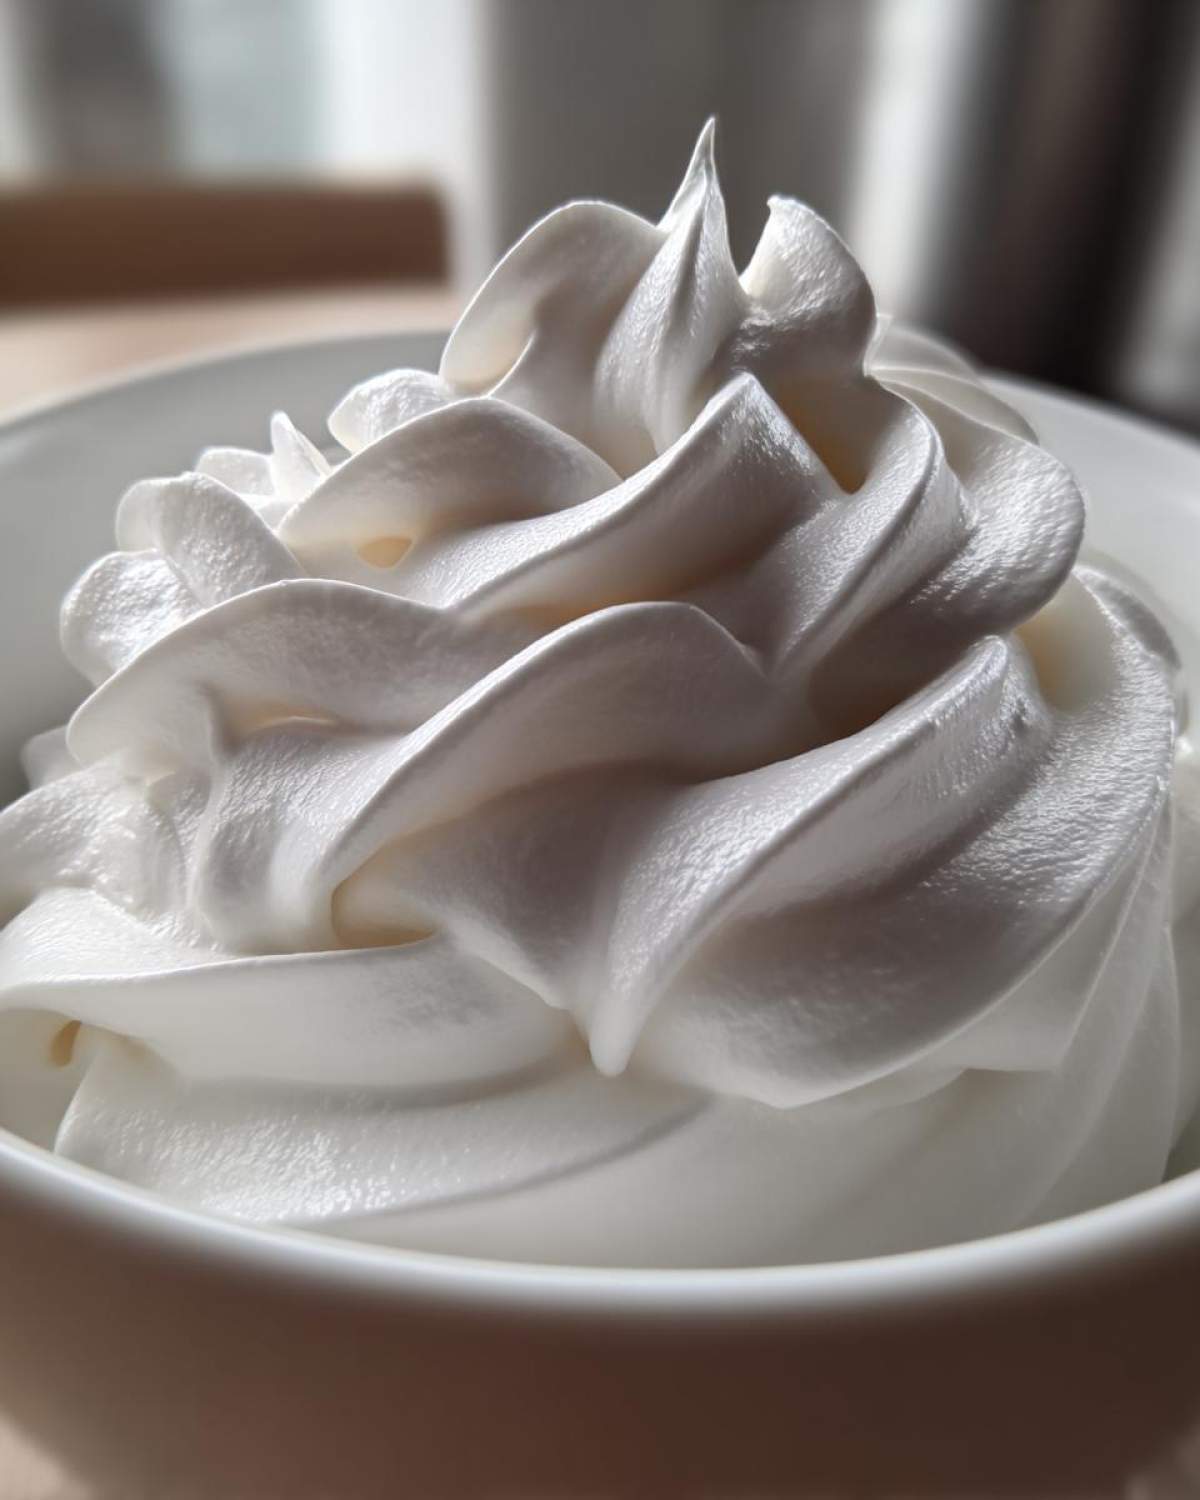
The goal is stiff, glossy peaks for incredible strength.
This mixture sets up fast once it’s mixed right.
Preparing the Base for Stiff Gingerbread House Icing
First, deal with your whites or powder.
If using fresh egg whites, put them in your clean bowl.
Add the cream of tartar right away.
Beat them until you see soft peaks forming nicely.
If you chose meringue powder, mix it with warm water first.
Dissolve it completely, then start whipping until soft peaks appear.
Achieving the Ideal Gingerbread House Icing Consistency
Now for the sugar, add it slowly, one cup at a time.
Beat well after every single sugar addition.
Once all eight cups are mixed in, add your flavor extracts.
Turn the mixer speed up to high now.
You need to beat this for seven to ten full minutes.
This long whipping develops the necessary glue power for holding your structure.
Expert Tips for Flawless Gingerbread House Icing
I want your gingerbread house to stand tall all season long. These little tips make a big difference.
They come from years of watching Tariq troubleshoot sticky situations.
We build trust with consistency, not just good luck.
Always remember to sift that confectioners’ sugar first.
Lumps ruin piping tips fast, trust me on this one.
Sifting prevents so many headaches later on.
Adjusting Your Gingerbread House Icing Consistency
The icing must be stiff for construction work.
If it slumps, it won’t hold your gingerbread walls up.
Keep it as thick as possible for the strongest hold.
But what about those fancy snowdrifts and borders?
For detailed piping, you need a slightly softer flow.
Just add water, one drop at a time, until it flows better.
Don’t rush this thinning process at all.
Too much water makes it useless for building.
Remember, room temperature egg whites whip up much better.
Use the stiffest icing possible for assembly first.
Frequently Asked Questions About Gingerbread House Icing
You have questions, I have answers from my kitchen adventures.
We all want our sugary structures to last past Christmas morning.
These common queries usually pop up during decorating.
Let’s clear up any last confusion about this royal icing recipe.
Can I make this gingerbread house icing ahead of time?
Yes, you absolutely can store leftover icing.
Keep it in an airtight container at room temperature.
The trick is preventing a hard crust from forming.
Press plastic wrap directly onto the icing surface.
This keeps the air out and preserves its texture well.
What is the secret to strong gingerbread house icing?
The secret lies in two things working together.
First, you need the stiffest possible consistency for building.
Second, you must whip it for a long time.
Seven to ten minutes on high speed is key.
This develops the internal structure for that strong gingerbread glue hold.
Don’t cut that whipping time short, ever!
Serving Suggestions for Your Decorated Creation
Once your masterpiece stands firm, it needs an audience!
Display your house proudly as the centerpiece.
Surround it with extra gumdrops and candy canes.
A dusting of powdered sugar looks just like fresh snow.
Serve hot cocoa nearby for the perfect pairing.
Enjoy the sweet sight while it lasts!
Understanding the Nutrition in Your Gingerbread House Icing
We focus on structure, not diet, when making this icing.
It is pure sugar and protein for holding power.
These numbers are just estimates, remember that.
They are based on the full recipe yield divided up.
It helps to know what goes into your holiday treats.
Estimated Nutritional Values Per Serving
Based on a serving size of about one quarter cup:
- Calories are around 200 per serving.
- Expect 50 grams of sugar in that amount.
- Fat content is very low, almost zero grams.
- Protein clocks in around 2 grams total.
- Cholesterol should be 0 milligrams, which is good.
Share Your Sturdy Gingerbread House Icing Creations
Now the fun part begins for you!
You have the recipe for incredible gingerbread house icing.
It is time to build your sugary dream home.
I hope this sturdy formula gave you perfect results.
Did your walls stay straight? Did your roof hold tight?
Tell me how your construction went below!
Rate this recipe if you loved the strong hold.
We love seeing your magnificent holiday creations.
Share photos of your finished houses with us.
Leave comments about your decorating adventures.
Your feedback helps us all build better next year.
Print5 Amazing gingerbread house icing Secrets

Learn to make the best sturdy Royal Icing for your gingerbread house. This recipe creates a strong ‘glue’ that holds your structure firm and offers a smooth, pipeable consistency perfect for detailed holiday decorating.
- Prep Time: 15 minutes
- Cook Time: 0 minutes
- Total Time: 15 minutes
- Yield: Enough icing for one standard gingerbread house
- Category: Baking Decoration
- Method: Electric Mixer Required
- Cuisine: American Holiday
- Diet: Vegetarian
Ingredients
- 4 large egg whites (or 6 tablespoons meringue powder)
- 1 teaspoon vanilla extract
- 1/2 teaspoon lemon extract (optional, for whiteness)
- 8 cups confectioners’ sugar, sifted
- 1/4 teaspoon cream of tartar (if using egg whites)
Instructions
- If using egg whites, place them in a very clean, grease-free bowl. Add cream of tartar. Beat on medium speed until soft peaks form. If using meringue powder, mix it with 1/2 cup lukewarm water until fully dissolved, then beat until soft peaks form.
- Gradually add the sifted confectioners’ sugar, one cup at a time, beating well after each addition.
- Once all sugar is incorporated, add the vanilla and lemon extracts.
- Increase the mixer speed to high. Beat for 7 to 10 minutes until the icing is very stiff, glossy, and holds sharp peaks. This whipping develops the strength needed for construction.
- To check consistency for ‘glue’: The icing should be thick enough that it does not slump. For piping details, you may need slightly thinner icing (add a few drops of water at a time).
- Use immediately or store in an airtight container at room temperature, pressing plastic wrap directly onto the surface of the icing to prevent a crust from forming.
Notes
- For the strongest hold, use the stiffest possible icing consistency.
- If using fresh egg whites, ensure they are at room temperature for best whipping results.
- Always sift your confectioners’ sugar to prevent lumps in your decorative work.
- If the icing seems too stiff for piping, add water, one drop at a time, until the desired flow is achieved.
Nutrition
- Serving Size: 1/4 cup
- Calories: 200
- Sugar: 50g
- Sodium: 5mg
- Fat: 0g
- Saturated Fat: 0g
- Unsaturated Fat: 0g
- Trans Fat: 0g
- Carbohydrates: 50g
- Fiber: 0g
- Protein: 2g
- Cholesterol: 0mg
