

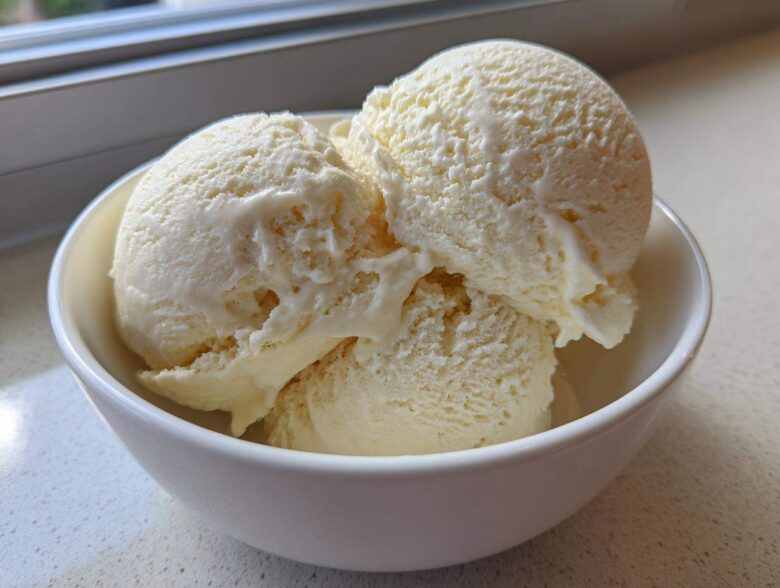
Okay, listen up! If you’re anything like me—always hunting for that perfect, sweet fix that doesn’t totally blow up your macros—then you need to drop everything. I spent way too long thinking that satisfying a serious ice cream craving meant compromising on my goals. But trust me, those days are over. I finally cracked the code on making incredibly creamy, high-protein ice cream that requires zero specialized equipment. That’s right, no churning necessary! As the ‘spark’ here at Savory Skies, I love taking something decadent and making it genuinely accessible. This simple protein ice cream recipe is pure magic for your fitness journey.
Why This No-Churn Protein Ice Cream is Your New Favorite Healthy Homemade Ice Cream
You might have tried making protein desserts before, and honestly, sometimes they end up gritty or icy. Not this one! I promise you this is different. This simple recipe knocks out all the usual barriers to making great healthy homemade ice cream. It’s designed for real life, which means no standing over a machine!
Here’s the deal on why this is the best:
- Serious Protein Punch: We’re talking around 30 grams of protein per serving. That’s a fantastic post-workout reward or a true macro friendly dessert.
- Creamy, Not Icy: We use Greek yogurt, which helps us skip the churning process while still delivering that satisfying, thick texture.
- Zero Fuss: If you can stir ingredients in a bowl, you can make this. No fancy equipment needed whatsoever!
- Guilt-Free Indulgence: It tastes like the real deal. Honestly, you won’t believe how few ingredients are needed to make such a delicious frozen treat.
Gathering Ingredients for Your Creamy Protein Ice Cream
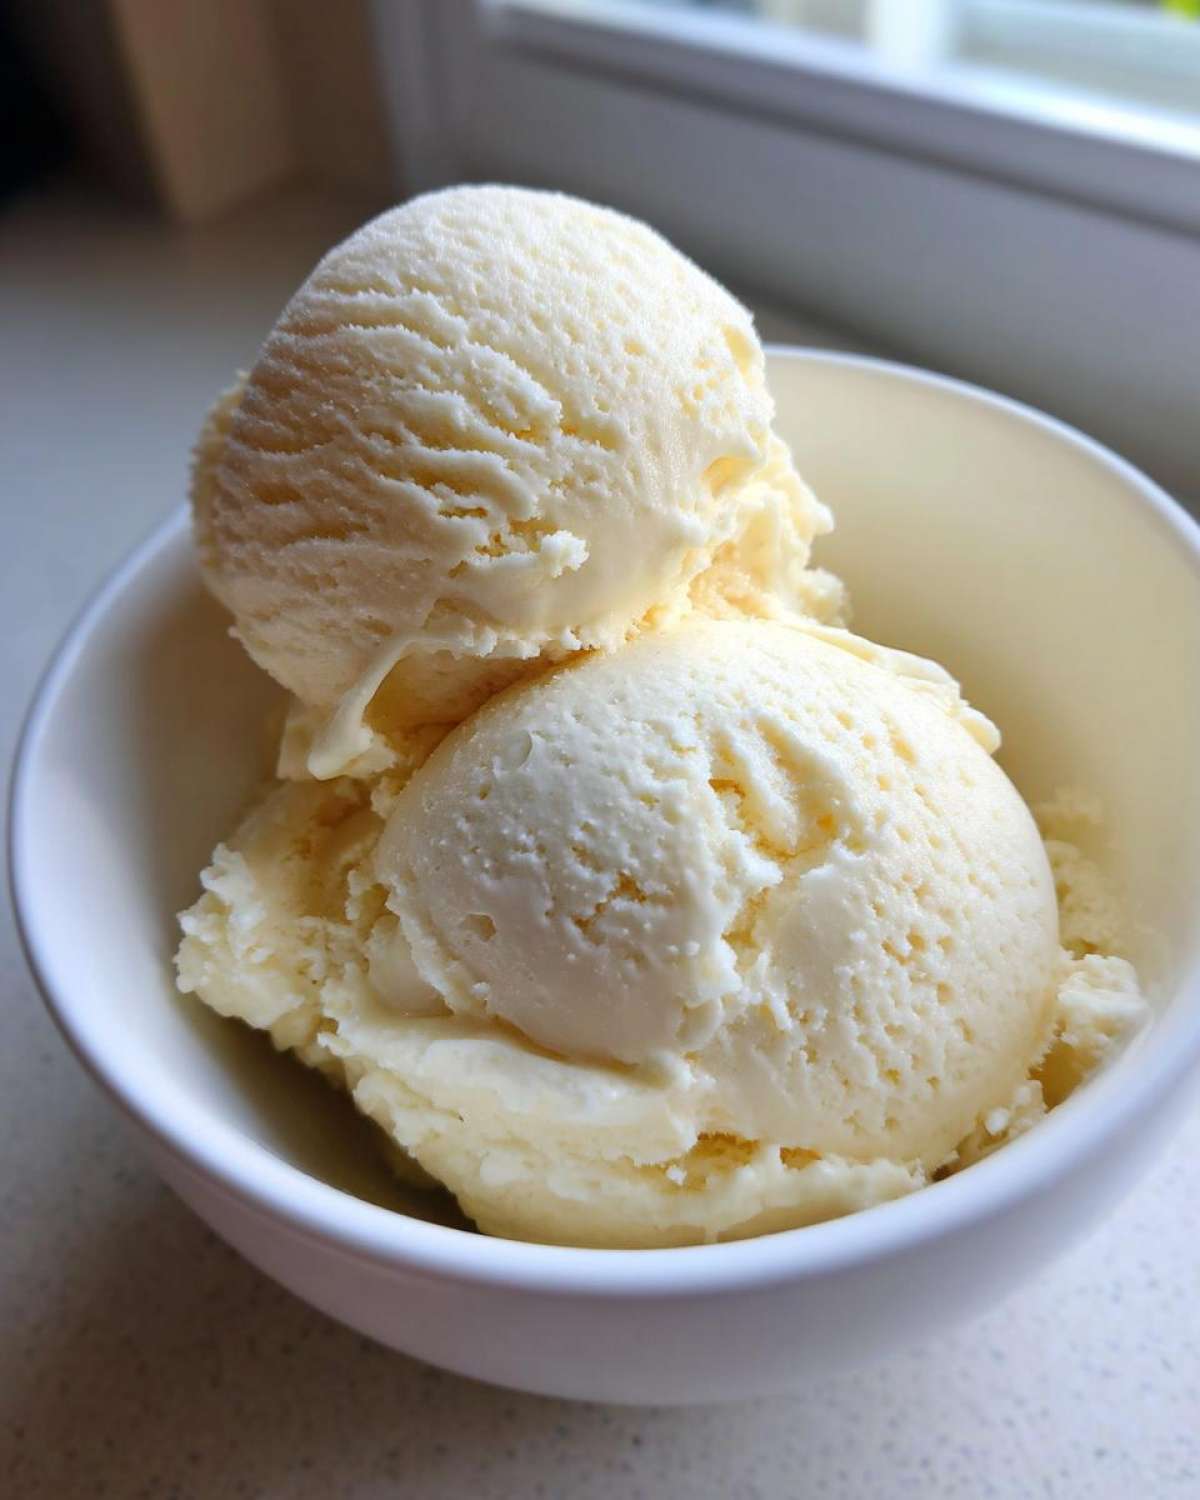
Alright, time to assemble the dream team of ingredients! I know you want that perfect homemade ice cream texture, so pay close attention here. I’m using a nice, thick Greek yogurt, not the watery stuff—I recommend 2% or full-fat because frankly, fat equals creaminess in the frozen world!
For the protein boost, a good quality whey or casein blend works wonders, but plain vanilla powder is our base today. And listen, sweetener is totally up to you; maybe you love monk fruit, or perhaps erythritol works for your kitchen. Don’t forget the vanilla extract; it needs just a tiny bit of salt to really make the sweetness pop!
- 1 cup plain Greek yogurt (2% or full fat for best texture)
- 1/2 cup unsweetened almond milk (or milk of choice)
- 1 scoop vanilla protein powder (whey or casein blend recommended)
- 2 tablespoons erythritol or preferred zero-calorie sweetener
- 1/2 teaspoon pure vanilla extract
- Pinch of salt
Step-by-Step Guide to Making No Churn Protein Ice Cream
This is where my curiosity about easy cooking really shines, because trust me, you don’t need to wait around for ice to freeze or deal with fussy machines! We are whipping this up and getting it into the freezer fast. The goal here is super smooth, lump-free deliciousness, which is totally achievable if you follow the mixing order.
I always use a loaf pan because it freezes faster than a deep bowl, but use whatever freezer-safe container you have handy! Now, let’s get mixing so we can enjoy this amazing macro friendly dessert soon.
Mixing the Base for Perfect Protein Ice Cream
Put everything—the yogurt, the milk, the powder, sweetener, vanilla, and that pinch of salt—into your bowl. Seriously, use an electric hand mixer if you have one; whisking by hand is a workout! Beat it until it looks absolutely uniform. You are looking for something that looks like thick, smooth velvet before it hits the cold. No little powder lumps allowed!
Freezing Your Protein Ice Cream Without Machine
Once it’s smooth, pour that beautiful base into your container. Here is the secret Leo learned the hard way: cover the surface of the ice cream *directly* with plastic wrap before you put the lid on or cover it further. This step stops those annoying, hard ice crystals from forming on top while your protein ice cream sets up. Pop it in the deep freeze for a solid six hours, minimum!
Expert Tips for the Best Protein Ice Cream Texture
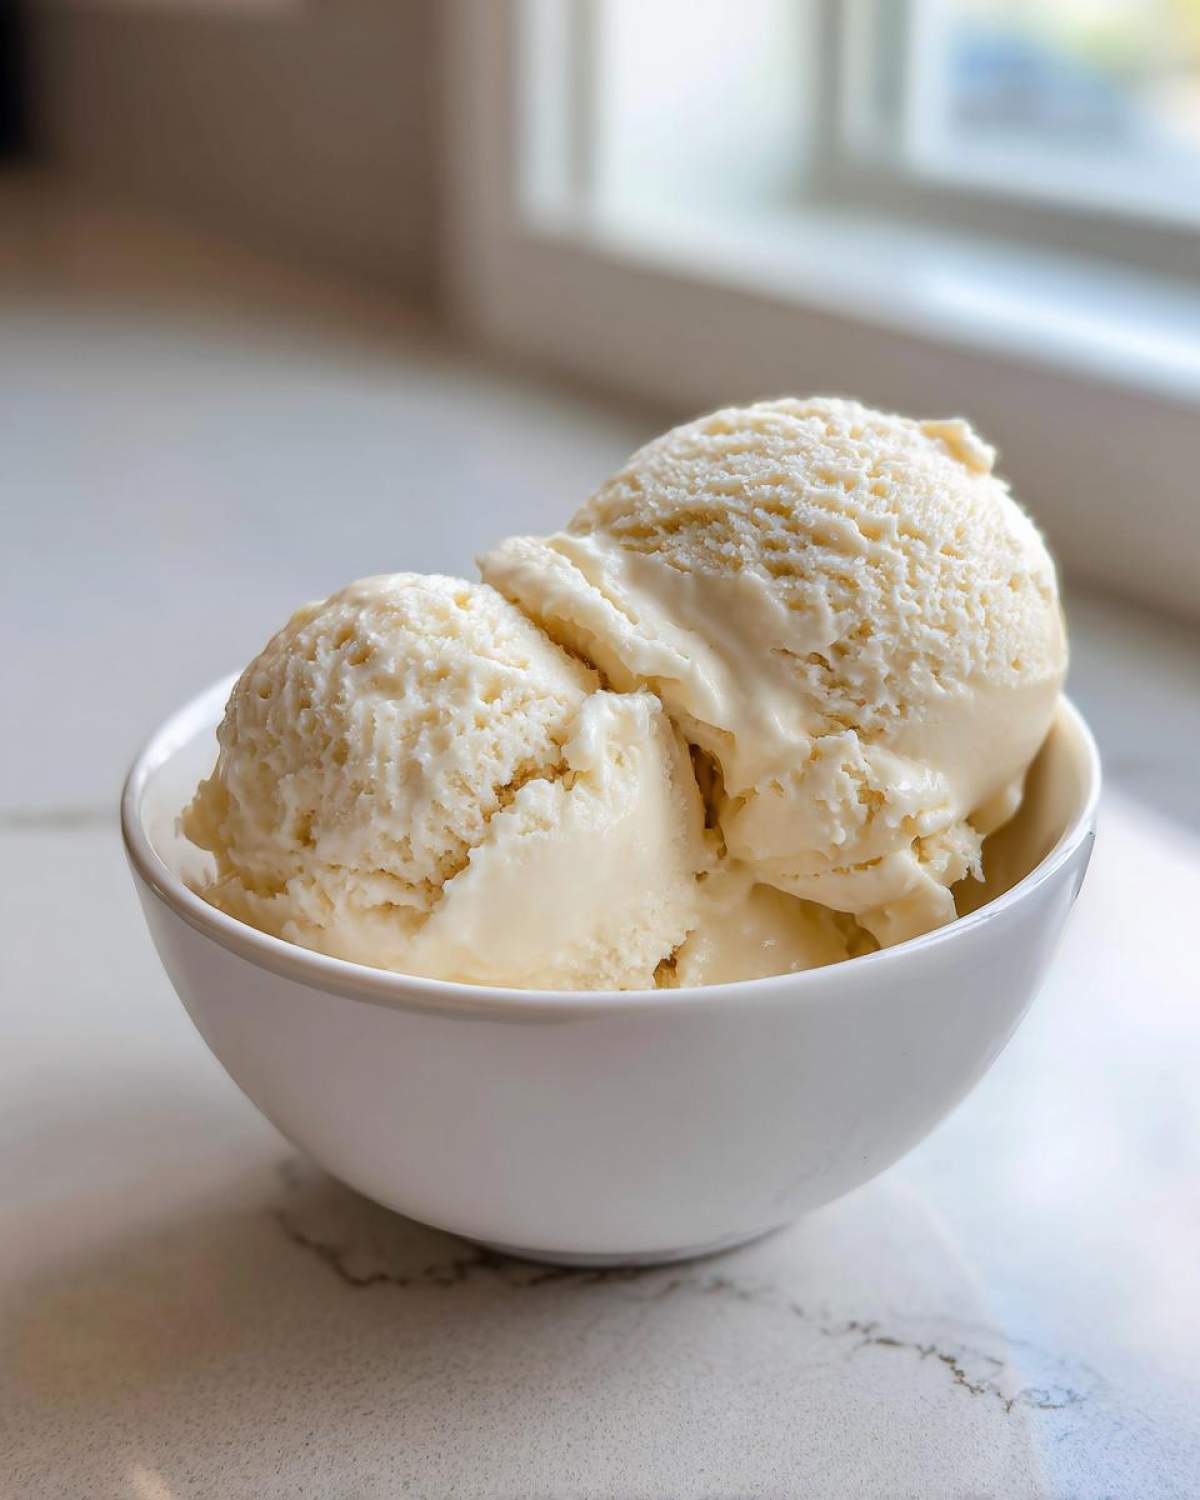
Okay, so you’ve mixed it, it’s in the freezer, but how do we guarantee that this isn’t just going to turn into a block of sweet ice? That’s where a little of Chef Tariq’s wisdom and my experimentation come into play. The secret to keeping this the best healthy homemade ice cream is the powder you choose. If you can manage it, try using half whey and half casein protein powder. Casein protein is amazing because it just thickens up so much better when it freezes cold, giving you that incredible, dense scoop we love.
And hey, if you’re lucky enough to have one of those fancy machines—the Ninja Creami—this base works beautifully in there too! Just freeze your mixture solid for a full 24 hours, and then run it on the “Lite Ice Cream” setting. It whips it into a dreamy texture instantly. See? Making amazing protein ice cream doesn’t have to be complicated!
Flavor Variations for Your Next Batch of Protein Ice Cream
You know I love my vanilla, but keeping things exciting is key when you’re making your own protein ice cream all the time! This base recipe is basically a blank canvas waiting for us to get creative. If chocolate is calling your name, it is so simple—just swap out the vanilla protein powder for your favorite chocolate flavor. Boom, instant chocolate delight!
But what if you’re feeling a little more grown-up? Try adding a teaspoon of good quality salted caramel extract, or better yet, swirl in a tiny drizzle of sugar-free caramel syrup right before you cover it up to freeze. That swirl gets wonderfully chewy when frozen. You can also toss in some crushed pretzels or dark chocolate chips for texture. This is your gym-friendly dessert, so feel free to make it as fun as you want!
Addressing Common Questions About Making Protein Ice Cream
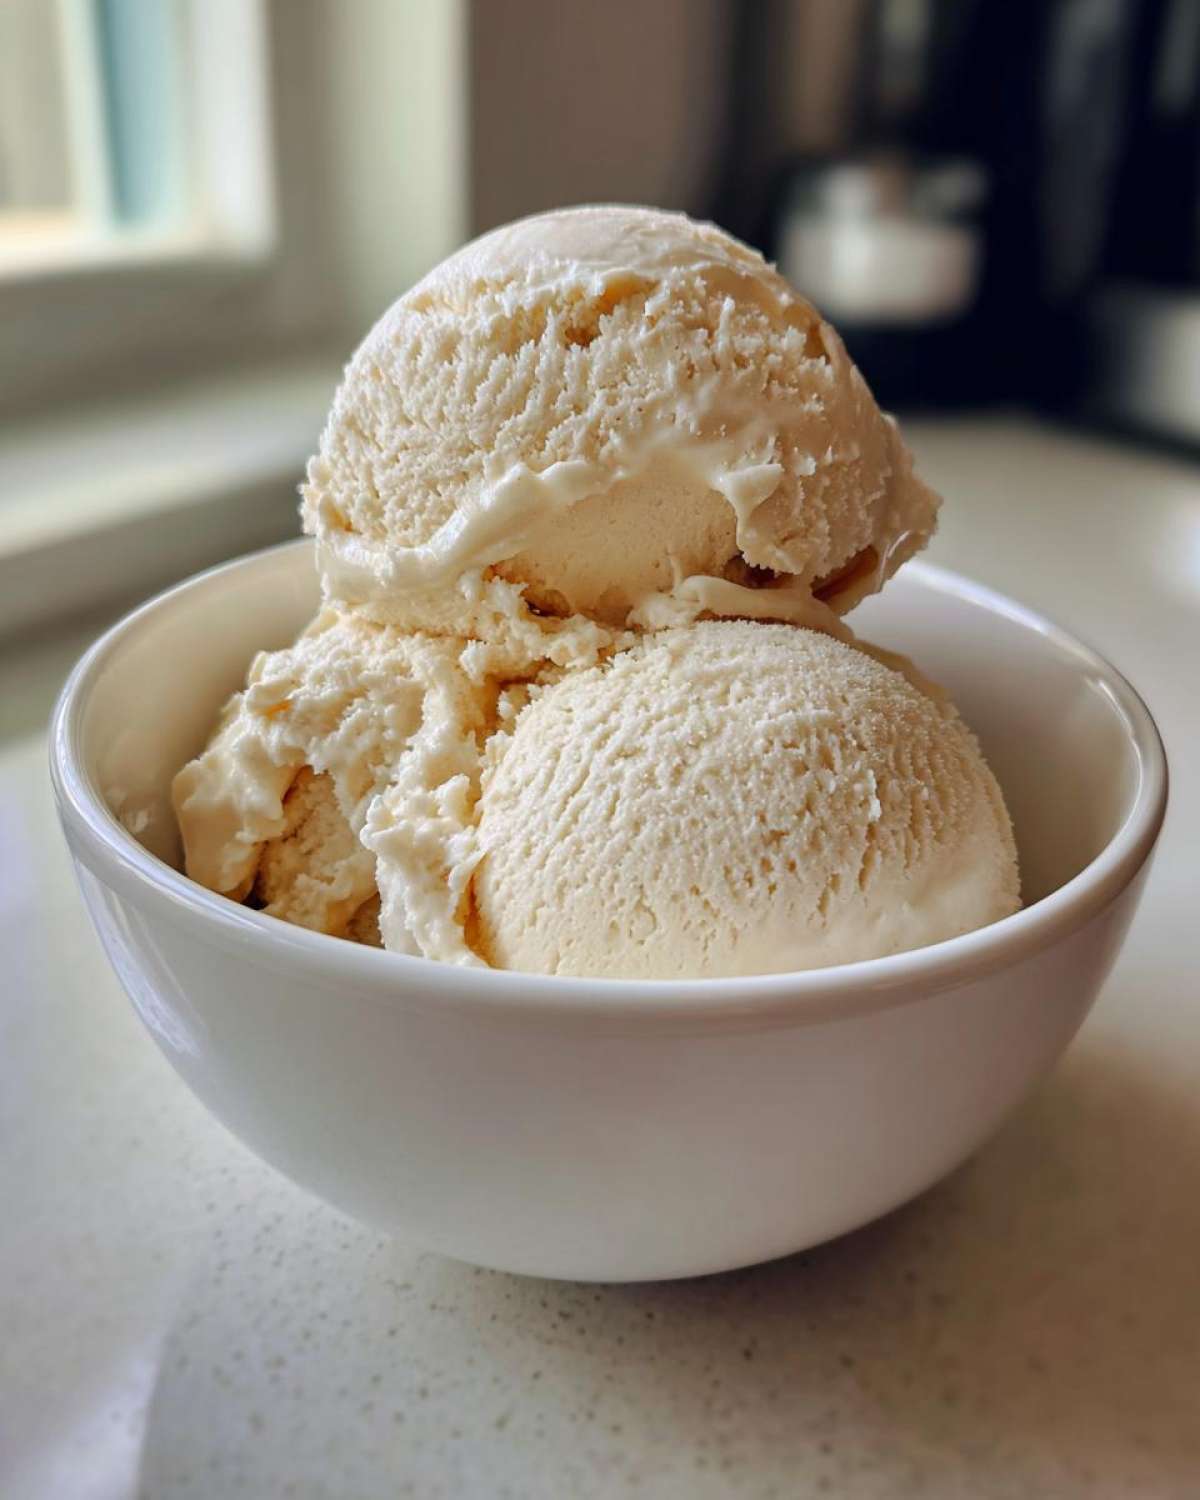
I get so many messages after people try this base recipe for the first time, which is awesome! It means you’re getting serious about your sweet fitness treats. Here are a few of the most common things people ask me about making this super easy protein ice cream without a machine.
Can I use cottage cheese instead of Greek yogurt?
That’s a great question, especially since so many high protein dessert recipes call for cottage cheese! You absolutely can, but here’s the catch: cottage cheese ice cream tends to be a little more grainy unless you have a high-speed blender to process it completely smooth first. If you’re looking for cottage cheese ice cream alternatives, I suggest blending it one extra time before freezing here to get that pure velvet texture.
How do I make this without banana?
This recipe is actually built specifically for folks who aren’t fans of banana! I know some healthy homemade ice cream relies on frozen bananas for creaminess, but we skip that entirely. My combination of Greek yogurt and that touch of milk is what gives you the perfect texture for these high protein dessert recipes no banana situations.
Is this a Low Calorie Ice Cream Idea?
Yes, most definitely! Because we are using zero-calorie sweetener and only a small amount of almond milk, this falls squarely into the low calorie ice cream ideas category. Just remember that your calorie count will jump up a bit if you decide to add peanut butter or chocolate chunks later on!
Can I use a Ninja Creami?
Of course! As I mentioned briefly, this base mixture is fantastic for the Ninja Creami. If you choose to go that route, just freeze the entire container solid for 24 hours, and then run it on the ‘Lite Ice Cream’ setting. It makes your Ninja Creami protein recipes incredibly easy!
Storage and Serving Suggestions for Protein Ice Cream
So you’ve made the best macro friendly dessert ever, and now you need to save some for later, which is going to be tough, I know! Store this protein ice cream in a truly airtight container. I try to press a piece of plastic wrap right against the surface before sealing it up—that’s my best defense against those nasty little ice crystals that sneak in.
Honestly, it’s best eaten within about 10 days, but my house usually finishes it in three! When it’s time to serve, don’t just attack it straight from the deep freeze, or you’ll break your spoon! Pull it out and let it just sit on the counter for about 10 to 15 minutes. That little bit of softening time is crucial for scoopability.
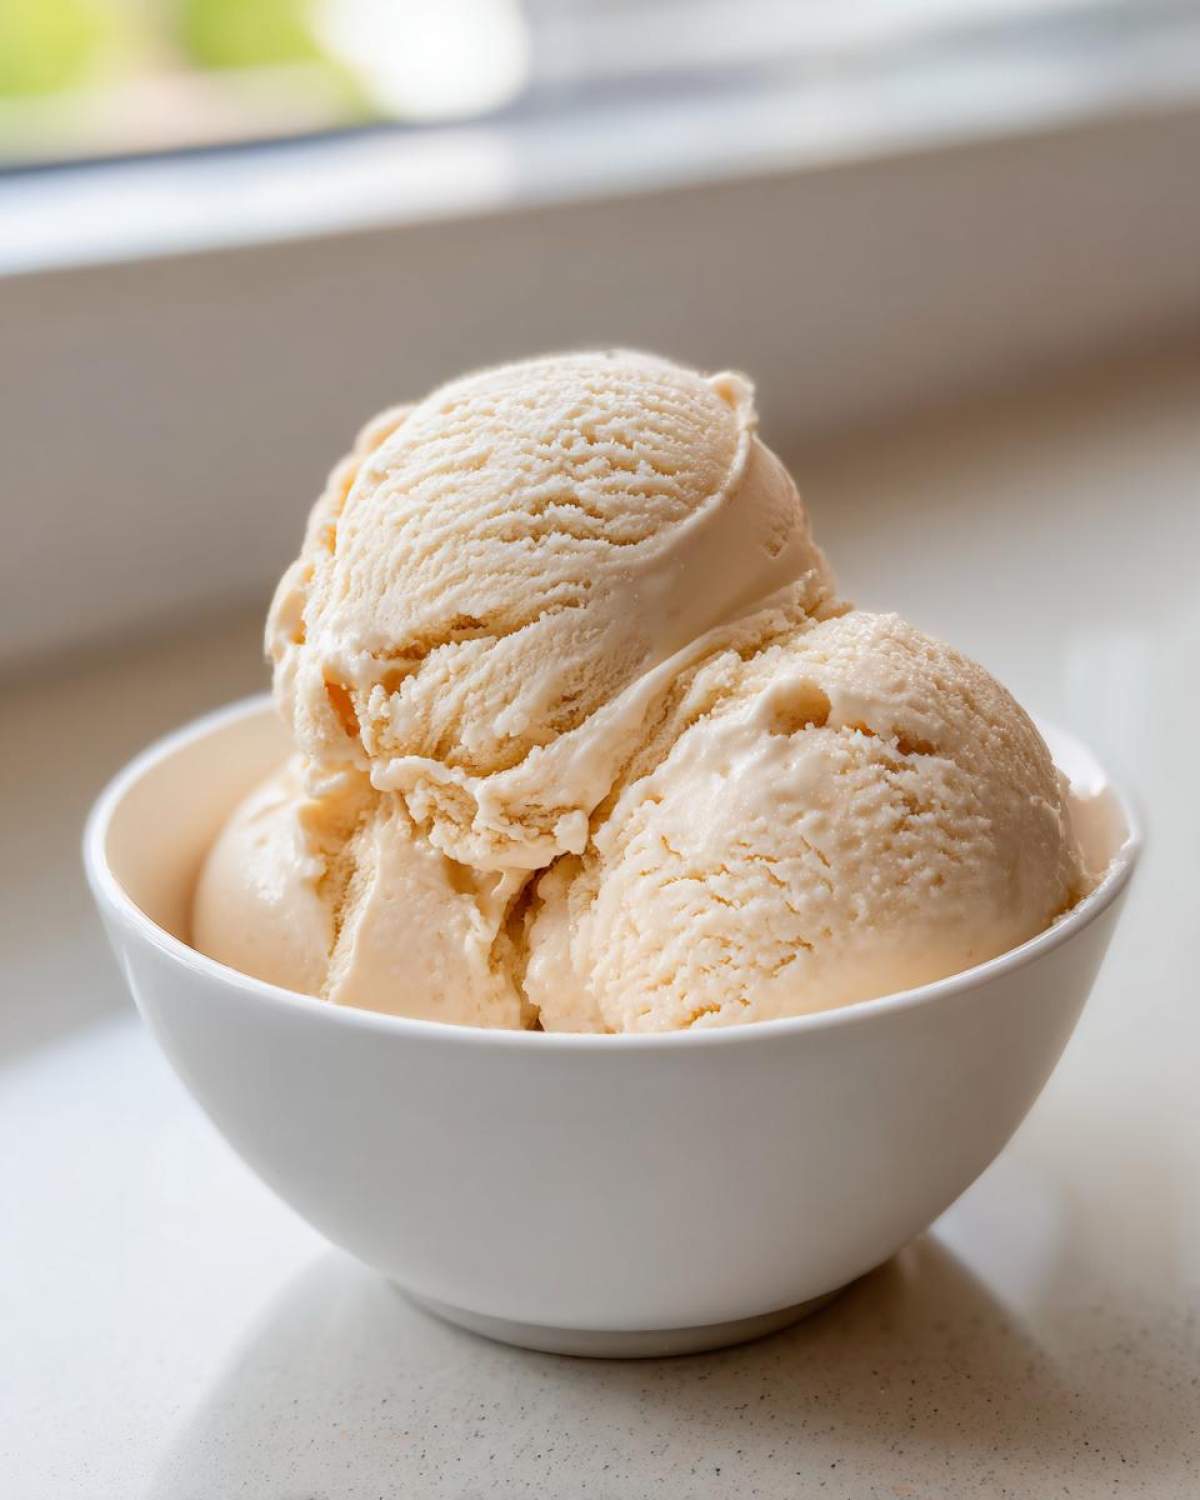
If you want to dress it up, try serving a scoop over some fresh raspberries, or maybe add a light sprinkle of dark chocolate chips if you’re feeling indulgent. Enjoy every single spoonful!
Estimated Nutritional Snapshot for This Protein Ice Cream
Now, let’s talk numbers, because enjoying a guilt-free frozen treat means knowing what’s in that spoon! Because we’re using different brands of protein powder and sweetener, these are just estimates based on my standard vanilla scoop. You should always use the nutrition label on your specific protein, but this gives you a great idea!
Per half-recipe serving, you’re looking at approximately:
- Calories: 210
- Protein: 30g (Yes, thirty!)
- Fat: 4g
- Carbohydrates: 15g
See? That beautiful, creamy texture comes without sacrificing those fantastic macros. That’s how we keep things delicious and on track around here!
Share Your Guilt Free Frozen Treats Creations
I’m genuinely so curious to see how this turns out in your kitchen! Seriously, go make a batch of your favorite protein ice cream variation, and then come back here and tell me how it went. Drop your rating below—five stars if you love it! Even better, snap a picture and share it with us on social media. Seeing your delicious guilt free frozen treats makes my day!
PrintEasy No-Churn Vanilla Protein Ice Cream (Guilt-Free Treat)
You can make this creamy, high-protein ice cream without an ice cream maker. It uses simple ingredients for a macro-friendly, guilt-free frozen dessert.
- Prep Time: 5 min
- Cook Time: 0 min
- Total Time: 6 hr 5 min
- Yield: 2 servings
- Category: Dessert
- Method: No-Churn Freezing
- Cuisine: American
- Diet: Low Fat
Ingredients
- 1 cup plain Greek yogurt (2% or full fat for best texture)
- 1/2 cup unsweetened almond milk (or milk of choice)
- 1 scoop vanilla protein powder (whey or casein blend recommended)
- 2 tablespoons erythritol or preferred zero-calorie sweetener
- 1/2 teaspoon pure vanilla extract
- Pinch of salt
Instructions
- Combine the Greek yogurt, almond milk, protein powder, sweetener, vanilla extract, and salt in a medium bowl.
- Use an electric hand mixer or a whisk to beat the mixture until it is completely smooth and well combined. Scrape down the sides as needed.
- Pour the mixture into a freezer-safe container, like a loaf pan or a small airtight container. Cover the surface directly with plastic wrap to prevent ice crystals from forming.
- Freeze for at least 6 hours, or until firm.
- Before serving, let the container sit on the counter for 10 to 15 minutes to soften slightly for easier scooping.
- Serve your healthy homemade ice cream and enjoy this macro friendly dessert.
Notes
- For a thicker, more ice cream-like texture, use a blend of half whey and half casein protein powder. Casein thickens better when frozen.
- If you own a Ninja Creami, you can use this base, freeze it solid for 24 hours, and process it using the Lite Ice Cream setting.
- You can substitute the vanilla protein powder with chocolate protein powder for a simple chocolate protein ice cream variation.
Nutrition
- Serving Size: 1/2 of recipe
- Calories: 210
- Sugar: 5
- Sodium: 150
- Fat: 4
- Saturated Fat: 2
- Unsaturated Fat: 2
- Trans Fat: 0
- Carbohydrates: 15
- Fiber: 1
- Protein: 30
- Cholesterol: 15
