

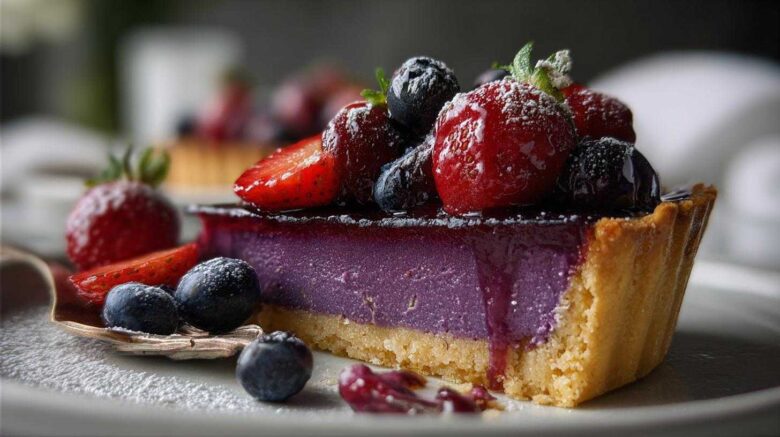
The Perfect Floral Summer Dessert: Introducing the Berry Hibiscus Tart
When summer hits, my kitchen craves bright, light flavors. That is why I am so excited to share this Berry Hibiscus Tart with you. It’s truly a floral summer dessert dream.
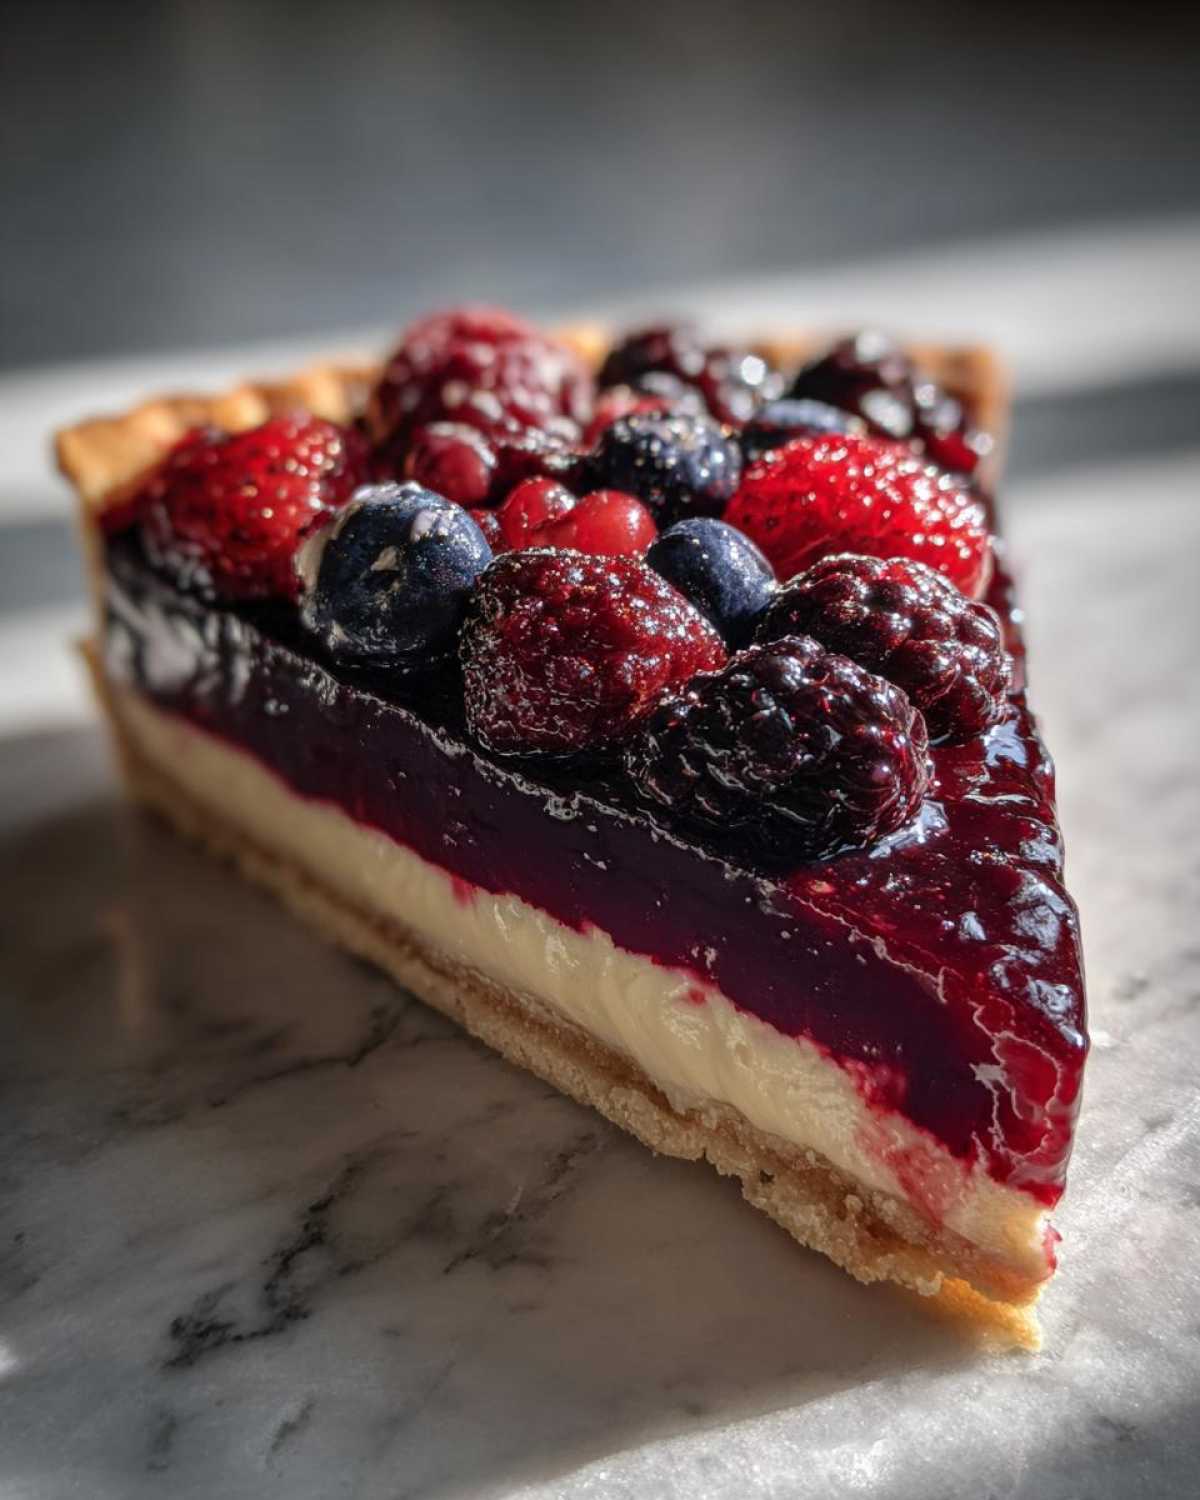
This tart captures sunshine beautifully. It features tart hibiscus custard. Fresh berries dance on top. It’s the perfect light ending to any warm evening meal.
When Amara, Chef Tariq, and I started Savory Skies, we wanted recipes like this. Recipes that feel special but are made with love. This Berry Hibiscus Tart is pure joy. You are going to bake it again and again.
Why You Will Love This Berry Hibiscus Tart
I promise this recipe is a winner. You need this tart for your next gathering. It just screams summer fun.
- It bakes up surprisingly easy for you.
- The floral taste is wonderfully unique.
- Just look at that beautiful presentation!
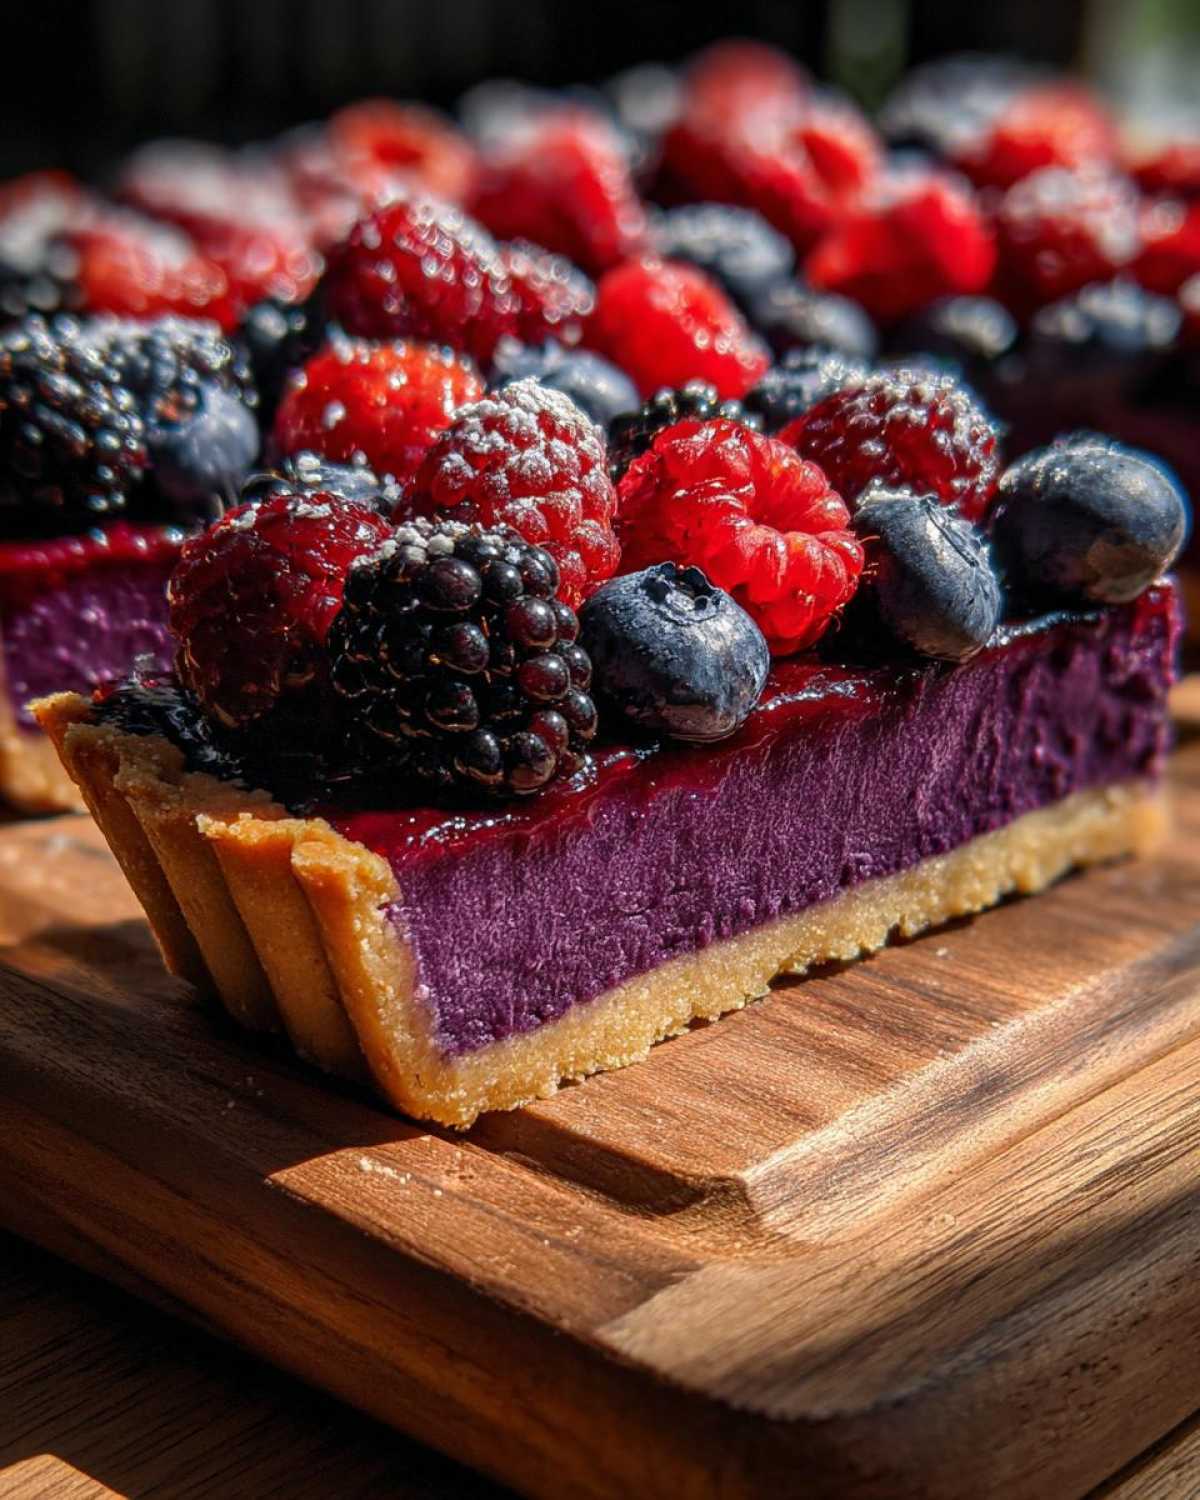
- It is perfect for entertaining guests outside.
Get ready for happy faces around your table. This Berry Hibiscus Tart delivers every time.
Essential Equipment for Your Berry Hibiscus Tart
Every great bake needs the right tools, right? For this Berry Hibiscus Tart, precision helps a lot. You don’t need a whole professional setup.
I find these items make the process smooth:
- A food processor speeds up the crust.
- You absolutely need a 9-inch tart pan.
- Parchment paper and pie weights are key here.
- A good fine-mesh sieve for straining the hibiscus.
Having these ready means less fuss later on.
Gathering Ingredients for the Berry Hibiscus Tart
Let’s talk about what you need to make this beauty. Getting your ingredients ready first helps everything flow.
I always lay everything out before I even turn on the oven. It keeps me calm. This recipe uses simple things. The star is the hibiscus, though!
For the Crisp Tart Shell
The crust is the foundation for our lovely Berry Hibiscus Tart. Be precise here for the best texture.
- 1 1/4 cups all-purpose flour for structure.
- 1/2 cup unsalted butter, kept cold and cubed small.
- 1/4 cup granulated sugar for a hint of sweetness.
- 1 large egg yolk for richness.
- 2 tablespoons of ice water, no more, no less.
For the Bright Hibiscus Custard
This is where the floral magic happens. The infusion needs to be strong.
- 1/2 cup dried hibiscus flowers for steeping.
- 1 cup boiling water used for the initial steep.
- 1/2 cup granulated sugar for the custard base.
- 3 large eggs plus 2 extra large egg yolks.
- 1/2 cup heavy cream for luxurious smoothness.
- 1 teaspoon vanilla extract for depth.
For the Fresh Berry Topping
We finish with a crown of fresh fruit. This part is easy!
- 2 cups mixed fresh berries.
- Make sure you have strawberries, blueberries, and raspberries ready.
Step-by-Step Instructions for the Berry Hibiscus Tart
Follow these steps closely. You’ll create a stunning dessert. Baking requires patience, especially with chilling.
Preparing and Blind Baking the Tart Shell
First, pulse your flour and sugar in the food processor. Add the cold, cubed butter next. Pulse until it looks like coarse crumbs. Now add the egg yolk and ice water. Pulse until the dough just comes together, no more. Form this into a disk. Wrap it up tight. Chill it for 30 minutes. This step prevents shrinking.
Roll the dough out carefully. Fit it into your 9-inch tart pan. Trim the edges neatly. Prick the bottom all over with a fork. Pop it into the freezer for 15 minutes. This resting period is super important.
Preheat your oven to 375 degrees F now. Line the chilled crust with parchment paper. Add your pie weights on top. Bake it for 15 minutes. Remove the weights and paper. Bake it for 5 to 7 minutes more. You want it lightly golden brown. Let this shell cool down a bit.
Creating the Flavorful Hibiscus Infusion
Time to unlock that floral flavor. Place your dried hibiscus flowers in a heatproof bowl. Pour one cup of boiling water over them right away. Let this mixture steep for a full 20 minutes. Don’t rush this steeping time!
Strain the liquid very well. Press the flowers gently to get all the deep color out. You should end up with about a half cup of strong hibiscus tea. This tea is the heart of the custard.
Mixing and Baking the Hibiscus Custard Filling
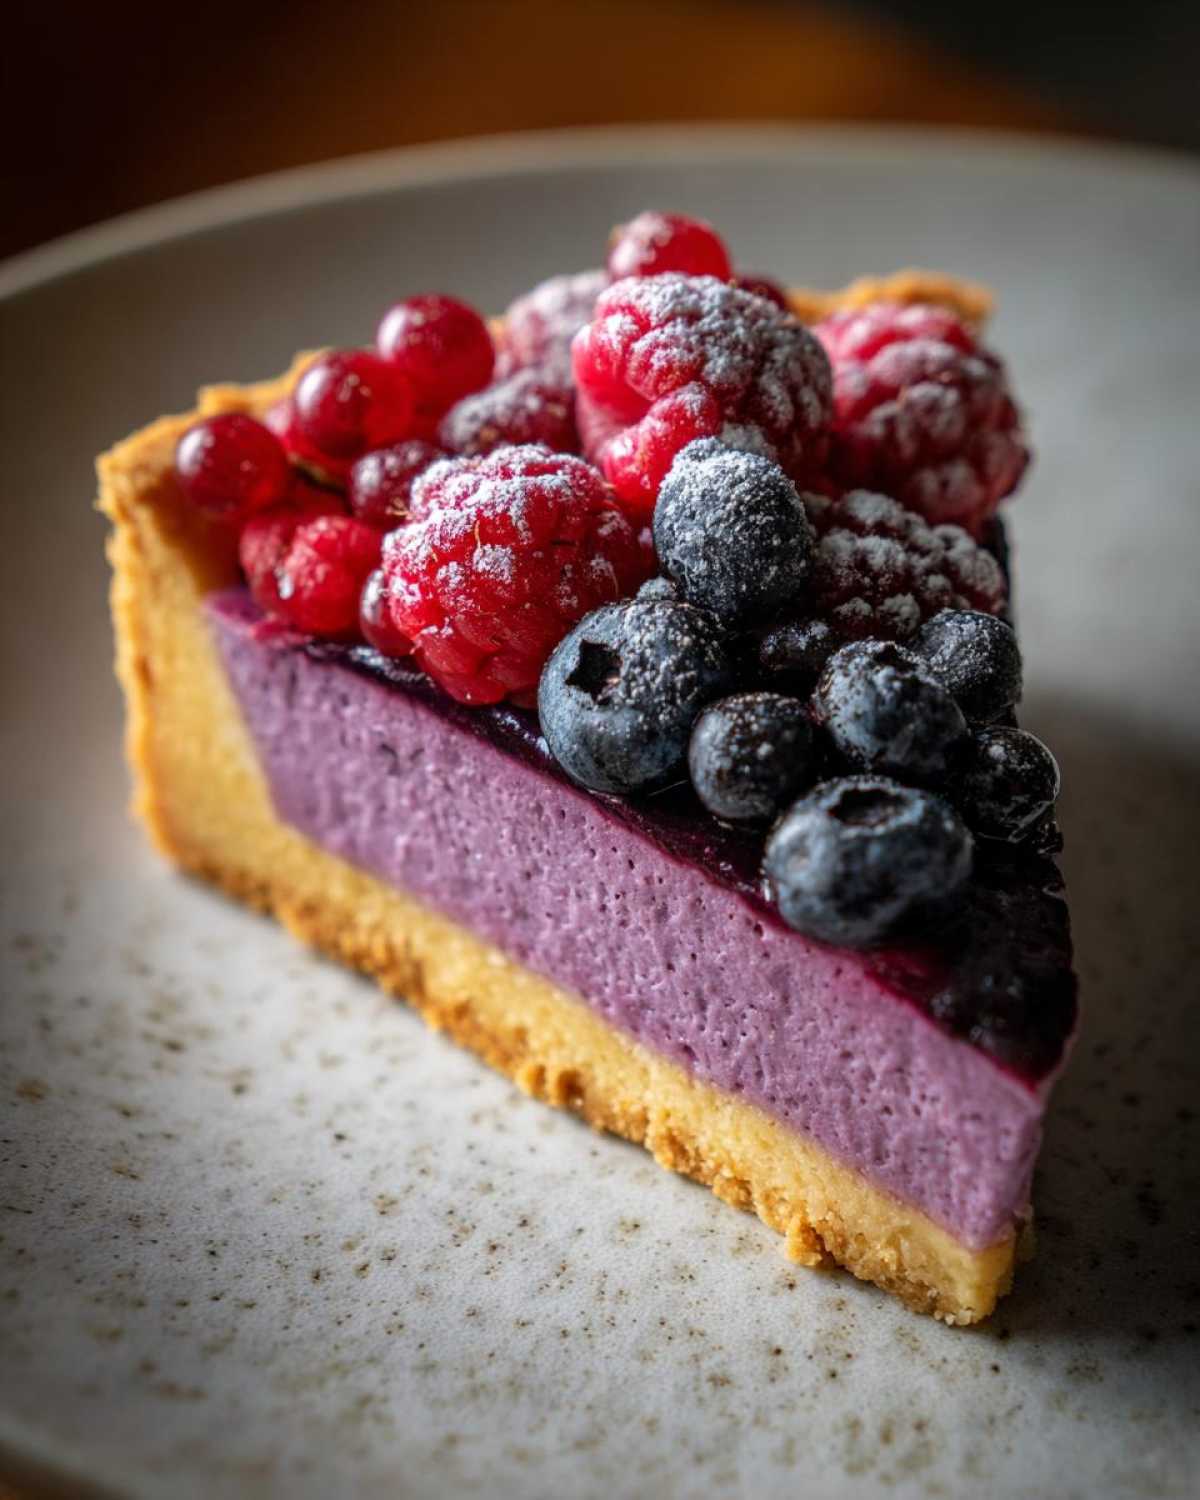
In a separate bowl, whisk your sugar and eggs together. Whisk until the mixture looks pale yellow. Now, slowly whisk in the heavy cream. Alternate with the strong hibiscus tea. Add the vanilla extract last. Mix until everything is smoothly combined. Pour this custard gently into your pre-baked shell.
Bake this tart at 325 degrees F. This takes about 25 to 30 minutes. Watch the edges closely. They should look set. The very center must still have a slight jiggle to it. This means it’s perfectly cooked.
Chilling and Final Assembly of Your Berry Hibiscus Tart
Let the baked tart cool completely on a wire rack. Do not touch it yet! Then, you must chill it for at least two hours. This chilling sets the custard firm. Before serving, arrange your mixed fresh berries nicely on top. Make it look as beautiful as it tastes! Grilled peaches are another great summer topping idea!
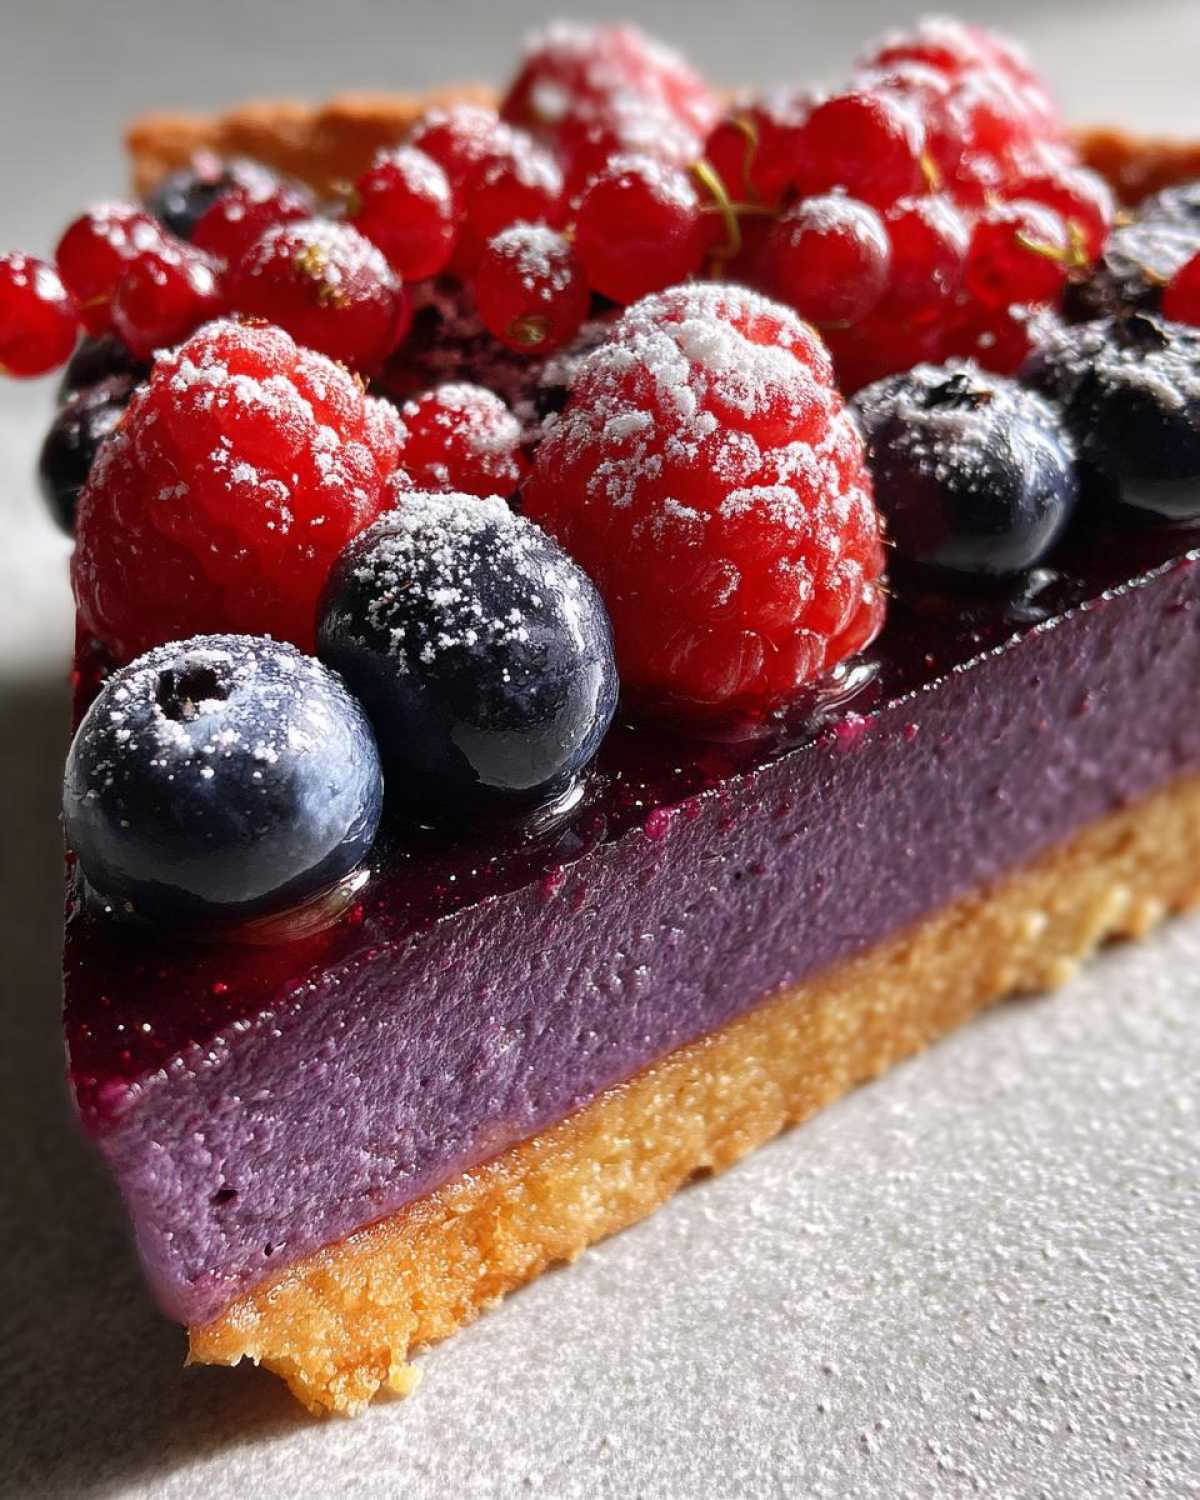
Tips for Perfecting Your Berry Hibiscus Tart
Baking is about learning little tricks. I’ve picked up a few things over the years. These tips help nail the texture every time.
Don’t skip the chilling steps for the crust. That keeps things crisp. A soggy bottom is the enemy of a great tart! For more baking tips, check out our latest blog posts.
Crust Consistency and Custard Setting
To get that extra crisp shell, really blind bake it until fully golden. This seals the bottom well. For the custard, that slight jiggle is crucial. It finishes setting as it cools down. It’s like magic, really.
If you worry about the set, try this. Add one teaspoon of cornstarch to the custard mix. It gives you a firmer result, guaranteed.
Enhancing Your Berry Hibiscus Tart Flavor
Sometimes you might not have hibiscus flowers on hand. That happens to the best of us! You can easily swap them out.
Try using dried rosehips instead. They offer a different floral note. It’s still lovely and bright. This flexibility is what I love about home baking! For more ideas on using floral ingredients in desserts, you might enjoy learning about the benefits of hibiscus tea itself.
Frequently Asked Questions About the Berry Hibiscus Tart
I always get questions after sharing a new recipe. Let’s clear up a few things now. These answers will help your Berry Hibiscus Tart succeed.
Can I make the Berry Hibiscus Tart crust ahead of time
Yes, you absolutely can make the shell early! After blind baking, let it cool completely. Wrap the baked shell tightly in plastic wrap. Store it at room temperature for one day. This saves time later.
What is the best way to store leftover Berry Hibiscus Tart
Because of the creamy filling, this tart needs refrigeration. Keep leftovers covered in the fridge. It stays good for about three days. The berries might soften a bit over time.
Can I use frozen berries instead of fresh for this Floral Dessert
I prefer fresh berries for the top. Frozen ones release too much liquid. This can make the top soggy. If you must use frozen, gently thaw them first. Pat them completely dry before arranging them. This helps keep your beautiful Floral Dessert looking sharp. If you are looking for other berry recipes, check out our triple berry galette.
Estimated Nutritional Overview for the Berry Hibiscus Tart
Knowing the numbers helps plan your day, doesn’t it? I want to give you a rough idea of what’s in our wonderful Berry Hibiscus Tart.
Remember, these figures are estimates only. They are based on dividing the recipe into eight servings. Your serving size might be bigger or smaller!
Here is a quick look at the estimated breakdown per slice:
- Calories: Around 350 for a nice slice.
- Fat Content: About 20g total fat here.
- Carbohydrates: Expect around 38g total carbs.
- Sugar: This tart has about 25g of sugar.
- Protein: You get about 7g of protein too.
We keep the fat and sugar in check, relatively speaking! Enjoying a slice of this dessert feels wonderful.
Share Your Berry Hibiscus Tart Creations
I truly hope you loved baking this tart. Tell us what you think!
Rate this Berry Hibiscus Tart below. Share your gorgeous berry photos with us. We love seeing your kitchen success stories!
PrintAmazing 8 Berry Hibiscus Tart Success
Bake this beautiful Berry Hibiscus Tart for a light, floral summer dessert. It features a crisp crust filled with a bright, tart hibiscus custard and topped with fresh berries. You will love the refreshing taste.
- Prep Time: 45 minutes
- Cook Time: 50 minutes
- Total Time: 1 hour 35 minutes plus chilling
- Yield: 8 servings
- Category: Dessert
- Method: Baking
- Cuisine: American
- Diet: Vegetarian
Ingredients
- 1 1/4 cups all-purpose flour
- 1/2 cup unsalted butter, cold and cubed
- 1/4 cup granulated sugar
- 1 large egg yolk
- 2 tablespoons ice water
- 1/2 cup dried hibiscus flowers
- 1 cup boiling water
- 1/2 cup granulated sugar (for custard)
- 3 large eggs
- 2 large egg yolks
- 1/2 cup heavy cream
- 1 teaspoon vanilla extract
- 2 cups mixed fresh berries (strawberries, blueberries, raspberries)
Instructions
- Prepare the tart shell: Pulse flour and sugar in a food processor. Add cold butter and pulse until mixture resembles coarse crumbs. Add egg yolk and ice water; pulse until dough just comes together. Form into a disk, wrap, and chill for 30 minutes.
- Roll out the dough and fit it into a 9-inch tart pan. Trim edges. Prick the bottom all over with a fork. Freeze for 15 minutes.
- Preheat your oven to 375 degrees F (190 degrees C). Line the chilled crust with parchment paper and pie weights. Bake for 15 minutes. Remove weights and paper, and bake for another 5-7 minutes until lightly golden. Let cool slightly.
- Make the hibiscus infusion: Place dried hibiscus flowers in a heatproof bowl. Pour 1 cup of boiling water over them. Let steep for 20 minutes. Strain the liquid, pressing on the flowers to extract all the flavor. You should have about 1/2 cup of strong hibiscus tea.
- Prepare the custard: In a bowl, whisk together the 1/2 cup sugar, 3 eggs, and 2 egg yolks until pale. Slowly whisk in the heavy cream, hibiscus tea, and vanilla extract until well combined.
- Pour the hibiscus custard into the pre-baked tart shell.
- Bake the tart at 325 degrees F (160 degrees C) for 25 to 30 minutes, or until the edges are set but the center still has a slight jiggle.
- Let the tart cool completely on a wire rack. Chill for at least 2 hours before serving.
- Before serving, arrange the fresh mixed berries decoratively over the top of the chilled tart.
Notes
- You can substitute dried rosehips for hibiscus if you prefer a different floral note.
- For an extra crisp crust, blind bake the shell until it is fully golden brown.
- If you desire a firmer set, add one teaspoon of cornstarch to the custard mixture.
Nutrition
- Serving Size: 1 slice
- Calories: 350
- Sugar: 25g
- Sodium: 150mg
- Fat: 20g
- Saturated Fat: 12g
- Unsaturated Fat: 8g
- Trans Fat: 0.5g
- Carbohydrates: 38g
- Fiber: 2g
- Protein: 7g
- Cholesterol: 120mg
