


Oh, the eternal quest for the perfect chicken tender! For years, I’ve been on a mission. A mission to create chicken tenders that sing with flavor and deliver that satisfying crunch. And guess what? I’ve finally cracked the code. Forget greasy frying and endless cleanup. These Crispy Baked Chicken Tenders are a game-changer for any family dinner. They’re so good, my kids actually ask for them by name now. It’s a little bit of kitchen magic, and I can’t wait to share it with you.
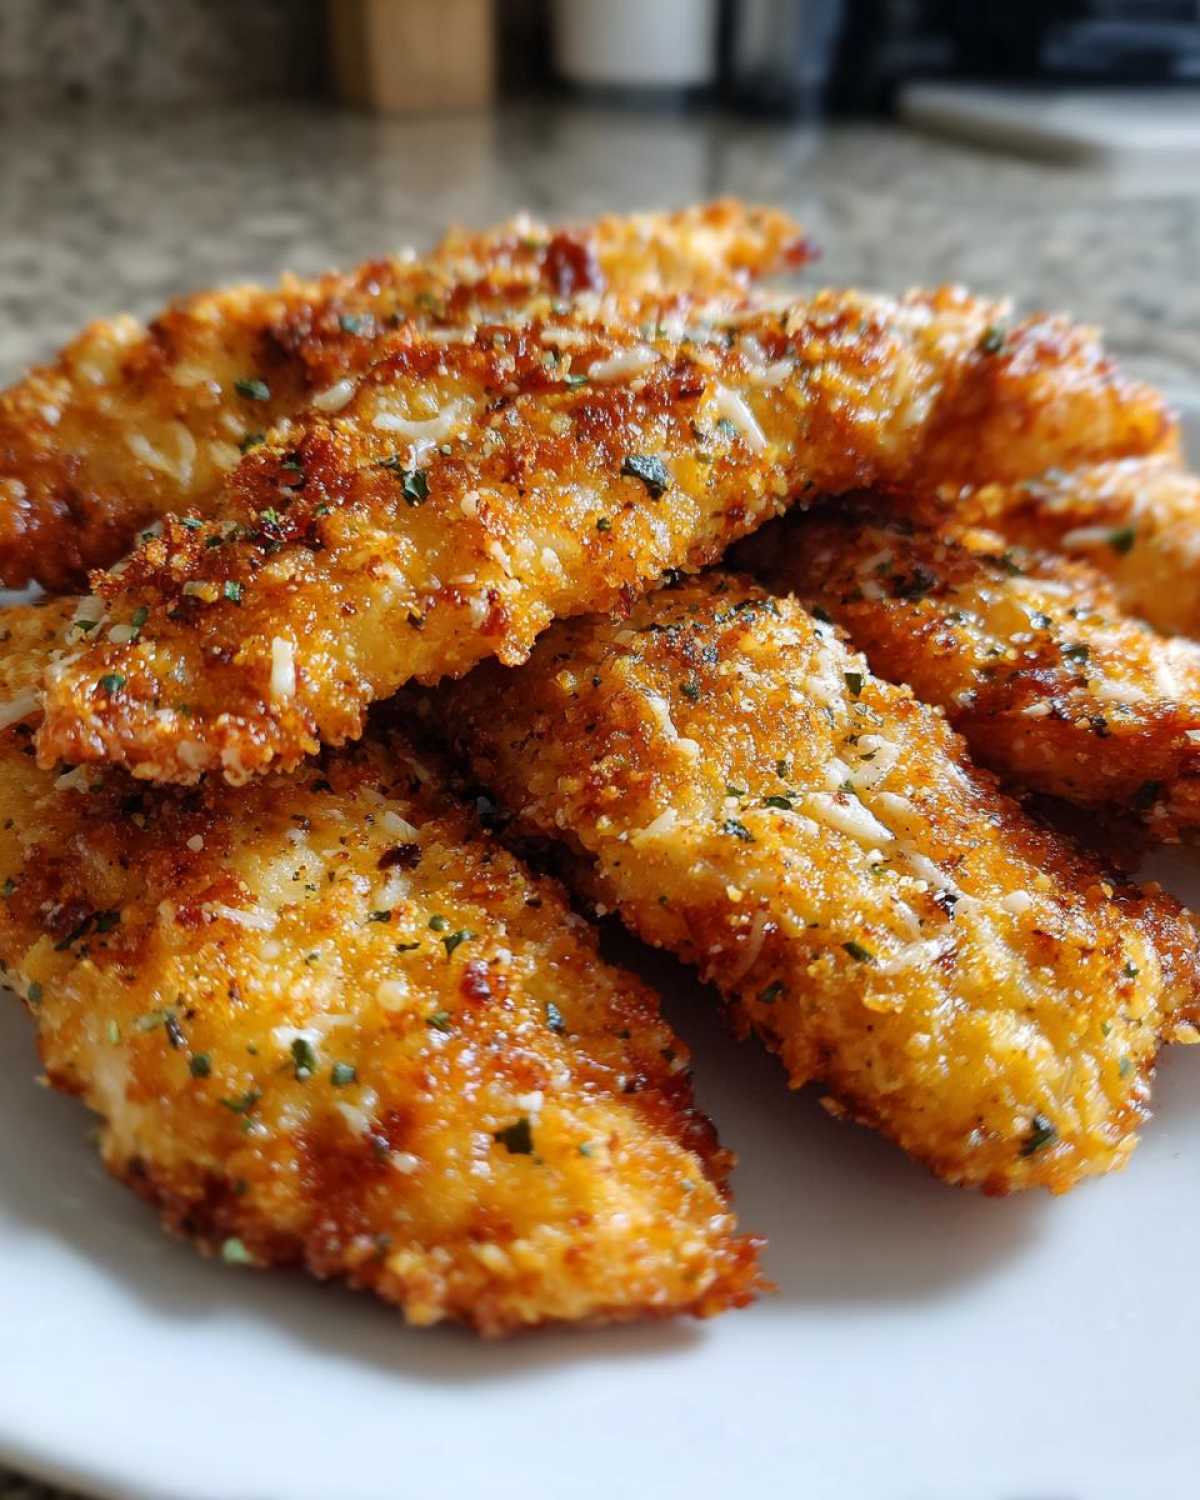
Why You’ll Love These Crispy Baked Chicken Tenders
These aren’t just any chicken tenders. They’re designed to make your life easier and your taste buds happier.
- Incredibly Crispy: Get that perfect crunch you crave, baked to golden perfection.
- Super Easy to Make: This recipe is a true winner for busy weeknights.
- Healthier Option: Enjoy your favorite treat without the deep frying.
- Family Approved: A definite hit with kids and adults alike, making it a go-to kid-friendly meal.
- Versatile: Perfect as a main dish or a fun appetizer.
A Secret Coating for Ultimate Crunch
The magic really happens with the coating. I’ve found a simple blend that creates an amazing crunchy breading. It’s all about texture and flavor. We’re talking about a coating that clings beautifully, bakes up golden, and stays wonderfully crisp. It’s a secret I’m thrilled to finally share with fellow home cooks like you. It’s what takes these tenders from good to absolutely unforgettable.
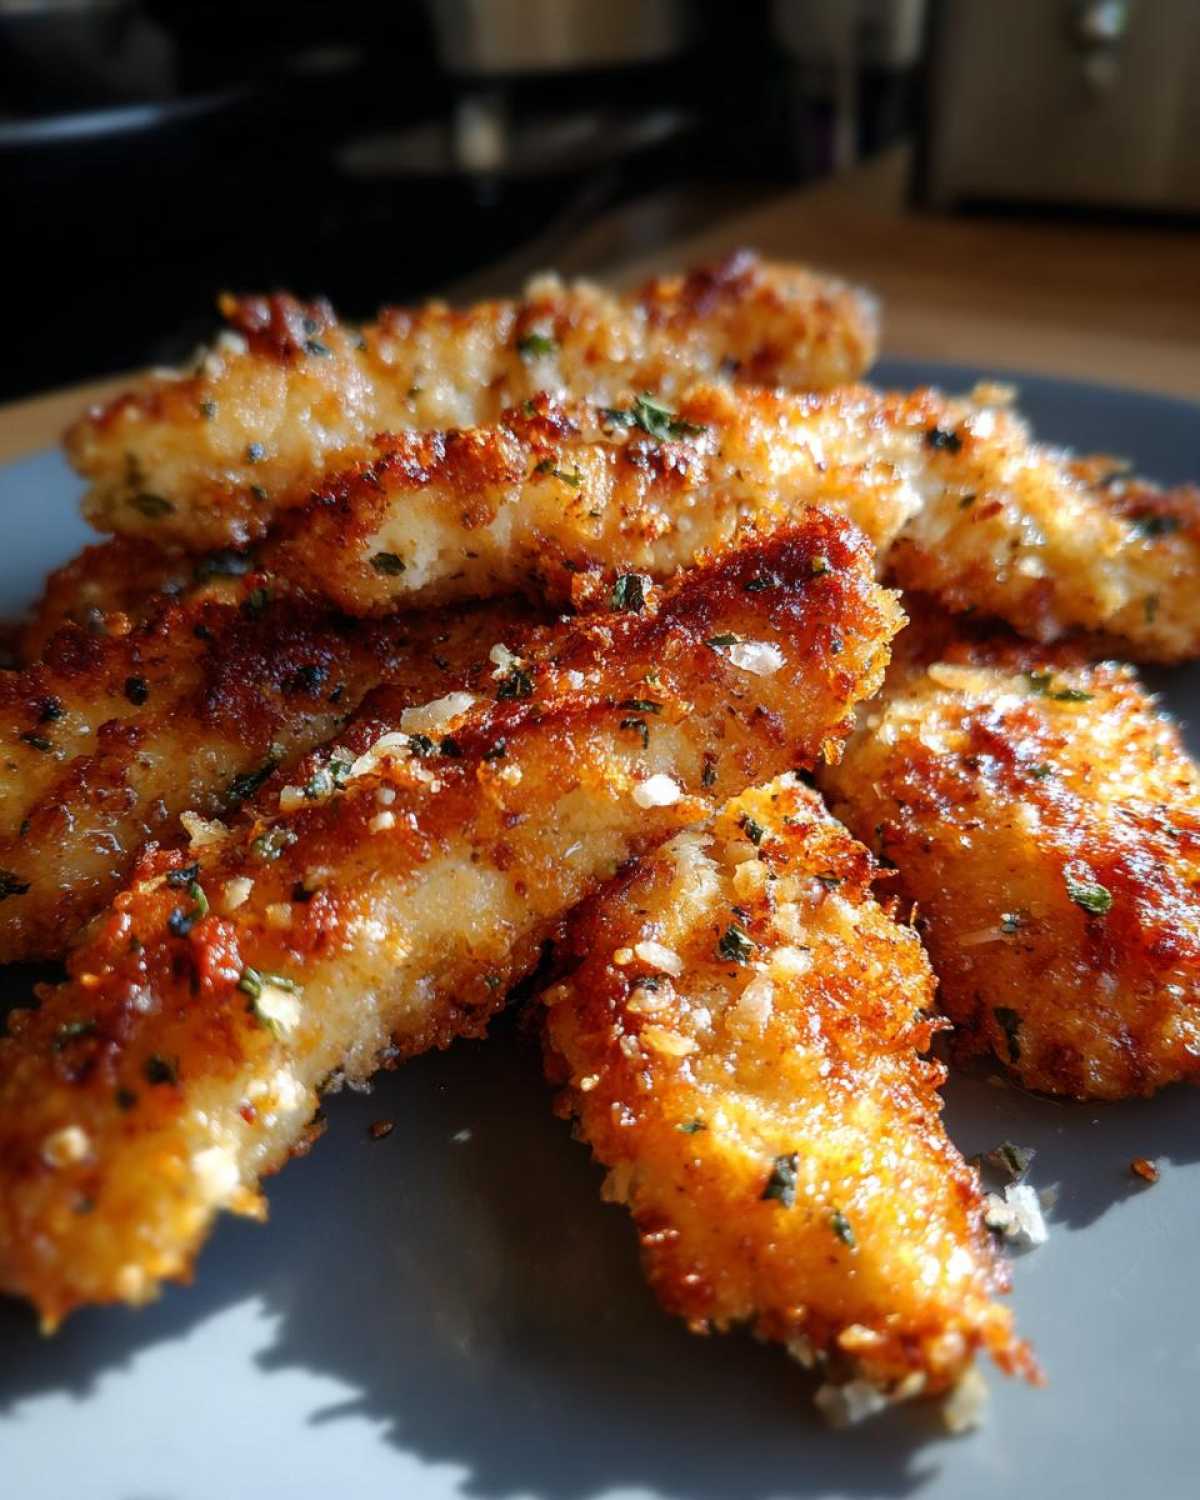
Gathering Your Ingredients for Crispy Baked Chicken Tenders
Alright, let’s get our pantry ready! Having everything prepped makes the cooking process a breeze. For these delicious crispy baked chicken tenders, you’ll need some simple pantry staples and fresh chicken. I always like to lay everything out before I start, so I know I have all my ducks in a row. It makes the whole experience so much more relaxed and enjoyable.
Chicken and Marinade Essentials
First up, the star of the show: chicken! I use about 1.5 pounds of boneless, skinless chicken breasts. Make sure to cut them into nice, uniform 1-inch strips so they cook evenly. For our wet dip, we’ll need two large eggs and just a tablespoon of milk. Whisking these together creates a lovely binding agent for our coating. It’s simple, but oh-so-effective!
The Secret Coating Blend
This is where the magic really happens for that amazing crunch. We start with 1 cup of all-purpose flour. Then, we’ll add our spice mix: 2 teaspoons of salt, 1 teaspoon each of black pepper and paprika, and 1/2 teaspoon each of garlic powder and onion powder. A little pinch of cayenne pepper (if you like a tiny kick) is optional but recommended! For the star of the coating itself, grab 1 cup of panko breadcrumbs, 1/2 cup of grated Parmesan cheese, and my little secret weapon: 1/4 cup of nutritional yeast. It adds an incredible crispiness and a subtle, nutty, cheesy flavor that you’ll adore. Trust me on this one!
Crafting Your Crispy Baked Chicken Tenders
Now for the fun part: turning those ingredients into golden, crunchy perfection! This whole process, from start to finish, takes about 40 minutes total, with roughly 15 minutes of prep. It’s a wonderfully manageable timeframe for a weeknight meal. We’ll break it down into simple steps to make sure you get those irresistibly crispy baked chicken tenders every single time.
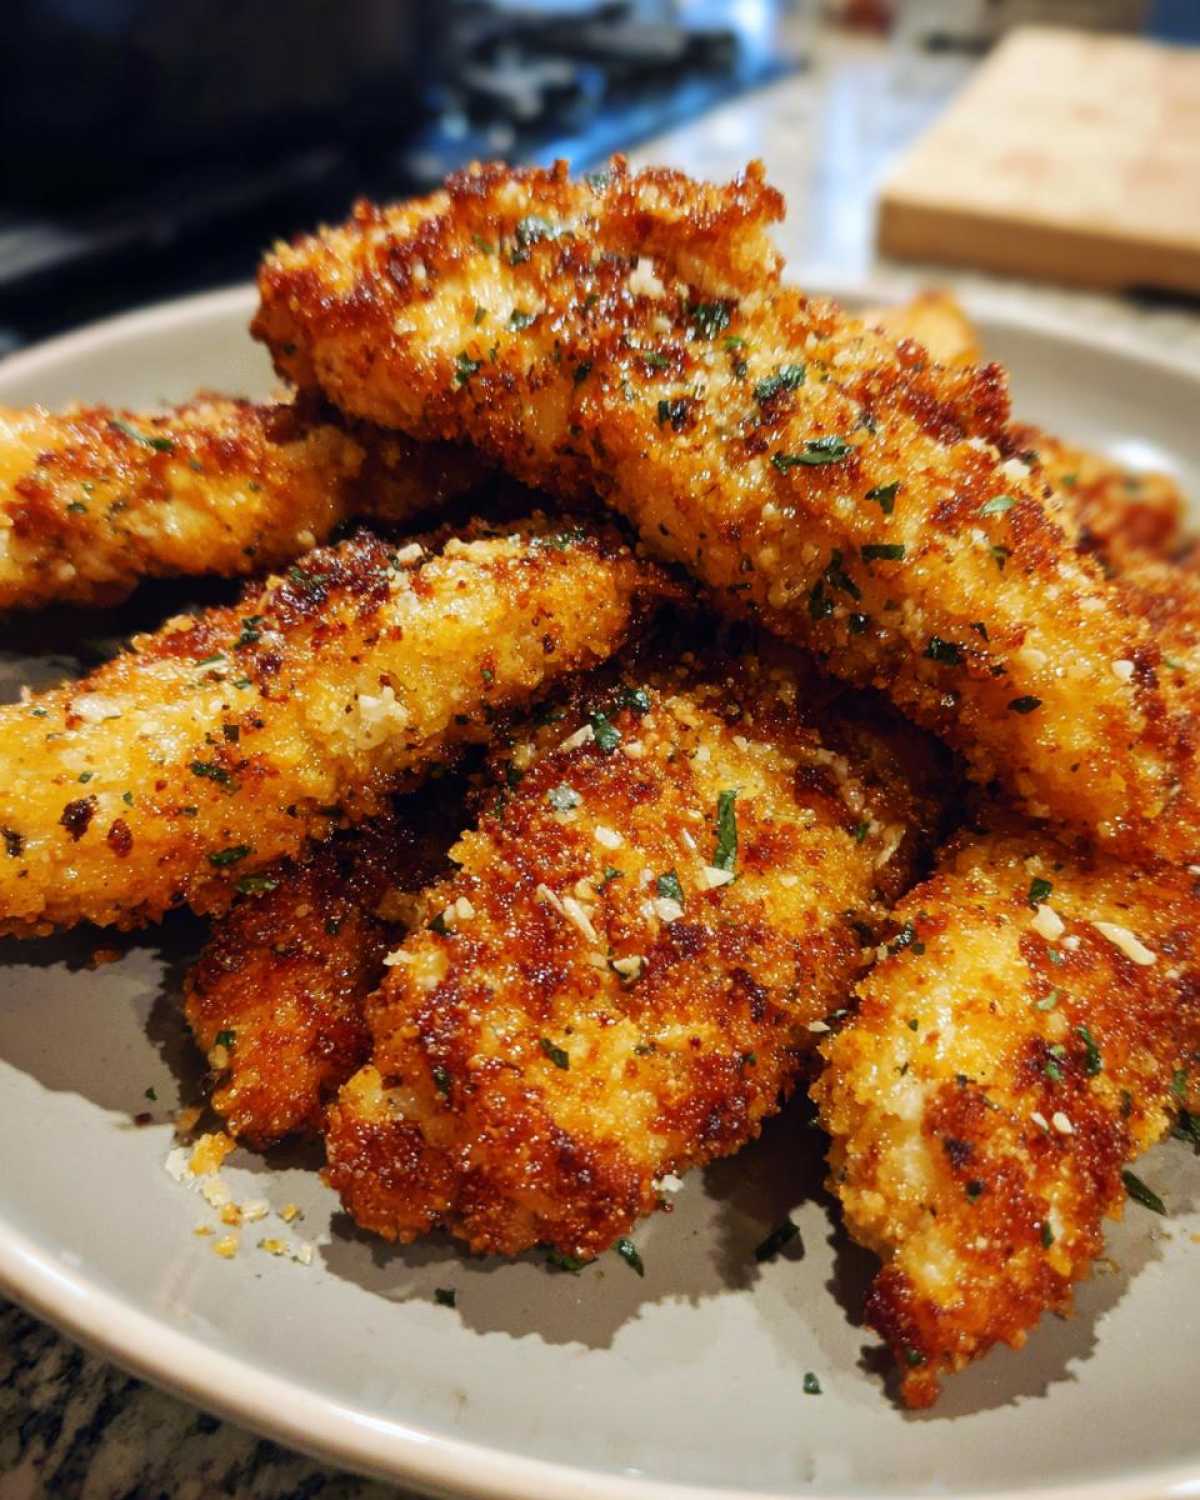
Preparing the Coating Stations
First, let’s get our assembly line ready. You’ll need three shallow dishes or pie plates. In the first dish, combine your flour, salt, pepper, paprika, garlic powder, onion powder, and that optional cayenne. Give it a good whisk. In the second dish, whisk together your two large eggs and the tablespoon of milk. This is our wet binder. For the third dish, this is where the magic happens: mix the panko breadcrumbs, grated Parmesan cheese, and that secret ingredient, the nutritional yeast. This trio creates our amazing crunchy breading. Make sure these are all set up within easy reach of your chicken.
Coating the Chicken Tenders
Time to get our hands a little messy! Take one chicken tender strip and dip it into the flour mixture first. Make sure it’s fully coated, then gently shake off any excess flour. Don’t be shy with the coating here; it helps the egg stick. Next, plunge the floured tender into the egg wash. Let any extra drip back into the dish. Finally, transfer it to the panko-Parmesan-nutritional yeast mixture. Press the coating onto the chicken gently. You want it to stick really well! Repeat this for all your chicken strips. This triple-dip method ensures that beautiful, thick, and wonderfully crispy coating we’re aiming for.
Arranging and Baking for Maximum Crispiness
Once all your tenders are coated, carefully place them on your prepared baking sheet. It’s really important not to overcrowd the pan. Give them a little breathing room. This allows the hot air to circulate, which is key for getting them truly crispy. If they’re too close, they’ll steam instead of bake. Now, for that final touch: drizzle or brush about 2 tablespoons of olive oil or melted butter all over the tops of the coated tenders. This helps them turn that gorgeous golden brown. Pop them into your preheated 400°F (200°C) oven. Bake for about 20 to 25 minutes. Remember to flip them halfway through to ensure even cooking and browning on both sides. You’ll know they’re ready when they’re cooked through and the coating is a beautiful, golden brown and wonderfully crisp.

Tips for Perfectly Crispy Baked Chicken Tenders
I’ve learned a few tricks over the years to make sure these tenders come out perfectly every time. It’s all about those little details that make a big difference. Getting that golden, crunchy breading is totally achievable with baking, and I love sharing these secrets with you.
Achieving That Golden, Crunchy Breading
The oven temperature is crucial here. Make sure it’s fully preheated to 400°F (200°C) before your tenders even think about going in. And please, resist the urge to cram them all onto one pan! Giving each tender space to breathe is the secret weapon for crispiness. It allows the hot air to circulate freely, creating that delightful crunch you’re after. If they’re too close, they’ll steam instead of crisp up.
Flavor Variations and Customization
Don’t be afraid to play with the spices! Feel free to add a pinch of dried oregano or thyme to the flour mixture for a more herbaceous note. A little smoked paprika can add a lovely depth. You can also experiment with different spice blends. The nutritional yeast is fantastic for crispiness and a subtle flavor boost, but if you can’t find it, don’t worry too much. The tenders will still be delicious! For more recipe inspiration, check out our latest blog posts.
Serving and Storing Your Crispy Baked Chicken Tenders
These crispy baked chicken tenders are fantastic served hot right out of the oven. They’re a perfect main course for any meal. My family devours them, and they’re always a huge hit at parties too. The best part? They reheat surprisingly well, so you can enjoy that crunchiness even the next day!
Delicious Dipping Sauce Pairings
What’s a chicken tender without a great dipping sauce? My kids love classic ketchup, of course. But we also love honey mustard for a sweet and tangy kick. A creamy ranch dip is always a winner, and for a little something different, try a spicy sriracha mayo. You can even whip up a quick BBQ sauce. The possibilities are endless, and they all make these tenders even more irresistible.
Storing and Reheating for Lasting Crispness
Once cooled, store any leftover chicken tenders in an airtight container in the refrigerator. They’ll keep well for about 3 days. To reheat and bring back that glorious crunch, I highly recommend using your oven or an air fryer. Pop them on a baking sheet in a preheated oven at 375°F (190°C) for about 5-8 minutes, or until heated through and crispy again. An air fryer works wonders too, usually in just 3-5 minutes at 375°F (190°C). Microwaving tends to make them a bit soft, so I’d skip that if crispiness is your goal.
Frequently Asked Questions About Crispy Baked Chicken Tenders
Got questions about whipping up these delicious tenders? I’ve got answers! It’s always good to know a few extra tips for perfect results. Let’s dive into some common queries about these crispy baked chicken tenders.
Can I make these Crispy Baked Chicken Tenders ahead of time?
You can definitely prep the unbaked tenders a few hours ahead. Just coat them and store them in a single layer on a parchment-lined baking sheet in the fridge. Bake them just before serving for the best crunch. Fully baked tenders can be stored in the fridge and reheated, but they won’t be quite as crispy.
What is the best way to get a really crunchy breading?
The keys to a truly crunchy breading are preheating your oven properly and not overcrowding the baking sheet. Giving the tenders space allows air to circulate, which is essential for crisping up that coating. Also, using panko breadcrumbs and nutritional yeast in the coating blend really amps up the crunch factor!
Can I use chicken thighs instead of breasts for these tenders?
Absolutely! Chicken thighs are a bit more forgiving and can yield a very tender result. Just be aware that they might take a few minutes longer to cook through than breasts, so keep an eye on them. They’ll still get deliciously crispy with this coating!
Nutritional Estimate for Crispy Baked Chicken Tenders
Please remember that these are just estimates. Nutritional values can vary based on exact ingredients and portion sizes. This recipe offers a balanced meal with around 350 calories, 30g of protein, and 15g of fat per 4 oz serving. It’s a satisfying choice for a family dinner that doesn’t skimp on flavor.
Share Your Experience with Our Crispy Baked Chicken Tenders!
I truly hope you love making and eating these crispy baked chicken tenders as much as I do! Did they become a new family favorite? I’d be absolutely thrilled to hear all about your kitchen adventures. Please share your thoughts, star ratings, or any fun twists you tried in the comments below. Your feedback means the world to us here at Savory Skies!
PrintCrispy Baked Chicken Tenders: 1 Secret Coating

Learn how to make incredibly crispy baked chicken tenders with a secret coating. This recipe delivers a satisfying crunch without the mess of frying, perfect for a family-friendly meal.
- Prep Time: 15 minutes
- Cook Time: 25 minutes
- Total Time: 40 minutes
- Yield: 4-6 servings
- Category: Main Course
- Method: Baking
- Cuisine: American
- Diet: Vegetarian
Ingredients
- 1.5 lbs boneless, skinless chicken breasts, cut into 1-inch strips
- 1 cup all-purpose flour
- 2 teaspoons salt
- 1 teaspoon black pepper
- 1 teaspoon paprika
- 1/2 teaspoon garlic powder
- 1/2 teaspoon onion powder
- 1/4 teaspoon cayenne pepper (optional)
- 2 large eggs
- 1 tablespoon milk
- 1 cup panko breadcrumbs
- 1/2 cup grated Parmesan cheese
- 1/4 cup nutritional yeast (for extra crispiness and flavor)
- 2 tablespoons olive oil or melted butter
Instructions
- Preheat your oven to 400°F (200°C). Line a baking sheet with parchment paper or a silicone baking mat.
- In a shallow dish, whisk together the flour, salt, pepper, paprika, garlic powder, onion powder, and cayenne pepper (if using).
- In another shallow dish, whisk the eggs with the milk.
- In a third shallow dish, combine the panko breadcrumbs, grated Parmesan cheese, and nutritional yeast.
- Dip each chicken tender first into the flour mixture, ensuring it’s fully coated. Shake off any excess.
- Next, dip the floured chicken tender into the egg mixture, letting any excess drip off.
- Finally, coat the chicken tender generously with the panko breadcrumb mixture, pressing gently to help the coating adhere.
- Place the coated chicken tenders on the prepared baking sheet, ensuring they are not overcrowded.
- Drizzle or brush the tops of the chicken tenders with olive oil or melted butter.
- Bake for 20-25 minutes, flipping halfway through, until the chicken is cooked through and the coating is golden brown and crispy.
- Serve immediately with your favorite dipping sauces.
Notes
- For an even crispier coating, you can lightly spray the tenders with cooking spray before baking.
- Feel free to adjust the spices to your preference. Add other herbs like dried oregano or thyme for extra flavor.
- If you don’t have nutritional yeast, you can omit it, but it does add a wonderful crispiness and a subtle cheesy flavor.
Nutrition
- Serving Size: 4 oz
- Calories: 350
- Sugar: 2g
- Sodium: 600mg
- Fat: 15g
- Saturated Fat: 4g
- Unsaturated Fat: 11g
- Trans Fat: 0g
- Carbohydrates: 20g
- Fiber: 2g
- Protein: 30g
- Cholesterol: 100mg
