

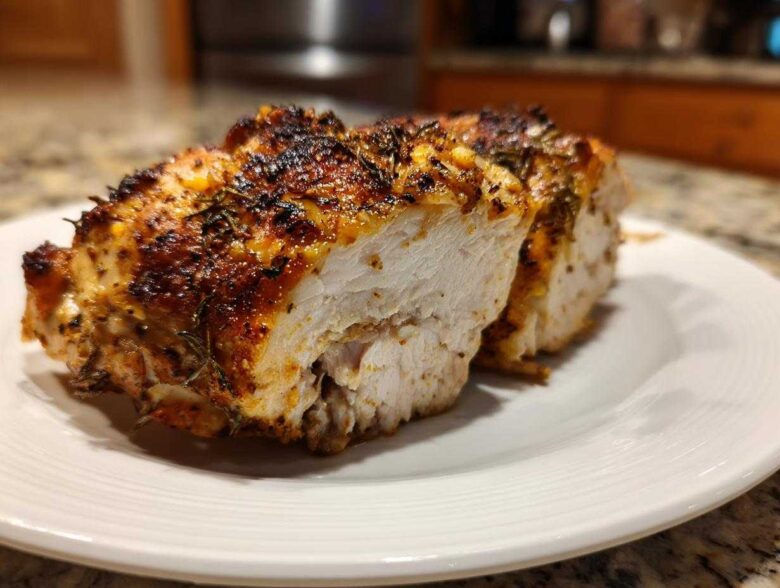
Okay, let’s be honest. How many times have you pulled a baked chicken breast out of the oven only to find it dry, chalky, and completely disappointing? Me too! I used to dread making chicken for dinner because I knew I’d end up chewing on leather. It’s the worst, especially when you’re short on time and need a quick chicken breast dinner.
Well, throw away that sadness! Seriously, I spent *years* experimenting, testing temperatures, and reading every trick in the book so you don’t have to suffer through another sad piece of poultry. This recipe—the Foolproof Juicy Oven Baked Chicken Breast—changed everything for me. It’s so simple, uses pantry staples, and guarantees you will get that incredibly moist, tender result every single time. It’s my go-to for healthy weeknight meals, and I promise, once you try my secret for keeping the moisture locked in, you’ll never go back.
If you want to skip the pan-sear and go straight to the oven for an easy chicken breast recipe, trust me on this one. This method is the key to tender chicken breast cooking without all the fuss, and you can find more of my favorite easy recipes over at the main recipe hub!
Why This Foolproof Juicy Baked Chicken Breast Recipe Works
Okay, the secret sauce here isn’t really a sauce; it’s all about technique, which is why this is my favorite oven baked chicken recipes go-to. The absolute biggest mistake people make when cooking chicken breast is leaving that surface moisture on the meat. When you pat those breasts *bone dry* with paper towels first, the dry rub and oil actually get to interact with the protein instead of just steaming away. It creates a better crust, and that slight sear helps trap everything inside later.
Also, if you’re dealing with chicken breasts that look like little mountains—thick on one end and thin on the other—you’re setting yourself up for failure. They will never cook at the same rate! This recipe is way better when you take a minute to pound the thick spots down so everything is even. This care is what truly guarantees a juicy baked chicken breast.
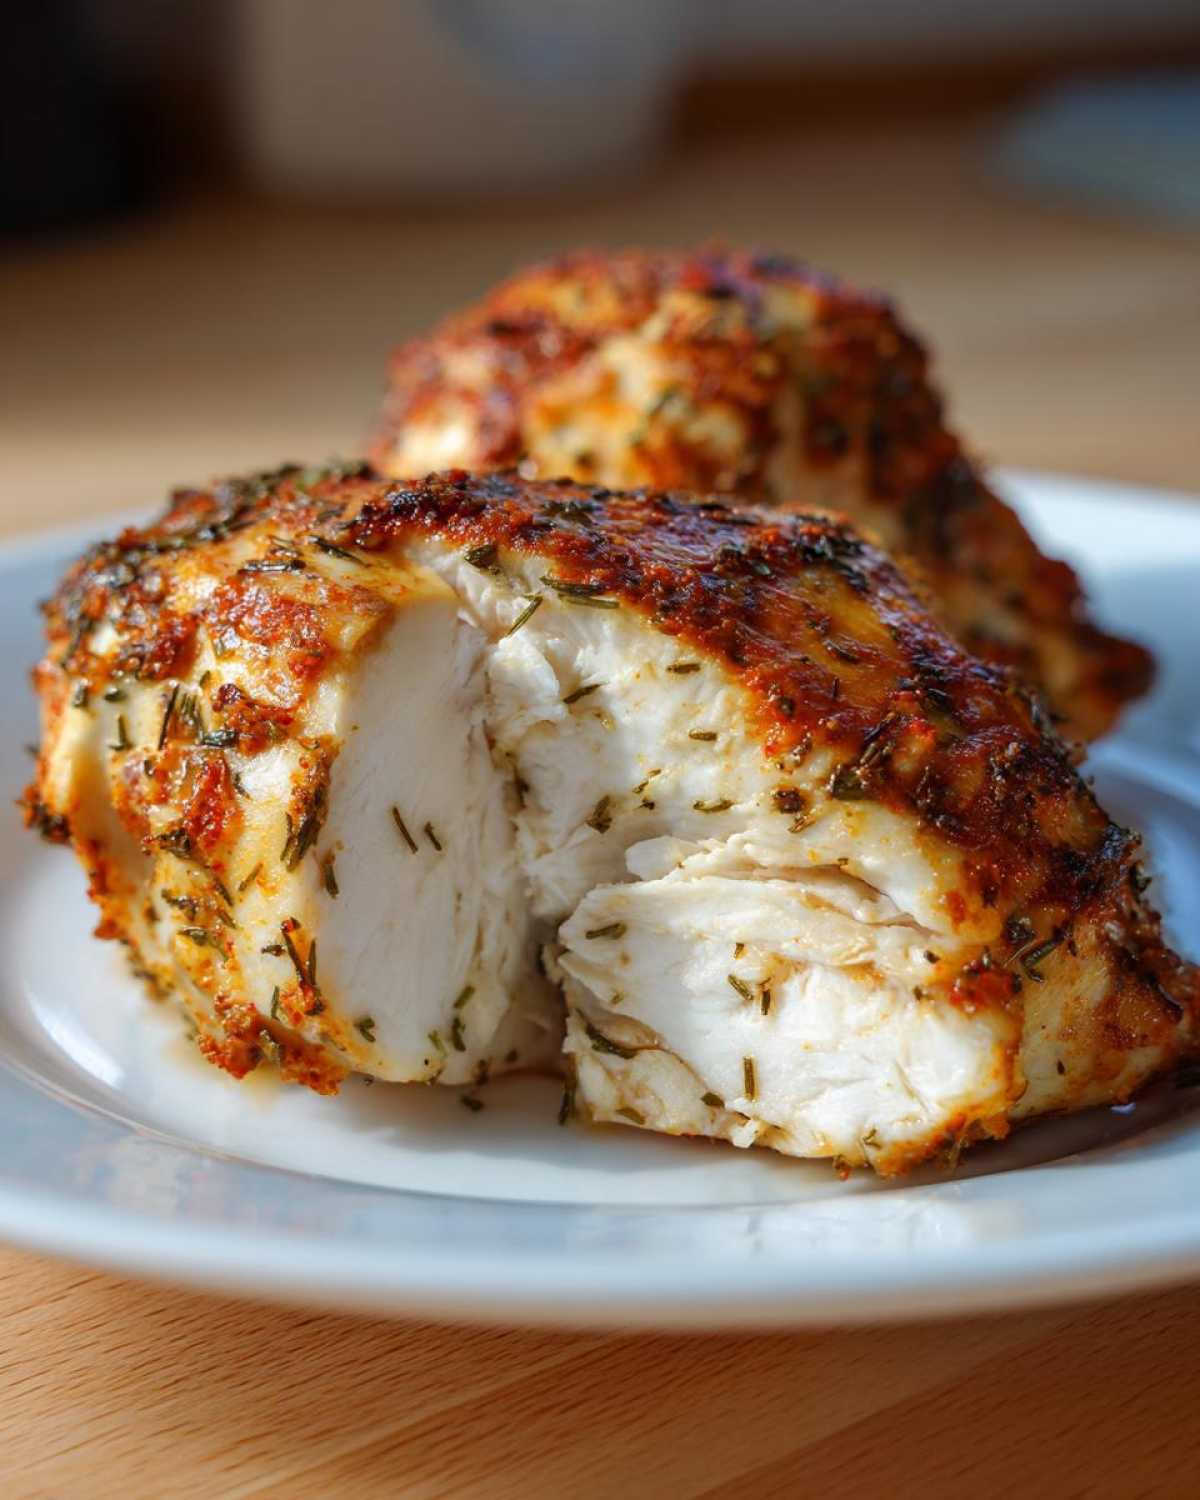
Don’t skip the resting stage, period. If you slice into that chicken the second it hits the counter, all those beautiful juices you worked so hard to keep inside will spill right out onto your cutting board. We’re aiming for chicken breast without drying out, and resting for 5 glorious minutes is non-negotiable for that goal!
Achieving Tender Chicken Breast Cooking Every Time
We are aiming squarely for 165 degrees Fahrenheit. Not 170, not 160. If you pull it out even a little early, that’s okay; the residual heat will carry it the rest of the way while it’s resting. If you cook past 165°F, I can’t promise much tender results, sadly! Resting is the real hero here. Those five minutes let the muscle fibers relax and reabsorb all that liquid, making for genuinely tender chicken breast cooking.
For the easiest time managing temps, you absolutely need a good instant-read thermometer. It’s the one tool that stops the guesswork!
Ingredients for the Best Chicken Breast Seasonings
This is my favorite part—the seasoning! Honestly, the base recipe for baked chicken breast is so simple that the quality of your spices really shines through. You don’t need fancy, exotic stuff; we’re sticking to the pantry workhorses here that make great flavor happen fast.
You will need:
- 4 boneless, skinless chicken breasts (about 6-8 oz each)
- 1 tablespoon olive oil
- 1 teaspoon salt
- 1 teaspoon black pepper
- 1 teaspoon garlic powder
- 1 teaspoon onion powder
- 1/2 teaspoon paprika (I prefer sweet paprika here, not the smoky kind, unless you want a deeper flavor!)
- 1/4 teaspoon dried thyme
My biggest expert tip here is about the salt: use good kosher salt, not fine table salt, if you can! Kosher salt helps create better texture on the outside of the meat. Also, measure your spices out *before* you start oiling up the chicken—it’s much cleaner that way!
Ingredient Notes and Substitutions for Your Baked Chicken Breast
Like I mentioned earlier, if your four chicken breasts are wildly different sizes, grab a meat mallet or even a heavy skillet and gently pound the thickest parts until they are looking roughly uniform. Even thickness equals reliably juicy meat, which is the foundation of this easy chicken breast recipe.
If you’re worried about dryness (which, let’s face it, is why we’re here!), go ahead and melt that extra tablespoon of butter and drizzle it over the top of the rubs before putting them in the oven. That bit of extra fat is fantastic insurance for keeping your baked chicken breast perfect. For a bit more zip, you could swap the thyme for half a teaspoon of dried oregano. Simple changes, big flavor impact!
Simple Steps for Perfect Oven Baked Chicken Breast Instructions
Now we get to the fun part—putting it all together! Since this is primarily an oven recipe, getting your environment right beforehand makes every step go smoother. First things first: Crank that oven up to 400 degrees Fahrenheit (200 Celsius) right now. Don’t wait! We need that heat ready to go when the chicken is.
Grab that casserole dish or baking sheet you are using and get it ready. I find that lining it with parchment paper makes cleanup basically nonexistent, which is a lifesaver on a busy weeknight. If you’re using a glass dish, a quick spritz of non-stick spray works fine too. Seriously, preparing the pan makes the whole process feel professional, which helps me stay on track when making an easy baked appetizer later!
Preparing the Simple Dry Rub Chicken Coating
Take that spice blend you put together earlier and sprinkle it generously all over your patted-dry chicken breasts. Make sure you’re massaging the oil in first—it acts like the glue that holds all that flavor on. Once the chicken is slicked with olive oil, dust it on all sides with your spice mix. Don’t be shy! You want a nice, vibrant coating because this is where all the flavor for your baked chicken breast is coming from. Press it in gently so it doesn’t just fall off when you transfer it to the dish.
Baking and Resting the Moist Chicken Breast Recipe
Place those coated beauties into the prepared dish. Make sure they aren’t crowded; they need a little space to breathe so they can roast instead of steam. Pop them into that hot 400-degree oven. Set a timer for 20 minutes, even if you think they might be done sooner! This is crucial for a moist chicken breast recipe; you don’t want to overcook even by a minute.
When that timer goes off, pull out your meat thermometer! You absolutely must check that thickest spot. When it hits 165°F, they are *done*. Immediately remove them from the hot pan and move them to a clean cutting board. Cover them loosely with foil—just a tent—and walk away for 5 to 10 minutes. I know it’s hard, but that resting time is what keeps these babies tender!
Tips for Success When Making Baked Chicken Breast
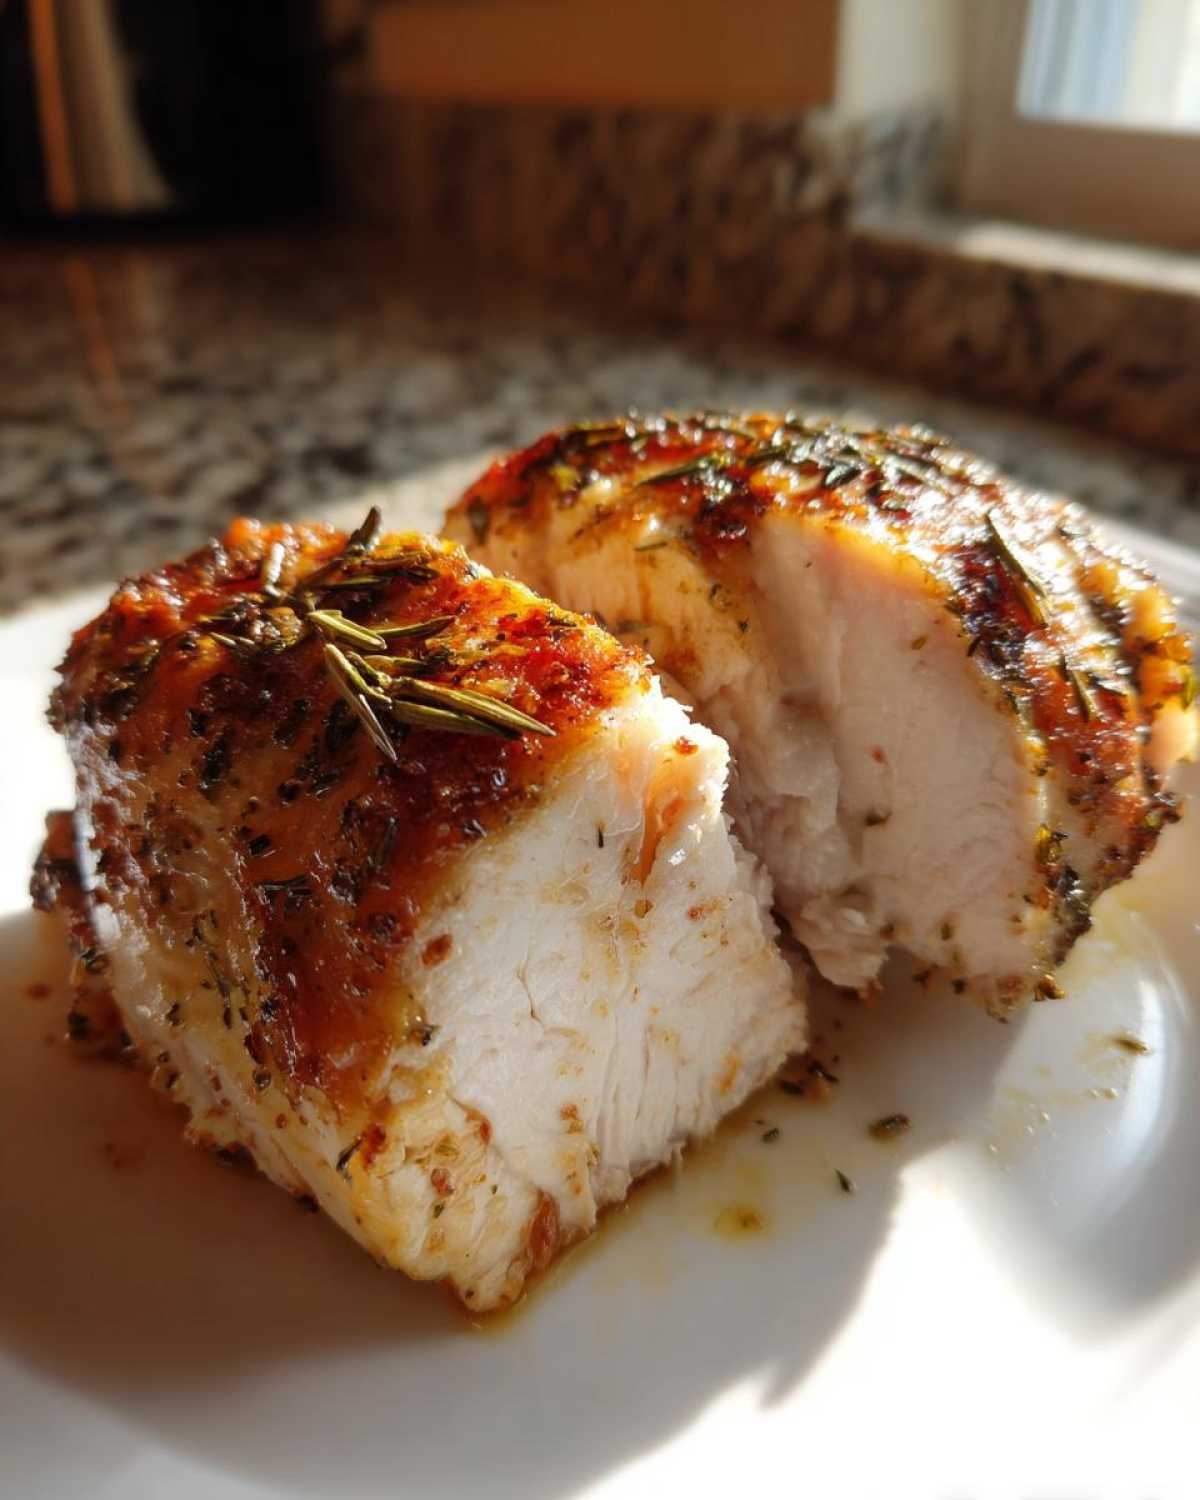
I wish I could shout this recipe from the rooftops because it truly turned chicken night into my favorite night! Making foolproof baked chicken is mostly about managing expectations and respecting the meat. If you follow the basics, you’ll be amazed at how quickly you can whip up a surprisingly flavorful and healthy meal.
Here are my top three non-negotiables if you want this to be the best quick chicken breast dinner you’ve ever made:
- The Pound Test is Your Best Friend: I’ve said it before, but I’ll say it again—if you skip the even-thickness step, you skip the juicy chicken step. If you have breasts that are 1 inch thick on one side and 2 inches on the other, you are guaranteed dry edges and raw centers. Take a minute! Place the chicken between plastic wrap or inside a large Ziploc bag and gently (or not so gently, depending on your mood!) use a rolling pin or heavy pan to flatten those thick crowns down to match the thinner end. It’s worth every second.
- Use the Thermometer, Seriously: Don’t rely on the packaging time estimates! Those times are just suggestions based on perfectly average chicken breasts, and mine are never average! Cooking time varies based on your oven’s calibration, how cold the chicken was when it went in, and how often you sneak a peek (don’t peek!). The thermometer tells the true story. Pull it out the second it hits 165°F.
- Seasoning Needs Contact: When you are rubbing that olive oil and seasoning on, make sure you don’t just sprinkle it over the top. You need to gently press that dry rub into the flesh on all sides. You want the surface of the meat almost saturated with seasoning, not just loosely coated. This is how you build a flavorful crust without sacrificing moisture underneath.
Stick to these three steps, and you’ll never have to worry about dry chicken again! If you’re looking for more hands-off baking ideas that still deliver on flavor, definitely check out my recipe for easy baked chicken cordon bleu—it bakes right alongside this one!
Variations: Flavoring Your Baked Chicken Breast
The beauty of using this basic, foolproof method for baked chicken breast is that the technique stays exactly the same, but you can swap out the dry rub for almost anything you want! It’s such a versatile base for a simple weeknight chicken dinner. If you get tired of the basic herbs, it takes literally two extra minutes to change the whole profile of the meal.
Don’t feel like you need to keep reinventing the wheel for toppings, either. Sometimes, a little bit of melted dairy fat added at the beginning makes all the difference without changing your entire seasoning blend. I love playing around with different additions, especially when I’m trying to use up small amounts of cheese or sauces I already have on hand. For even more cheesy, savory deliciousness that uses this same baking principle, take a peek at my garlic parmesan chicken bake—it’s decadent!
Creating a Garlic Butter Chicken Breast Variation
This is my favorite quick switch-up when I’m feeling lazy; you don’t even need to blend a new rub! Just skip the olive oil step in the initial instructions. Instead, melt about 2 tablespoons of unsalted butter per two chicken breasts. You can quickly stir half a teaspoon of minced fresh garlic (or garlic powder) and a pinch of dried parsley right into that melted butter.
Brush the seasoned-but-still-plain chicken breasts (the ones coated in salt, pepper, etc.) with that fragrant garlic butter right before they go into the oven, or even halfway through baking. That fat bastes the chicken as it cooks, creating a rich, beautiful color and keeping the meat incredibly juicy. It just feels luxurious without adding any real effort!
Serving Suggestions for Your Baked Chicken Breast Dinner
So you have this perfectly moist, tender, seasoned baked chicken breast. Fantastic! Now what goes with it? We want to keep the theme easy and fast because the whole point of this exercise was a quick chicken breast dinner, right? You don’t want to spend another hour wrestling with pots and pans.
Since this chicken is fantastic on its own, it pairs perfectly with things that are either super fast or can mostly cook themselves. My favorite combination for a truly complete and healthy meal is simple roasted green beans tossed with a splash of lemon juice. They take exactly the same time in the oven as the chicken does, which is perfect timing coordination!
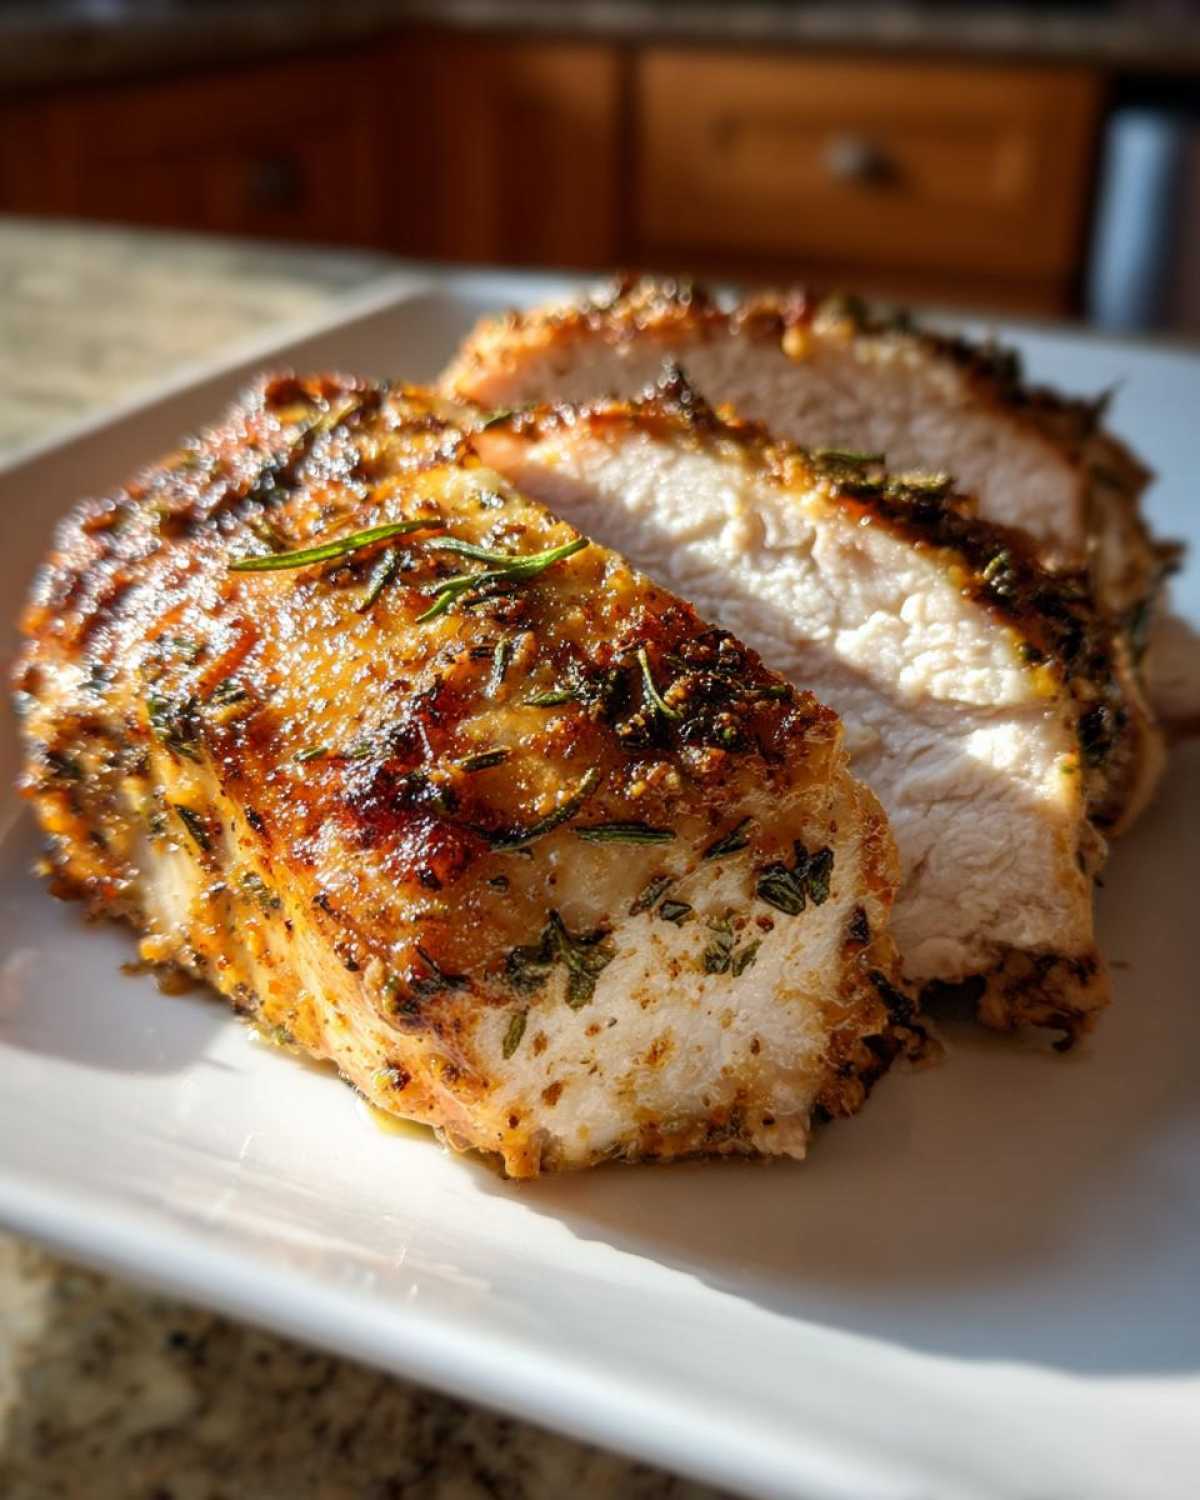
If you need something heartier besides a simple vegetable, I highly recommend grabbing some pre-cooked quinoa or quick-cooking minute rice; you just boil water and stir it in. For something a little richer when I have a few extra minutes, I love serving this over a bed of my creamy garlic mushroom pasta. It turns a basic weeknight meal into something that tastes like weekend fare without the cleanup hassle. It’s all about making that simple weeknight chicken dinner feel special!
Storage and Meal Prep Chicken Breast Instructions
This is actually where this recipe really shines for me, outside of just being delicious right out of the oven. Because we nailed the juiciness factor, this batch of chicken is absolutely perfect for meal prep chicken breast throughout the week. Cook once, eat three times—that’s my motto for busy weeks!
Once the chicken has fully cooled down after resting, you want to get it into storage quickly. The biggest enemy here is air exposure, which always makes things dry out faster. I always use the best airtight containers I can find. If you don’t have great containers, good quality freezer bags work too, just press as much air out as you can before sealing them up tight.
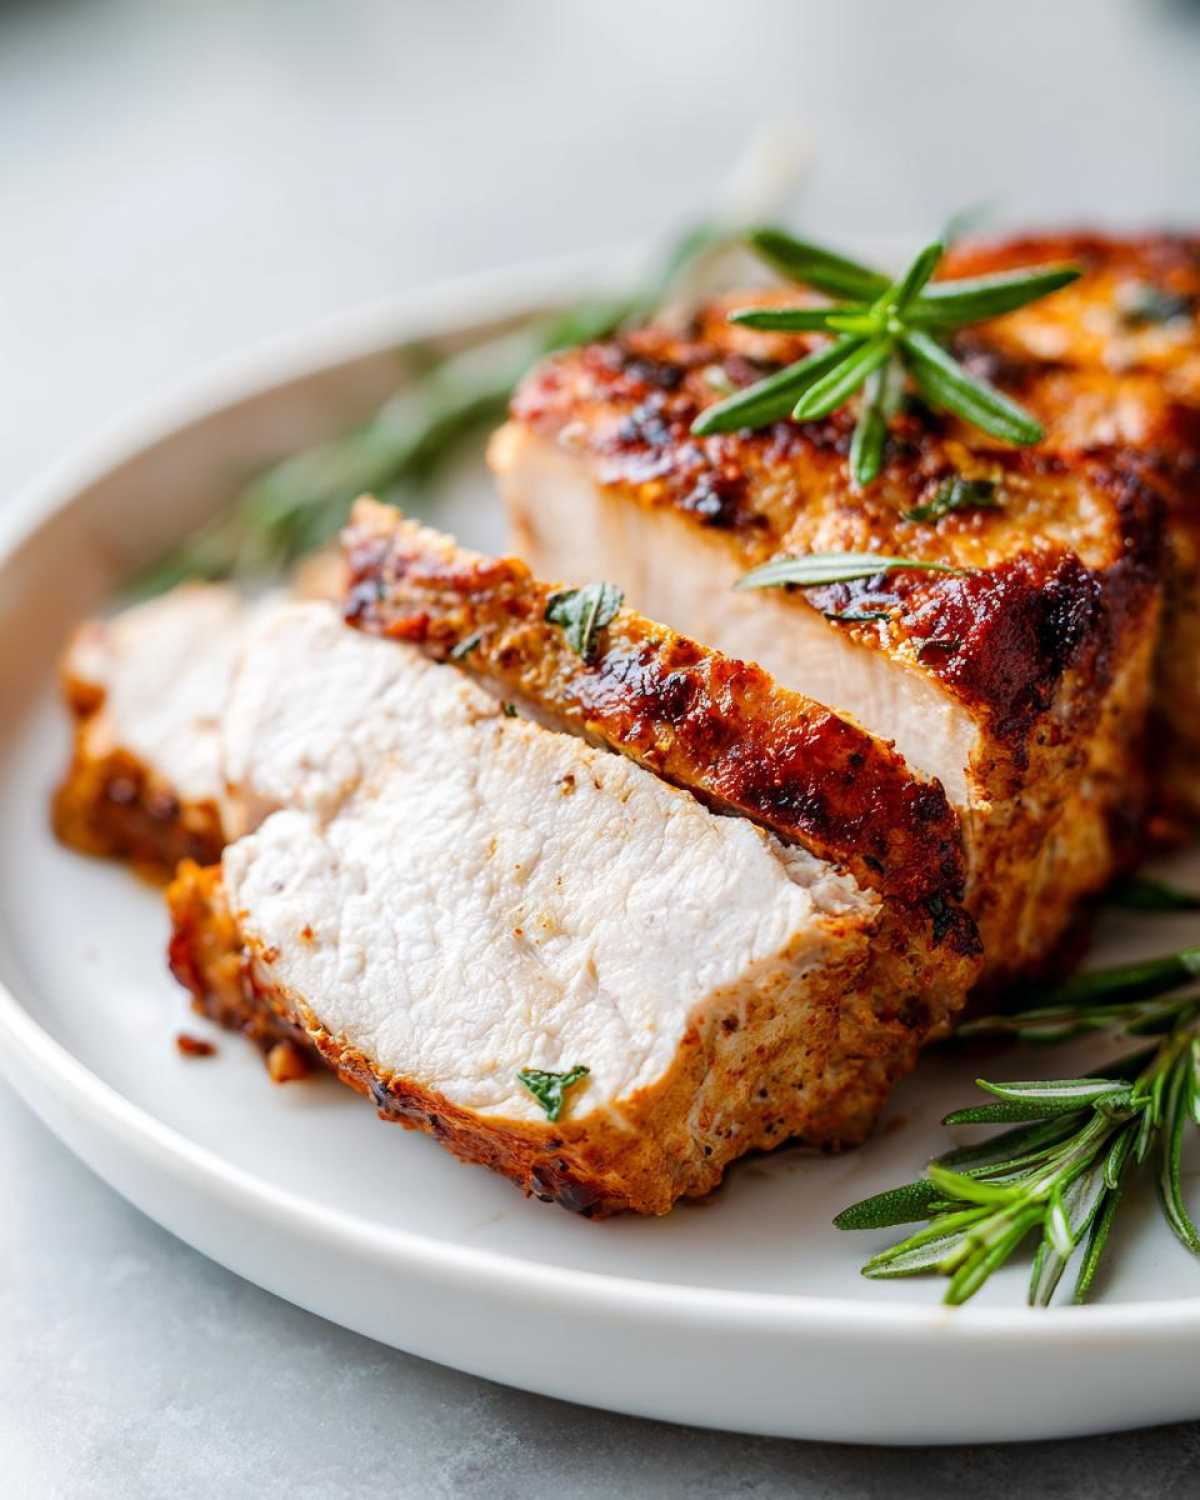
Stored properly in the fridge, this chicken will stay fantastic for about four days, which covers my lunch rotation perfectly. For more ideas on making big batches of protein for the week, check out my recipe for creamy tuna pasta salad—another meal prep favorite!
Now, reheating—this is key for keeping that moist texture we worked so hard for. You absolutely cannot just blast it in the microwave on high, or you’ll undo all that hard work! The best way to bring the flavor and moisture back is to reheat it gently. I usually put the chicken in a small, microwave-safe dish and add just a tablespoon of water or broth to the bottom before covering it tightly with a damp paper towel.
Microwave it on 50% power in 30-second increments until it’s heated through. That little bit of steam created by the damp towel and liquid keeps the chicken from turning into a hardened brick. If you slice it right before storing, it heats up even faster, which is awesome when you’re starving at lunchtime!
Frequently Asked Questions About Baked Chicken Breast
I know sometimes seeing all the tips and tricks can bring up more questions than answers! It’s totally normal. When you are trying to master a solid healthy baked chicken recipe, you just want reassurance that it’ll work for you tonight. I’ve gathered the questions I get asked most often when people try my foolproof baked chicken method for the first time.
If you ever have more specific questions about technique or substitution, feel free to drop me a line. I love hearing how you all are adapting these simple recipes for your own families. For more quick and easy protein ideas, check out my shredded chicken taco recipe!
Can I cook this easy chicken breast recipe from frozen?
You technically *can*, but I really, seriously don’t recommend it if you are worried about dryness! Cooking chicken from totally frozen means you have to significantly increase your cooking time to hit that safe internal temp, and during that extra time, the outside is going to seize up and dry out long before the middle is done. If you absolutely must, add about 50% more cooking time, and make sure you use a thermometer. For the best results overall for an easy chicken breast recipe, always thaw it first!
What internal temperature confirms my baked chicken breast is safe?
This is the most important question, and the answer is a firm 165 degrees Fahrenheit (74 degrees Celsius). That’s the safe zone set by food guidelines, and hitting that temperature in the thickest part of the breast means it’s fully cooked. Remember what I always say: pull it out right at 165°F, take it out of the oven, and let it rest. It will rise just a degree or two during that resting time, giving you perfect results!
Estimated Nutritional Data for This Healthy Baked Chicken
Okay, this is the part where I have to put on my very serious chef hat for just a second, because let’s talk numbers! Since this is a straightforward healthy baked chicken made with simple ingredients like olive oil and lean poultry, the nutrition profile is fantastic for keeping things light. But here’s the big disclaimer: these numbers are just my best estimate based on the ingredients I listed, and they can absolutely change depending on the size of your actual chicken breasts or if you add extra butter like I sometimes do!
When I calculate this recipe for four average 6- to 8-ounce breasts using the dry rub listed, here is what we are generally looking at:
- Serving Size: 1 breast
- Calories: Around 220
- Fat: About 6 grams (most of that is healthy unsaturated fat from the olive oil!)
- Carbohydrates: Barely 1 gram (We’re keeping it keto-friendly, folks!)
- Protein: A whopping 40 grams!
See? It’s lean, it’s packed with protein, and it’s easy to fit into almost any healthy eating plan. It’s great for meal prep chicken breast because it keeps you full without weighing you down. Just know that these figures don’t account for any extra toppings or side dishes you’re adding, like that creamy pasta I mentioned earlier!
Share Your Juicy Baked Chicken Breast Results
Well, that’s it! You now have the keys to permanently solving the dry chicken breast problem in your kitchen forever. I’m so thrilled that you’re going to try this juicy baked chicken breast method. I really want to hear how it went for you!
Did you beat 165°F perfectly? Did you find the resting period as hard as I do (because waiting after you smell it cooking is torture!)? Don’t keep these successes to yourself! Please take a moment to leave a comment down below. Tell everyone if this truly delivered on the “foolproof” promise for you.
If you snapped a picture of your beautifully seasoned, tender chicken before you devoured it, tag me on social media! Seeing your results—especially hearing that you finally achieved that perfect, moist interior—is honestly what keeps me excited about sharing these simple, tried-and-true family techniques. If you have any quick questions after trying it out, you can always reach out through my contact page, too. Happy cooking, friend!
PrintFoolproof Juicy Oven Baked Chicken Breast
This recipe provides simple steps to bake chicken breasts in the oven, resulting in moist and tender meat every time.
- Prep Time: 5 min
- Cook Time: 25 min
- Total Time: 30 min
- Yield: 4 servings
- Category: Dinner
- Method: Baking
- Cuisine: American
- Diet: Low Fat
Ingredients
- 4 boneless, skinless chicken breasts (about 6-8 oz each)
- 1 tablespoon olive oil
- 1 teaspoon salt
- 1 teaspoon black pepper
- 1 teaspoon garlic powder
- 1 teaspoon onion powder
- 1/2 teaspoon paprika
- 1/4 teaspoon dried thyme
Instructions
- Preheat your oven to 400 degrees Fahrenheit (200 degrees Celsius). Lightly grease a baking dish or line it with parchment paper.
- Pat the chicken breasts completely dry using paper towels. This helps the seasoning adhere and promotes better searing.
- In a small bowl, mix together the salt, pepper, garlic powder, onion powder, paprika, and thyme to create the dry rub.
- Rub the olive oil evenly over all sides of the chicken breasts.
- Sprinkle the dry rub mixture over the chicken, pressing gently to coat all surfaces.
- Place the seasoned chicken breasts in the prepared baking dish, ensuring they are not touching.
- Bake for 20 to 25 minutes. The exact time depends on the thickness of the chicken.
- Use a meat thermometer to check the internal temperature. The chicken is done when it reaches 165 degrees Fahrenheit (74 degrees Celsius) in the thickest part.
- Remove the chicken from the oven and let it rest on a cutting board for 5 to 10 minutes before slicing or serving. This resting period keeps the juices inside the meat.
Notes
- For extra moisture, you can add 1 tablespoon of melted butter over each breast right before baking.
- If your chicken breasts are very thick (over 1.5 inches), pound them to an even thickness before seasoning.
- For meal prepping, slice the cooled chicken and store it in airtight containers for up to four days.
Nutrition
- Serving Size: 1 breast
- Calories: 220
- Sugar: 1
- Sodium: 450
- Fat: 6
- Saturated Fat: 1
- Unsaturated Fat: 5
- Trans Fat: 0
- Carbohydrates: 1
- Fiber: 0
- Protein: 40
- Cholesterol: 110
