

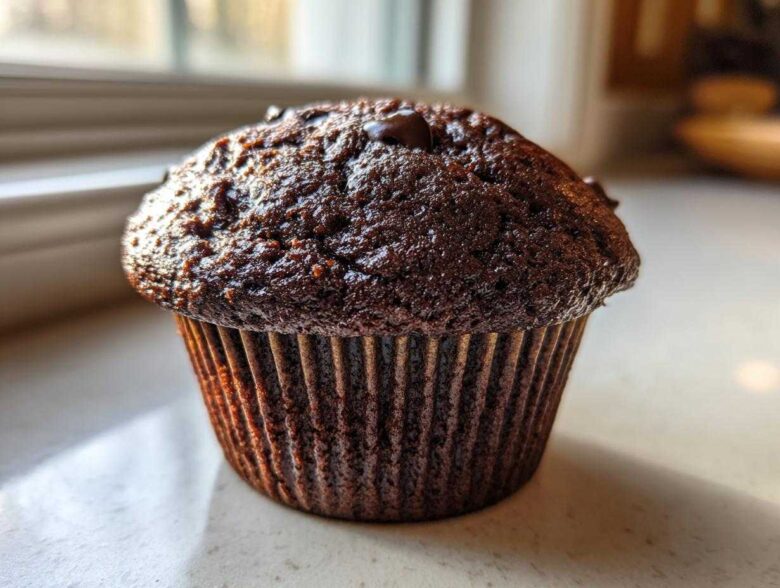
You know that deep, unstoppable craving? The one where only the darkest, fudgiest, most intensely chocolatey thing will do? That’s why I’m letting you in on my absolute favorite secret: the Ultimate Moist Double Chocolate Muffins recipe. Seriously, I have spent years tweaking proportions—testing oil versus butter, flour versus cocoa powder—to finally land on this one. It’s my go-to because it’s practically foolproof; we’re talking a quick, one-bowl method that messes up the counter less than tearing open a bag of store-bought ones.
These aren’t your dry, crumbly breakfast failures. These chocolate muffins come out unbelievably moist, loaded with chips, and ready in under 30 minutes. If you’ve been looking for that perfect, rich version you usually only find at the fancy bakery, stop searching. This is it, friends. I promise, after you try this, you won’t need another recipe! You can always find more of my favorite baking adventures over at my main blog page if you need a break from chocolate!
Why This is the Best Chocolate Muffins Recipe for You
Listen, I know you’ve tried recipes that promise the world and deliver dry disappointment. Not here! This batch of chocolate muffins is designed to solve every single one of those problems. I wanted something rich enough for dessert but fast enough for a Tuesday breakfast, and wow, did we nail it.
- They are ridiculously moist—no one will ever guess the secret ingredient combo that keeps them tender for days.
- That dark, deep chocolate flavor comes from using both cocoa powder *and* chips. Talk about chocolate overload! I love seeing these beauties on my site for fellow chocolate lovers.
- You only dirty one bowl! Prep time is a lightning-fast 10 minutes. Seriously, you can mix these up while the coffee is brewing.
- They multitask beautifully! They work perfectly as a grab-and-go breakfast or dressed up slightly for a decadent dessert.
Achieving Ultimate Moist Chocolate Muffins
The reason we get that amazing texture relies heavily on two things: the 1/2 cup of plain yogurt in the wet mix and the use of vegetable oil instead of butter. That yogurt adds a little necessary acid and moisture that keeps the crumb tender. Trust me, they feel rich without being heavy.
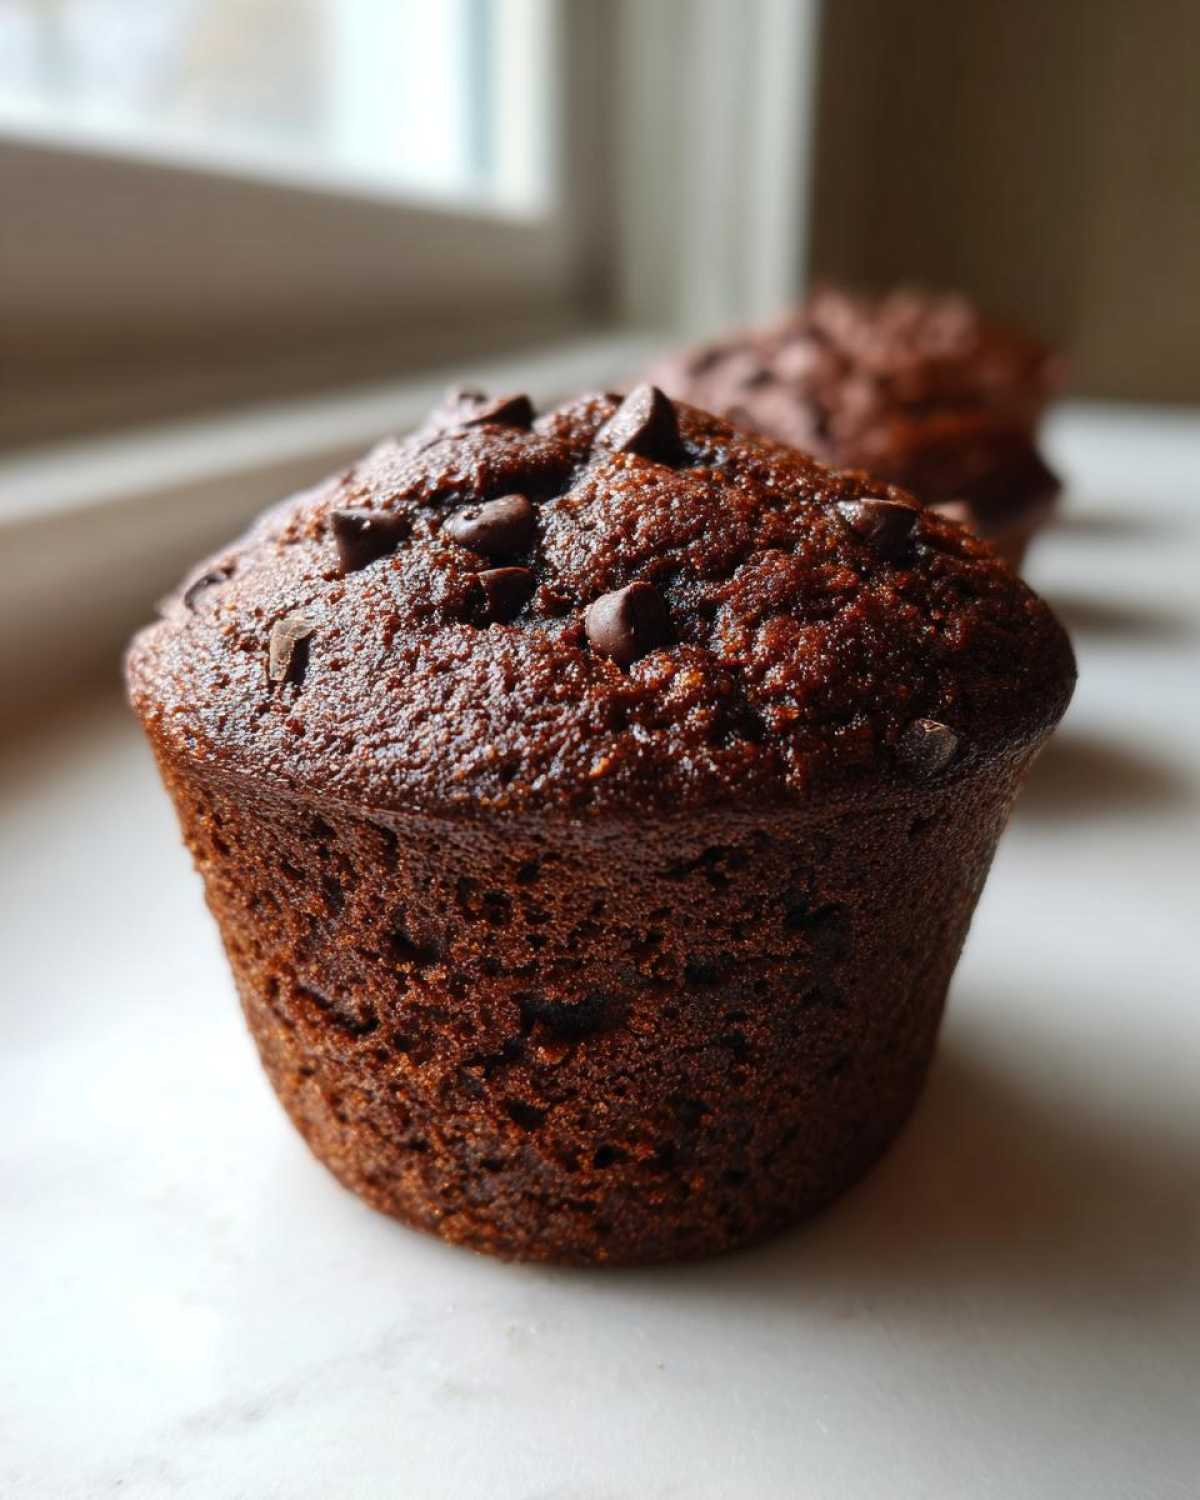
Quick One Bowl Chocolate Muffins Preparation
This is the part I love the most! We mix everything in one large bowl. I mean it—wet into dry, stir gently—done. Because the prep is so short (just 10 minutes!), these truly are your new go-to for last-minute baking cravings or when you just can’t be bothered with extra dishes.
Ingredients for Your Ultimate Moist Double Chocolate Muffins
Okay, let’s look at what you need for these amazing moist chocolate muffins. You probably have most of this stuff lingering in your pantry right now! I like to keep my ingredients simple because the chocolate does all the heavy lifting here. We’re focusing on quality where it counts—especially that cocoa powder. If you can grab a Dutch-processed one, go for it; the color and depth of flavor it brings to these homemade chocolate muffins is incredible.
You’ll want to have everything measured out before you start mixing, since this recipe moves along so fast. Don’t forget we need those bittersweet chocolate chips for that ‘double’ part of the name! Check out my guide on other great ways to pack moisture into your bakes if you’re interested!
- 1 3/4 cups all-purpose flour
- 3/4 cup granulated sugar
- 1/2 cup packed brown sugar (That molasses note is crucial!)
- 3/4 cup unsweetened cocoa powder (Don’t skimp here!)
- 1 1/2 teaspoons baking soda
- 1 teaspoon baking powder
- 1/2 teaspoon salt
- 1 cup milk (I use whole milk, but whatever works in a pinch!)
- 1/2 cup plain yogurt or sour cream (Our moisture secret weapon!)
- 1/2 cup vegetable oil
- 2 large eggs, room temperature is best
- 1 teaspoon vanilla extract
- 1 cup semi-sweet chocolate chips or chunks (The more the merrier, honestly.)
Step-by-Step Instructions for Perfect Chocolate Muffins
We’re moving fast now! Since these are easy chocolate muffins, the timeline is super quick once you start combining things. First things first, get that oven working for us! Preheat your oven right up to 400°F (200°C). While it heats up, line your 12-cup muffin tin with those cute little paper liners, or just give it a good grease if you skip the liners. Trust me, anything involving chocolate batter needs a clean getaway!
The magic happens when we mix the wet and dry stuff separately before introducing them. Remember, we want fluffy, not dense hockey pucks, so go check out my guide on other easy treats while it preheats!
Mixing the Dry and Wet Components for Rich Cocoa Muffins
In your one big bowl, whisk together all the dry stuff: the flour, both sugars, the cocoa powder—make sure those cocoa clumps disappear—the baking soda, baking powder, and salt. Give it a good whisking so everything is evenly distributed. In a separate bowl, whisk up your milk, yogurt, oil, eggs, and vanilla until it looks like one happy, creamy liquid.
Now, the moment of truth! Pour the wet ingredients right into the dry bowl. Grab a spatula—not the electric mixer! We mix until *just* combined. I mean it, stop stirring the second you don’t see giant streaks of white flour anymore. A few little lumps are totally fine and even encouraged; overmixing is the enemy of a light, tender muffin.
Finally, gently fold in those glorious chocolate chips or chunks. Be gentle, we don’t want to deflate all that air we just worked to incorporate!
Baking and Cooling Your Homemade Chocolate Muffins
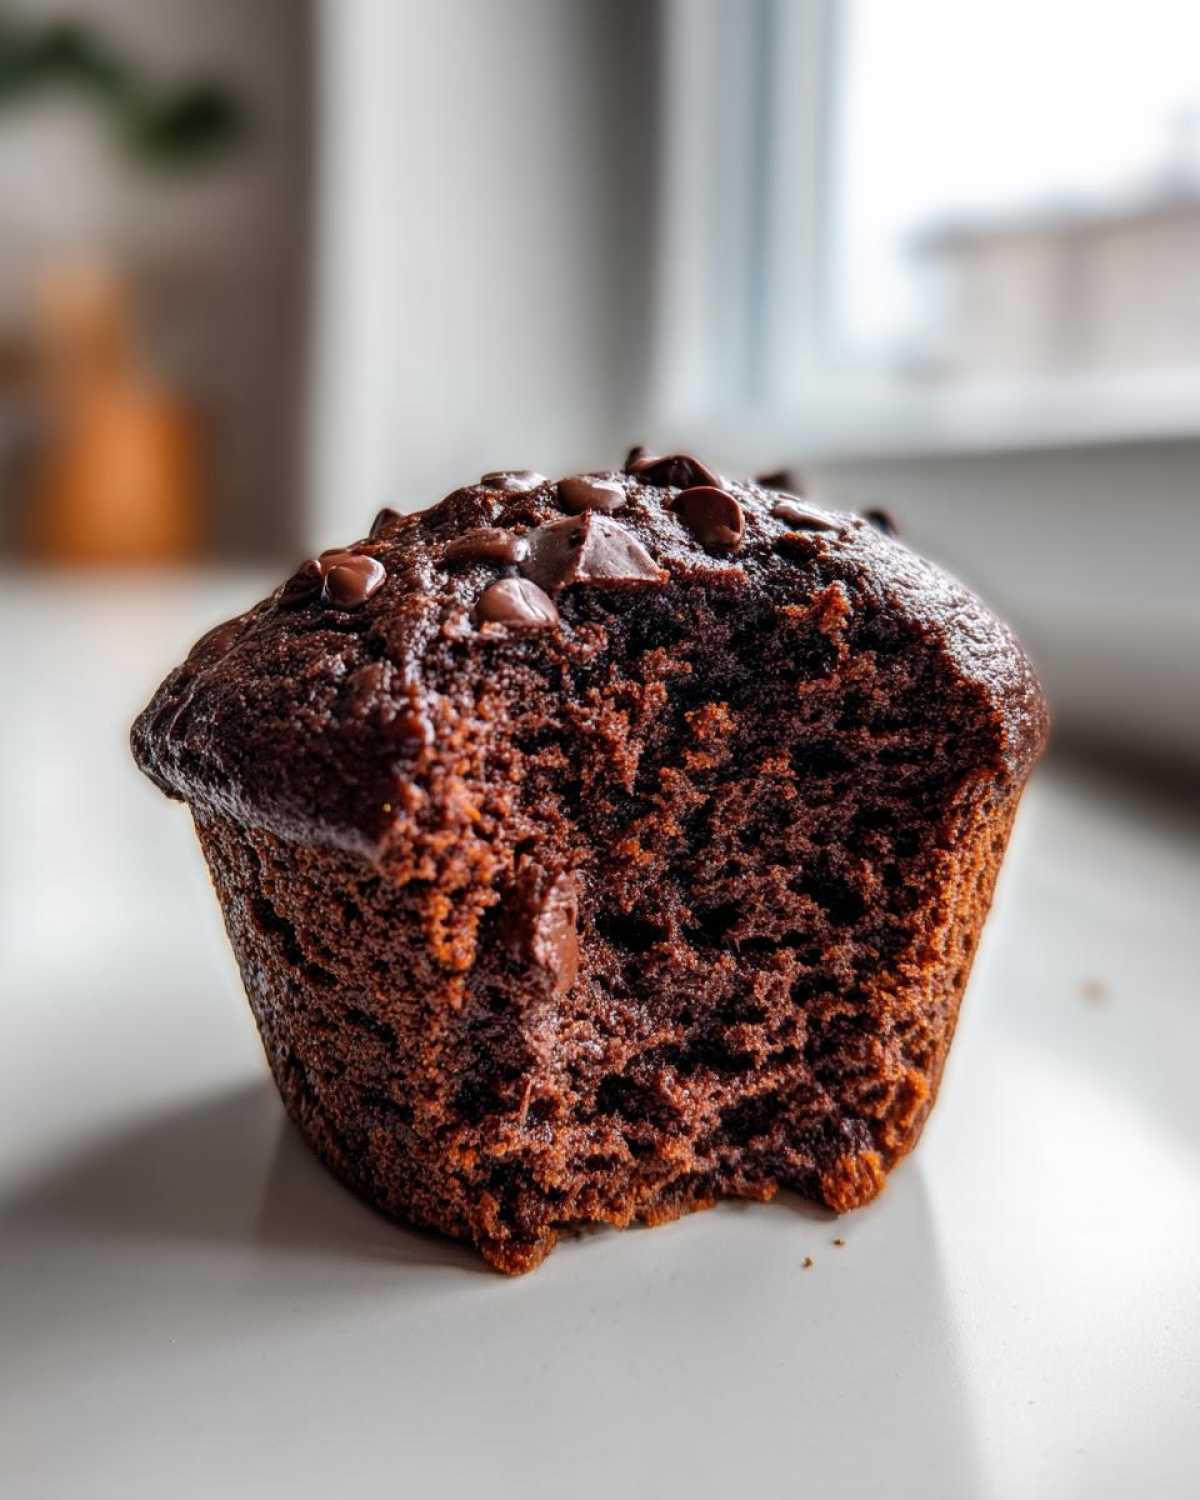
Divide that beautiful batter evenly into your 12 cups. They should be about two-thirds full. Pop them into that hot 400°F oven for the first five minutes—this blast of heat is what starts setting those beautiful, tall tops. Then, immediately drop the temperature down to 375°F (190°C) and bake for another 13 to 15 minutes. That temperature drop prevents the outside from burning while the inside finishes cooking.
Start checking them around the 18-minute mark total. Use the toothpick test: when inserted near the center, you want moist crumbs clinging to it, not wet batter! Once pulled out, make sure they rest in that hot pan for exactly 5 minutes. This lets them firm up just enough so they won’t crumble when you move them to a wire rack to cool fully. Don’t skip the cooling part, or they’ll get soggy on the bottom!
Expert Tips for Bakery Style Chocolate Muffins
Now that you have the base recipe for these incredibly moist chocolate muffins, I want to share a few tricks I learned the hard way. Baking is forgiving, but when you want that professional, bakery-style look and texture, a few tweaks make all the difference. Think of this as leveling up your simple baking game!
I remember one batch early on where I thought, “I’ll just use melted butter instead of oil,” figuring it would add richness. Well, it made them fudgier, yes, but they sunk slightly in the middle! That’s why I list the oil as the primary ingredient for fluffiness, but I’ll tell you how to get that fudgy texture right here instead.
If you absolutely prefer a denser, fudgier finish, go ahead and swap that vegetable oil out for melted butter. This definitely amps up that rich chocolate flavor, making them closer to those famous best chocolate muffin recipe versions you see online.
The biggest game-changer, though, is how you handle the temperature. Remember how I told you to preheat to 400°F? Don’t skip that initial blast! That surge of heat hits the batter and forces it to rise straight up really fast—that’s how you get those gorgeous, high, domed tops that look so professional. Here’s how I do it:
- Bake your muffins at that initial high heat of 400°F for the first 5 minutes. This sets the structure quick.
- Then, without opening the oven door if you can help it, reduce the temperature down to 375°F (190°C) and keep baking for the remaining 13 to 15 minutes until they are done.
This dual-temperature trick makes all the difference between a flat-top and a beautiful, crackly, bakery-style dome on your homemade chocolate muffins. It really separates the good from the great!
Variations: Making Fudgy Brownie Muffins or Other Chocolate Muffins
Okay, so I’ve given you the key to the ultimate moist, fluffy treat, but what if you woke up craving something heavier? Something that tastes exactly like the middle of a perfectly baked brownie? We can absolutely pivot these chocolate muffins into something wonderfully decadent!
These same base ingredients are fantastic for building upon. If you want that super dense, almost underbaked center feel of a brownie, you need to play with the fats and chocolate load. I’ve tweaked this recipe specifically for those who love that really intense, deep chocolate fix. If you are craving cookies that feel like this, check out my fudgy chocolate crinkle cookies too!
To turn these into fudgy brownie muffins, you have two main options, and I like to combine them:
- Swap the Fat: Definitely switch the vegetable oil out for an equal amount of melted butter, as we discussed earlier. Butter really deepens that rich, almost dark chocolate taste.
- Boost the Chocolate: Instead of just folding in 1 cup of chips, use about 3/4 cup of chips *and* fold in 1/4 cup of chocolate chunks *or* even 1/4 cup of finely chopped dark chocolate bar. The more solid chocolate pieces you have, the fudgier it gets when they melt. Some people even like to slightly cut back the milk by a tablespoon or so to increase the density!
Another super popular variation that I use when I’m making these for a slow Sunday brunch is adding coffee. Don’t panic—your muffins won’t taste like coffee! Adding about 2 teaspoons of instant espresso powder right into the dry ingredients is one of the best secrets for intensifying cocoa flavor. It just boosts the depth of the cocoa powder, making them taste richer, almost like a fancy dark chocolate bar. These become the ultimate chocolate lovers muffins!
Try experimenting! You can toss in some chopped walnuts for texture, or even a teaspoon of cinnamon if you like things spicy. But remember, when you start adjusting too much liquid, keep an eye on that baking time, because the structure will change slightly.
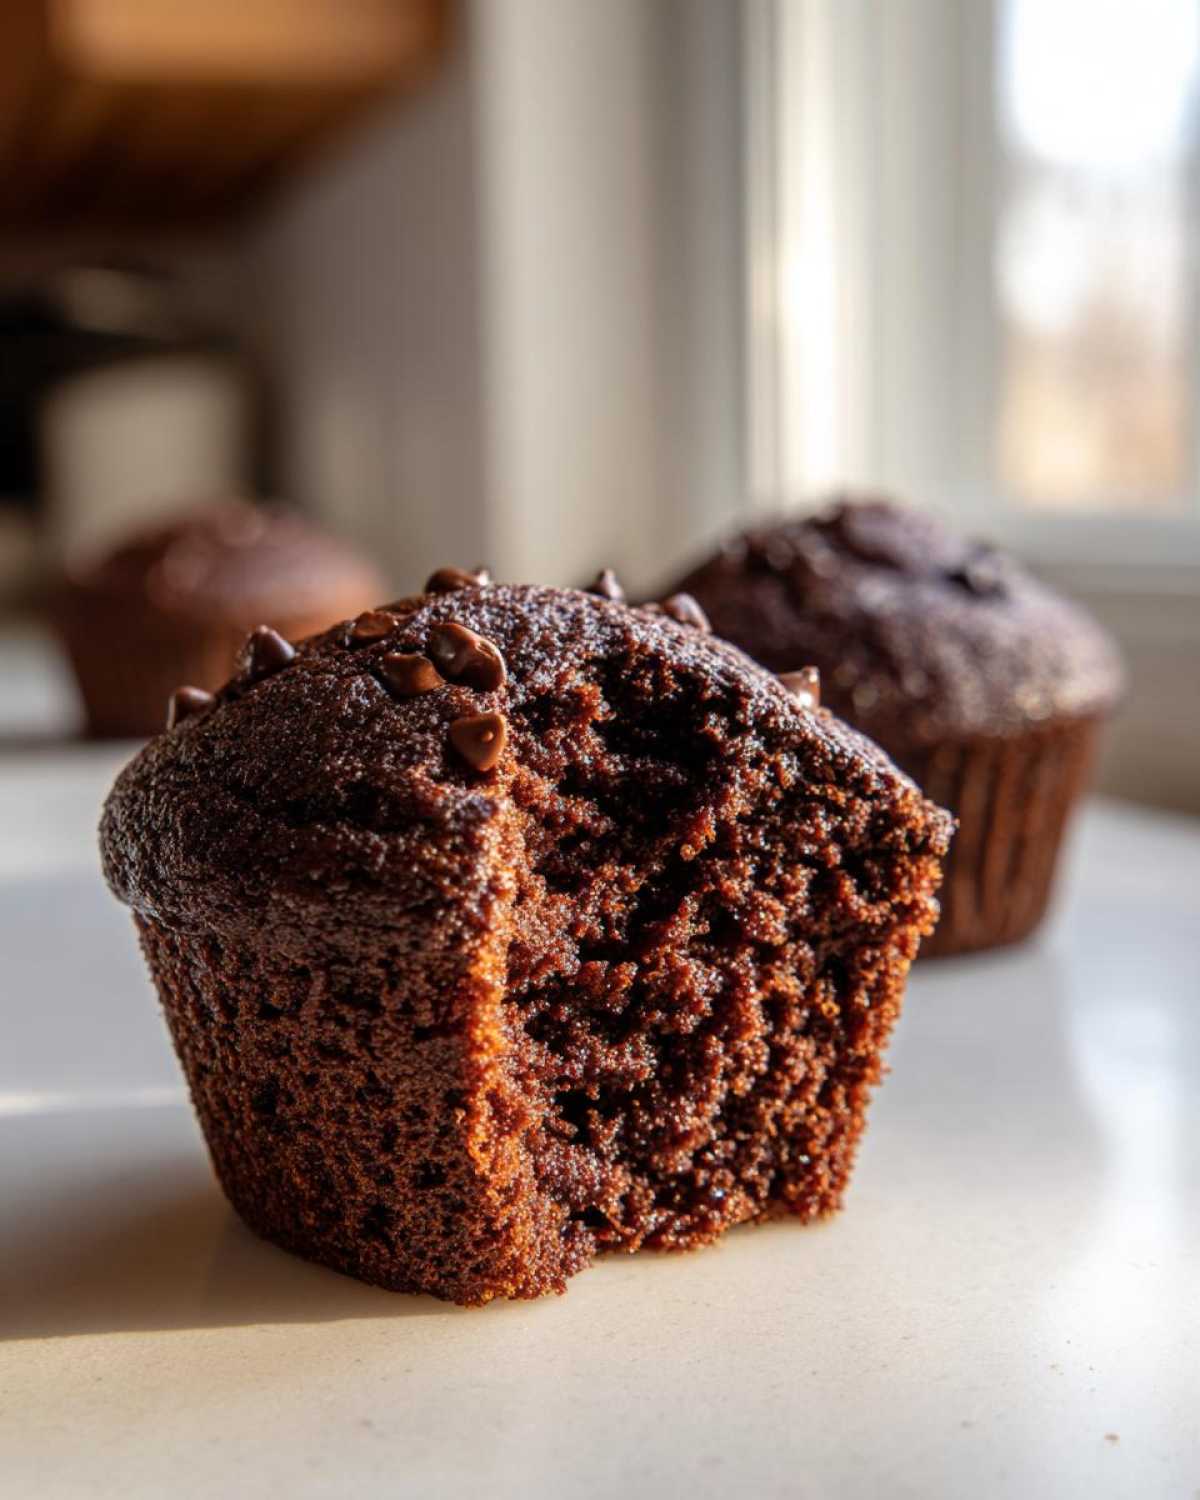
Storage and Make Ahead Chocolate Muffins Instructions
Now, if you’re like me, you probably baked a double batch because why wouldn’t you? These chocolate muffins are almost impossible to stop eating when they are fresh, but we need a plan for leftovers—if there are any, that is! The good news is that since these are so fantastically moist thanks to that yogurt, they actually hold up really well.
If you want to enjoy a few right away, just leave them on the counter in an airtight container. At room temperature, they stay perfectly delicious for about two full days. Don’t put them in the fridge, though! I’ve learned the hard way that the fridge dries out baked goods faster than anything else. If you need them to last longer than that, freezing is absolutely the way to go for your make ahead chocolate muffins.
This recipe links beautifully to my guide on making muffins ahead of time, which walks through the best preservation methods.
Here’s my quick guide to freezing for later:
- Make sure the muffins are completely cool—I mean rock solid cool—before wrapping them. Warm muffins create condensation, which turns into ice crystals, and nobody wants an icy chocolate muffin!
- Wrap each muffin tightly first in plastic wrap, and then toss them all into a large, heavy-duty freezer bag. Squeeze out as much air as you can.
- They keep beautifully like this for up to three months. They truly taste like they were just baked!
When it’s time to eat one (or three!), don’t use the microwave first, because that can turn the edges tough. Here is my trick to waking up that moisture:
- Take the frozen muffin and pop it straight into your toaster oven set to about 300°F (150°C) or your regular oven set to 325°F.
- Give it about 5 to 8 minutes. This gentle warming thaws them perfectly and heats those chocolate chips just enough so they get gooey again without overcooking the cake part.
If you are desperate and need one *right now*, you can microwave it for about 15 seconds, but keep a damp paper towel draped over it. That towel helps trap a little steam back into your easy chocolate muffins, keeping them soft!
Serving Suggestions for These Simple Chocolate Baking Treats
Seriously, once these chocolate muffins are cool enough to handle, the real fun begins: how are you going to eat them? That’s the beauty of having a recipe that hits that sweet spot between breakfast and dessert. You can dress them up or keep them totally simple, and they perform perfectly either way. I’ve got a couple of ways I serve these up depending on the time of day!
For the early morning rush, these make the absolute best chocolate breakfast treats. Forget those cardboard-tasting granola bars; pair one of these rich muffins with a strong cup of black coffee or a tall glass of cold milk. Since they are already packed with so much chocolate, they don’t need any extra fuss. Sometimes, if I’m feeling really lazy, I just make sure I’ve made a fresh pot of coffee—you can check out my favorites over at my coffee post—and grab a muffin right out of the container.
If you are serving these as a true dessert or a special afternoon snack, you know I have a few extra flourishes I love to add. While these muffins are moist enough to stand alone, a little something extra just feels special, right?
- The Simple Dusting: My favorite presentation is the easiest. Once they are completely cool, just dust the tops lightly with powdered sugar. It looks elegant and contrasts so nicely with the dark crumb.
- Chocolate Drizzle: If you happen to have a little leftover melted chocolate from another project (or if you made the fudgier variation!), drizzle a crisscross pattern over the tops right before serving. It makes them look like professional bakery items!
- Warm and Buttery: If you plan to eat them immediately, cut a still-warm muffin in half and spread a tiny bit of softened butter on the inside. The heat melts the butter immediately, and the dark chocolate chips become gloriously gooey. It’s amazing against a glass of cold milk as an afternoon snack.
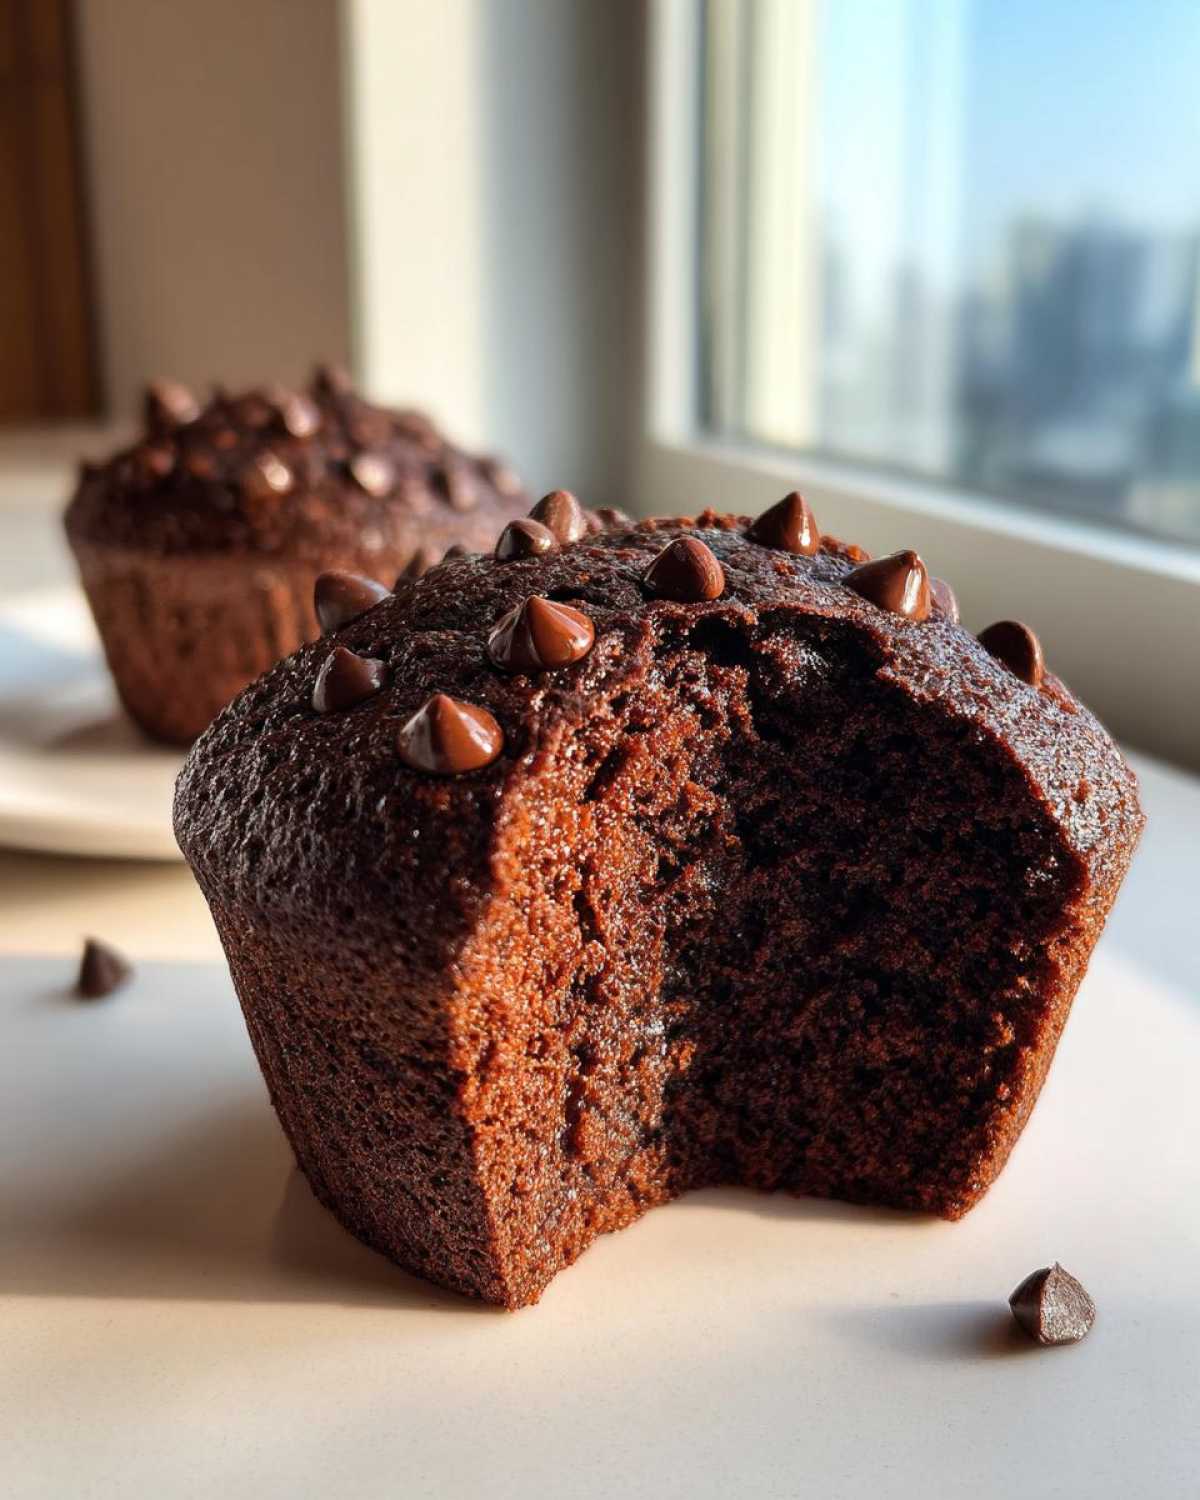
Honestly, you can’t go wrong with these basic chocolate muffin recipe heroes. They are truly versatile, and as long as you have that rich, dark chocolate flavor coming through, you’ve succeeded!
Frequently Asked Questions About Making Chocolate Muffins
Of course, when you dive into a new recipe, especially one as important as the perfect batch of chocolate muffins, questions always pop up! I tried to make this recipe as clear as possible, but baking is weird, and sometimes you just need that one extra pointer. I gathered the questions I get most often from readers who are trying this for the first time!
I love that people are asking about substitutions and techniques—it means you’re really getting into the swing of simple chocolate baking. If you’re wondering about dietary needs, you can always check out my notes on vegetarian chocolate muffins for some general ideas, too!
Can I substitute the oil in this recipe for a healthier fat?
Oh, that’s a great question that comes up constantly! You absolutely *can* swap the vegetable oil, but you have to understand what the oil is doing. Oil coats the flour proteins really efficiently, which is the secret to that light, fluffy texture in these fluffy chocolate muffins. If you swap it for something like applesauce or a liquid sweetener, you are introducing more water, which can make the muffins feel denser or almost gummy.
If you want a solid swap that keeps things healthier, try using an equal amount of melted coconut oil or even cooled, melted butter (like we discussed for the fudgy version). If you use applesauce, I would suggest reducing your milk by about 2 tablespoons just to keep the wet-to-dry ratio balanced. They’ll still be good, but they won’t have that same signature tenderness as the oil version.
What is the best way to get tall, bakery-style chocolate muffins?
This is my absolute favorite trick in the book for making these look professionally made! It’s all about shocking the batter into a huge rise right at the beginning. We covered it in the tips section, but I’ll repeat it here because it’s that important for those high domes on your chocolate muffins.
You must preheat your oven to 400°F (200°C). Line those muffin cups and get the batter in them. Then, bake them at that really high temperature for the first 5 minutes. That intense heat causes the leavening agents (the baking soda and powder) to react super fast, forcing the batter upward before the structure sets. Then, right away after 5 minutes, reduce the heat to 375°F (190°C) for the remaining bake time. This prevents the outside from burning while the inside finishes cooking gently. It’s science, baby, and it makes for amazing bakery style chocolate muffins!
Can I make these vegan?
While this specific recipe relies on eggs and dairy (yogurt/milk) for its structure, you can certainly adapt it! For the eggs, you’d typically need two replacements, like two flax eggs or commercial egg replacers. For the milk and yogurt, you can substitute them easily with any plant-based milk (oat or soy work great) and use a nice thick unsweetened coconut yogurt or soy yogurt. Keep the oil as the fat, as it’s already vegan! If you search around my site, I have a whole post dedicated to vegetarian chocolate muffins that might give you more ideas if you need to dive deeper into substitutions for all ingredients!
Nutritional Estimate for One Bowl Chocolate Muffins
Alright, my friends, now we talk numbers—because sometimes you just need to know what you’re diving into with these amazing, decadent chocolate muffins! Because we are using real butter in some variations and whole milk, keep in mind that everything here is just an estimate. Once you start swapping out, say, the oil for applesauce, or using low-fat milk, those numbers are going to shift a bit, so use this as a general guide for the basic chocolate muffin recipe!
This information is based on one full muffin serving using the exact ingredients listed in the main recipe card. For more details or specific adjustments, it’s always worth running a calculation, but this should give you a good idea of the rich, energy-packed treat you’ve created. If you’re looking for lighter options in general, hop over to see some of my other simpler baking ideas!
Here is the general nutritional breakdown per muffin:
- Serving Size: 1 muffin
- Calories: 320
- Sugar: 28g
- Fat: 17g (Keep an eye on that saturated fat depending on your chips!)
- Carbohydrates: 39g
- Protein: 5g
- Sodium: 250mg
- Cholesterol: 45mg
Honestly, for something this satisfying and chocolatey, those numbers aren’t too bad, especially when you consider they pack five grams of protein! Enjoy every last crumb!
PrintUltimate Moist Double Chocolate Muffins
Make rich, moist, and fluffy double chocolate muffins using a simple one-bowl method. These are perfect for breakfast or dessert.
- Prep Time: 10 min
- Cook Time: 20 min
- Total Time: 30 min
- Yield: 12 muffins
- Category: Breakfast
- Method: Baking
- Cuisine: American
- Diet: Vegetarian
Ingredients
- 1 3/4 cups all-purpose flour
- 3/4 cup granulated sugar
- 1/2 cup packed brown sugar
- 3/4 cup unsweetened cocoa powder
- 1 1/2 teaspoons baking soda
- 1 teaspoon baking powder
- 1/2 teaspoon salt
- 1 cup milk (whole or 2%)
- 1/2 cup plain yogurt or sour cream
- 1/2 cup vegetable oil
- 2 large eggs
- 1 teaspoon vanilla extract
- 1 cup semi-sweet chocolate chips or chunks
Instructions
- Preheat your oven to 400°F (200°C). Line a 12-cup muffin tin with paper liners or grease well.
- In a large bowl, whisk together the flour, granulated sugar, brown sugar, cocoa powder, baking soda, baking powder, and salt until combined.
- In a separate medium bowl, whisk together the milk, yogurt, vegetable oil, eggs, and vanilla extract until smooth.
- Pour the wet ingredients into the dry ingredients. Mix with a spatula until just combined. Do not overmix; a few lumps are acceptable.
- Gently fold in the chocolate chips or chunks.
- Divide the batter evenly among the 12 muffin cups, filling each about two-thirds full.
- Bake for 18 to 20 minutes, or until a toothpick inserted into the center comes out with moist crumbs attached.
- Let the muffins cool in the pan for 5 minutes before transferring them to a wire rack to cool completely.
Notes
- For extra fudgy texture, use melted butter instead of oil.
- To achieve bakery-style domed tops, bake at 400°F for the first 5 minutes, then reduce the temperature to 375°F (190°C) for the remaining bake time.
- You can substitute sour cream for yogurt for added richness.
Nutrition
- Serving Size: 1 muffin
- Calories: 320
- Sugar: 28g
- Sodium: 250mg
- Fat: 17g
- Saturated Fat: 6g
- Unsaturated Fat: 11g
- Trans Fat: 0g
- Carbohydrates: 39g
- Fiber: 2g
- Protein: 5g
- Cholesterol: 45mg
