

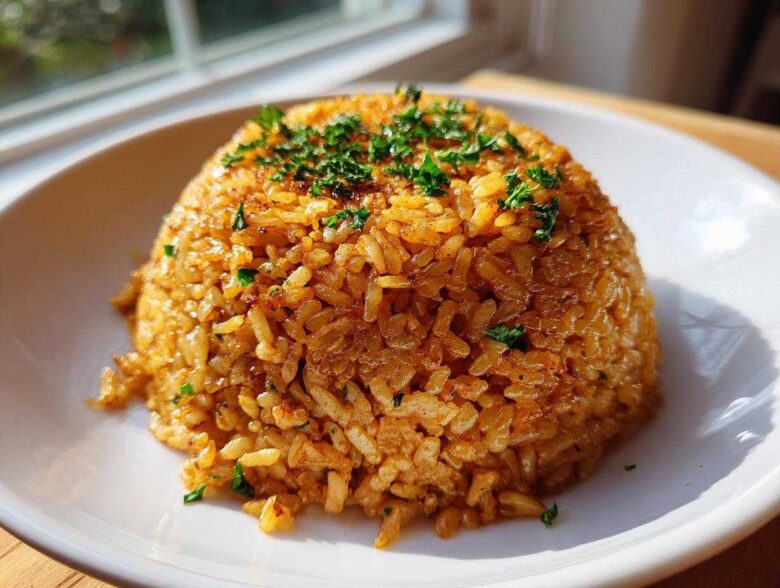
Oh my gosh, if you’ve ever stared forlornly at rice that promises crunch but delivers mush, you are going to love what I’m about to share! Forget those sad, soggy stir-fries you’ve made before. We aren’t just making *fried rice* here; we are creating the ultimate **Savory Garlic Butter Crispy Rice** masterpiece. Seriously, the texture that comes out of this pan is just unbeatable—it’s deeply golden, almost crackly, holding its shape perfectly.
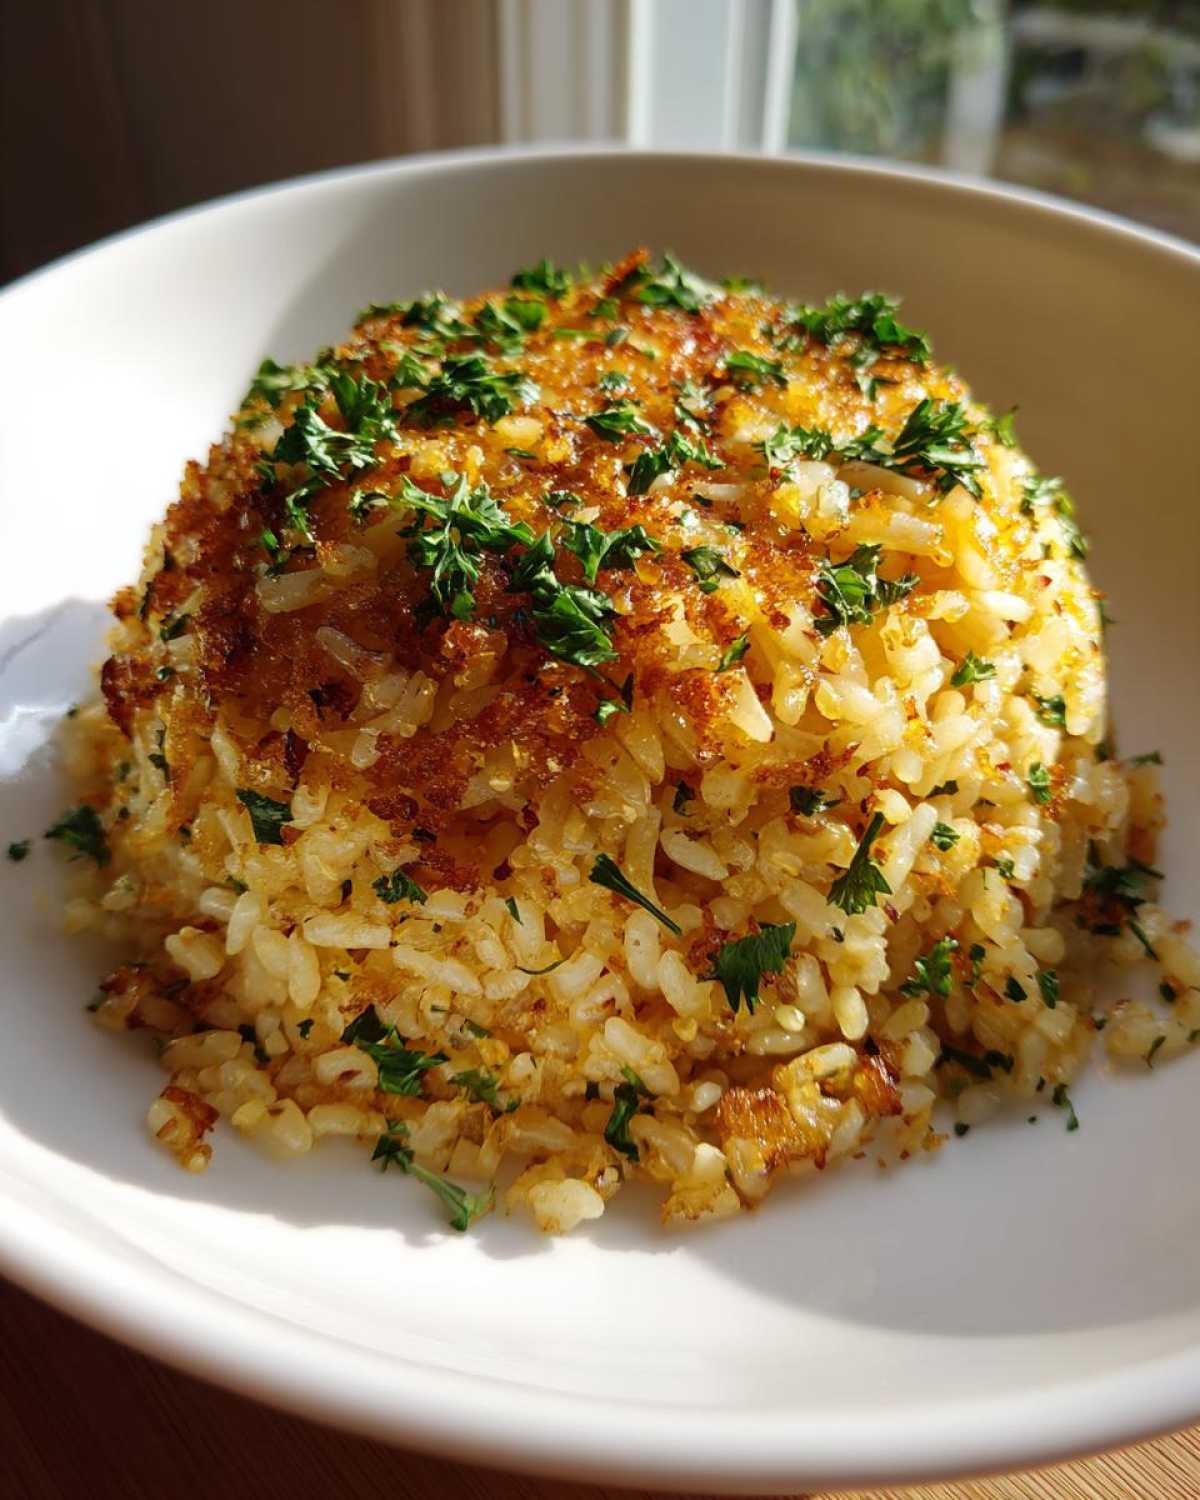
I spent ages figuring out the absolute best pan-searing technique, and trust me, it’s all about patience and heat management. Once you nail that undisturbed sear, the rest is just pure, buttery magic. This recipe focuses heavily on a robust garlic backbone, making it the best savory side dish you’ll whip up all week. Get ready for an incredible crunch!
Why You Will Master This Savory Garlic Butter Crispy Rice Recipe
This isn’t just *any* rice recipe, friend. This is the one that makes you feel like a professional chef every single time you pull out the skillet. Honestly, once you try this method for making crispy rice, you’ll never go back to the old way. It’s just that good!
- You get that unbelievable, hard sear on the bottom layer—it’s shatteringly crisp!
- The garlic butter flavor is intense; we load it up so you really taste that savory punch.
- It comes together so fast. Seriously, less than half an hour total if your rice is already chilled. That’s perfect for a weeknight savory rice dinner.
- The simple technique means there’s almost no way to mess up the texture, as long as you let it be!
- It’s incredibly versatile. It works great as a base or as a standalone sizzling rice side dish.
- We use just enough fat to coat everything beautifully without making it greasy or heavy.
Essential Ingredients for Perfect Savory Garlic Butter Crispy Rice
Okay, let’s talk about what goes into this wonderful, crunchy creation. My biggest rule for any garlic butter recipe is quality fat, and that applies here too! But seriously, the real hero is the rice. It MUST be cold. I mean, frozen solid is even better sometimes! Don’t skip chilling it. Here’s what you need to gather up:
- 3 cups cooked short-grain rice, chilled (day-old is absolutely best for that crunch!)
- 4 tablespoons unsalted butter (split this up in your head!)
- 4 cloves garlic, minced super fine
- 1 tablespoon olive oil (this helps the butter not scare off right away)
- 1/2 teaspoon salt
- 1/4 teaspoon black pepper
- 1 tablespoon fresh parsley, chopped (just for looks at the end, but pretty looks matter!)
The Best Crispy Rice Method: Preparing Your Savory Garlic Butter Crispy Rice
Alright, this is where the real magic happens. Everything we’ve talked about—the cold rice, the right pan—it all leads to this pan-searing technique. I love using my cast iron skillet for this part because it holds heat so evenly, which is crucial for that deep, consistent crunchiness we’re aiming for. Remember, we are building layers of texture here, not just tossing ingredients around!
The key to the ultimate pan seared rice technique is resisting the urge to touch it! This is the hardest part, I promise! You need patience for the first full 8 minutes before you even think about flipping it over. Trust me, that golden crust forming underneath is everything. Stick with these steps, and you’ll have perfectly crunchy rice every single time.
Preparing the Cold Rice Base
First thing’s first: grab that cold rice. If it came out of the fridge in one big cold block, that’s great! You need to gently break it up with your fingers. Don’t mash it into a paste; you just want to separate the grains enough so they can lay flat in the pan later on. If you have big clumps, they’ll just steam instead of crisping up, and we can’t have that!
Achieving the Golden Sear: The Pan-Seared Rice Technique
Get your big skillet hot over medium heat. Add the olive oil and two tablespoons of butter. When that’s melted and looks happy, spread that chilled rice out in one even layer. Now, the promise: Do not stir, do not poke, just let it sit there for 8 to 10 minutes. You want it deeply golden brown on the bottom. When it’s ready, use a wide spatula to flip it over in big chunks. Sear the second side for about 5 to 7 minutes more until it matches the first side in fantastic crispiness.
Infusing Flavor: Adding the Garlic Butter to Your Savory Garlic Butter Crispy Rice
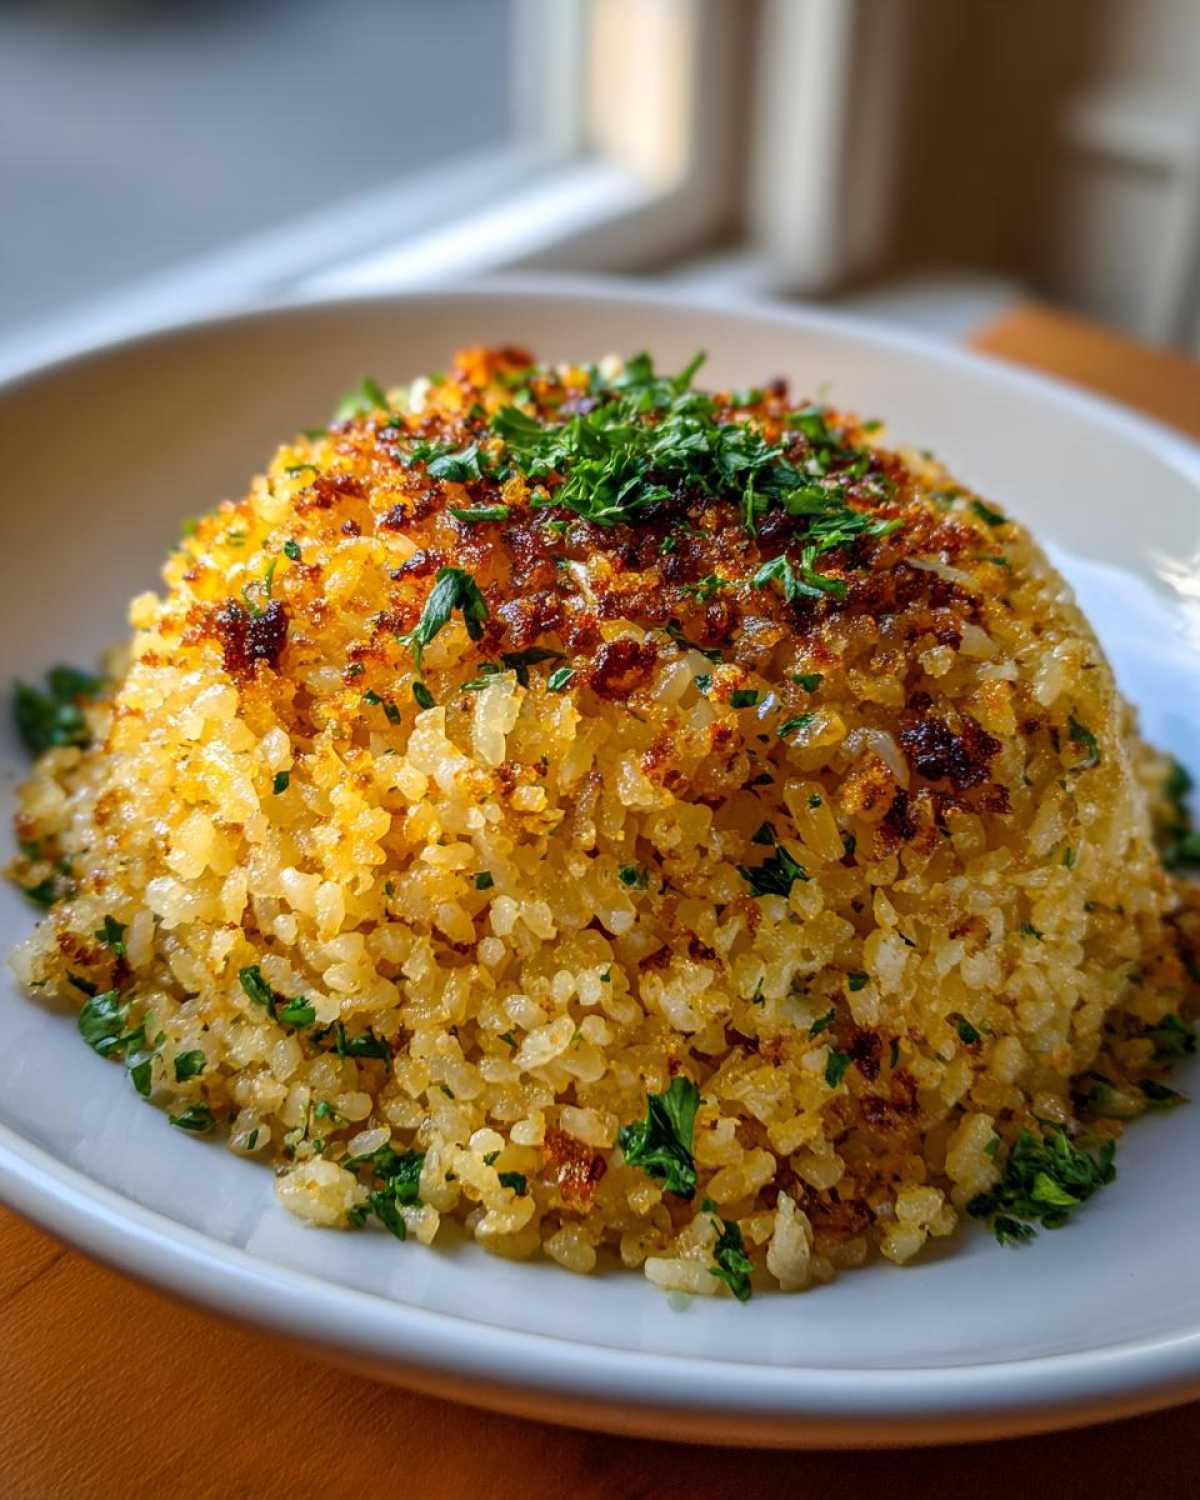
Once you’ve got two golden, crunchy sides, turn that heat way, way down to low. We don’t want burnt garlic flavor, just beautiful garlic perfume! Push all that crispy rice over to one side of the pan, leaving you an empty spot. Pop those final two tablespoons of butter and all that minced garlic right there. Let it sizzle for just 30 seconds until you can smell it everywhere. Then, gently stir that glorious garlic butter right into the seasoned rice. If you want a deeper savory note, this is when I always stir in a splash of soy sauce to coat everything perfectly!
Expert Tips for Perfect Savory Garlic Butter Crispy Rice Every Time
I’ve made this dish more times than I care to admit, and these little rules I’ve picked up are why I never get sad, soggy rice anymore. The number one thing I learned is that the rice temperature has to be right. If you use freshly cooked, steamy rice, you’re essentially steaming the bottom of the pan, not searing it. Cold rice releases steam much slower, which lets the starches toast up nicely. That’s why day-old rice—or even rice that’s been in the freezer for a bit—is your secret weapon for the crunchy rice recipe.
Also, please pay attention to your skillet size! If you try to smoosh too much rice into one pan, it’s going to steam itself immediately, and you’ll lose that beautiful crisp. If you have to work in two batches to keep that rice in a single, thin layer when searing, do it! It takes an extra five minutes, but it guarantees that perfect, deep golden bottom we are looking for in our garlic butter skillet rice.
Savory Garlic Butter Crispy Rice Variations and Add-Ins
While this recipe is just perfect standing on its own as a stellar side, I have so much fun playing around with savory additions once the garlic butter coating stage is done! Since this base is so robust, it welcomes all sorts of flavors. If you’re looking for a slightly more advanced garlic butter stir fry base, toss in some finely diced shiitake mushrooms right along with the butter and garlic to soak up all that flavor.
For a salty punch, a little sprinkle of freshly grated Parmesan cheese right at the end, when you’re stirring everything together, makes it incredibly decadent. Don’t be shy with dried chili flakes either if you like a little heat! It really complements the savory notes beautifully. This base is actually fantastic for serving under something like grilled shrimp or seared salmon, or check out my ideas for chicken sausage and broccoli orzo—the flavor concepts cross nicely!
Serving Suggestions for Your Sizzling Rice Side Dish
You’ve done the work, and now you have this incredible, crunchy base for your dinner! This is honestly one of my favorite crispy rice for dinners because it elevates anything you put next to it. It’s the ultimate sizzling rice side dish; you need something hearty to stand up to that garlic butter flavor!
I love serving a big scoop next to a perfectly seared steak—the contrast between the tender beef and the crunchy rice is heaven. It’s also amazing under grilled chicken or flaky white fish. If you’re doing a vegetarian meal, try topping it with a fried egg so that rich yolk oozes right into the crispy pockets. Check out how I use rich sauces in my Salisbury Steak recipe; spooning a little bit of gravy over this rice is a game-changer!
Storage and Reheating Instructions for Savory Garlic Butter Crispy Rice
If you have any leftover savory garlic butter crispy rice—which, let’s be honest, is rare because it’s so addictive—you need to store it correctly. Pop it into an airtight container and keep it in the fridge for up to three days. Now, about reheating it: DO NOT use the microwave! It will turn into sad, steaming mush.
For the best results and to bring back that amazing crunch, you need dry heat. Pop the rice onto a sheet pan and reheat it in the oven at about 350°F (175°C) for about 10 minutes. If you have an air fryer, even better! A few minutes at 375°F (190°C) will crisp those edges right back up. It’s perfect for leftovers!
Frequently Asked Questions About Making Crispy Rice
I get so many messages asking about texture, because that’s what this recipe is all about! Don’t worry if you have questions. Mastering the sear can take a batch or two, but once you know the little tricks, it’s automatic. I designed this whole garlic butter crispy rice recipe to answer all the common issues home cooks run into when trying to get that perfect crunch!
What is the secret to achieving the crunchiest edges?
It’s a two-part secret, honestly! First, the rice has to be completely cold. Cold rice is dry rice, which allows the heat to toast the starches instead of steaming the water out. Second, and this is critical for your perfect crunchy rice recipe, you must let that first layer sit completely undisturbed in the hot pan for a full 8 to 10 minutes. Don’t touch it! That’s where the golden, crunchy seal forms.
Can I use long-grain rice instead of short-grain for this garlic butter crispy rice recipe?
You *can* try, but I really, really suggest sticking with short-grain rice, like Calrose or sushi rice. Long-grain rice (like Basmati) doesn’t have as much surface starch. Because of that, it crumbles way more easily when you try to flip it. Short-grain sticks together beautifully once it’s cold, which gives you those lovely, sturdy slabs of perfectly seared, amazing savory fried rice!
How can I make this a full weeknight savory rice dinner?
That’s a fantastic question because this is such a hearty base! To turn this into a full weeknight savory rice dinner, you just need to add a protein during that final combining step, right after you’ve cooked the garlic butter. For example, drop in some cooked, shredded rotisserie chicken or a can of rinsed, drained chickpeas. You could even toss in some frozen peas! Just make sure the protein is already cooked or just needs warming, so you don’t ruin the sear on the rice while the meat cooks.
Nutrition Estimates for Savory Garlic Butter Crispy Rice
Now, just so you know what you’re digging into—because I always like to keep things transparent here—I ran all the numbers through a basic calculator for a rough idea. Since we are using a good amount of butter to get that incredible richness, it does rack up the healthy fats!
These numbers are just estimates for one serving out of the three major portions we made. They don’t include any extra soy sauce or huge toppings you might add later. Think of this as the baseline for your foundational garlic butter rice skillet meal!
- Serving Size: 1/3 of recipe
- Calories: 350
- Sugar: 0.5g (Phew, low!)
- Sodium: 350mg (Keep an eye if you add salty soy sauce!)
- Fat: 18g
- Saturated Fat: 10g
- Carbohydrates: 40g
- Protein: 6g
Honestly, for the level of satisfaction and crunch you get out of this easy savory rice skillet, I think that’s a pretty fair trade-off! Enjoy every single golden bite!
PrintSavory Garlic Butter Crispy Rice

A straightforward recipe for making deeply savory rice with a strong garlic butter flavor and a satisfyingly crispy texture achieved through pan searing.
- Prep Time: 5 min
- Cook Time: 20 min
- Total Time: 25 min
- Yield: 3 servings
- Category: Side Dish
- Method: Pan Searing
- Cuisine: American
- Diet: Vegetarian
Ingredients
- 3 cups cooked short-grain rice, chilled (day-old is best)
- 4 tablespoons unsalted butter
- 4 cloves garlic, minced
- 1 tablespoon olive oil
- 1/2 teaspoon salt
- 1/4 teaspoon black pepper
- 1 tablespoon fresh parsley, chopped (for garnish)
Instructions
- Prepare the rice: Ensure your cooked rice is cold and slightly dry. Break up any large clumps gently with your hands.
- Heat the fat: Place a large, heavy-bottomed skillet (cast iron works well) over medium heat. Add the olive oil and 2 tablespoons of the butter.
- Sear the rice: Once the butter is melted and slightly foamy, add the chilled rice to the skillet in an even layer. Do not stir immediately. Let the rice cook undisturbed for 8 to 10 minutes until the bottom layer turns golden brown and crispy.
- Flip and crisp: Gently flip the rice in sections using a wide spatula, exposing the uncooked side to the hot pan. Cook for another 5 to 7 minutes until the second side is also golden and crunchy.
- Add garlic butter: Reduce the heat to low. Push the rice to one side of the pan. Add the remaining 2 tablespoons of butter and the minced garlic to the empty side. Cook the garlic for about 30 seconds until fragrant, being careful not to burn it.
- Combine and season: Stir the garlic butter mixture into the crispy rice. Season with salt and pepper. Stir gently to coat everything evenly.
- Serve immediately: Transfer the crispy rice to a serving dish. Garnish with fresh chopped parsley.
Notes
- Use day-old, cold rice for the best crispiness; fresh rice contains too much moisture.
- Do not overcrowd the pan; if necessary, cook the rice in two batches to achieve a proper sear.
- For extra flavor, add 1 teaspoon of soy sauce when you stir in the garlic butter.
Nutrition
- Serving Size: 1/3 of recipe
- Calories: 350
- Sugar: 0.5
- Sodium: 350
- Fat: 18
- Saturated Fat: 10
- Unsaturated Fat: 8
- Trans Fat: 0.2
- Carbohydrates: 40
- Fiber: 1
- Protein: 6
- Cholesterol: 45
