


Are you tired of sinking, sad puddings that look more like pancakes than the towering clouds of gold they *should* be? I know the feeling! Growing up around the serious business of the Sunday roast, seeing a flat Yorkshire pudding was a culinary disaster. But don’t you worry, that stops today. Amara and I wrestled with this classic English recipe until we nailed it, thanks mostly to Chef Tariq showing us the ancient, crucial ways. This is genuinely the foolproof recipe designed to give you that maximum height, that shatteringly crispy exterior, and that beautifully airy center every single time. It took ages in the kitchen, which you can read more about in our story, but trust me, the struggle was worth this perfect result!
Why This is the Best Yorkshire Pudding Recipe You Will Ever Need
Listen, making a Yorkshire pudding that actually puffs up like it means business isn’t luck; it’s chemistry! This recipe strips away all the fuss and focuses only on what works, time and time again, just like Chef Tariq taught us. We aren’t guessing here; we are following ancient rules! The success hinges on two things that you cannot skip: keeping the batter ice cold and making sure that fat in your tin is absolutely roaring hot—I mean, visibly smoking hot. These two steps guarantee that beautiful, crispy exterior and the light-as-air inside. If you follow these fundamentals, you’re practically guaranteed a stunning roast side dish. Speaking of gravy, when you need the perfect accompaniment, you’ll want to check out our recipe for homemade brown gravy!
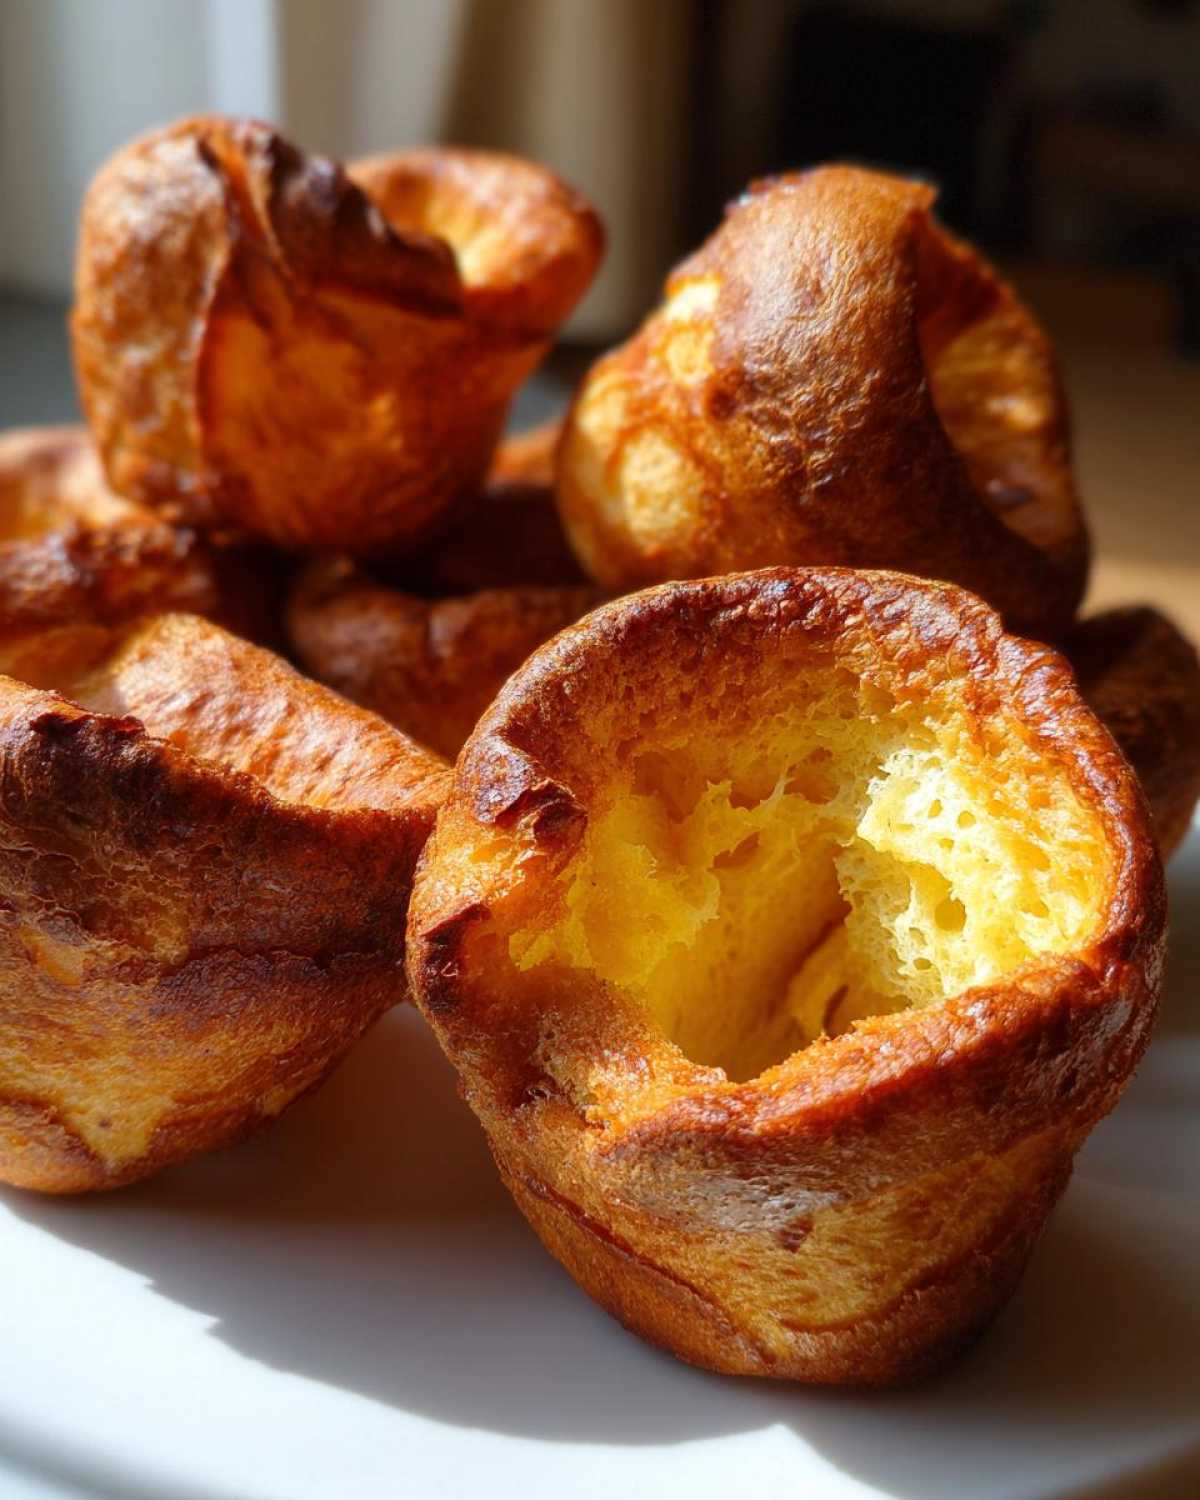
Achieving Maximum Rise: Yorkshire Pudding Tips and Tricks
If you want those sky-high giants instead of flat disappointment, you have to respect the heat and the chill. These three things are absolute law when making Yorkshire pudding:
- Cold Batter, Hot Tin: The batter needs time to rest in the fridge—at least 30 minutes, but seriously, make it overnight if you can! This lets the starch settle so your puddings climb higher when they hit that intense heat.
- Smoking Hot Fat: You must preheat the fat in the tin until it shimmers and smokes slightly. If it’s not hot enough, the batter won’t flash-steam upwards immediately.
- Don’t Peek! Resist the urge for the first 15 minutes. Opening the door drops the temperature immediately, and that temperature drop causes immediate deflation. Let them bake in peace!
Gathering Ingredients for Your Foolproof Yorkshire Puddings
The beautiful thing about this classic British side dish is just how simple the ingredients are! Seriously, you probably have everything you need kicking around your pantry right now. This recipe is budget-friendly, which is always a win when you’re feeding a hungry crowd for Sunday dinner.
Here is what you need for 12 small, perfect puddings:
- 1 cup all-purpose flour
- 1 cup whole milk
- 4 large eggs
- 1/2 teaspoon salt
- Vegetable oil or beef dripping, for cooking
Ingredient Notes and Substitutions for Yorkshire Pudding Batter
We need to talk about the fat because it makes a huge difference in flavor and texture. For the most authentic, deep flavor that screams ‘Sunday Roast,’ you absolutely must use good quality beef dripping. It achieves an almost magical level of crispness. If you’re keeping it vegetarian or simply don’t have dripping on hand, use a neutral, high-smoke-point oil like vegetable or canola oil.
And for the flour? Don’t fuss with fancy stuff. Standard all-purpose flour (plain flour over here in the UK!) is exactly what we need to get that perfect structure. Don’t try to substitute that!
How to Prepare the Perfect Yorkshire Pudding
Alright, now we get to the fun part! If you’ve rested your batter (go on, tell me you rested it!), it’s time to bring the heat. Remember, we are aiming for that gorgeous, tall puffiness you need to sop up all that glorious gravy coming off your roast beef. Check out our recipe for the prime rib so you have something worthy to serve these with!
First things first: we are preheating that tin. Get your oven cranked up to 450°F (230°C). We need that tin, and especially that fat, to be scorching hot before the cold batter even thinks about going in. Once the oven is up to temperature, shove the tin with the teaspoons of oil or dripping in there for a solid 10 to 15 minutes until it’s practically glowing!
Mixing the Easy Yorkshire Pudding Batter
When you mix, be gentle! We want smooth, not stretched. Start with your dry flour and salt, then crack those eggs into the middle. Don’t just pour everything in at once; that’s how you get dense bottoms. Whisk slowly, dragging the side flour in bit by bit. Once the eggs are incorporated, slowly drizzle the cold milk in while keeping that whisk moving. If you have a few tiny little lumps left? Perfect! Seriously, don’t overmix trying to get rid of them or you’ll ruin the light texture.
The Critical Step: Heating the Fat for Fluffy Yorkshire Puddings
This is where the magic happens, sometimes literally with a little sizzle. Your oven needs to hold a blazing 450°F (230°C). That fat in the bottom of the cups needs to be smoking hot—I mean, honestly smoking—after heating for at least 10 to 15 minutes. When you slide the hot tray out, work quickly! Pour your cold batter right into the smoking fat in each cup. If you are slow, the fat starts to cool down, and you lose the initial explosive puff. You need that shock!
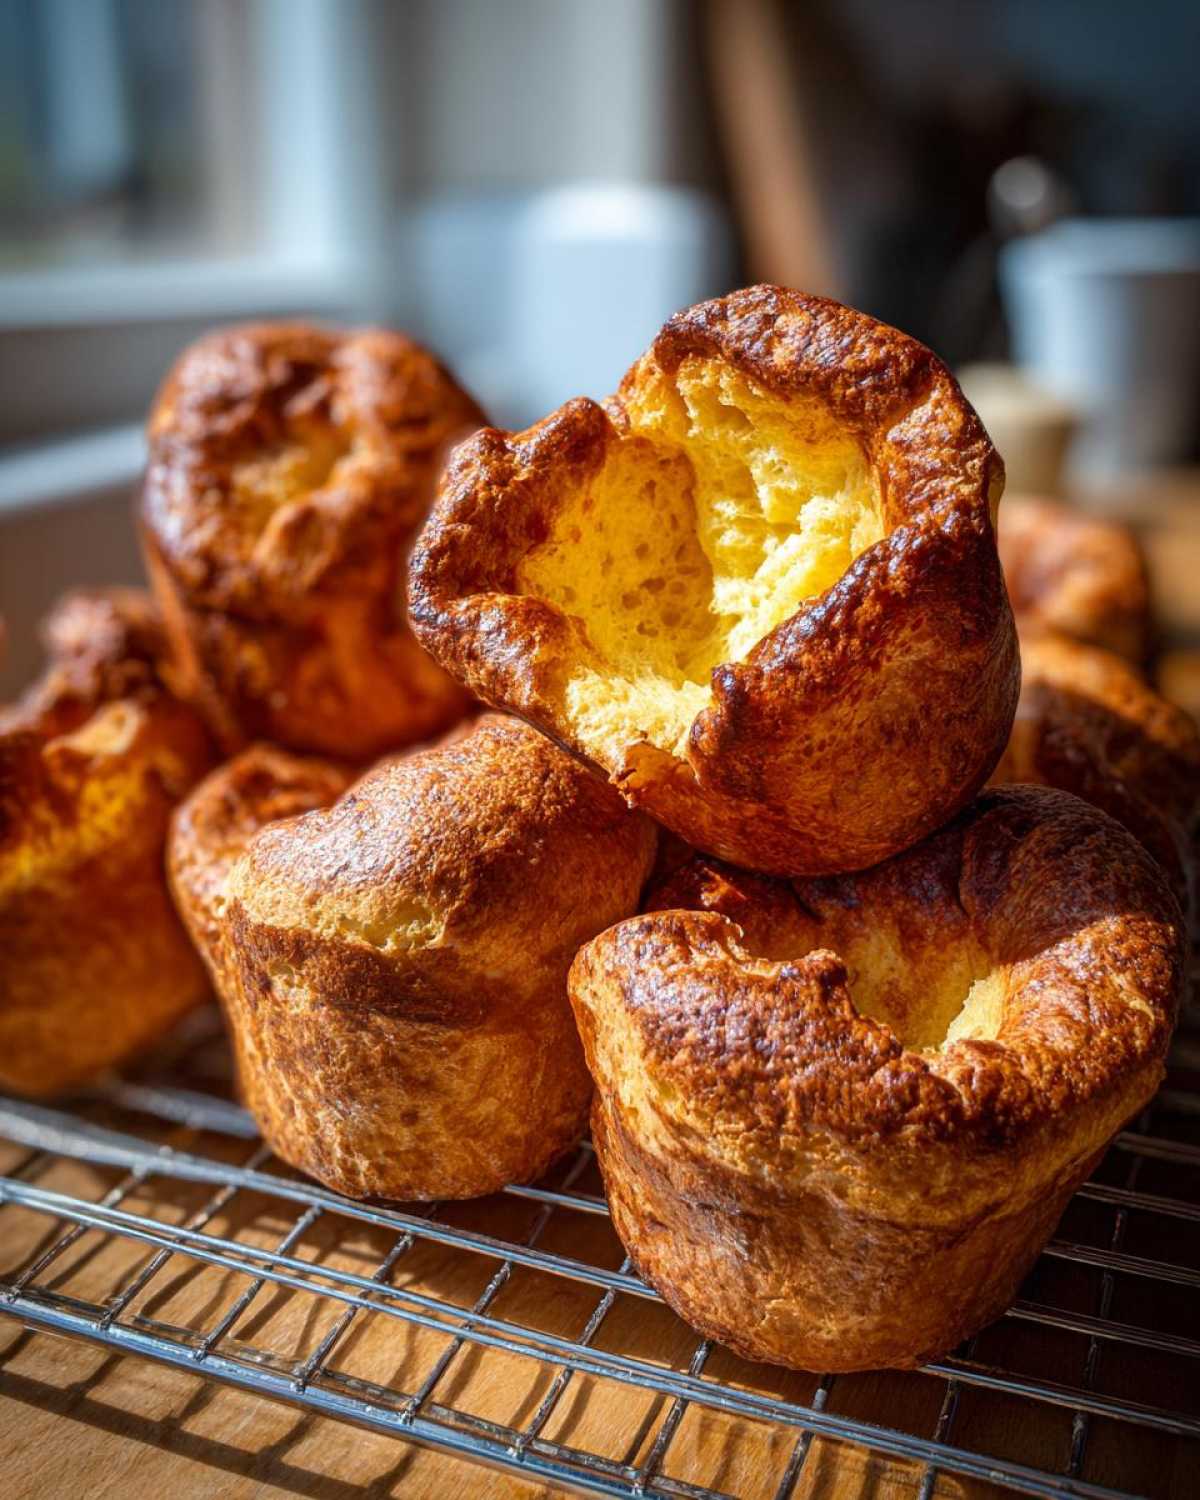
Baking Your Golden Brown Puddings
Okay, they are in the oven, and this is where you have to channel your inner Tariq and exercise extreme patience. Remember that screaming hot temperature we set? Keep it there: 450°F (230°C). The number one rule for turning out tall, puffy popovers is hands off!
I’m serious about this: do not open the oven door for the first 15 minutes of baking time. If you crack that door, the temperature plummets, and those beautiful rising Yorkshire puddings will collapse inward right before your eyes. Just trust the heat. After that 15 minutes, they should look gloriously puffed. Keep baking for another 10 minutes until they are that deep, glorious golden brown color we want—you’re looking for crisp edges that feel hard to the touch!
Serving Suggestions for Your Traditional British Side Dish
Honestly, what is a Sunday Roast without these beauties waiting to soak up all the glory? These fluffy Yorkshire puddings were basically born to accompany roast beef, but please, don’t stop there! They lighten up any rich meal perfectly.
The number one recommendation, naturally, is gravy. You need plenty of rich, savory gravy—whether it’s meat-based or a mushroom version—to fill up that wonderfully hollow center. They are also fantastic alongside rich lamb or even a simple roast chicken dinner. If you’ve got leftovers or just want something different that day, they even go surprisingly well alongside a creamy soup, like our creamy potato and leek soup. They are incredibly versatile once you master making them!
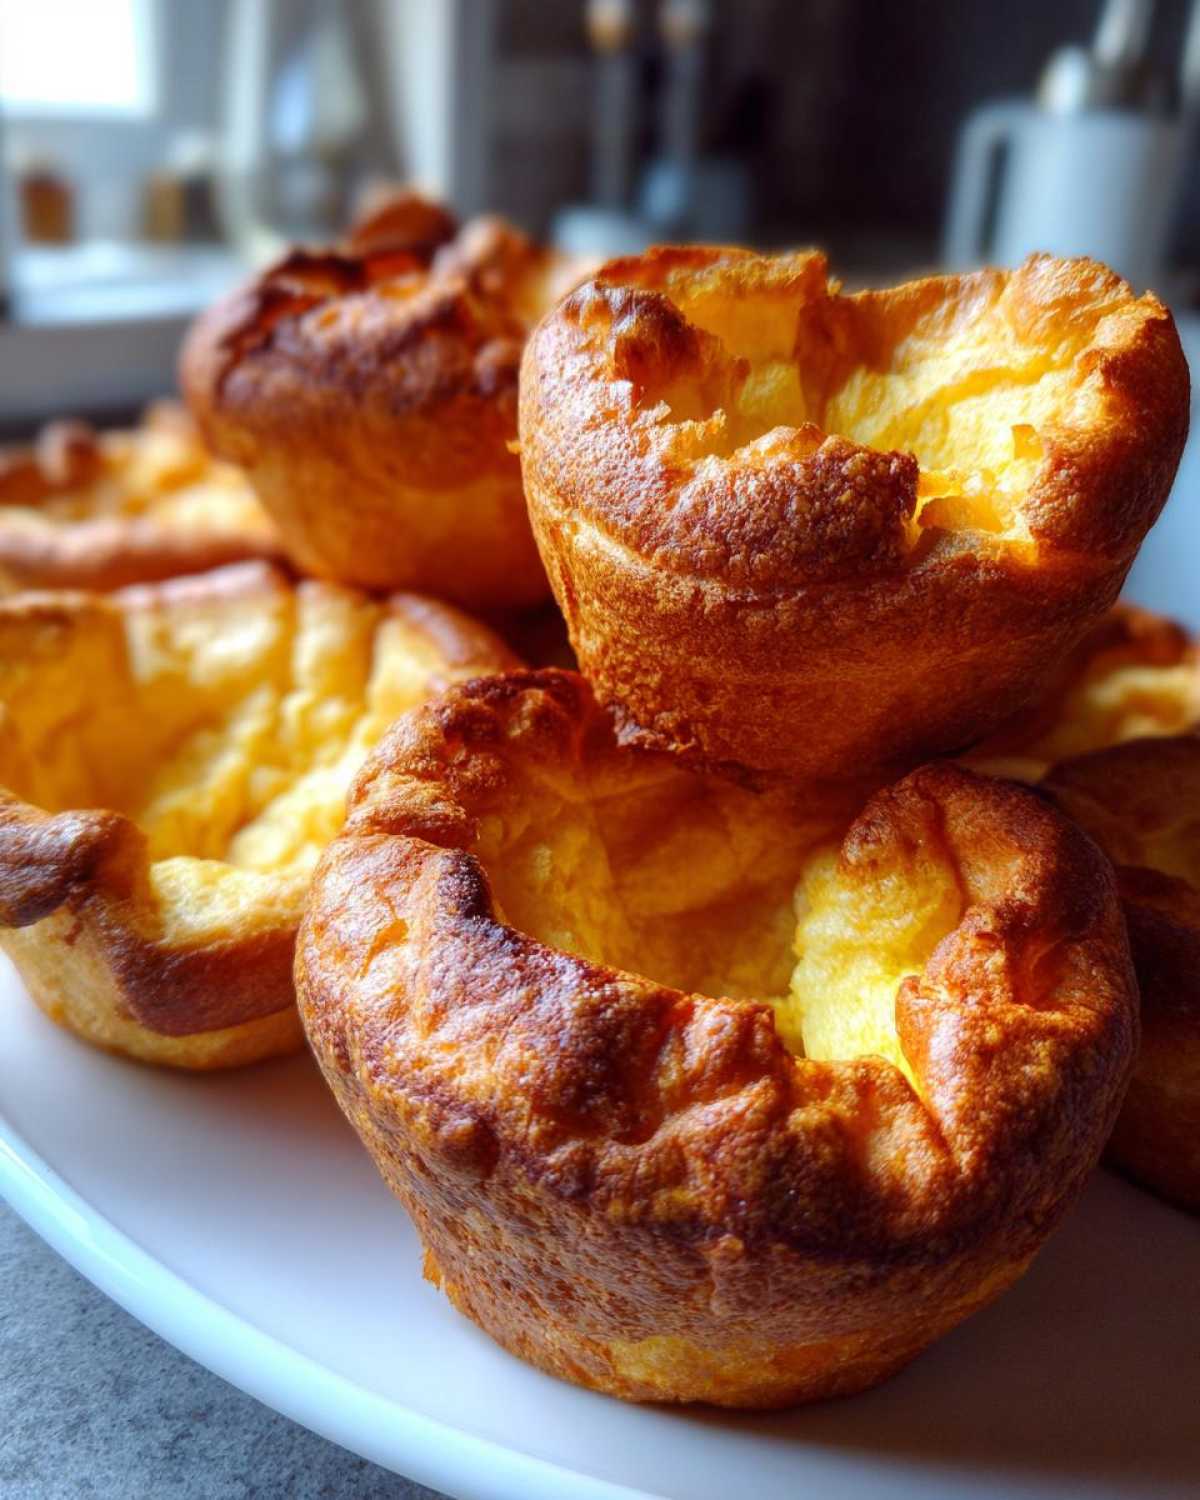
Storing and Reheating Classic Yorkshire Puddings
So, maybe you made a giant batch because the recipe is just so easy, or perhaps you actually have leftovers—which is a miracle in my house! If you need to store your perfectly crispy Yorkshire puddings, you must let them cool completely first. Once cool, pop them straight into an airtight container. They’ll keep well on the counter for a day or two.
Reheating is key to bringing back that fantastic texture. Skip the microwave unless you enjoy chewy puddings! Instead, spread them out on a baking sheet and throw them back into a hot oven, say 375°F (190°C), for about 5 to 7 minutes. They’ll crisp right back up, ready for more gravy!
Variations on the Yorkshire Pudding Recipe
While this recipe is dedicated to the classic, tall, individual Yorkshire pudding that everyone expects alongside their Sunday dinner, it’s super easy to mix things up! If you’re cooking only for two, feel free to just pour the batter into a standard roasting tin instead of a muffin tray. You’ll end up with one giant, incredible pudding that practically begs for gravy poured right over the top—but just remember that it will bake a little longer.
If you have friends or family watching their diet, we totally understand. We’ve found some brilliant workarounds for folks avoiding gluten. You can check out a fantastic adaptation of this classic recipe right here for a gluten-free Yorkshire pudding that puffs up just as beautifully. It’s important that everyone gets to enjoy that perfect, crispy side dish!
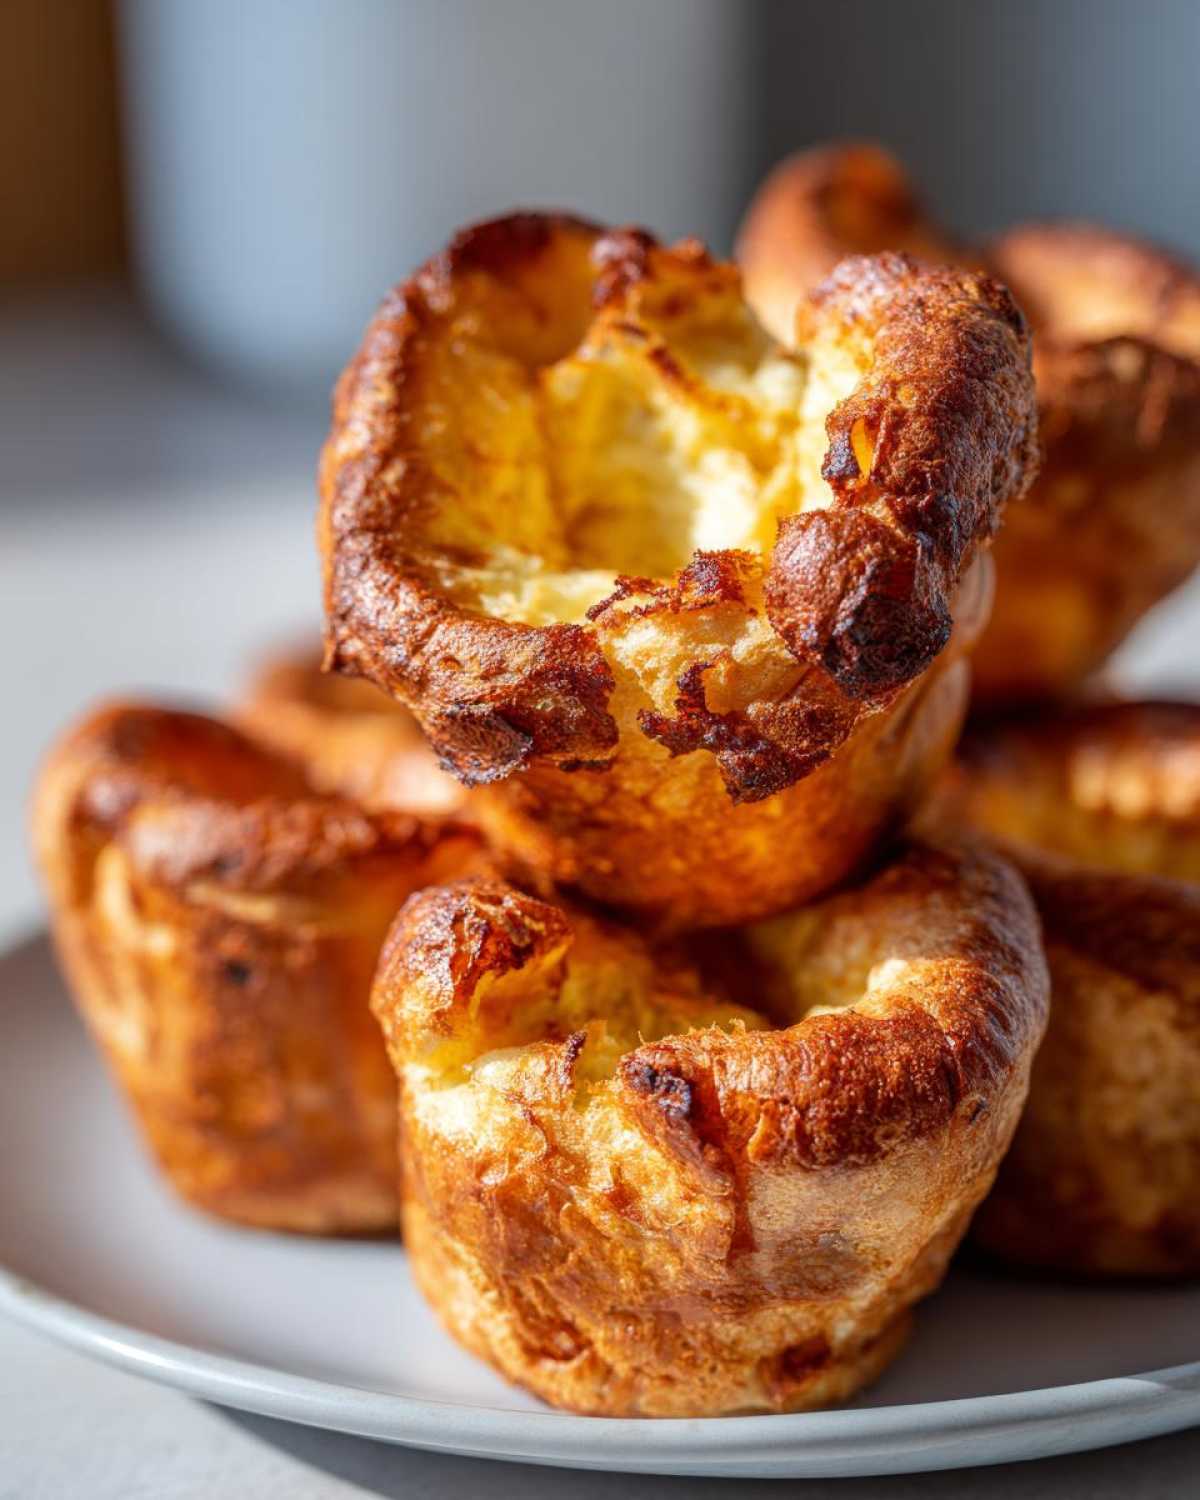
Frequently Asked Questions About Yorkshire Puddings
It’s totally normal to have questions when trying to master a recipe that relies so much on exact technique! I remember bugging Amara and Tariq with these same problems until they finally clicked for me. Here are the biggest things people worry about when making fluffy Yorkshire puddings.
Why did my yorkshire pudding sink?
If your puffy popovers deflate right after you pull them out, it’s almost always one of two things: either your oven temperature dropped when you opened the door too soon (remember, NO PEEKING for 15 minutes!), or your fat wasn’t hot enough when the cold batter hit it. That temperature shock is essential for the initial blast upwards.
Can I use water instead of milk?
While you *can* technically make Yorkshire Pudding Recipe with just water, I wouldn’t recommend it if you’re aiming for that amazing richness! Using whole milk is key here. The fat content in the milk contributes to that golden browning and the softer interior texture we love. Water just won’t give you the same depth of flavor or texture.
How long can I rest the batter?
You asked about resting time—this is a great question for anyone planning ahead! While 30 minutes is the absolute minimum to let the starch settle slightly, I seriously recommend resting the easy Yorkshire pudding batter in the fridge for at least 4 hours, or even overnight if you can manage it. The longer it rests, the better your rise will be. If you want more great advice and explorations into recipes, you can always check out the rest of the Savory Skies blog!
Nutritional Estimate for Homemade Yorkshire Puddings
When you are counting calories or watching macros, knowing what’s in your plate is important, even for that amazing, crispy side dish! Here is a general estimate based on using standard vegetable oil for cooking our Yorkshire pudding.
- Serving Size: 1 pudding
- Calories: 110
- Fat: 5g
- Carbohydrates: 12g
- Protein: 5g
Now, quick note from Leo! These numbers will definitely shift if you use beef dripping for cooking—that will increase the saturated fat content slightly, but honestly, the flavor is worth debating later. These are just estimates to help you plan, so take them as a good starting point rather than gospel!
PrintThe Perfect Foolproof Yorkshire Pudding: Crispy Outside, Fluffy Inside

Learn how to make traditional British Yorkshire puddings that rise high, stay crispy on the outside, and remain light and airy inside. This recipe is simple and works every time for your Sunday roast.
- Prep Time: 10 min
- Cook Time: 25 min
- Total Time: 65 min
- Yield: 12 small puddings
- Category: Side Dish
- Method: Baking
- Cuisine: British
- Diet: Vegetarian
Ingredients
- 1 cup all-purpose flour
- 1 cup whole milk
- 4 large eggs
- 1/2 teaspoon salt
- Vegetable oil or beef dripping, for cooking
Instructions
- Combine the flour and salt in a large bowl. Make a well in the center.
- Crack the eggs into the well. Begin whisking the eggs slowly, gradually incorporating the flour from the sides.
- Slowly pour in the milk while continuously whisking until you have a smooth, thin batter, similar in consistency to heavy cream. Do not overmix; a few small lumps are acceptable.
- Cover the bowl and let the batter rest in the refrigerator for at least 30 minutes, or up to 24 hours. Resting is key for the best rise.
- Preheat your oven to 450°F (230°C). Place a 12-hole muffin tin (or a roasting tin for larger puddings) into the oven.
- Add about 1 teaspoon of vegetable oil or beef dripping to each cup in the tin. Heat the tin and fat in the oven for 10 to 15 minutes until the fat is smoking hot. This step is crucial for puffing.
- Carefully remove the hot tin from the oven. Work quickly. Pour the cold batter evenly into the hot fat, filling each cup about one-third full.
- Immediately return the tin to the oven. Do not open the oven door for the first 15 minutes of baking.
- Bake for 20 to 25 minutes, or until the puddings are well risen, deep golden brown, and crisp.
- Serve immediately with your roast dinner and gravy.
Notes
- For the tallest rise, ensure your batter is cold and your fat is smoking hot before adding the batter.
- If you are making large puddings in a roasting pan, use beef dripping for the most authentic flavor and crispness.
- If you want individual Yorkshire puddings, use a standard 12-hole muffin tin.
- This recipe uses simple pantry ingredients, making it a cost-effective side dish for your Sunday roast.
Nutrition
- Serving Size: 1 pudding
- Calories: 110
- Sugar: 1
- Sodium: 120
- Fat: 5
- Saturated Fat: 1
- Unsaturated Fat: 4
- Trans Fat: 0
- Carbohydrates: 12
- Fiber: 0
- Protein: 5
- Cholesterol: 60
