

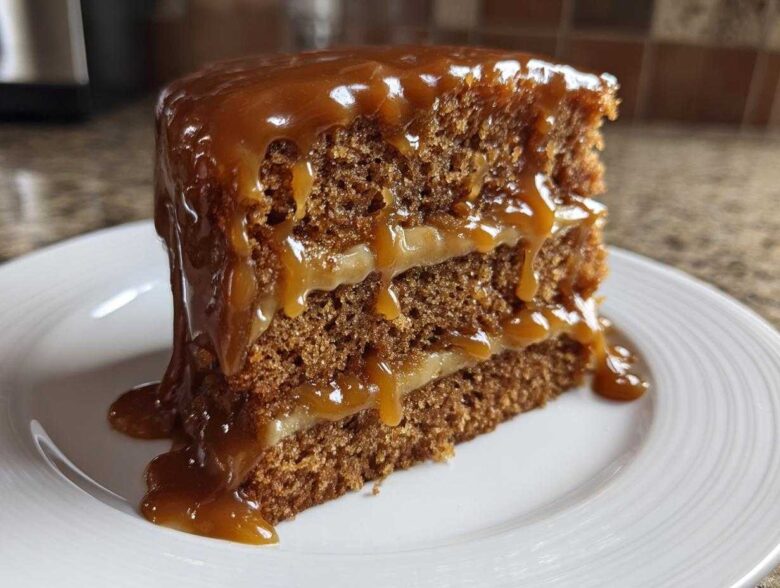
Oh, honey, if you thought you knew Southern baking, wait until you try this! There is nothing, absolutely nothing, that beats the buttery aroma of a truly spectacular homemade caramel cake filling my kitchen. I’ve tried a million variations over the years, and I’m telling you, I’ve finally nailed the ultimate recipe for a truly moist caramel cake layered with brown sugar goodness and topped with dreamy, homemade caramel icing. Forget those dry, disappointing versions you might have had; this one sticks to your ribs in the best possible way. Mastering this classic dessert took me a few messy batches, but trust me, this is the definitive Caramel Cake recipe you need right now. Pull up a chair, because we’re diving into Southern comfort food heaven!
Why This Southern Caramel Cake Recipe Stands Apart
So, what makes my recipe the winner on your table? It’s all about fighting dryness and making sure that icing isn’t just a sticky mess! We’re leveraging a few tricks borrowed right from my grandmother’s Old Fashioned Caramel Cake playbook. You get the best of both worlds here.
- The layers are ridiculously moist—they practically melt in your mouth!
- The caramel icing actually sets up perfectly so you can get those pretty bakery style layers without everything sliding off.
Achieving the Perfect Moist Caramel Cake Layers
The secret weapon for moisture in this Caramel Cake isn’t just the butter; it’s the dynamic duo of buttermilk and that cup of dissolved light brown sugar! When you fold that mixture in, it tenderizes the crumb beautifully. I promise, using room temperature ingredients helps everything blend smoothly, resulting in a cake that stays tender for days. That’s how you get that legendary melt-in-your-mouth texture in a classic Caramel Cake.
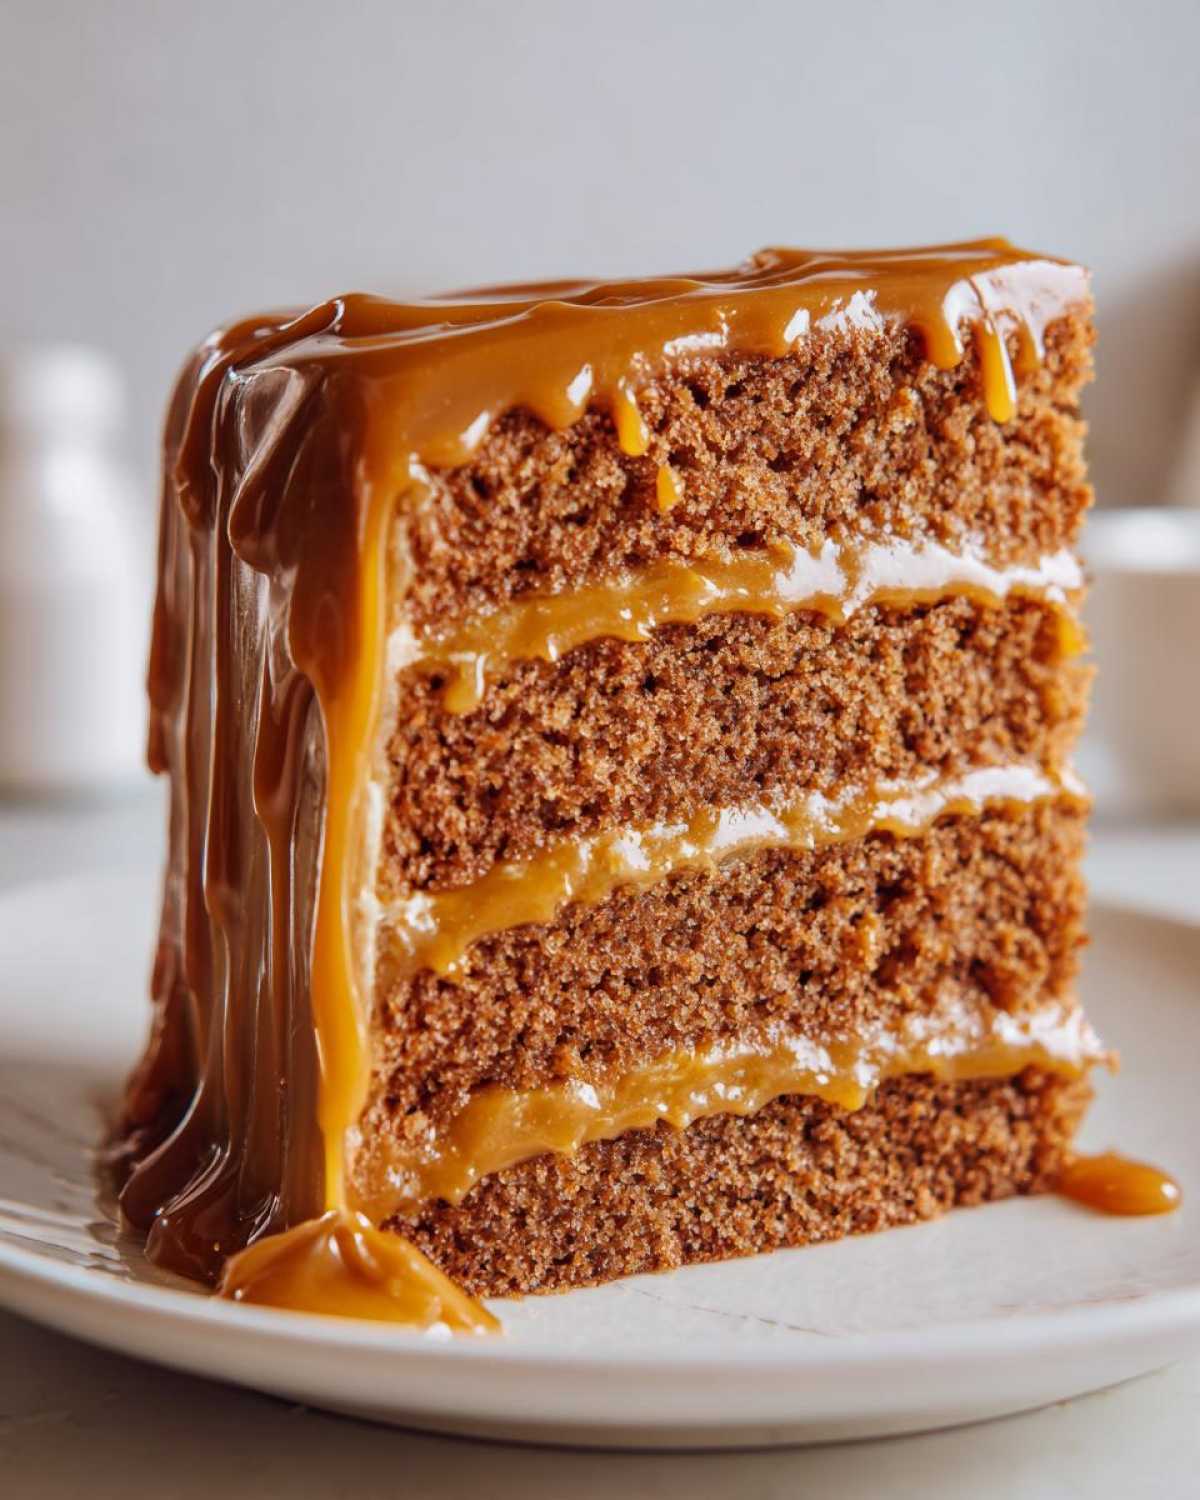
The Secret to Rich, Spreadable Caramel Frosting Recipe
Most people rush the caramel phase, and that’s where the graininess comes in. We cook our sugar just until it hits that deep amber color—not burnt, but rich! Then, we add cream and butter slowly off the heat. This controlled method ensures you get a smooth, glossy sauce that cools down perfectly into the Best Caramel Frosting Recipe. If you follow this carefully, you’ll have the most decadent, easy-to-spread icing for your layers.
Ingredients for Your Homemade Caramel Cake
Okay, friend, gathering your supplies is half the battle here! For this Caramel Cake, we’re splitting everything into two main groups: what goes into those beautiful layers and what becomes that incredible, pourable icing. Make sure your butter is softened for the cake layers—that’s non-negotiable for proper creaming! You’ll notice we are using both white and brown sugar; trust me, both play a vital role in making this cake the best you’ve ever had. If you ever need a backup frosting plan, I have a great vanilla buttercream recipe that stands up well, too!
For the Moist Caramel Cake Layers
Grab your measuring cups! We’re putting together the batter ingredients now:
- 1 1/2 cups unsalted butter, softened (Remember, the right temperature helps everything!)
- 3 cups granulated sugar
- 4 large eggs (Make sure these are room temp too!)
- 1 tablespoon vanilla extract
- 3 cups all-purpose flour
- 1 teaspoon baking soda
- 1/2 teaspoon salt
- 1 cup buttermilk
- 1 cup packed light brown sugar (This is the key to moisture!)
- 1 cup boiling water (You’ll use this to dissolve that brown sugar before folding it in.)
For the Buttery Caramel Icing Recipe
This icing comes together quickly once the cakes are in the oven. I usually start making this while the layers are cooling down. If you want that Salty Caramel Cake vibe, this is where you add your flourish!
- 1/2 cup granulated sugar (For the actual caramel base)
- 1/2 cup heavy cream
- 1/4 cup unsalted butter
- 1/4 cup milk
- 1/4 teaspoon salt (Optional, but highly recommended for that sweet and salty contrast!)
Step-by-Step Instructions for the Best Caramel Cake Ever
Alright, let’s get baking! Making this Caramel Cake from scratch is incredibly rewarding, but you have to stick to the rhythm. First things first: get that oven humming at 350°F (175°C) right away. While it heats up, you need to grease and flour those three 8-inch cake pans—don’t skip that prep work! It’s all about setting the stage for success, much like how you need patience when trying to master something complicated like caramelizing onions.
Preparing the Cake Batter and Baking
Start by creaming your softened butter and the main 3 cups of sugar until it’s practically white and fluffy; this traps the air we need! Add the eggs one by one. Now, the dry stuff (flour, baking soda, salt) alternates with the buttermilk. Mix gently—we are mixing, not whipping, people! My expert tip here is about that brown sugar water: dissolve the packed brown sugar completely in the boiling water first. Then, when you fold this mixture into the finished batter, fold it super gently. If you overmix that last step, your cake will be dense, and we want moist layers, not a brick!
Mastering the Homemade Caramel Icing Techniques
This part needs your full attention so you don’t scorch the sugar! In a heavy saucepan, melt that 1/2 cup of sugar over medium heat. Don’t touch it until it melts and turns a deep amber color—that’s where the rich flavor comes from. Now, pull it OFF the heat and whisk in the heavy cream; seriously, stand back because it bubbles like crazy! Whisk in the butter, milk, and salt until it’s totally smooth. If you step away and the icing gets too thick while cooling, don’t panic! Just put it back on low heat and stir until it loosens up again. That’s the secret to smooth Caramel Icing Techniques!
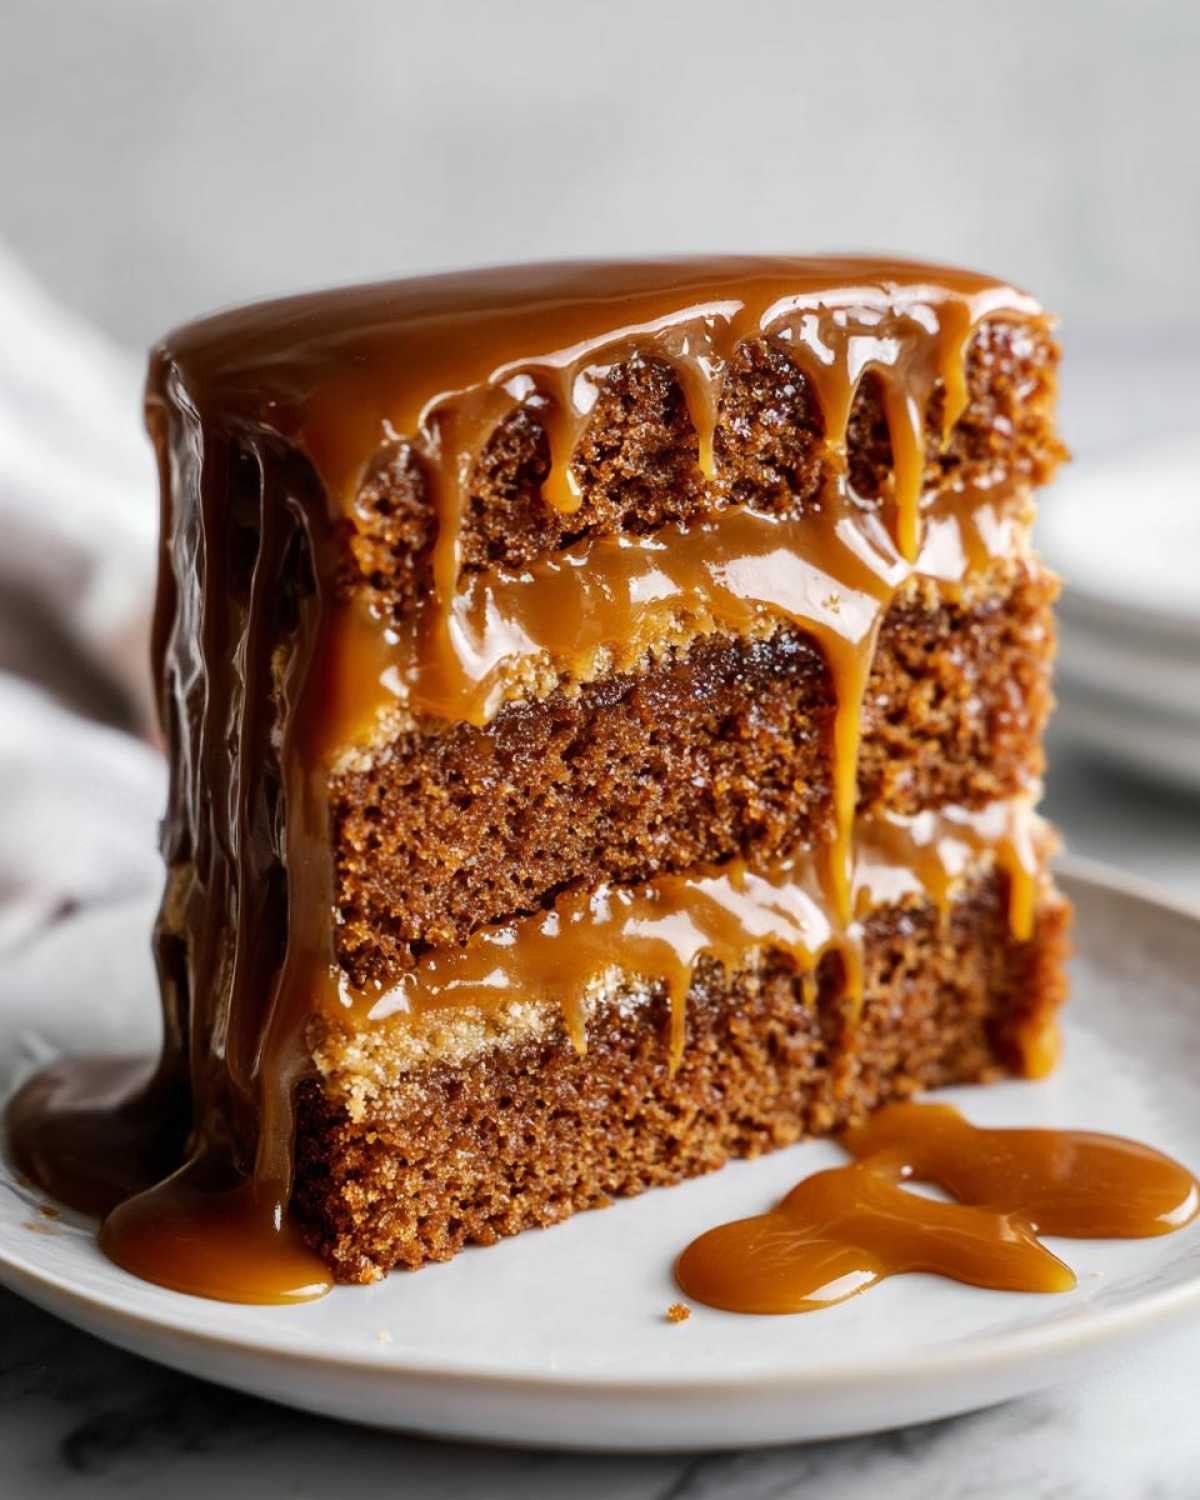
Assembling Your Bakery Style Cakes
Once those gorgeous layers are fully cooled on the rack—and I mean totally cool, or the icing will melt into a puddle—it’s assembly time. Place your first layer down. Spread a generous layer of that dreamy caramel icing across the top. Repeat with the second layer. Finally, move that top layer into place and cover the entire thing—top and sides—with the remaining icing. Take your time to smooth those edges slightly to give it that beautiful, professional Bakery Style Cakes shine.
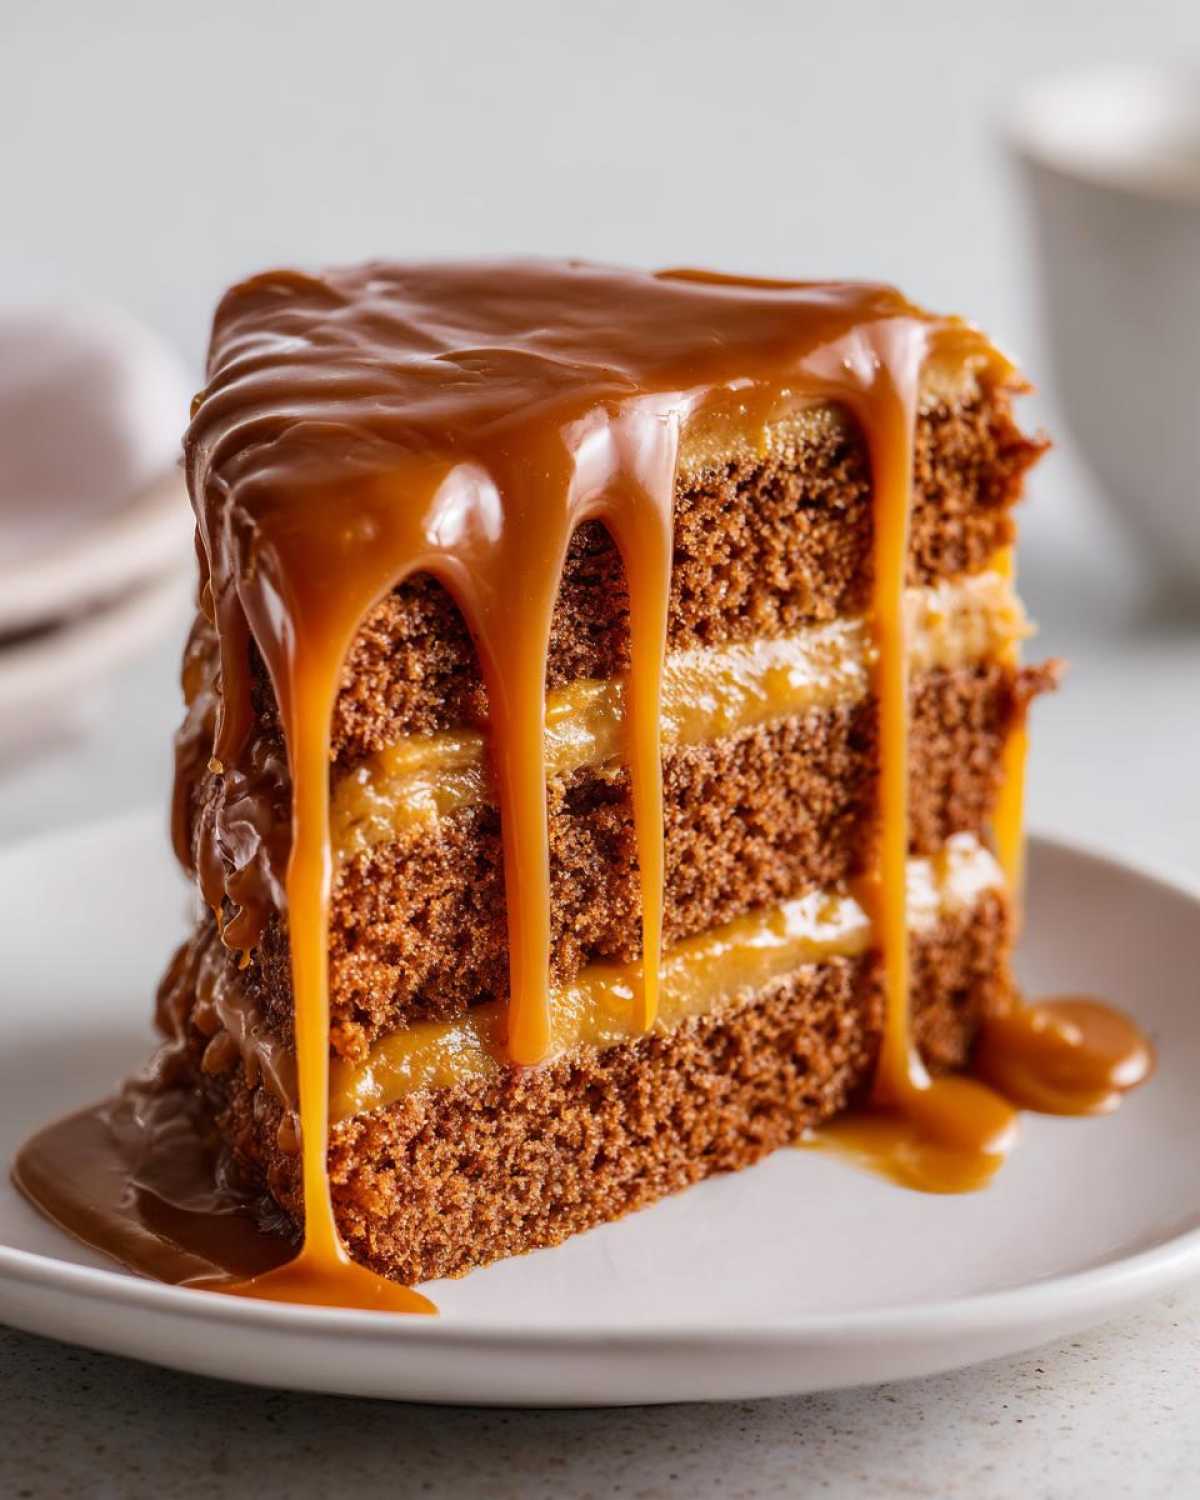
Tips for the Ultimate Moist Caramel Cake Success
You’ve baked the cake and made the icing, but how do we guarantee this is your best Caramel Cake yet? Success comes down to temperature and timing, my friends. First, remember my note about room temperature ingredients for the batter—it’s crucial because cold eggs and butter won’t cream properly, leading to a tighter crumb. We want light and airy!
Secondly, when you make that caramel for the icing, go for that deep amber color. If it’s too light, your final icing will taste flat and overly sweet. That dark color pulls in the rich, almost burnt notes we want for a truly decadent dessert. If you haven’t tried chilling the layers slightly before icing them, give it a shot. A minute or two in the freezer helps firm up the crumb just enough so the warm icing doesn’t soak in too fast. For more general tips on making fluffier layers, check out my guide on vanilla cake recipes, as the creaming method is very similar!
Variations: From Southern Caramel Cake to Salted Caramel Cake
This amazing Caramel Cake recipe is built to be flexible, which I love! If you’re looking for that deep, true Old Fashioned Caramel Cake taste, keep everything exactly as written—that combination of buttermilk and brown sugar gives you that slight molasses depth that signals true Southern baking. We’re already in the realm of Southern Caramel Cake territory with this base!
Now, if you want to pivot into something sweeter and trendier, making it a Salted Caramel Cake is so easy. Remember that 1/4 teaspoon of salt I listed for the icing? Double that amount, or even try stirring in a good sprinkle of flaky sea salt right at the end once the icing is mixed. That flavor pop balances the sugar beautifully. If you want to go all out decadent, check out my ideas for a gooey drizzle! For inspiration on pushing boundaries even further, you can look at how I adapt flavors for my Salted Caramel Churro Cake.
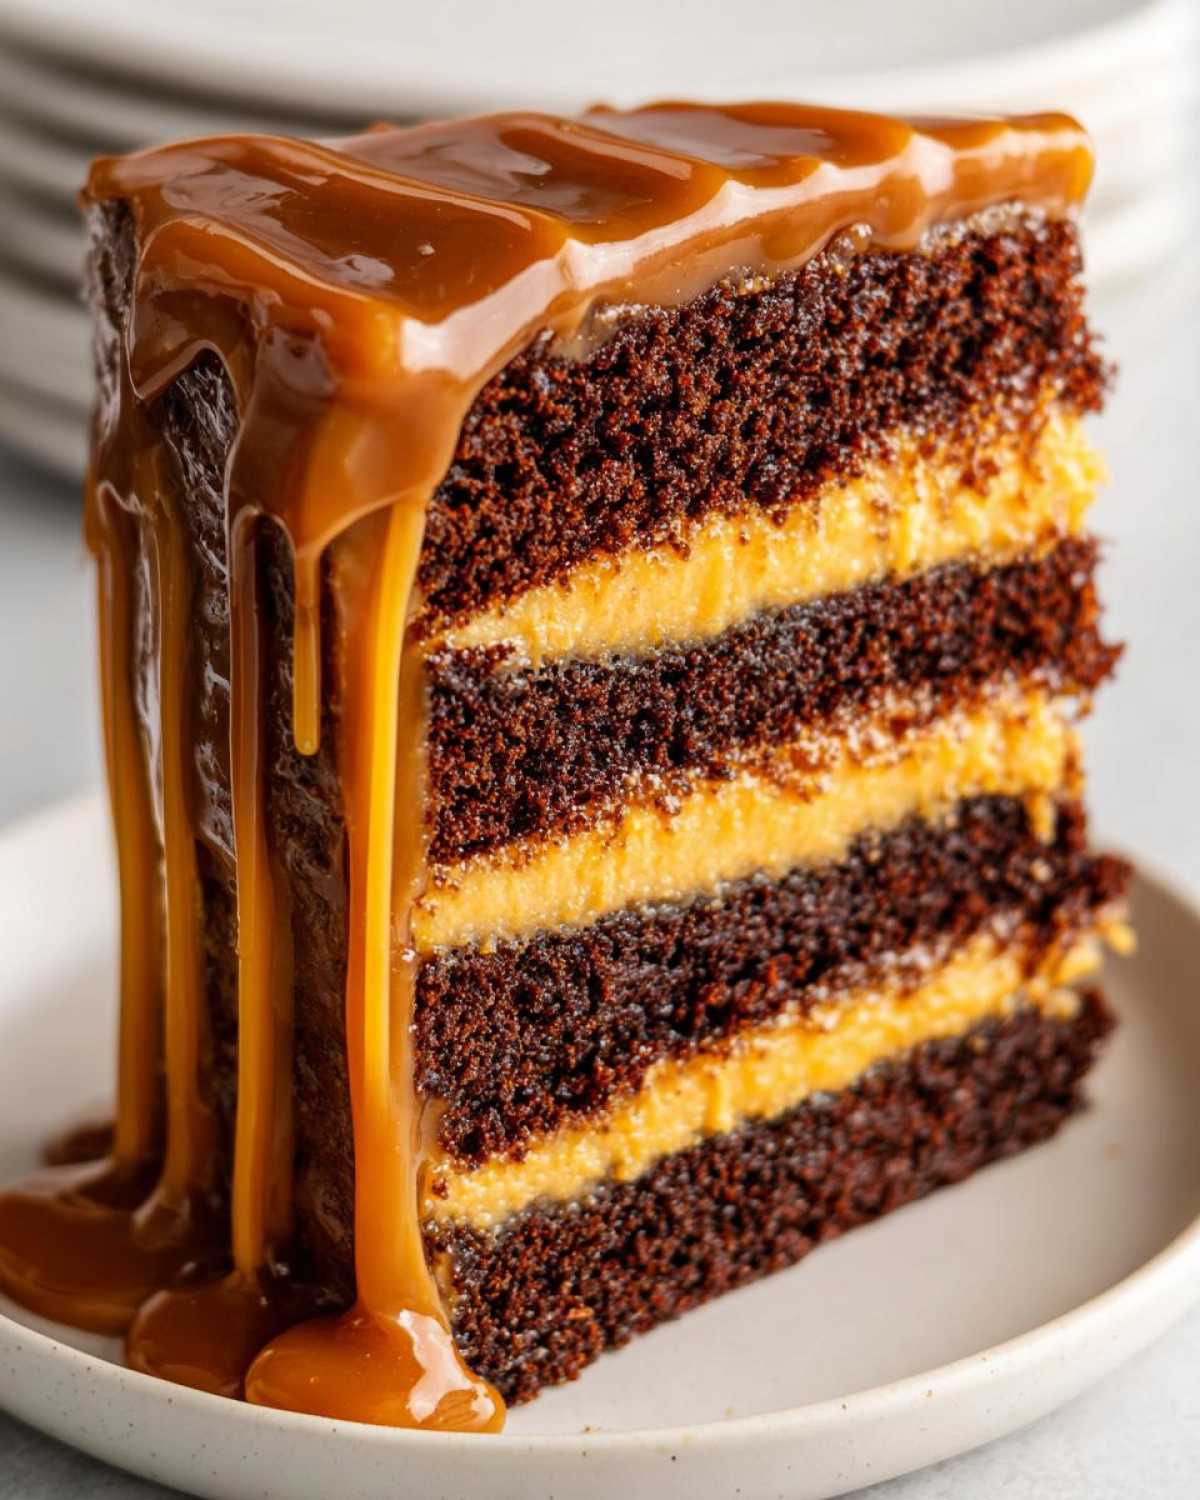
Storage & Reheating Instructions for Your Caramel Cake
Because this is such a moist cake, knowing how to store it actually matters! You can keep this beauty covered tightly at room temperature for about two days, especially if your kitchen isn’t super warm. If you need to keep it longer, pop it into the fridge—but be aware the icing will firm up quite a bit!
If your caramel icing gets too hard in the fridge, don’t worry about it getting ruined. Just let the slice sit out on the counter for about 30 minutes before serving. That little bit of warmth brings back that perfect, gooey texture beautifully.
Frequently Asked Questions About Making Caramel Cake
I’ve gathered the questions I get most often about this recipe—you know, the things that always trip up new bakers trying to tackle a truly spectacular Caramel Cake for the first time!
Why did my caramel icing turn grainy instead of smooth?
This is a common issue with any cooked icing! Graininess usually happens when sugar crystals form again during cooling, or if you stir the sugar while it’s melting in the pan. Remember, when you’re making the caramel base, leave that sugar alone until it’s fully liquid and amber. Also, make sure your cream and butter are fully incorporated off the heat to stop the crystallization process before it starts. Mastering these Caramel Icing Techniques is key to a bakery look!
How can I ensure this tastes like a true Old Fashioned Caramel Cake?
To get that authentic, deep flavor, you must use the packed light brown sugar in the cake batter along with the buttermilk. That combination is what gives the cake that slight molasses depth that signals true Southern baking. Also, don’t skimp on cooking the sugar long enough for the caramel sauce—a pale caramel equals a pale flavor! If you want to see another benchmark recipe, check out my Old Fashioned Caramel Cake guide for comparison.
My cake layers feel heavy, even though I didn’t overmix. What gives?
Because this is a super moist Caramel Cake, it’s naturally denser than a standard white cake. However, if it felt truly heavy, check your creaming step! Did you beat the butter and sugar long enough until it was light and fluffy before adding the eggs? That aerating step is crucial. If you rush that, you prevent the necessary air bubbles from forming, leading to a heavier final product.
Can I make this cake ahead of time?
Absolutely! This cake actually tastes better the next day once the flavors really meld. Once it’s totally cooled and frosted, cover it well. It keeps wonderfully on the counter for two days. If you need longer storage, see my specific notes on refrigeration above, but I always recommend letting a frosted slice sit out for a bit to soften up before serving!
Estimated Nutritional Information for This Decadent Cake Ideas
Now, I know when we’re making something this absolutely decadent, we aren’t truly worried about the numbers, right? But for those of you who enjoy having the data, here’s a little snapshot of what goes into one slice of this beautiful creation. Please remember that since this is an Old Fashioned Caramel Cake made from scratch with varying ingredient brands, these numbers are just my best, educated averages. They give you a good baseline for this Buttery Caramel Dessert!
| Nutrient | Estimate Per Slice |
|---|---|
| Serving Size | 1 slice |
| Calories | 450 |
| Sugar | 65g |
| Fat | 20g |
| Carbohydrates | 68g |
| Protein | 5g |
Disclaimer: These values are estimates based on the ingredients listed and standard serving sizes. They should only be used for general guidance.
Share Your Experience with This Classic Caramel Cake
I poured my heart into making sure this recipe delivers the ultimate experience for your next party. So, now it’s your turn! When you make this glorious Caramel Cake, please come back here and give it a rating—five stars if it blew your socks off! I’d absolutely love to see your creations; tag me on social media with your photos.
Let me know in the comments if you stuck with the traditional Southern style or if you went bold and tried the salted version. Happy baking, and don’t be a stranger! If you ever need to get in touch for baking questions, you can always use my contact page!
PrintClassic Southern Caramel Cake
A recipe for a moist, old-fashioned caramel cake featuring brown sugar layers and rich, homemade caramel icing.
- Prep Time: 30 min
- Cook Time: 30 min
- Total Time: 60 min
- Yield: 12 servings
- Category: Dessert
- Method: Baking
- Cuisine: American
- Diet: Vegetarian
Ingredients
- 1 1/2 cups unsalted butter, softened
- 3 cups granulated sugar
- 4 large eggs
- 1 tablespoon vanilla extract
- 3 cups all-purpose flour
- 1 teaspoon baking soda
- 1/2 teaspoon salt
- 1 cup buttermilk
- 1 cup packed light brown sugar
- 1 cup boiling water
- 1/2 cup granulated sugar (for caramel)
- 1/2 cup heavy cream
- 1/4 cup unsalted butter (for icing)
- 1/4 cup milk (for icing)
- 1/4 teaspoon salt (optional, for salted version)
Instructions
- Preheat your oven to 350°F (175°C). Grease and flour three 8-inch round cake pans.
- In a large bowl, cream together the softened butter and 3 cups of granulated sugar until light and fluffy. Beat in the eggs one at a time, mixing well after each addition. Stir in the vanilla extract.
- In a separate bowl, whisk together the flour, baking soda, and salt.
- In a small bowl, dissolve the brown sugar into the boiling water.
- Add the flour mixture alternately with the buttermilk to the wet ingredients, beginning and ending with the flour mixture. Mix until just combined.
- Gently fold the brown sugar water mixture into the batter. Do not overmix.
- Divide the batter evenly among the prepared pans. Bake for 25 to 30 minutes, or until a toothpick inserted into the center comes out clean.
- Let the cakes cool in the pans for 10 minutes before inverting them onto a wire rack to cool completely.
- To make the caramel icing, combine 1/2 cup granulated sugar in a heavy-bottomed saucepan over medium heat. Cook without stirring until the sugar melts and turns a deep amber color.
- Carefully whisk in the heavy cream (it will bubble vigorously). Remove from heat.
- Whisk in the 1/4 cup butter, milk, and salt until smooth. Return to low heat if necessary to dissolve any lumps, stirring constantly until you have a smooth sauce. Let the icing cool until it thickens to a spreadable consistency.
- Assemble the cake by placing one layer on a serving plate, spreading a layer of icing, topping with the next layer, and repeating. Frost the top and sides of the entire cake with the remaining icing.
Notes
- For a saltier flavor, add 1/2 teaspoon of flaky sea salt to the cooled icing.
- If the icing sets too hard while cooling, gently reheat it over low heat until it reaches a good spreading consistency again.
- Use room temperature ingredients for the cake batter for the best texture.
Nutrition
- Serving Size: 1 slice
- Calories: 450
- Sugar: 65
- Sodium: 250
- Fat: 20
- Saturated Fat: 12
- Unsaturated Fat: 8
- Trans Fat: 0.5
- Carbohydrates: 68
- Fiber: 1
- Protein: 5
- Cholesterol: 90
