

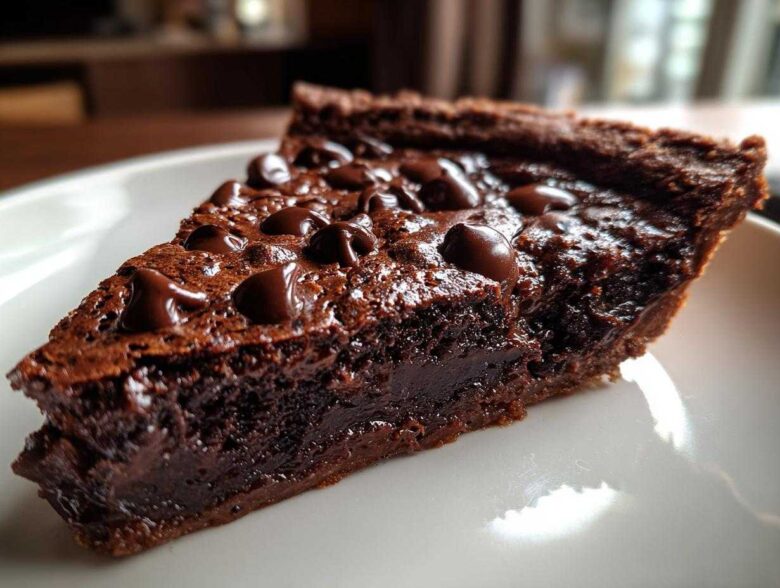
Oh my goodness, if you are currently staring into your pantry dreaming of deep, dark, slightly melted chocolate, then stop everything! You’ve stumbled onto the most glorious recipe ever devised. I’m talking about my Ultimate Gooey Hot Fudge Pie. Forget those dry, crumbly holiday disasters; this isn’t just a pie, it’s basically a warm, decadent brownie disguised in a crust, and trust me, achieving that perfect molten texture is way easier than you think.
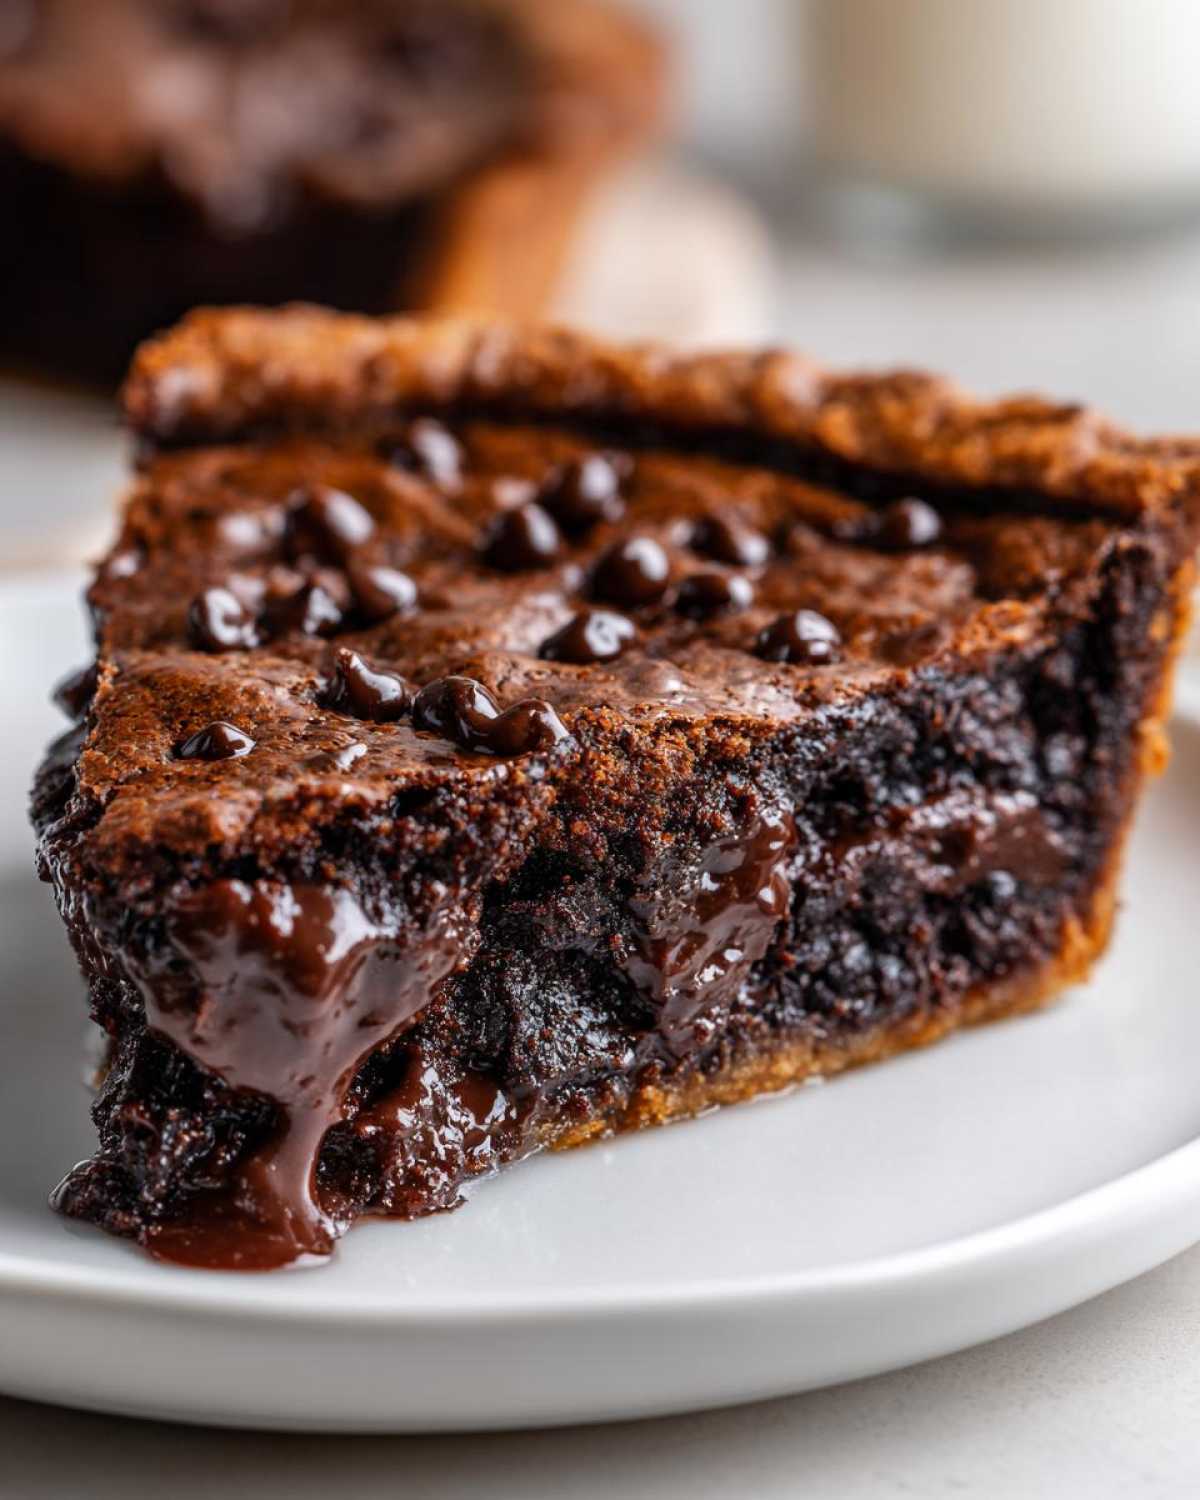
This isn’t some fussy, complicated undertaking. It’s a truly simple fudge pie that comes together lightning fast. Every single time I pull this out of the oven, the smell transports me back to childhood movie nights. Seriously, the first taste when it’s still warm? It’s pure magic. I’m going to show you exactly how I manage to get that signature, melt-in-your-mouth center every single time, so you don’t have to worry about it setting up too firm.
Now, if you want a sneak peek at another chocolate obsession I have—one that borders on dangerous—check out how I make my divine three-step hot chocolate brownies! But for today, the pie rules!
Why This Easy Fudge Pie Recipe Delivers Comfort Food Pie Perfection
Look, I’ve made my share of baking mistakes—trust me, I have cakes that leaned further than the Tower of Pisa! But this Easy Fudge Pie Recipe is my go-to when I absolutely need a win in under an hour. It just works! The texture is what sets it apart; it’s not just fudgy, it’s that genuine, warm brownie texture people crave.
The reason it achieves that perfect Gooey Chocolate Dessert status, even when you poke it with a fork, is all in the base before you add the liquid. We whisk the flour, sugar, and cocoa, and then we cut in cold butter. That little step creates a crumb foundation. It’s that coarse crumb that traps steam and prevents the batter from hardening into a sturdy cake structure. It keeps everything gloriously soft!
It’s practically foolproof, which is why I love bringing it to gatherings. If you need a quick, comforting chocolate fix that tastes like you fussed for hours, this is your ticket. For more simple treats, you absolutely have to check out my easy no-bake chocolate eclair cake when you just can’t face the oven!
Gathering Ingredients for the Best Chocolate Fudge Pie
Okay, assembling the ingredient list for this pie is almost as fun as eating it! Don’t panic, nothing on this list is exotic. We start with a standard store-bought 9-inch unbaked pie crust—yes, I absolutely use store-bought sometimes, no judgment here!
The crucial part is the dry mix: regular sugar, flour, cocoa powder, and salt. When you get to the fat, you must use cold unsalted butter, and please, cut it into those tiny little pieces. We also need one cup of cold water and two large eggs that are only lightly beaten. Don’t forget your vanilla extract and finally, the sprinkling of semi-sweet chocolate chips right on top. If you want to see how I make a really simple fudge, check out my easy 3-ingredient fudge recipe!
Step-by-Step Instructions for Your Homemade Fudge Pie
Alright, let’s get this chocolate dream into the reality of your oven! These steps are super clear, but remember, rushing anything involving chocolate is usually a mistake. We want the ultimate gooey release, not a brick, so pay attention to those temperatures and mixing cues!
First things first: Get your oven humming at 350 degrees Fahrenheit. Place that good 9-inch unbaked pie crust right onto a baking sheet. This is a pro move I learned because it makes moving the hot pie much, much easier later on. Don’t skip the preheating!
Preparing the Dry Mix and Cutting in Butter for the fudge pie
Grab a medium bowl and whisk together your sugar, flour, cocoa powder, and salt. Whisk it well so you don’t end up with a pocket of plain flour later. Now, the cold butter comes in! Cut your cold butter (it needs to be cold!) into little tiny pieces. Use a pastry blender or your fingertips—your fingers work fine if you’re quick—to cut that butter right into the dry stuff until it looks like coarse crumbs. My tip? Work fast! You don’t want your warm hands melting the butter before it gets mixed in, or you lose some of that crucial structure.
Combining Wet and Dry Ingredients for the fudge pie Batter
In a separate little bowl, whisk your cold water and the two eggs together. Just get them acquainted, don’t beat them into submission! Now, pour that liquid mixture *slowly* into your dry crumbs. Mix it up only until everything is just combined. I mean it, stop mixing when the flour streaks disappear! Overmixing is the enemy here; it develops gluten and locks in a hard texture instead of letting this become a super soft, Rich Chocolate Baking experience. Finally, stir in that lovely vanilla extract.
Baking and Cooling the Rich Chocolate Baking Dessert
Gently pour all that rich batter right into your unbaked crust. Spread the chocolate chips evenly over the top—they’ll melt down into those wonderful pockets of richness. Pop the whole sheet into the oven and bake for about 40 to 45 minutes. Here’s the tricky part: you are checking near the edge—the center needs to stay gooey! If a toothpick near the edge comes out mostly clean, you are golden. Let the whole beautiful thing cool on a wire rack for at least 30 minutes before attempting to slice it. If you slice it too early, it turns into soup! Trust me on the cooling waiting game. If you are looking for more chocolate joy, here is my recipe for moist and fudgy chocolate cake.
Tips for Success: Achieving the Perfect Old Fashioned Fudge Pie Texture
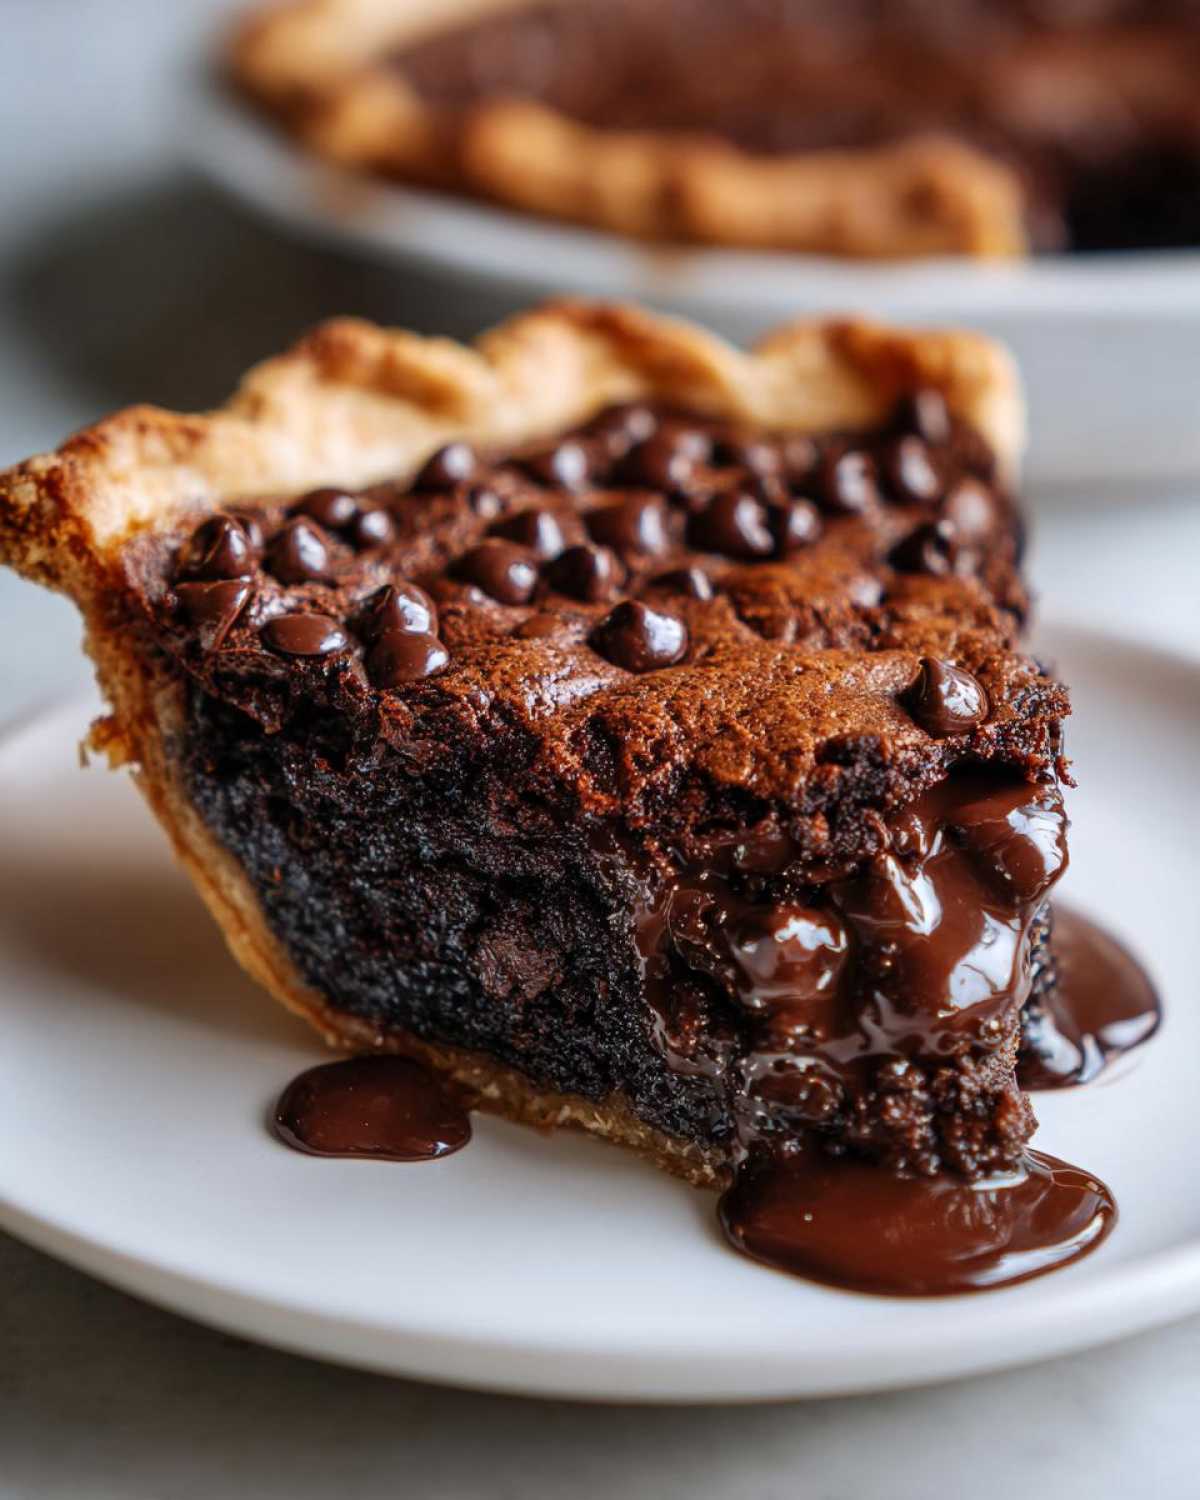
So many folks write to me worried their pie set up too much! Listen, this is a delicate balancing act between pie and brownie. If you want it truly molten in the middle, you have to pull it out based on the edge test, not the center test. Remember, the center will still look a little wet when you check it after 45 minutes—that’s how you guarantee that signature gooey center for your fudge pie.
If you really want a firmer slice, maybe you’re packing this up for a picnic, just add about five extra minutes to the bake time. Also, don’t feel locked into semi-sweet chips! If you swap those out for chopped dark chocolate, the flavor gets so much deeper and richer—it really elevates this to that luxurious texture we associate with truly great chocolate bakes.
And while we’re talking chocolate upgrades, if you like a little depth, dusting a tiny pinch of espresso powder into your dry mix works wonders! If you’re curious about another dense, fudgy treat, try my fudgy date brownies recipe—they have a similar deep flavor profile!
Variations on Your Decadent Chocolate Pie
One of the best things about a straightforward recipe like this is how beautifully it takes friendly tweaks! You absolutely don’t have to just stick to the script if you want to shake things up next time you make this pie. It begs for a little experimentation.
For instance, if you want to deepen that chocolate flavor for a truly Decadent Chocolate Pie experience, try stirring in half a teaspoon of instant espresso powder right along with your dry ingredients. It won’t taste like coffee, but it makes the chocolate sing louder, I promise!
Also, don’t be afraid of the chips! I used semi-sweet here, but switching to milk chocolate chips makes the pie sweeter and richer. Or, for an adult kick, toss in just a tiny pinch of cayenne pepper with the cocoa. It gives the pie a thrilling little warmth at the back of your throat!
If you want another totally easy, rich chocolate bake, you have to check out my fudgy Oreo brownies recipe when you’re looking for that amazing, chewy texture!
Serving Suggestions for Your Hot Fudge Pie Recipe
Listen, cutting into this pie is honestly just the beginning of the fun! For the absolute best experience with your Hot Fudge Pie Recipe, you have to treat it like a freshly baked cookie. It must be served warm—that’s non-negotiable if you want the gooey center to shine.
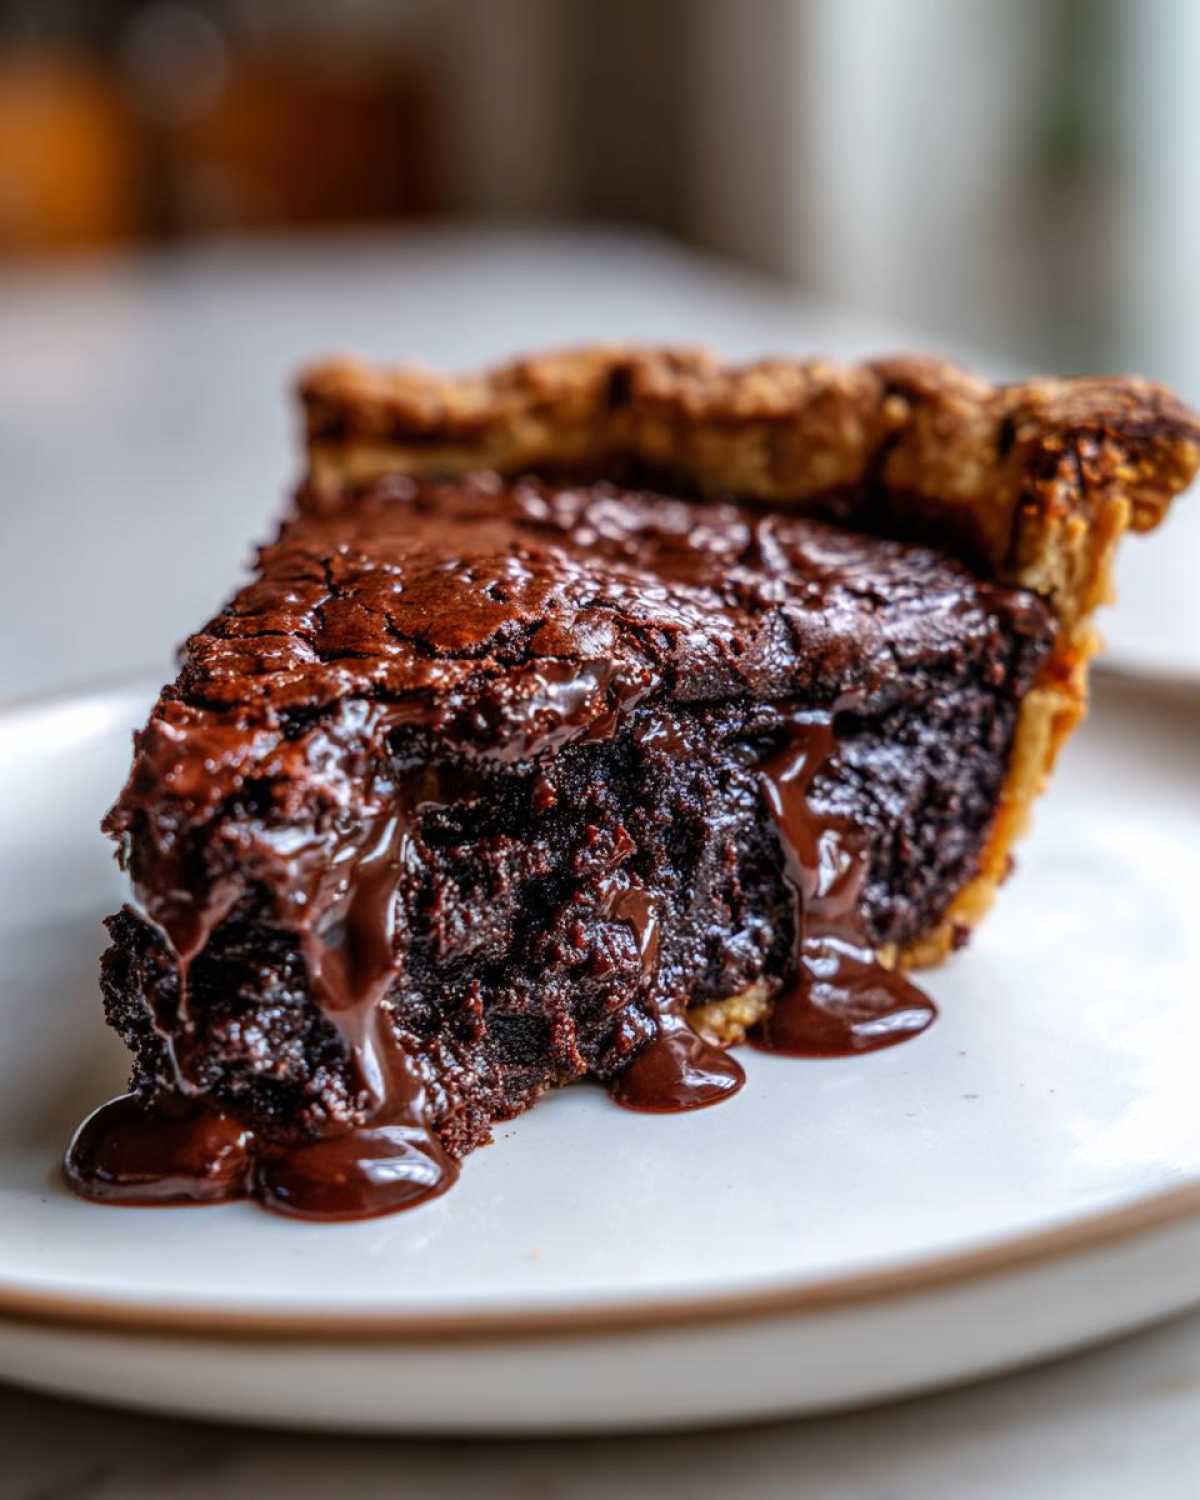
Pairing it with a big scoop of vanilla ice cream is pure classic perfection; the contrast between the warm, rich chocolate and the cold cream is everything. If ice cream isn’t your thing, a dollop of freshly whipped cream works beautifully. Sometimes, when I’m feeling lazy but still want something nice, I just dust the top lightly with powdered sugar. It looks so elegant, and it tastes amazing! If you want to make your own rich toppings, you should definitely look at my vanilla buttercream frosting recipe!
Storage and Reheating Instructions for Leftover fudge pie
Now, this is the hard part: having leftovers of this fudge pie! It honestly tastes best the day you bake it, but if you manage to save a slice, don’t just throw it in the fridge uncovered or you risk a dried-out edge for tomorrow.
You can keep a slice covered loosely at room temperature for up to two days, especially if it’s a cooler environment. If you need to keep it longer, wrap it up really well and store it in the fridge. The secret to getting that gooey texture back is a quick warm-up. You can zap it for about 15 seconds in the microwave, or, if you want it to taste freshly baked, warm it in a 300-degree oven for about five minutes until it just starts to soften again.
Frequently Asked Questions About Making a Simple Fudge Dessert
Can I skip using the pre-made pie crust?
Oh, you can totally skip the store-bought crust if you’re feeling ambitious! But honestly, for this recipe, the pie crust is just the vessel. It contains all the gooey goodness. If you skip it, you’re basically baking a huge, flat, fudgy cookie, which is delicious, but not a pie! If you want to make your own, just press your favorite shortcrust pastry dough right into the dish. Since we are using the unbaked crust, it bakes up perfectly crisp around the edges and doesn’t get soggy. If you are looking for an even easier chocolate dessert, perhaps try my easy creamy chocolate pudding recipe instead!
Can I make this fudge pie ahead of time?
This is tricky because this pie loves to be warm! You can technically bake the whole thing, let it set up completely on the counter, and then store it covered at room temperature for a day. However, to get that desirable *melt-in-your-mouth* texture you need to reheat it! It won’t be as gooey straight out of the fridge. So, for the best experience, I recommend assembling the dry ingredients ahead of time and chilling them, then mixing in the wet ingredients and baking right before you plan to serve it warm.
Why did my fudge pie set up too firm?
This is the most common concern! If your center turned out more like a cake than a warm brownie, it almost always comes down to overmixing or overbaking. When you combine the wet and dry ingredients, you stop mixing the second the streaks disappear. If you keep going, you activate the gluten in the flour, and it firms up. Also, if you bake it until the toothpick comes out completely dry from the center, instead of just ‘mostly clean’ near the edge, you’ve overbaked the gooey section away!
Can I substitute the sugar?
I wouldn’t recommend it for this specific recipe. This isn’t just about sweetness; the high proportion of granulated sugar works with the flour and butter to create that unique, silky, fudge-like structure when baked. Stepping away from the granulated sugar really changes how the structure settles upon cooling, and you might end up with something too dense.
Estimated Nutritional Data for One Slice of Fudge Pie
Now, I always joke that if you’re making a truly decadent dessert like this, you probably aren’t keeping track of the macros, but I know some of you lovely readers like to see the numbers! Remember, this is just an estimate based on the ingredients list, and it can swing depending on your crust choice and exactly how generous you are with the chocolate chips.
This data is based on 8 servings. Consider this a rough guide for your magnificent slice of Comfort Food Pie!
- Serving Size: 1 slice
- Calories: 350
- Sugar: 35g
- Sodium: 150mg
- Fat: 18g
- Saturated Fat: 10g
- Unsaturated Fat: 8g
- Trans Fat: 0g
- Carbohydrates: 45g
- Fiber: 3g
- Protein: 5g
- Cholesterol: 55mg
If you’re looking at these numbers and thinking, “Okay, I need a lighter option next time,” be sure to check out my privacy policy for future posts, though honestly, sometimes you just need the full-fat, fully-fudgy experience!
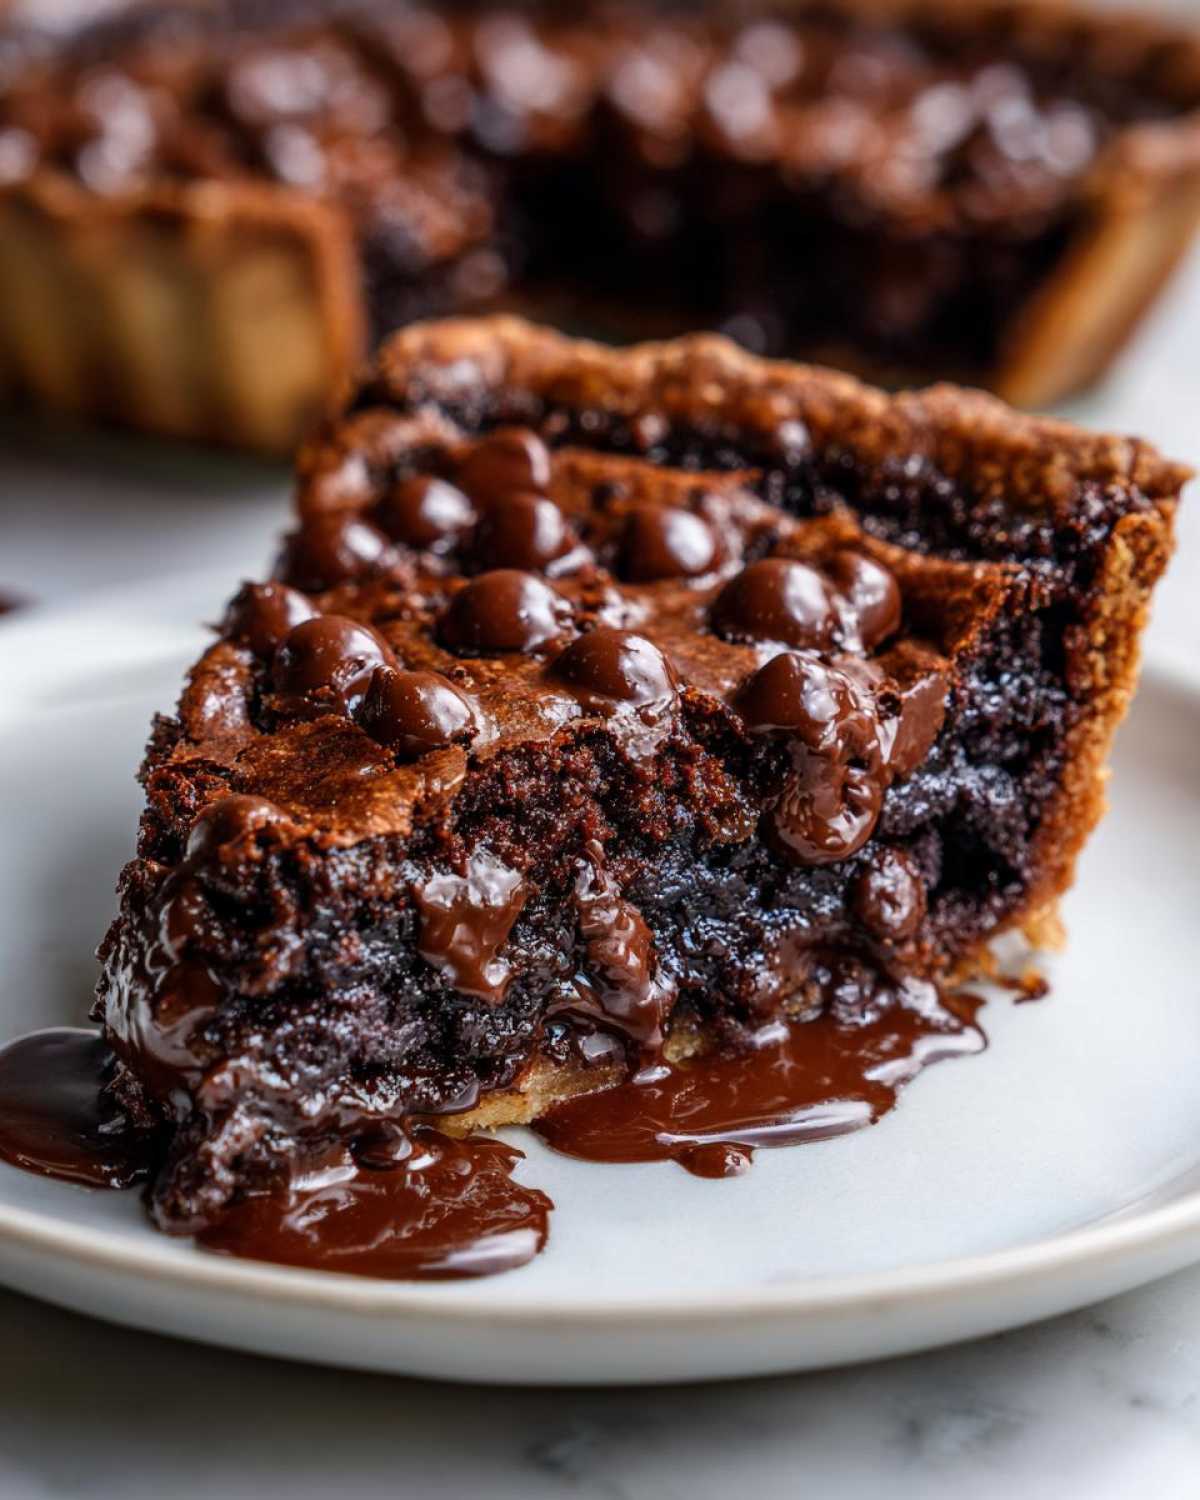
Ultimate Gooey Hot Fudge Pie

Make this rich, decadent fudge pie that tastes like a warm brownie. This recipe is simple to follow and produces a melt-in-your-mouth chocolate dessert.
- Prep Time: 15 min
- Cook Time: 45 min
- Total Time: 60 min
- Yield: 8 servings
- Category: Dessert
- Method: Baking
- Cuisine: American
- Diet: Vegetarian
Ingredients
- 1 (9 inch) unbaked pie crust
- 1 cup granulated sugar
- 1/2 cup all-purpose flour
- 1/4 cup unsweetened cocoa powder
- 1/2 teaspoon salt
- 1/2 cup cold unsalted butter, cut into small pieces
- 1 cup cold water
- 2 large eggs, lightly beaten
- 1 teaspoon vanilla extract
- 1/2 cup semi-sweet chocolate chips
Instructions
- Preheat your oven to 350 degrees Fahrenheit. Place the unbaked pie crust on a baking sheet.
- In a medium bowl, whisk together the sugar, flour, cocoa powder, and salt.
- Cut in the cold butter using a pastry blender or your fingers until the mixture resembles coarse crumbs.
- In a separate small bowl, whisk the cold water and eggs together until combined.
- Pour the egg mixture slowly into the dry ingredients, mixing until just combined. Do not overmix.
- Stir in the vanilla extract.
- Pour the batter into the unbaked pie crust. Sprinkle the chocolate chips evenly over the top of the batter.
- Bake for 40 to 45 minutes, or until a toothpick inserted near the edge comes out mostly clean (the center will remain gooey).
- Let the pie cool on a wire rack for at least 30 minutes before slicing and serving warm.
Notes
- Serve this pie warm with a scoop of vanilla ice cream for the best experience.
- You can substitute the chocolate chips with chopped dark chocolate for a deeper flavor.
- If you prefer a firmer texture, bake for an additional 5 minutes.
Nutrition
- Serving Size: 1 slice
- Calories: 350
- Sugar: 35
- Sodium: 150
- Fat: 18
- Saturated Fat: 10
- Unsaturated Fat: 8
- Trans Fat: 0
- Carbohydrates: 45
- Fiber: 3
- Protein: 5
- Cholesterol: 55
