

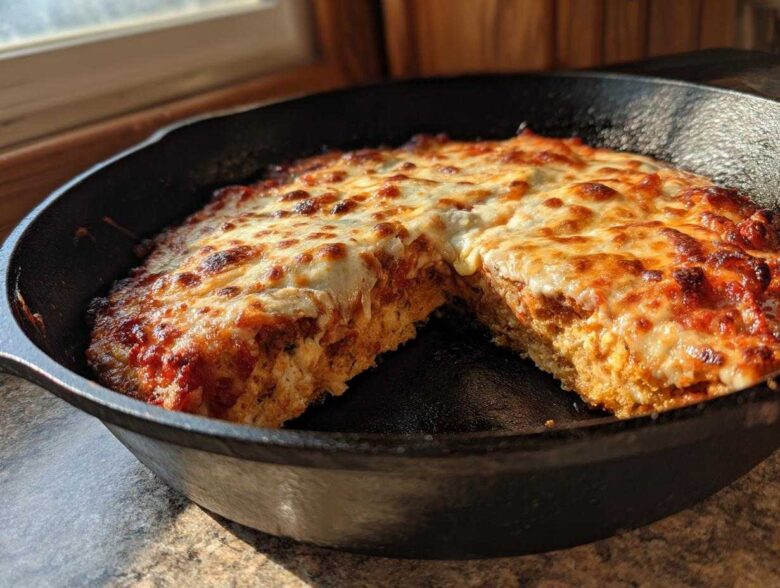
Forget delivery fees and soggy cardboard! Making pizza at home that actually tastes like it came from a serious pizza joint felt impossible to me once. We always ended up with one of two sad outcomes: a crust that was either too floppy or a bottom that was burnt black before the cheese even melted. Then, I discovered the secret weapon lurking in the back of my cabinet: my cast iron skillet. Seriously, this Cast Iron Skillet Pizza recipe changed everything for our weeknights. We aren’t just making pizza; we are mastering that incredible, deeply browned, crispy-on-the-bottom, chewy-on-the-inside perfection. I spent weeks messing with temperatures and timing so you don’t have to!
Why This Cast Iron Skillet Pizza Delivers the Perfect Crust
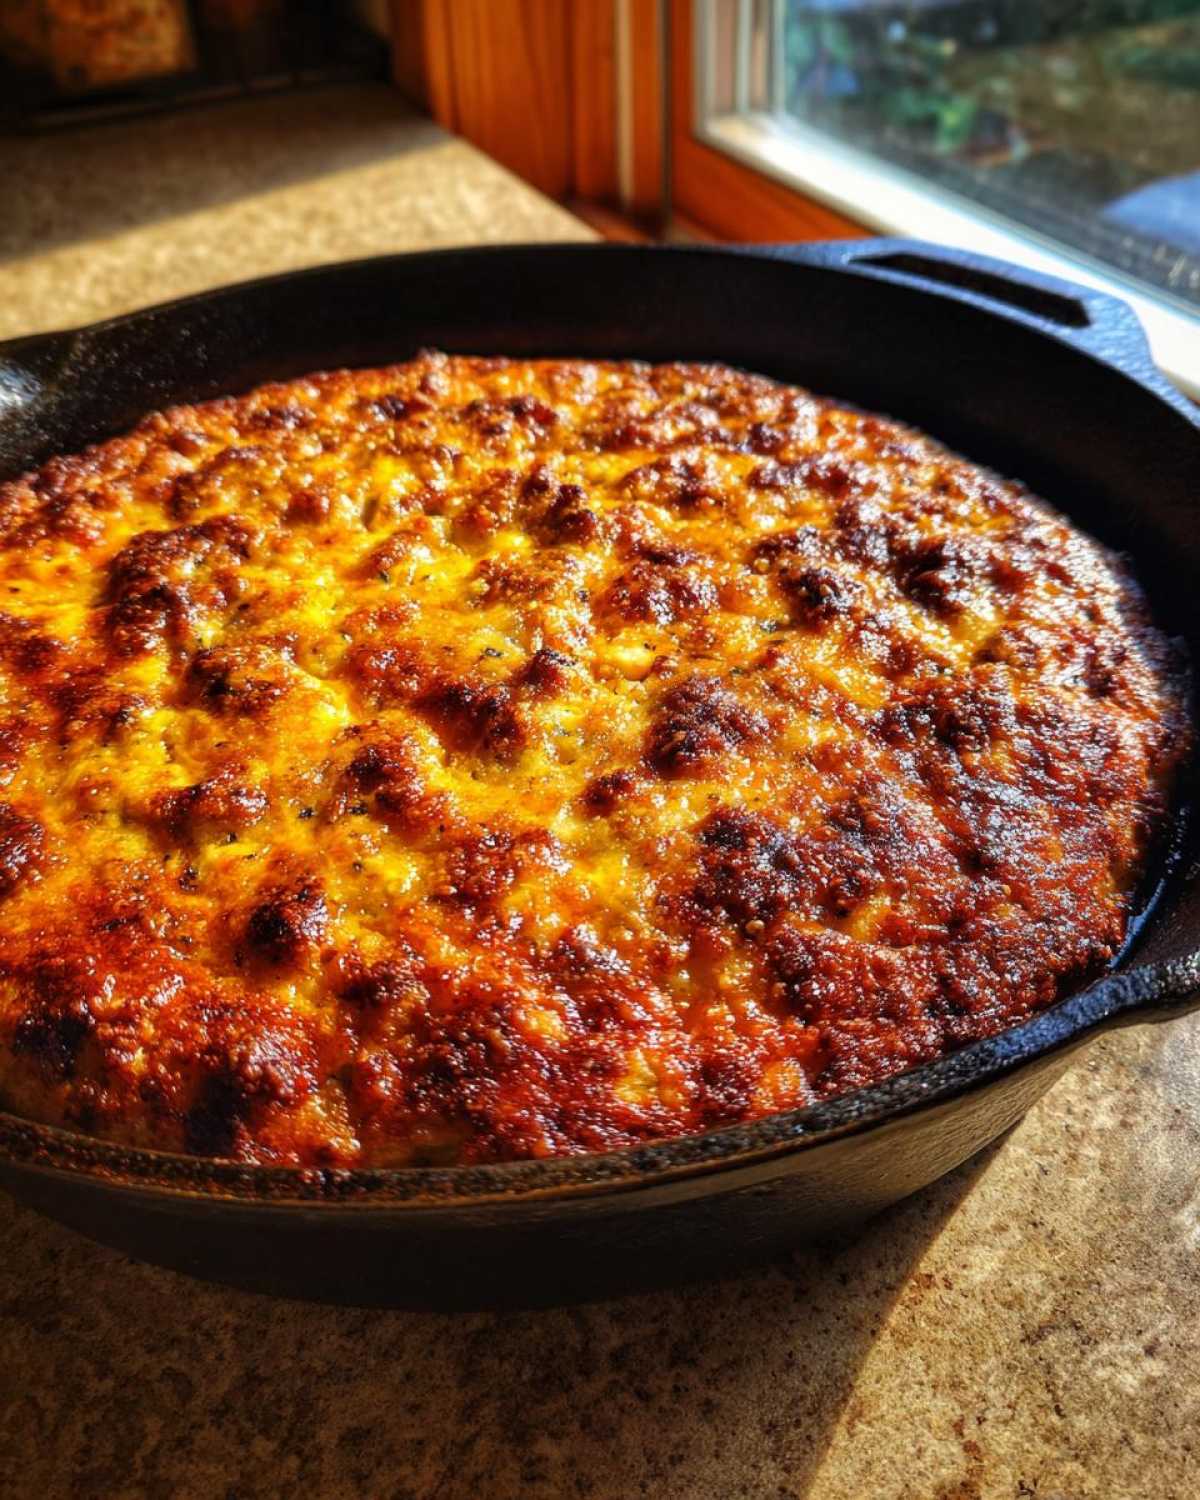
The magic, friend, happens because cast iron gets screaming hot, and we exploit that heat! We aren’t just baking; we are essentially frying the bottom of the dough. Preheating the skillet on the stovetop first transfers thermal energy directly to the crust base. This is the absolute key to unlocking the secret to crispy pizza bottom. It’s how we make that incredible base.
When you slide that cheesy masterpiece onto that hot metal, you get instant sizzle and serious browning. It’s the best feeling watching that happen! People talk about making artisan bread in cast iron—check out my no-knead Dutch oven bread—but the same principles create this amazing pizza base.
- We get that gorgeous, thick, chewy interior you usually only find in proper pizzeria ovens.
- The base turns out deeply golden brown, achieving that true crispy crust skillet pizza texture.
- It cooks faster overall because we start that intense heat transfer on the stovetop before it even sees the oven.
Comparing Cast Iron Pan Pizza Recipe Styles
This stovetop-to-oven method is different from just popping a regular pizza stone in the oven. Traditional baking often steams the crust underneath, making it pale. Deep dish is usually too slow and thick to handle this method well. Our Cast Iron Pan Pizza Recipe style finds the perfect middle ground: it gets the thickness we love without sacrificing that crispy, browned underside. It’s the ideal balance for a fantastic homemade meal!
Ingredients for Your Ultimate Cast Iron Skillet Pizza
Okay, let’s talk about what you need to make this masterpiece. Remember, quality ingredients make the difference here, especially with something simple like this. You want to aim for a 10-inch or 12-inch skillet, and these amounts are perfect for that size. Don’t even think about using full-fat fresh mozzarella unless you want a swimming pool on your pizza; low-moisture cheese is your best friend!
- 1.5 cups all-purpose flour
- 1 teaspoon instant dry yeast
- 1 teaspoon salt
- 0.5 cup warm water (Make sure it’s between 105-115°F! Too hot kills the yeast!)
- 2 tablespoons olive oil, plus more for the pan
- 0.5 cup pizza sauce (Keep it thick!)
- 1.5 cups shredded low-moisture mozzarella cheese
- Your favorite toppings (I love pepperoni and mushrooms, classic combo!)
- 1 tablespoon cornmeal (Optional, but boy, does it help with the bottom crisping!)
Notes on the Best Cast Iron Pizza Dough
We use instant dry yeast because it’s just so forgiving for beginners. You don’t need to proof it separately; it mixes right in! Once the dough is kneaded, giving it that coat of olive oil before it rises is super important. It stops the dough from drying out while it gets nice and puffy. If you want to dive deeper into making fantastic, easy dough, check out my guide on the easiest homemade pizza recipe dough. This ratio is specifically designed to stretch beautifully and fill the bottom of your skillet in that lovely, slightly thick way—it’s the perfect ratio for a best pan pizza styles base.
How to Make Pizza in a Cast Iron Skillet: Step-by-Step
Alright, this is where the real action happens! Don’t rush the dough rise—that’s where the flavor builds. Once it’s doubled, we get into the proper technique. This process of starting low on the burner and finishing high in the oven is known as the stovetop to oven pizza technique, and it’s designed specifically for your cast iron to work its magic.
Preparing the Dough and Preheating the Skillet
First things first: mix your dry ingredients (flour, yeast, salt) in a big bowl. Then, add the oil and warm water. Mix until it looks messy—that’s normal! Now, knead it on a clean counter until it feels smooth and elastic, usually about seven minutes. We need that gluten development!
Toss it into an oiled bowl, cover it up tight, and let it chill, I mean, *rise*, for an hour to ninety minutes. It needs to double! While that’s puffing up, take your cast iron skillet and set it right on the burner over medium heat. Seriously, set a timer for 10 minutes. We want that metal blazing hot. This preheat is the non-negotiable step for achieving that perfect pan pizza crust!
Assembling and Cooking Your Cast Iron Skillet Pizza
Once the skillet is hot, lightly dust it—I use a little cornmeal for extra insurance—and press that wonderful dough right into the pan. It should stretch out nicely. Now, quickly layer your sauce, cheese, and toppings. Don’t overload it; we want the heat to reach everything.
Put the skillet back on the stovetop, medium-low heat. This is crucial! Let it cook for about five to eight minutes. You need to peek underneath—use a spatula gently to check the color. You’re looking for dark golden brown, not black! When it looks great down there, carefully transfer the whole skillet straight into your oven, cranked up to 475°F (245°C).
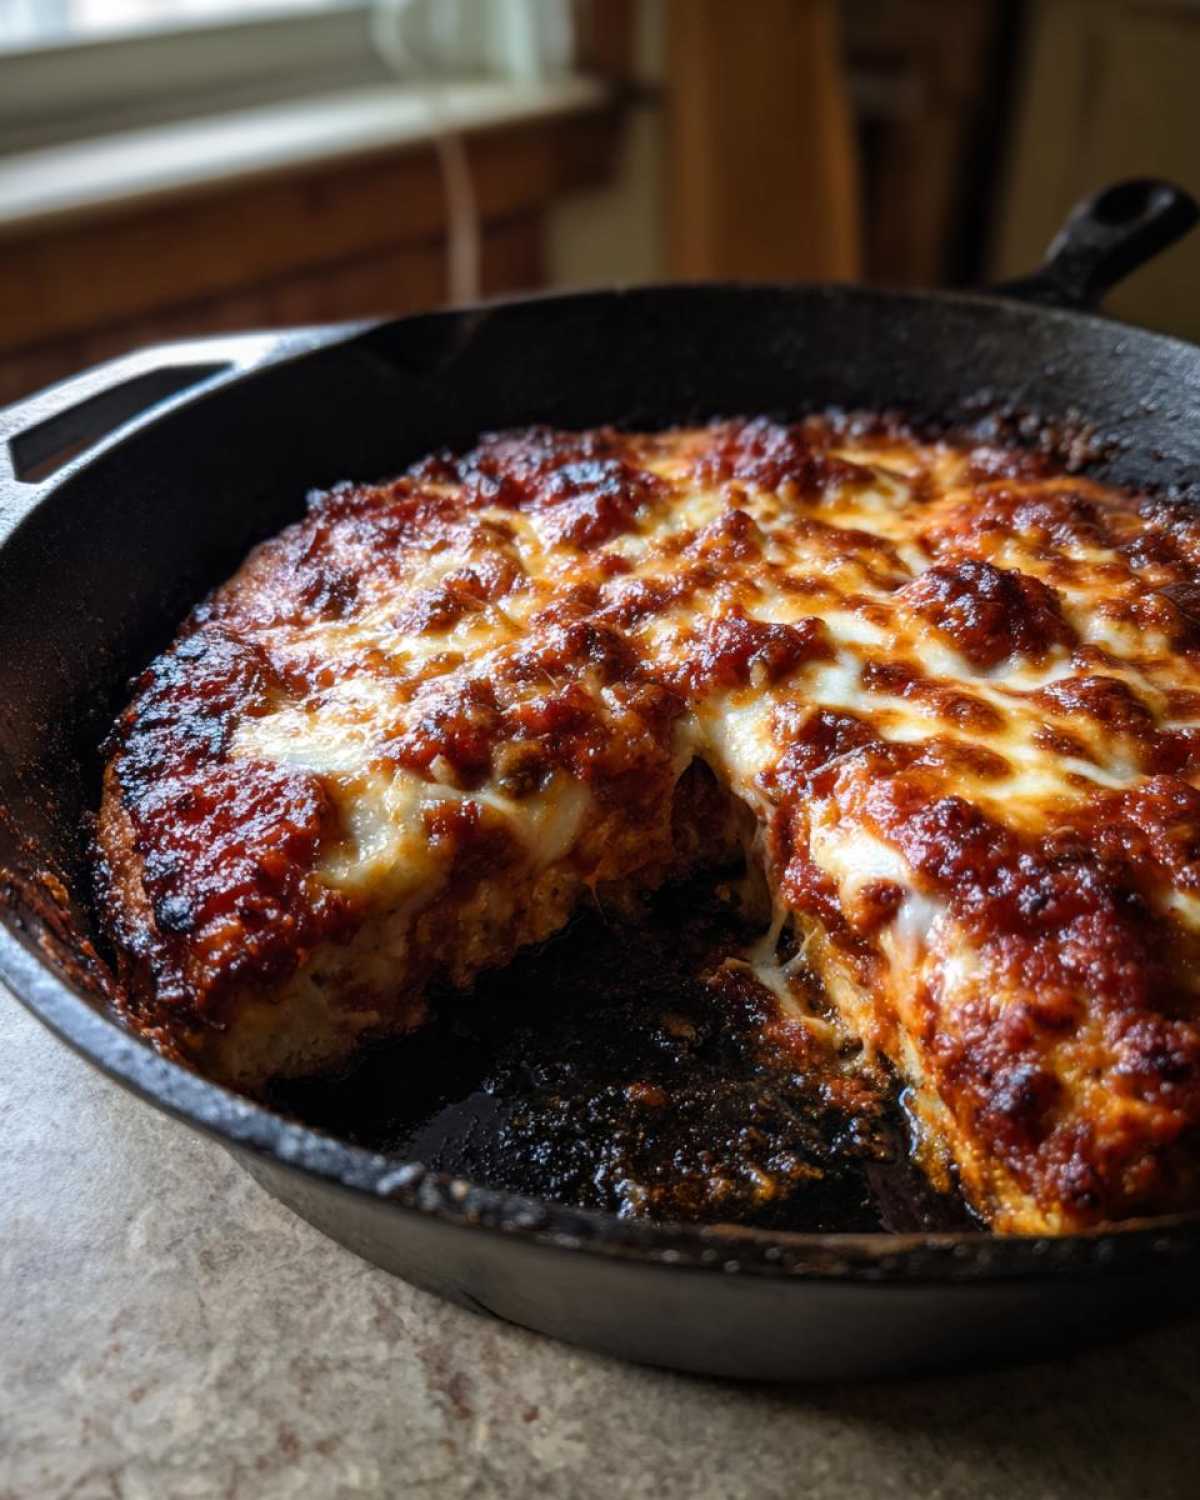
Bake for about 8 to 12 more minutes. The heavy cast iron ensures fantastic heat retention, so watch those edges. Once the cheese is bubbly and browned, yank it out! Let it sit in the skillet for five minutes. Trust me on this rest period—it lets the bottom crisp up even more before you slice it. You can check out more great skillet cooking tips in my easy homemade naan bread recipe for other inspiration!
Tips for the Perfect Cast Iron Skillet Pizza Every Time
Look, I’ve been where you are—staring worriedly into the oven wondering if that beautiful dough is sticking to the bottom of the pan. Mastering this technique is all about managing that intense heat cast iron brings to the table. These little tricks are what I learned after burning through a few doughs, so pay close attention!
First, about the dough: if you are using store-bought dough or if your homemade dough is sticking to your hands when you press it into the pan, that means it’s too relaxed. If your dough is fighting you when you try to stretch it after the rise, let it rest for 10 more minutes covered. It sounds counterintuitive, but letting the gluten relax lets you spread it out without tearing it, which is important for containment!
- Don’t Skip the Oil or Cornmeal: I know some recipes skip the fat on the bottom, but for this high-heat method, don’t! A good coating of olive oil or a light dusting of cornmeal acts as that crucial buffer zone between the dough and the scorching metal. This is my insurance policy for a wonderfully crisp base.
- Oil the Dough, Not Just the Pan: Make sure you brush the top surface of the raw dough with olive oil before you add sauce and cheese. This helps seal the top a little, preventing that doughy, undercooked center that plagues thick pan pizzas.
- Mind Your Stove Burner: If you notice the bottom is getting dark brown way too fast during the 5-minute stovetop phase, immediately turn the burner down to low or even lift the skillet slightly off the burner for 30 seconds. We want color, not charcoal!
Troubleshooting Your Cast Iron Skillet Pizza
Sometimes despite our best planning, things go slightly sideways. Here’s how I fix the two most common issues when baking in cast iron.
If the bottom is burning but the cheese is still cold, that means your oven heat might be too aggressive, or the bottom is simply too close to the heating element. Move your oven rack down one level if you can. If you’re using a gas oven, the ambient heat is often fierce! You can also try sliding a baking sheet onto the rack underneath your pizza skillet—it acts like a heat shield for the crust. I learned a lot about managing intense baking temperatures when I was figuring out my artisan bread, and those lessons definitely apply here!
If the cheese is done but the center seems a little soft, you can carefully slide the skillet under the broiler for *60 to 90 seconds only*. Watch it like a hawk! You’ll only want to do this if the bottom crust is already perfectly cooked. Seriously, walk away for 5 seconds, and you’ll go from bubbly cheese to melted black goo!
Cast Iron Pizza Topping Combinations for Your Next Cast Iron Skillet Pizza
Since the crust on this Cast Iron Skillet Pizza is so sturdy and flavorful, it really stands up well to heavy or robust toppings. This isn’t the time for delicate greens; this crust needs some backbone! Because we are making an easy homemade pizza skillet version, the layering needs to be smart, especially when transitioning from the stovetop to the oven. Don’t be afraid of bold flavors!
Here are three combinations that my family absolutely devours when I make this:
- The Spicy Italian: Instead of standard sauce, I use a thin layer of spicy Calabrian chili oil mixed into my plain tomato sauce. Top it with crumbled spicy Italian sausage (pre-cooked!) and thinly sliced pickled hot peppers. The spice just sings against that buttery crust.
- Creamy White Garlic: Forget the red sauce! For this one, I use garlic-infused olive oil on the dough, then a thin layer of blended ricotta cheese mixed with garlic powder and Parmesan. I top it with mushrooms and fresh thyme. If you want the ultimate white pizza recipe inspiration, check out my creamy garlic ricotta white pizza guide!
- The Backyard Veggie Feast: Use your standard sauce, but go heavy on the veggies that hold up well, like thinly sliced red onion, jarred artichoke hearts, and sliced black olives. Make sure you press the toppings down a little bit into the cheese so they don’t fly off when you transfer the skillet!
Remember, since the bottom gets so hot, it helps to put wetter toppings like mushrooms near the center rather than right up against the edge where the crust is thinnest!
Storage & Reheating Instructions for Leftover Cast Iron Skillet Pizza
If, and I mean *if*, you have any of this incredible pizza left over, we have to treat it right! Cast iron pizza is definitely best eaten piping hot right out of the oven, but leftovers can be fantastic if you skip the microwave. Microwaving pizza is practically a crime against texture; it makes that beautiful, crispy crust turn soft and chewy in the worst way.
For storage, you need air management. Don’t just wrap the whole thing in foil—the moisture gets trapped, and you’re back to soggy crust town. Instead, let the slices cool down completely. Then, stack them with a small piece of parchment paper or wax paper between each slice. Tuck that stack into a sealed, airtight container. It keeps really well in the fridge for about three days.
When it’s time to eat those leftovers, we must bring back the crisp! You have two great options, and both involve dry heat. The best way is the oven or, even faster, a toaster oven. Set either one to about 350°F (175°C). Place the slices directly on the rack or on a sheet pan. Give it about 5 to 8 minutes. You’ll hear that bottom start to get a little crackle again. That’s how you know you’ve saved it! Trust me, spending five extra minutes reheating properly is worth keeping that spectacular crust intact.
Frequently Asked Questions About Cast Iron Pizza
I know you probably have a few lingering questions, especially if you’ve never tried the stovetop-then-oven method before. That’s totally fair! This technique is a game-changer, but it relies on getting a few details just right. Hopefully, these quick answers help you feel totally prepared for that perfect homemade pizza skillet night!
Can I use a cold skillet instead of preheating it?
Oh no, please don’t! If you skip the preheating step, you absolutely will not achieve that signature crunch we are going for. The entire point of this recipe is using the retained, intense heat of the cast iron to instantly crisp up the bottom of the dough—that is the secret to a crispy crust skillet pizza. Starting cold means you’re essentially just baking dough in a metal bowl, and it will turn out soft and pale on the bottom. Give it those ten minutes on the burner; it’s non-negotiable!
What size cast iron skillet is best for this recipe?
For the dough quantity listed, a 10-inch or a 12-inch skillet works beautifully. If you use a 10-inch pan, the dough will spread a little thicker, giving you more of a “Detroit style pizza in cast iron alternative” feel—really thick, almost like focaccia bread. If you use a larger 12-inch skillet, the crust will be thinner and crisper overall. Either way is delicious, but the 10-inch offers more height!
How do I prevent the toppings from burning before the dough is cooked?
This comes down to two things: how much sauce you use and your oven temperature. If your sauce is too thick or heavy, it insulates the dough from the heat coming down from the top element. Use a thinner layer of sauce than you think you need. Also, remember we are baking at 475°F. If you notice the cheese browning way too quickly, that’s your cue to finish by using the lower racks of the oven, or you can pop the skillet onto a baking sheet for insulation when you move it inside, just like when you’re baking cornbread.
Can I cook this pizza entirely on the stovetop?
You sure can experiment with that! If you want to pull it off without turning the oven on, you need to keep the heat very, very low on the burner once you move it from the initial searing phase. The trick is using a tight-fitting lid on your skillet. The lid traps the heat, mimicking the oven environment, and steams the top until the cheese melts. It takes longer—maybe 15 to 20 minutes total on the stove—and the top crust won’t brown as nicely, but the bottom will still be rock-solid crispy!
Can I make a Deep Dish Pizza in Cast Iron using this technique?
This recipe is definitely geared towards a **thick crust pizza recipe cast iron** style, which is close, but true Chicago deep dish is different. Real deep dish needs very tall sides and a much longer bake time, usually over 30 minutes, so the dough cooks all the way through before the cheese turns greasy. We use the quick blast of high heat to cook our dough faster. You can certainly use a deeper cast iron pan (like a smaller chicken fryer), but you will need to add 10-15 minutes to your oven time and keep a very close eye on that bottom crust so it doesn’t burn during that longer bake!
Estimated Nutritional Data for Cast Iron Skillet Pizza
Okay, I know you love this pizza, but let’s be real—it’s not exactly diet food! Because everyone customizes what goes on top (hello, extra pepperoni!), I can only give you the base numbers here. This data is for a standard slice using just the dough, sauce, and mozzarella listed in the recipe. If you start piling on the sausage and extra cheese, you’ll need to adjust your tracking!
Think of this as a starting point for your weeknight cast iron dinner ideas planning. It helps me keep track, but remember, the toppings change everything completely, especially the sodium and fat content. Always add your extras into your personal tracking app!
Here’s the estimated breakdown per serving slice:
| Nutrient | Amount |
|---|---|
| Serving Size | 1 slice |
| Calories | 350 |
| Fat | 15g |
| Saturated Fat | 7g |
| Carbohydrates | 38g |
| Fiber | 2g |
| Protein | 18g |
| Sodium | 550mg |
Just a quick heads up: these are estimates based on the essential ingredients. If you decide to go heavy on high-sodium toppings, that number will jump, which is a good thing to remember when planning your next Cast Iron Baking Bread and Pizza session!
Share Your Cast Iron Skillet Pizza Success
Seriously, making this Cast Iron Skillet Pizza is one of those kitchen victories you have to celebrate! You just took simple ingredients, cranked up the heat on your stovetop, and created a crust that rivals your favorite local spot. I poured my heart into figuring out the perfect skillet pizza cooking temperatures so you could skip the trial and error, and I really hope it paid off for you.
Now that you’ve got this awesome, reliable recipe in your toolkit, I want to hear all about it! Did you try pairing it with the white garlic sauce, or did you stick to a classic red sauce? Did you add anything weird or wonderful to the dough?
Please, please take a moment to leave a comment down below. If this recipe helped you finally nail that crispy base, give it a 5-star rating! It truly helps other home cooks find this technique.
If you’re sharing pictures of your masterpiece—and you absolutely should be!—tag me on social media. I love seeing your results! Happy baking, and enjoy your perfect, crusty treat. For more of my favorite skillet successes, always feel free to browse my main blog page!
PrintCrispy Crust Cast Iron Skillet Pizza
Make a thick, crispy-bottomed pizza using a cast iron skillet, cooked first on the stovetop and finished in the oven.
- Prep Time: 20 min
- Cook Time: 20 min
- Total Time: 1 hour 40 min
- Yield: 2 servings
- Category: Dinner
- Method: Stovetop to Oven Baking
- Cuisine: American
- Diet: Vegetarian
Ingredients
- 1.5 cups all-purpose flour
- 1 teaspoon instant dry yeast
- 1 teaspoon salt
- 0.5 cup warm water (about 105-115°F)
- 2 tablespoons olive oil, plus more for the pan
- 0.5 cup pizza sauce
- 1.5 cups shredded low-moisture mozzarella cheese
- Your favorite toppings (e.g., pepperoni, mushrooms)
- 1 tablespoon cornmeal (optional, for dusting)
Instructions
- Combine the flour, yeast, and salt in a large bowl.
- Add the warm water and 2 tablespoons of olive oil. Mix until a shaggy dough forms.
- Knead the dough on a lightly floured surface for 5 to 7 minutes until smooth.
- Place the dough in a lightly oiled bowl, turn to coat, cover, and let it rise in a warm place for 60 to 90 minutes, or until doubled in size.
- Place your 10-inch or 12-inch cast iron skillet on the stovetop over medium heat for 10 minutes to preheat.
- Gently stretch or press the risen dough to fit the bottom of the preheated skillet. If using cornmeal, sprinkle it lightly in the bottom of the hot skillet before placing the dough in.
- Brush the top of the dough lightly with olive oil.
- Top the dough evenly with sauce, cheese, and your chosen toppings.
- Cook the pizza on the stovetop over medium-low heat for 5 to 8 minutes. Watch the edges; you want the bottom to start browning and crisping.
- Transfer the skillet to a preheated oven at 475°F (245°C).
- Bake for an additional 8 to 12 minutes, or until the cheese is bubbly and the crust edges are golden brown.
- Carefully remove the skillet from the oven. Let the pizza rest in the pan for 5 minutes before slicing and serving directly from the skillet.
Notes
- Preheating the skillet on the stove creates the signature crispy bottom crust.
- Use low-moisture mozzarella to prevent a watery pizza.
- If your oven runs hot, check the pizza after 8 minutes in the oven to prevent burning the bottom.
Nutrition
- Serving Size: 1 slice
- Calories: 350
- Sugar: 4
- Sodium: 550
- Fat: 15
- Saturated Fat: 7
- Unsaturated Fat: 8
- Trans Fat: 0
- Carbohydrates: 38
- Fiber: 2
- Protein: 18
- Cholesterol: 30
