

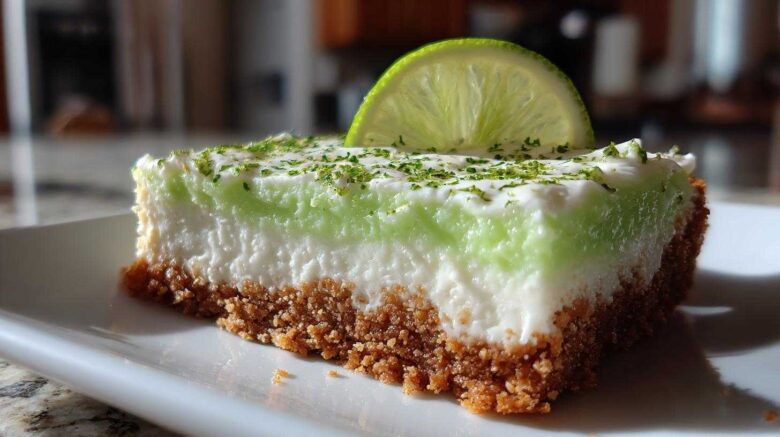
When the summer heat hits, reaching for the oven feels like a chore. That’s where these No-Bake Key Lime Pie Bars truly shine. They’re my go-to recipe for a reason. I remember the first time I made them. My kitchen was sweltering, but the promise of something cool and zesty was just too tempting. The result? Pure sunshine in bar form! This dessert is a game-changer, offering that classic key lime tang without any of the baking fuss. It’s like capturing a breezy, tropical escape right in your own home. We developed this recipe to bring that pure joy to your table.
Why You’ll Love These No-Bake Key Lime Pie Bars
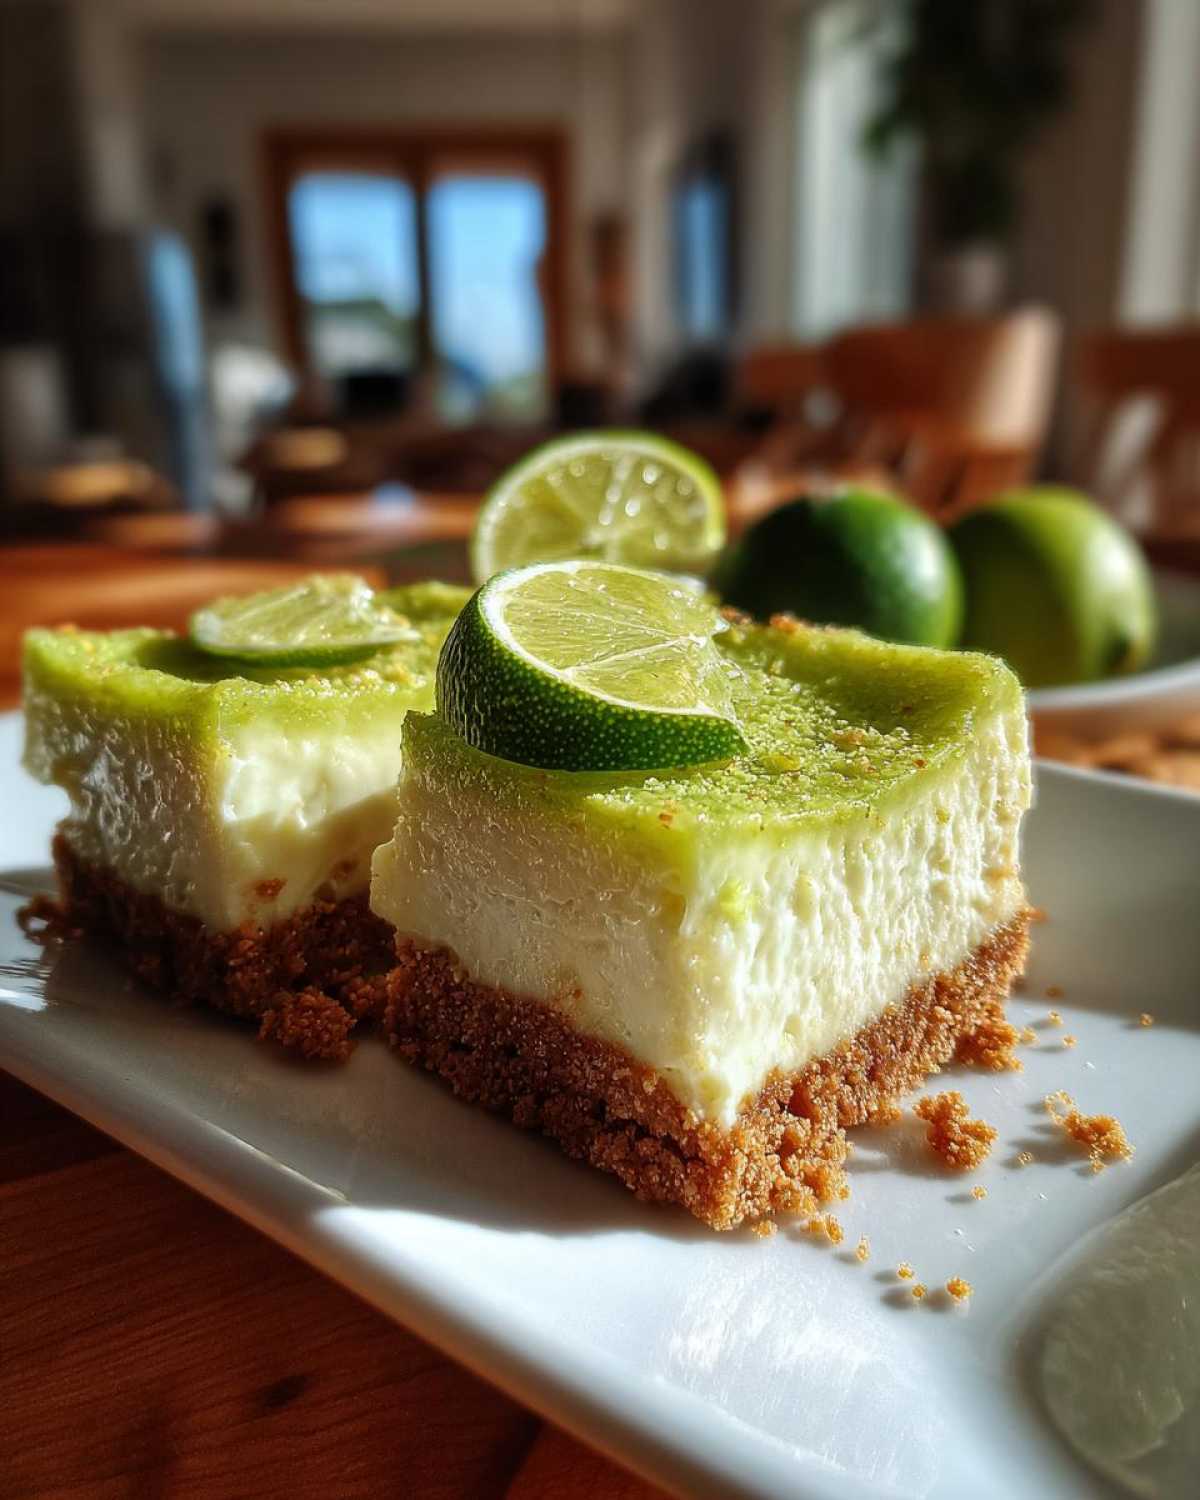
These bars are a dream for so many reasons. They’re incredibly easy. You don’t even need an oven! That means less heat in your kitchen. They deliver a fantastic tropical flavor. The bright lime taste is so refreshing. Plus, they are a total crowd-pleaser. Everyone loves a good key lime treat. They’re perfect for picnics or parties.
A Taste of Tradition with a Twist
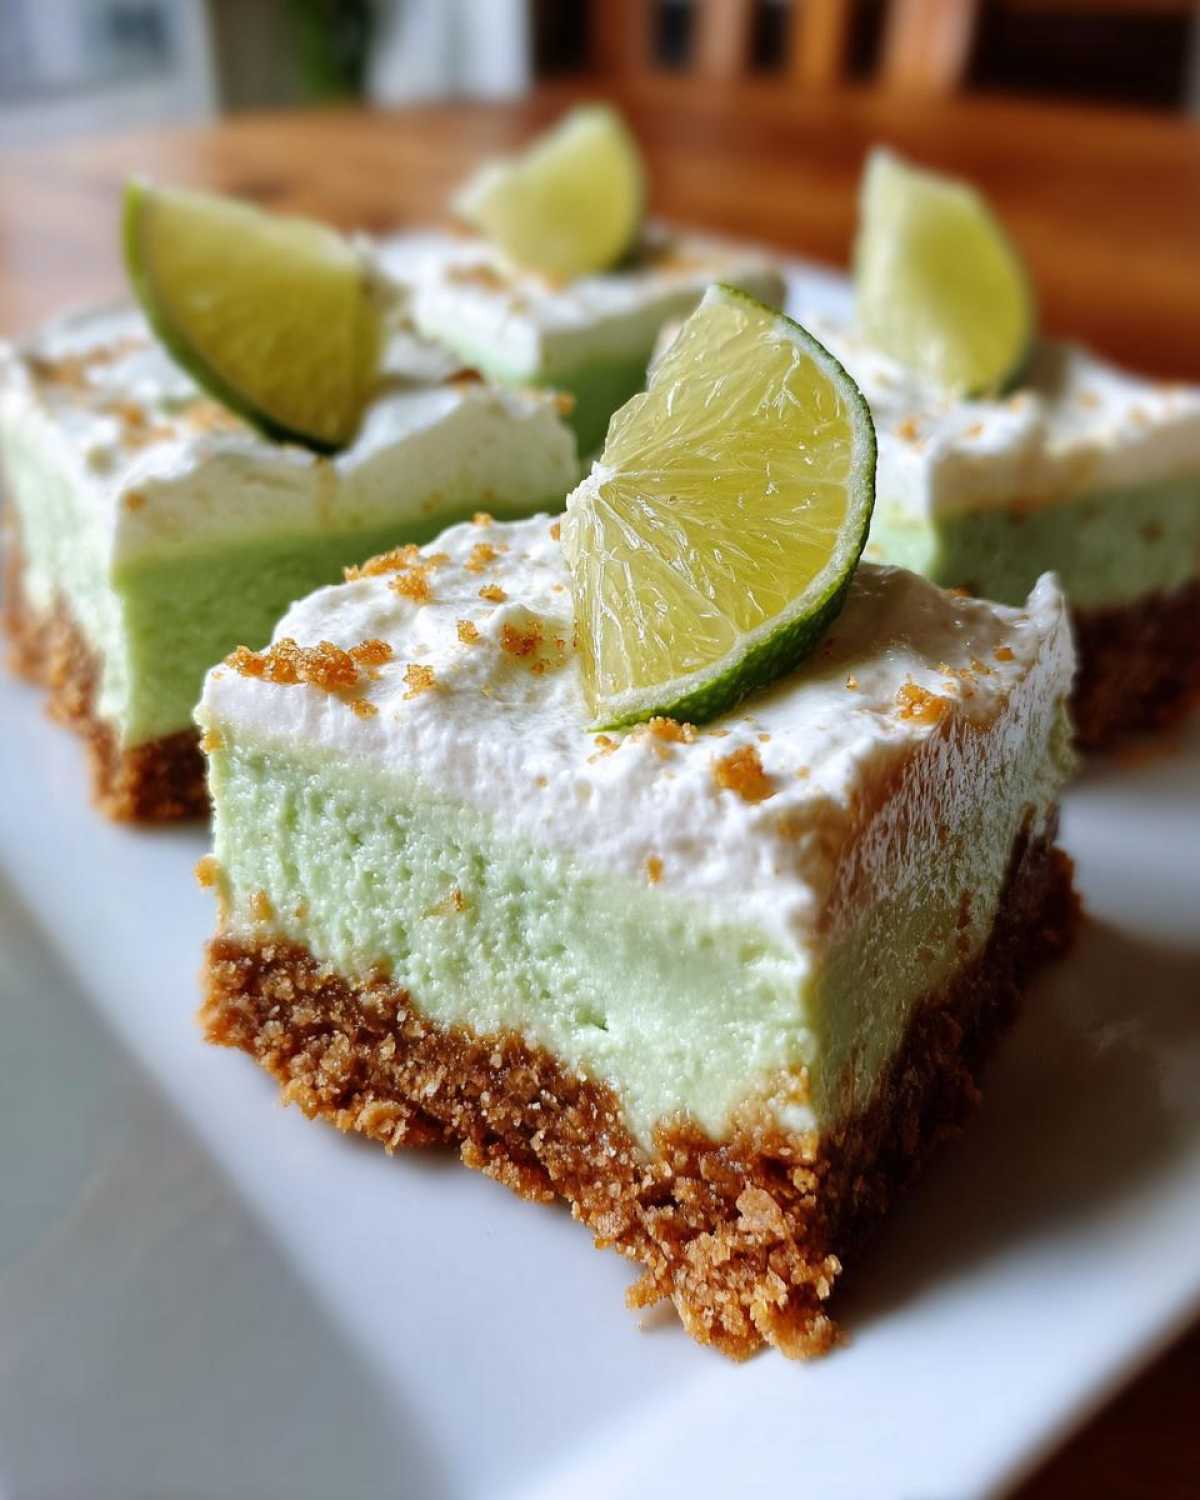
You know that amazing key lime pie flavor? We’ve bottled it up here. These bars give you that same zesty satisfaction. But they do it in a much simpler way. Think of it as a cool, bite-size vacation. The tangy lime filling sits on a sweet crumb crust. It’s chilled until perfectly set. It really does taste like a tropical getaway.
Gathering Your Ingredients for No-Bake Key Lime Pie Bars
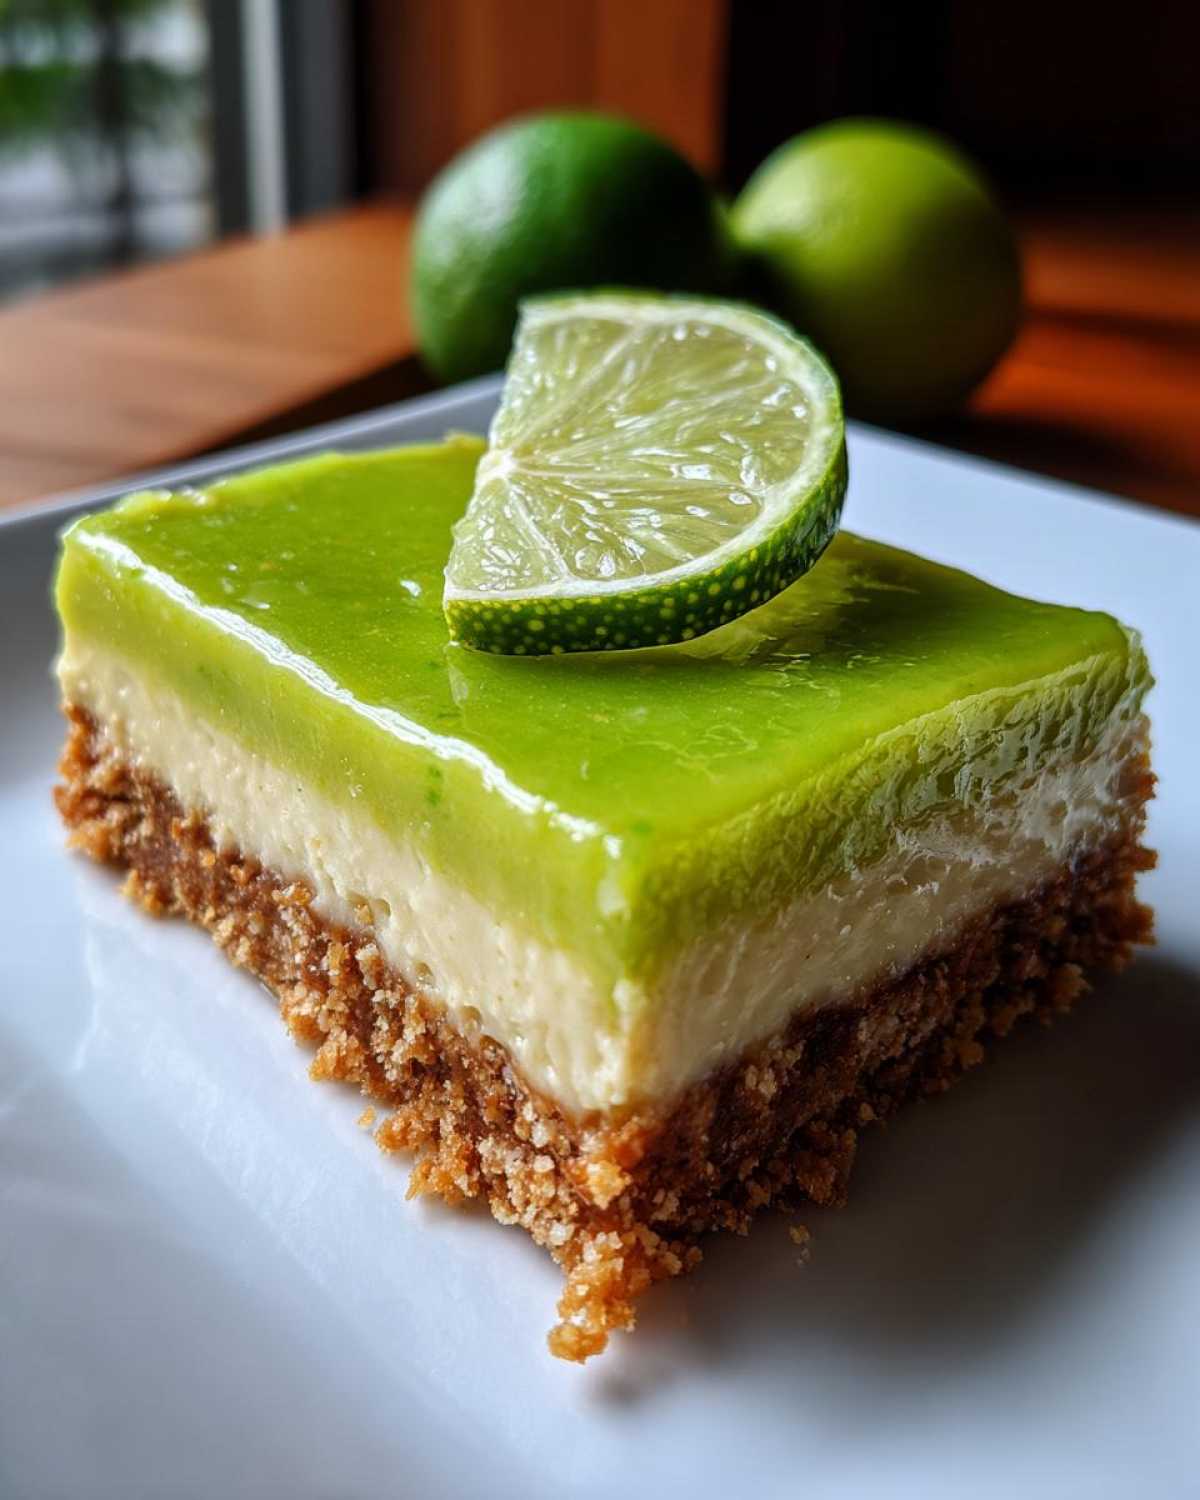
Before we dive into creating these delightful bars, let’s talk about what you’ll need. Gathering your ingredients is the first step to success. Chef Tariq always stressed the importance of respecting each component. Quality ingredients really do make a difference here. We’ve kept the list simple, so you can get to making them quickly. These bars rely on a few key players for their amazing flavor.
For the Easy Graham Cracker Crust
The foundation of our no-bake bars is a sweet, buttery graham cracker crust. You’ll need 1 1/2 cups of graham cracker crumbs. Make sure they’re finely ground. We also add 1/4 cup of granulated sugar for a touch of sweetness. Then, 6 tablespoons of unsalted butter, melted, binds it all together perfectly.
For the Tangy Key Lime Filling
This is where the magic happens! For the filling, you’ll need one 14-ounce can of sweetened condensed milk. This gives us that creamy, rich base. Next, we need 1/2 cup of key lime juice. Fresh is always best for that vibrant tang! Four large egg yolks add richness and help the filling set. A teaspoon of vanilla extract adds a lovely depth of flavor. For an extra special touch, have 1/2 cup of heavy cream ready for whipping. You can also grab some lime slices for garnish.
Crafting Your No-Bake Key Lime Pie Bars: Step-by-Step
Now for the fun part! Let’s bring these delicious bars to life. The process is wonderfully straightforward, perfect even for beginner bakers. You’ll find that creating these treats is almost as enjoyable as eating them. We’ve broken it down into simple steps so you can follow along easily. It takes about 15 minutes of active prep time. Then, the magic of the refrigerator does the rest!
Preparing the Perfect Graham Cracker Crust
First, let’s make that yummy crust. In a bowl, mix your graham cracker crumbs and sugar. Pour in the melted butter. Stir it all up until the crumbs look like wet sand. Gently press this mixture into your parchment-lined pan. Pat it down firmly. This creates a sturdy base for our filling.
Mixing the Zesty Key Lime Filling
Next, we whip up the star of the show. In another bowl, whisk together the sweetened condensed milk and key lime juice. Add the egg yolks and vanilla extract. Whisk these until the mixture is super smooth and creamy. Pour this lovely filling over your prepared graham cracker crust. Spread it out evenly.
Chilling Your No-Bake Key Lime Pie Bars to Perfection
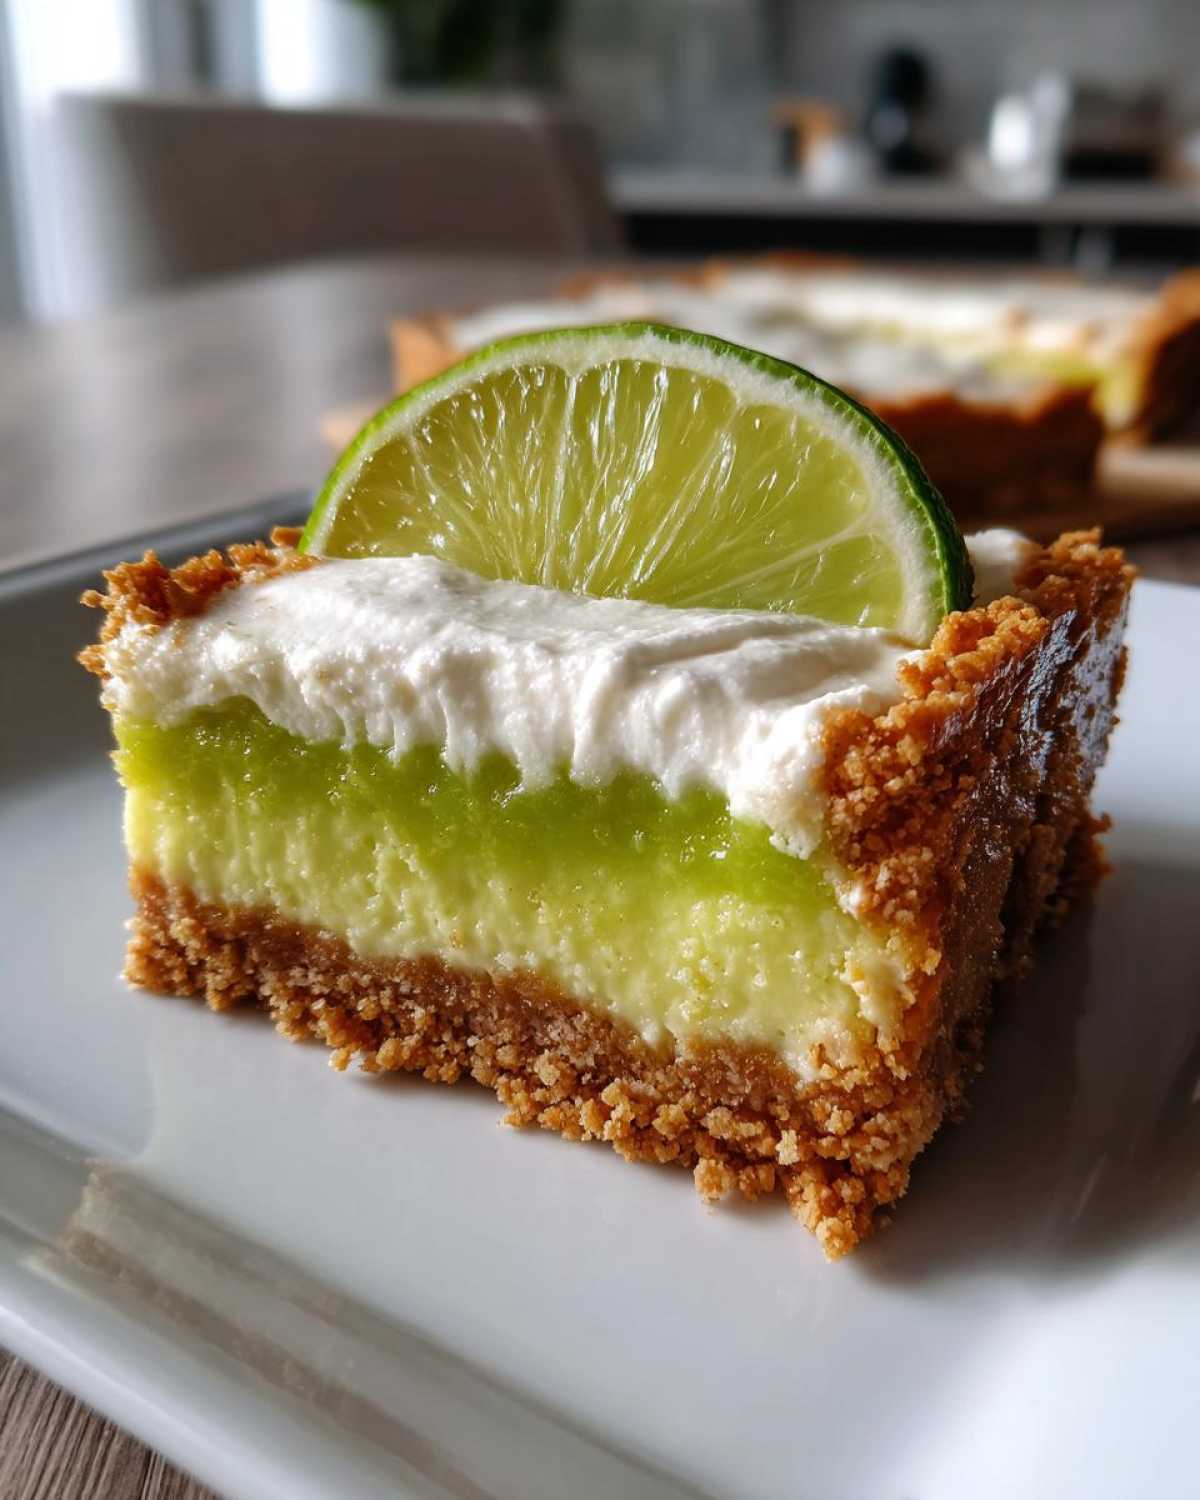
This step is crucial. You need to let the bars chill in the refrigerator. Aim for at least 4 hours. This allows the filling to set up nicely. Patience here is key for that perfect bar texture. Don’t skip this chilling time!
Cutting and Serving Your Delicious Bars
Once chilled, use the parchment paper to lift the whole block out of the pan. Place it on a cutting board. Now, slice it into your desired bar shapes. If you like, you can add a dollop of whipped cream on top. A little lime slice makes a pretty garnish too. Enjoy your cool, zesty treat!
Tips for Achieving Perfect No-Bake Key Lime Pie Bars
We want your no-bake key lime pie bars to be absolutely fantastic. Chef Tariq always says the little things make a big difference. Follow these tips from our kitchen to yours. They’ll help ensure your bars turn out perfectly. We’ve learned a lot over the years. These insights will help you avoid common mistakes. Get ready for a truly delicious treat!
Ensuring the Best Key Lime Flavor
For that authentic, bright key lime taste, always use fresh key lime juice. Bottled juice can work, but it often lacks the same zesty punch. Freshly squeezed juice really makes these bars sing. It brings that perfect tropical tang. For more information on the benefits of fresh ingredients, you can check out this article on the benefits of fresh foods.
The Importance of Proper Chilling
Don’t rush the chilling process! Letting the bars set completely is vital. This ensures they hold their shape when you cut them. It also allows the flavors to meld beautifully. Give them at least 4 hours in the fridge. Your patience will be rewarded!
Frequently Asked Questions About No-Bake Key Lime Pie Bars
Got questions about these refreshing bars? We’ve got answers! Making delicious treats should be easy. Let’s clear up any confusion.
Can I use regular lime juice instead of key lime juice for these Key Lime Bars?
You sure can! Regular lime juice will work. Key limes offer a more intense, floral flavor. Regular limes are a bit more tart. The taste will be slightly different but still wonderfully zesty. For a comparison of lime varieties, you might find this guide to key limes helpful.
How long do these No-Bake Key Lime Pie Bars last?
These bars are best enjoyed within 3 days. Keep them stored in an airtight container. They’ll stay fresh in the refrigerator. Sometimes, I find they get even better on day two!
Can I make the crust ahead of time for these easy desserts?
Absolutely! You can prepare the graham cracker crust a day in advance. Just press it into the pan and cover it tightly. Store it at room temperature. This saves time on the day you assemble the bars. If you’re looking for other make-ahead recipes, consider these make-ahead breakfast burritos.
Nutritional Information for No-Bake Key Lime Pie Bars
Please remember that the nutritional details for these no-bake key lime pie bars are estimates. They can change based on your specific ingredients. Toppings like whipped cream will also affect the numbers. Enjoy this delightful treat responsibly!
Share Your No-Bake Key Lime Pie Bar Creations!
We absolutely love hearing from you! Did you make these no-bake key lime pie bars? We’d be thrilled if you shared your experience. Tell us how they turned out in the comments below. Bonus points for photos! Your feedback helps us all improve our baking adventures. For more baking inspiration, visit our blog.
PrintBake Free 2 Your Dream No-Bake Key Lime Pie Bars
Enjoy a taste of the tropics with these no-bake Key Lime Pie Bars. They offer the zesty satisfaction of key lime pie in a cool, easy-to-make bar format, perfect for hot weather.
- Prep Time: 15 minutes
- Cook Time: 0 minutes
- Total Time: 4 hours 15 minutes
- Yield: 12 bars
- Category: Dessert
- Method: No-Bake
- Cuisine: American
- Diet: Vegetarian
Ingredients
- 1 1/2 cups graham cracker crumbs
- 1/4 cup granulated sugar
- 6 tablespoons unsalted butter, melted
- 1 (14 ounce) can sweetened condensed milk
- 1/2 cup key lime juice
- 4 large egg yolks
- 1 teaspoon vanilla extract
- 1/2 cup heavy cream, whipped (for topping, optional)
- Lime slices (for garnish, optional)
Instructions
- In a medium bowl, combine graham cracker crumbs and granulated sugar.
- Pour in the melted butter and stir until the crumbs are evenly moistened.
- Press the crumb mixture firmly into the bottom of an 8×8 inch baking pan lined with parchment paper.
- In a separate bowl, whisk together sweetened condensed milk, key lime juice, egg yolks, and vanilla extract until smooth.
- Pour the lime filling evenly over the graham cracker crust.
- Refrigerate for at least 4 hours, or until the filling is set.
- Once set, lift the bars out of the pan using the parchment paper.
- Cut into bars.
- Top with whipped cream and lime slices if desired.
Notes
- Ensure your key lime juice is fresh for the best flavor.
- Chill thoroughly to allow the bars to set properly.
- These bars can be stored in the refrigerator for up to 3 days.
Nutrition
- Serving Size: 1 bar
- Calories: Approx. 250-300 (will vary based on topping)
- Sugar: Approx. 30-35g
- Sodium: Approx. 100-150mg
- Fat: Approx. 15-20g
- Saturated Fat: Approx. 8-10g
- Unsaturated Fat: Approx. 7-10g
- Trans Fat: 0g
- Carbohydrates: Approx. 30-35g
- Fiber: Approx. 1-2g
- Protein: Approx. 3-4g
- Cholesterol: Approx. 50-60mg
