

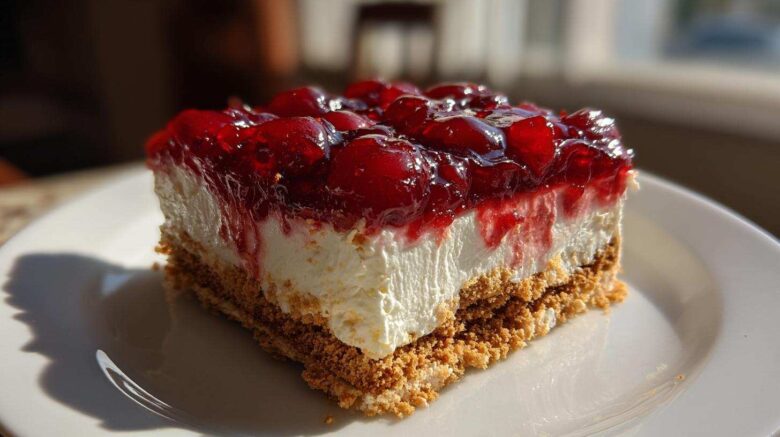
When I first tried making a cherry cheesecake icebox cake, I was looking for something special. Something that felt fancy but was actually easy. Leo from Savory Skies totally gets that. This no-bake cherry cheesecake icebox cake is pure magic. It’s layers of creamy goodness. It has a sweet cherry topping. It’s perfect for any gathering. We love sharing simple, delicious recipes. This one is a family favorite for sure. It’s a dessert that always brings smiles.
Why You’ll Love This Cherry Cheesecake Icebox Cake
This cherry cheesecake icebox cake is a winner for so many reasons:
- It’s incredibly easy to make. No oven needed!
- You can prepare it ahead of time. Perfect for busy schedules.
- It’s a guaranteed crowd-pleaser. Everyone adores this dessert!
- The flavor combination is simply divine. Creamy cheesecake meets sweet cherries.
Gather Your Ingredients for the Perfect Cherry Cheesecake Icebox Cake
To make this delightful cherry cheesecake icebox cake, you’ll need a few simple things.
First, grab a 14.5 ounce package of graham cracker crumbs. These form our tasty base. You’ll also need 1/2 cup (1 stick) unsalted butter, melted. This helps bind the crumbs together. And don’t forget 1/4 cup granulated sugar for a touch of sweetness in the crust.
For the creamy center, you’ll need 2 (8 ounce) packages of cream cheese, softened. Softened cream cheese blends so much smoother. Then, add 1 (14 ounce) can of sweetened condensed milk. This makes it wonderfully rich. A little 1/4 cup lemon juice adds a nice tang. And 1 teaspoon vanilla extract brings out all those lovely flavors.
The star topping is 1 (21 ounce) can of cherry pie filling. It’s so easy to use! Lastly, have ready 1 cup heavy whipping cream, whipped to stiff peaks. This makes the filling light and airy.
Crafting Your Delicious Cherry Cheesecake Icebox Cake: Step-by-Step
Let’s get this cherry cheesecake icebox cake put together! It’s easier than you think.
Preparing the Graham Cracker Crust
First, we make the base. In a bowl, mix graham cracker crumbs, melted butter, and sugar. Stir it well. Then, press this mixture into your 9×13 inch dish. Make sure it’s packed down firmly. This creates a nice, sturdy layer for our dessert.
Creating the Creamy Cheesecake Filling
Now for the creamy part. Beat your softened cream cheese until it’s super smooth. This step is key. Slowly add the sweetened condensed milk. Mix in the lemon juice and vanilla extract. Beat until everything is just combined and looks creamy and lovely. Next, gently fold in the whipped cream. Do this until it’s just blended. Don’t overmix it. We want it light and airy.
Assembling and Chilling Your Cherry Cheesecake Icebox Cake
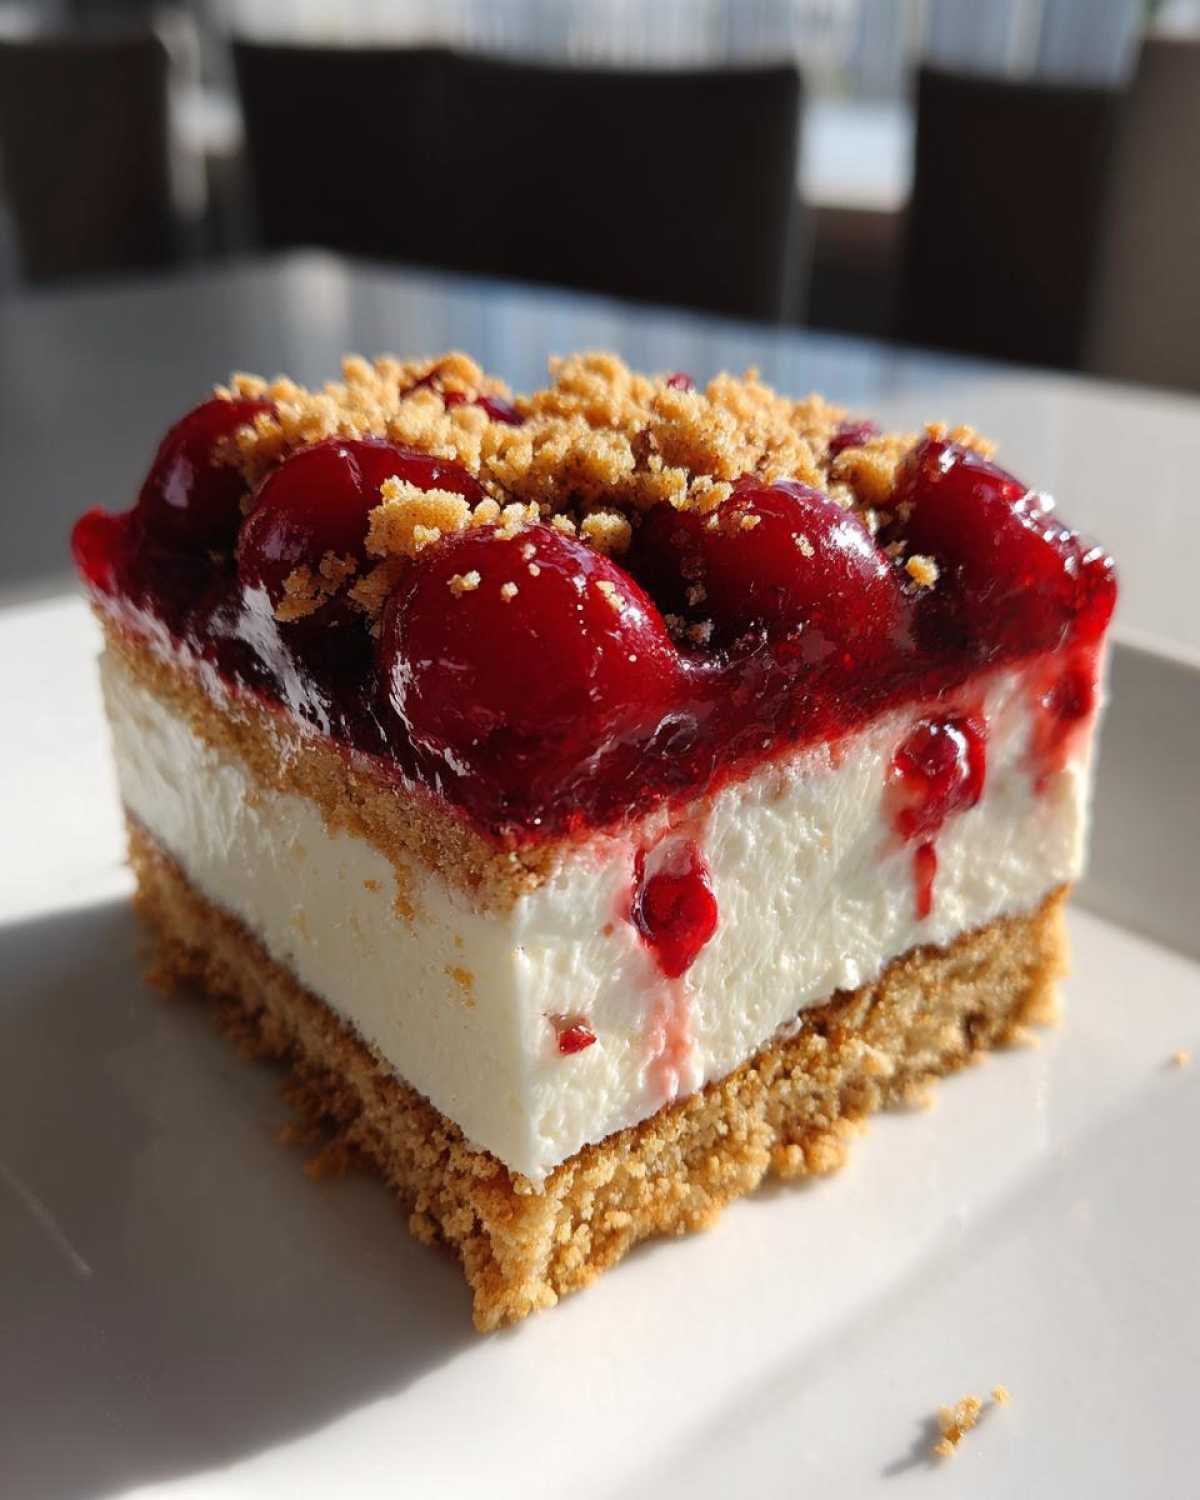
Time to assemble! Spread the cream cheese mixture evenly over the graham cracker crust. Make it smooth. Spoon the cherry pie filling right on top. Spread it gently so it covers the cream cheese layer. Now, cover the dish tightly with plastic wrap. Pop it into the fridge. Let it chill for at least 4 hours. Overnight is even better. This lets all the flavors meld and the cake set nicely. Your amazing cherry cheesecake icebox cake is almost ready!
Tips for Cherry Cheesecake Icebox Cake Perfection
Want your cherry cheesecake icebox cake to be absolutely perfect? I’ve got a few tricks up my sleeve!
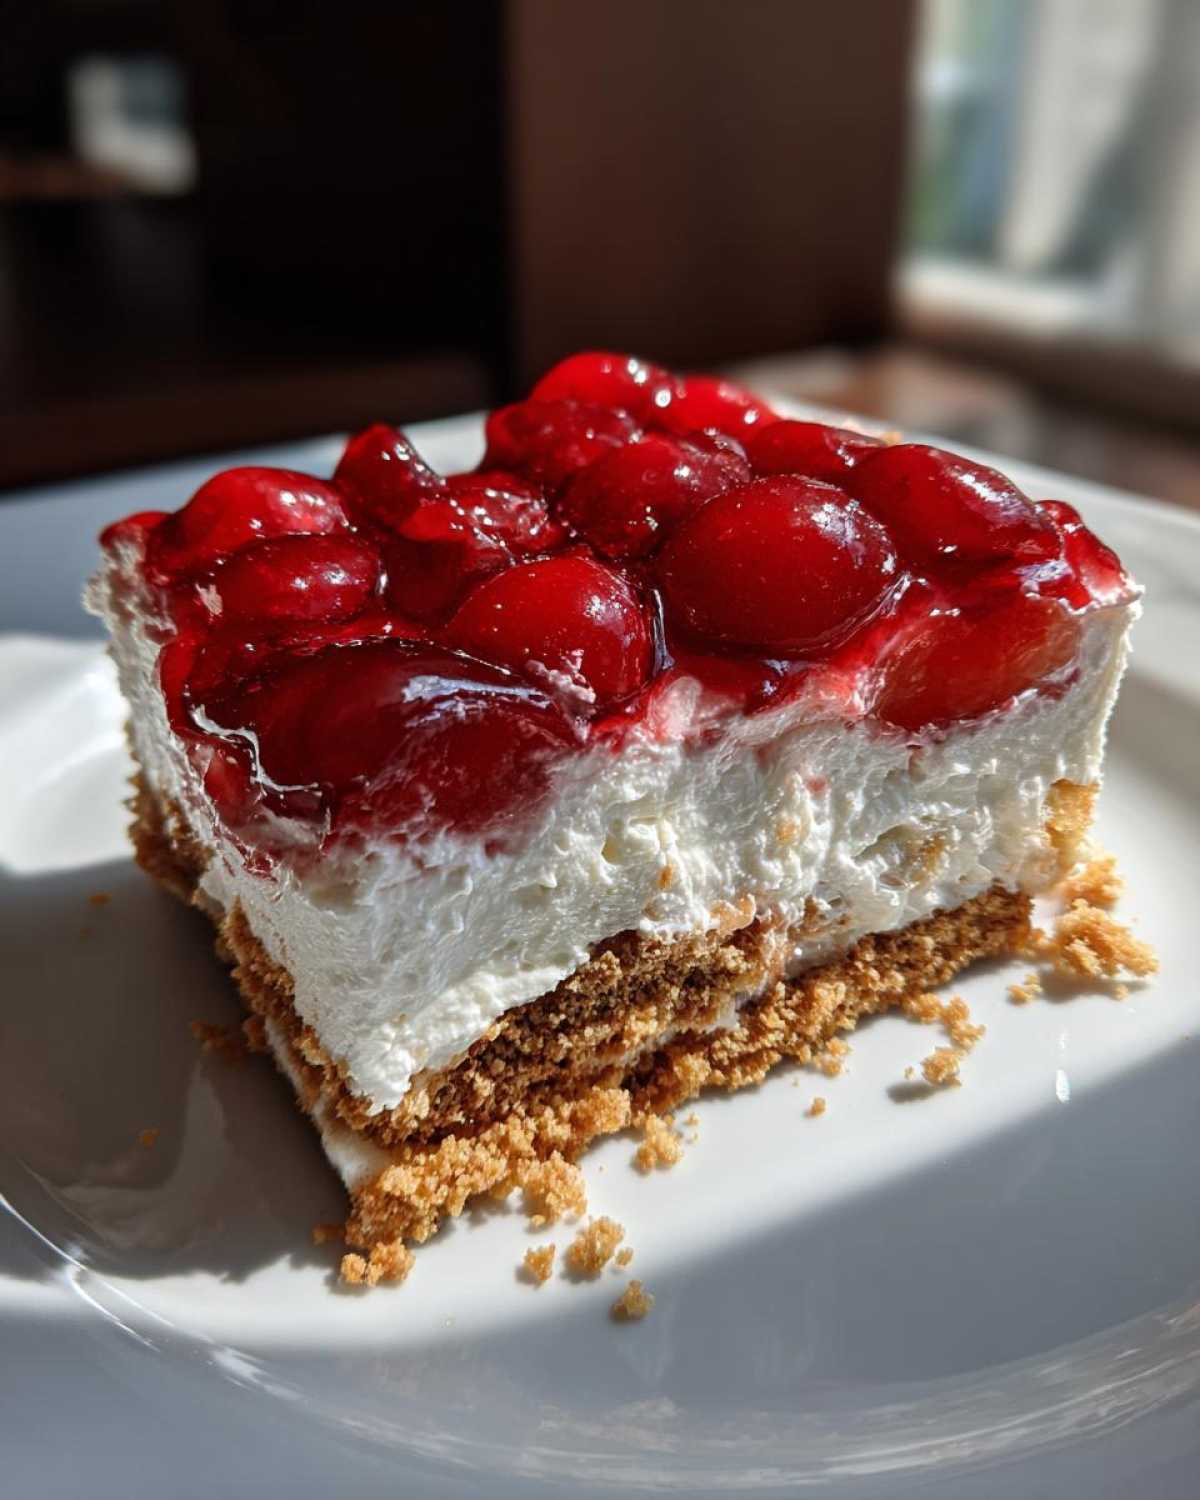
For a truly firm graham cracker crust, try this: bake the crumb mixture for about 8-10 minutes at 350°F (175°C). Let it cool completely before adding the filling. It makes a world of difference!
Don’t have graham crackers? No worries! Chocolate cookie crumbs or vanilla wafer crumbs work wonderfully too. They add a fun twist to your cherry cheesecake icebox cake.
For a pop of color, add a few drops of red food coloring to the cream cheese filling. It gives it a lovely pink hue that’s just gorgeous.
Ingredient Notes and Substitutions for Your Cherry Cheesecake Icebox Cake
Let’s talk about the stars of our cherry cheesecake icebox cake!
Graham cracker crumbs are classic. They give that familiar, slightly sweet base. But don’t hesitate to use chocolate cookie crumbs for a richer flavor. Vanilla wafers add a lighter, sweeter touch. Both are fantastic substitutes!
Cream cheese is essential for that signature cheesecake tang. Make sure it’s softened so it blends smoothly. This avoids any lumps in your filling.
Sweetened condensed milk does more than just sweeten; it adds a lovely richness and helps the filling set. Lemon juice brightens everything up. It cuts through the sweetness beautifully. For more on the science of baking and how ingredients interact, check out King Arthur Baking’s ingredient properties guide.
And that cherry pie filling? It’s the easiest way to get that vibrant cherry flavor. You could make your own, but this canned version is a real time-saver for our no-bake cherry cheesecake icebox cake.
Serving and Storing Your Cherry Cheesecake Icebox Cake
This cherry cheesecake icebox cake is best served chilled. That’s when the layers are perfectly set. Just slice it up and enjoy! It’s a fantastic make-ahead dessert.
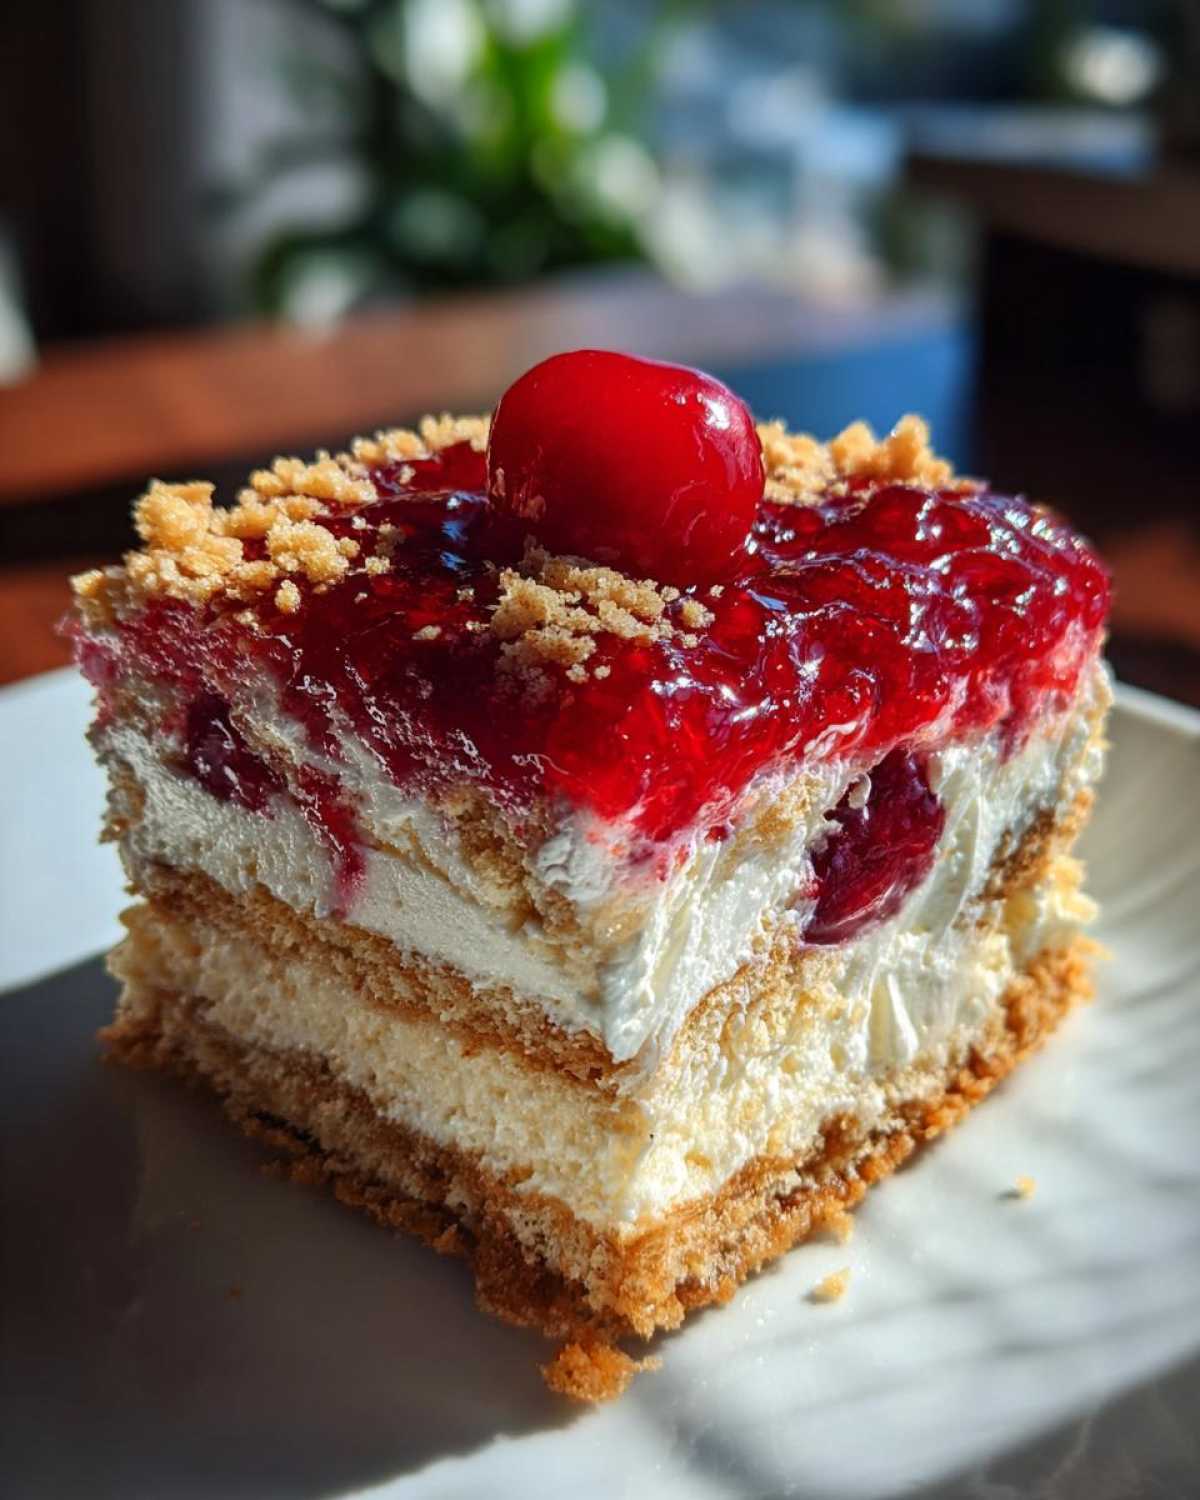
Got leftovers? No problem! Cover the dish tightly with plastic wrap. Store it in the refrigerator. It should keep well for about 3-4 days. The flavors actually get even better the next day. You don’t need to reheat this cold dessert. Just bring it to room temperature for a few minutes if it’s too firm.
Frequently Asked Questions about Cherry Cheesecake Icebox Cake
Got questions about making this dreamy cherry cheesecake icebox cake? I’ve got answers!
How long does the cherry cheesecake icebox cake need to chill? For the best texture, aim for at least 4 hours in the fridge. Overnight is even better! This lets the layers firm up nicely.
Can I use fresh cherries instead of pie filling? Yes, you can! You’d need to cook them down with some sugar and a thickener like cornstarch. It’s a bit more work, but delicious. Canned filling is just so easy for this no-bake wonder. Learn more about making homemade pie filling if you’re feeling adventurous.
What if I don’t have lemon juice? A little lime juice can work in a pinch. It adds a similar brightness to the cream cheese layer. Just use the same amount.
Can I make individual portions? Absolutely! You could layer everything in small glasses or jars. It makes for a lovely presentation and easy serving. Just adjust the chilling time slightly as they might set faster.
Is this dessert suitable for freezing? I haven’t tried freezing this cherry cheesecake icebox cake. The creamy filling might change texture when thawed. It’s best enjoyed fresh from the fridge.
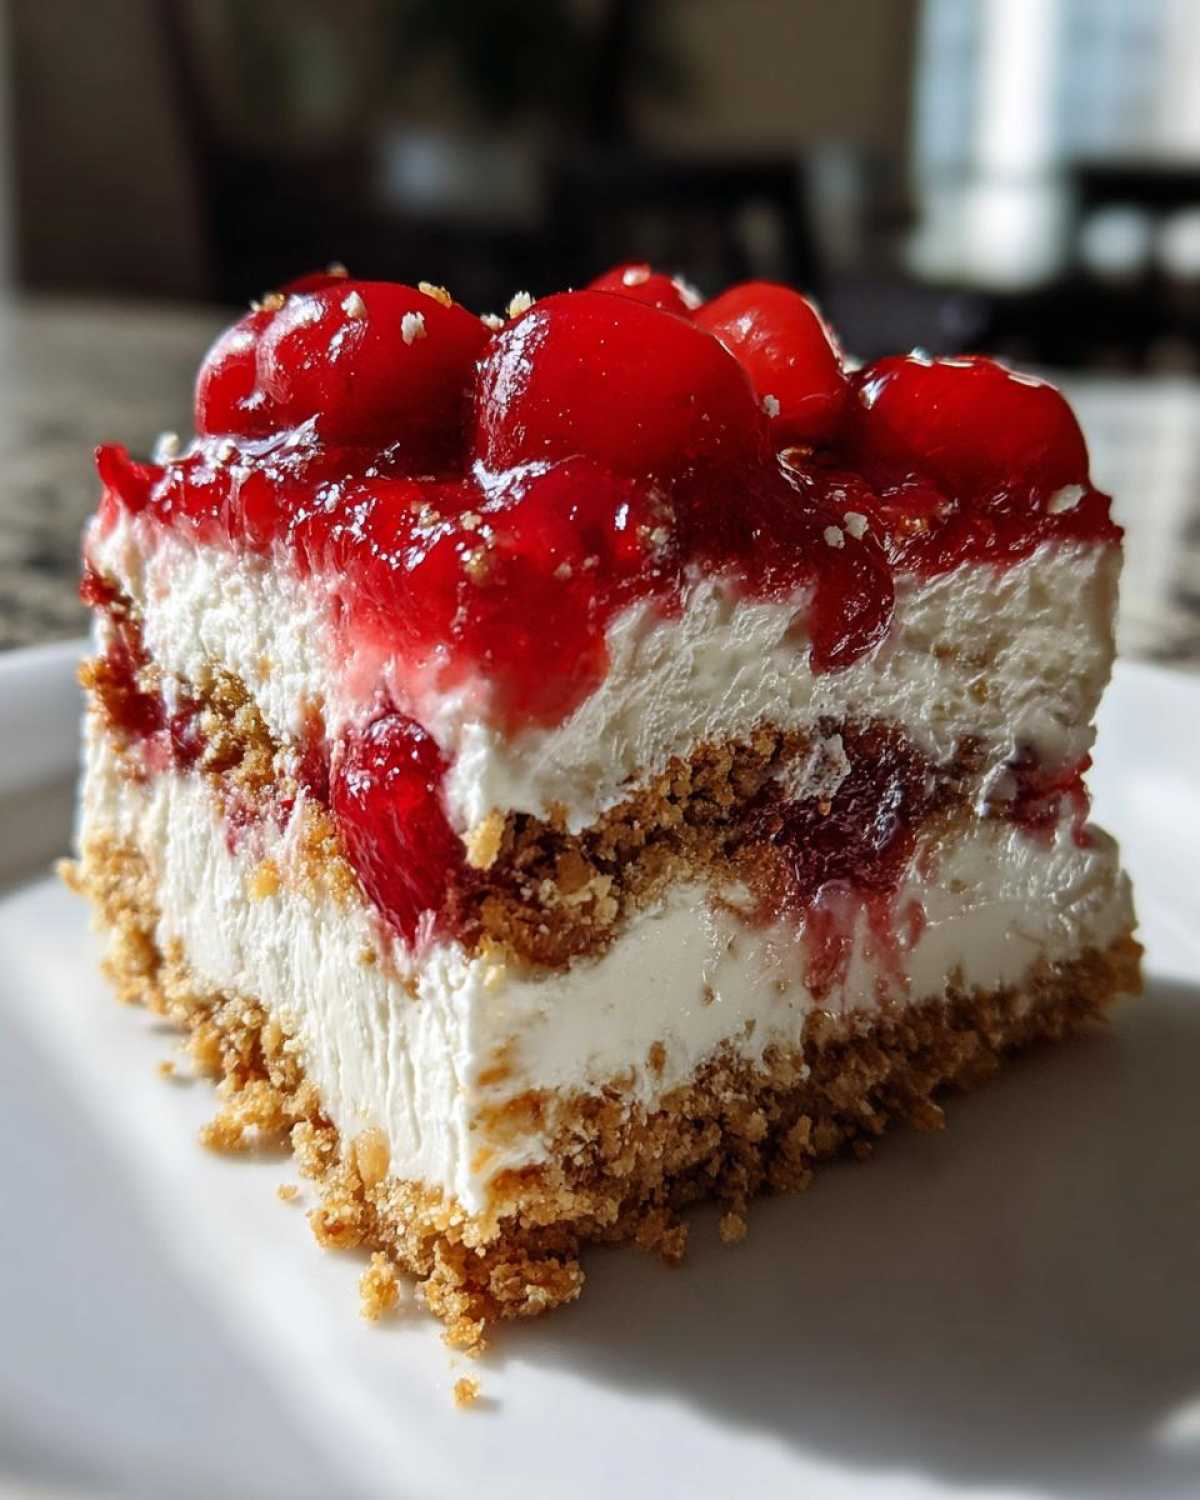
Understanding the Nutrition of Your Cherry Cheesecake Icebox Cake
Here’s a general idea of what you’re getting with each slice of our delightful cherry cheesecake icebox cake:
- Serving Size: 1 slice
- Calories: Approximately 450
- Fat: About 28g
- Protein: Around 5g
- Carbohydrates: Roughly 45g
- Sugar: Approximately 40g
Remember, these are estimates and can vary based on specific ingredients used. For more detailed nutritional information, you can consult resources like the USDA FoodData Central database.
PrintEffortless Cherry Cheesecake Icebox Cake Perfection
Create a delightful no-bake Cherry Cheesecake Icebox Cake with layers of creamy cheesecake filling, crushed cookies, and sweet cherry topping. It’s an easy, make-ahead dessert perfect for any occasion.
- Prep Time: 25 minutes
- Cook Time: 0 minutes
- Total Time: 4 hours 25 minutes
- Yield: 10-12 servings
- Category: Dessert
- Method: No-Bake
- Cuisine: American
- Diet: Vegetarian
Ingredients
- 1 (14.5 ounce) package graham cracker crumbs
- 1/2 cup (1 stick) unsalted butter, melted
- 1/4 cup granulated sugar
- 2 (8 ounce) packages cream cheese, softened
- 1 (14 ounce) can sweetened condensed milk
- 1/4 cup lemon juice
- 1 teaspoon vanilla extract
- 1 (21 ounce) can cherry pie filling
- 1 cup heavy whipping cream, whipped to stiff peaks
Instructions
- In a medium bowl, combine graham cracker crumbs, melted butter, and granulated sugar. Press firmly into the bottom of a 9×13 inch baking dish.
- In a large bowl, beat cream cheese until smooth. Gradually beat in sweetened condensed milk, lemon juice, and vanilla extract until well combined and creamy.
- Gently fold in the whipped cream until just combined.
- Spread the cream cheese mixture evenly over the graham cracker crust.
- Spoon the cherry pie filling over the cream cheese layer, spreading it gently to cover.
- Cover the dish with plastic wrap and refrigerate for at least 4 hours, or preferably overnight, to allow the cake to set.
- Slice and serve chilled.
Notes
- For a firmer crust, you can bake the graham cracker crust for 8-10 minutes at 350°F (175°C) and let it cool completely before adding the filling.
- You can substitute chocolate cookie crumbs or vanilla wafer crumbs for graham crackers.
- Add a few drops of red food coloring to the cream cheese mixture for a more vibrant pink hue.
Nutrition
- Serving Size: 1 slice
- Calories: 450
- Sugar: 40g
- Sodium: 200mg
- Fat: 28g
- Saturated Fat: 17g
- Unsaturated Fat: 11g
- Trans Fat: 0g
- Carbohydrates: 45g
- Fiber: 2g
- Protein: 5g
- Cholesterol: 70mg
