

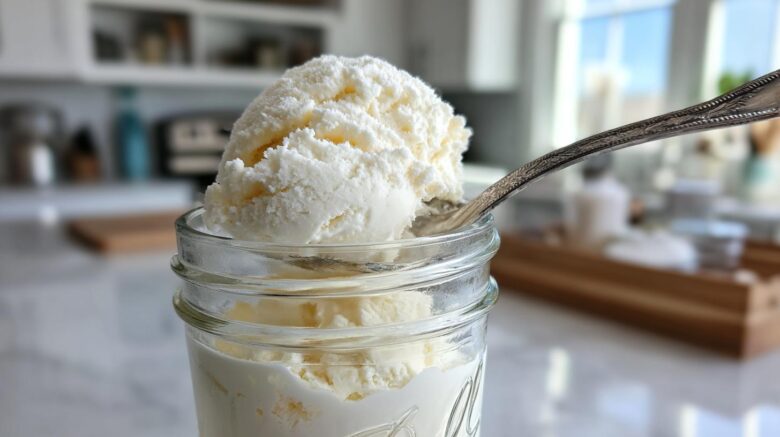
Discover the Magic of Mason Jar Ice Cream
Hey everyone! Leo here from Savory Skies. I’m so excited to share this super fun way to make ice cream. Forget those bulky machines! We’re talking about pure, simple joy. Making **Mason Jar Ice Cream** is a game-changer. It’s like magic in a jar. You just shake, freeze, and enjoy. I remember the first time I tried this. It was a weeknight, and I craved something sweet. This recipe saved the day! It’s so easy, even my nieces and nephews can help. It truly brings out the inner kid in all of us. Get ready for some delicious homemade goodness. It’s a sweet adventure waiting to happen.
Why You’ll Love This Mason Jar Ice Cream
This recipe is a winner for so many reasons. It’s incredibly easy. The prep time is just minutes. You get delicious results fast. It’s also a blast to make. Kids love shaking the jars. It’s a perfect family activity. Or just a fun treat for yourself. You’ll have creamy, homemade ice cream with no fuss. It’s pure, simple happiness.
- Super easy to make.
- Quick prep time.
- Fun for all ages.
- Delicious homemade taste.
- No special equipment needed.
The Secret to Effortless Mason Jar Ice Cream
The real magic here is the shake-and-freeze method. It’s brilliant! You don’t need an ice cream maker. No churning is involved at all. Just a good old shake. When you shake the jar, you’re incorporating air. This helps create a smoother texture. It also helps the mixture freeze evenly. Think of it as a mini workout for your ice cream. It’s the simplest way I know to get creamy goodness. It really is that easy to make your own ice cream.
Gather Your Ingredients for Mason Jar Ice Cream
Let’s get our ingredients ready for this delightful treat. Making Mason Jar Ice Cream couldn’t be simpler. You only need a few common items. I always like to have everything measured out first. It makes the process so smooth. Here’s what you’ll need for one pint of creamy vanilla goodness:
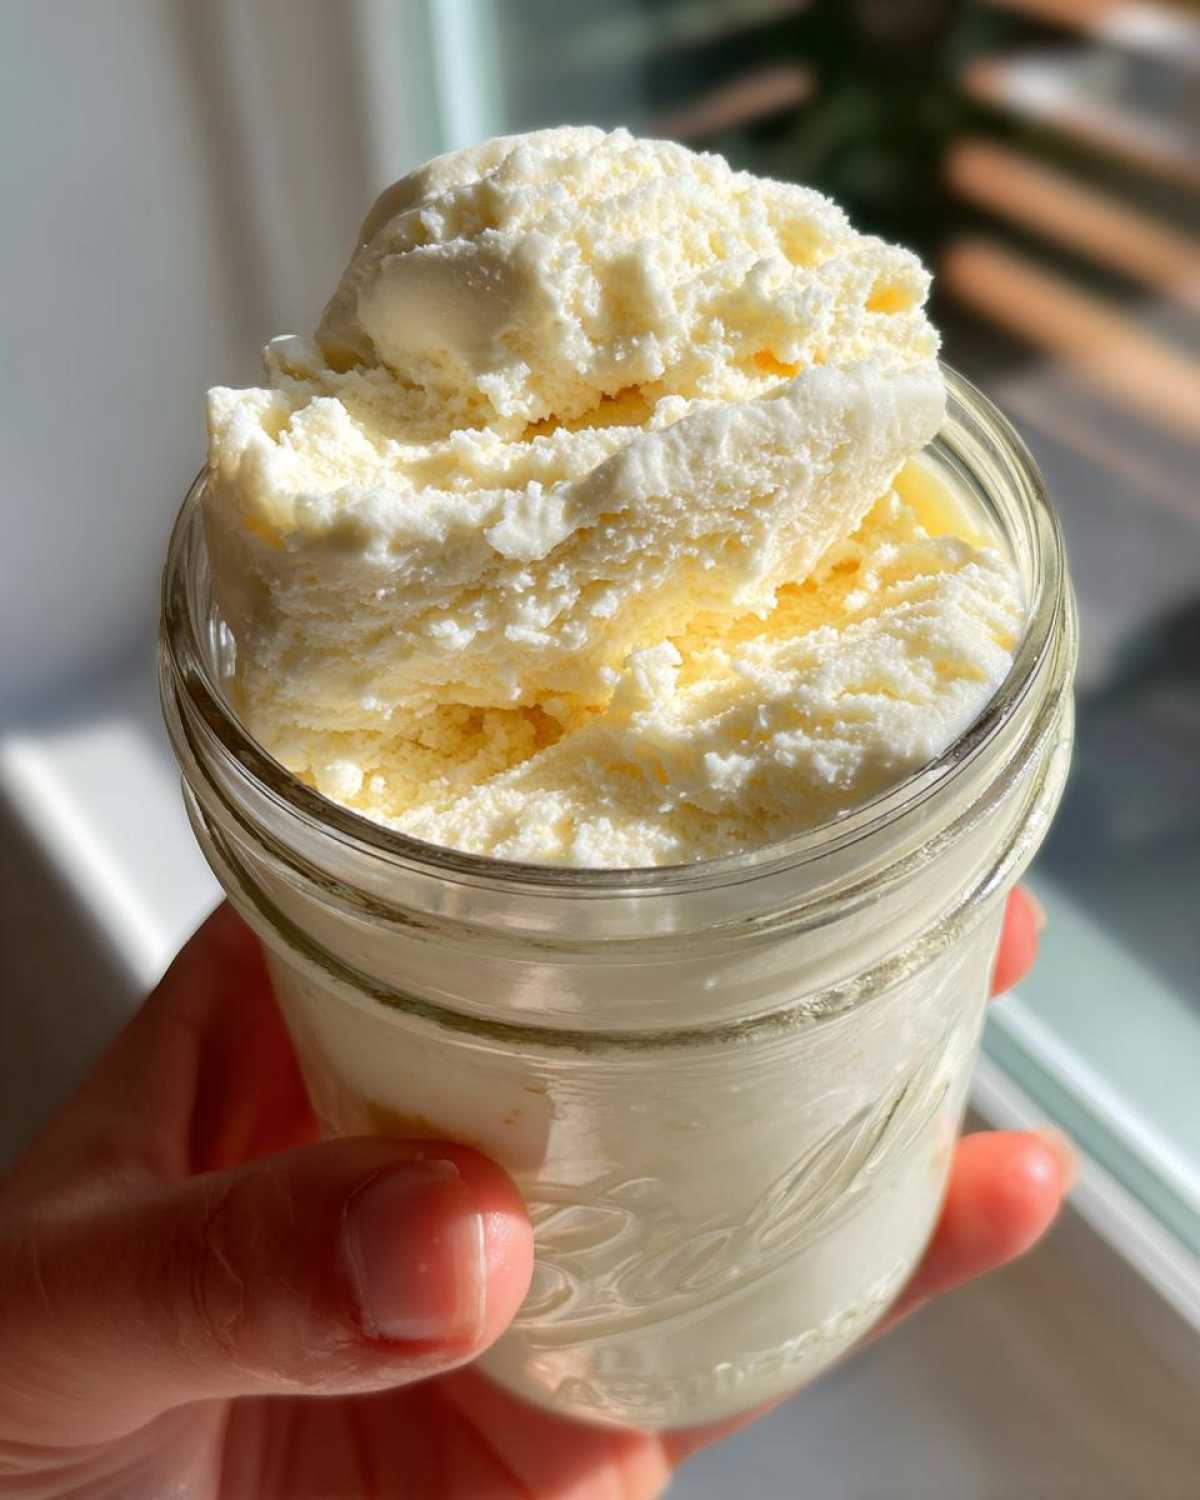
- 1 cup heavy cream, nice and cold
- 1/2 cup whole milk
- 1/4 cup granulated sugar
- 1 teaspoon pure vanilla extract
- A tiny pinch of salt
That’s it! See? No fancy stuff required. Just simple ingredients that come together beautifully. Having everything prepped makes the “shake” part super efficient. I’ve found that cold cream whips up better. It really helps with the texture.
Ingredient Notes and Simple Substitutions
The heavy cream is key for that rich, creamy texture we all love. It has a high fat content. This prevents large ice crystals from forming. That’s what makes it so smooth. If you want a slightly lighter version, you can swap the heavy cream for half-and-half. Just use 1 1/2 cups of half-and-half. Whole milk also adds to the creaminess. You could try 2% milk, but it might be a bit less rich. For the sugar, granulated sugar dissolves easily. You could use superfine sugar too. It melts even faster. The vanilla extract is for that classic sweet flavor. Make sure it’s pure vanilla extract for the best taste. And that little pinch of salt? It really makes the sweetness pop!
Step-by-Step Guide to Making Mason Jar Ice Cream
Alright, let’s get this ice cream party started! Making Mason Jar Ice Cream is seriously straightforward. It’s one of those recipes that makes you feel like a kitchen wizard. You’ll have a lovely pint of homemade vanilla ice cream ready to go. Just follow these simple steps. I’ve made this so many times. It always turns out wonderfully. It’s a recipe you can trust.
- Grab your clean pint-sized mason jar.
- Pour in the cold heavy cream first.
- Add the milk next.
- Measure out the sugar.
- Pour in the vanilla extract.
- Add that tiny pinch of salt.
- Screw the lid on super tight.
Make sure that lid is secure! Trust me on this one. I learned that the hard way once. We don’t want any leaks! Now for the fun part.
Shaking Your Way to Delicious Mason Jar Ice Cream
This is where the magic happens! Grab your jar. Start shaking it like you mean it. Shake vigorously for about 1 to 2 minutes. You’ll feel the mixture start to thicken up. It will get a little bit slushy. Keep shaking until it’s nicely combined and slightly thicker. It’s a great little arm workout! Just make sure that lid stays on tight. I’ve had a minor spill before. It’s best to be careful.
Freezing Your Perfect Mason Jar Ice Cream
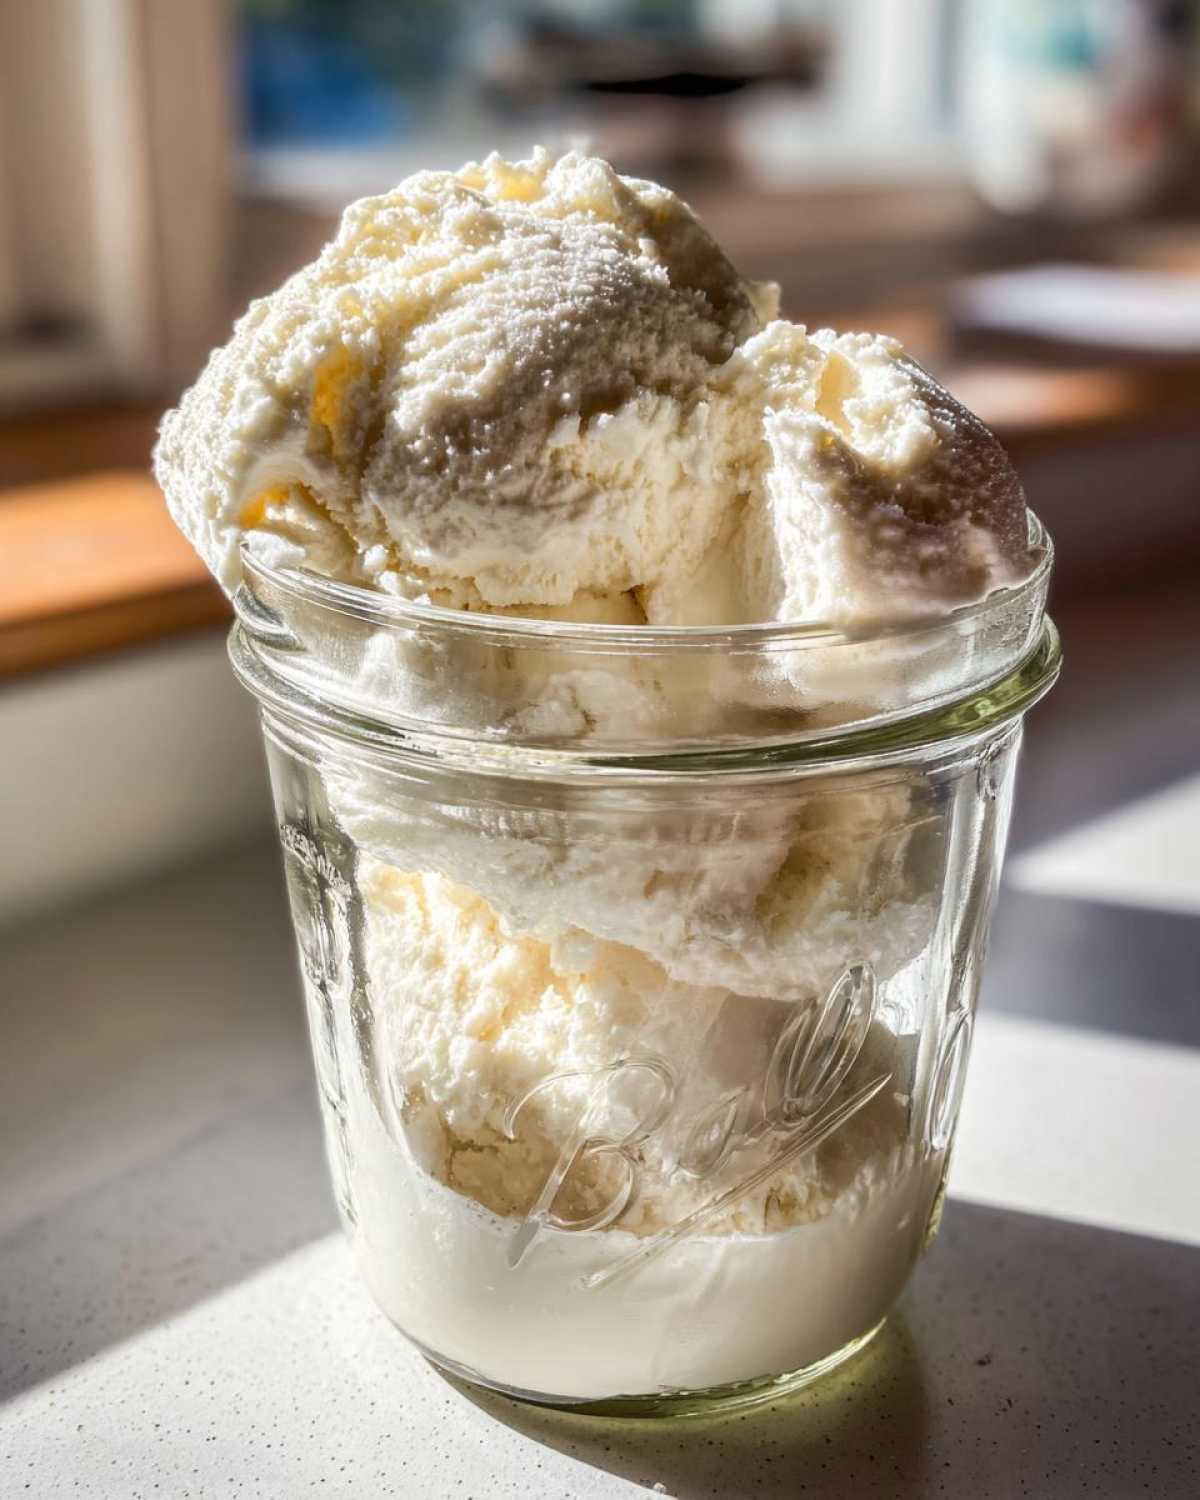
Once you’ve shaken it well, it’s time to freeze. Place the sealed mason jar right into your freezer. You’ll want to let it chill for at least 4 to 6 hours. This gives it enough time to get nice and firm. You want it solid enough to scoop. When you’re ready to serve, take the jar out. Let it sit on the counter for a few minutes. This softens it up just right. It makes scooping so much easier.
Tips for the Best Mason Jar Ice Cream
Want to make truly amazing Mason Jar Ice Cream? A few simple tips will help. Always use a sturdy pint-sized mason jar. Glass is best. Make sure the lid and ring are tight. This is super important to avoid leaks. I learned this the hard way! Shaking is key for texture. Shake it well. Don’t skimp on the shaking time. You want it to thicken nicely. This helps make it creamy. It’s worth the effort. Your ice cream will thank you for it.
Creative Variations for Your Mason Jar Ice Cream
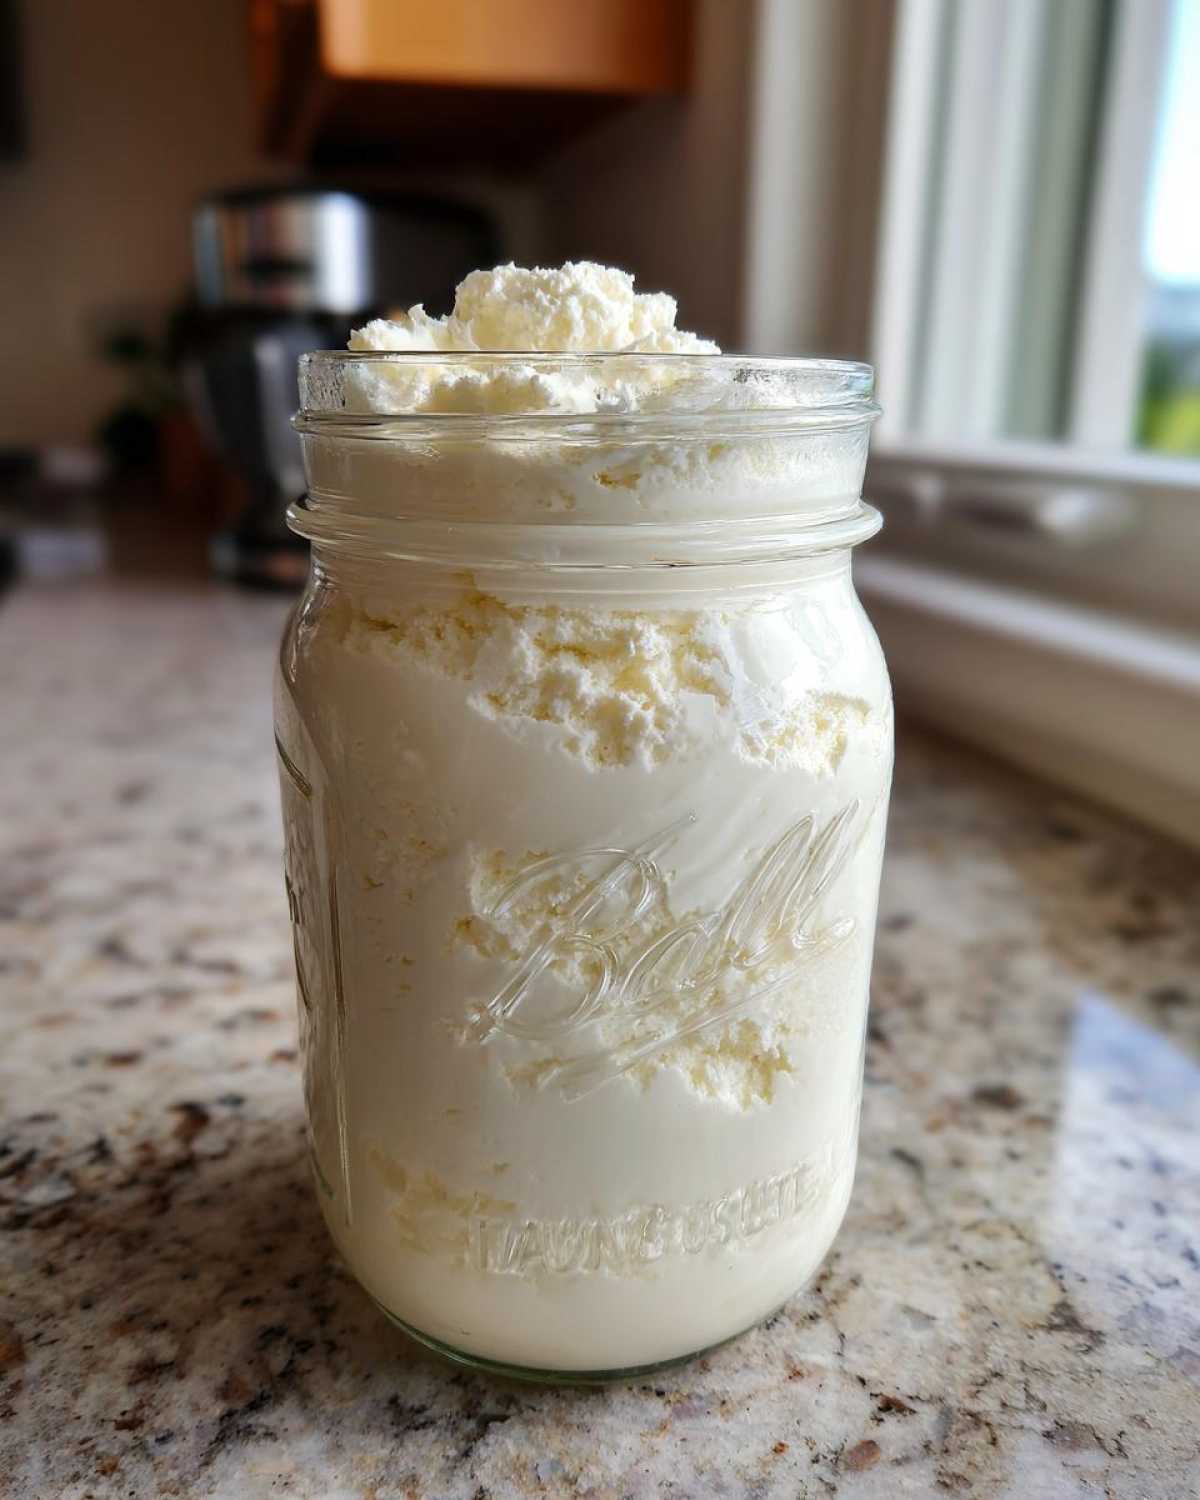
Vanilla is classic, but let’s get creative! Want chocolate? Add a tablespoon of cocoa powder with the other ingredients. Shake it up. You’ll have chocolate goodness. Try swirling in some fruit jam after shaking. Raspberry or strawberry works great. Or add a handful of mini chocolate chips. Fresh berries are also a nice touch. Toss them in after you shake. Just gently fold them in. These simple additions make your Mason Jar Ice Cream special. Have fun experimenting!
Serving and Storing Your Homemade Mason Jar Ice Cream
Now for the best part – enjoying your delicious Mason Jar Ice Cream! Once it’s firm and slightly softened, scoop it into a bowl. It’s wonderful just as it is. But for extra flair, try adding your favorite toppings. A drizzle of chocolate sauce is always a winner. Or maybe some fresh berries? It pairs beautifully with a slice of homemade pie too. If you have any leftovers, don’t worry! Just pop the lid back on securely. Keep the jar in the freezer. It stays fresh for a few weeks. Just let it soften a bit before your next scoop!
Frequently Asked Questions About Mason Jar Ice Cream
Got questions about making Mason Jar Ice Cream? I’ve got answers! It’s a simple recipe, but sometimes little things pop up. Let’s clear them up.
- Can I use a different type of jar?
A sturdy pint-sized mason jar is best. Its strong glass holds up to shaking. Plus, the tight seal is crucial. Other jars might leak or break. Always use a mason jar if you can.
- What if my ice cream isn’t freezing?
Check your freezer temperature. It needs to be cold enough. Make sure the jar is in the coldest part. Also, ensure you shook it well. Shaking helps it freeze better. Sometimes, a little extra time is needed.
- Can I make this with less sugar?
Yes, you can. Sugar helps with texture. It lowers the freezing point. Less sugar might make it icier. Try reducing it by a tablespoon. You can also use a sugar substitute. Experiment to find what works for you.
- How long does Mason Jar Ice Cream last?
Properly stored, your homemade ice cream lasts about 2-3 weeks. Keep the lid sealed tightly. Store it in the back of your freezer. It’s best enjoyed within the first week, though. Freshness is key!
Estimated Nutritional Information for Mason Jar Ice Cream
Here are the estimated nutritional values for a typical serving of this delightful Mason Jar Ice Cream. Please remember these are approximate. Your exact values might vary slightly based on ingredient brands and any additions you make. We aim for transparency!
- Serving Size: 1/2 cup
- Calories: 250
- Fat: 18g
- Carbohydrates: 22g
- Protein: 3g
Share Your Mason Jar Ice Cream Creations!
I absolutely love hearing from you! Did you try this simple Mason Jar Ice Cream recipe? How did it turn out? Please share your thoughts in the comments below. I’m always looking for new ideas. Got any fun mix-ins you loved? Let me know! Rate this recipe too. Sharing your photos on social media would make my day. Tag us so we can see your delicious creations!
PrintMason Jar Ice Cream: 1 Amazing Treat
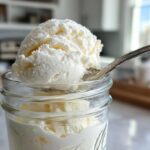
Make delicious vanilla ice cream right in your mason jar with this simple shake-and-freeze method. No ice cream maker needed!
- Prep Time: 5 minutes
- Cook Time: 0 minutes
- Total Time: 4 hours 5 minutes
- Yield: 1 pint
- Category: Dessert
- Method: No-Churn
- Cuisine: American
- Diet: Vegetarian
Ingredients
- 1 cup heavy cream
- 1/2 cup milk
- 1/4 cup granulated sugar
- 1 teaspoon vanilla extract
- Pinch of salt
Instructions
- Combine heavy cream, milk, sugar, vanilla extract, and salt in a pint-sized mason jar.
- Screw the lid on tightly.
- Shake the jar vigorously for 1-2 minutes until the mixture thickens slightly.
- Place the jar in the freezer for at least 4-6 hours, or until firm.
- Let the ice cream sit at room temperature for a few minutes before serving.
Notes
- For a richer flavor, use half-and-half instead of milk.
- Add your favorite mix-ins like chocolate chips or fruit after shaking.
- Ensure the mason jar lid is secure to prevent leaks.
Nutrition
- Serving Size: 1/2 cup
- Calories: 250
- Sugar: 20g
- Sodium: 30mg
- Fat: 18g
- Saturated Fat: 12g
- Unsaturated Fat: 6g
- Trans Fat: 0g
- Carbohydrates: 22g
- Fiber: 0g
- Protein: 3g
- Cholesterol: 60mg
