

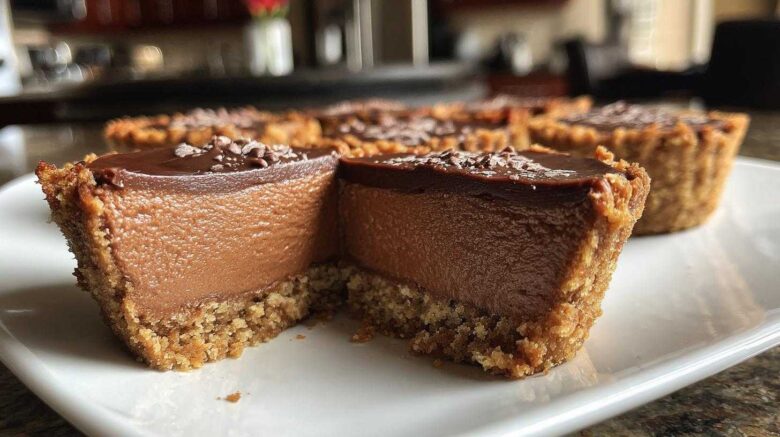
Mini Chocolate Mousse Cups with a Crunchy Crust: An Elegant No-Bake Dessert
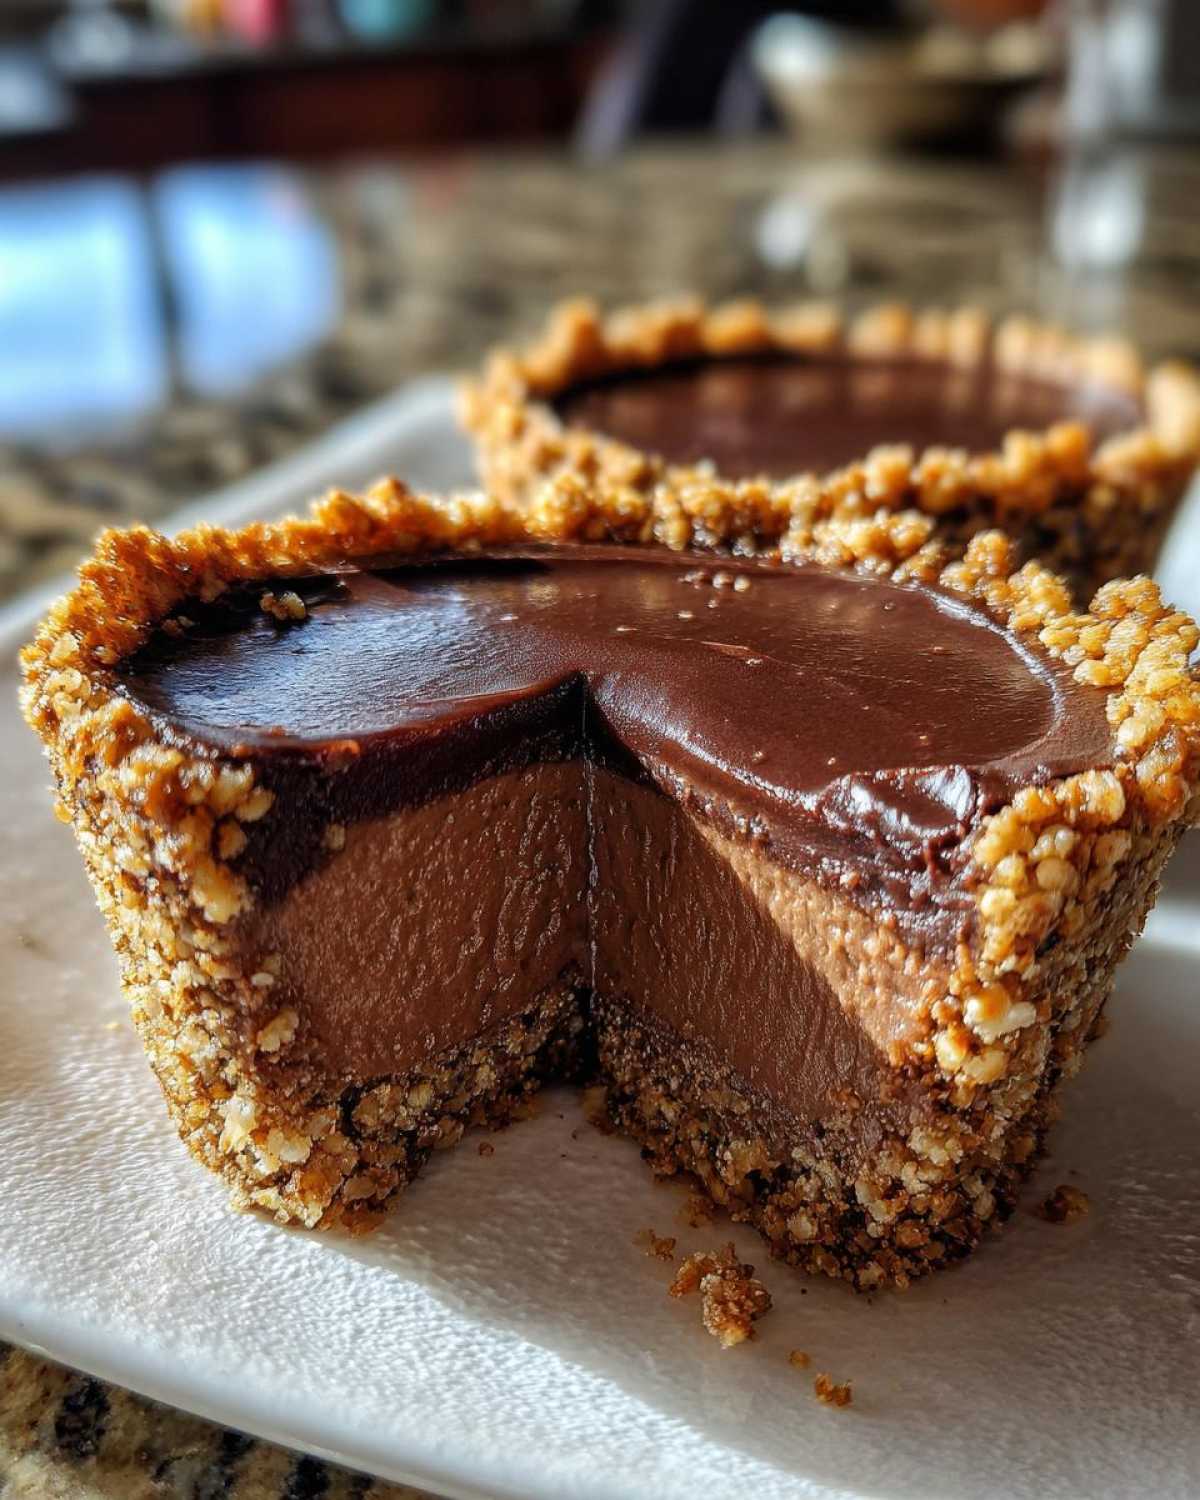
Oh, the joy of a perfectly crafted dessert! I’m Leo, and I absolutely adore creating treats that make people smile. Today, I’m thrilled to share a recipe that’s become a favorite in my own home: Mini Chocolate Mousse Cups with a Crunchy Crust. Imagine this: a rich, velvety chocolate mousse nestled atop a buttery, crisp cookie base. It’s pure bliss in every bite! This no-bake wonder is surprisingly simple to whip up, yet it looks and tastes utterly sophisticated. It’s the kind of dessert that impresses without demanding hours in the kitchen, a philosophy Chef Tariq always championed. Get ready to fall in love with these delightful little cups.
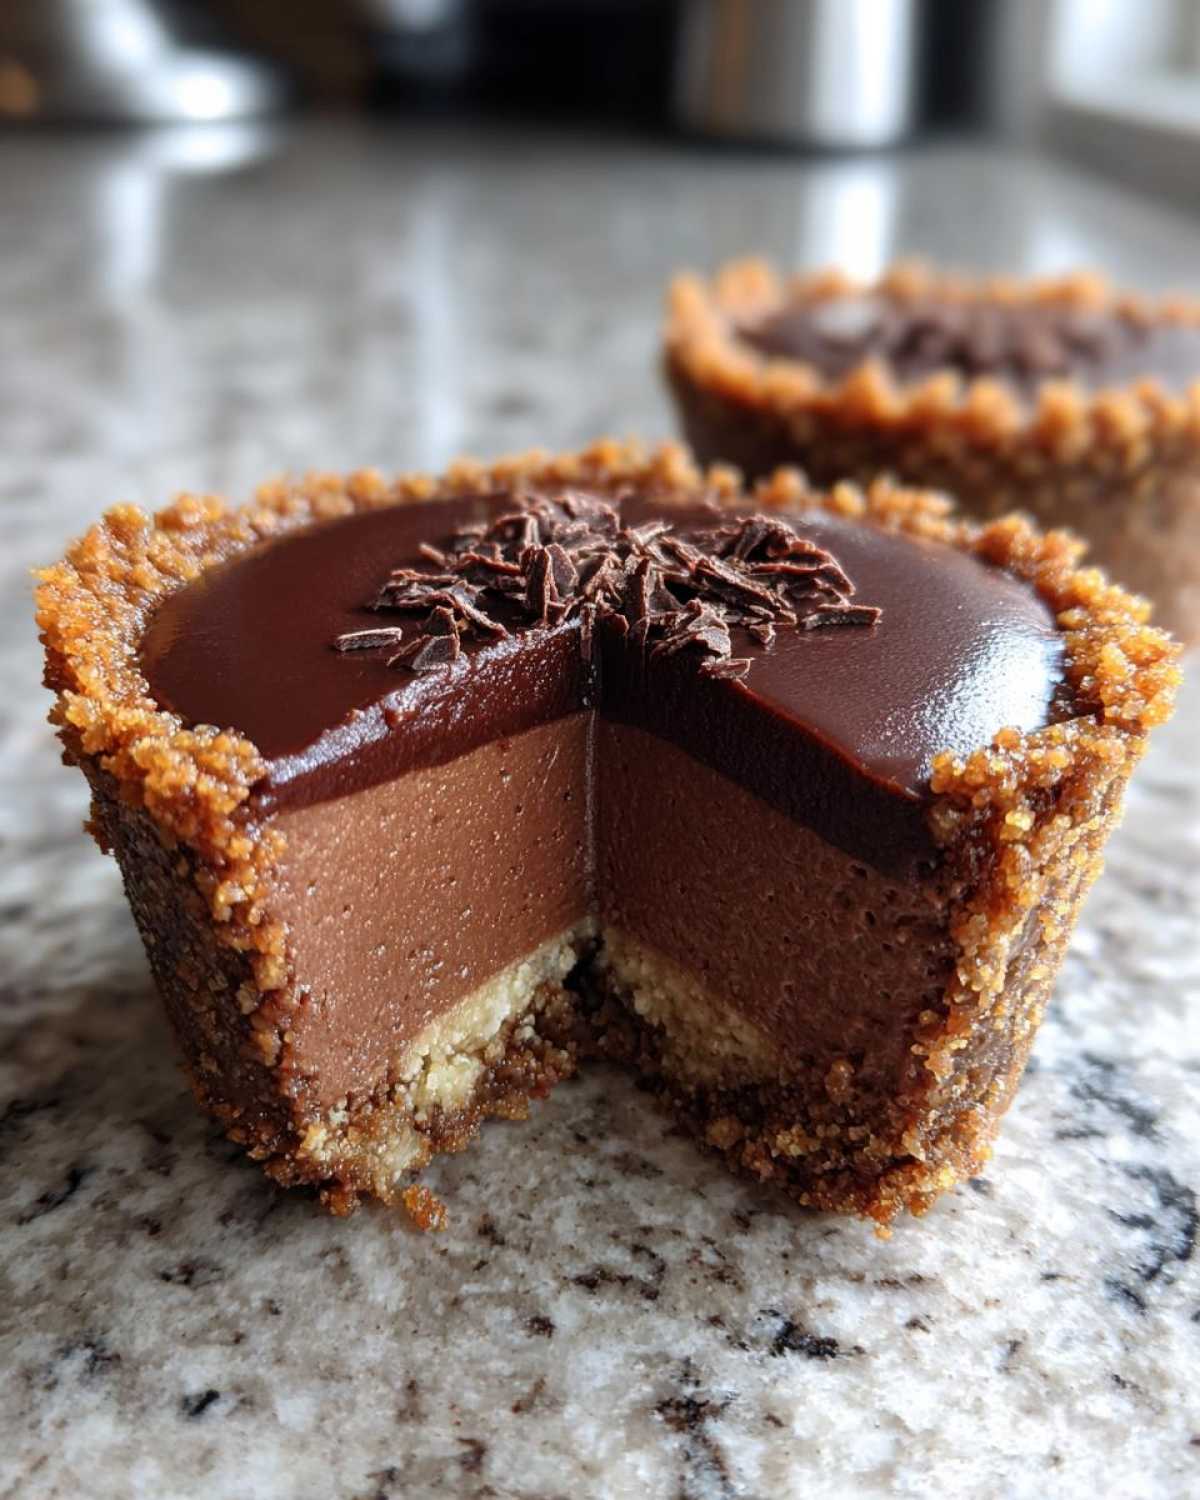
Why You’ll Love These Mini Chocolate Mousse Cups
These little gems are simply irresistible. They hit all the right notes for an unforgettable dessert experience.
* They are absolutely perfect for any party or special occasion.
* You’ll love how quick and easy this no-bake preparation is.
* The delightful contrast of creamy mousse and crunchy crust is a dream.
* Individual portions mean effortless serving for you and your guests.
The Perfect Mini Chocolate Mousse Cups with a Crunchy Crust: Ingredients You’ll Need
Gathering your ingredients is the first delicious step towards these amazing Mini Chocolate Mousse Cups with a Crunchy Crust. I always find that having everything prepped and ready makes the whole process smoother, just like Chef Tariq taught us. This recipe yields about 12 delightful servings. You’ll need around 20 minutes for prep and about 10 minutes for melting chocolate, plus that crucial chilling time. Let’s get these goodies ready!
For the Crunchy Crust
To build that wonderful base, you’ll need:
- 1 cup chocolate wafer crumbs
- 2 tablespoons unsalted butter, melted
For the Rich Chocolate Mousse
And for the luscious mousse itself, have these on hand:
- 8 ounces semi-sweet chocolate, chopped
- 1 cup heavy cream
- 2 large eggs, separated
- 1/4 cup granulated sugar
- 1 teaspoon vanilla extract
- Pinch of salt
Crafting Your Mini Chocolate Mousse Cups with a Crunchy Crust: Step-by-Step Instructions
Now for the fun part – bringing these delicious Mini Chocolate Mousse Cups with a Crunchy Crust to life! I always feel a little thrill when I start assembling a recipe I love. Chef Tariq always said that patience and a gentle hand are key, and that’s especially true here. Let’s get started!
Preparing the Crunchy Crust Base
First things first, let’s make that irresistible crust. In a small bowl, mix your chocolate wafer crumbs with the melted butter. Give it a good stir until it all looks like damp sand. Then, press this mixture evenly into the bottom of your mini muffin cups or ramekins. Pop them in the fridge to chill while we whip up the mousse. This makes sure your crust stays perfectly crisp.
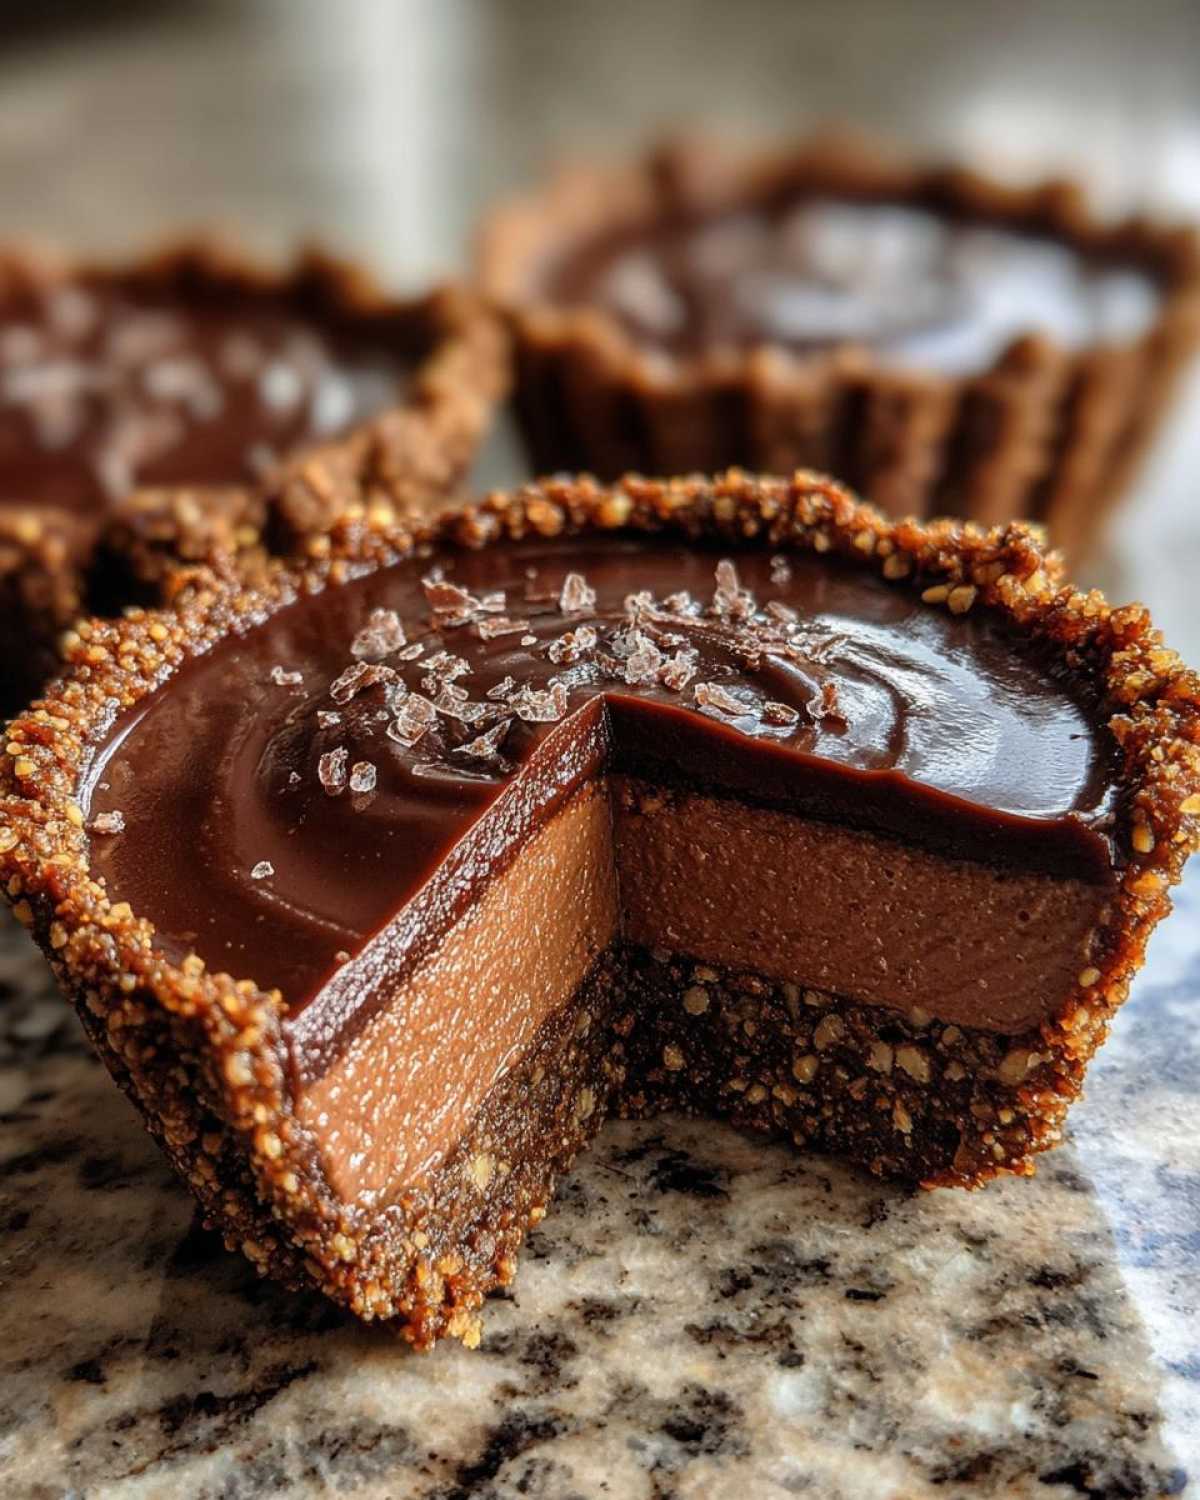
Making the Silky Chocolate Mousse
Time to create that dreamy chocolate mousse! Melt your chopped semi-sweet chocolate. I like to do this in a heatproof bowl over a gentle simmer of water. Stir it until it’s smooth as velvet, then take it off the heat. In a separate bowl, whip your heavy cream until it forms stiff peaks. Don’t overdo it! Next, grab another bowl. Whisk your egg yolks and sugar together until they’re pale and look a bit thicker. Now, gently fold the melted chocolate into this egg yolk mix. Stir in the vanilla extract and that pinch of salt. For the egg whites, make sure your bowl and whisk are super clean and dry. Beat those egg whites until they also form stiff peaks. This is the magic step for lightness! Gently fold the whipped cream into the chocolate mixture. Finally, carefully fold in the beaten egg whites. Be gentle; we want to keep all that lovely air in there.
Assembling and Chilling Your Mini Chocolate Mousse Cups
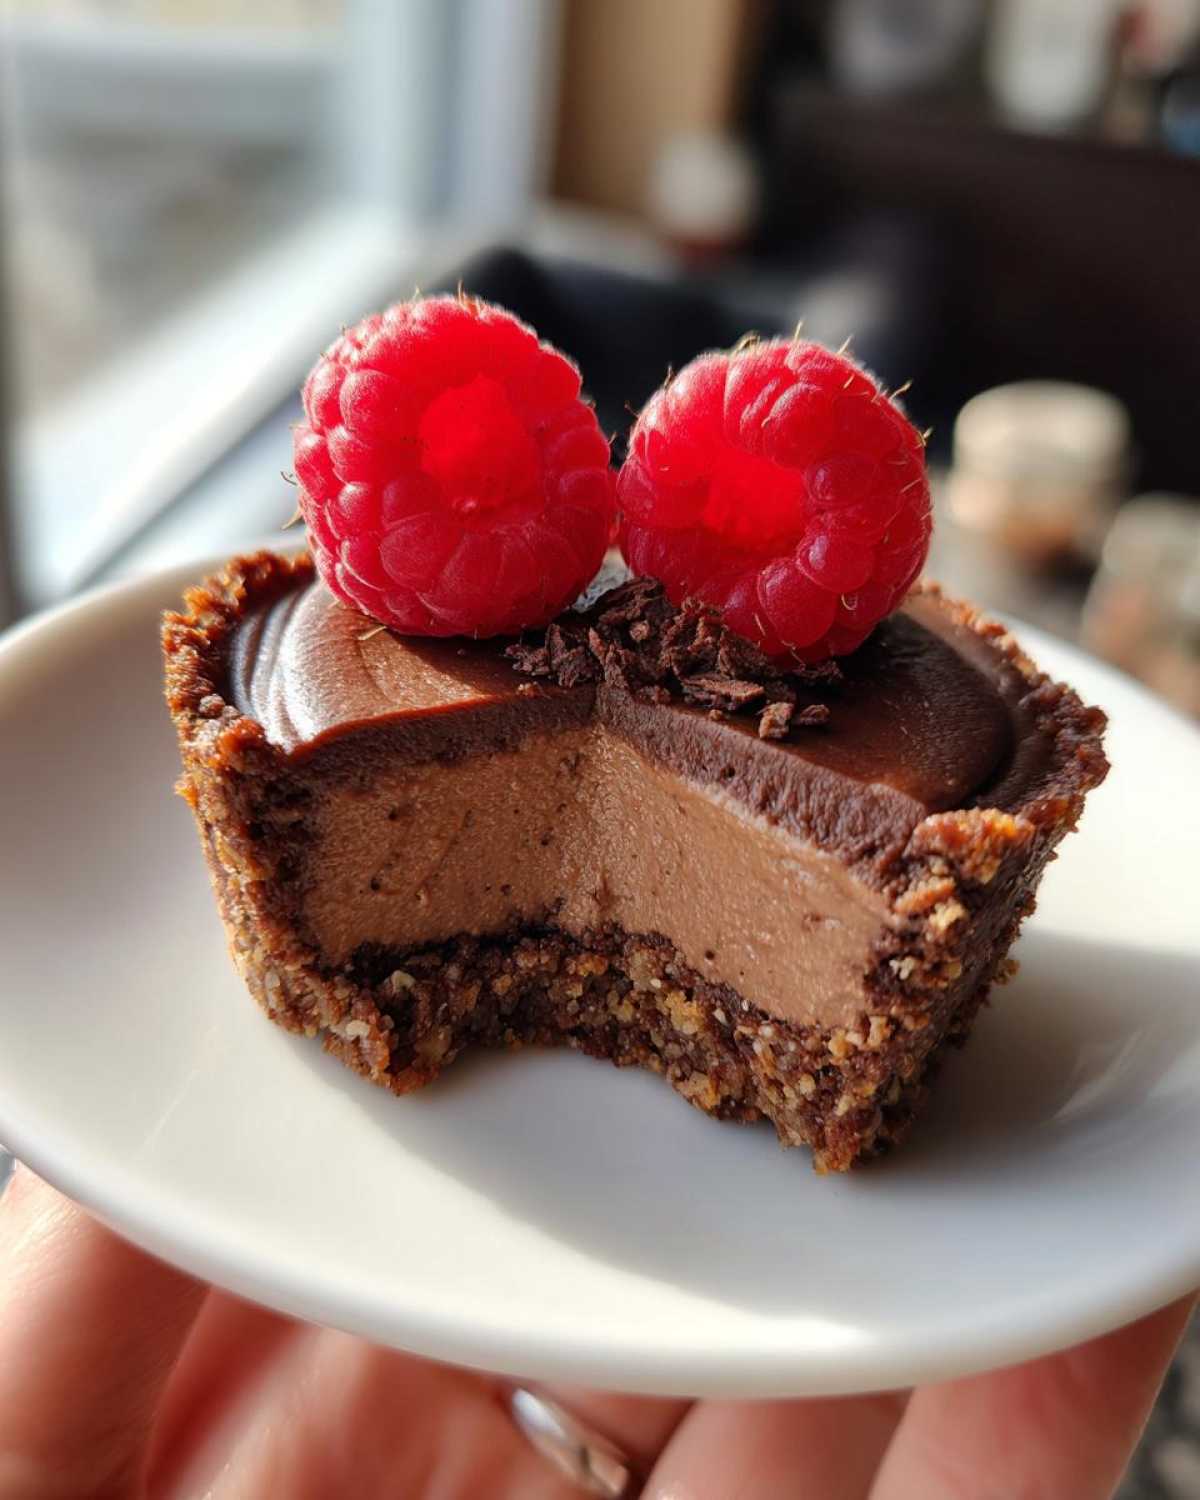
With your crusts chilled and your mousse ready, it’s time to assemble! Spoon the silky chocolate mousse mixture right over the chilled crusts in your mini muffin cups. Fill them up nicely, but don’t overflow. Now, the hardest part: waiting! Cover them gently and pop them into the refrigerator. Let them chill for at least 2 hours, or until they’re wonderfully firm. This resting time is crucial for the flavors to meld and the texture to set. Remember those lovely garnish ideas from our notes? You can add chocolate shavings, fresh berries, or a swirl of whipped cream just before serving. They look so pretty that way!
Essential Equipment for Mini Chocolate Mousse Cups with a Crunchy Crust
To bring these delightful Mini Chocolate Mousse Cups with a Crunchy Crust to life, you’ll need a few key tools. Having the right equipment makes the process so much smoother, letting you focus on the delicious outcome. I always keep these handy when I’m making them.
Tools for Crust and Mousse Preparation
- Mixing bowls (at least 3)
- Whisk
- Spatula
- Heatproof bowl for melting chocolate
- Saucepan (for double boiler)
Tools for Assembly and Serving
- Mini muffin tin or small ramekins
- Measuring cups and spoons
- Serving platter
Tips for Perfect Mini Chocolate Mousse Cups with a Crunchy Crust
I love sharing little tricks that make recipes even better. These tips for our Mini Chocolate Mousse Cups with a Crunchy Crust come from my own kitchen adventures and Chef Tariq’s wisdom. They help ensure you get that perfect texture and presentation every time. Don’t be afraid to play around a bit, too; that’s where the real fun begins!
Achieving the Best Crust Texture
For a crust that’s both crumbly and firm, make sure your butter is fully incorporated into the crumbs. Press it down evenly and firmly into the cups. A well-compacted base prevents it from falling apart.
Ensuring Smooth and Airy Mousse
When melting chocolate, use gentle heat to avoid scorching. For that airy lightness, ensure your bowls and whisk are spotless before whipping egg whites. Folding them in slowly keeps the mousse from deflating. For more insights on chocolate, you can explore The Hershey Company’s guide to chocolate basics.
Garnishing for a Professional Finish
To make these cups truly special, try a sprinkle of finely chopped nuts on the crust for extra crunch. Chocolate shavings, fresh berries, or a tiny dollop of whipped cream add a beautiful, professional touch. They really elevate the dessert!
Frequently Asked Questions About Mini Chocolate Mousse Cups with a Crunchy Crust
Got questions about crafting these delightful Mini Chocolate Mousse Cups with a Crunchy Crust? I’ve got answers! I love hearing from you and helping make your baking journey as smooth as possible. Here are some common queries I get, along with my best tips.
Can I make the crust ahead of time?
Yes, absolutely! You can prepare the crust mixture and press it into your mini muffin cups a day in advance. Just keep them covered in the refrigerator. This is a great way to get a head start on your individual desserts.
What kind of chocolate is best for this recipe?
I find that semi-sweet chocolate works wonderfully for these mini chocolate mousse cups. It offers a lovely balance of sweetness and deep chocolate flavor. You can experiment with bittersweet if you prefer a more intense chocolate taste, but avoid milk chocolate as it can make the mousse too sweet and less stable.
How long do the mini chocolate mousse cups last in the refrigerator?
These little chocolate cups are best enjoyed within 2-3 days of making them. Keep them covered tightly in the fridge. The crust might soften slightly over time, but they’ll still be delicious! They’re perfect for making ahead for a party.
Can I use a different type of cookie for the crust?
Definitely! While chocolate wafers are my go-to, you can get creative with your crunchy crust. Graham crackers, Oreos (filling removed if you like!), or even gingersnap cookies can create a unique flavor profile for your mini desserts. Just be sure to adjust the butter amount slightly if your cookies are more or less moist than wafer crumbs.
Nutritional Estimate for Mini Chocolate Mousse Cups with a Crunchy Crust
I know many of you are curious about the nutritional side of things, and I always aim to be transparent! While every kitchen is a little different, here’s a general estimate for these delightful Mini Chocolate Mousse Cups with a Crunchy Crust. Please remember these are approximate values per serving, as ingredients and portion sizes can vary slightly. This gives you a good idea of what you’re enjoying in these decadent little treats.
- Serving Size: 1 cup
- Calories: 350
- Sugar: 25g
- Fat: 25g
- Protein: 5g
Sharing Your Mini Chocolate Mousse Cups with a Crunchy Crust Creations
I absolutely adore seeing your culinary creations! Have you made these Mini Chocolate Mousse Cups with a Crunchy Crust? I’d be thrilled if you shared your experience, any fun variations you tried, or even a picture of your beautiful dessert in the comments below. Your kitchen adventures inspire me, and I can’t wait to see what you create!
PrintMini Chocolate Mousse Cups: 12 Divine Bites

Indulge in these delightful mini chocolate mousse cups, complete with a satisfyingly crunchy crust. They are perfect for a special treat or an elegant dessert.
- Prep Time: 20 minutes
- Cook Time: 10 minutes (for melting chocolate)
- Total Time: 2 hours 30 minutes
- Yield: 12 servings
- Category: Dessert
- Method: No-Bake
- Cuisine: American
- Diet: Vegetarian
Ingredients
- 1 cup chocolate wafer crumbs
- 2 tablespoons unsalted butter, melted
- 8 ounces semi-sweet chocolate, chopped
- 1 cup heavy cream
- 2 large eggs, separated
- 1/4 cup granulated sugar
- 1 teaspoon vanilla extract
- Pinch of salt
Instructions
- In a small bowl, combine chocolate wafer crumbs and melted butter. Press mixture evenly into the bottom of mini muffin cups or small ramekins. Chill while preparing the mousse.
- Melt chopped semi-sweet chocolate in a heatproof bowl set over a saucepan of simmering water, stirring until smooth. Remove from heat.
- In a separate bowl, whip heavy cream until stiff peaks form. Set aside.
- In another bowl, whisk together egg yolks and granulated sugar until pale and slightly thickened.
- Gently fold the melted chocolate into the egg yolk mixture until well combined.
- Stir in vanilla extract and a pinch of salt.
- In a clean bowl, beat egg whites until stiff peaks form.
- Gently fold the whipped cream into the chocolate mixture, followed by the beaten egg whites until just combined. Be careful not to overmix.
- Spoon the mousse mixture over the chilled crusts in the mini muffin cups.
- Chill for at least 2 hours, or until firm.
- Serve chilled.
Notes
- For an extra crunch, you can add a sprinkle of finely chopped nuts to the crust mixture.
- Garnish with chocolate shavings, berries, or a dollop of whipped cream before serving.
- Ensure your bowls and whisk are completely clean and dry when whipping egg whites for best results.
Nutrition
- Serving Size: 1 cup
- Calories: 350
- Sugar: 25g
- Sodium: 50mg
- Fat: 25g
- Saturated Fat: 15g
- Unsaturated Fat: 10g
- Trans Fat: 0g
- Carbohydrates: 30g
- Fiber: 3g
- Protein: 5g
- Cholesterol: 70mg
