

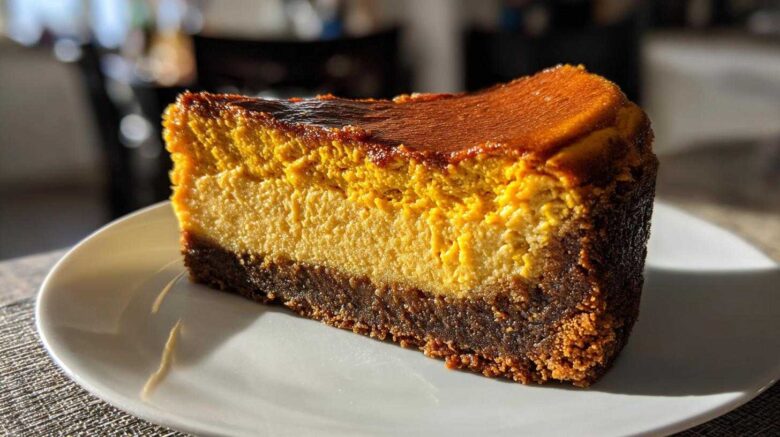
The Ultimate Creamy Baked pumpkin cheesecake Recipe
Oh, friends, get ready for pure autumn magic!
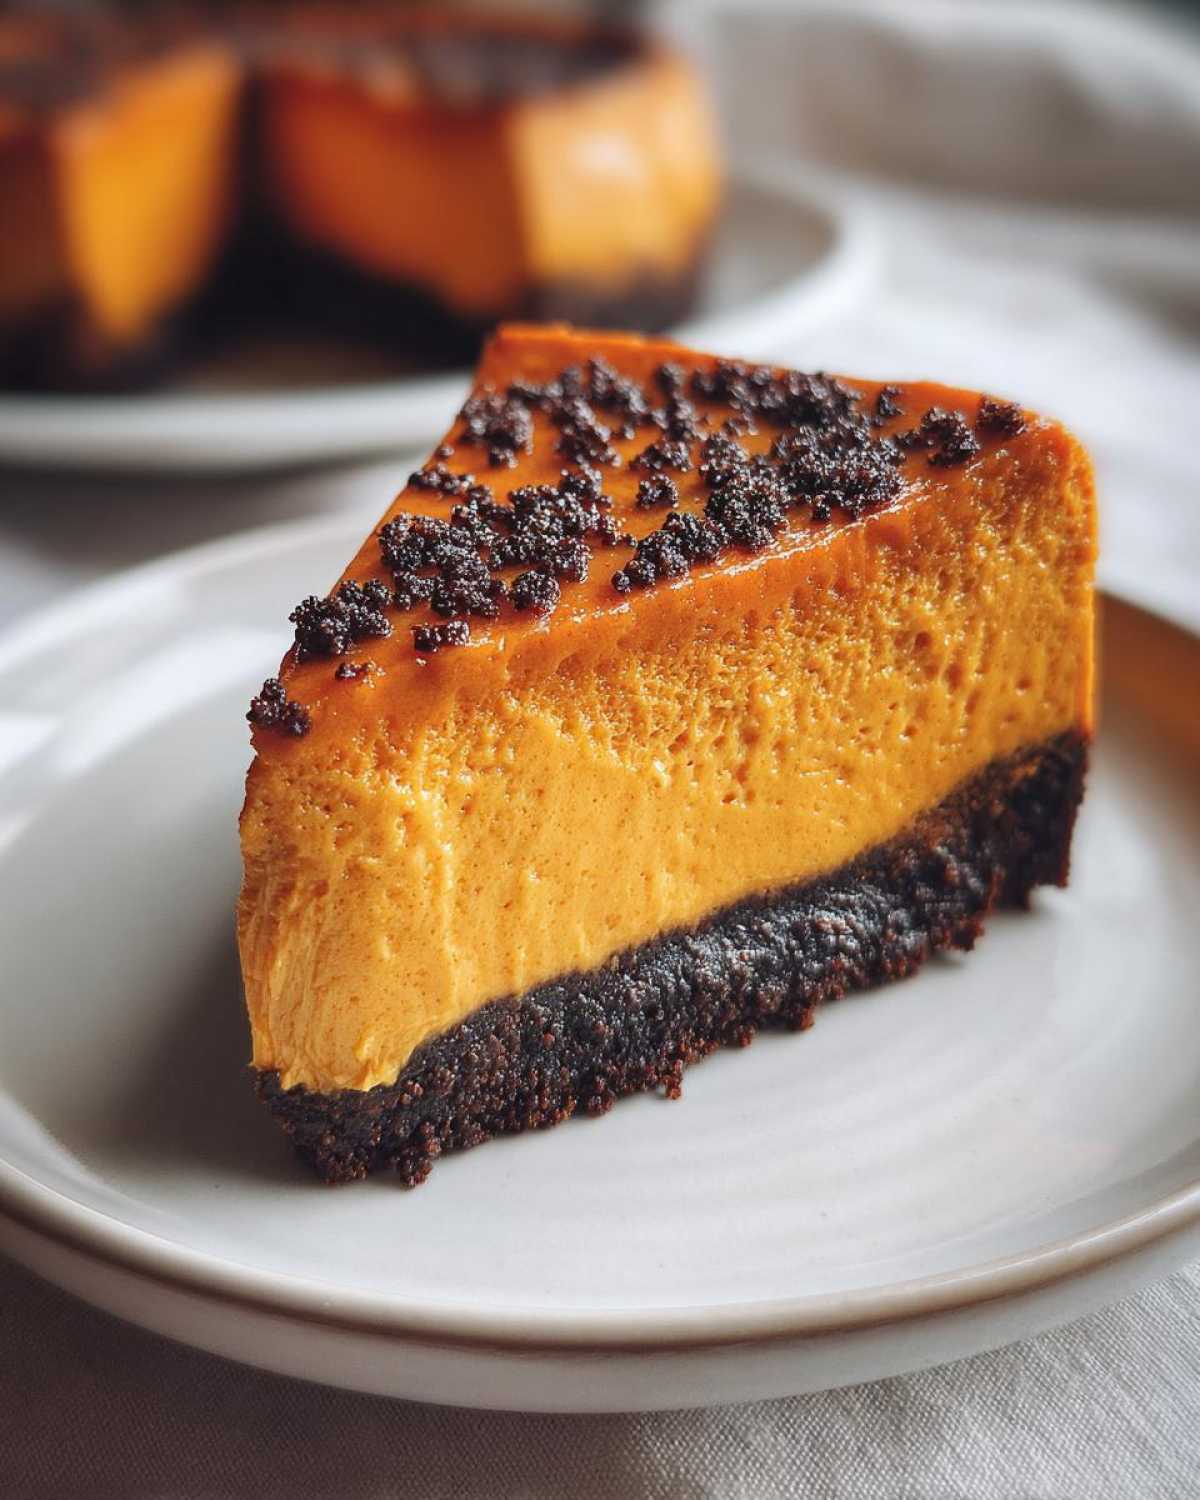
This baked pumpkin cheesecake is my absolute favorite creation.
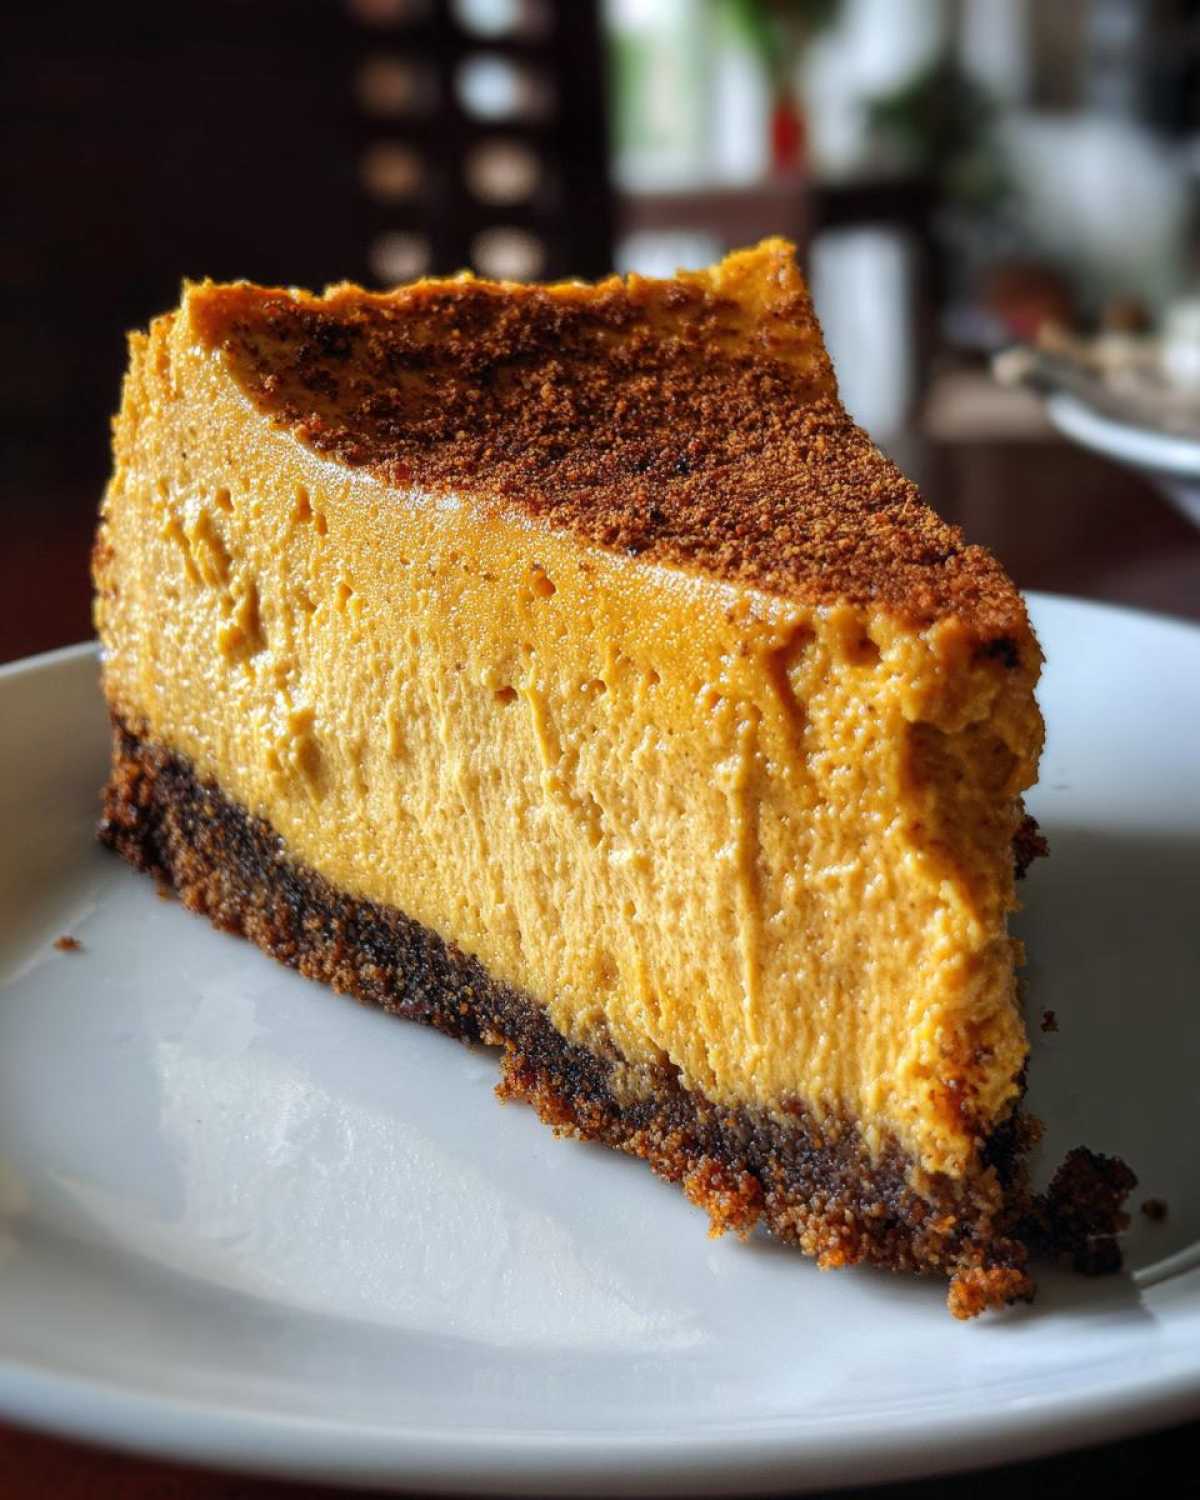
It’s creamy, spiced just right, and utterly decadent.
I learned so much from Chef Tariq about technique.
That experience helps me bring you this perfect dessert.
We’re ditching the plain graham cracker base today.
Instead, we’re using a spicy gingersnap crust.
It provides such a wonderful contrast to the filling.
This rich pumpkin cheesecake tastes like a hug.
It’s the showstopper your holiday table needs.
Why This pumpkin cheesecake Stands Apart
What makes this recipe sing? Texture, truly.
I chase that ultra-smooth, velvety mouthfeel always.
The gentle baking in a water bath guarantees it.
No grainy bits or dry edges here, I promise you.
Then comes the crust, the real game-changer.
That spiced gingersnap crust snaps back perfectly.
It offers a warm, dark counterpoint to the sweet cheese.
It’s ideal for Thanksgiving gatherings or quiet nights.
Imagine that first creamy bite with that spicy crunch.
It’s simply unforgettable for any fall occasion.
Essential Ingredients for Your pumpkin cheesecake
Okay, let’s talk ingredients. Quality matters here.
For a truly great pumpkin cheesecake, you need the best stuff.
I always gather everything before I start mixing.
This keeps my rhythm going smoothly, just like Tariq taught me.
Having everything ready prevents rushed mistakes later on.
These components build that signature fall flavor profile.
Ingredient Breakdown for the Spiced Crust
The foundation needs to be strong and flavorful.
For our spiced crust, you’ll need three simple things:
- 1 1/2 cups gingersnap cookie crumbs
- 1/4 cup granulated sugar for sweetness
- 6 tablespoons unsalted butter, melted gently
Mix these until they look like wet sand, folks.
What You Need for the Creamy Filling
The filling is where the magic really happens, see.
First, get your cream cheese softened up well.
Room temperature cream cheese beats lumps every time.
You need three 8-ounce packages, softened, please.
For sweetness and spice, grab these items:
- 1 1/2 cups granulated sugar
- 1 teaspoon vanilla extract
- 1 teaspoon pumpkin pie spice
- 1/2 teaspoon ground cinnamon
- 1/4 teaspoon ground ginger
- 1/4 teaspoon salt
Then, the stars: 1 cup pumpkin puree, not pie filling.
Finally, three large eggs bring it all together.
Preparing the Perfect pumpkin cheesecake: Step-by-Step
Now we move to the fun part, putting it all together!
Follow these steps closely for a flawless result.
We start by getting the oven ready for action.
Preheat your oven to 350 degrees F (175 degrees C).
Proper prep prevents so many kitchen headaches later.
I always feel so energized when the oven warms up.
Building and Pre-Baking the Gingersnap Crust
Let’s create that sturdy, spicy base first.
Wrap your 9-inch springform pan well in foil.
Use heavy-duty foil; this keeps water out later.
Mix your crumbs, sugar, and melted butter well.
Press this mixture firmly into the pan bottom.
Bake that crust for exactly 8 minutes only.
Remove it and let it cool down a bit first.
Mixing the Creamy pumpkin cheesecake Filling
This is where Amara’s gentle touch comes in handy.
Beat your softened cream cheese until it’s totally smooth.
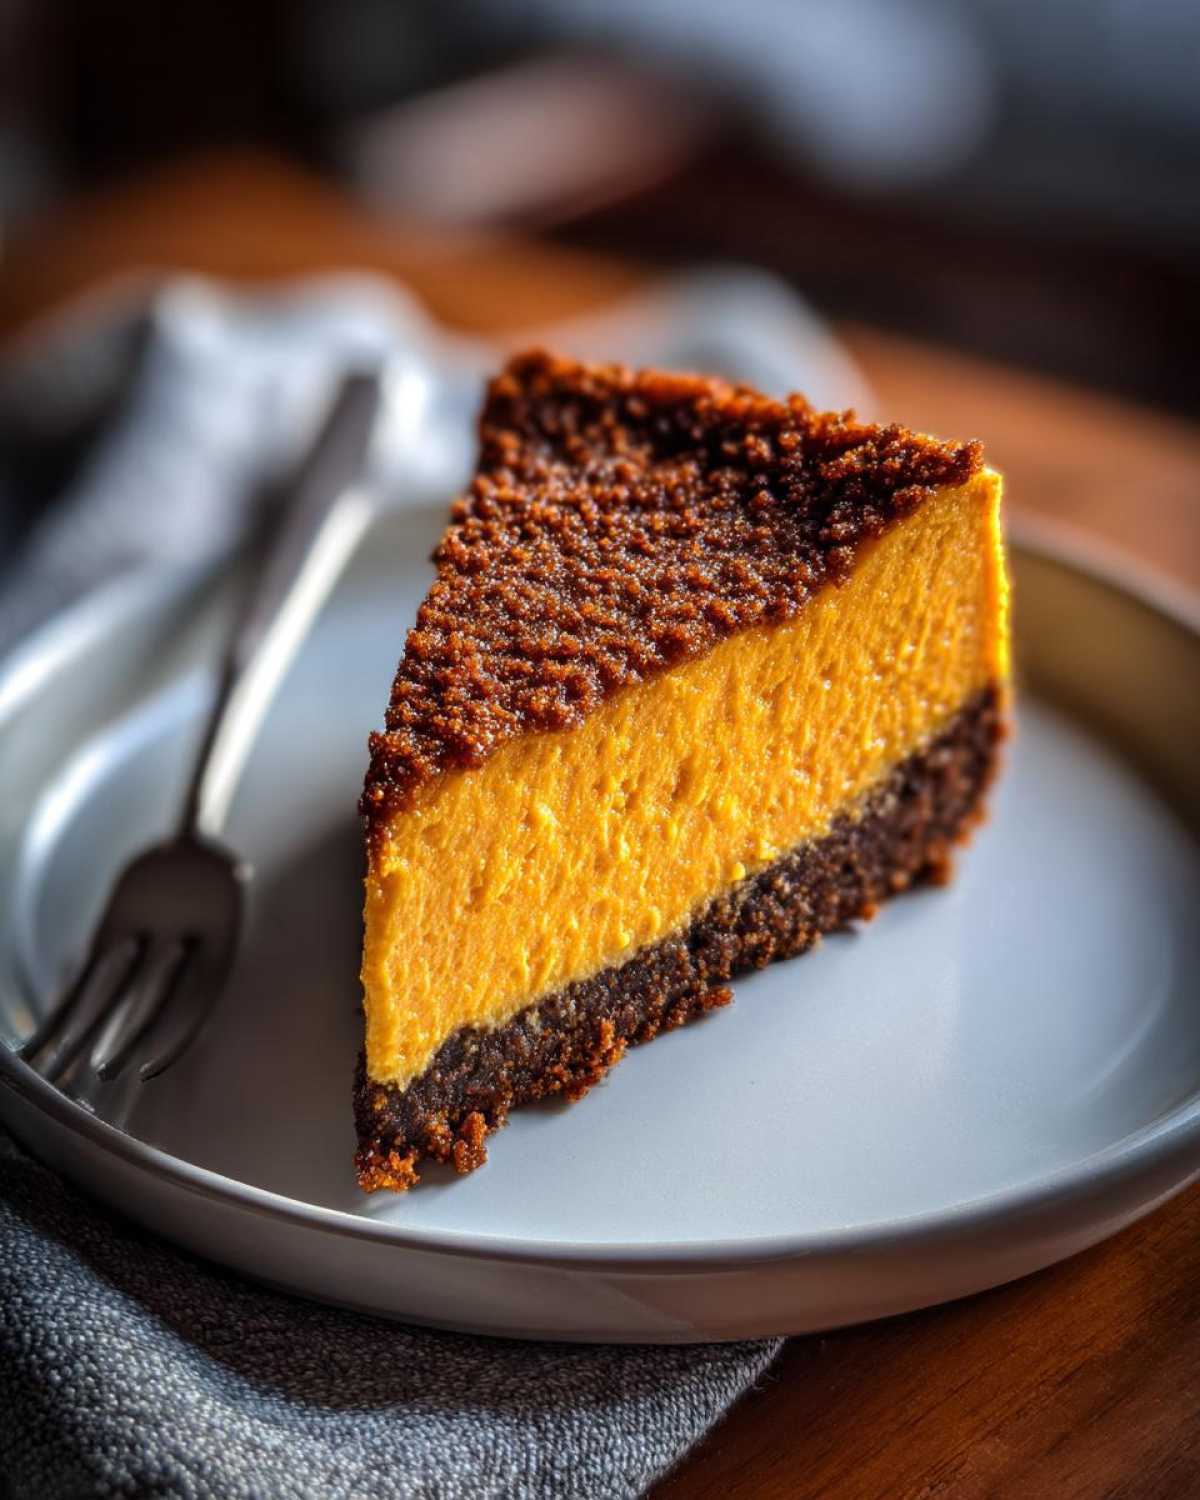
Scrape down the sides of your mixing bowl often.
Slowly add the sugar until it’s creamy again.
Mix in the vanilla and all those lovely spices.
Then beat in the pumpkin puree until blended.
Add the eggs one at a time, seriously slowly.
Do not overmix once those eggs are in there.
Overmixing brings in too much air, causing cracks.
Baking the pumpkin cheesecake with a Water Bath
The water bath is our secret weapon for creaminess.
Pour the filling over your cooled crust gently.
Place the foil-wrapped pan into a larger pan.
Carefully pour hot water into the large pan now.
The water should reach halfway up the springform sides.
Bake for 55 to 65 minutes total time.
The edges should look set, firm, and ready.
The center should still have a tiny little jiggle.
That slight wobble means perfect texture inside.
Tips for Achieving a Crack-Free pumpkin cheesecake
Nobody likes a cracked top, right? Me neither!
A beautiful presentation makes the dessert taste better.
I learned a few tricks that keep my tops smooth.
It all comes down to gentle heat and slow cooling.
The water bath is your best friend here, remember that.
It keeps the heat even around the entire cake.
Cooling Techniques for Your pumpkin cheesecake
This cooling process is non-negotiable, trust me.
When the bake time is up, turn the oven off.
Prop the oven door open slightly with a wooden spoon.
Let the cheesecake hang out in that cooling oven for one hour.
This gradual temperature drop prevents sudden shrinking.
After one hour, take it out completely.
Let it cool on a wire rack until room temperature.
Then, cover it loosely and chill it overnight.
Six hours is the minimum, but overnight is better.
Chilling solidifies that creamy texture perfectly.
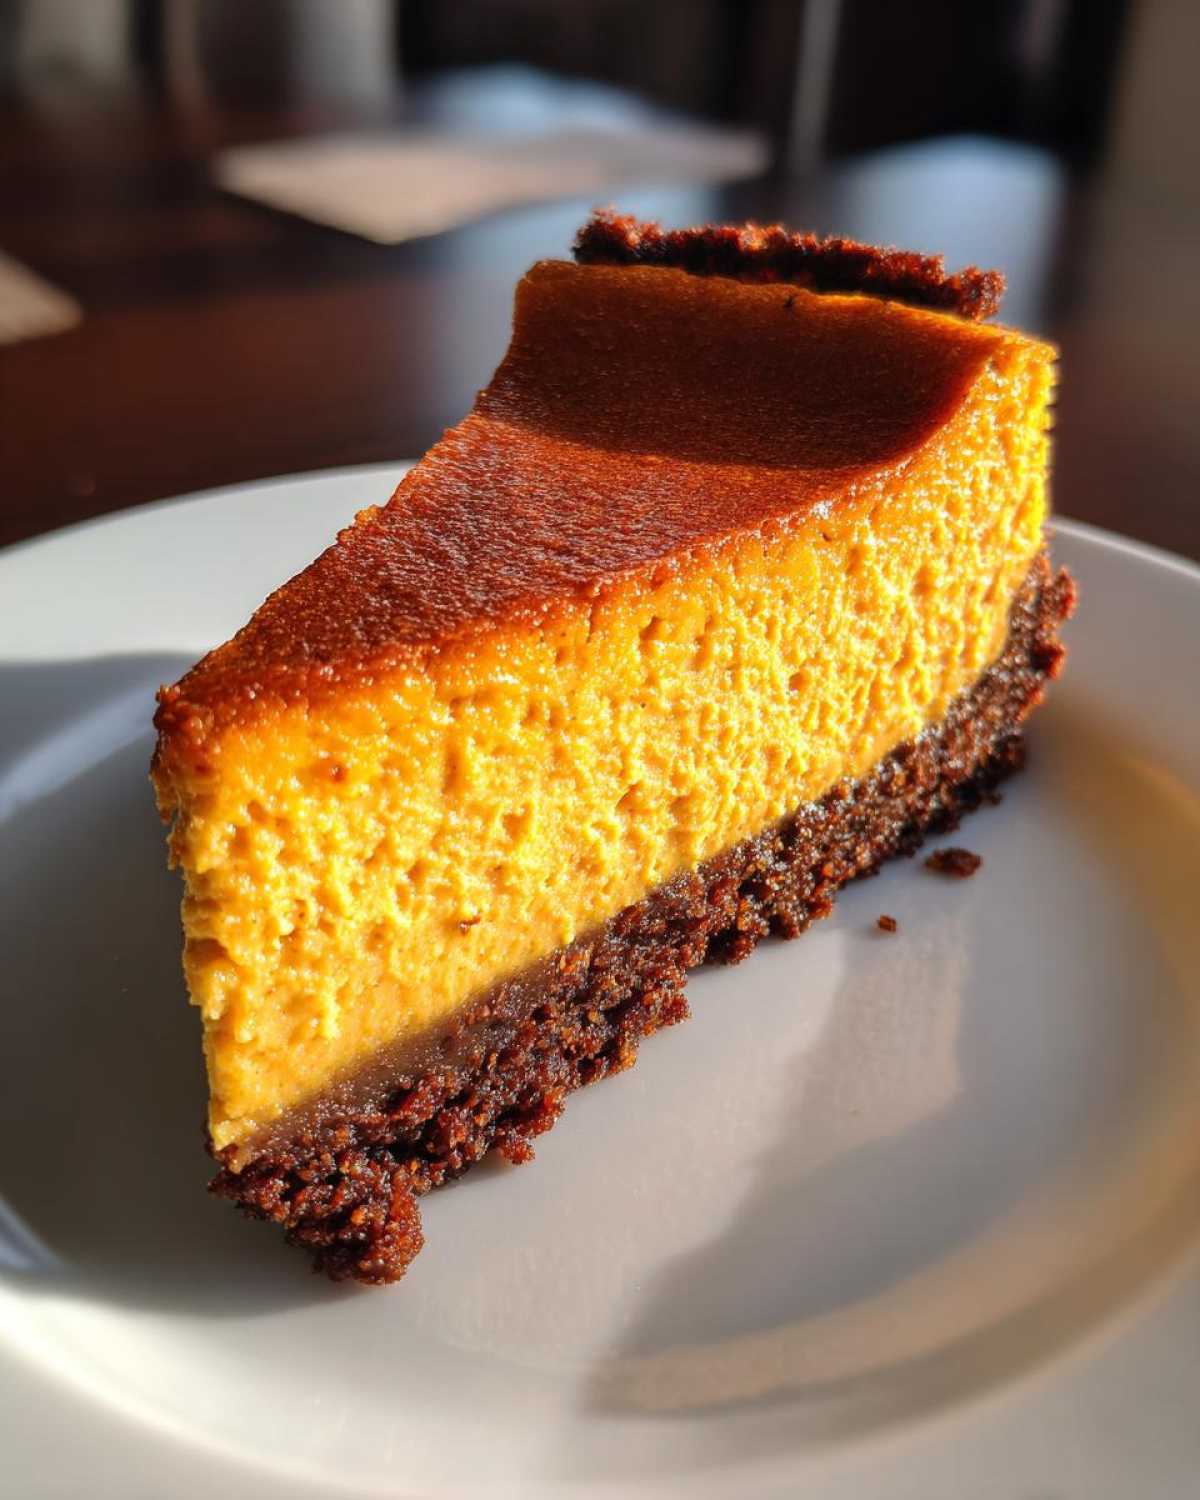
Common Questions About Making pumpkin cheesecake
I know you might have a few questions pop up.
Baking a perfect cheesecake takes a little know-how.
Don’t worry, I’ve seen these issues before, too.
These tips should help smooth out any confusion.
We want your creamy pumpkin pie experience to shine.
Let’s tackle those common worries right now.
Substitution Options for This pumpkin cheesecake Recipe
Sometimes we run out of an ingredient mid-bake.
What if you don’t have gingersnaps on hand?
You can swap them for vanilla wafers or shortbread.
Just add an extra half teaspoon of pumpkin pie spice.
This helps keep that warm, spiced flavor profile.
Can I use a different cheese? Not really, sadly.
Cream cheese is essential for this rich texture.
Other soft cheeses won’t set up the same way.
Stick to the cream cheese for the best results.
It truly makes this dessert a family favorite.
Storing and Reheating Your Homemade pumpkin cheesecake
Once you’ve waited patiently, your dessert is ready.
Storing this homemade delight is quite simple.
Keep your finished pumpkin cheesecake refrigerated always.
Cover it well before putting it in the cold air.
Plastic wrap works fine, or an airtight container.
It stays wonderfully fresh for about four days.
I rarely have leftovers past day three, though!
Now, about reheating this beauty:
Honestly, you shouldn’t reheat cheesecake.
This dessert is best served chilled or just slightly cool.
Warming it up will ruin that beautiful texture.
The cream cheese filling gets too soft quickly.
It loses that perfect sliceable firmness we worked for.
Just take it out twenty minutes before serving.
It lets the chill soften just a bit.
Enjoy that cold, creamy slice instead!
Understanding the Estimated Nutrition in Your pumpkin cheesecake
Let’s talk fuel for a moment, shall we?
I know many of you track what you eat.
Remember, these numbers are just close estimates.
My kitchen isn’t a lab, after all!
These figures reflect the recipe as written above.
Your exact measurements might shift things slightly.
Here is a general look at one slice:
- Serving Size: 1 slice (Serves 12 total)
- Calories: Around 420 each
- Sugar: About 35g is present
- Fat Content: Roughly 26g total fat
- Carbohydrates: Near 40g per serving
- Protein: About 7g is included
That fat content comes mostly from the cream cheese.
It’s what gives us that amazing, rich mouthfeel.
Think of this as a special occasion treat.
It’s definitely worth every single creamy bite.
Enjoy the moment, friends, that’s my main goal for you.
Share Your Amazing pumpkin cheesecake Creation
I poured my heart into this recipe for you.
Now it’s your turn to make some magic happen!
Did you try the gingersnap crust variation?
Tell me how your creamy pumpkin cheesecake turned out below.
We love hearing from our Savory Skies family.
Rate this recipe and share your favorite fall moment!
Print3 Simple Steps for Awesome pumpkin cheesecake
You will make a creamy, baked pumpkin cheesecake with a spiced gingersnap crust. This recipe delivers rich pumpkin flavor perfect for any fall gathering or cozy evening.
- Prep Time: 25 minutes
- Cook Time: 65 minutes
- Total Time: 7 hours 30 minutes (includes cooling and chilling)
- Yield: 12 servings
- Category: Dessert
- Method: Baked
- Cuisine: American
- Diet: Vegetarian
Ingredients
- 1 1/2 cups gingersnap cookie crumbs
- 1/4 cup granulated sugar (for crust)
- 6 tablespoons unsalted butter, melted
- 3 (8 ounce) packages cream cheese, softened
- 1 1/2 cups granulated sugar (for filling)
- 1 teaspoon vanilla extract
- 1 teaspoon pumpkin pie spice
- 1/2 teaspoon ground cinnamon
- 1/4 teaspoon ground ginger
- 1/4 teaspoon salt
- 1 cup pumpkin puree (not pumpkin pie filling)
- 3 large eggs
Instructions
- Preheat your oven to 350 degrees F (175 degrees C). Wrap the outside of a 9-inch springform pan with heavy-duty aluminum foil.
- Combine gingersnap crumbs, 1/4 cup sugar, and melted butter in a bowl. Press this mixture firmly into the bottom of the prepared springform pan. Bake the crust for 8 minutes. Remove and let it cool slightly.
- In a large bowl, beat the softened cream cheese with an electric mixer until completely smooth. Scrape down the sides.
- Gradually beat in the 1 1/2 cups sugar until fully combined and creamy.
- Mix in the vanilla extract, pumpkin pie spice, cinnamon, ginger, and salt. Beat until just blended.
- Beat in the pumpkin puree until smooth.
- Add the eggs one at a time, beating only until each egg is incorporated. Do not overmix the batter once the eggs are added.
- Pour the cheesecake filling over the cooled crust.
- Place the foil-wrapped pan into a larger roasting pan. Carefully pour hot water into the roasting pan until the water reaches halfway up the sides of the springform pan (this water bath prevents cracking).
- Bake for 55 to 65 minutes. The edges should look set, but the center should still have a slight jiggle.
- Turn off the oven, prop the door open slightly, and let the cheesecake cool inside the oven for 1 hour.
- Remove the cheesecake from the water bath and foil. Cool completely on a wire rack, then refrigerate for at least 6 hours, or preferably overnight, before serving.
Notes
- Use good quality, room temperature cream cheese for the smoothest texture.
- The water bath is key to achieving a creamy, crack-free top.
- For an extra layer of flavor, you can add a dash of nutmeg to the crust mixture.
- If you want a swirl, reserve about 1/4 cup of the batter, mix it with 2 tablespoons of melted chocolate, and gently swirl into the top layer before baking.
Nutrition
- Serving Size: 1 slice
- Calories: 420
- Sugar: 35g
- Sodium: 320mg
- Fat: 26g
- Saturated Fat: 16g
- Unsaturated Fat: 10g
- Trans Fat: 0.5g
- Carbohydrates: 40g
- Fiber: 1g
- Protein: 7g
- Cholesterol: 110mg
