

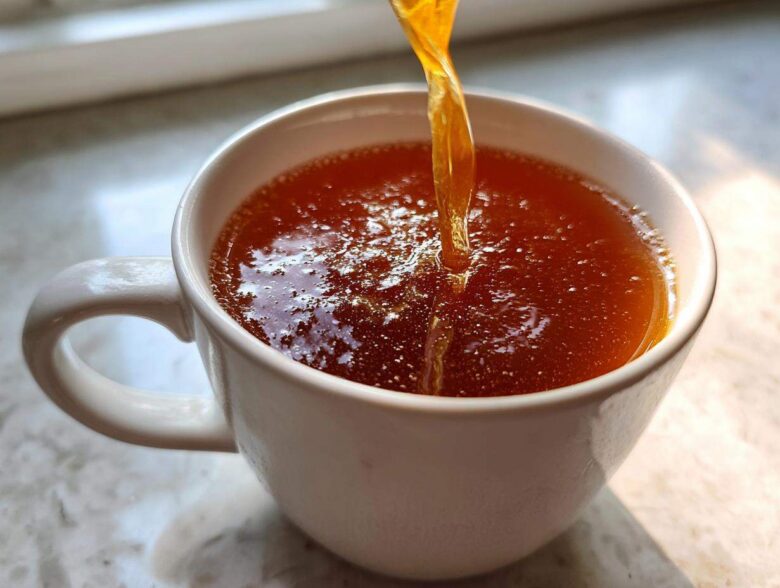
Oh my goodness, if you’re still buying that stuff in the cartons at the grocery store, you are missing out on one of the most profoundly comforting and healing traditions in the kitchen! Seriously, nothing—and I mean nothing—compares to the real deal. Making your own **bone broth recipe** has been a staple in our home for years; I make huge batches every month because I swear by how much it helps everyone’s energy and gut health. It feels like bottling up pure nourishment!
I’m going to walk you through exactly how I nail this recipe every single time. We aren’t messing around with weak, watery results here. If you follow these steps, I promise you’ll end up with a broth so rich and gelatinous you can practically make Jell-O out of it!
I learned the real secrets from my own grandmother when I was trying to figure out the basics of long-simmer soup bases. Trust me, this foolproof method, using that little splash of vinegar, is the game-changer. Speaking of which, if you’ve ever made my famous Italian Comfort Soup, you already know the power of a deep, savory liquid base. This recipe is the foundation for so many amazing meals!
Why Make Your Own bone broth recipe?
You can try to find bone broth in the store, but honestly, it’s never the same. It’s like comparing a freshly baked cookie to one that’s been sitting on a shelf for three weeks! When you make it here at home, you control everything—no weird additives, no unnecessary salt, and best of all, you maximize the nutrition. I love knowing exactly what’s going into my body.
The science is simple: long simmering breaks down connective tissues, which is where all the amazing stuff lives. That’s why understanding the **Benefits of drinking homemade broth** is such a great motivator! It’s packed with minerals and beneficial compounds that those store brands just can’t replicate.
We’re definitely going for that deep, nourishing quality. If you’re looking for something extra special, check out my recipe for Penicillin Soup—it uses a wonderful, deeply simmered stock like this one to really build that flavor foundation!
Understanding Collagen and Gelatin in Your bone broth recipe
When we talk about that perfect, jiggly result, we are talking about collagen turning into gelatin! Collagen is the protein that comes from the bones and joints we simmer. Once it dissolves into the water during that long cooking time, it becomes gelatin.
Gelatin is what makes the broth rich and coat your mouth nicely. It’s also what supports gut health and skin elasticity. If your final product wobbles when cold, you’ve successfully mastered making **How to make gelatinous bone broth**!
Selecting the Best Bones for Your bone broth recipe
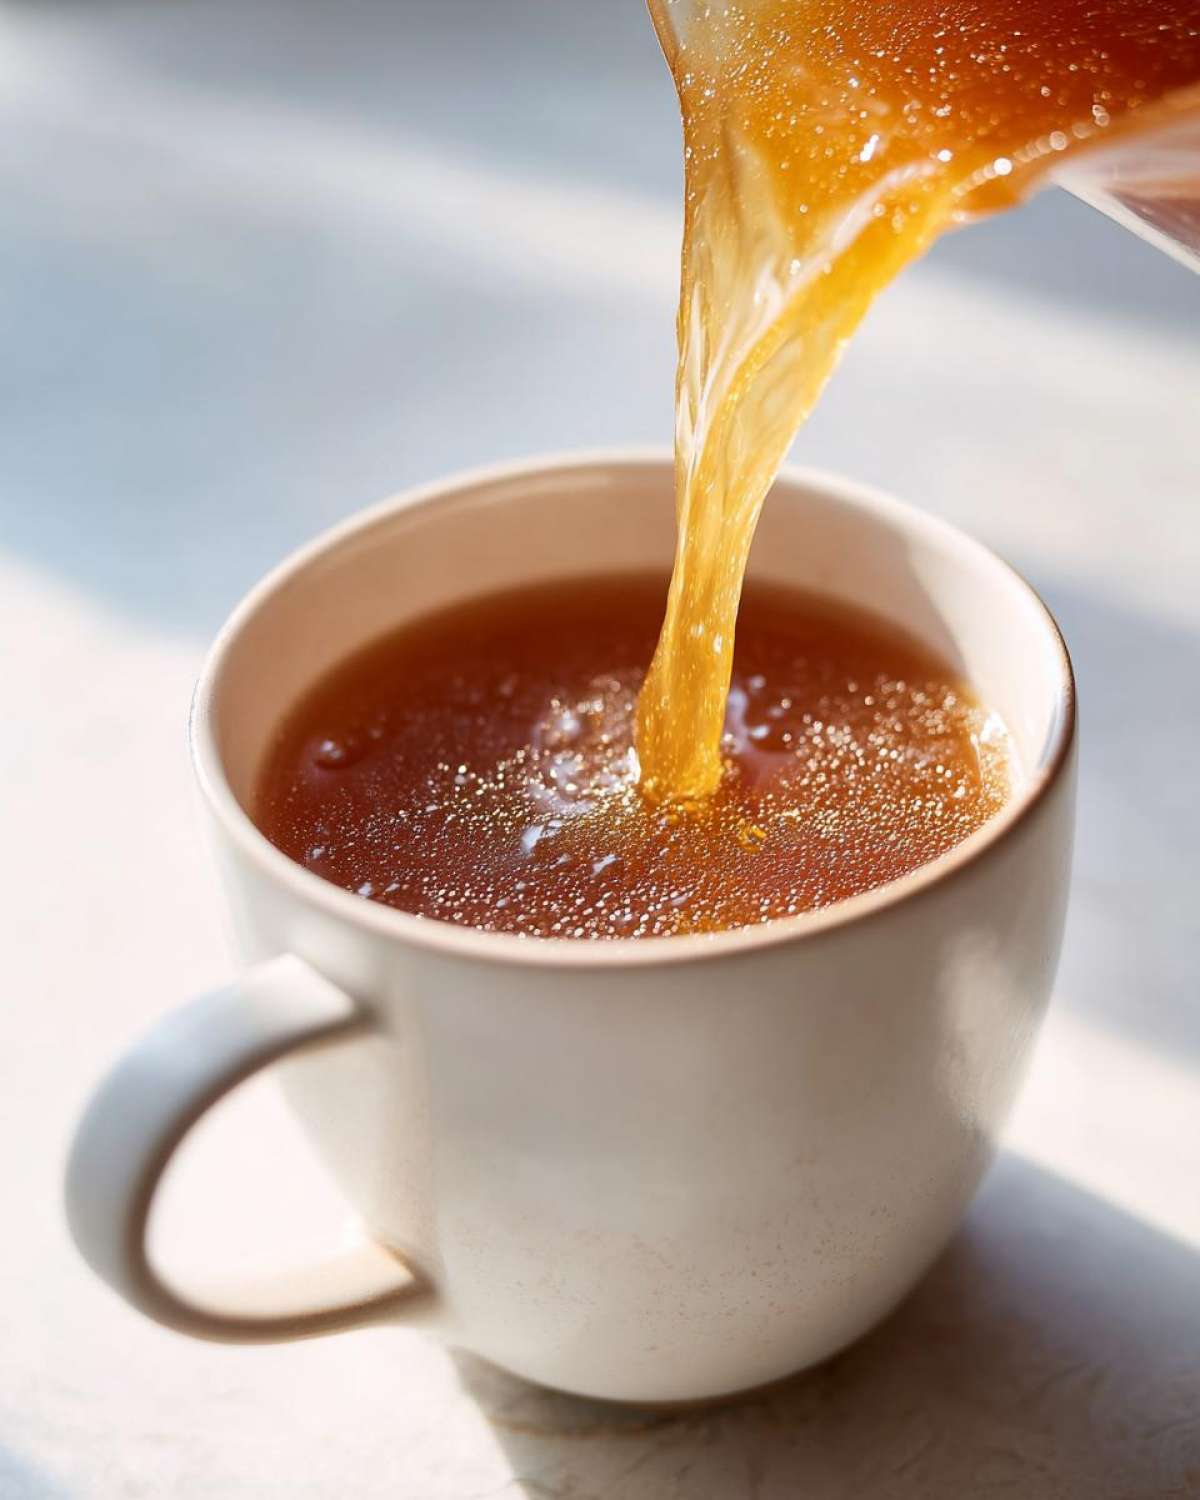
This is where many people go wrong, but it’s so important if you want that rich flavor and texture! For the **Best beef bone broth recipe**, you absolutely have to use a mix. Skip the meaty bones you might use for stew; we want the tough stuff. Look for knuckles, marrow bones, and joint pieces—those are sponges for collagen.
If you’re using chicken, don’t just grab the roast carcass. You need backs, necks, and, if you can find them, chicken feet! Those feet are little goldmines for gelatin. Using the right combination is the secret to making **collagen rich broth** that actually gels up nicely when cool.
Remember that little tip from the instruction notes? If you’re serious about the gel, use more knuckle or joint bones—that cartilage is our best friend. It just melts away and gives you body!
Essential Ingredients List for a Savory bone broth recipe
Okay, time to put on our aprons! Gathering your supplies is half the battle, and this list is surprisingly simple. It’s really about quality ingredients, not quantity. You don’t need a huge pantry to start making this incredible **bone broth recipe**. Most of this stuff you probably already have, or can easily grab when you get your bones!
We are starting with about 4 pounds of bones—you can go heavy beef (knuckles and marrow are the dream team!) or use 4 pounds of chicken backs and feet if you prefer poultry. Either way, you need loads of filtered water because this is a long simmer, and you need to keep those bones submerged. Don’t skimp on the water!
Then there are the flavor builders. That little bit of apple cider vinegar is non-negotiable, trust me! It pulls out the good stuff from the bones. For our aromatics, we keep it classic—just carrots, celery, and onions, roughly chopped. We aren’t worried about pretty veggie shapes here; we just want the flavor extraction. Finish it off with some peppercorns, bay leaves, and thyme. That’s it! Simple, right? It’s the foundation for any amazing, **savory broth preparation techniques** you want to try later. If you want to see how these flavors come together in a totally different way, check out my recipe for Salisbury Steak—it uses some of these same comforting aromatics!
Step-by-Step Instructions for the bone broth recipe
Alright, gather your big pot! Or maybe your slow cooker if you’re busy—we’ll get to that in a minute. The first thing you gotta do is get those bones into the vessel. I use my biggest stockpot because I’m usually making a massive batch meant to last a while. Once the bones are in, that special ingredient goes in immediately: two tablespoons of apple cider vinegar.
Now, here’s the trick: cover those bones completely with good filtered water, and just let them hang out for about 20 to 30 minutes before you even turn on the heat. The vinegar is doing hard work pulling out those healthy minerals we want locked inside, preparing the bones for the long haul. I feel like I just unlocked a secret level in cooking when I do this step!
After that little soak, toss in all your chopped veggies—don’t worry about dicing them nicely, we’re straining them out later! Add the peppercorns, bay leaves, and thyme, and then turn the heat up high until the water starts a proper rolling boil. This is important!
The moment it boils, you slam that heat down to the lowest setting imaginable. I mean barely a whisper of heat! This is where all the **Savory broth preparation techniques** truly shine. We want a gentle simmer—just a tiny bubble breaking the surface every few seconds. Skim off any foam that rises during the first hour; that’s just gunk and impurities we don’t want floating around ruining our crystal-clear broth.
Then comes the waiting game. If you’re using beef bones, brace yourself for 24 to 48 hours. If you went with chicken, it’s a little faster at 12 to 24 hours. Don’t panic if the liquid level drops; just top it up with more hot water to keep those bones submerged. Once your time is up, strain everything through a fine sieve into clean containers. Once totally cool, that gorgeous gold liquid should be ready for the fridge or freezer!
Achieving the Perfect Simmering bone broth timing
Reducing that initial boil is everything! If you keep it too hot, you get cloudy, opaque broth. We want clarity and depth, which comes from a low, slow extraction. The goal of **Simmering bone broth timing** is consistency. Remember to check on it every few hours during that long cook time to top off the water if it evaporates too much. A consistent low simmer ensures those collagen strands fully break down without stewing everything into a muddy mess.
Alternative Method: Making broth in slow cooker
If you’re using a slow cooker, the process is even easier, honestly. Follow steps 1 through 3 exactly—the vinegar soak and veggies go right in! Then, set your slow cooker on LOW. You just let it ride. For beef, aim for 36 to 48 hours on Low, and for chicken, I like to go 18 to 24 hours on Low. It’s nearly foolproof because the temperature stays so steady!
I grabbed some ideas for quick meals using this broth when I was figuring out Slow Cooker Ham and White Bean Soup. Having this broth ready makes weeknight cooking so much faster!
Tips for Success with Your bone broth recipe
Even with the best instructions, a little intuition goes a long way when you’re simmering something for a full day! I always find these small details make the difference between a good broth and a truly spectacular, scoopable broth.
First, let’s talk about roasting the beef bones. This isn’t mandatory, but wow, does it add depth! If you have the time, throw those beef bones on a rack into a 400°F oven for about a half hour until they are nicely browned. It gives the final product a richer color and a way deeper, roasted flavor profile. Just make sure to scrape all those browned bits, called fond, into your stockpot when you transfer them!
As for achieving that glorious gelatin result? The recipe notes tell you the secret: angle for those joint and knuckle bones. If you only use the dense, meaty bones, you’ll get a tasty liquid, but it might not ever set up firm in the fridge. We need that cartilage breakdown, so always prioritize the knobby bits!
If you’re cooking for 30+ hours, the water level is going to drop, which is totally normal. My biggest tip here is to always use hot or warm water when you top it off. If you add a gallon of ice-cold water halfway through, you shock the system and drop the temperature too much, pausing the extraction process. Keeping the temperature steady is key!
Speaking of things that need steady temperature, once you’ve got that broth cooled down, if you’re not eating it right away, you absolutely must freeze it. Having frozen portions ready is a lifesaver when I’m whipping up something like my No-Knead Dutch Oven Bread and need a rich liquid base for dunking. Don’t hesitate to chill or freeze it quickly!
Storing and Reheating Your Homemade bone broth recipe
Phew! You made it through the long simmer, and now you’ve got this incredible liquid gold cooling down. Don’t rush it! The absolute, number one rule before you save any of your precious bone broth is that it has to cool down first. I usually let it cool on the counter for an hour or two until it’s just warm, but definitely not hot, before I cover it up and pop it into the fridge.
In the refrigerator, this homemade goodness is good to go for about five days. Because we didn’t add any commercial preservatives, it doesn’t last as long as the store stuff, but trust me, you’ll use it up before it goes bad!
Now, if you’re like me and make a giant batch that you know you can’t finish in five days, we move onto **Freezing bone broth for later use**. This is where you become your own best pantry stocker! I like to freeze mine in smaller chunks, perfect for adding a boost to recipes later on. You can use dedicated freezer-safe containers, or even ice cube trays for those tiny, flavor-packed portions.
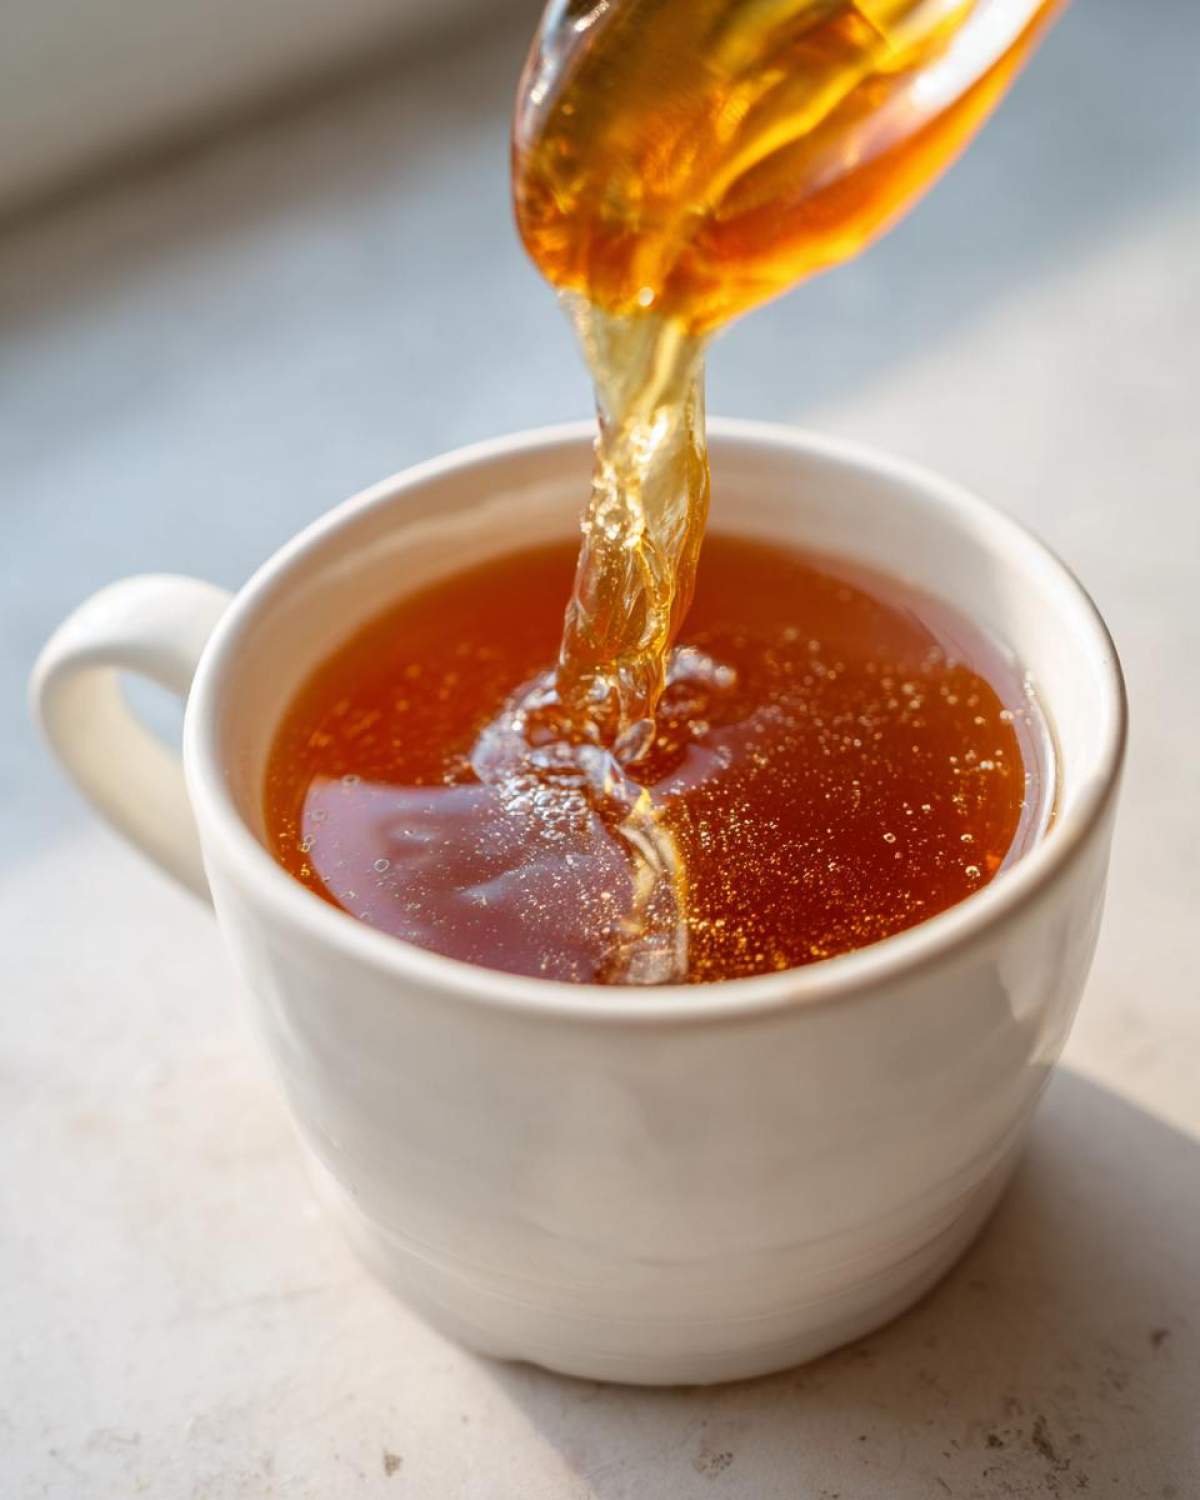
If you use ice cube trays, just pop the cubes out once they are totally solid, put them into a labeled zip-top bag, and they are good for up to six months. That way, when you’re trying to whip up something quick, like my Classic Lemonade (just kidding—maybe not for lemonade!), but seriously, any savory sauce or soup base, you just toss in a cube or two. Reheating is easy—just thaw what you need in the fridge overnight, or use the defrost setting on your microwave for a quick fix!
Variations on the Classic bone broth recipe
Once you master the basic long-simmer technique, you can start playing around with the flavor profile. I mean, this recipe is already amazing, but sometimes you want to kick that umami factor up a notch or really lean into the health benefits. It’s so fun tweaking a foundational **long-simmer soup base**!
My absolute favorite thing to do when I’m making a batch for sipping—especially when someone in the house is fighting off a cold or needs a little gut boost—is to introduce some fungi. Mushrooms are packed with savory, earthy flavor. I usually toss in about a pound of cremini or shiitake caps right alongside the carrots and onions. They release this deep, almost meaty flavor as they simmer for hours. If you love that rich flavor in a soup, you seriously must try my Roasted Butternut Squash Soup—that’s the depth of flavor we are aiming for here!
Another route people take, especially the ones laser-focused on recovery and joint health, is to skip beef entirely and go all-in on chicken feet. Now, I know, I know, they look weird floating in there, but those little feet are pure, concentrated collagen, cartilage, and connective tissue! If you want the thickest, most nutrient-dense, jiggly broth possible, using only chicken feet (maybe 4 to 5 pounds worth for a gallon of water) for a solid 18 to 24 hours will give you something incredibly restorative. It’s the kind of broth people talk about when they mention **gut healing** when they eat soup!
Either way, experimenting with what you add in the last few hours of simmering is a great way to keep this cooking tradition fresh for your family!
Frequently Asked Questions about the bone broth recipe
You’ve read the whole guide, but maybe a few last little lingering questions popped up? That’s totally normal when you’re embarking on a **long simmer stock**! It’s a slow process, so it’s smart to ask anything you’re unsure about beforehand. Here are the things I hear most often when people try this **bone broth recipe** for the first time.
Why didn’t my bone broth set up like gelatin?
Oh, I totally understand the disappointment when you pull that container out of the fridge and it’s still liquid! If you followed the recipe and it won’t gel, there are usually two culprits. The first is bone quality, which we talked about—if you didn’t use enough joint or knuckle bones, you just don’t have enough raw material for that gelatin conversion. The second is time! Sometimes, especially with really hard beef joints, you just need another six to ten hours of simmering to coax those last bit of connective tissues out. Keep pushing that **simmering bone broth timing** if you can!
Can I use leftover roasted chicken bones for this bone broth recipe?
Yes, you absolutely can! That’s a great way to use up scraps, and the roasting already happened, so you get that deep flavor boost for free! However, if they are really, really charred—like black and crusty—you might want to give them a quick rinse under the tap before tossing them in. Too much heavy char can sometimes leave a slightly bitter taste in your final **chicken bone broth recipe easy** version. A little browning is flavor; heavy soot is not!
What is the difference between stock and bone broth recipe?
This is a fantastic question because people use those terms interchangeably, but there’s a real difference! Traditional stock is usually based on meat and vegetable scraps, and it simmers for maybe 4 to 6 hours. It adds body to sauces, but it rarely gels up.
Our **bone broth recipe**, on the other hand, is simmered way longer—24 hours, 48 hours even! That extra long simmer is specifically designed to break down bones and connective tissue, extracting all that collagen that turns into gelatin. So, stock is thin; bone broth is thick and rich. If you check out some of the basic techniques I use in my About Us section, you’ll see I lean toward the long-simmer method for everything liquid-based!
Share Your Homemade bone broth recipe Experience
Well, that’s it! You now have absolutely everything you need to go from simple poultry scraps or beef knuckles to the richest, most healing liquid gold you’ve ever tasted. I really hope you try this **bone broth recipe**!
It takes time, but honestly, most of that time is just letting the stove do the work. It’s my favorite way to practice slow, mindful cooking. I’m always so thrilled when readers come back and tell me how much firmer their broth set up this time around!
So please, don’t keep your incredible results a secret! Head down to the comments below and tell me everything. Did you use beef or chicken? How long did you manage to let it simmer? And most importantly—how jiggly did it get? I love hearing from you!
If you have any burning questions that I didn’t cover, or if you have a variation that you swear by, drop that knowledge in the comments too! We’re all learning together. And if you need to get in touch with me directly, you can always reach out on my Contact page. Happy simmering!
PrintBasic Homemade Bone Broth Recipe

Follow these steps to make rich, gelatinous bone broth using beef or chicken bones.
- Prep Time: 20 min
- Cook Time: 24 hr
- Total Time: 24 hr 20 min
- Yield: Approximately 3 quarts
- Category: Soup Base
- Method: Simmering
- Cuisine: General
- Diet: Gluten Free
Ingredients
- 4 lbs beef bones (knuckles, marrow, or joint bones) OR 4 lbs chicken backs and feet
- 1 gallon filtered water
- 2 tablespoons apple cider vinegar
- 2 carrots, roughly chopped
- 2 celery stalks, roughly chopped
- 2 onions, quartered
- 1 tablespoon whole black peppercorns
- 2 bay leaves
- 1 teaspoon dried thyme
Instructions
- Place the bones in a large stockpot or slow cooker.
- Add the apple cider vinegar and cover the bones completely with filtered water. Let this mixture sit for 20 to 30 minutes. The vinegar helps draw minerals from the bones.
- Add the chopped carrots, celery, onions, peppercorns, bay leaves, and thyme to the pot.
- Bring the water to a boil over high heat. Once boiling, immediately reduce the heat to the lowest setting so the liquid maintains a very gentle simmer (small bubbles breaking the surface occasionally).
- Skim off any foam or impurities that rise to the surface during the first hour of simmering. Discard the scum.
- Simmer beef bones for 24 to 48 hours. Simmer chicken bones for 12 to 24 hours. Maintain the low simmer throughout the entire cooking time. Add more water if the liquid level drops significantly, keeping the bones covered.
- When simmering is complete, carefully strain the broth through a fine-mesh sieve into clean containers. Discard the solids.
- Allow the broth to cool completely before sealing and refrigerating or freezing.
Notes
- For the best gelatinous result, use a high ratio of joint or knuckle bones, as these contain more collagen.
- You can roast beef bones at 400°F for 30 minutes before simmering for a deeper color and flavor.
- Refrigerated broth lasts up to 5 days. Frozen broth lasts up to 6 months.
Nutrition
- Serving Size: 1 cup
- Calories: 50
- Sugar: 0
- Sodium: 150
- Fat: 2
- Saturated Fat: 1
- Unsaturated Fat: 1
- Trans Fat: 0
- Carbohydrates: 1
- Fiber: 0
- Protein: 8
- Cholesterol: 20
