

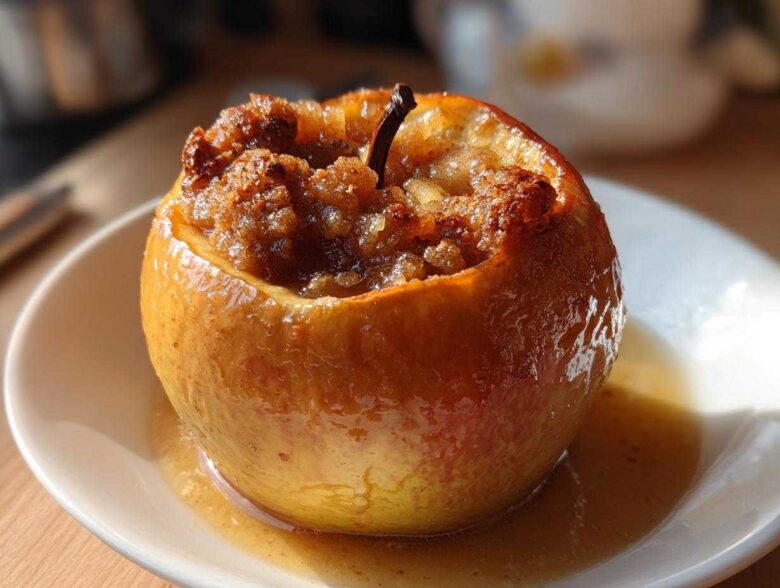
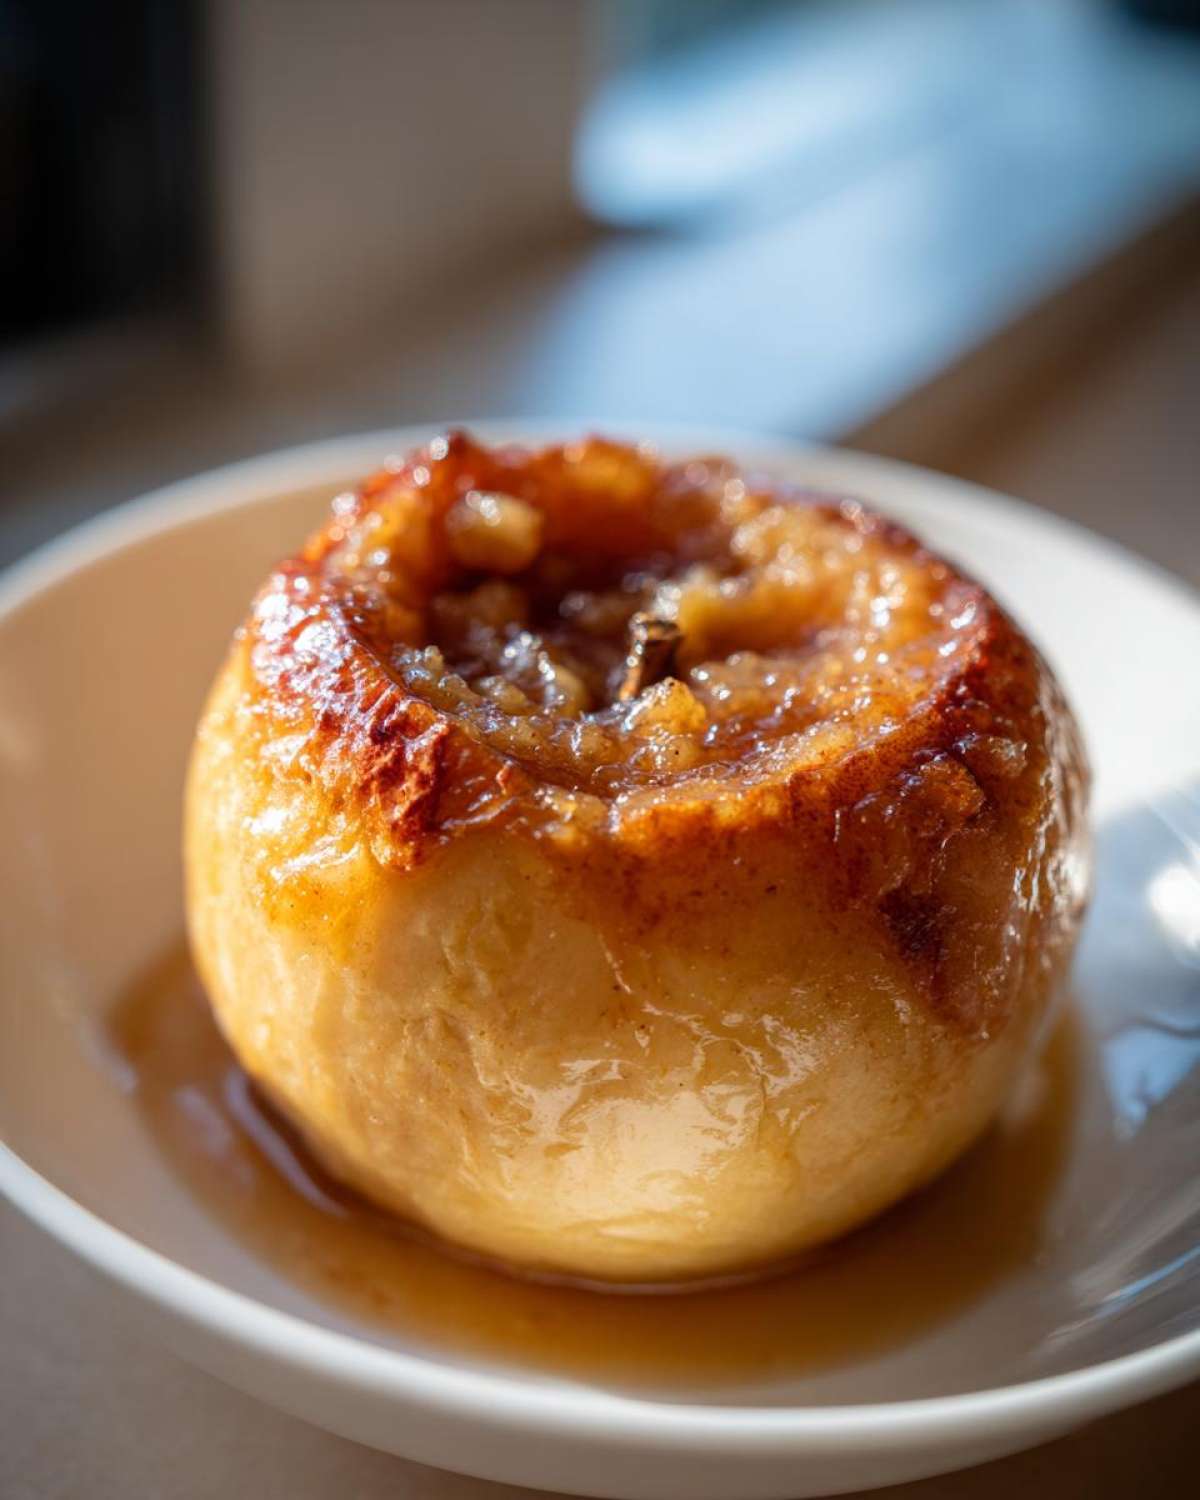
There is just nothing that says ‘home’ quite like the smell of warm spices drifting from the oven, is there? Forget fussy layer cakes; when I need true comfort food, I go straight for the simplest things. This recipe, the Classic Stuffed Baked Apples with Brown Sugar and Cinnamon, is my absolute savior when the weather gets chilly or when I need a ridiculously easy yet impressive dessert. I talk about this recipe constantly because it’s what I make when I’m too tired to properly cook but still crave something cozy. Trust me, these baked apples are tender, perfectly sweet, and smell unbelievably good while they bake. It’s my little secret for instant autumn happiness! For more ways to use these fantastic fruits, you should check out my easy baked apples cinnamon recipe guide too.
Why This Recipe for Baked Apples is a Go-To Comfort Food
When you’re looking for something genuinely satisfying but don’t want to spend hours in the kitchen, these are the baked apples you grab. They hit every single comforting note—warm fruit, spicy cinnamon, and that deep molasses sweetness from the brown sugar. I keep coming back to them year after year because they’re just so dependable.
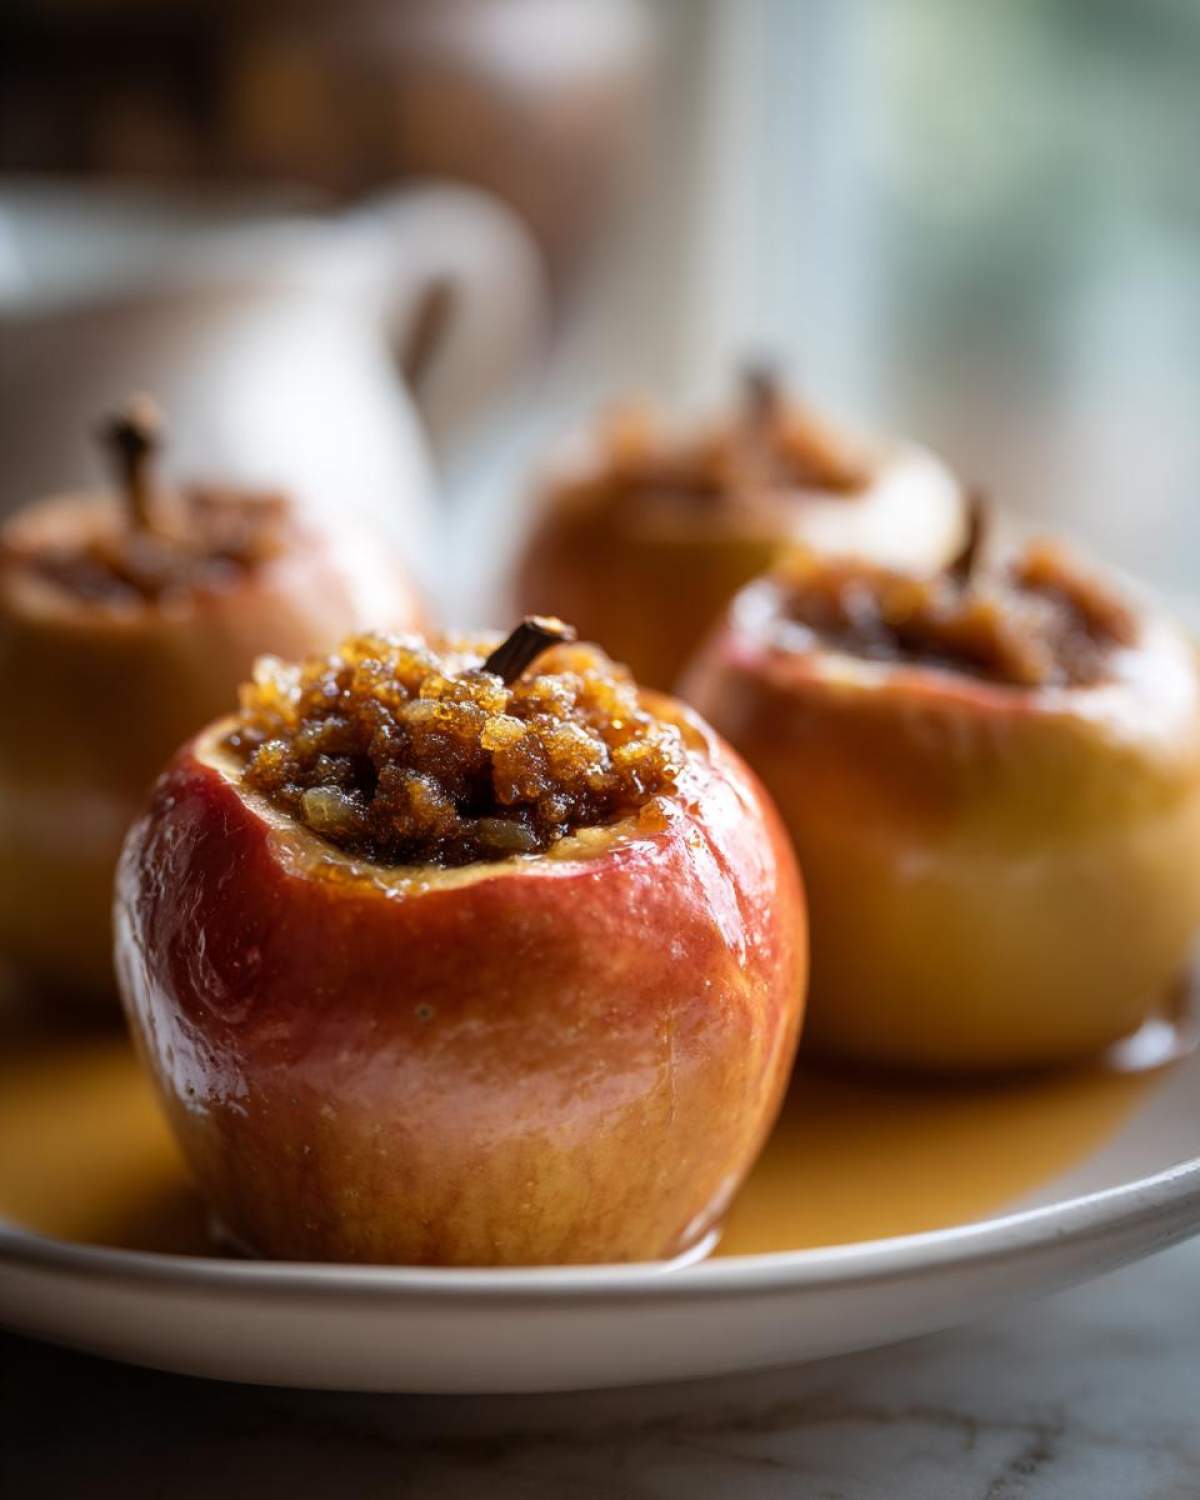
- They are incredibly versatile; they work just as well as a decadent breakfast side dish layered on oatmeal as they do as a simple, warm dessert after dinner.
- The classic flavor profile of cinnamon and sugar is completely heartwarming.
- They require seriously minimal hands-on work—the oven does all the heavy lifting!
If you want to see where this recipe shines compared to others, I really dug deep into everything over on my guide for a classic tender baked apple recipe.
Quick Prep Time for Easy Baked Apples Recipe
You read that right—we are talking maybe ten minutes of active time before they head into the oven. Seriously, while the water bowls are still heating up, you can have all four apples prepped and stuffed. That fast turnaround is why these are perfect for a weeknight treat!
Achieving Tender Baked Apples Every Time
The secret to getting those beautifully soft apples that practically melt when you poke them is all about the moisture barrier we create in the pan. That little bit of hot water down below steams the apples as they bake. It keeps them juicy inside and prevents that tough, dry texture you sometimes get when baking fruit directly on metal. That steam is key to perfect, tender baked apples!
Ingredients Needed for Stuffed Baked Apples
Okay, so let’s look at what you need to assemble these amazing little pockets of warm goodness. The magic behind these brown sugar baked apples comes from pairing a sturdy apple with a simple, aromatic filling. You don’t need a huge grocery list for this one—everything you need is probably already in your pantry!
Here is the lineup for about four servings. If you’re rushing, you can probably cut the prep time down even more, but I always like to take my time with the filling so it gets really packed in there.
- We start with 4 large baking apples. Honeycrisp or Fuji are my absolute favorites here because they are sweet but they don’t turn to total mush when they bake; they hold their shape beautifully.
- For the filling, grab 1/4 cup of packed brown sugar. You want that dark, rich molasses flavor, so make sure yours is nicely packed down in the measuring cup!
- You need about 1 teaspoon of ground cinnamon, and just a tiny dash—maybe 1/4 teaspoon—of ground nutmeg to give it that extra cozy background note.
- You’ll need 2 tablespoons of unsalted butter, but here’s the trick: you must cut it into tiny little pieces before you start. This helps it melt evenly into the sugar mixture.
- Finally, grab 1/4 cup of hot water to put in the bottom of the pan—don’t forget this part!
Apple Selection for Perfect Baked Apples
Choosing the right apple is half the battle, honestly. Granny Smith apples are great for baking pies because they are super tart and hold up well, but for this simple dessert, I really want something a bit sweeter that melts nicely without dissolving. That’s why I always reach for Honeycrisp or Fuji.
You need a firm apple with good structure. If you use something too soft, by the time the filling melts and the apple is tender, you just have a sweet, spiced puddle in your dish. We want the apple to stay proud and tall on the plate. The trick to success for these baked apples is making sure your apple variety can handle that 35 to 45 minutes of heat and still look like an apple when it comes out.
Step-by-Step Instructions for Oven Baked Apples
Alright, let’s get these beauties baked! Getting the prep right here sets the stage for the best possible result, ensuring you nail those oven baked apples every single time. The whole process is wonderfully straightforward, but paying attention to the coring detail makes all the difference. If you want an even deeper dive into the baking process, I laid out all my secrets in my easy baked apples cinnamon recipe guide!
First things first: get your oven warmed up to 375 degrees Fahrenheit. While that’s heating, lightly grease that small baking dish you picked out. Now, get those apples washed up and ready to go. Remember, we are trying to make perfect little bowls for our filling!
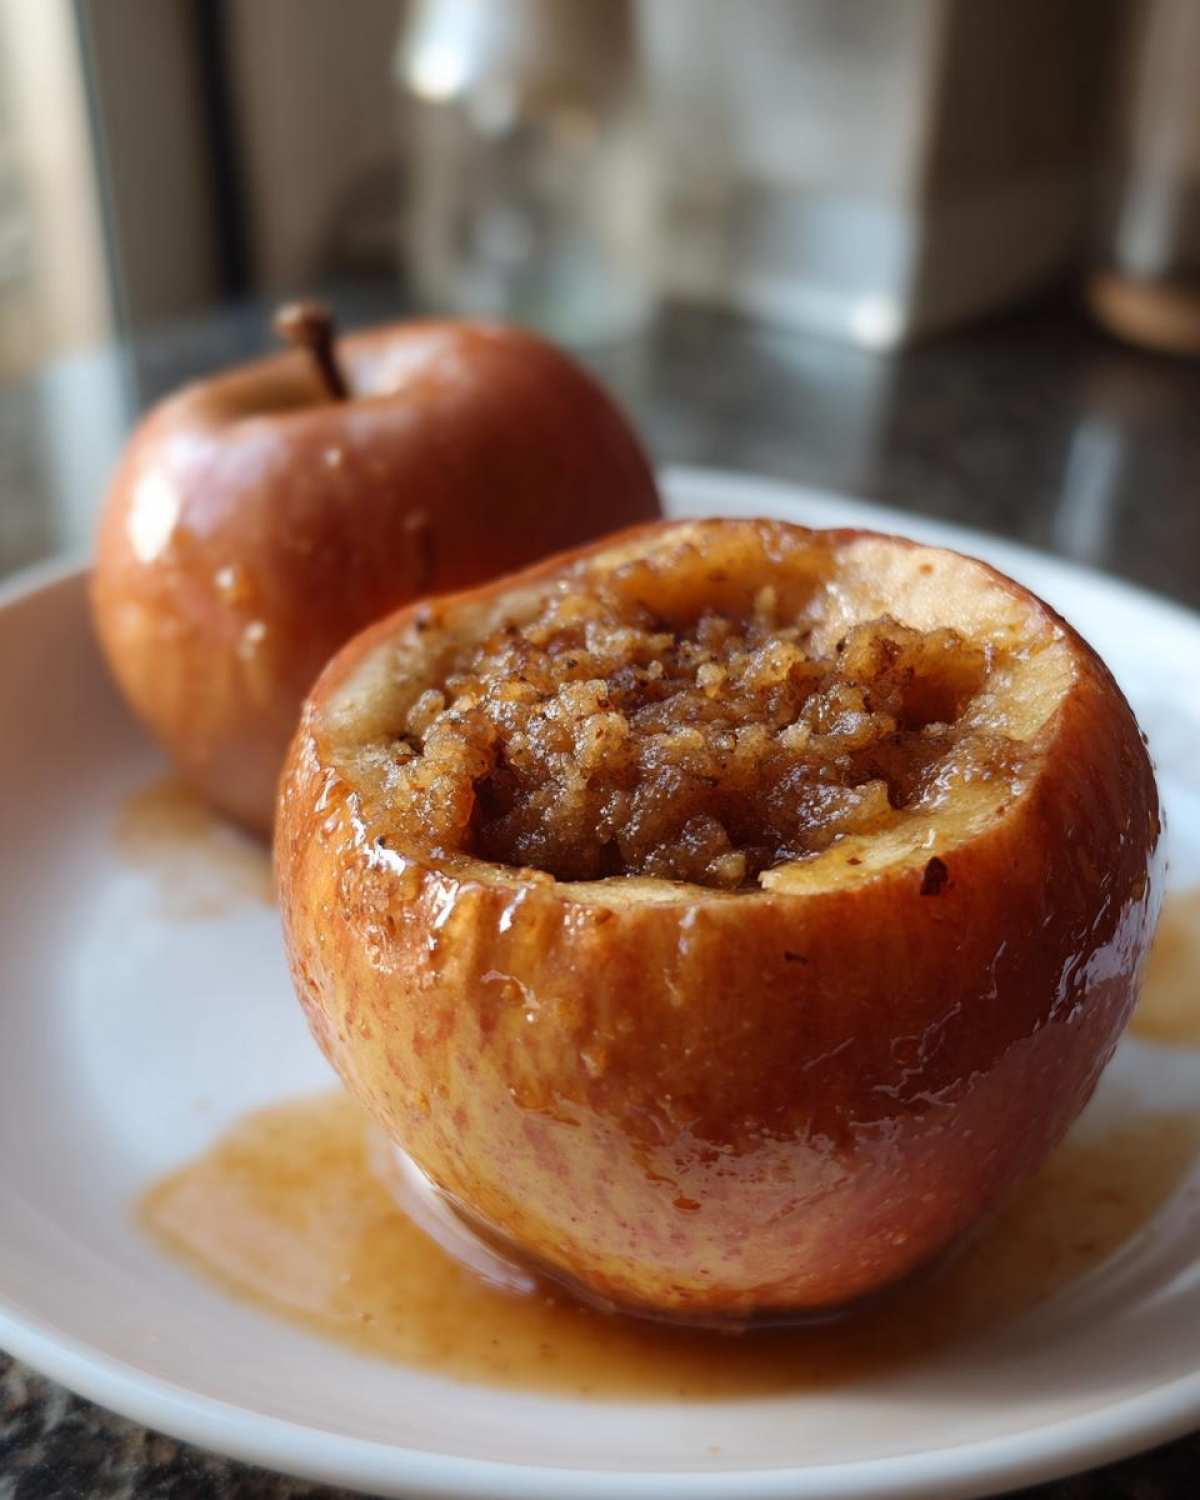
- Use a melon baller or a small spoon—whatever you do, be careful! You want to scoop out the core right in the middle, but you absolutely cannot punch a hole through the bottom of the apple. Leave that little foundation intact!
- In a separate little bowl, mix up your stuffing: the brown sugar, cinnamon, and that touch of nutmeg. Mix it well so the spices are evenly distributed.
- Pack that sugar mixture right into the hollowed-out center of each apple. Don’t be shy, pack it in there nice and snug.
- Top each stuffed apple with one of those little pats of butter we cut earlier. It’s going to melt right down into that spice mixture, which is pure magic.
- Carefully place all the apples into your prepared baking dish. Then, pour the hot water into the dish *around* the apples—not over the filling! This liquid is crucial for creating steam.
Preparing the Apple Cavities for Stuffed Baked Apples
This coring step is where so many people rush, and it leads to a mushy mess! Think of the apple skin as the walls of a tiny vessel holding your delicious filling. When you are hollowing out the center, use a gentle, upward motion. If you push too hard, you’ll breach the bottom, and all that gorgeous brown sugar and cinnamon will just leak right out into the pan instead of caramelizing nicely on top of the apple flesh. For successful stuffed baked apples, that bottom barrier has to be strong!
Baking Time and Liquid Management for Baked Apples
Pop the dish into the preheated oven. They generally need about 35 to 45 minutes. How do you know when they’re done? When you can easily pierce the thickest part of the apple wall with just a fork—it should slide in without much effort at all. That water we poured in the bottom is your absolute best friend; it keeps the apples from sticking or scorching, and it generates the steam needed to soften them up beautifully.
A little pro tip: If you notice the tops looking a bit dry halfway through their baking time, just grab a clean spoon and carefully baste them with that buttery, sugary liquid pooling in the bottom of the dish. It keeps everything glossy and delicious for the final stretch!
Expert Tips for the Best Cinnamon Baked Apples
You know I love sharing the basic recipe, but when you really want to step up your game? That’s when the little tweaks—the things I’ve learned through trial and error—really make all the difference for these cinnamon baked apples. These aren’t just suggestions; they are the things that take them from ‘good’ to ‘oh my gosh, what is in this?’ I gathered these little gems right from my actual recipe notes after watching my own apples collapse one too many times!
For a richer depth of flavor, especially if you’re serving these up for a special occasion instead of just a regular Tuesday night dessert, I highly recommend tossing some chopped nuts into the sugar filling. My preference is for about 1 tablespoon of finely chopped pecans or walnuts. They toast up beautifully right there inside the apple cavity alongside the spices. It adds a fantastic little crunch that breaks up the softness of the baked apple.
I also learned the hard way that apple firmness plays a huge role in baking time, which is why picking the right fruit matters so much! If you are using apples that you know sometimes bake up a bit firmer, or if you honestly just prefer your fruit on the super-soft side—the kind that really melts on your tongue—don’t be afraid to use foil. Covering the dish somewhat loosely with foil for the first 20 minutes of baking creates a little humid greenhouse effect for them. It steams the apples gently before you uncover them to let the tops brown a bit. It’s cheating, maybe, but it guarantees that soft, delightful texture we are always aiming for. You can read more about achieving that perfect softness in my guide on the classic tender baked apple recipe!
Serving Suggestions for Your Warm Apple Dessert
So, you’ve pulled those gorgeous, fragrant apples out of the oven. They are steaming slightly, the cinnamon aroma is filling up the entire kitchen, and they look absolutely perfect. Now what? Well, you can certainly eat one straight off the plate because they are divine on their own, but trust me, taking an extra minute to dress them up transforms them from a lovely snack into a magnificent end to any meal. These warm apple dessert moments are what home cooking is all about!
Because the filling melts down into that buttery, spiced liquid at the bottom of the pan, everything is already naturally saucy, but we can always do better, right? My favorite, all-time recommendation when serving these is a generous scoop of high-quality vanilla bean ice cream placed right on top. The contrast between the warm, soft apple and the cold, creamy ice cream is just heavenly—it’s that hot-and-cold dynamic that makes desserts truly memorable.
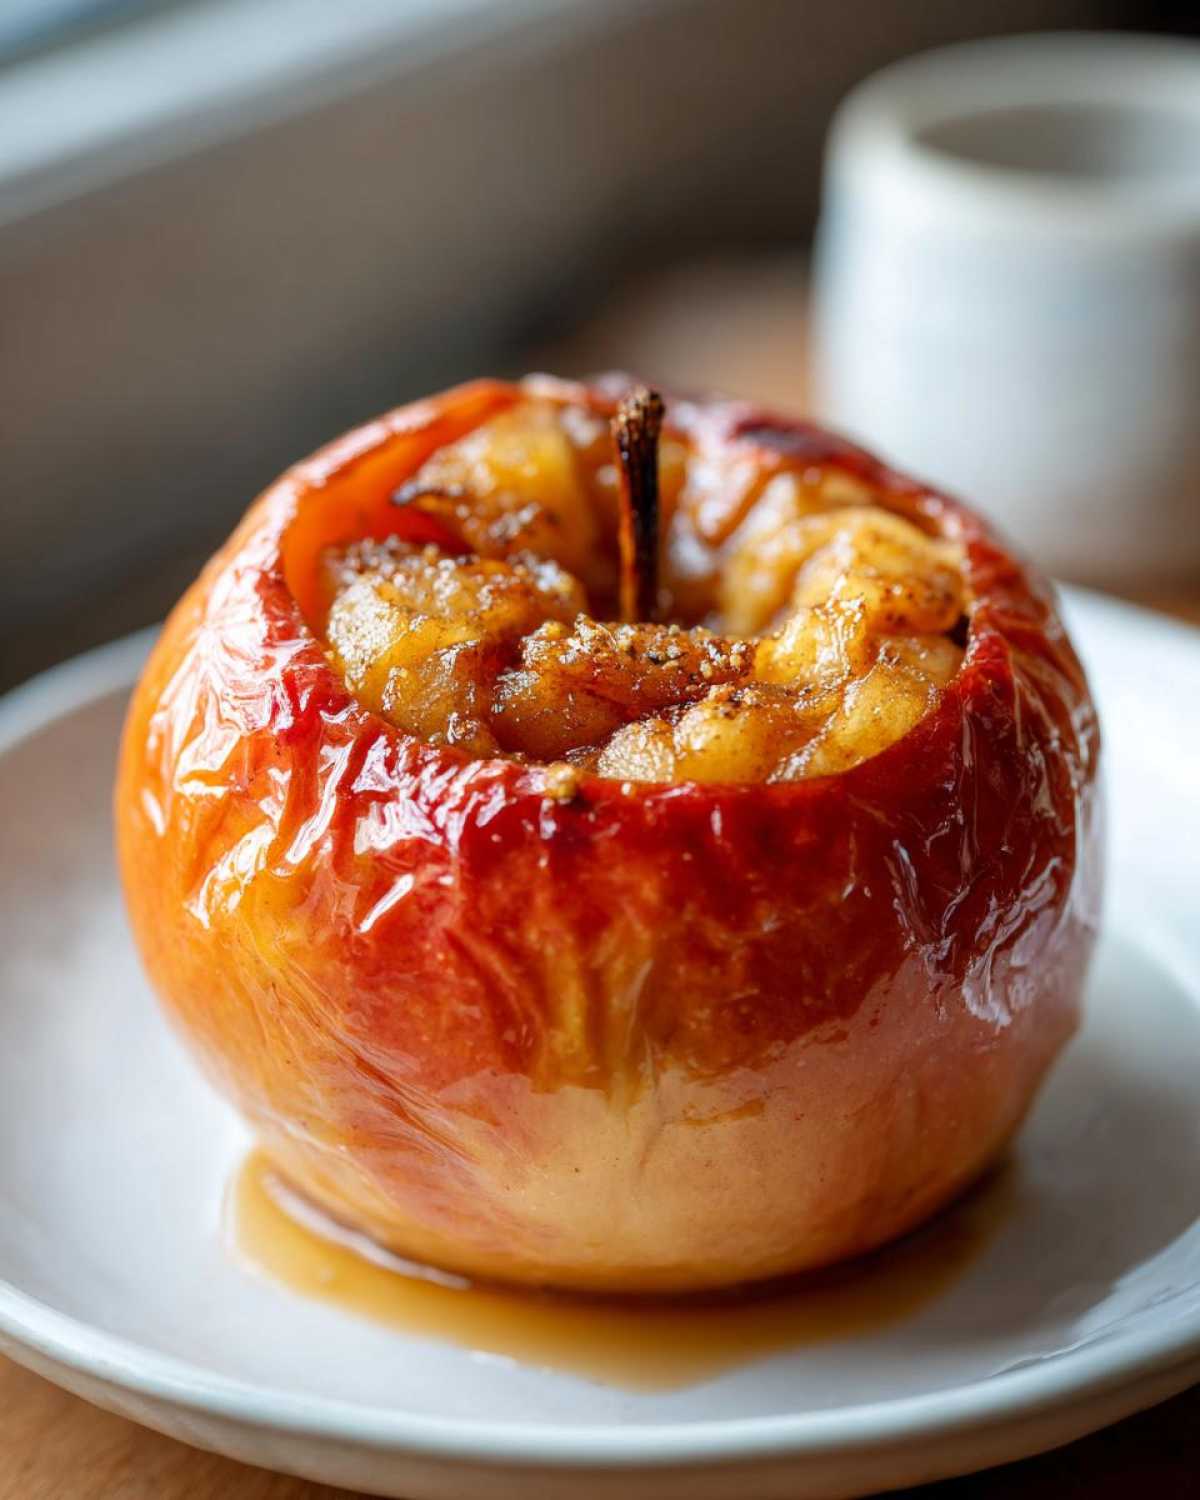
If you want to lean into that true, sticky, fall comfort vibe, you absolutely have to drizzle some caramel sauce over the top. I have a super easy, no-fail caramel recipe—seriously, it’s the best—that you can check out right here! A good, buttery caramel just elevates the entire experience because it marries perfectly with the baked brown sugar in the stuffing.
For those who prefer a lighter touch, a dollop of good old-fashioned whipped cream works wonders. Or, if you made these for breakfast (and trust me, you should!), just pour some of that lovely pan liquid over a scoop of plain Greek yogurt or even stir it right into your morning oatmeal! They are just so flexible; every way you serve them makes for a wonderful homemade apple dessert.
Storage and Reheating Instructions for Baked Apples
Believe it or not, these wonderful baked apples are often even better the next day! That gives the spices time to really soak into the apple flesh as they cool down. But, if you manage to have leftovers (which is tough in my house!), knowing how to store and reheat them correctly is crucial so you don’t lose that lovely tenderness we worked so hard to achieve.
Once the apples have completely cooled down to room temperature, you’ll want to get them into an airtight container. You can store them in the fridge for about three to four days. Don’t just leave them sitting on the counter, especially if they have any topping or liquid left in the dish with them—we want to keep things safe!
Best Ways to Reheat Your Leftover Baked Apples
You have a couple of options here, depending on how much time you have. If you’re craving that warm, cozy fruit right away, the microwave is your fastest friend. Just put one or two apples on a microwave-safe plate. Heat them cautiously for about 30 to 45 seconds.
You need to watch them closely though, because the centers can get piping hot really fast. Microwaving is quick, but sometimes it steams them just a bit too much and they can get a little softer than you want. If you are reheating more than two, I suggest splitting up the time—nuke them for 30 seconds, check, then another 20 seconds.
The Oven Method for Perfect Reheated Baked Apples
If you’ve got a little extra time—say, ten minutes—I strongly suggest using the oven or toaster oven. This method brings them back to life beautifully and helps evaporate any excess moisture that built up in the fridge, keeping their structure firm. Preheat your oven or toaster oven to about 300 degrees Fahrenheit. That lower temperature is important so you just warm them through instead of cooking them again and turning them into applesauce!
Place your leftover apples in a small, oven-safe dish. If you have any of that leftover brown sugar/butter liquid from the original baking pan, spoon a little bit over the top before putting them in the oven. Bake them uncovered for about 10 to 12 minutes. This warms them evenly and keeps them tasting fresh, just like they came out of the oven for the first time. It works wonders for achieving that ‘just baked’ texture again!
Variations on the Classic Baked Apples Recipe
Once you master the basic recipe—the tender apple, the warm brown sugar and spice combo—it’s so fun to start mixing things up! I love tweaking this recipe because it’s such a wonderful base for a simple fruit bake. Whether you want to make it healthier for breakfast, or just want a different flavor profile for dessert tonight, adding just one small thing can change the whole game.
First off, let’s talk about boosting the cozy factor even more. You can easily turn these into a more substantial breakfast or a heartier dessert by bulking up that filling. My go-to addition is always oats! If you mix about 1/4 cup of rolled oats right into your brown sugar and cinnamon mixture, when it bakes, you get this lovely, slightly chewy, crunchy texture right in the core of the apple. It’s fantastic. I walked through exactly how I mix the oats with the butter and sugar in my easy apple cinnamon oatmeal recipe, and the filling ratio is nearly identical for this!
For those of you watching the sugar intake, you can definitely still make these delicious! You won’t get the exact same caramelization on top, but the flavor of the apple itself is so good, you don’t always need that heavy dose of sugar. Swap the brown sugar for an equal amount of unsweetened apple puree or even a few drops of liquid stevia if you prefer. It’s a great way to make them a guilt-free snack or a side dish for a bigger meal.
And we can’t forget spices! If cinnamon and nutmeg feel a little too traditional for you today, try experimenting. A tiny pinch of ground cardamom adds a floral note that is just gorgeous with baked apples. Or, if you want a real autumnal kick, swap out half the cinnamon for pumpkin pie spice. Just remember, these little changes make a huge difference in how complex your homemade apple dessert tastes!
Frequently Asked Questions About Baked Apples
It’s funny, with a recipe this simple, you’d think there wouldn’t be many questions, but everyone worries about their apple turning to mush! I totally get it; we want that perfect, slightly firm, yet sweet bite. Here are some of the things people ask me most often about whipping up these easy treats!
What are the absolute best apples for making baked apples?
This is my number one question! As I mentioned before, you want a firm apple variety that won’t collapse into soup under that heat. I am a huge proponent of Honeycrisp—they are super sweet and hold their structure incredibly well, which is perfect for presentation. Fuji is another fantastic, reliable choice. If you must use a slightly softer apple, like a Gala, just make sure you use that foil tent trick I shared; it keeps the steam controlled and prevents them from overcooking too quickly. These are truly the centerpiece of any simple fruit bake!
Can I make this a healthier baked apples recipe without all the sugar?
You absolutely can! While the brown sugar is what gives us that gorgeous caramelization, if you’re looking for a healthier spin, don’t worry about it. You can skip the brown sugar entirely and use 1/4 cup of unsweetened applesauce or even a few spoonfuls of mashed banana in the core instead. It keeps things moist without adding granulated sugar. It won’t brown up quite the same way, but the internal flavor of the spiced apple is still incredible. Honestly, it turns into a great option for a quick, healthy breakfast!
How do I prevent my baked apples from completely collapsing while cooking?
Ah, the dreaded collapse! This usually happens for two reasons: either you chose an apple variety that’s too soft, or you cooked them a bit too long past tender. The key defense against collapse for these quick apple desserts is ensuring you leave the base intact when coring—that skin acts like a tiny structural support beam! Also, check them right at the 35-minute mark. If they pierce easily, pull them out immediately! If you are making a huge batch, sometimes the apples on the edge cook faster, so rotate your pan halfway through baking to keep everything even. It makes sure every single apple gets its perfect texture!
Can I prepare the filling ahead of time for a speedy dessert?
Yes, that’s a great idea, especially if you need a quick apple dessert for company! You can mix up all your dry ingredients—the sugar, cinnamon, and nutmeg—and keep that spice blend sealed tight in a little jar on the counter for weeks. When you’re ready to bake, you just mix that blend with the softened butter bits, stuff the apples, and go. It cuts down your prep time even further. For more inspiration on quick fruit prep, you might want to check out my thoughts on apple cinnamon overnight oats!
Nutritional Snapshot of Your Homemade Apple Dessert
I always feel a tiny bit guilty admitting how good these baked apples are because they taste so decadent, but the nutritional breakdown is actually quite reasonable, especially since this recipe focuses on fruit and uses natural sweeteners! Now, I have to give you the usual baker’s disclaimer here: these numbers are just my careful estimations based on the ingredients list I provided, using average-sized Honeycrisp apples and no extra toppings like ice cream or caramel. So, treat these figures as a solid ballpark guide for your simple fruit bake.
The nutrition really depends on what kind of apple you start with, of course, but for a standard serving size of one apple (using the ingredients noted), here is what you can generally expect:
- Serving Size: 1 apple (stuffed)
- Calories: About 250
- Sugar: Around 40 grams (keep in mind natural fruit sugar plus the added brown sugar is counted here)
- Fat: Roughly 8 grams (most of that is from the butter we use in the filling!)
- Carbohydrates: About 45 grams
- Fiber: A great bonus here, yielding about 6 grams of fiber, mostly from the apple itself!
- Protein: Very little, near 0 grams
- Cholesterol: Around 20 mg
See? Not too bad for a dessert that tastes like a hug in a bowl! The beauty of making these yourself is total control. If you are worried about sugar, remember you can always scale back on the brown sugar or use stevia as we discussed in the variations section. That’s the joy of making your own comfort food recipes—you tailor them perfectly to your needs!
PrintClassic Stuffed Baked Apples with Brown Sugar and Cinnamon

Make simple, tender baked apples filled with a sweet, spiced brown sugar mixture. This is an easy dessert or breakfast side.
- Prep Time: 10 min
- Cook Time: 45 min
- Total Time: 55 min
- Yield: 4 servings
- Category: Dessert
- Method: Baking
- Cuisine: American
- Diet: Vegetarian
Ingredients
- 4 large baking apples (like Honeycrisp or Fuji)
- 1/4 cup packed brown sugar
- 1 teaspoon ground cinnamon
- 1/4 teaspoon ground nutmeg
- 2 tablespoons unsalted butter, cut into small pieces
- 1/4 cup hot water
Instructions
- Preheat your oven to 375 degrees Fahrenheit. Lightly grease a small baking dish.
- Wash the apples. Use a melon baller or small spoon to carefully core the center of each apple, leaving about a half-inch of flesh at the bottom to hold the filling. Do not cut all the way through the bottom.
- In a small bowl, mix the brown sugar, cinnamon, and nutmeg.
- Stuff the center cavity of each apple with the sugar and spice mixture. Place one small piece of butter on top of the filling in each apple.
- Place the stuffed apples into the prepared baking dish. Pour the hot water into the bottom of the dish around the apples.
- Bake for 35 to 45 minutes, or until the apples are tender when pierced with a fork. Baste the apples with the pan liquid halfway through baking if the tops look dry.
- Remove from the oven and let cool slightly before serving.
Notes
- For a richer flavor, substitute 1 tablespoon of the brown sugar with 1 tablespoon of chopped pecans or walnuts in the filling.
- If you prefer a softer apple, cover the baking dish loosely with foil for the first 20 minutes of baking.
- Serve warm with a scoop of vanilla ice cream or a drizzle of caramel sauce.
Nutrition
- Serving Size: 1 apple
- Calories: 250
- Sugar: 40
- Sodium: 5
- Fat: 8
- Saturated Fat: 5
- Unsaturated Fat: 3
- Trans Fat: 0
- Carbohydrates: 45
- Fiber: 6
- Protein: 0
- Cholesterol: 20
