

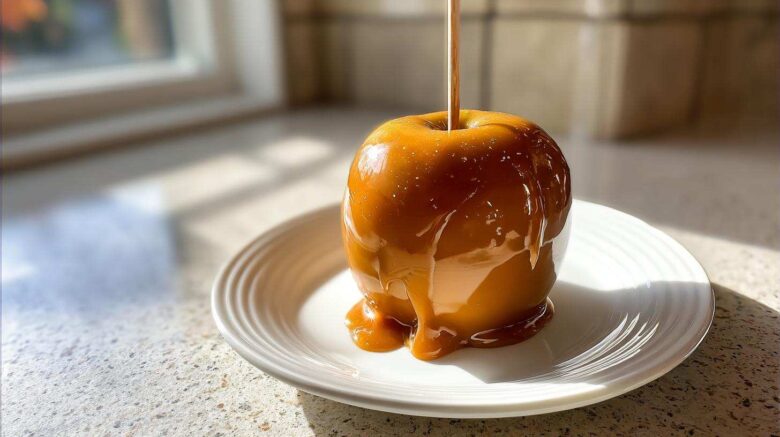
The Secret to a Perfect Caramel Apple: My Foolproof Recipe
No heading needs to be written for the introduction. I remember the frustration.
Dipping apples only to watch that beautiful, sticky coating just slide right off. Ugh. It felt like failure.
For years, getting that perfect, glossy coating that *stays put* felt like a kitchen mystery.
But that changed for me, thanks to Chef Tariq. He saw my struggle with the classic caramel apple.
His secret wasn’t just an ingredient list; it was pure technique. This recipe delivers chewy caramel.
It’s the foolproof method we developed at Savory Skies. Now your apples will look stunning.
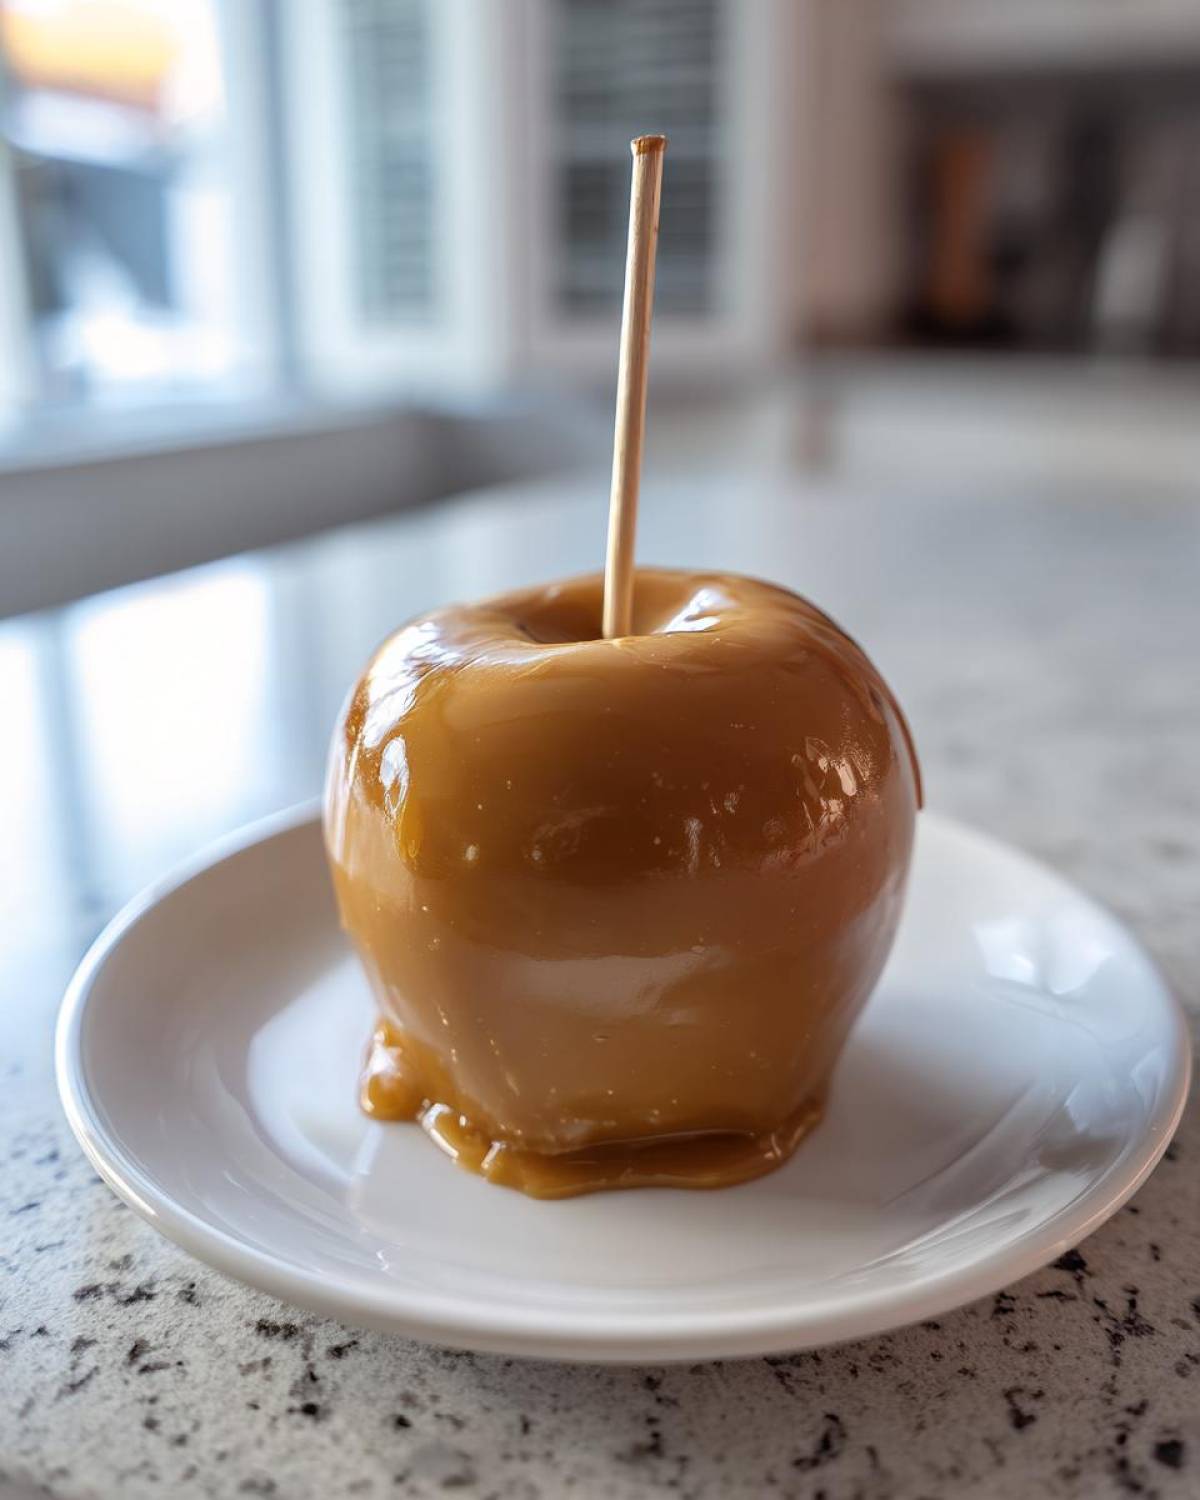
Why This Caramel Apple Recipe Works
Why do so many recipes fail? Usually, it’s the apple surface.
My curiosity always pushed me to ask Tariq why things slipped.
He explained that the natural wax coating seals the fruit. It repels the caramel.
Our method strips that wax off first. That’s huge for adhesion.
We also nail the temperature exactly. That 245-degree mark is crucial for chewiness.
Tariq’s foundational teaching ensures we respect the candy-making science. Understanding the science behind candy making can prevent common kitchen mishaps.
Essential Ingredients for Your Homemade Caramel Apple
Gathering your supplies is the first fun step.
Making great homemade caramel apples starts right here.
We need quality items for that perfect, glossy coat.
The ingredients list looks simple, but each piece matters.
Let’s look at what you need for this classic treat.
Apple Selection and Preparation
You need firm, tart fruit for the best result.
I always grab about six medium Granny Smith apples.
Their tartness cuts through the sweet caramel nicely.
Remember to remove those pesky little stickers first.
That quick dip in boiling water is non-negotiable.
Building the Chewy Caramel Base
We use both white and packed light brown sugars.
Heavy cream is the key for a rich, smooth texture.
Make sure your cream is just slightly warmed up.
Good butter and pure vanilla add depth to the flavor.
Don’t forget that pinch of sea salt for balance!
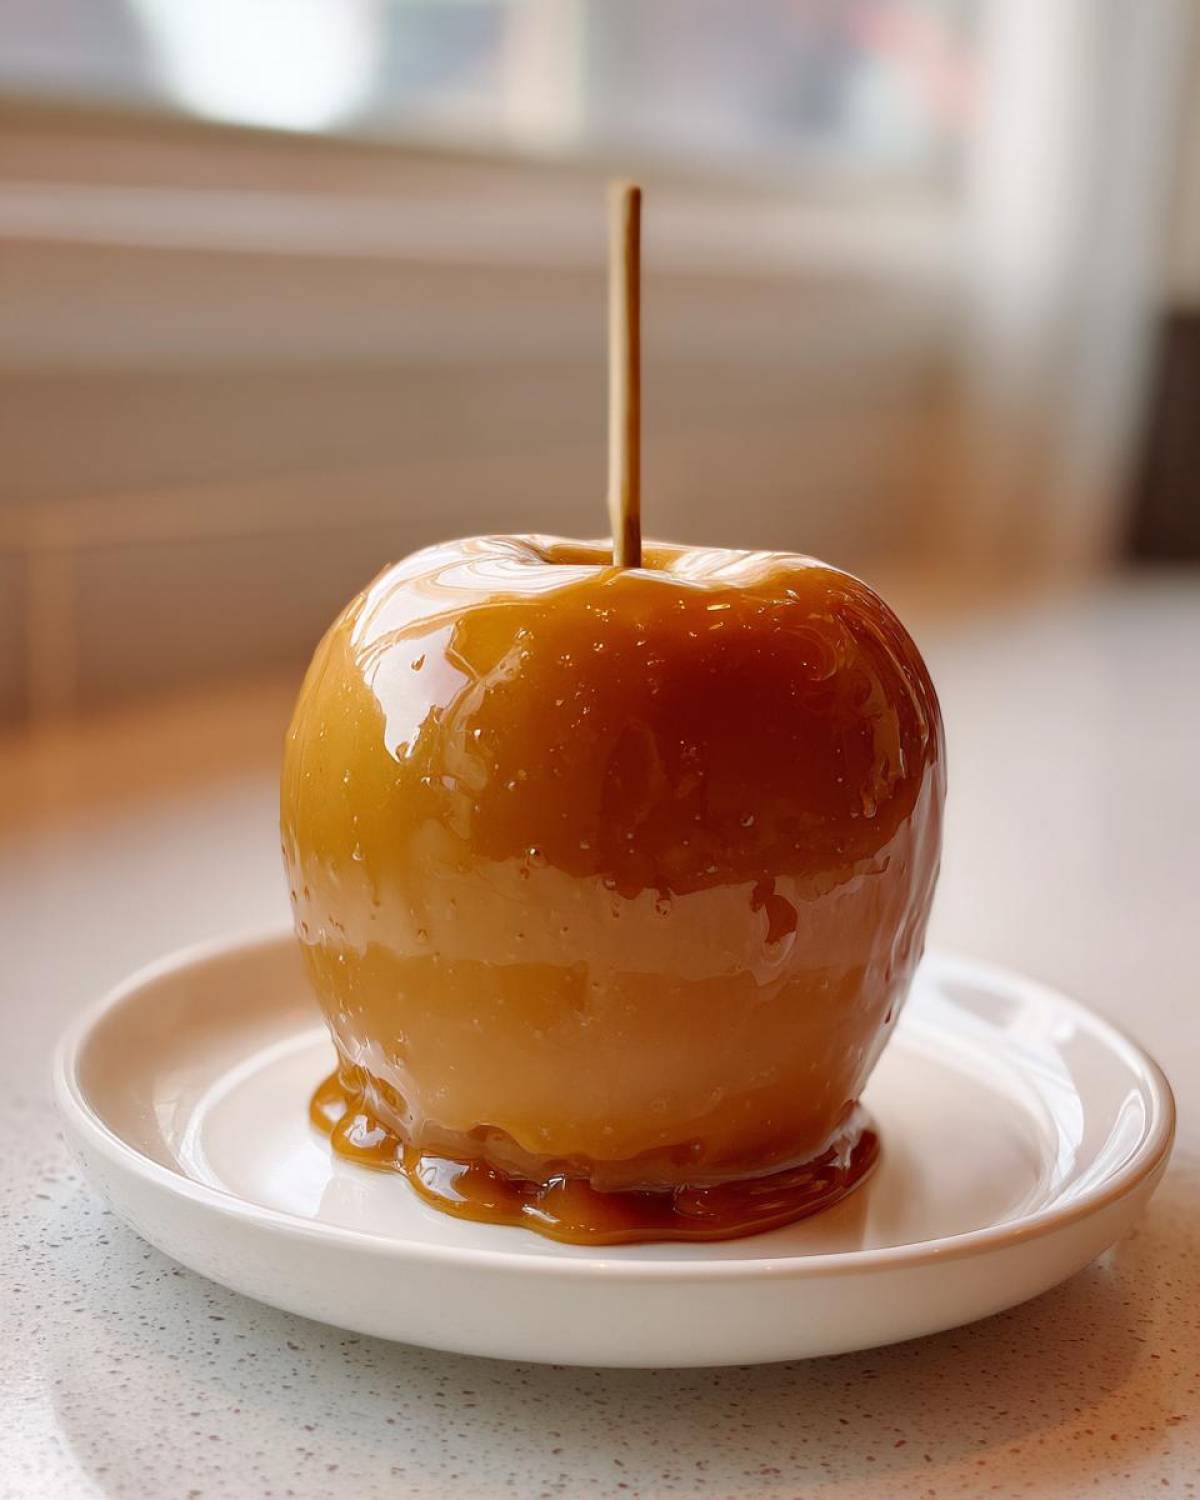
Equipment Needed for Making Caramel Apples
You don’t need a massive setup for this.
Just a few key tools make the job easy.
Here is what I keep ready for dipping:
- A medium, heavy-bottomed saucepan.
- Sturdy wooden lollipop sticks.
- Parchment paper for lining sheets.
- A reliable candy thermometer.
Seriously, that thermometer is your best friend here.
Step-by-Step Instructions for Your Caramel Apple
Now we get to the fun, slightly nerve-wracking part.
Follow these steps closely for a gorgeous result.
This process turns simple ingredients into a perfect caramel apple.
Preparing the Apples for Maximum Adhesion
First, wash those apples really well, friend.
Then, dry them completely with a clean towel.
Peel off any stubborn little stickers right away.
Next, dip each apple into boiling water for five seconds.
Immediately dry them again. Moisture is the enemy here.
A completely dry surface guarantees the caramel sticks fast.
Cooking the Perfect Chewy Caramel
Combine your white and brown sugars in the pan.
Heat over medium, stirring until it melts smoothly.
It turns a lovely amber color quickly, watch it close!
Remove the heat. Whisk in the butter until it melts fine.
Slowly pour in the warm heavy cream while whisking gently.
Return it to low heat. Stir until the thermometer hits 245 degrees F.
I sometimes wonder about adding a dash of smoked paprika here.
But for the classic version, stick to the vanilla and salt.
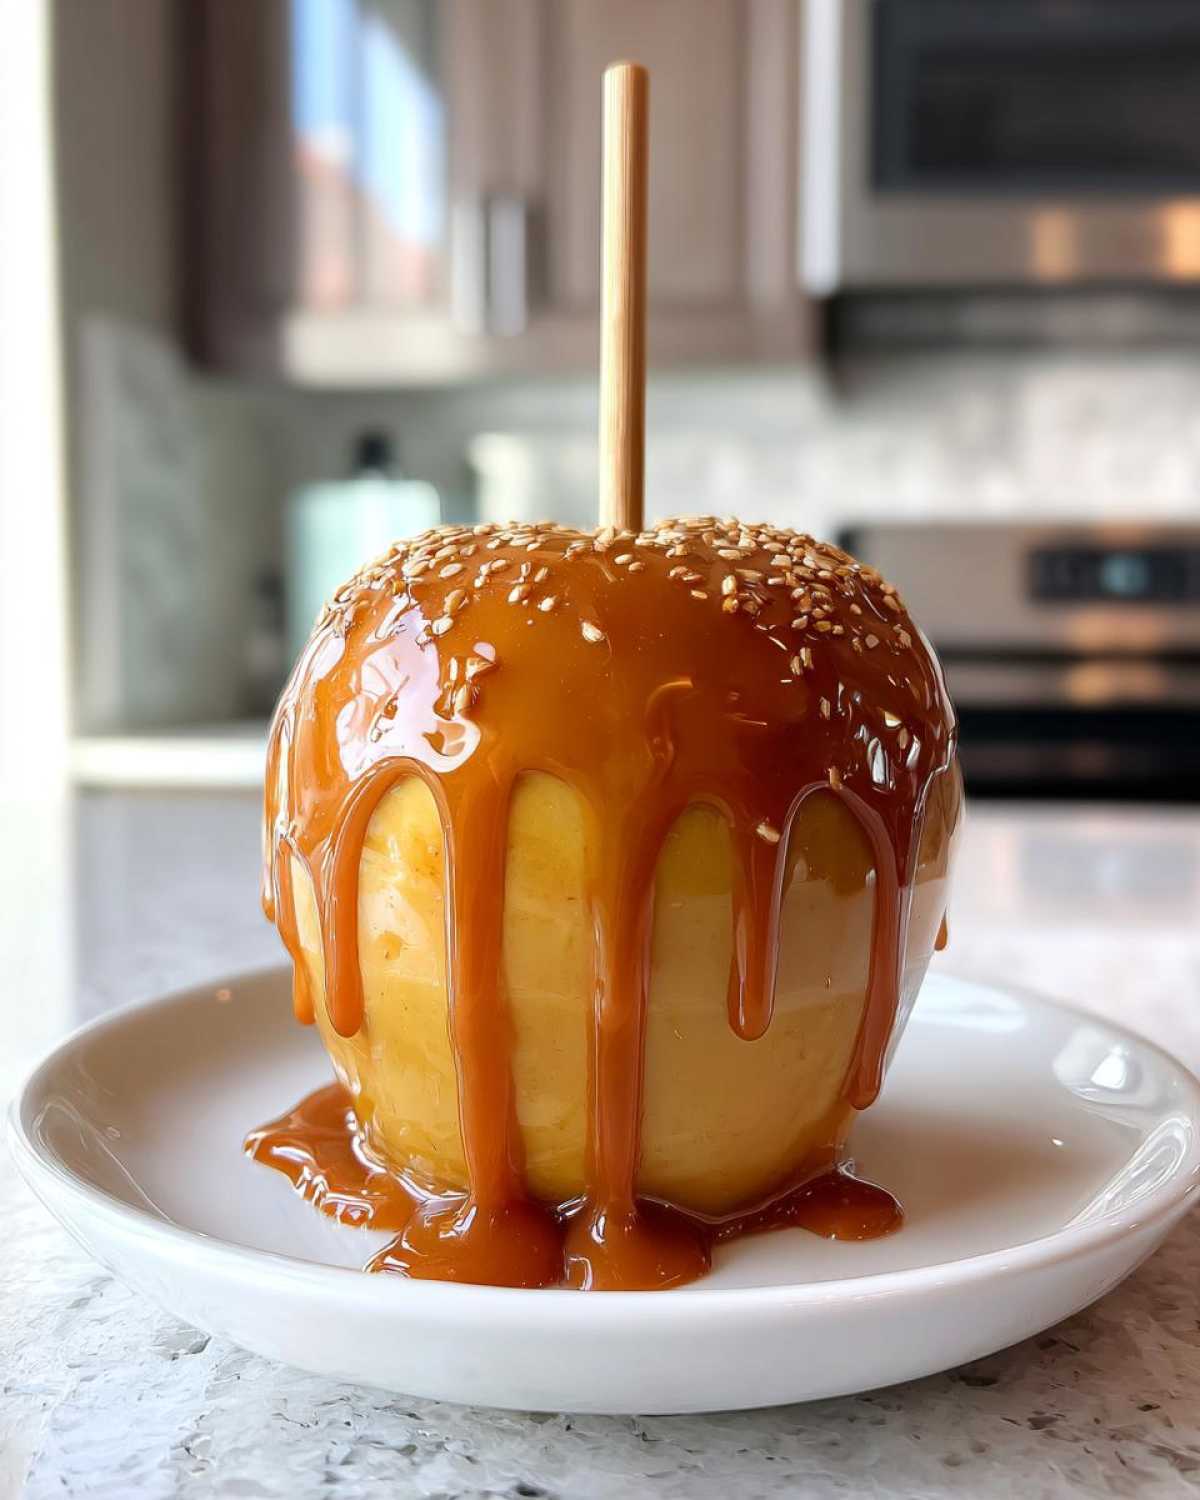
Dipping and Setting the Caramel Apple
Take the pan off the heat once you hit that temperature.
Stir in the vanilla and salt quickly.
Let the caramel cool down for about five to ten minutes.
It needs to thicken up just a bit before dipping.
Hold the stick and dip the apple into the caramel.
Twirl it around and let the extra drip back in.
Place the dipped fruit back on the lined baking sheet.
If you want toppings, put them on right away while sticky.
Let them set up fully at room temperature for one hour.
Expert Tips for a Beautiful Caramel Apple
We’ve made the classic caramel apple, but let’s polish it up.
A few small tweaks make a huge difference in the end.
These little secrets come straight from my kitchen adventures.
Perfecting that shiny, chewy coating takes practice, sure.
But knowing how to fix common hiccups helps a lot.
You want that gorgeous finished look every single time.
Troubleshooting Caramel Sticking Issues
The biggest fear is always the slide-off problem.
Remember what Chef Tariq always says about prep work?
If your caramel is too thin, it runs right off the apple.
This means you didn’t cook it long enough, friend.
If it hardens too fast in the pot, don’t panic!
Gently reheat it over very low heat until it flows nicely again.
Flavor Variations and Topping Ideas
Want to jazz up your standard caramel apple?
Try adding a pinch of smoked paprika to the dry sugar.
Or maybe some ground cinnamon or nutmeg works wonders.
Apply toppings immediately after dipping, while the caramel is tacky.
Crushed pretzels add a salty crunch you’ll love.
Chopped pecans or rainbow sprinkles look amazing too.
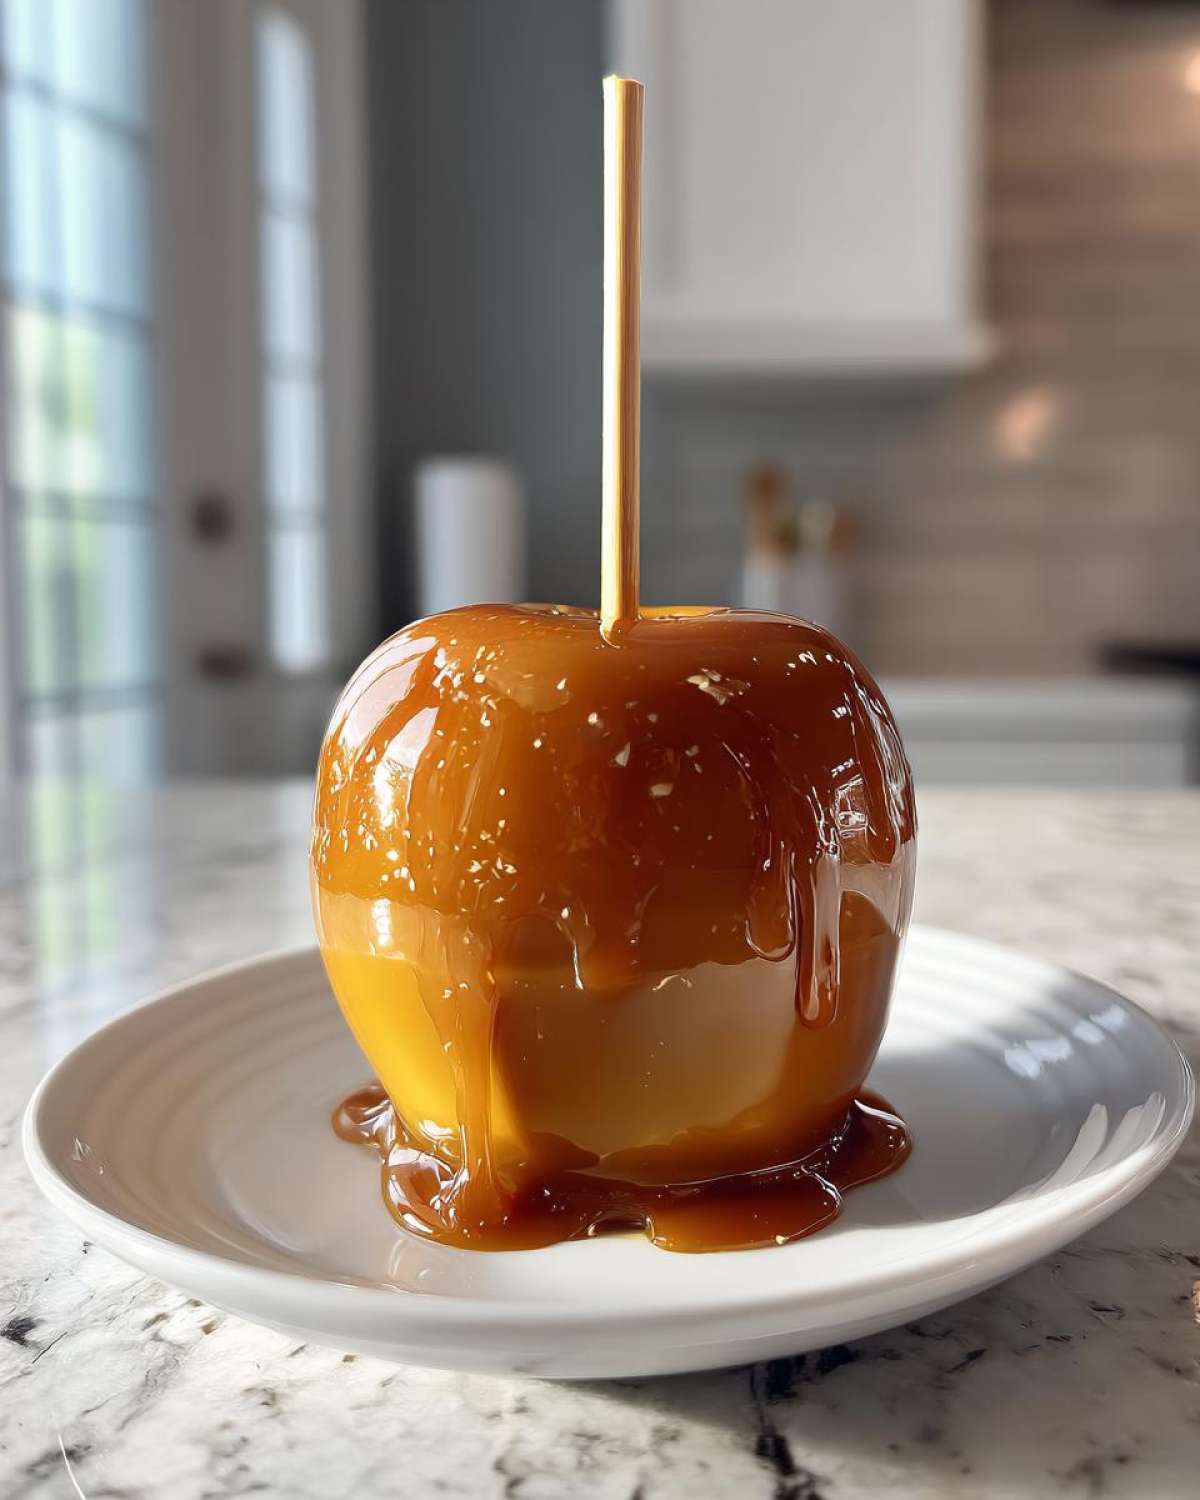
Understanding the Nutritional Profile of a Caramel Apple
We all know this treat is decadent, right?
It’s important to have a general idea of what’s inside.
These figures are estimates for one homemade caramel apple.
They reflect the rich sugars and butter we use.
- Calories: About 450 per serving.
- Sugar content is quite high, around 65 grams.
- Fat content sits near 20 grams total.
Enjoy this wonderful dessert in moderation, please.
Frequently Asked Questions About Making Caramel Apples
I get so many questions after sharing this recipe.
It seems everyone wants that perfect, non-slippery coating.
Let’s tackle the most common issues right here.
These tips will help your next batch shine. For more general cooking advice, check out our cooking blog.
How do I stop my caramel from hardening in the pot?
This happens if you walk away for too long.
The caramel cools down and gets too thick to dip.
Just put the saucepan back on very low heat.
Stir slowly until it becomes pourable again.
Chef Tariq always reminds me to work steadily.
Can I store leftover caramel sauce?
Yes, you absolutely can save extra sauce.
Pour cooled leftover caramel into an airtight jar.
It will keep nicely in the fridge for a few weeks.
Reheat gently on the stove when you want to use it again.
What if my caramel apple keeps sliding off the stick?
This points back to improper apple prep.
Did you remove the wax coating fully?
Ensure the apples are bone dry before dipping.
Moisture is the number one reason for that slide.
Should I chill the finished caramel apples?
I recommend letting them set at room temperature.
Chilling can sometimes make the caramel too hard.
Room temperature keeps that chewy texture intact.
PrintFoolproof 245° caramel apple secret revealed
Make perfect, glossy caramel apples that stay coated! This foolproof recipe focuses on the technique to get chewy caramel that actually sticks to your apples every time. Leo shares the secrets learned from Chef Tariq for a beautiful, classic caramel apple.
- Prep Time: 15 minutes
- Cook Time: 20 minutes
- Total Time: 1 hour 35 minutes
- Yield: 6 caramel apples
- Category: Dessert
- Method: Stovetop Candy Making
- Cuisine: American
- Diet: Vegetarian
Ingredients
- 6 medium firm, tart apples (like Granny Smith)
- 1 cup (200g) granulated white sugar
- 1/2 cup (100g) packed light brown sugar
- 1/2 cup (120ml) heavy cream, warmed slightly
- 1/4 cup (57g) unsalted butter
- 1 teaspoon pure vanilla extract
- 1/4 teaspoon fine sea salt
- 6 wooden or sturdy paper lollipop sticks
Instructions
- Wash and thoroughly dry the apples. To help the caramel adhere, remove the sticker. Dip each apple in boiling water for 5 seconds, then immediately dry completely with a clean towel. This removes the waxy coating.
- Insert a stick firmly into the stem end of each apple, going about halfway through. Set the apples aside on a parchment-lined baking sheet.
- In a medium, heavy-bottomed saucepan, combine the granulated sugar and brown sugar. Heat over medium heat, stirring constantly until the sugar dissolves and melts into a smooth, amber liquid. Watch closely; this happens fast.
- Remove the pan from the heat. Carefully whisk in the butter until fully melted. The mixture will bubble vigorously.
- Slowly pour in the warm heavy cream while whisking gently. Continue whisking until the mixture is smooth.
- Return the pan to low heat. Stir constantly until the caramel reaches 245 degrees F (118 degrees C) on a candy thermometer. This creates the chewy texture.
- Remove from heat immediately. Stir in the vanilla extract and salt.
- Let the caramel cool for 5 to 10 minutes. It should thicken slightly but still be pourable. If it cools too much, reheat gently.
- Holding an apple by the stick, dip and rotate it into the caramel, allowing excess to drip off. Work quickly.
- Place the coated apples back onto the parchment-lined sheet. Let them set completely at room temperature for at least 1 hour before serving or adding toppings.
Notes
- The most crucial step is ensuring the apples are completely dry; moisture prevents sticking.
- Use a candy thermometer for accuracy; temperature dictates texture.
- If caramel hardens too fast, reheat gently over low heat until pourable again.
- For extra flavor, add a pinch of cinnamon or nutmeg to the dry sugar mixture before melting.
- Toppings like chopped nuts, shredded coconut, or sprinkles should be applied immediately after dipping while the caramel is still tacky.
Nutrition
- Serving Size: 1 apple
- Calories: Approx. 450
- Sugar: Approx. 65g
- Sodium: Approx. 120mg
- Fat: Approx. 20g
- Saturated Fat: Approx. 12g
- Unsaturated Fat: Approx. 8g
- Trans Fat: 0g
- Carbohydrates: Approx. 70g
- Fiber: Approx. 2g
- Protein: Approx. 2g
- Cholesterol: Approx. 70mg
