

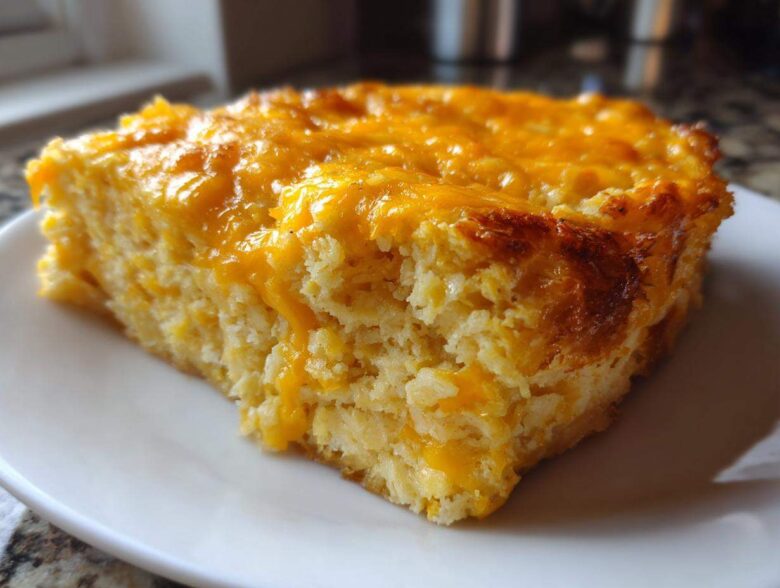
When I think of real Southern cooking, I think of the kind of food that hugs you from the inside out. That’s what these Ultimate Creamy Southern Cheese Grits are all about! Forget those thin, watery excuses for grits you sometimes get; we are making the real deal here. I spent years trying every trick—using different liquids, testing cheese blends—trying to nail that perfect, spoon-coating texture.
Trust me when I say I’ve finally cracked the code on making truly dreamy **cheese grits**. We’re using stone-ground grits and a specific two-cheese blend that guarantees richness without ever getting grainy. These are the grits you serve when company comes over, or maybe just when you need a serious comfort boost on a chilly morning. If you’re ready for the best savory grits you’ve ever had, let’s get started! For more of my family favorites and cooking adventures, check out my main blog page.
Why This is the Best Southern Cheese Grits Recipe
What sets this recipe apart from every other stovetop version out there? It all comes down to texture and that sharp, comforting flavor. If you’re tired of gritty, bland grits, you’ve found your solution. This isn’t just any side dish; this is the foundational element for incredible meals. We are aiming for that rich, decadent mouthfeel that defines true **southern cheese grits recipe** standards.
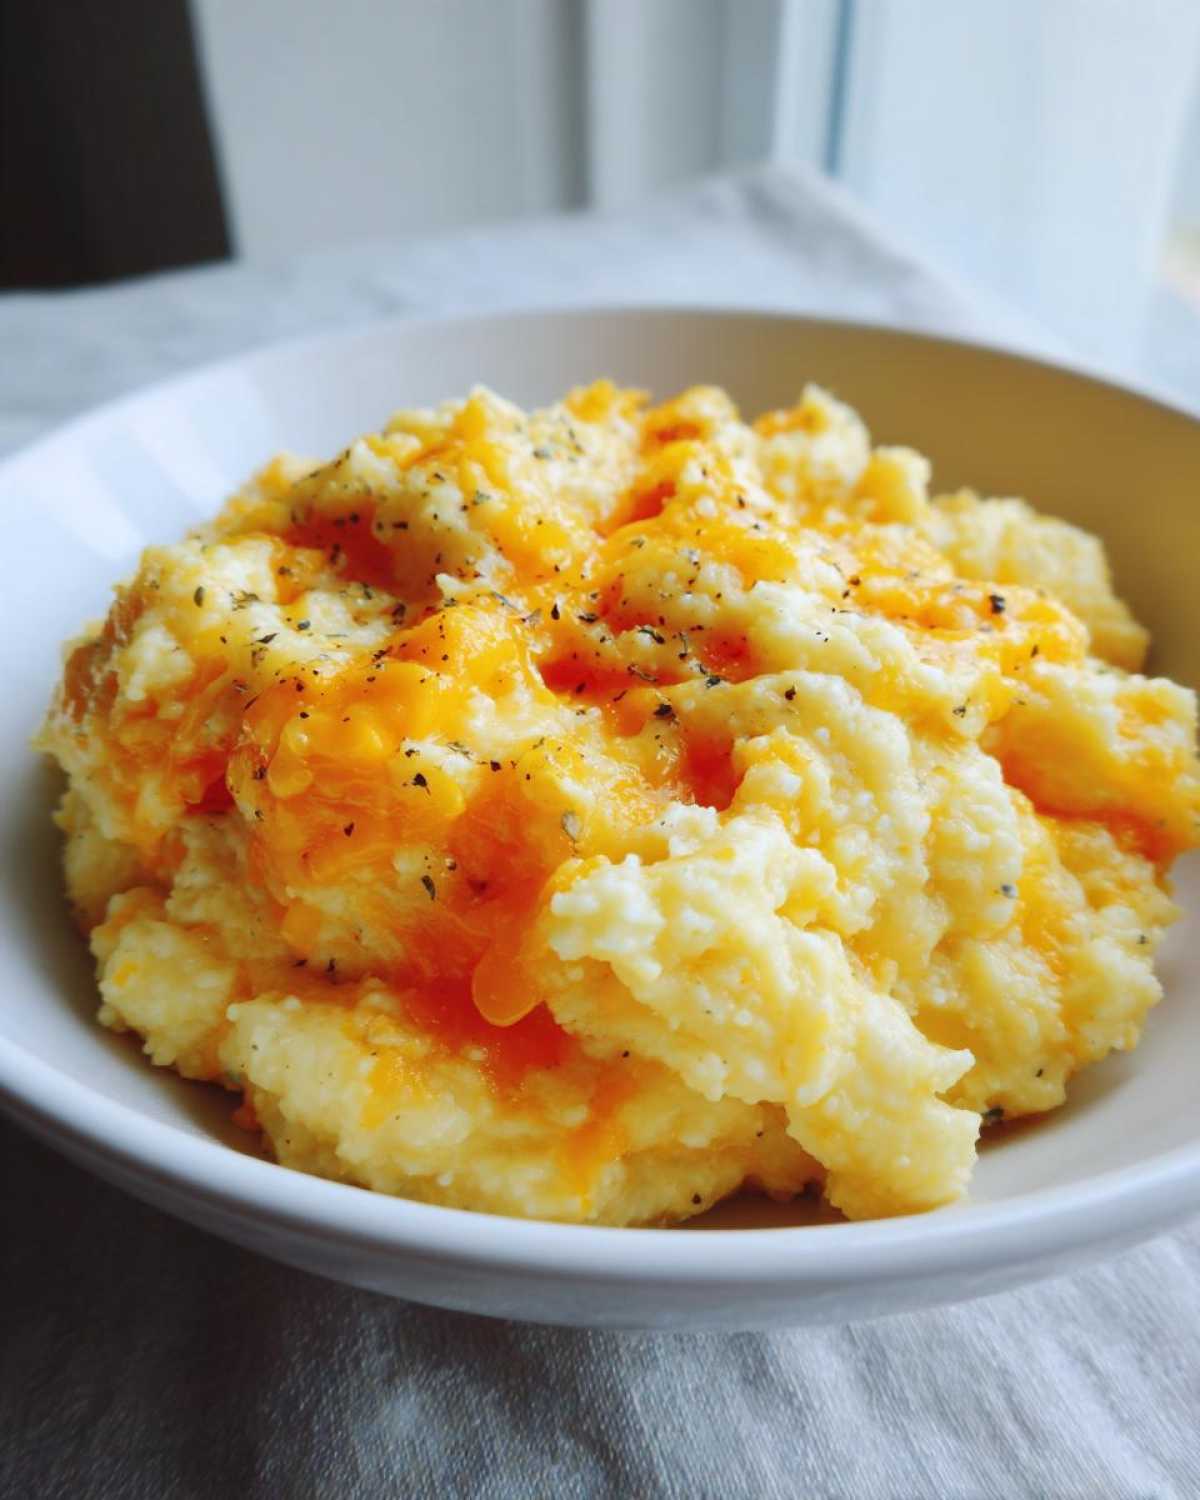
When you follow my method, you unlock a bowl of intensely flavored, utterly comforting **creamy cheese grits**. It’s the kind of dish that makes you close your eyes after the first bite and maybe even forget where you are for a second. I’ve refined this process over years of trial and error.
Achieving Ultimate Creaminess in Your Cheese Grits
Listen closely: you absolutely must use stone ground grits here; instant grits just won’t cut it for this level of quality. Instant grits turn mushy too fast. The liquid ratio is crucial—you need enough water to fully hydrate those tough stone ground kernels over that slow simmer. My secret for avoiding lumpiness? Don’t try to hurry it! Whisk gently but consistently as it comes up to temperature. That slow agitation marries the starch and water perfectly for the most amazing **cheese grits** texture you can imagine.
The Key to Flavorful Grits with Cheddar Cheese
Forget the pre-shredded bags, seriously! Those contain anti-caking agents that stop cheese from melting smoothly. For these **cheese grits**, we use a blend of sharp cheddar for that signature deep flavor and a little Monterey Jack thrown in just to make things extra gooey and stretchy. Always shred your own cheese right before you need it. This simple step makes the difference between clumpy sadness and luxurious, melted **cheese grits** perfection. You can see exactly what I use over at my dedicated creamy grits post if you need visuals!
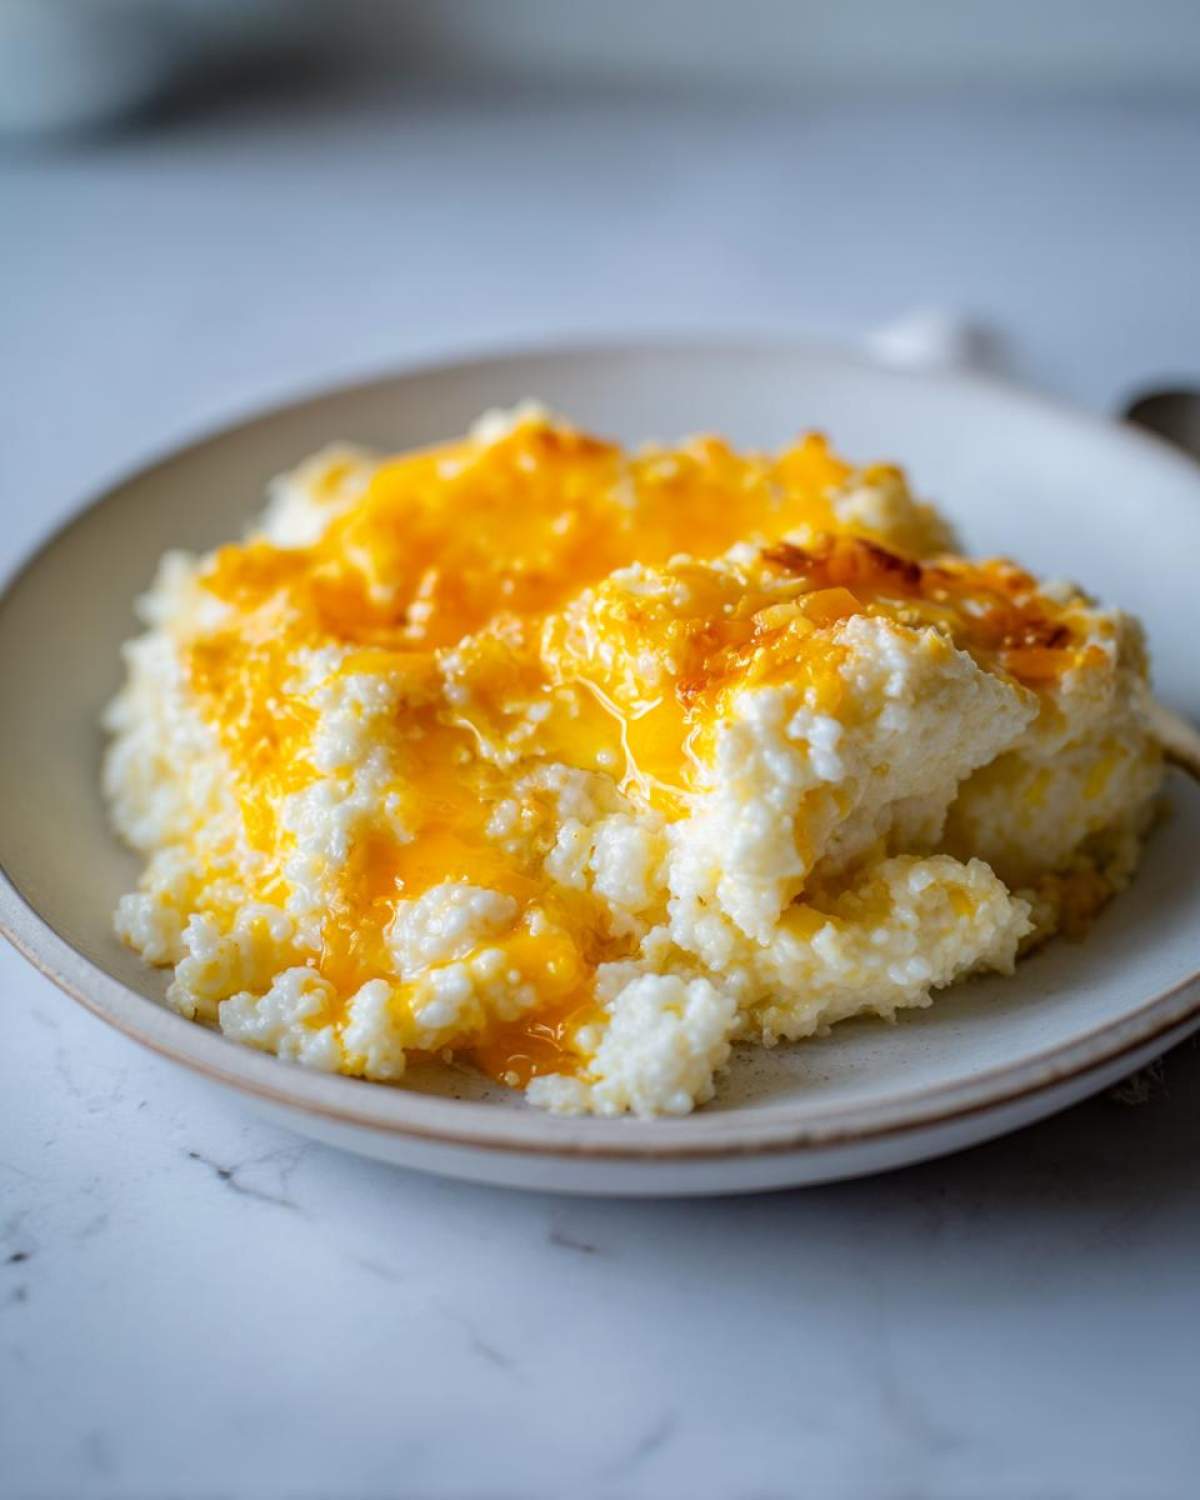
Ingredients for Ultimate Creamy Cheese Grits
The quality of your ingredients really shows through in something as simple as **cheese grits**, so don’t skimp here! We are building on a very simple base, which means every single component needs to be top-notch. I’ve listed everything below, but please, if you take away one thing, let it be the instruction about grating your own cheese. It’s non-negotiable for truly outstanding results!
These measurements make four generous side servings, which is perfect for a weekend brunch or as the base for a big dinner. If you’re looking to make a big side for a crowd, I keep notes on scaling up in my scalloped potatoes recipe—much of that ratio thinking applies here too!
- 4 cups water (Tap water is fine, just make sure it’s fresh!)
- 1 teaspoon salt (We add more later to taste, don’t dump it all in now!)
- 1 cup stone ground grits (Seriously, NO instant grits for this version. We need structure!)
- 1/2 cup heavy cream (This is the secret to that luxurious texture.)
- 4 tablespoons unsalted butter (Cut into cubes so it melts faster.)
- 1 1/2 cups SHREDDED sharp cheddar cheese (Freshly grated only, trust me on this!)
- 1/2 cup shredded Monterey Jack cheese (For meltiness without overpowering the cheddar.)
- 1/4 teaspoon black pepper (Or more, depending on how much you like that little kick!)
How to Make Cheese Grits: Step-by-Step Instructions
Okay, now that you’ve gathered all your wonderful ingredients, it’s time for the main event. Making these **cheese grits** isn’t hard, but it does require a little bit of patience—you can’t rush perfection, especially when dealing with stone-ground kernels! Think of this less like cooking and more like supervising a very slow, creamy transformation. If you can follow the heat settings, you’ll end up with the creamiest grits imaginable. Keep your whisk handy! For more savory inspirations that work perfectly alongside these grits, check out the recipes over at my savory bites collection.
Preparing the Grits Base
First things first, get your water and salt into a medium saucepan and bring it up to a rumbling boil. Once it’s actively boiling, start slowly whisking in your cup of stone-ground grits. I mean it—pour them in slowly so they don’t clump up into starchy little rafts! As soon as they’re all incorporated, drop the heat way down to low. We need to cover that pan and let them simmer for a good 25 to 30 minutes. You have to stir every five minutes or so, just to make sure nothing is sticking to the bottom of the pot and scorching. We want tender, fully cooked grits!
Finishing Your Creamy Cheese Grits
Once those grits are tender and have drunk up most of that cooking water, it’s time for the rich stuff! Take the pan completely off the heat. This step is vital for the **best cheese grits**! If the heat is too high when you add the cheese, the milk solids separate, and you end up with an oily, grainy mess. Stir in your four tablespoons of butter and the heavy cream until everything melts beautifully together. Now, go ahead and stir in both your cheddar and Monterey Jack cheeses until they are completely smooth—no lumps allowed! That off-heat mixing ensures your **cheese grits** stay wonderfully silky.
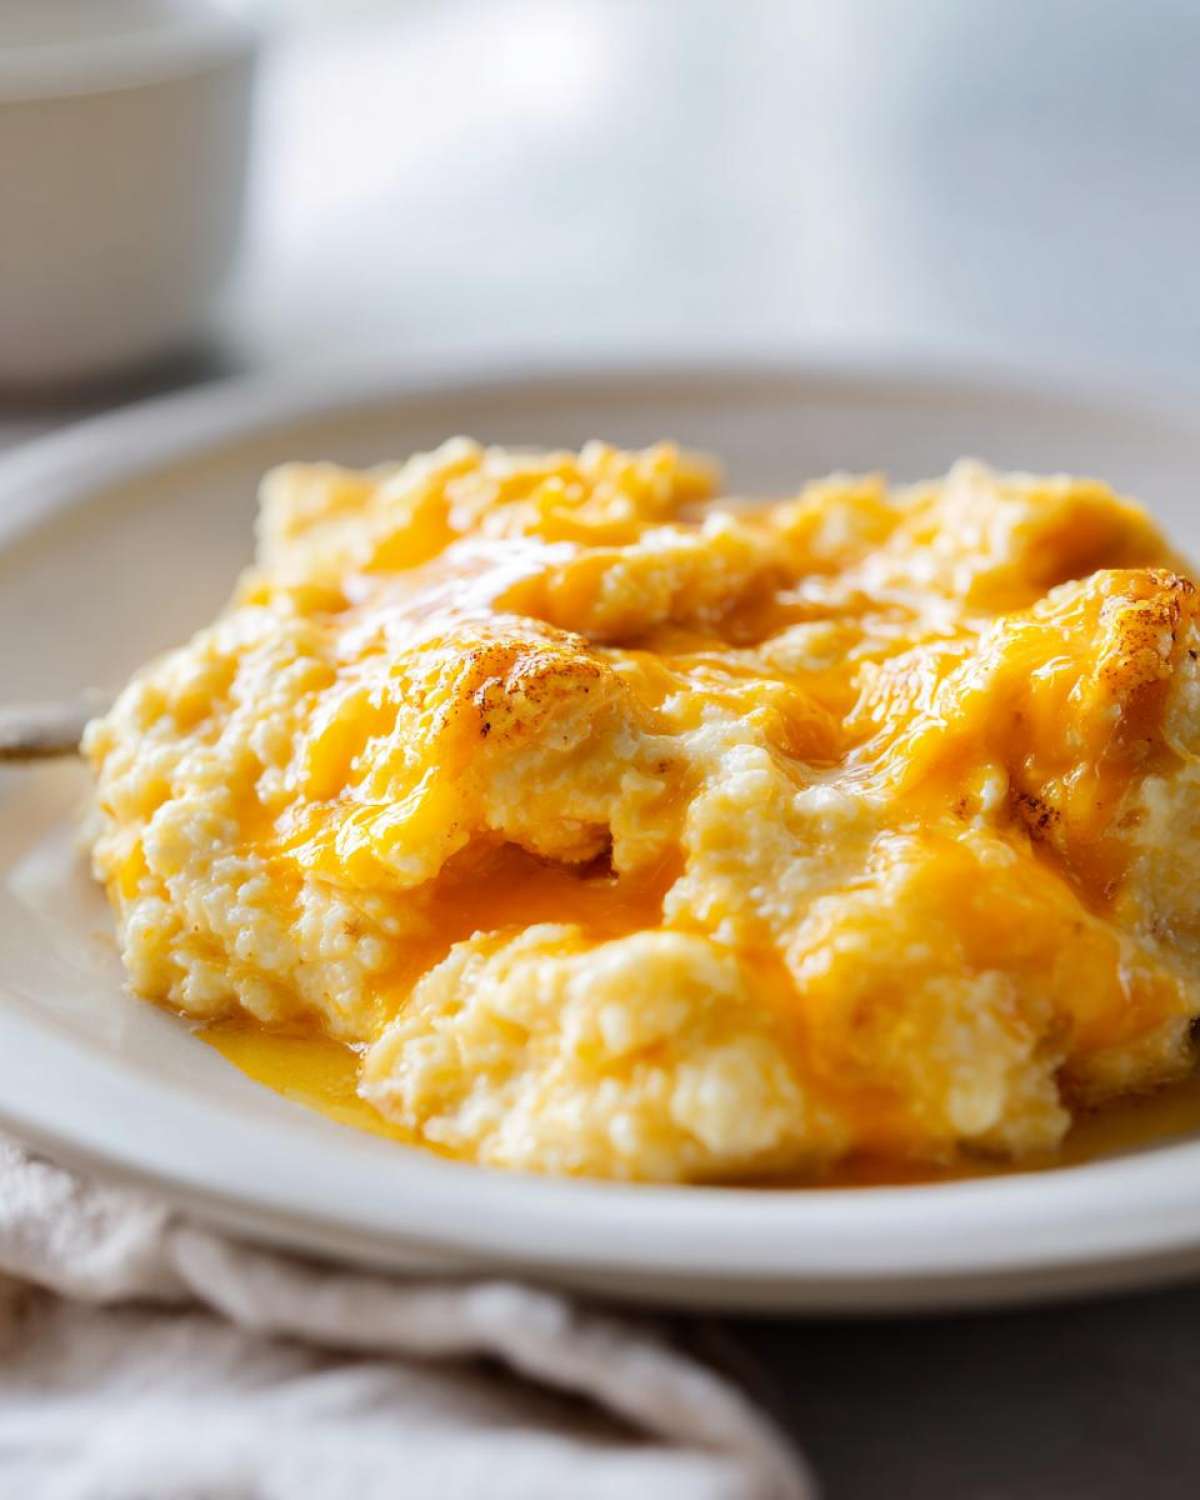
Tips for Perfect Savory Grits
You’ve got the technique down and the base ready, but let’s talk about a few pro-level tweaks that take these from great to legendary. I call these my ‘E-E-A-T’ tips—Experience, Expertise, Authority, and Trust—because I’ve definitely made every mistake possible over the years trying to rush this process!
My first big piece of advice is always about the cheese again. Seriously, if you buy block cheese and grate it yourself, you are halfway to winning. Pre-shredded cheese is coated in cellulose or potato starch so it doesn’t stick together in the bag. That coating will absolutely stop your **cheese grits** from achieving that seamless, liquid silk appearance. Go for the block!
If you want to pivot these into more complex **savory grits**, like for a dinner side, make sure you season aggressively at the end. Salt is easily absorbed by the cornmeal over time. I usually wait until the cheese is mixed in, taste it, and then add another small pinch of salt. A dash of hot sauce, like Tobasco or Crystal, right before serving also lifts the richness beautifully without necessarily adding heat.
Don’t panic if your grits start hardening up after sitting for ten minutes! They absolutely will thicken as they cool. You just need to stir in a splash—maybe one tablespoon at a time—of hot water or milk while reheating them on the stove over low heat. I keep a small cup of hot water nearby just for this purpose. If you need more inspiration on how to make incredibly rich, cheesy dips and sides, you should check out my recipe for easy creamy beer cheese dip—it uses a similar philosophy of smooth dairy integration!
Serving Suggestions for Your Cheesy Grits Side Dish
Honestly, these **cheese grits** are so good they deserve to be the star of the show, but they also play incredibly well with others! Because they are so rich and savory, they naturally pair well with anything that has a little bit of tang, spice, or a good sear. They transition beautifully from a hearty breakfast staple to the perfect side dish for a big Southern dinner. Forget boring rice; these cheesy grits are what your plate is crying out for!
When I’m planning a meal around these, I always think about texture contrast. You want something crisp or slightly chewy next to the extreme creaminess we worked so hard to achieve. They go great alongside smoky meats or anything with a little bit of braised sauce.
The Classic Pairing: Shrimp and Grits
If you’re going to talk Southern food, you absolutely have to talk about Shrimp and Grits. These specific **cheese grits** are the absolute perfect foundation for that iconic dish. You just need a great sauce—maybe some garlic butter, smoked paprika, and a squeeze of lemon—poured right over the top of these creamy mounds. I make a batch of my crispy fried shrimp right alongside these grits whenever I serve them up. You can find out exactly how I get mine perfectly crunchy over here on my fried shrimp post!
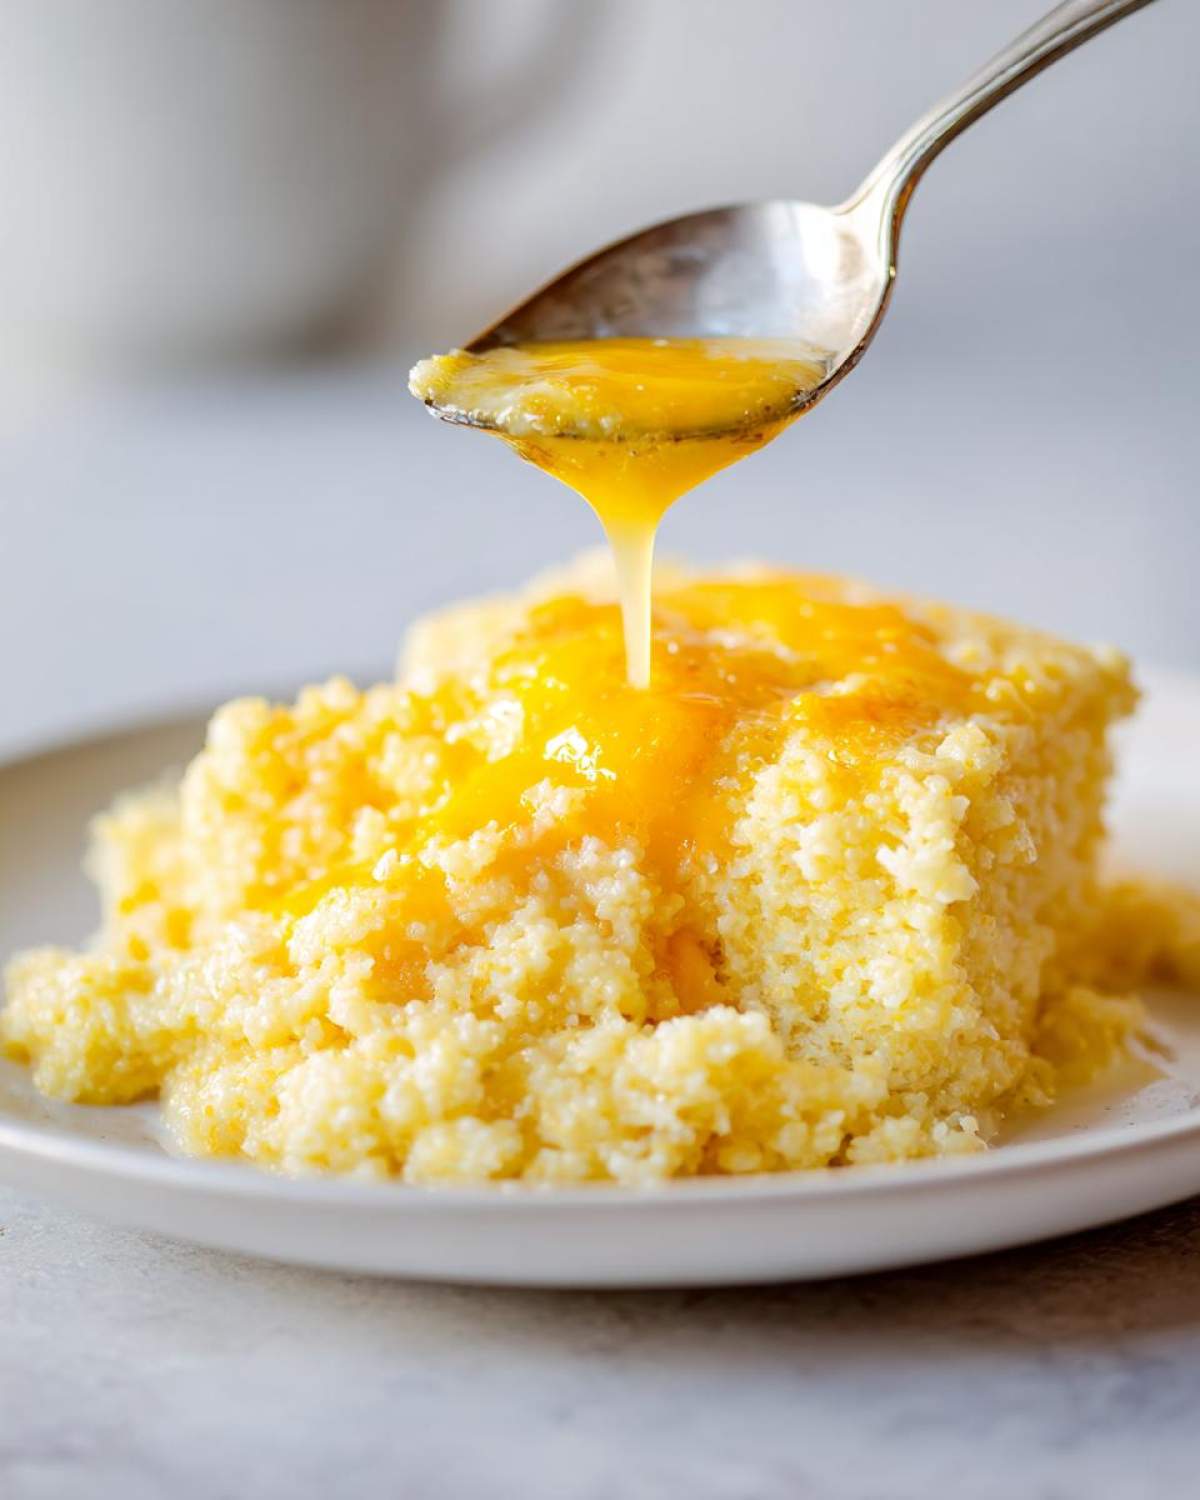
But shrimp isn’t the only option! These **cheese grits** make a phenomenal base for savory stews, like Brunswick stew, or served right alongside collard greens and slow-cooked pork shoulder. Don’t be afraid to think outside the breakfast box!
Storage and Reheating Instructions for Leftover Cheese Grits
This is one of those situations where leftovers are almost as anticipated as the first batch! My **cheese grits** are so rich that they firm up quite a bit once they’ve cooled down completely. Don’t think for a second that you need to throw them out just because they look like a solid block in the fridge the next morning. They absolutely bounce back beautifully, provided you treat them gently.
The absolute best way to store them is in a sturdy, airtight container. They usually keep really well in the fridge for about three or four days. I try not to wait much longer than that, just because cornmeal likes to absorb refrigerator smells, you know?
Now, here’s the real secret to reheating: You need liquid, and you need low heat. Don’t just blast these in the microwave hoping for the best! That’s a fast track to tough, dry **cheese grits**. Instead, spoon the amount you want to eat into a small saucepan, and add a splash of hot milk or water—literally just a tablespoon or two to start. You want to heat it slowly over medium-low heat, stirring constantly until everything loosens up and gets creamy again.
The magic happens when that little bit of liquid gets stirred back into the starches and fats. If I’m warming a big portion, I sometimes add a fresh pat of butter along with the milk; it just revives that original richness instantly. It’s so easy, and it tastes just about as good as fresh. If you are looking for other ideas on transforming simple ingredients into amazing sides, you might want to look at my recipe for creamy honey butter skillet corn—it uses the same low-and-slow reheating mentality!
If you really need to microwave them, put them in a microwave-safe bowl, add that splash of liquid, cover it loosely with a damp paper towel (this keeps the steam in!), and heat in 30-second bursts, stirring well between each one. But honestly, the stovetop method wins almost every single time for texture recovery.
Variations: Beyond Basic Cheese Grits
Now that we’ve mastered the ultimate, simple, creamy **cheese grits** base, it’s time to have some fun! While I stand by the pure simplicity of cheddar and butter, sometimes you want to elevate these grits for a crowd or just change things up mid-week. These variations are easy to drop right into the recipe during the final mixing stages, so you don’t change your hard-earned creaminess.
These adjustments are fantastic for turning a simple side into a statement dish, especially if you’re serving them up for a big weekend **brunch grits recipe** spread! I find that adding smoky or sharp elements balances the richness of the cheese perfectly. If you’re looking for other ways to transition savory comfort food from side dish to main attraction, you might want to peek at my savory mushroom barley stew—it uses a similar layered flavor approach!
Here are my three absolute favorite ways to jazz up these **cheese grits** without messing up the texture:
- Smoky Southern Sausage Style: About three minutes before the grits finish simmering (before you add the cream), sauté about a half cup of fully cooked, crumbled smoked sausage (like kielbasa or andouille) with a pinch of smoked paprika in a separate small pan. Drain off most of the grease and stir the sausage right in with the melted butter and cream. This adds an incredible savory, smoky depth that works beautifully for dinner.
- Green Onion & Shallot Infusion: If you want brightness, sauté one finely minced shallot and about two tablespoons of thinly sliced green onion tops (the green parts only!) in one tablespoon of butter until they are soft and fragrant. Add this infused butter right along with the four tablespoons of regular butter. The mild onion flavor really makes the sharpness of the cheddar pop, making these perfect for a **brunch grits recipe** setup.
- Kick of Heat with Jalapeño: For those who like a little fire, dice up a small jalapeño (seeds removed, unless you’re feeling brave!). Sauté the diced pepper in a tiny bit of oil until soft—again, do this while the grits are simmering, then add them in with the cheese. I sometimes swap out a little of the Monterey Jack for Pepper Jack cheese when I do this version for an extra layer of heat!
Frequently Asked Questions About Making Grits
When you’re dealing with something as classic as grits, people always have questions! It’s natural—we all want to make sure our comfort food lives up to its promise. I’ve gathered the top things people ask me about texture, timing, and swapping ingredients when they’re aiming for that perfect bowl of **cheese grits**. I’ve got answers ready!
If you’re looking for ideas on what to serve alongside these, I’ve got a great idea for a savory quinoa breakfast bowl that pairs nicely with leftovers!
Can I use quick-cooking grits instead of stone ground grits for this cheese grits recipe?
Oh, honey, you *can*, but I really, really advise against it if you want the results we’ve been talking about. Quick-cooking grits are processed differently—they cook in about five minutes, which means the starch structure isn’t as robust. If you use them, you’ll end up with very smooth, but ultimately thinner and less satisfying **comfort food grits**. Stone ground grits take longer because they have more structure to break down, giving you that deeply satisfying, slightly chewier texture that defines truly great **stone ground grits recipe** outcomes. For this recipe, stick with stone ground for the required richness!
How do I keep my cheese grits from getting lumpy?
Lumps are the nemesis of **easy cheese grits**! The number one rule, which I can’t stress enough, is how you introduce the grits to the liquid. Never dump them all in at once. If you get a pile of dry grits hitting hot water all at once, they instantly clump up and cook unevenly on the outside while staying dry on the inside.
You need to bring your water (or broth!) to a full, rolling boil, then reduce the heat just slightly, and then begin slowly whisking in the grits in a thin, steady stream. It should feel like an endless, slow drizzle. Keep that whisk moving continuously until all the grits are fully submerged. Once they are all swimming, you can drop the heat to a gentle simmer. That slow incorporation is what guarantees smooth, lump-free **cheese grits** every single time!
Can I make these ahead of time using milk instead of heavy cream?
You can certainly try! But let me tell you what happens. Heavy cream has a higher fat content, and that fat emulsifies beautifully with the starches and the cheese. That’s what makes them stable and creamy for longer. If you swap in whole milk for the heavy cream, you’re taking out fat, so the finished **cheese grits** will be thinner initially and will stiffen up much, much faster once they cool down. They are perfectly edible mixed with milk, but they don’t have that luxurious, clingy texture that makes this recipe famous. If you do use milk, just remember you’ll need extra milk when reheating later tomorrow!
Nutritional Estimate for Creamy Cheese Grits
Now, I know some of you folks are watching what you eat, and while these **cheese grits** are definitely an indulgent breakfast or a hearty side dish, it’s good to have a ballpark idea of what you’re putting into your body! Remember, because we are using rich butter, heavy cream, and a double hit of high-quality cheese, these aren’t exactly a diet food—they are pure comfort!
The numbers below are just an estimate based on the standard measurements listed in the recipe above, assuming four equal servings. If you add bacon grease or really load up on extra cheese (which, hey, I sometimes do!), these numbers will climb! You can find more insights into preparing savory yet healthy versions of comfort sides, like my savory oatmeal, on my blog if you’re ever looking to balance out the indulgence.
Here is the general breakdown for one serving of these **cheese grits**:
- Calories: Approximately 450
- Fat: Around 32g (Watch out for that Saturated Fat at 19g—that’s the butter and cheese doing their work!)
- Carbohydrates: About 30g
- Protein: A solid 18g, which helps keep you full!
- Sodium: About 650mg (Remember, much of this comes from the salt you add and the natural salt in the cheese, so taste before salting further!)
They’re packed with flavor, fat, and protein, making these **savory grits** a real powerhouse side dish!
PrintUltimate Creamy Southern Cheese Grits

Prepare rich, creamy Southern cheese grits on the stovetop using sharp cheddar cheese for a comforting side dish or breakfast.
- Prep Time: 5 min
- Cook Time: 30 min
- Total Time: 35 min
- Yield: 4 servings
- Category: Side Dish
- Method: Stovetop
- Cuisine: Southern American
- Diet: Vegetarian
Ingredients
- 4 cups water
- 1 teaspoon salt
- 1 cup stone ground grits (not instant)
- 1/2 cup heavy cream
- 4 tablespoons unsalted butter
- 1 1/2 cups shredded sharp cheddar cheese
- 1/2 cup shredded Monterey Jack cheese
- 1/4 teaspoon black pepper
Instructions
- Bring the water and salt to a boil in a medium saucepan.
- Slowly whisk in the grits to prevent lumps. Reduce the heat to low.
- Cover the saucepan and simmer, stirring every 5 minutes, for 25 to 30 minutes, or until the grits are tender and have absorbed most of the liquid.
- Stir in the heavy cream and butter until melted and combined.
- Remove the saucepan from the heat. Stir in the cheddar cheese and Monterey Jack cheese until fully melted and the grits are smooth and creamy.
- Season with black pepper. Serve immediately.
Notes
- For extra flavor, use whole milk instead of heavy cream, but expect a slightly thinner final texture.
- Use freshly shredded cheese; pre-shredded cheese contains anti-caking agents that prevent smooth melting.
- If the grits become too thick upon standing, stir in a splash of hot water or milk to reach your desired consistency.
Nutrition
- Serving Size: 1 cup cooked
- Calories: 450
- Sugar: 3
- Sodium: 650
- Fat: 32
- Saturated Fat: 19
- Unsaturated Fat: 13
- Trans Fat: 1
- Carbohydrates: 30
- Fiber: 2
- Protein: 18
- Cholesterol: 95
