

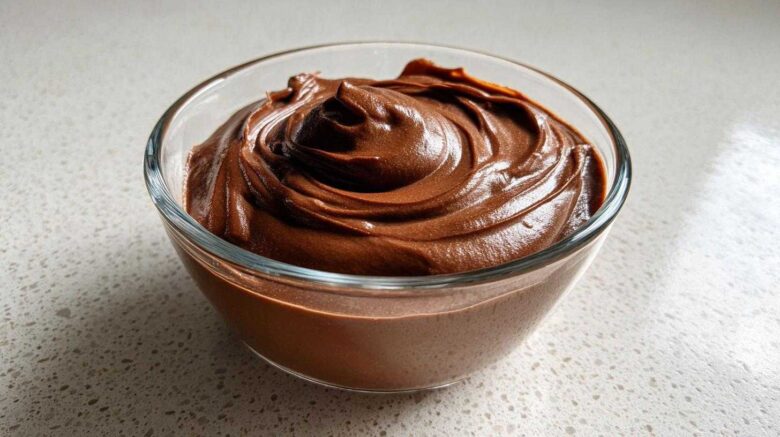
The BEST Creamy & Easy Homemade Chocolate Pudding From Scratch
Forget those dusty boxes sitting in your pantry. Seriously. I remember late nights in the professional kitchen. We craved real comfort food fast. That’s where I perfected this rich, easy homemade chocolate pudding. It is pure velvet in a bowl.
This recipe delivers a silky texture that store-bought versions just cannot touch. It proves that the best desserts are often the simplest ones. Making this classic chocolate pudding from scratch is surprisingly quick. You get deep, satisfying flavor every time. Let’s make dessert magic happen now.
Why This Homemade chocolate pudding Recipe Stands Apart
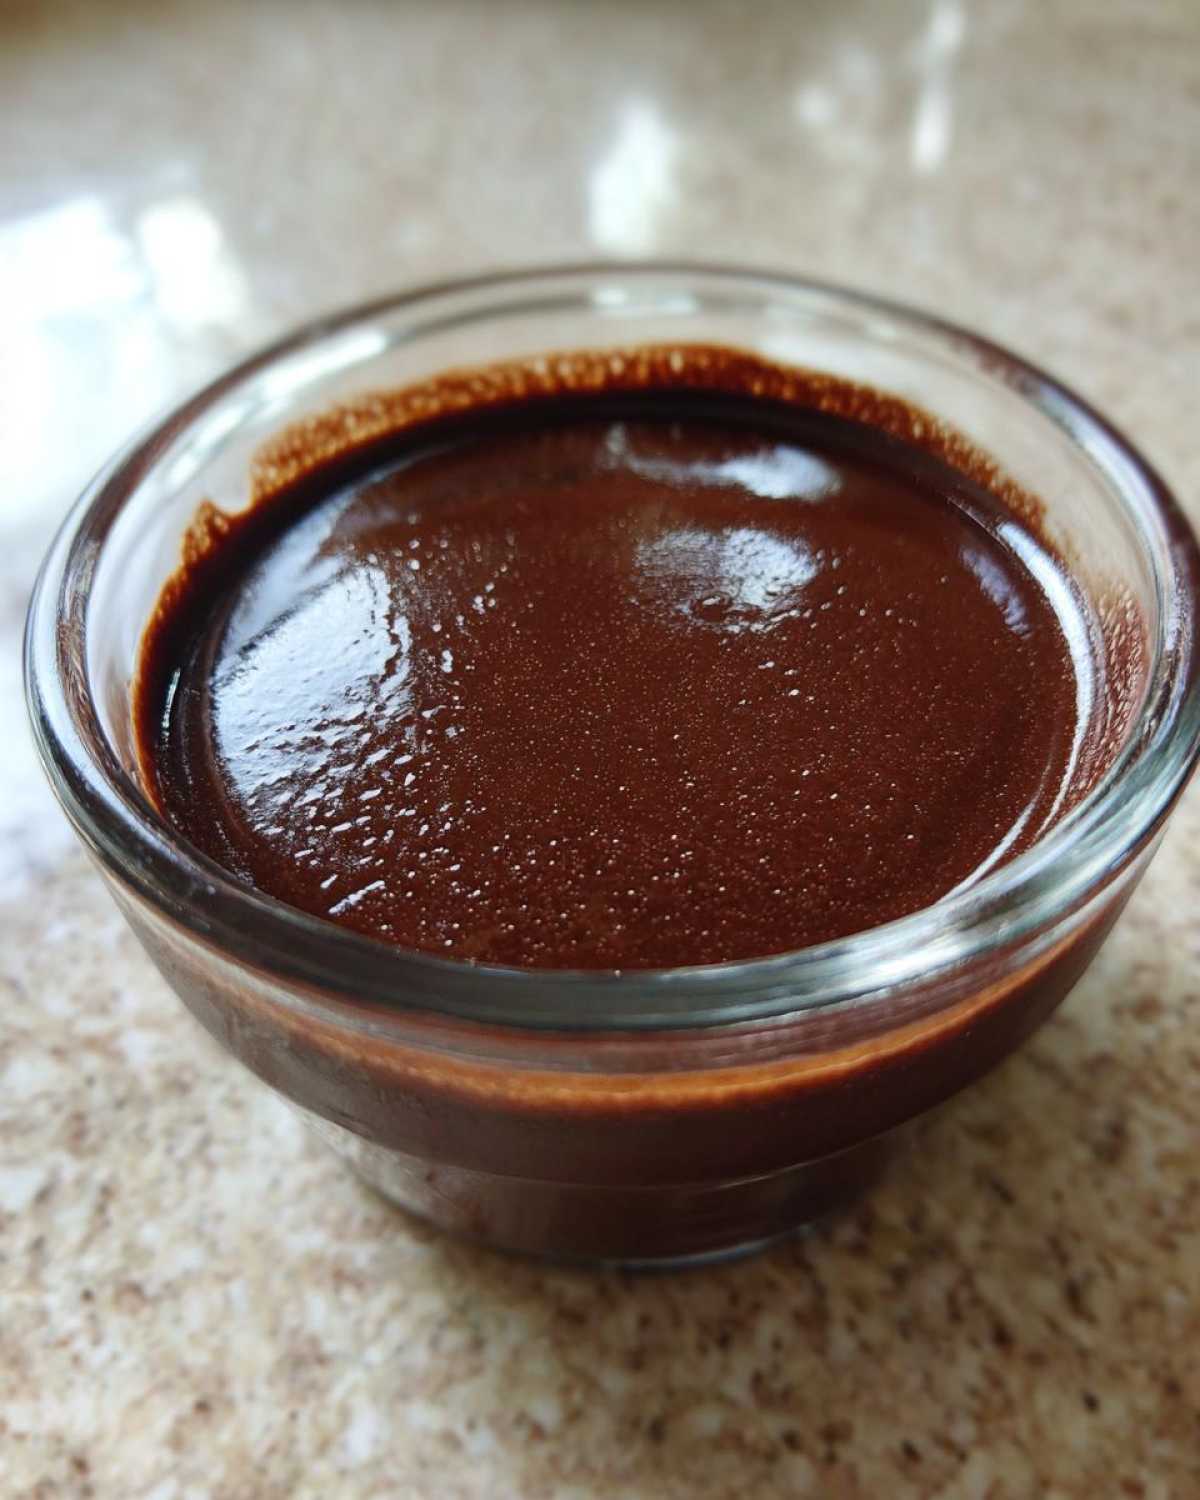
Boxed mixes often use stabilizers for shelf life. They taste artificial, right? Not this one. We rely on real ingredients here. The egg yolks create incredible richness. Cornstarch gives us that perfect, luxurious mouthfeel. You taste the true cocoa notes.
This homemade pudding offers unparalleled freshness. It sets up beautifully creamy. It is far superior to any mix. Trust me on this one. This is dessert done right.
Quick Overview of Your chocolate pudding Experience
You’ll be done before you know it. Here are the quick details you need:
- Prep Time: 10 minutes
- Cook Time: 12 minutes
- Yield: 4 generous servings
- Method: Stovetop cooking
Gathering Ingredients for Your Silky Chocolate Pudding
Getting ready to make this amazing chocolate pudding is half the fun. I always lay everything out first. This keeps the stovetop cooking smooth. Having your ingredients prepped helps prevent rushing later on. We want that perfect, easy experience.
This is the short list for our incredible homemade chocolate pudding.
Essential Components List
- 1/2 cup granulated sugar
- 1/4 cup unsweetened cocoa powder
- 2 tablespoons cornstarch
- 1/4 teaspoon salt
- 2 cups whole milk
- 2 large egg yolks
- 2 tablespoons unsalted butter, cut into pieces
- 1 teaspoon vanilla extract
Ingredient Notes and Swaps for Ultimate chocolate pudding
Ingredient quality really matters here. Use good cocoa powder for deep flavor. If you want extra decadence, swap half the milk for heavy cream. That makes it even richer. Remember, the cornstarch is key for the silky texture we love. Don’t skip it!
Equipment Needed for Perfect chocolate pudding
You don’t need fancy gadgets for this recipe. Keep it simple, friends. A few basic kitchen tools make this stovetop method easy. I always grab these items first.
These are the tools I rely on every time I whip up this dessert.
- Medium saucepan (heavy bottom is best)
- Whisk (a balloon whisk works great)
- Small bowl for tempering eggs
- Measuring cups and spoons
- Plastic wrap for chilling
- Four serving dishes or one medium bowl
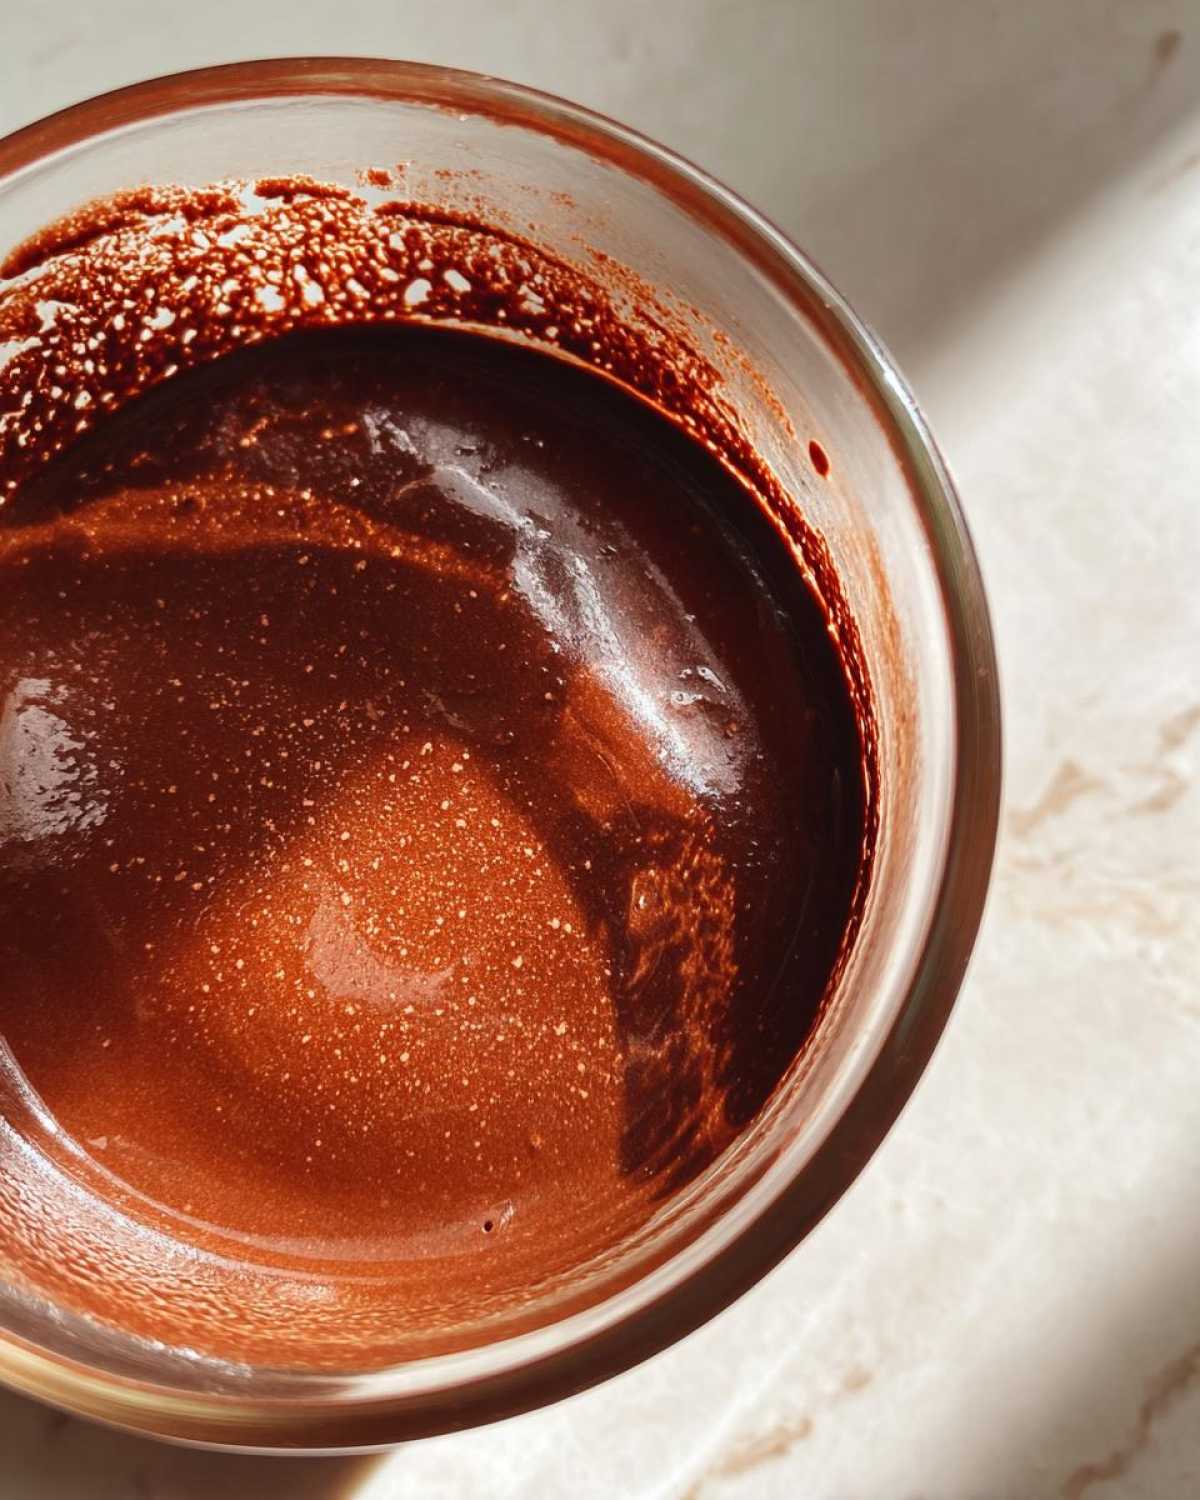
A heavy-bottomed pan prevents scorching the bottom. That’s a pro tip from Chef Tariq. Constant whisking is your best friend here. It guarantees smooth results.
Step-by-Step Instructions: Making the BEST Creamy Chocolate Pudding
Now for the fun part. We turn simple ingredients into magic. Follow these steps closely. They ensure your final chocolate pudding is perfectly smooth. I’ve made this dozens of times. Pay attention to the heat and stirring.
Combining Dry Ingredients and Milk
Grab your medium saucepan first. Add the sugar, cocoa powder, cornstarch, and salt. Whisk these dry things together really well. You want zero clumps now. Next, slowly pour in the whole milk. Keep whisking gently. Make sure everything is totally smooth. No dry pockets should remain anywhere.
Cooking the Base Until Thick
Put the saucepan over medium heat. This part needs your full attention. Stir constantly with your whisk. Do not walk away from the stove. The mixture will start to feel thick. Watch for bubbles around the edges. This usually takes about five to eight minutes. Keep stirring until it really starts to look like pudding.
Tempering Egg Yolks Safely
While the milk heats up, work on your yolks. Whisk those two egg yolks in a separate small bowl. Now, for tempering. This keeps your yolks from scrambling. Take about half a cup of the hot milk mixture. Slowly drizzle it into the yolks. Whisk them together quickly as you pour. This gently warms the yolks up. Pour this tempered yolk blend back into the main saucepan. Whisk it in right away.
Cook this combined mixture for one to two more minutes. Whisk constantly. You need a full boil. The pudding must get very thick now. This step sets the final texture.
Finishing and Setting Your Homemade Chocolate Pudding
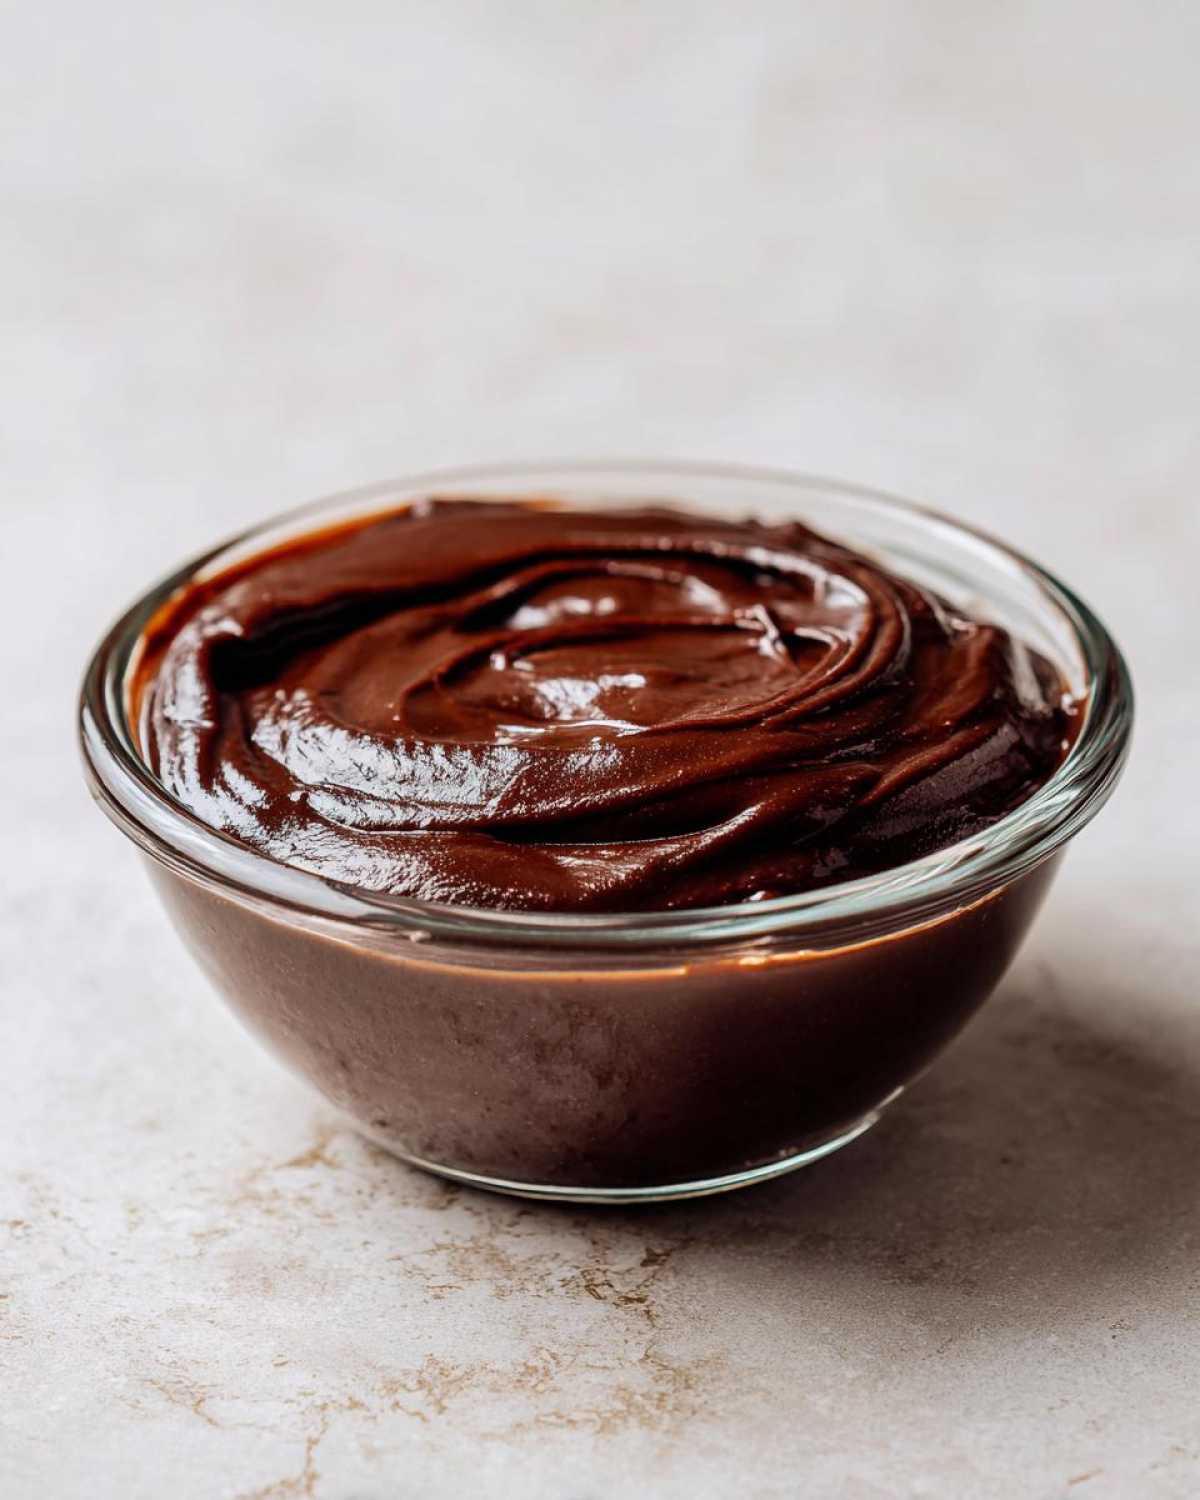
Remove the pan from the heat immediately. Stir in the butter pieces. Add the vanilla extract too. Keep stirring until that butter melts completely in. Divide the pudding into your serving dishes. Here is the secret trick for silkiness. Press plastic wrap right onto the pudding surface. This stops a skin from forming. Chill for at least two hours. Serve this perfect chocolate pudding cold.
Tips for Guaranteed Creamy chocolate pudding Success
Even the best recipes need a little know-how. I learned these tricks watching Chef Tariq. He never tolerated grainy desserts. Follow these points for amazing results. You will achieve the creamiest chocolate pudding possible.
We want that luxurious, silky mouthfeel every time. These small actions make a huge difference.
Avoiding Common Texture Issues
The biggest pitfall is texture. Always measure your cornstarch exactly. Too much makes it gummy. Too little makes it runny. Stirring constantly is non-negotiable. When boiling, stir like your dessert depends on it. This distributes the heat evenly.
If you stop whisking, solids stick. They will burn or clump up. Be relentless during that final boil time. That is how you keep your chocolate pudding smooth.
Achieving Optimal Chill Time
Do not rush the chilling process. Two hours is the absolute minimum. The pudding needs time to fully set up. If you eat it too soon, it will be soupy. Patience yields the best texture. Wait until it is completely cold everywhere. This resting period firms everything up perfectly.
Serving Suggestions for Your Rich Chocolate Pudding
This rich chocolate pudding is fantastic all by itself. It is pure comfort food. But why stop there, right? I love dressing up a simple dessert. It makes any night feel a little special.
Think about textures and contrasting flavors. A little crunch goes a long way. Fresh fruit brightens up the deep chocolate flavor nicely. Here are a few ways I enjoy serving this dessert.
- A dollop of freshly whipped cream. Sprinkle cinnamon on top.
- Crushed toasted hazelnuts or pecans add a welcome crunch.
- Fresh raspberries or sliced strawberries offer welcome tartness.
- A shaving of high-quality dark chocolate looks elegant.
- For the kids, small, soft brownie pieces work wonders.
Sometimes, a little sea salt sprinkled over the top is all you need. It really makes the chocolate sing louder. Enjoy experimenting with your toppings!
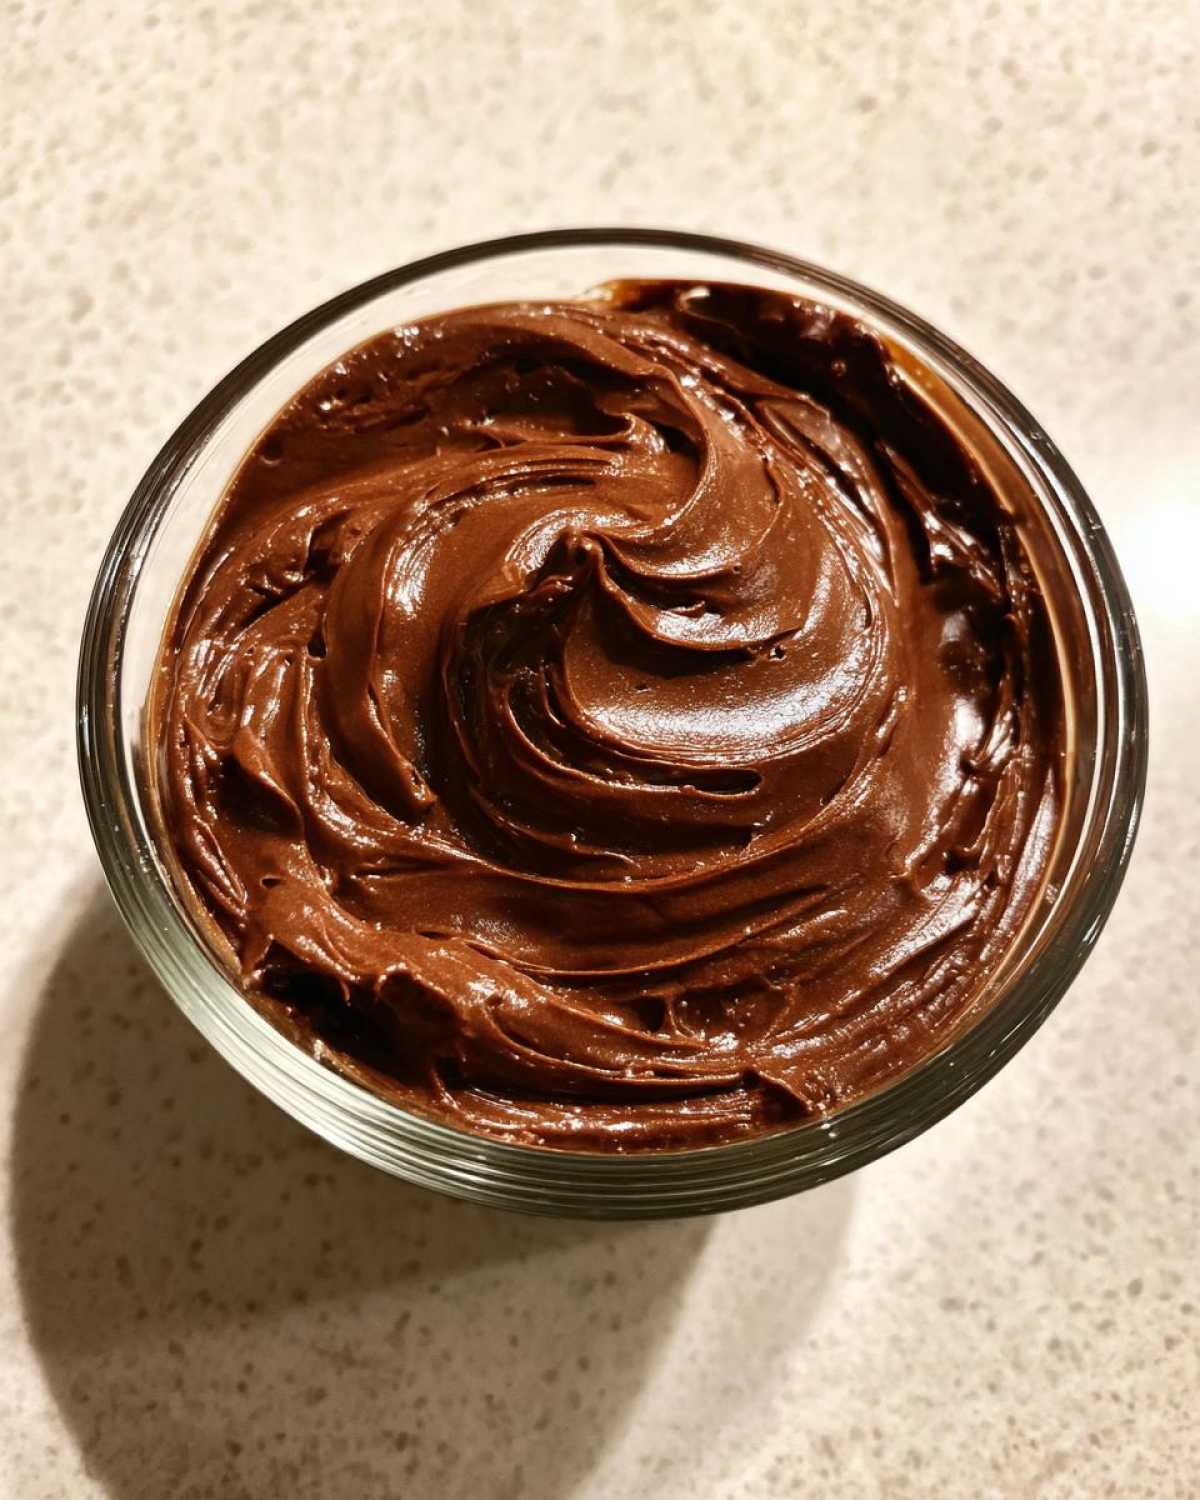
Storing Leftover Chocolate Pudding
Don’t worry if you have extra chocolate pudding. Storing it right keeps it silky. Keep it tightly covered in the fridge. Press plastic wrap directly onto the surface again. This prevents that annoying skin from forming. It stays delicious for about three to four days.
Frequently Asked Questions About Easy Chocolate Pudding Recipes
You asked great questions about making this easy dessert. I get asked these things often. Getting the texture right is usually the top concern. Let’s clear up any confusion about your creamy chocolate pudding.
I hope these quick answers help you cook with confidence. We want every batch to be perfect.
How long does homemade chocolate pudding last in the fridge?
When stored properly, this homemade chocolate pudding lasts about four days. Remember that crucial step. You must press plastic wrap directly onto the surface. This technique keeps it tasting fresh. It maintains that wonderful silky texture too.
Can I make this chocolate pudding vegan?
This specific recipe relies on egg yolks for richness. It also uses whole milk. Making it vegan requires substitutions. You would need a good plant-based milk. You would also need a vegan thickener instead of eggs. Cornstarch helps, but the texture changes slightly.
Why is my pudding grainy instead of silky?
Graininess usually happens for two reasons. First, you might not have whisked the dry ingredients well enough. Lumps of cornstarch create graininess. Second, you might have stopped stirring during the boil. The starches need constant movement to fully activate. That constant stirring leads to silky perfection.
Share Your Perfect Chocolate Pudding
I poured my heart into this recipe for you. Now, I want to see yours!
Did you achieve that amazing, silky texture? Let us know how it went. Sharing your success helps our whole Savory Skies community grow. We love seeing your creations.
Connect with Leo and the Savory Skies Family
Drop a comment below about your homemade chocolate pudding experience. Tell us your favorite topping, too. Your feedback truly matters to me. Come join our kitchen table! You can see more of our recipes on the Savory Skies blog.
Nutritional Estimates for This Chocolate Pudding
Keep in mind these numbers are just estimates, folks. I’m a cook, not a nutritionist! These figures are based on the ingredients listed above.
This is a rich dessert, so enjoy it mindfully.
- Serving Size: 1 serving
- Calories: 300
- Sugar: 35g
- Fat: 14g
These values help guide your plating decisions. Everything in moderation tastes best.
PrintBEST 4 Ingredient chocolate pudding Joy
You will make the BEST creamy and easy homemade chocolate pudding from scratch. This recipe delivers a rich, silky texture that beats any box mix. It is quick to prepare and perfect for a comforting dessert.
- Prep Time: 10 minutes
- Cook Time: 12 minutes
- Total Time: 2 hours 22 minutes
- Yield: 4 servings
- Category: Dessert
- Method: Stovetop
- Cuisine: American
- Diet: Vegetarian
Ingredients
- 1/2 cup granulated sugar
- 1/4 cup unsweetened cocoa powder
- 2 tablespoons cornstarch
- 1/4 teaspoon salt
- 2 cups whole milk
- 2 large egg yolks
- 2 tablespoons unsalted butter
- 1 teaspoon vanilla extract
Instructions
- In a medium saucepan, whisk together the sugar, cocoa powder, cornstarch, and salt.
- Gradually whisk in the milk until the mixture is smooth and there are no lumps.
- Place the saucepan over medium heat. Cook, stirring constantly with a whisk, until the mixture thickens significantly and begins to bubble around the edges. This takes about 5 to 8 minutes.
- While the milk mixture heats, whisk the egg yolks together in a small bowl.
- Once the milk mixture is hot and thick, slowly temper the egg yolks by whisking about 1/2 cup of the hot milk mixture into the yolks.
- Pour the tempered yolk mixture back into the saucepan with the remaining hot milk mixture.
- Continue to cook over medium heat, whisking constantly, for 1 to 2 minutes until the pudding comes to a full boil and is very thick. Do not stop stirring.
- Remove the saucepan from the heat. Stir in the butter and vanilla extract until the butter melts completely and is incorporated.
- Pour the pudding into individual serving dishes or a single bowl.
- Press plastic wrap directly onto the surface of the pudding to prevent a skin from forming.
- Chill in the refrigerator for at least 2 hours, or until completely cold and set. Serve cold.
Notes
- For extra richness, use heavy cream instead of half of the milk.
- If you want a slightly thinner pudding, reduce the cornstarch to 1.5 tablespoons.
- Always use plastic wrap pressed onto the surface to keep your pudding silky smooth.
Nutrition
- Serving Size: 1 serving
- Calories: 300
- Sugar: 35g
- Sodium: 150mg
- Fat: 14g
- Saturated Fat: 8g
- Unsaturated Fat: 6g
- Trans Fat: 0g
- Carbohydrates: 38g
- Fiber: 2g
- Protein: 7g
- Cholesterol: 90mg
