

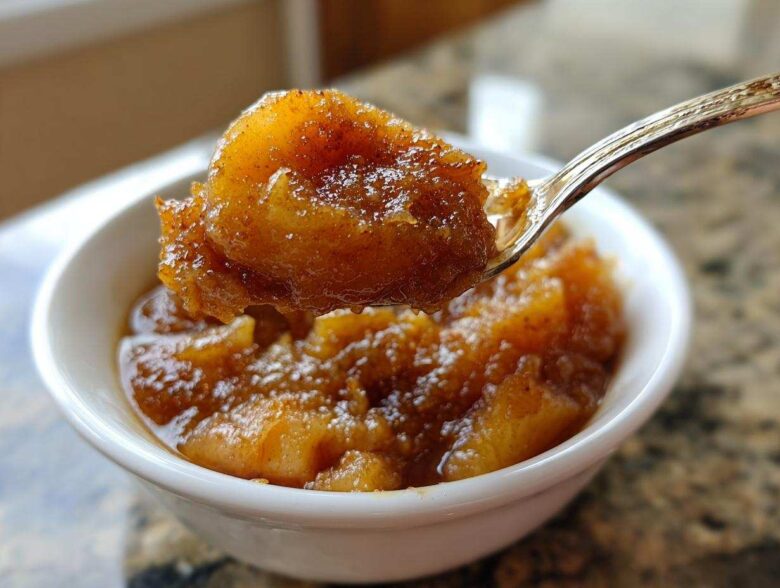
If you’re still buying those sad, gloppy jars of apple filling from the grocery store, stop right now! Seriously, put down the shopping cart. Nothing—and I mean *nothing*—compares to making your own fresh, fragrant, perfectly spiced filling right on your stovetop. It’s faster than you think, and the smell alone is worth the five minutes of chopping.
I spent years trying to get that filling just right—not too runny, not too chunky, with that deep, molasses warmth that only comes from real brown sugar. You know how sometimes the store-bought stuff is just aggressively sweet? We fix that here. This recipe for the **Best Ever Easy Stovetop Apple Pie Filling** solved all my texture problems. I remember the first time I nailed the thickness—you spoon it out, and it actually mounds instead of puddling everywhere. That moment, watching the steam rise with that cinnamon scent? That’s why we cook, isn’t it?
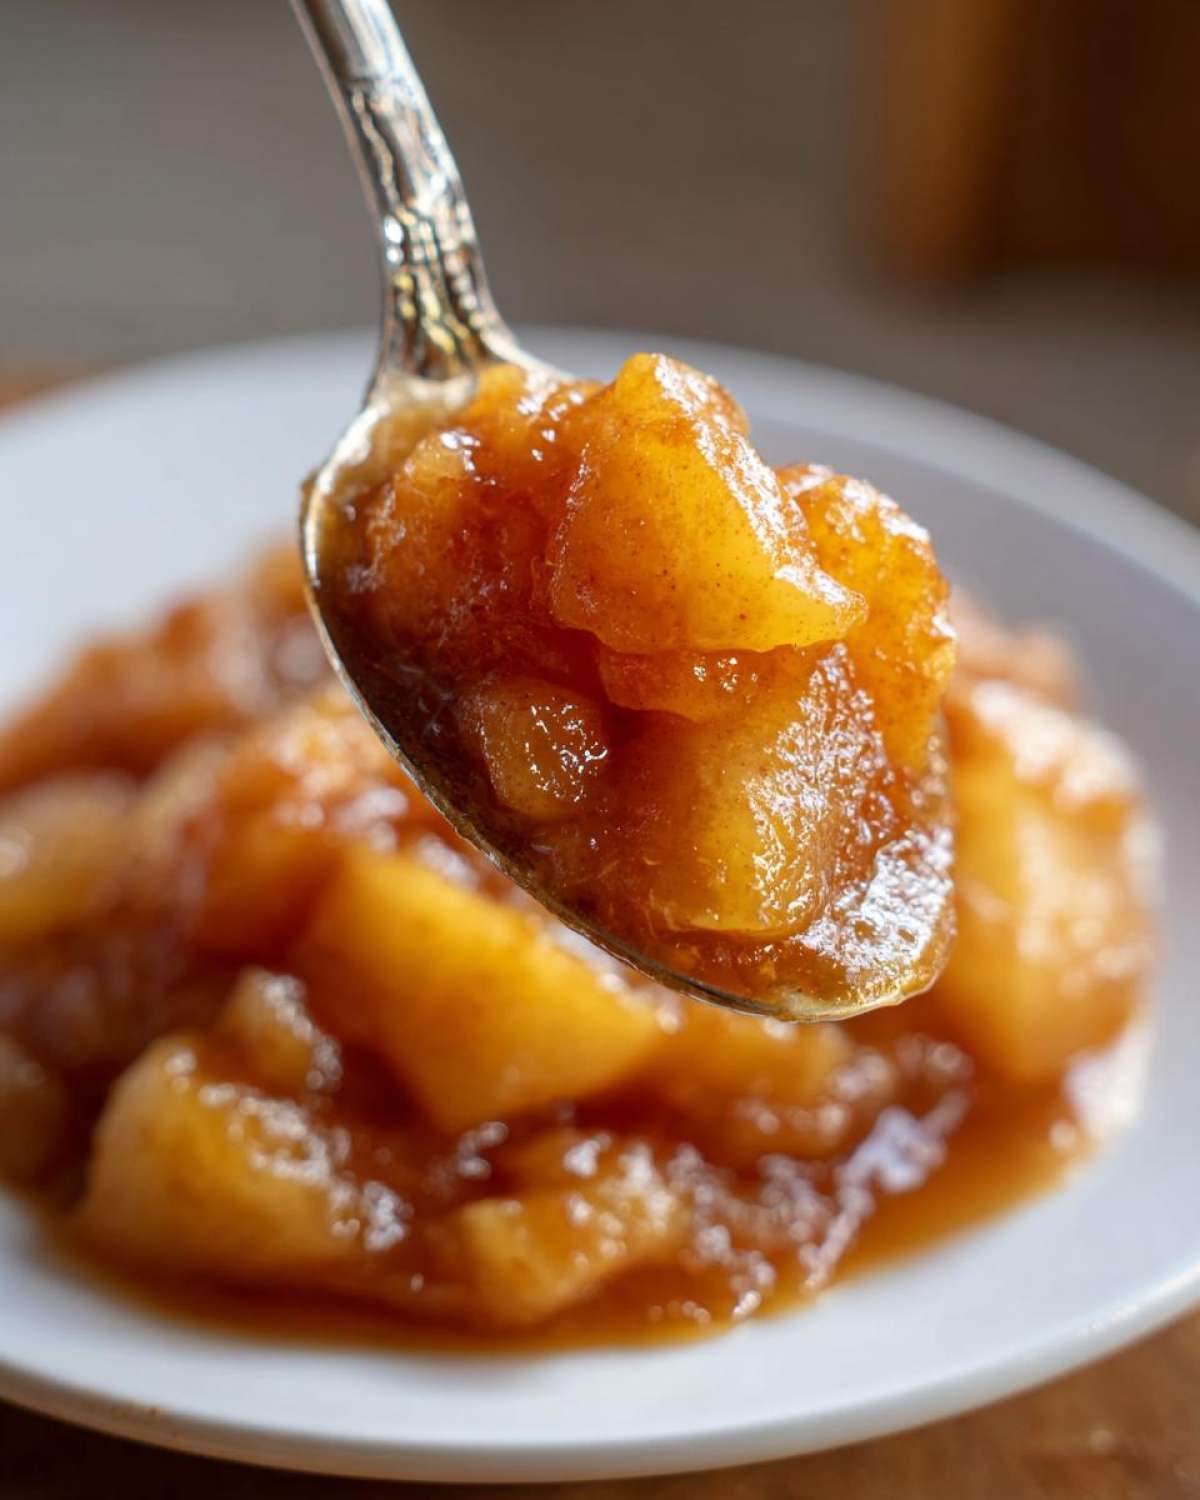
Forget measuring by volume; for this recipe, I finally figured out exactly when to pull it off the heat to ensure peak pie performance. Trust me, once you try this, those jars are history. You can find the full site index here if you need other ideas while you’re waiting for your apples to soften: Check out more of my favorite baking content!
Why This Easy Apple Pie Filling Recipe Beats Store-Bought
Honestly, once you taste the real deal, you’ll wonder why you ever bothered with the can. Store-bought feels thick because they load it with stabilizers you can’t pronounce. We get that amazing texture naturally, and we get to control every single flavor note. It’s just so much better, whether it’s going into a pie or just warming up on top of toast.
Key Benefits of Our Homemade apple pie filling
- You control the sweetness! We rely on light and dark brown sugar for depth instead of just tons of white granulated sugar.
- The spice blend is completely adjustable. If you love nutmeg, give it a little extra—no one is checking your spice cupboard!
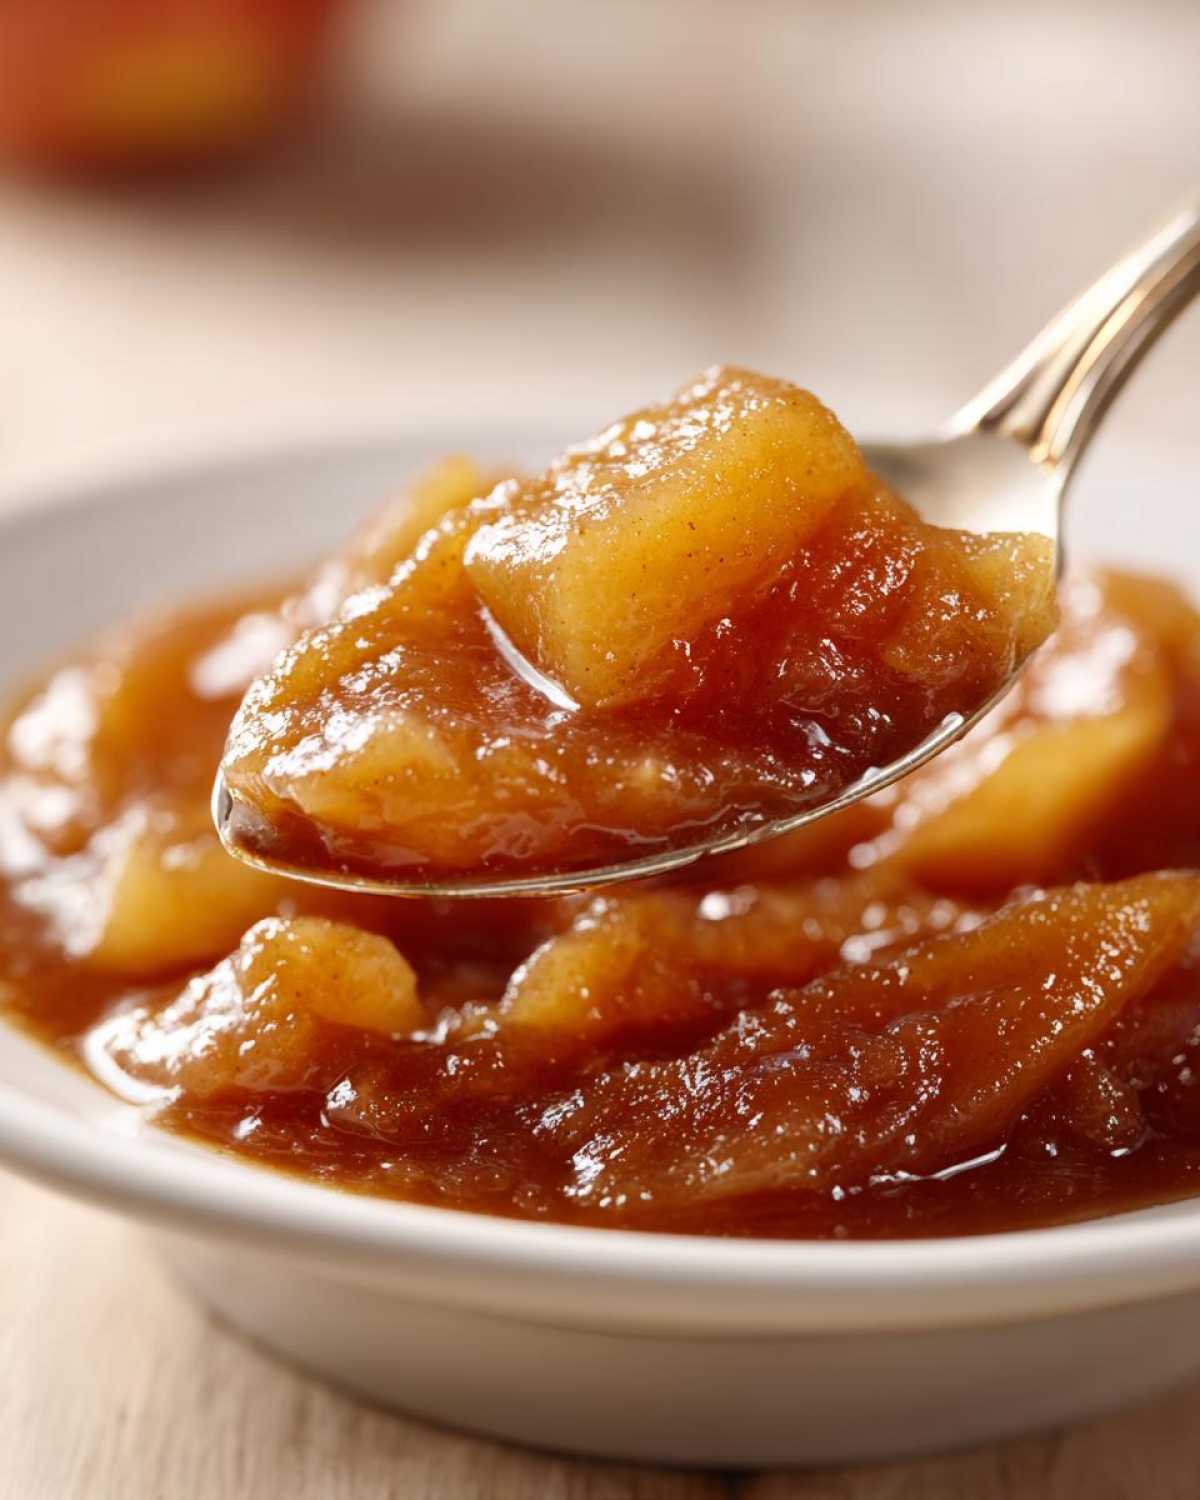
- We achieve that perfect, satisfyingly **thick apple pie filling** consistency without weird chemical thickeners. It holds its shape beautifully.
- Zero artificial preservatives! You know exactly what goodness is swimming around those tender slices.
Gathering Ingredients for the Best apple pie filling
Okay, before we even think about turning on the stove, we have to talk apples. This is where most people go wrong with their **homemade apple pie filling**! You need apples that hold their shape, so forget cooking apples that just turn to mush. I swear by using some Granny Smiths for that essential tartness and Honeycrisp (or Gala if you can’t find them) for a little extra sweetness and bite.
We want apples sliced about a quarter of an inch thick—not too thin, or they’ll disappear during our quick stovetop cooking time. Also, don’t skimp on that brown sugar! That’s the secret ingredient giving this filling its incredible depth of flavor, making it richer than those pale, watery ones we are trying to avoid.
Essential Components for Thick apple pie filling
- 6 medium apples (I use a mix of Granny Smith or Honeycrisp), peeled, cored, and sliced 1/4 inch thick
- 3/4 cup packed light brown sugar—make sure it’s packed tight into the cup!
- 1/4 cup granulated sugar
- 2 tablespoons all-purpose flour or cornstarch for thickening—your choice here!
- 1 teaspoon ground cinnamon
- 1/4 teaspoon ground nutmeg
- 1/8 teaspoon ground allspice
- 1/4 cup water
- 1 tablespoon lemon juice (this keeps the apples looking pretty!)
- 1 tablespoon unsalted butter
How to Make Stovetop apple pie filling Step-by-Step
This is the best part because we skip the crust and the whole tricky oven dance. This whole process only takes about 20 minutes on the stove, which is why I call it my **quick apple pie filling** solution! We are building flavor right here in one big saucepan. Make sure you use a pan that’s wide enough so the apples aren’t piled up too high; we want them to cook evenly, not steam on top of each other.
Initial Combination and Coating
The first thing you need to do is mix all your dry ingredients together in that big saucepan—the two sugars, the flour, and all those wonderful spices like cinnamon and nutmeg. Then, toss in your sliced apples. You need to toss this really gently! We want every single apple slice coated in that sugary spice mixture. If you’re too rough, you’ll smash our beautiful 1/4-inch slices, and we want texture, not applesauce!
Simmering to Tenderness for Perfect apple pie filling
Next, pour in the water and that tablespoon of lemon juice. Get the pan over medium heat and stir everything around until you see the mixture just starting to bubble lightly—that’s when it begins to simmer. Now, this is important: reduce that heat way down to low, pop a lid on it, and let those apples soften for about 10 to 15 minutes. Keep wandering over to check and stir gently every few minutes so nothing sticks to the bottom. Don’t stir too hard, though! We are testing for tenderness here.
My expert tip here is crucial: After about 12 minutes, poke one of those slices with a fork or the tip of a paring knife. It should give just a little resistance. If it feels mushy when you poke it? Oops! You cooked it too long covered, and it might turn watery. If it’s still hard as a rock, put the lid back on for five more minutes. It needs to be tender-crisp for the best texture in your final **spiced apple filling**.
Thickening the apple pie filling
Once the apples are exactly how you like them—tender but not squished—take that lid off and turn the heat back up to medium-low. Cook uncovered for another 3 to 5 minutes while stirring constantly. This is where the magic happens! The excess liquid cooks off, thickening up with that flour or cornstarch mixture we added, creating beautifully syrupy **apple pie filling**.
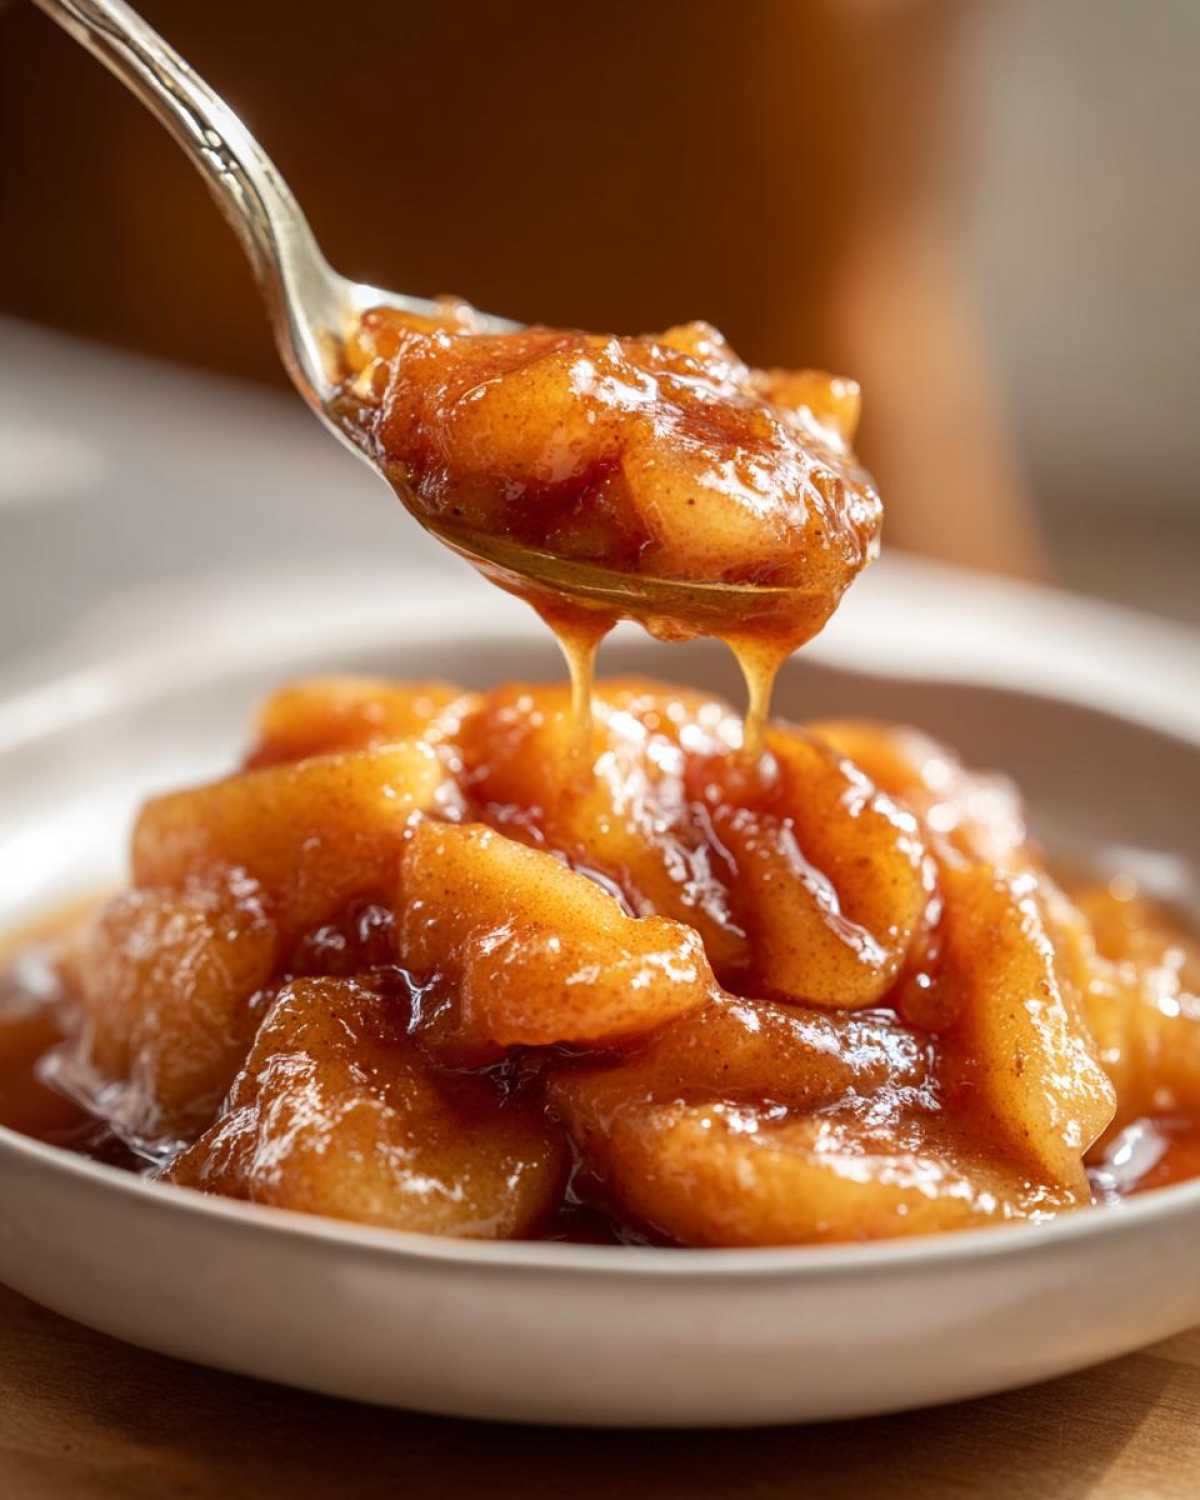
If you want it super thick, like thick enough to hold a spoon upright, just let it simmer longer uncovered, watching it like a hawk!
Finishing Touches and Cooling
When the liquid looks glossy and thick enough for your liking, pull the pan *completely* off the heat. Now, stir in that final tablespoon of butter. I love doing this off-heat because it adds such a lovely, silky sheen to the finished product. Once the butter is melted in, you are done cooking!
But hey, don’t even think about spooning this into a pie crust right now. It absolutely *must* cool down completely first. If you put hot filling into a cold pie crust, you’re guaranteeing a soggy bottom. A quick way to cool it is to transfer it to a shallow dish, which gives it more surface area. If your filling needs to chill quickly, you can pop it into the fridge, but honestly, the waiting is sometimes the hardest part! If you’re using this over waffles, you can pour it on warm, of course. Speaking of other uses, check out this amazing recipe for apple crisp—it uses this exact filling!
Tips for Achieving the Thickest apple pie filling Consistency
I’ve been there: you simmer and simmer, and when you pull it out, it’s still just a little too soupy for your liking. Don’t panic! Getting that perfect, spoon-coating thickness for your **thick apple pie filling** is all about adjusting what you use to thicken it. Remember that 2 tablespoons of flour or cornstarch we added? That’s the hinge point.
If you used flour and it’s still thin? Keep simmering uncovered for a few more minutes—flour needs a bit more heat to fully activate its thickening power. If you used cornstarch, you get a clearer, glossier finish, but sometimes it needs a slurry boost. If you’re in a jam, mix one teaspoon of cornstarch with two teaspoons of cold water in a tiny cup, then stir that slurry into your simmering filling one teaspoon at a time until it grabs hold. That simple trick ensures your **homemade apple pie filling** won’t run all over your pie plate!
Versatile Uses for Your Homemade apple pie filling
One of the biggest perks of making this phenomenal **apple pie filling** at home is that it’s good for way more than just one Thanksgiving pie! Once it cools a bit, it turns into the most magnificent, easy-to-use sauce or topping. Seriously, if you have leftovers (which doesn’t happen often in my house!), don’t just stick it back in the fridge intending to make another pie next week. Use it immediately!
This is where our filling earns its stripes as an amazing **Apple dessert topping**. You’ve got this deep, cozy spice coming from the brown sugar and cinnamon, and it’s just begging to be spooned over something else warm and comforting. I swear, having this ready in the fridge is like having a secret weapon for dressing up boring weeknight desserts.
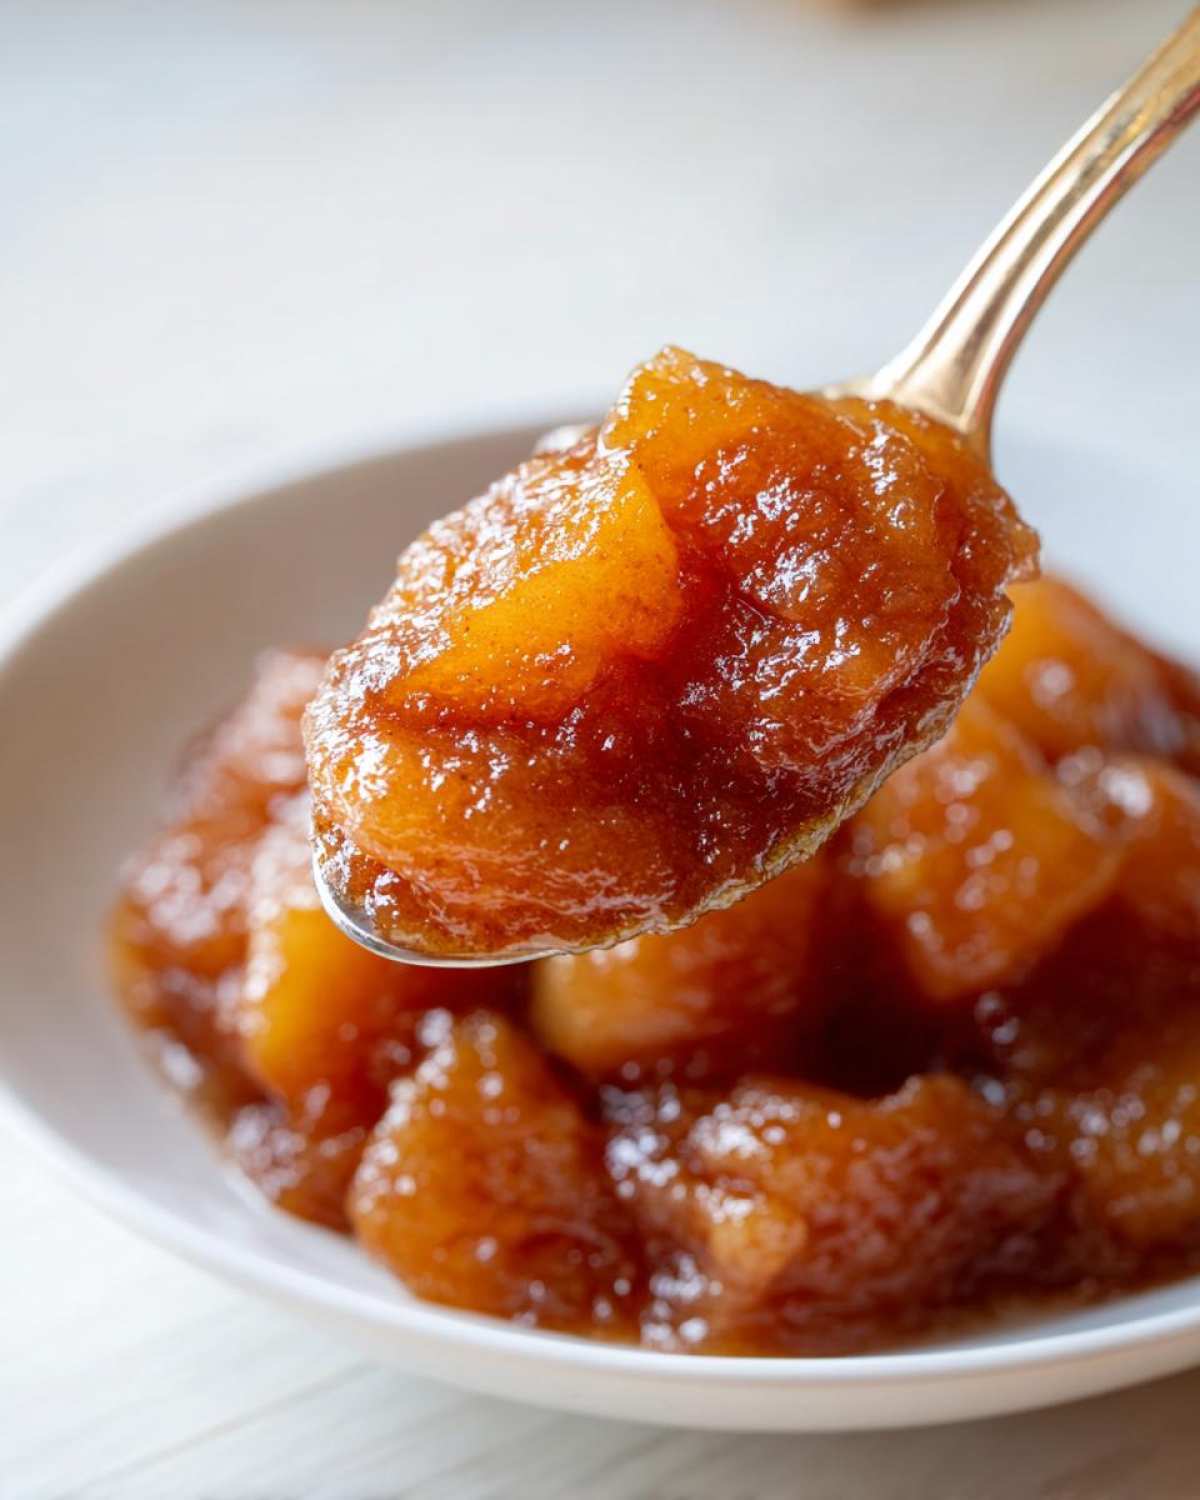
Beyond the Pie: Quick apple pie filling Toppings
You need some ideas on what to do with the extra cups? I’ve got you covered. These are my favorite ways to repurpose this cooked-down goodness:
- For Breakfast: This is my personal must-do! Spoon a generous scoop over a stack of my famous fluffy pancakes—you can grab the recipe for those fluffy homemade pancakes right here! It turns an ordinary Saturday breakfast into a total celebration.
- Over Ice Cream: Warm it slightly and drizzle it over vanilla bean ice cream. It makes an instant a la mode sundae that beats any pre-made caramel sauce.
- In Yogurt or Oatmeal: Stir half a cup into your morning plain Greek yogurt or mix it into your cooked oatmeal. It adds warmth and natural sweetness way better than any syrup.
- As a Layer in Crisps/Crumbles: If you don’t want a full pie, use about three cups of this filling in the bottom of a baking dish, top it with some butter, oats, and sugar, and bake it until bubbly for a super-fast crisp!
Storage and Preservation of apple pie filling
The tough part is waiting for this amazing **apple pie filling** to cool down, but storing it is super easy! If you aren’t using it right away in your pie—which is sometimes the case when I make a huge batch—you can definitely keep it tucked away. In the fridge, sealed tight in an airtight container, it stays perfect for about a week. That’s usually enough time for me to top pancakes a few mornings in a row!
If you want to save it for the holidays or just want to stock up, freezing is a fantastic option. Just make sure it’s completely cooled first, right? Scoop the filling into heavy-duty freezer bags, push out all the air, lay them flat to freeze, and you’re good to go! It should keep beautifully for about eight months in the freezer.
Canning apple pie filling for Long-Term Storage
Now, if you’re feeling really ambitious and want to preserve that taste of fall all year long, you can absolutely can this mixture. This is a huge safety point: you must follow standard canning procedures for an acidic fruit filling. If you use a boiling water bath, you’ll need to process the hot filling packed into sterilized jars for exactly 20 minutes if you are using half-pint jars. Always double-check your canning guidelines before you seal those lids!
Ingredient Notes and Substitutions for apple pie filling
Sometimes we just can’t get the perfect apples, or maybe you’re out of light brown sugar. Don’t let a missing ingredient stop you from making this incredible **apple pie filling**! If you can’t find Granny Smith, I promise Fuji or Gala apples work in a pinch, as long as you keep that lemon juice in there to balance the sweeter varieties. The key is that you need *some* structure left after cooking, so avoid anything known for breaking down quickly.
When it comes to sweetness, mixing sugars is our preferred method, but if you only have dark brown sugar on hand, go ahead and use it! Just remember that the final product will have a slightly deeper, almost caramel-like color and flavor, which I actually adore and often aim for. It just makes the **spiced apple filling** taste even cozier for those chilly evenings.
Frequently Asked Questions About apple pie filling
What apples should I use for the best texture?
You absolutely need apples that hold their shape while cooking! I always recommend a mix. Granny Smith provides that necessary tartness to cut through the sugar, and pairing them with a crisp apple like Honeycrisp or Fuji means you get that fantastic, not-mushy texture. If you only have one type, stick to something firm. You can find some of my favorite seasonal swaps in my main fall baking recipes collection!
How long does it really take to thicken this Quick apple pie filling?
Because this is a **stovetop apple pie filling**, the thickening happens right at the end! After you simmer the apples until they are tender (about 10-15 minutes covered), you take the lid off and cook for just another 3 to 5 minutes. If your apples were sliced thinly and you didn’t add too much extra water, it thickens up fast once the liquid reduces. If it seems thin, just keep stirring uncovered over low heat until you see it start to coat the back of your spoon.
Can I use frozen apples instead of fresh ones?
Honestly, I wouldn’t recommend it for the absolute *best* results. Frozen apples have already released a ton of water during their freezing process, so even if you try to blot them dry, you often end up with a much runnier **apple pie filling**. If you *must* use them, thaw them completely first, drain off every bit of liquid you can squeeze out, and you might need to add an extra teaspoon of cornstarch slurry at the end to compensate for that extra moisture.
Why do you use both brown sugar and white sugar?
It’s all about complexity! White sugar is just straight sweetness, but that packed light brown sugar brings those rich, deep molasses notes that pair so beautifully with the cinnamon and nutmeg. Using both gives you the sweetness you need for structure and that lovely, comforting fall flavor profile without making it taste one-note sweet. It’s part of what makes this the **best apple pie filling** around!
Nutritional Snapshot of This Spiced apple filling
I always tell people these values are rough estimates! Since the exact volume of your apples can change, and depending on how much you let that sauce reduce, things might shift slightly. This information is calculated based on a standard serving size using the exact measurements provided in the recipe above, so please consider it an approximation of your **spiced apple filling**!
Nutritional Estimate (Per 1/2 cup serving):
- Calories: 220
- Sugar: 35g
- Sodium: 5mg
- Fat: 1.5g
- Saturated Fat: 1g
- Unsaturated Fat: 0.5g
- Trans Fat: 0g
- Carbohydrates: 54g
- Fiber: 3g
- Protein: 0.5g
- Cholesterol: 5mg
It’s a sweet treat, for sure, thanks to those glorious brown sugars, but you get a little fiber bump from the real fruit. It’s a fantastic, warm topping for a comfort food dessert!
PrintBest Ever Easy Stovetop Apple Pie Filling
Make this simple stovetop apple pie filling using brown sugar and spices for a thick, flavorful result perfect for pies or as a dessert topping.
- Prep Time: 15 min
- Cook Time: 20 min
- Total Time: 35 min
- Yield: About 5 cups
- Category: Dessert Filling
- Method: Stovetop
- Cuisine: American
- Diet: Vegetarian
Ingredients
- 6 medium apples (like Granny Smith or Honeycrisp), peeled, cored, and sliced 1/4 inch thick
- 3/4 cup packed light brown sugar
- 1/4 cup granulated sugar
- 2 tablespoons all-purpose flour or cornstarch for thickening
- 1 teaspoon ground cinnamon
- 1/4 teaspoon ground nutmeg
- 1/8 teaspoon ground allspice
- 1/4 cup water
- 1 tablespoon lemon juice
- 1 tablespoon unsalted butter
Instructions
- Combine the apples, brown sugar, granulated sugar, flour (or cornstarch), cinnamon, nutmeg, and allspice in a large saucepan. Toss gently to coat the apples evenly.
- Add the water and lemon juice to the saucepan.
- Cook over medium heat, stirring occasionally, until the mixture begins to simmer.
- Reduce the heat to low, cover the pan, and cook for 10 to 15 minutes, or until the apples are tender but still hold their shape. Stir gently every few minutes to prevent sticking.
- Remove the lid and increase the heat to medium-low. Cook for another 3 to 5 minutes, stirring constantly, until the liquid has thickened to your desired consistency. If you prefer a very thick filling, let it simmer uncovered longer.
- Remove the pan from the heat and stir in the butter until it melts completely.
- Let the filling cool completely before using it in a pie crust or serving as a topping.
Notes
- For canning, process the hot filling in sterilized jars using a boiling water bath for 20 minutes for half-pint jars.
- This filling works well as a topping for pancakes, waffles, ice cream, or stirred into oatmeal.
- If you prefer a deeper color, substitute 1/4 cup of the white sugar with dark brown sugar.
Nutrition
- Serving Size: 1/2 cup
- Calories: 220
- Sugar: 35
- Sodium: 5
- Fat: 1.5
- Saturated Fat: 1
- Unsaturated Fat: 0.5
- Trans Fat: 0
- Carbohydrates: 54
- Fiber: 3
- Protein: 0.5
- Cholesterol: 5
