

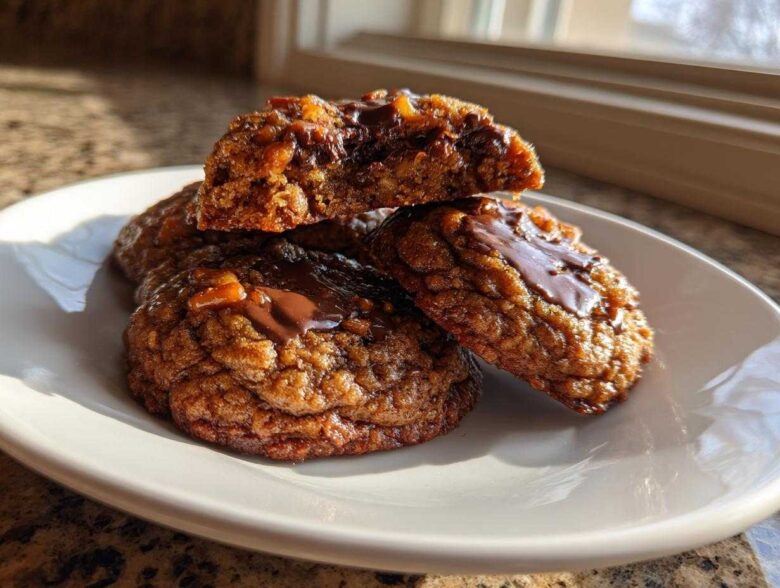
Forget everything you thought you knew about boring chocolate chip cookies, okay? We’re stepping it up into total indulgence territory here. These aren’t just cookies; they are basically a cookie adventure crammed into a single, glorious bite. I spent what felt like months just testing the ratios so that the intense, nutty depth from the browned butter actually shines through all the chaos.
Seriously, the nutty warmth of brown butter is the secret weapon that ties everything together—the salty pretzels, the crunchy toffee, all those layers of chocolate. It took so much trial and error to make sure this dough didn’t just turn into flat, greasy puddles under all that glorious weight, but trust me, we cracked the code. Get ready for the absolute best Brown Butter Kitchen Sink Cookies you will ever make!
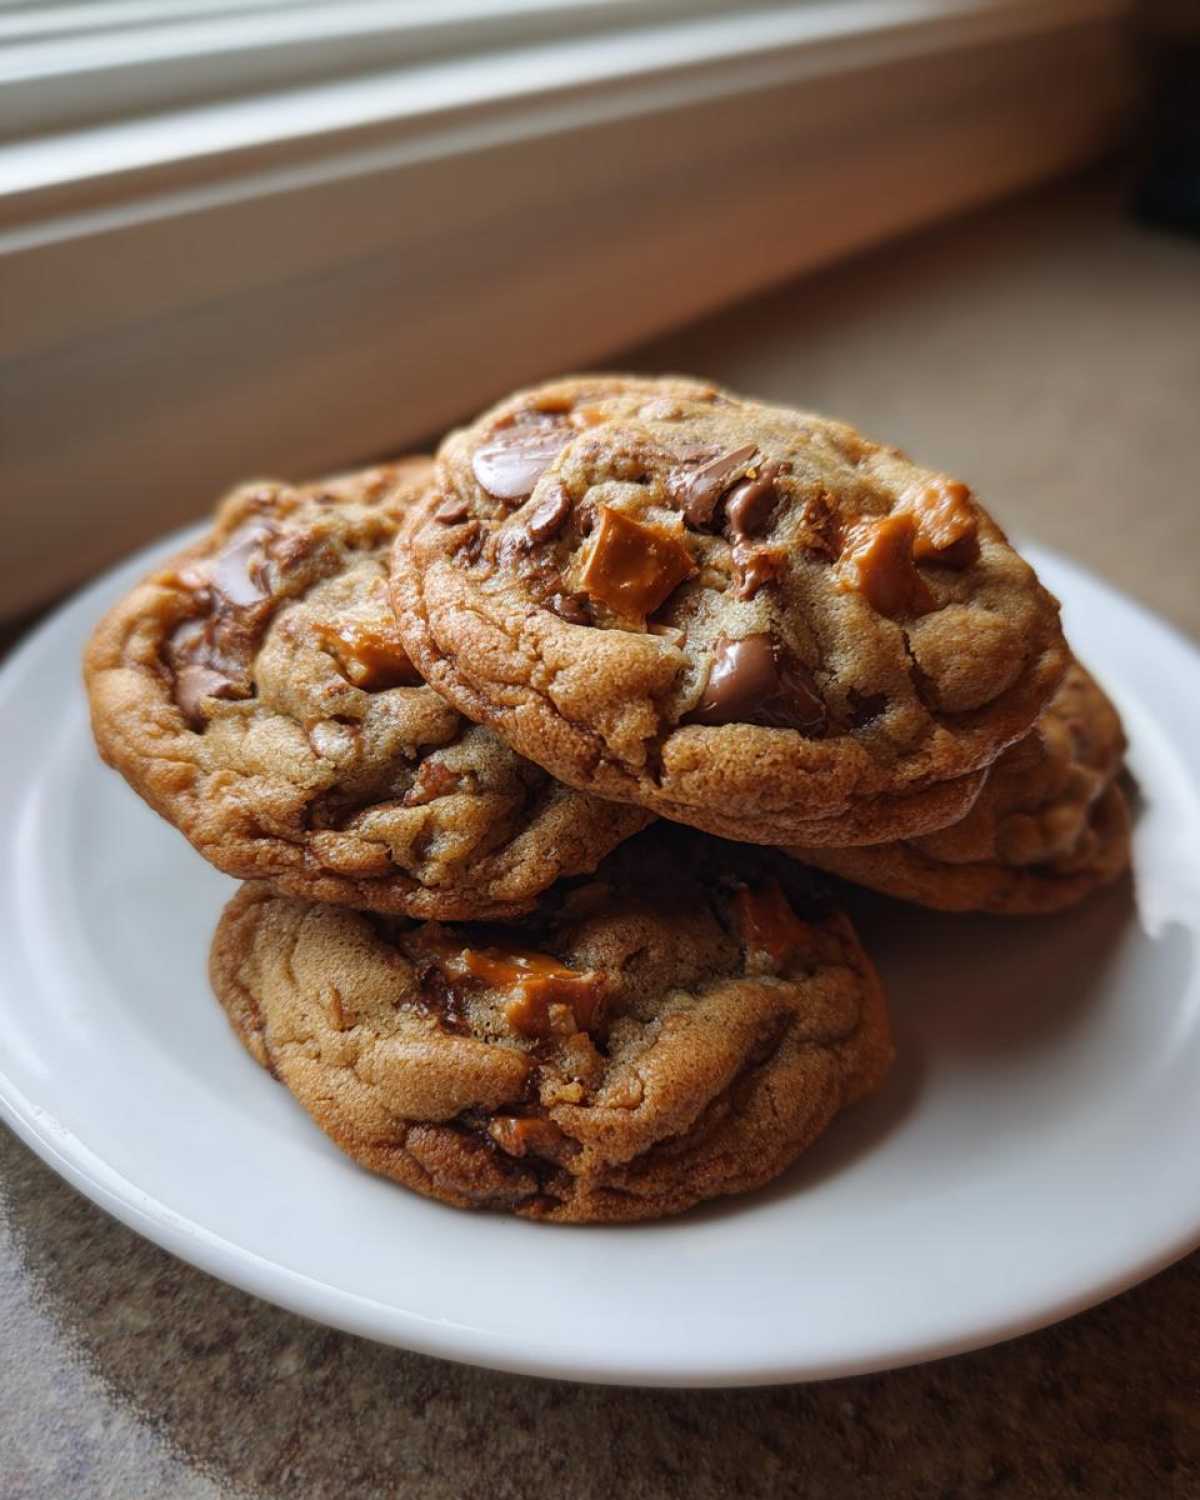
Why You Will Love These Brown Butter Kitchen Sink Cookies
I’m telling you, these cookies hit every single texture mark! You get that perfect chewy center and slightly crisp edge, which is exactly what we need when we’re loading things up this much.
- Unbelievable depth of flavor thanks to that nutty brown butter base.
- The ultimate sweet-and-salty crunch payoff from the pretzels and toffee bits.
- They are thick and substantial—this recipe avoids the dreaded ‘spread’!
- It feels ultra-gourmet but comes together with ingredients you probably already have! You can see more about my favorite butter techniques over here: brown butter chocolate chip cookies.
The Essential Ingredients for Perfect Brown Butter Kitchen Sink Cookies
Okay, when we talk “Kitchen Sink,” we mean it! You need a lot of stuff, but the base needs to be rock solid so it can handle the weight. We’re starting with a full cup (that’s two whole sticks!) of unsalted butter. We need that control when we brown it, so unsalted is a must for me.
For the sugars, I rely heavily on light brown sugar—packed tight! It gives us moisture and that lovely molasses flavor that sings with the brown butter. We use about a cup of that and a half cup of plain white sugar.
Now for the fun part! We’re mixing up the chocolate situation with both semi-sweet and milk chocolate chips. Then we add crunch with nuts (use whatever you like!), crunchy pretzels, and those golden toffee bits. I toss in a few white chocolate chips just for surprise pops of sweetness. You can find the full ingredient lineup, including the exact flour and leavening measurements, in the recipe card, or check out my deep dive on buttery flavor boosters here: brown butter chocolate chip cookies.
Mastering the Brown Butter Technique for Your Brown Butter Kitchen Sink Cookies
This is where we quit being regular bakers and start being flavor wizards! Browning the butter isn’t just about melting it; it’s about cooking out the water content and toasting the milk solids until they turn this gorgeous amber color. I always use my lightest stainless steel pan for this because if you use a dark pan, you can’t see the solids turning brown—and trust me, you need to see that!
It starts foaming up like crazy, and you just keep stirring. Then the foam dies down, and you start hearing this gentle sizzling sound. That’s the magic starting! You’ll smell it before you see it—that incredible, deep, toasted nut aroma. Once those little brown specks form on the bottom and it smells nutty, you have to pull it off the heat immediately. Pour it right into a heatproof bowl, or it’ll keep cooking and turn bitter!
This step is non-negotiable for Brown Butter Kitchen Sink Cookies because it adds a layer of caramelized complexity that regular melted butter just can’t touch. After you pour it, you absolutely have to let it cool down for about 15 minutes. If you add eggs or sugar to hot butter, you just end up with scrambled eggs in your cookie dough. Patience here pays off hugely!
Tips for Perfectly Browned Butter Cookies
Here’s my favorite trick: once you take the butter off the heat, give that bowl a good, hard swirl. That movement keeps the solids evenly distributed as it cools down slightly, stopping any one bit from burning while you whisk in the sugars later. Also, don’t be afraid if it looks messy; that browned goodness is flavor gold! You can read a bit more on my process for perfectly browned butter cookies if you want to check your technique!
Assembling the Ultimate Kitchen Sink Cookies Recipe Dough
Once that nutty brown butter has cooled just enough—it should still be soft but not hot—it’s time to mix the sugars right into it. Whisk that brown and white sugar into the butter until everything looks totally smooth, almost creamy. This is our new base layer of flavor! Then, we introduce the eggs one by one. Don’t rush this; make sure the first egg is fully incorporated before you introduce the second one. Follow that up with your vanilla.
Now, we need the dry stuff—flour, baking soda, and salt—whisked separately so everything is evenly distributed. Here’s the big warning: start adding those dry ingredients into your wet mixture slowly, mixing only on low speed. The second that flour hits the butter mixture, you have to stop mixing the *second* it disappears! Overmixing right here develops gluten and we want chewy, not tough, cookies. We are saving the heavy lifting for the folding step!
I actually do all my final mixing by hand from this point forward, especially when I’m adding so many treats. You can find some tips on making sure your base cookie dough is perfect by checking out my notes on sourdough chocolate chip cookies recipe, as the mixing philosophy is surprisingly similar!
The Art of Mix-Ins for Decadent Brown Butter Kitchen Sink Cookies
So, we have this incredible, rich dough, but now it’s time for the main event: stuffing it full of everything good! Because we have so much going on—semi-sweet chips, milk chocolate chips, pecans, toffee bits, and those salty pretzels—we have to be gentle. This is why we mixed the flour just until *almost* done. Now, use a sturdy spatula and gently fold everything together.
You just want to fold until you see the last stray bit of dough change color. If you stir vigorously right now, you’ll knock all the air right out of the brown butter magic we just created. I try to make sure I get a little salty (pretzels) in every scoop to balance that intense sweetness from the toffee and chocolate. A great way to keep things balanced is by ensuring no single mix-in dominates. If you need more ideas for adding complexity, check out my guide on balancing flavors in my sourdough chocolate chip cookies recipe—it applies here too!
Gourmet Kitchen Sink Cookie Mix Ins Suggestions
If you want to take these Overloaded Loaded Cookies with Brown Butter to the next level, try adding some texture contrast. I sometimes throw in about a quarter cup of salted peanuts for an extra punch. Chopped Oreos are amazing if you don’t mind a little mess, and a handful of dried tart cherries adds a beautiful color boost and bite!
Baking Instructions for Thick Chewy Kitchen Sink Cookies
Look, I know you are ready to eat these Brown Butter Kitchen Sink Cookies *right now*, but we have one huge step left, and you absolutely cannot skip it: chilling! Because this dough is so loaded with heavy stuff—all that chocolate, toffee, and pretzels—it’s got a high fat content relative to the flour base. If you try to bake it warm, they will definitely spread into giant, sad, thin discs. Seriously, chill that dough for a minimum of two hours, or better yet, overnight. That chill time is the secret to getting those nice, thick cookies!
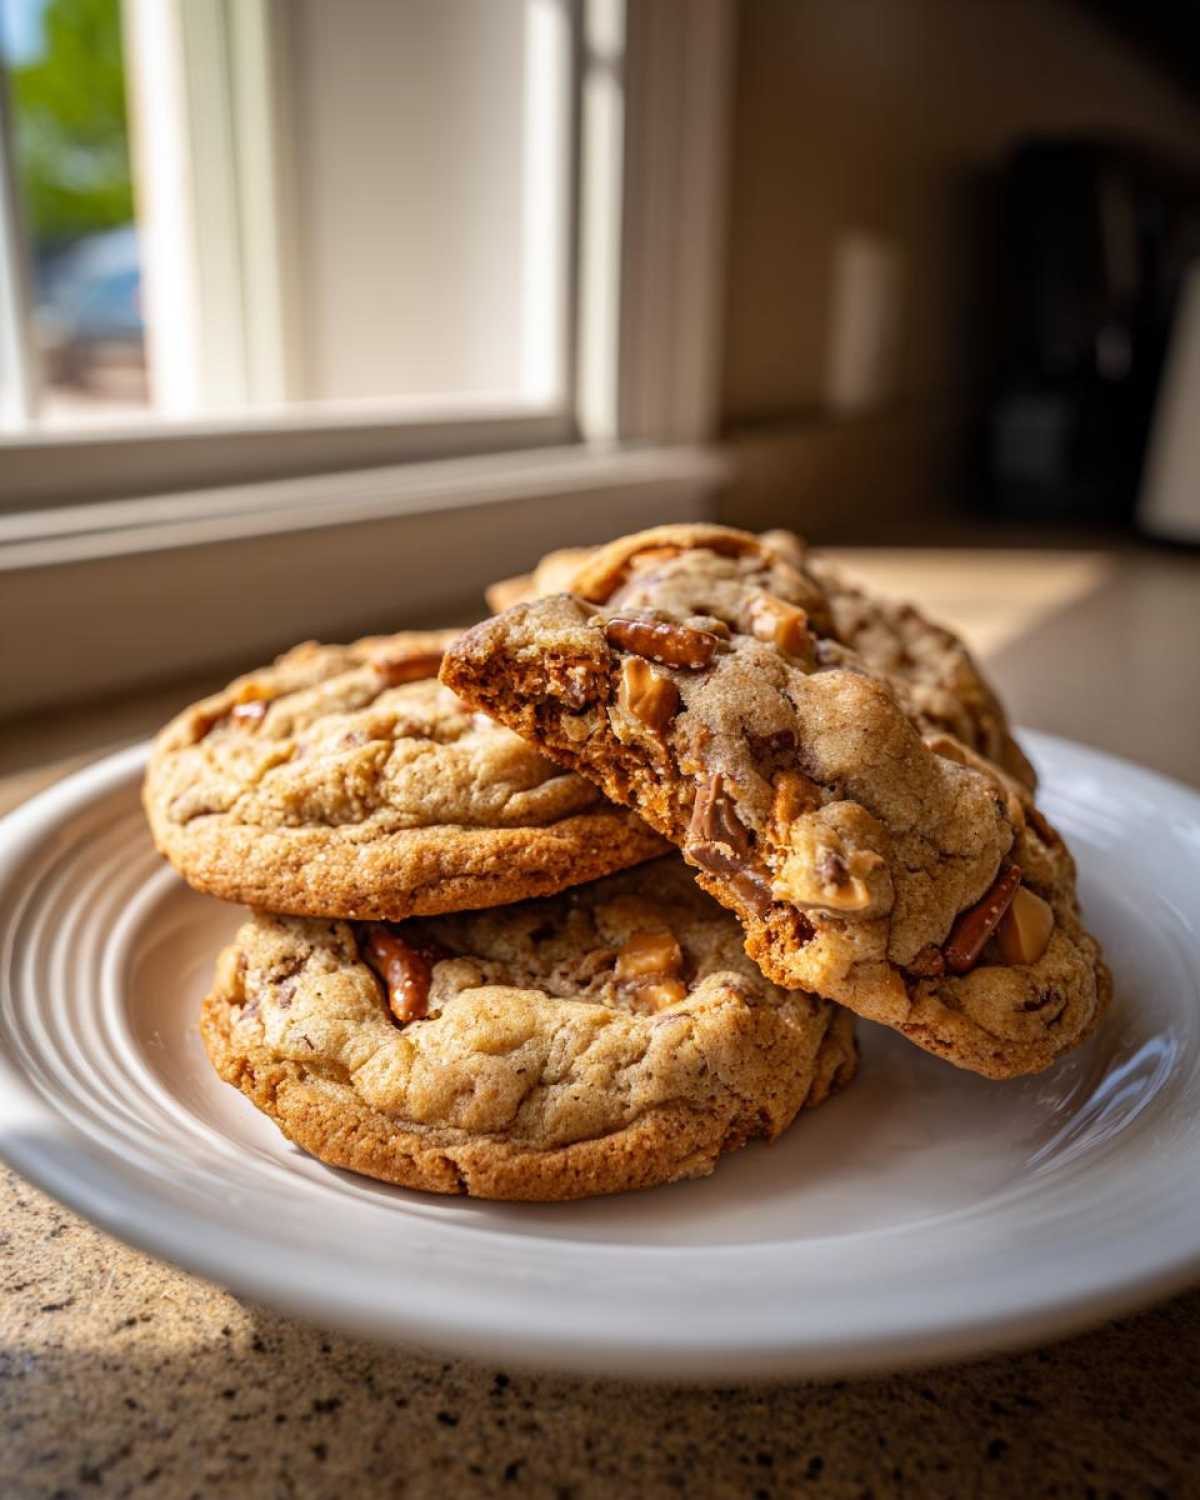
When you are ready to bake, crank that oven up to 375 degrees F and line your sheets with parchment paper. Parchment is your best friend, always. Scoop generous tablespoon-sized balls of dough. I like to press the tops down *just* slightly with my finger—not the sides—to help them set up thick. They bake fast, usually between 10 to 13 minutes. You want the edges to look set and golden brown, but the center should still look just a little bit soft and underdone when you pull them out. They will firm up on the pan!
Let them rest there for a full five minutes before you dare move them; otherwise, they will collapse. Moving on to storage next, but for more tips on keeping cookies thick, check out my strategies for thick chewy cookies!
Ingredient Notes and Substitutions for Brown Butter Kitchen Sink Cookies
I always call for unsalted butter, and that’s because we are adding salt separately with the pretzels and dry mix, so we need total control! If you only have salted butter on hand—oops!—just skip adding the extra salt in the dry ingredients and maybe even dial it back half a pinch. Don’t even think about using margarine here; it won’t brown correctly and you’ll lose that deep nutty flavor that makes these the Best Brown Butter Cookie Recipe.
As for the flour, you need all-purpose—don’t swap to cake flour or the cookies will spread too much. And if you wanted to swap the brown sugar out for all white sugar, you’d end up with a crispier, flatter cookie, which is just not what we want for these monster cookies. You can see my thoughts on using that brown sugar in my other favorite recipes over here: brown butter chocolate chip cookies.
Storage and Reheating Instructions for Loaded Cookies with Brown Butter
Believe it or not, if you managed to save any of these decadent cookies, they store beautifully. Keep them in an airtight container at room temperature. Because they are so rich, they stay soft for days! If you’re planning way ahead, you can absolutely freeze these guys—just make sure they are completely cooled first and stack them with wax paper dividers. If you want that fresh-from-the-oven melt factor again, just microwave a cookie for about 8 to 10 seconds. It totally rejuvenates that brown butter goodness! For long-term storage tips on all my best treats, check out my advice on oatmeal cookies.
Frequently Asked Questions About Brown Butter Kitchen Sink Cookies
Can I skip chilling the dough for this Loaded Cookie Recipe with Every Topping?
Oh, please don’t! If you try to bake them warm, they get way too soft because of the amount of butter and all those heavy mix-ins. They just spread out into way too thin of a cookie; chilling is what keeps them nice and thick, trust me on this one.
How do I know if my butter is perfectly browned?
You’ll smell it first—that wonderful, distinct nutty smell, like toasted hazelnuts! Visually, the foam has gone down, and you can see little dark brown specks swirling at the bottom of the pan. It should be amber, not black! It’s a key step for the Best Brown Butter Cookie Recipe.
What is the best way to achieve a chewy texture in these cookies?
The secret is twofold: use plenty of rich brown sugar, which keeps things moist, and then slightly underbake them! Pull them out when the centers still look a touch gooey. They firm up perfectly as they rest on the hot sheet tray. You can check out more ways to get great results in my guide on the chocolate meringue pie secrets, even though it’s a totally different dessert!
PrintBrown Butter Kitchen Sink Cookies

Make rich, chewy cookies featuring the deep flavor of browned butter and loaded with a variety of mix-ins.
- Prep Time: 20 min
- Cook Time: 13 min
- Total Time: 2 hours 33 min
- Yield: 24 cookies
- Category: Dessert
- Method: Baking
- Cuisine: American
- Diet: Vegetarian
Ingredients
- 1 cup (2 sticks) unsalted butter
- 1 cup packed light brown sugar
- 1/2 cup granulated sugar
- 2 large eggs
- 1 tablespoon vanilla extract
- 2 1/4 cups all-purpose flour
- 1 teaspoon baking soda
- 1/2 teaspoon salt
- 1 cup semi-sweet chocolate chips
- 1/2 cup milk chocolate chips
- 1/2 cup chopped pecans or walnuts
- 1/2 cup toffee bits
- 1/2 cup crushed pretzels
- 1/4 cup white chocolate chips
Instructions
- Melt the butter in a light-colored saucepan over medium heat. Continue cooking, stirring occasionally, until the butter foams, then subsides, and brown bits form at the bottom. The butter will smell nutty. Immediately pour the brown butter into a heatproof bowl and let it cool for 15 minutes.
- In a large bowl, whisk the cooled brown butter with the brown sugar and granulated sugar until fully combined.
- Beat in the eggs one at a time, mixing well after each addition. Stir in the vanilla extract.
- In a separate bowl, whisk together the flour, baking soda, and salt. Gradually add the dry ingredients to the wet ingredients, mixing on low speed until just combined. Do not overmix.
- Fold in all the mix-ins: semi-sweet chocolate chips, milk chocolate chips, nuts, toffee bits, pretzels, and white chocolate chips.
- Cover the dough and chill for at least 2 hours, or up to 24 hours, to control spread.
- Preheat your oven to 375 degrees Fahrenheit. Line baking sheets with parchment paper.
- Scoop rounded tablespoons of dough onto the prepared sheets, spacing them about 2 inches apart. For thicker cookies, press the dough balls slightly to flatten the tops, not the sides.
- Bake for 10 to 13 minutes, or until the edges are golden brown and the centers look slightly underbaked.
- Let the cookies cool on the baking sheet for 5 minutes before transferring them to a wire rack to cool completely.
Notes
- To achieve the best brown butter flavor, use a light-colored pan so you can clearly see the milk solids browning.
- Chilling the dough is necessary when using many heavy mix-ins to prevent the cookies from spreading too thin during baking.
- For a chewier texture, slightly underbake the cookies. For a crispier edge, bake for an extra minute.
- You can substitute any mix-ins you prefer, but keep the total volume of additions around 2 1/2 cups for best results.
Nutrition
- Serving Size: 1 cookie
- Calories: 250
- Sugar: 18g
- Sodium: 110mg
- Fat: 15g
- Saturated Fat: 8g
- Unsaturated Fat: 7g
- Trans Fat: 0.2g
- Carbohydrates: 26g
- Fiber: 1g
- Protein: 3g
- Cholesterol: 55mg
