


Crafting the Perfect Buffalo Cauliflower Wrap for a Healthy Lunch
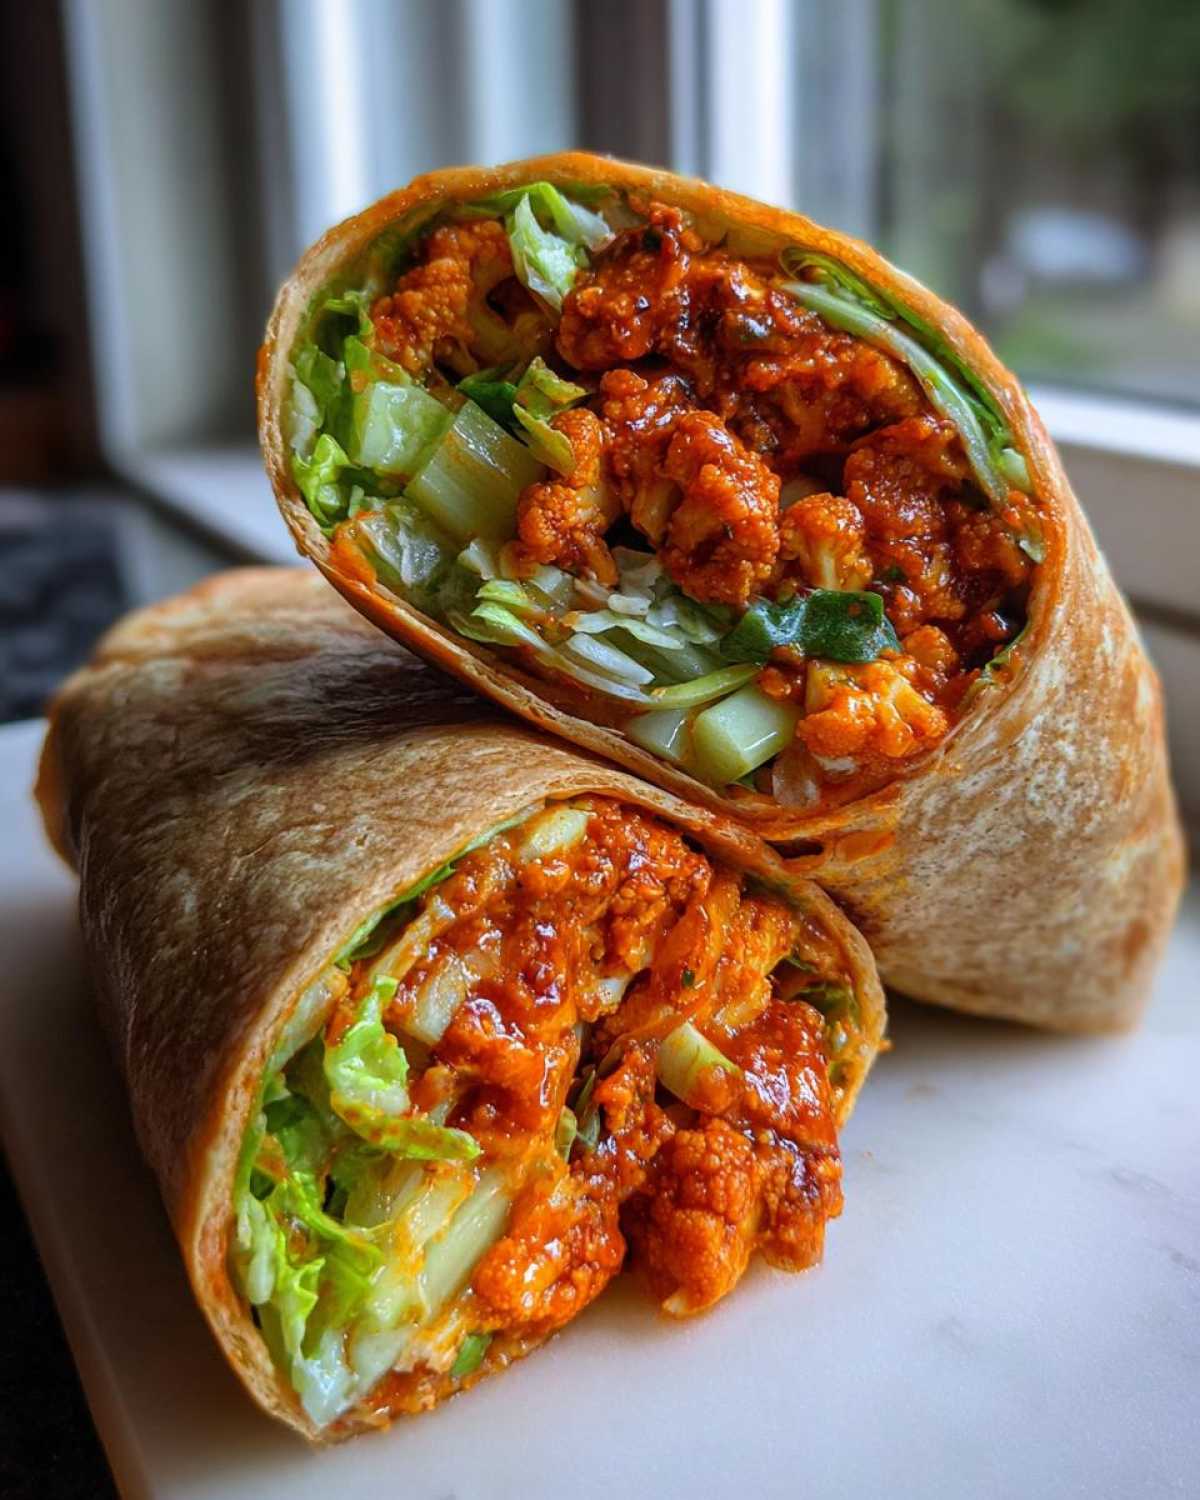
When I first thought about making a truly satisfying meatless meal, I needed something with serious punch. That’s how this amazing Buffalo Cauliflower Wrap came to be. You won’t miss the meat, I promise you that!
It’s crunchy, it’s tangy, and it’s packed with flavor for your midday break. I remember showing Chef Tariq the first batch. He adjusted the spice just a touch. He always knew how to balance heat with savoriness. This recipe captures that perfect equilibrium.
This vibrant Buffalo Cauliflower Wrap is my go-to healthy lunch idea now. Get ready for a flavor explosion!
What You Need to Make Your Buffalo Cauliflower Wrap
Getting organized upfront makes cooking so much smoother, right? I learned that lesson the hard way many times! For this fantastic vegetarian wrap, precision matters for that perfect crunch.
We need quality ingredients for the best result. Gather everything before you even think about mixing that batter. Here is what you’ll need for four satisfying wraps.
Cauliflower Coating and Sauce Components
- One whole head of cauliflower, broken down into small pieces.
- Half a cup of all-purpose flour works for the coating base.
- Half a cup of water mixes into our thin batter.
- We need one teaspoon of garlic powder for depth.
- Salt and pepper come in at half a teaspoon and a quarter teaspoon.
- A generous half cup of your favorite buffalo sauce is key here.
Assembly Ingredients for the Buffalo Cauliflower Wrap
- Four large whole wheat tortillas are your vessel.
- One cup of shredded lettuce adds freshness and crunch.
- Half a cup of celery, freshly chopped, brings great texture.
- Blue cheese or ranch dressing is optional at one quarter cup.
Preparing the Crispy Cauliflower for Your Buffalo Cauliflower Wrap
Now for the fun part! We turn humble cauliflower into something spectacular. Getting the oven hot is step one. Preheat it right away to 425 degrees Fahrenheit. I always line my baking sheet with parchment paper. Trust me, cleanup is much easier!
Mixing the Batter and Coating Florets
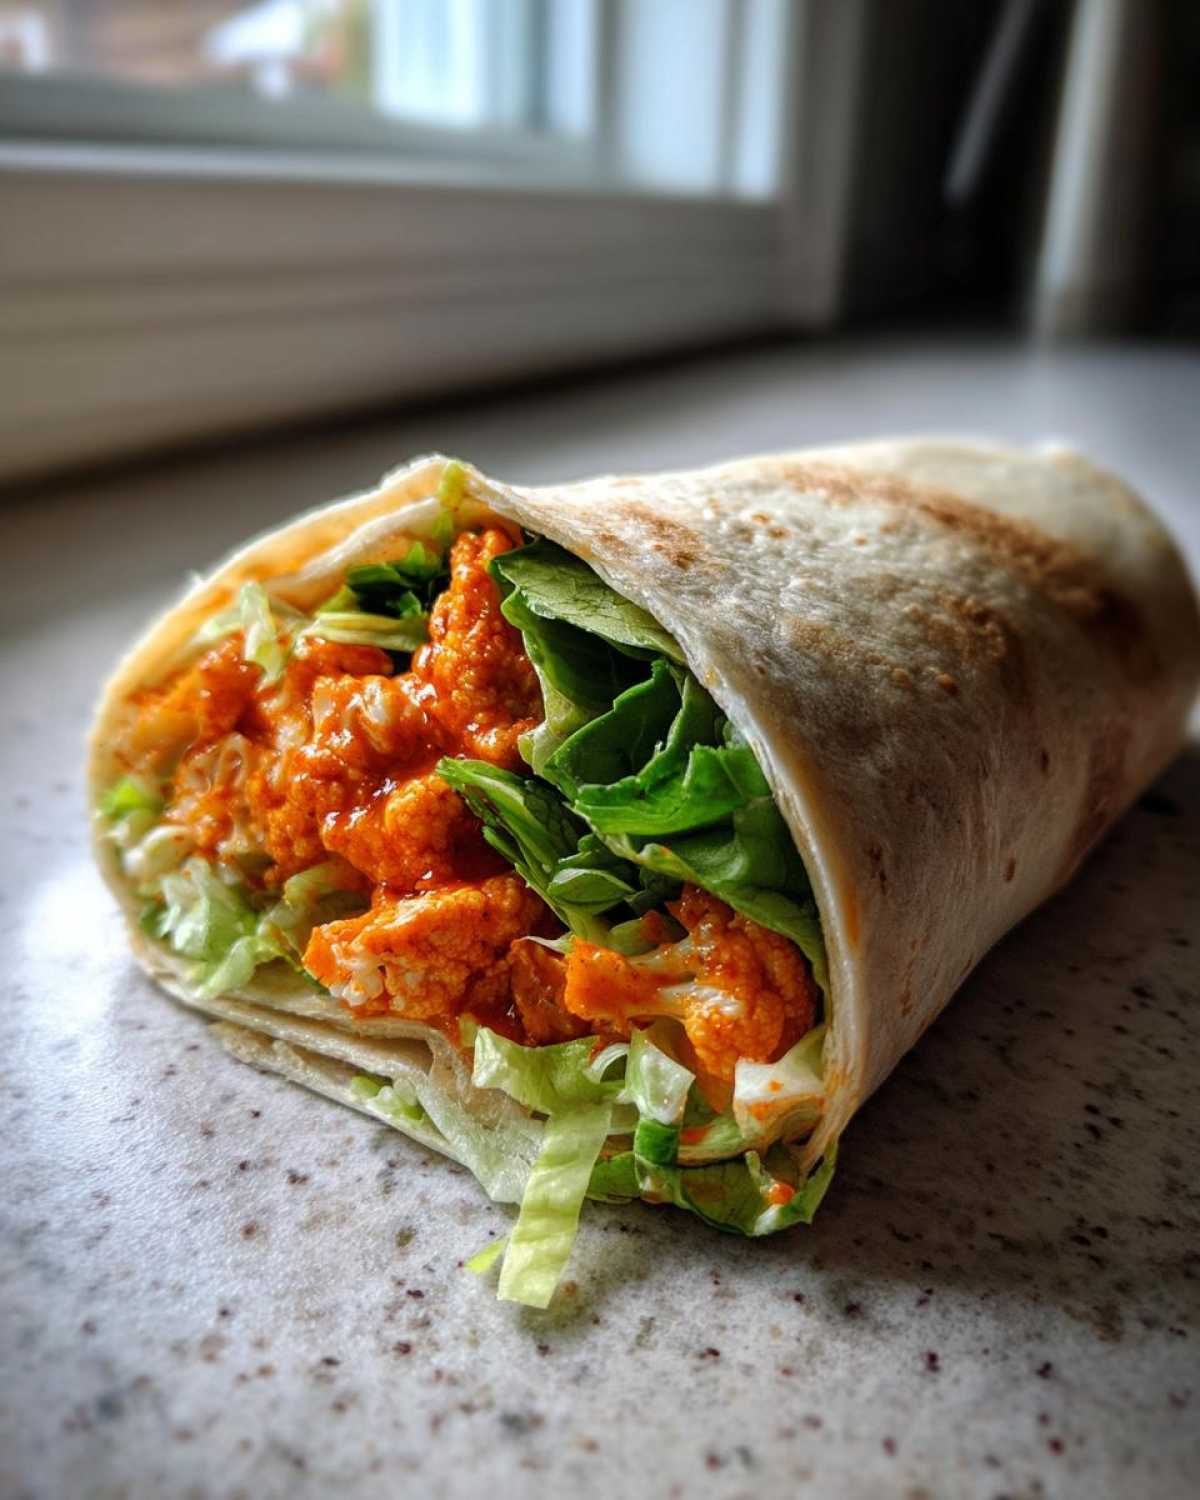
Grab a medium bowl for your batter mix. Whisk the flour, water, garlic powder, salt, and pepper together. You want this batter smooth and thin. It should coat food lightly, not gloopily. Dip each floret into this mixture now. Let the extra batter drip right back into the bowl. This keeps the final product light.
Baking Time and Achieving Crispness
Place those coated pieces on the sheet pan. Make sure they aren’t touching each other. They need space to crisp up nicely. Bake them for 20 to 25 minutes total. Remember to flip them halfway through baking! This ensures even golden color everywhere.
Tossing the Cauliflower in Buffalo Sauce
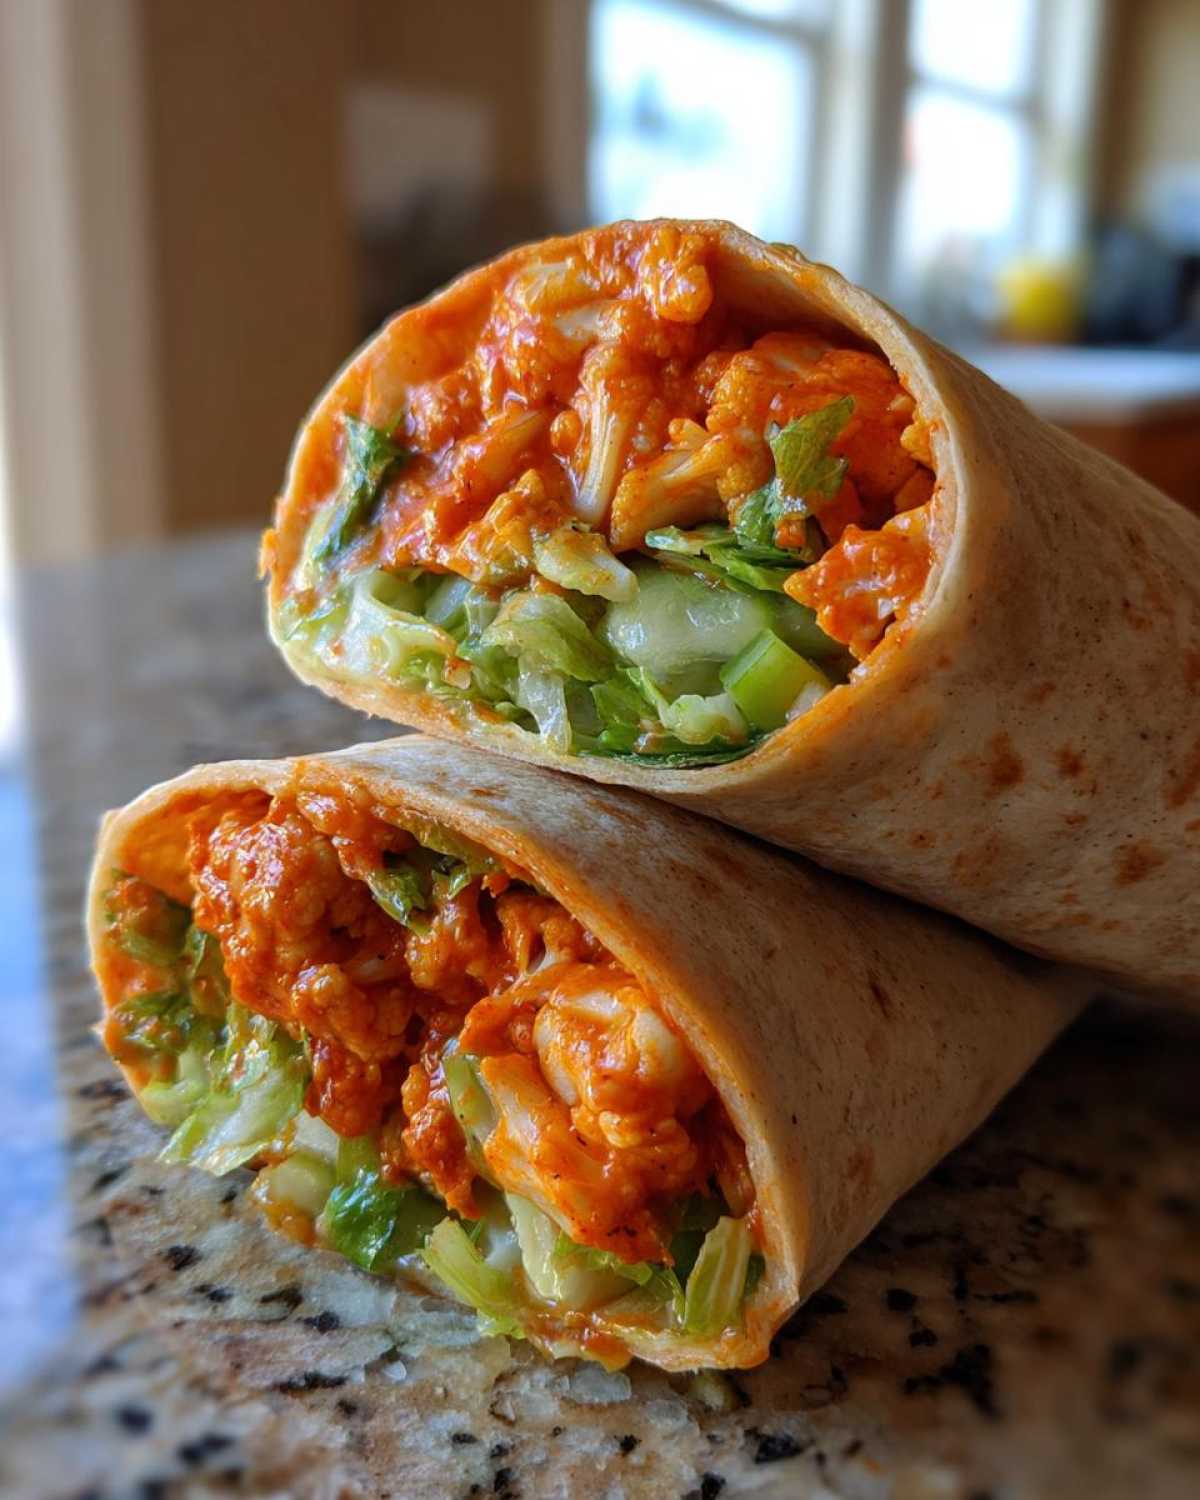
This step is crucial for a great Buffalo Cauliflower Wrap. Once they come out golden, toss them right away. Put the hot cauliflower into a bowl with the buffalo sauce. Coat everything gently but thoroughly. That immediate toss helps the sauce stick perfectly!
Equipment Essentials for the Buffalo Cauliflower Wrap
You don’t need fancy gadgets for this recipe. Practical tools make all the difference, though.
I always keep these items ready before I start.
- One standard baking sheet is necessary.
- Parchment paper saves scrubbing time later.
- A medium mixing bowl holds the batter.
- Another bowl is good for tossing the sauce.
Simple tools give us perfect results every time.
Tips from Chef Tariq for an Expert Buffalo Cauliflower Wrap
Chef Tariq always said cooking is about respecting the basics. But he loved a little flair, too! These tips come straight from our late-night kitchen talks. They turn a good wrap into a great one.
We learned so much from watching him work. He taught us that small tweaks make big impacts on flavor and look.
Flavor Adjustments and Customization
Do you like things extra spicy? Tariq suggested adding a pinch of cayenne pepper to the wet batter. It gives a nice hidden heat. Also, Amara tried swapping the ranch for yogurt once. Mix plain yogurt with spices for a lighter dressing. It’s surprisingly good!
Texture Tricks from Our Kitchen
Texture is everything in a wrap, right? Amara showed us how pretty it looks. She uses purple and white cauliflower together. It adds such a nice visual pop. Chef Tariq had a trick for celery, too. He liked briefly roasting the celery first. This deepens its flavor profile a bit. Try it next time you make this!
Assembling and Serving Your Buffalo Cauliflower Wrap
The crispy, saucy cauliflower is ready. Now we build this amazing handheld meal! Warming the tortillas first is non-negotiable for me. It makes them pliable and stops them from cracking. Warm them gently per the package directions.
Think about presentation, even for lunch. We want every bite to be perfect. Lay your warm tortilla flat on your workspace. This is where we create layers of texture and taste.
Layering Strategy for the Buffalo Cauliflower Wrap
Layering correctly stops the wrap from getting soggy too fast. Start with a bed of shredded lettuce first. Next, place your sauced cauliflower down the center. Don’t overfill the middle, please! Add the chopped celery on top of the cauliflower pieces. Drizzle your dressing over everything now, if you are using it.
The Proper Technique for Rolling the Wrap
Rolling takes a little practice, but you’ll get it. Fold the sides of the tortilla inward first. Make sure they cover the filling slightly. Then, start rolling tightly from the bottom up. Keep the roll snug against the ingredients. Serve your Buffalo Cauliflower Wrap right away. Enjoy that fresh crunch!

Frequently Asked Questions About the Buffalo Cauliflower Wrap
We all have questions when trying a new recipe. I get it! These answers should help you plan your perfect healthy lunch idea.
Let’s tackle some common concerns about this delicious vegetarian wrap.
Can I make the Buffalo Cauliflower Wrap ahead of time?
You can prep components, yes. The cauliflower is best fresh. Sauce and assemble right before eating. This keeps the crunch alive. Soggy cauliflower is our enemy!
What is the best way to reheat this Buffalo Cauliflower Wrap?
Reheating is tricky with fried textures. I suggest reheating *only* the sauced cauliflower separately. Use an air fryer if you have one. A quick toast in a dry pan works too. Then, build your wrap fresh for the best experience.
Are there gluten-free options for this Vegetarian Wrap?
Absolutely, making this gluten-free is easy! Swap the all-purpose flour for a 1-to-1 gluten-free blend. You must also use certified gluten-free tortillas. Check your buffalo sauce label, too.
Storing Leftover Buffalo Cauliflower Wrap Components
What happens if you have leftovers? Don’t just toss them out!
The key to saving these wraps is separation. Store the sauced cauliflower in an airtight container. Keep it in the fridge for up to three days.
Your lettuce and celery must stay dry. Keep them in a separate sealed bag. Wrap the tortillas separately, too. Assemble a new Buffalo Cauliflower Wrap fresh later!
Understanding the Estimated Nutrition of Your Buffalo Cauliflower Wrap
We all want food that tastes amazing and fits our goals. While this is a healthier take, it still packs flavor. Remember these numbers are just estimates for one wrap.
They depend heavily on your exact sauce and dressing choices.
Estimated Nutritional Breakdown Per Serving
- Calories: Estimate 350
- Fat: Estimate 12g
- Carbohydrates: Estimate 50g
- Protein: Estimate 12g
- Fiber: Estimate 8g
- Sodium: Estimate 600mg
Share Your Savory Skies Buffalo Cauliflower Wrap Experience
We poured our hearts into this recipe for you. Now, we want to see your creations!
Did this Buffalo Cauliflower Wrap become your new favorite? Tell us what you thought.
Rate the recipe right here on the page, please. Share your photos with us online. Let’s keep this wonderful cooking community growing strong!
Print4 Shocking Buffalo Cauliflower Wrap Secrets

Make a satisfying and healthy lunch with this vibrant Buffalo Cauliflower Wrap. It is packed with flavor and crunch, making it a fantastic meatless meal option.
- Prep Time: 15 minutes
- Cook Time: 25 minutes
- Total Time: 40 minutes
- Yield: 4 wraps
- Category: Lunch
- Method: Baking and Tossing
- Cuisine: American
- Diet: Vegetarian
Ingredients
- 1 head cauliflower, cut into small florets
- 1/2 cup all-purpose flour
- 1/2 cup water
- 1 teaspoon garlic powder
- 1/2 teaspoon salt
- 1/4 teaspoon black pepper
- 1/2 cup buffalo sauce
- 4 large whole wheat tortillas
- 1 cup shredded lettuce
- 1/2 cup chopped celery
- 1/4 cup blue cheese or ranch dressing (optional)
Instructions
- Preheat your oven to 425°F (220°C). Line a baking sheet with parchment paper.
- In a medium bowl, whisk together the flour, water, garlic powder, salt, and pepper until you have a smooth, thin batter.
- Dip each cauliflower floret into the batter, letting excess drip off.
- Place the coated florets on the prepared baking sheet in a single layer.
- Bake for 20-25 minutes, flipping halfway through, until golden and crispy.
- Remove the baked cauliflower from the oven and immediately toss gently in a bowl with the buffalo sauce until fully coated.
- Warm the tortillas according to package directions.
- To assemble each wrap, place lettuce, a portion of the sauced cauliflower, and chopped celery down the center of a warm tortilla.
- Drizzle with dressing, if using.
- Fold in the sides of the tortilla, then roll tightly from the bottom up to create your wrap.
- Serve immediately for the best texture.
Notes
- For extra spice, add a pinch of cayenne pepper to the batter.
- Chef Tariq suggests roasting the celery briefly before adding it for a deeper flavor profile.
- Amara recommends using a mix of purple and white cauliflower for visual appeal.
- You can substitute plain yogurt mixed with spices for a lighter dressing option.
Nutrition
- Serving Size: 1 wrap
- Calories: Estimate 350
- Sugar: Estimate 7g
- Sodium: Estimate 600mg
- Fat: Estimate 12g
- Saturated Fat: Estimate 2g
- Unsaturated Fat: Estimate 10g
- Trans Fat: Estimate 0g
- Carbohydrates: Estimate 50g
- Fiber: Estimate 8g
- Protein: Estimate 12g
- Cholesterol: Estimate 5mg
