

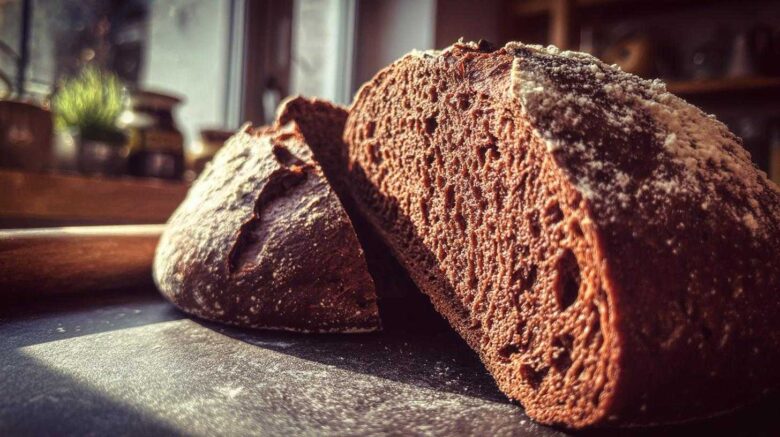
Discover the Magic of Chocolate Sourdough Bread
Hey there, fellow bakers! I’m Leo, and I’m so excited to share this recipe with you. If you’ve ever wondered how to jazz up your sourdough, get ready. This Chocolate Sourdough Bread is a game-changer. It’s that perfect blend of tangy sourdough and rich chocolate. It really makes my heart sing. I first dreamed this up during those late-night sessions in the professional kitchen. We were always looking for something new. This loaf is special. It’s a hug in bread form.
Why You’ll Love This Chocolate Sourdough Bread
- It offers a surprising, delightful chocolate flavor.
- The texture is wonderfully tender and chewy.
- Baking it is a truly rewarding experience.
- It’s a unique take on your favorite sourdough.
A Sweet Twist on Tradition: Leo’s Chocolate Sourdough Story
Back in the day, working alongside Amara and Chef Tariq was pure magic. We’d experiment constantly after service. One night, I thought, “What if we added chocolate to sourdough?” It seemed a bit wild. But Chef Tariq always encouraged our crazy ideas. Amara brought her touch for making everything beautiful. This Chocolate Sourdough Bread is born from that spirit. It’s a reminder of those shared moments. It embodies the Savory Skies mission. We love pushing flavors. This recipe really captures that joy. It’s a taste of our kitchen’s heart.
Gather Your Ingredients for Chocolate Sourdough Bread
Let’s get ready to bake this amazing Chocolate Sourdough Bread. Having the right ingredients is key. It makes the whole process smoother. And tastier, of course! I always make sure I have everything ready before I start. It’s like prepping for a delicious adventure. You’ll see this recipe is quite straightforward. But getting the details right makes a big difference. Think of it as setting the stage for flavor. We want that deep cocoa taste. We need that perfect sourdough tang.
Essential Ingredients for Your Chocolate Sourdough Bread
Gather these items for a truly wonderful Chocolate Sourdough Bread.
- 100g active sourdough starter (Make sure it’s fed and bubbly!)
- 350g bread flour (High protein content really helps gluten development.)
- 50g unsweetened cocoa powder (This gives our bread its deep chocolate color.)
- 7g fine sea salt (Salt balances the sweetness and boosts flavor.)
- 300ml lukewarm water (Around 80-85°F is perfect for the starter.)
- 50g granulated sugar (Just a touch to feed the starter and add a hint of sweetness.)
- 50g unsalted butter, softened to room temperature (Soften it so it mixes in easily.)
Crafting Your Perfect Chocolate Sourdough Bread
Now for the fun part – making the magic happen! This is where we transform simple ingredients into something truly special. Don’t worry if it seems a bit involved; I’ll walk you through every step. Think of it as a delicious dance. We’re coaxing flavor and texture from the dough. My own kitchen has seen its share of dough experiments. This Chocolate Sourdough Bread is one of my proudest creations. It’s worth every moment.
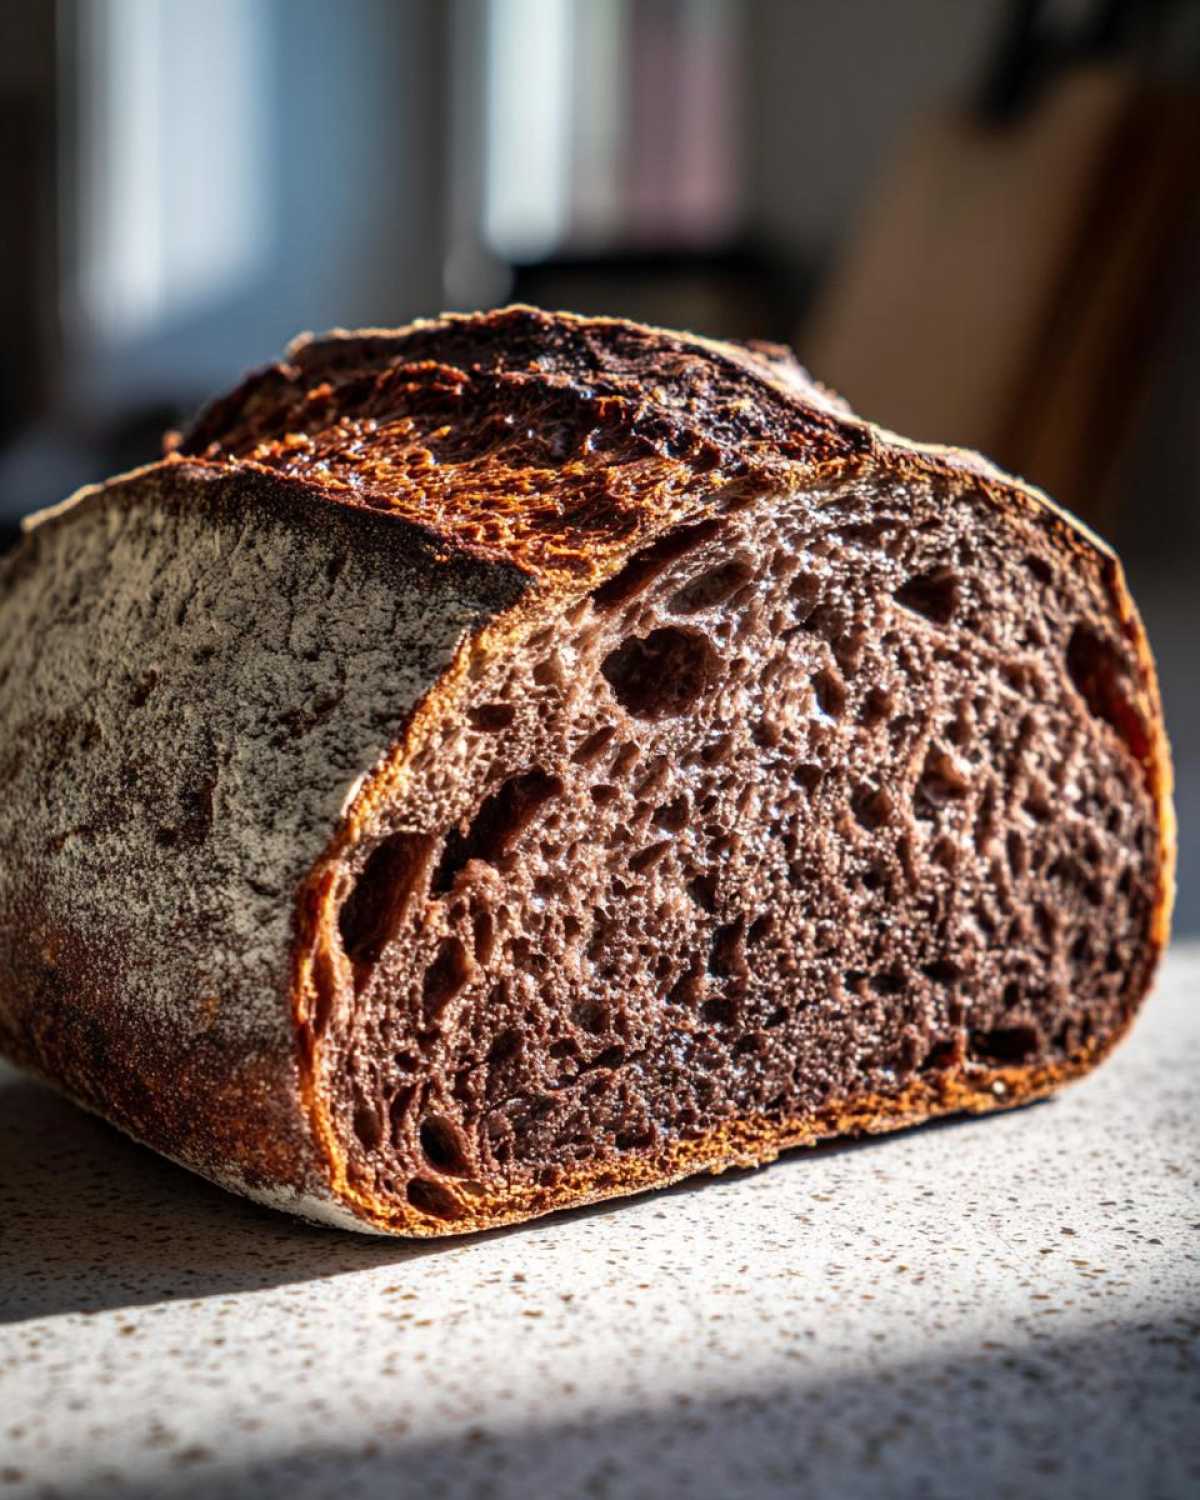
Mixing the Dough for Chocolate Sourdough Bread
First, grab a large bowl. I like to use one with high sides. It helps keep the dough contained. Combine your active sourdough starter, lukewarm water, and sugar. Give it a gentle stir. Now, add the bread flour and the cocoa powder. Mix everything until it just comes together. It will look shaggy. That’s okay! Let this mixture rest, covered, for about 30 minutes. This resting period is called an autolyse. It helps the flour absorb water. This makes gluten development much easier later. It’s a little bit of patience that pays off big time.
Developing the Dough: Salt, Butter, and Kneading
After the rest, it’s time to add the salt and the softened butter. The butter adds richness and a lovely tenderness. Gently work them into the dough. Now, we knead! You want to knead for about 5 to 7 minutes. You can do this by hand or with a stand mixer. The goal is a smooth, elastic dough. It should feel supple. A good way to check is the windowpane test. Take a small piece of dough. Gently stretch it. If you can stretch it thin enough to see light through it without tearing, it’s ready. This means your gluten network is strong.
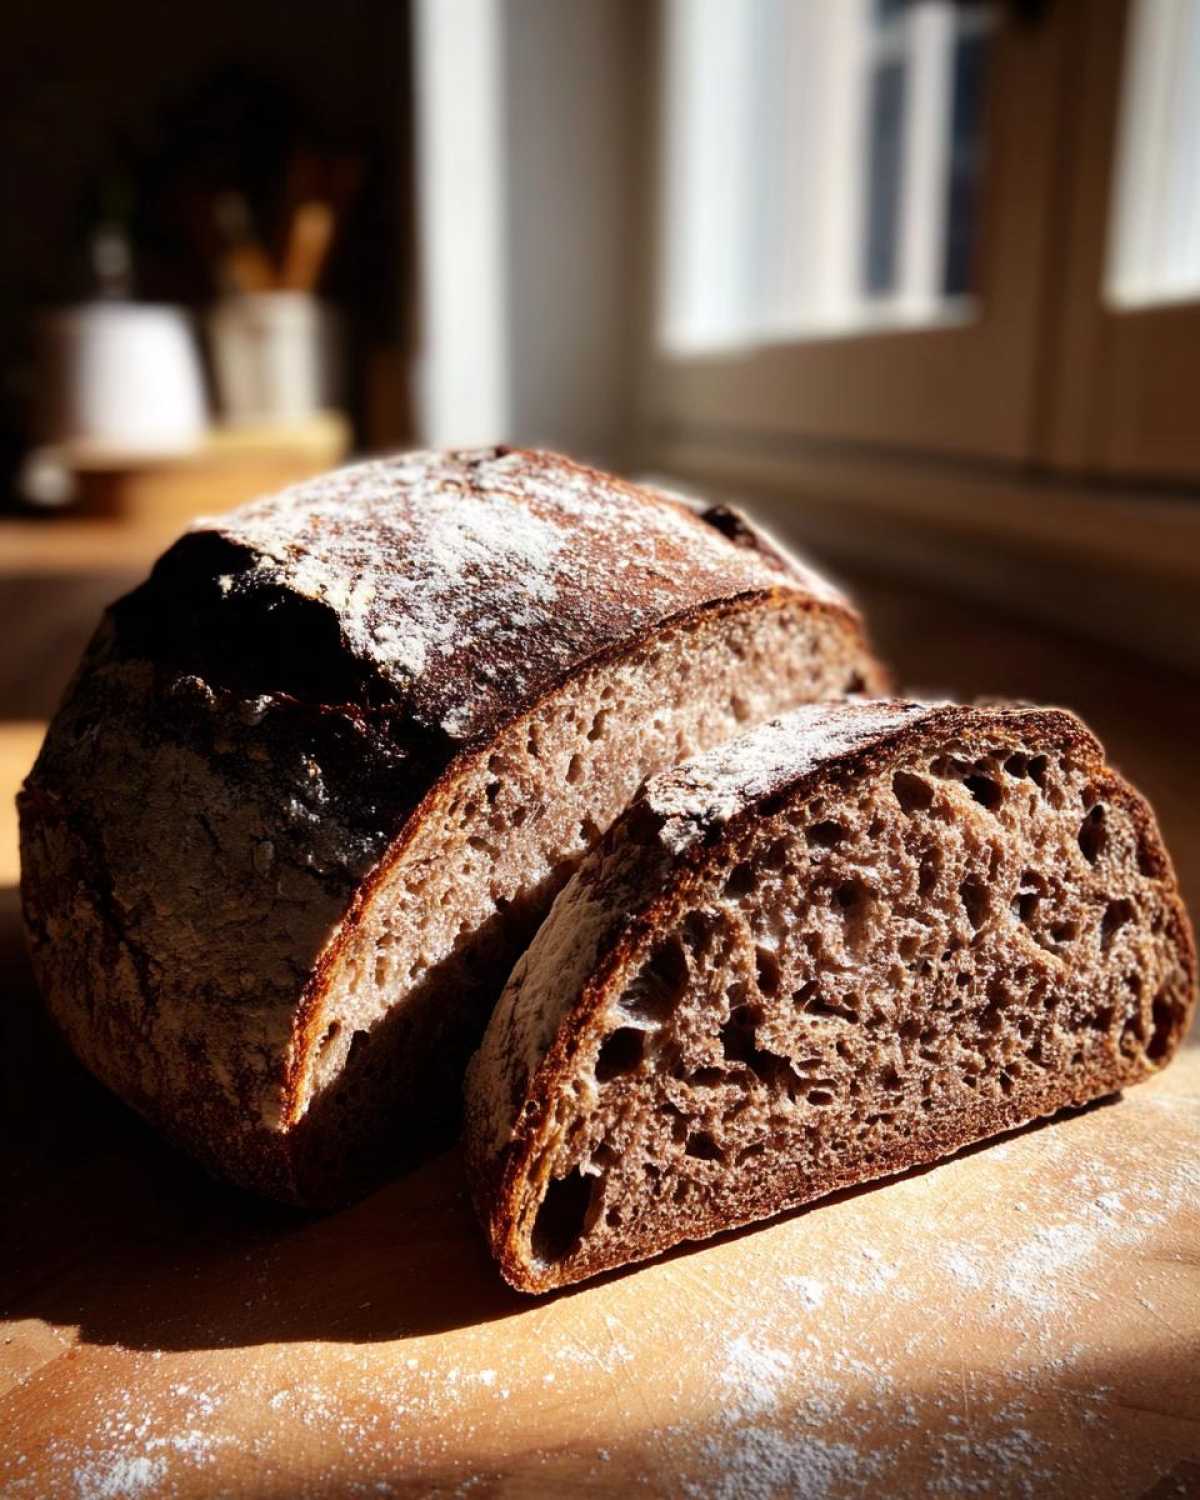
The First Rise: Patience for Your Chocolate Sourdough Bread
Place your beautifully kneaded dough into a lightly oiled bowl. Cover it snugly. Now, we wait. Let it rise in a warm spot for 4 to 6 hours. You’re looking for the dough to double in size. The exact time can vary. It depends on your kitchen’s temperature. A warmer spot means a faster rise. I often find my kitchen counter works well. Sometimes, I’ll even turn on the oven light for a few minutes to warm the oven. Then I turn it off and place the bowl inside. It creates a cozy environment for the yeast.
Shaping and Cold Retarding Your Chocolate Sourdough Bread
Once the dough has doubled, it’s time to shape it. Gently turn the dough out onto a lightly floured surface. Be careful not to punch out all the air. Shape it into your desired loaf form. I usually go for a round or oval shape. Place the shaped dough into a proofing basket. If you don’t have one, a bowl lined with a floured tea towel works too. Cover it again. Then, pop it into the refrigerator overnight. This cold retardation develops even more flavor. It also makes the dough easier to score before baking.
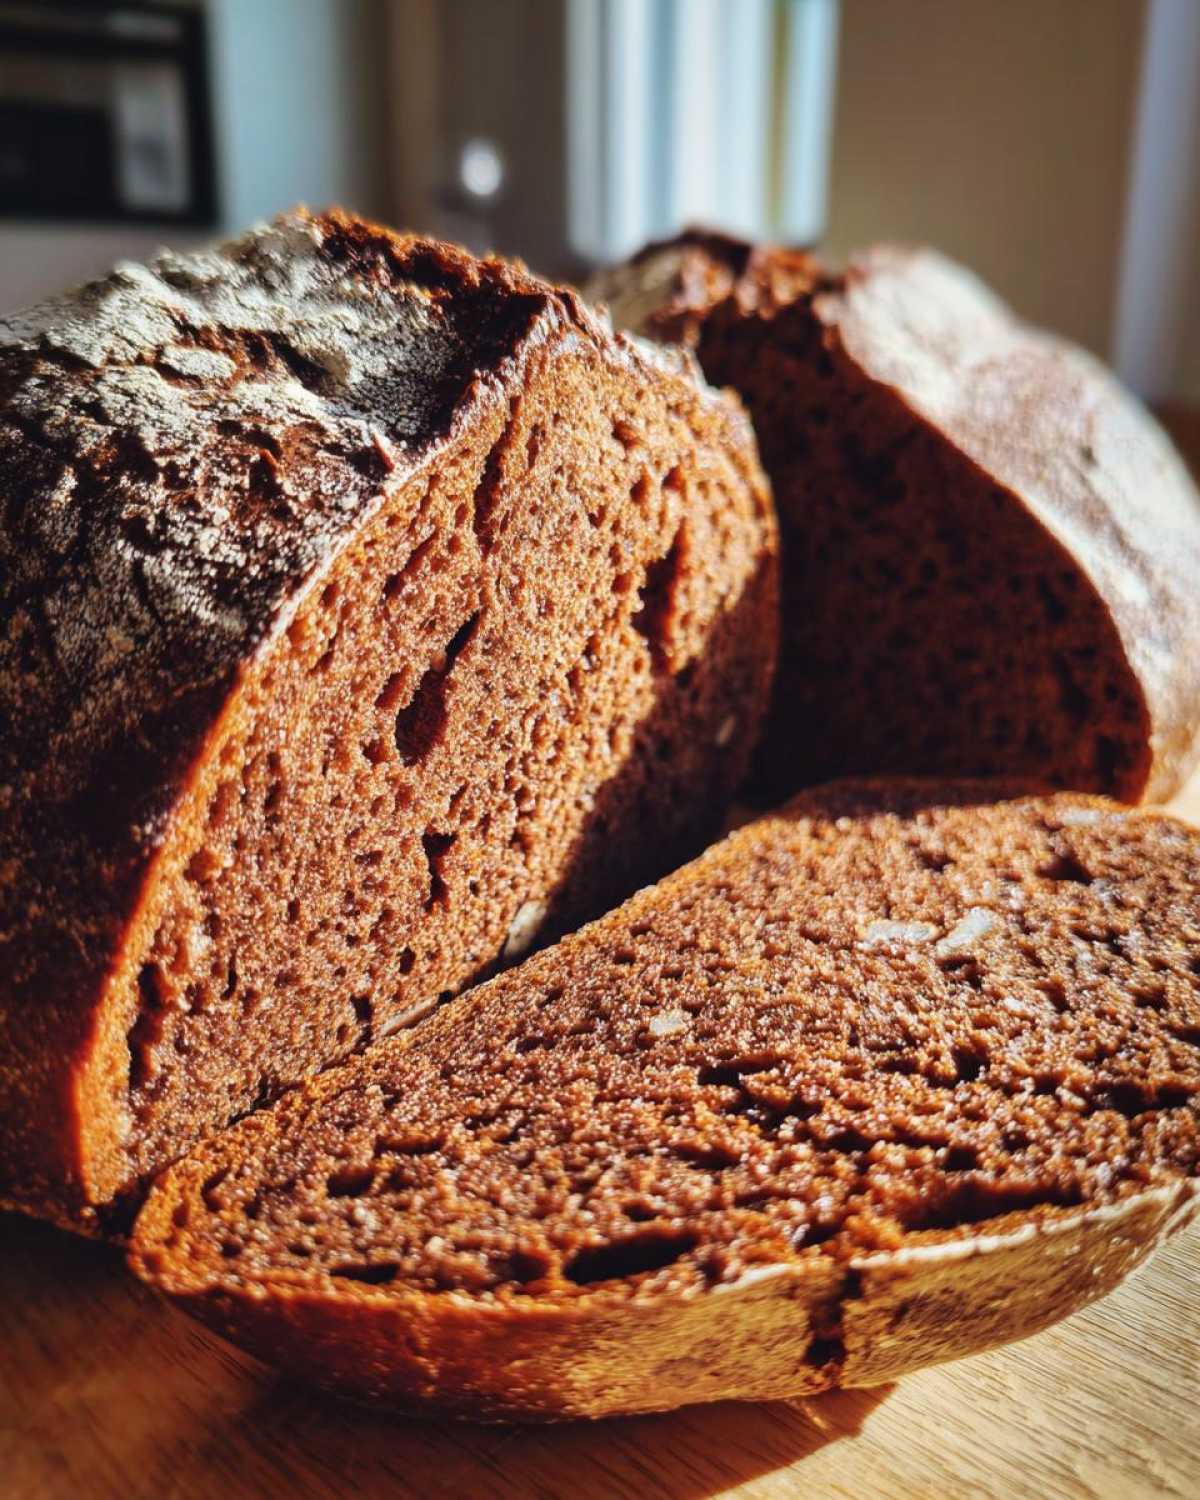
Baking Your Chocolate Sourdough Bread to Perfection
The next day, preheat your oven to 450°F (230°C). Make sure your Dutch oven is in there while it preheats. It needs to get really hot. Carefully take the hot Dutch oven out. Gently place your dough inside. Score the top of the loaf with a sharp knife or lame. This allows the bread to expand. Bake it with the lid on for 20 minutes. Then, remove the lid. This lets the crust brown beautifully. Bake for another 15 to 20 minutes. You’ll know it’s done when it’s a deep golden brown. It should also sound hollow when you tap the bottom.
Cooling and Enjoying Your Chocolate Sourdough Bread
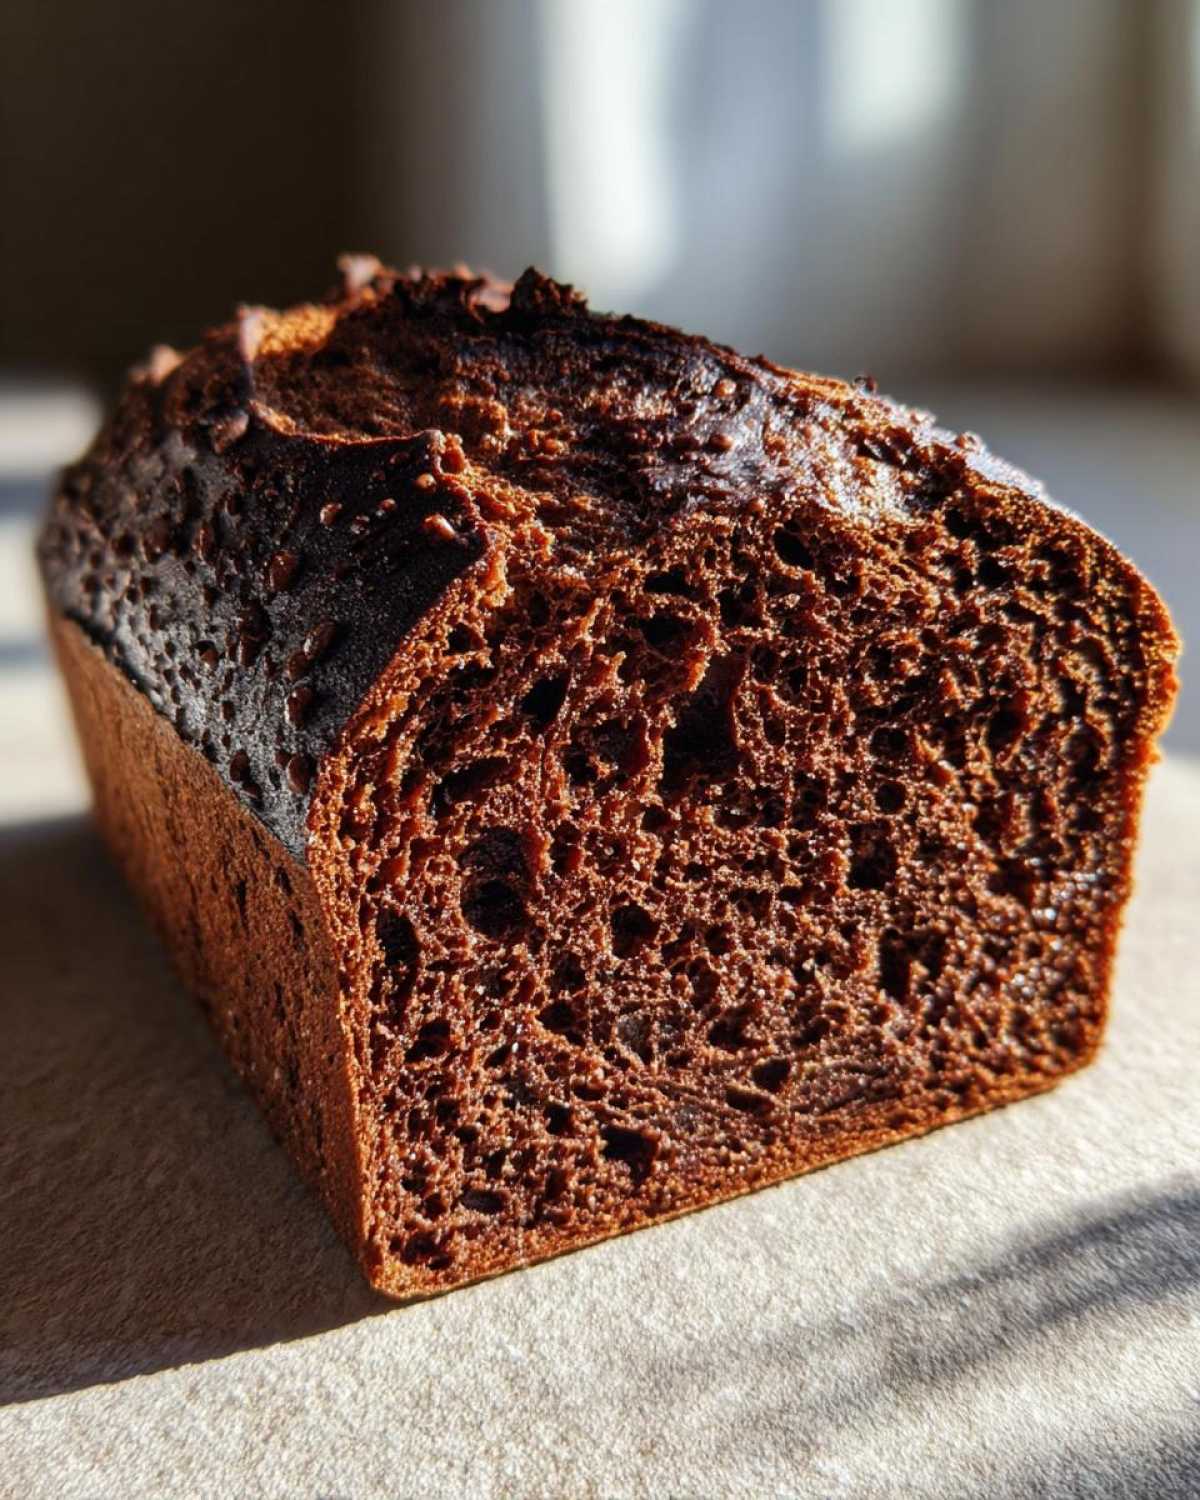
This is perhaps the hardest part: waiting for it to cool! Seriously, let it cool completely on a wire rack. This can take a couple of hours. Cooling allows the crumb structure to set properly. Cutting into it too soon can make it gummy. Once it’s fully cooled, slice away. Enjoy the rich aroma. This Chocolate Sourdough Bread is fantastic on its own. It’s also lovely toasted with a smear of butter. Or try it with a dollop of cream cheese. Pure bliss!
Tips for Baking Amazing Chocolate Sourdough Bread
Baking this Chocolate Sourdough Bread can be so rewarding. I’ve learned a few tricks along the way. They help ensure a beautiful loaf every time. It’s all about a little attention to key details. Don’t be discouraged if your first try isn’t perfect. Baking is a journey. These tips will help guide you. They focus on common issues. You’ll be making fantastic bread soon.
Sourdough Starter Health for Chocolate Sourdough Bread
Your starter is the heart of this bread. Make sure it’s happy and active. Feed it regularly. Use it when it’s bubbly and has doubled. A sluggish starter means a sluggish rise. If your starter seems weak, give it a few extra feedings. This boosts its power. A healthy starter is key for good flavor. It also helps the bread rise beautifully.
Achieving the Best Crumb in Your Chocolate Sourdough Bread
Want that perfect open crumb? Handle your dough gently. Avoid over-kneading. Be patient during the first rise. Let the dough truly double. When shaping, be gentle. You want to preserve those air bubbles. Cold retarding overnight is great. It helps the crumb structure. Scoring the dough before baking is important. It guides the expansion. Don’t be afraid to experiment.
Ingredient Notes and Substitutions for Your Chocolate Sourdough Bread
Sometimes, small details make a big difference. Especially with something as special as Chocolate Sourdough Bread. I want to make sure you have all the info. This helps your baking journey. Let’s talk about a couple of key ingredients. Getting these right means a better loaf. It’s all about flavor and structure.
Cocoa Powder Considerations
For this Chocolate Sourdough Bread, I really recommend using unsweetened cocoa powder. It gives you the most control. You can adjust the sweetness yourself. It also provides a deep, rich chocolate flavor. Dutch-process cocoa is an option. But it can change the dough’s acidity. This might affect how your starter behaves. Stick with unsweetened for the best results.
Flour Choices for Chocolate Sourdough Bread
Bread flour is my go-to for this recipe. It has a higher protein content. This is super important for developing strong gluten. Strong gluten gives the bread its structure. It helps it rise nicely. It also gives that chewy texture we love. All-purpose flour will work in a pinch. But your loaf might be a bit denser. Bread flour truly makes a difference here.
Commonly Asked Questions About Chocolate Sourdough Bread
Baking can sometimes bring up questions. Especially with unique recipes like this Chocolate Sourdough Bread. I’ve gathered some common queries. They’ll help you troubleshoot. You’ll also gain more confidence. Let’s dive in.
Can I use Dutch-process cocoa powder for Chocolate Sourdough Bread?
Yes, you can use Dutch-process cocoa. It’s treated to be less acidic. This can affect the rise slightly. It might also give a milder chocolate flavor. Unsweetened natural cocoa powder is usually preferred. It reacts better with the leavening from your starter. It also offers a deeper cocoa taste.
My Chocolate Sourdough Bread didn’t rise much, what went wrong?
Several things could cause a flat loaf. First, check your starter. Is it active and bubbly? A weak starter won’t leaven well. Also, consider the proofing temperature. Too cold, and it rises slowly. Too hot, and it might overproof. Ensure you’re not overhandling the dough. Gentle shaping preserves air bubbles.
How long does Chocolate Sourdough Bread last?
This delicious Chocolate Sourdough Bread stays fresh for about 2-3 days. Store it at room temperature. Keep it in a paper bag or bread box. Avoid plastic wrap. It traps moisture. This can make the crust soft. For longer storage, you can freeze slices.
Storage and Reheating Your Delicious Chocolate Sourdough Bread
Got leftovers? I hate waste, especially with something this good. Storing your Chocolate Sourdough Bread right keeps it tasty. Reheating brings back that wonderful freshness. It’s super simple. You’ll want to enjoy every last crumb.
Storing Chocolate Sourdough Bread Properly
Keep your cooled Chocolate Sourdough Bread at room temperature. A paper bag or bread box is best. This lets the crust breathe. Avoid plastic bags. They make the crust soggy. If you need to store it longer, slice it. Freeze the slices. Then you can just grab one when you need it!
Reheating Tips for Chocolate Sourdough Bread
To reheat a slice, toasting is fantastic. It brings back a lovely crispness. You can also warm it gently in the oven. Just a few minutes at a low temperature works wonders. It makes the bread smell amazing again. Like it just came out of the oven!
Share Your Chocolate Sourdough Bread Creations
I can’t wait to see your beautiful Chocolate Sourdough Bread loaves! Did you try any fun additions? Snap a photo and tag us on social media. Share your baking journey in the comments below. Your feedback truly inspires us. Let’s keep the delicious conversation going!
PrintAmazing Chocolate Sourdough Bread: A Decadent Treat
Discover the delightful taste of Chocolate Sourdough Bread, a unique twist on a classic that combines the tangy goodness of sourdough with the rich flavor of cocoa.
- Prep Time: 20 minutes
- Cook Time: 40 minutes
- Total Time: 24 hours 10 minutes
- Yield: 1 loaf
- Category: Bread
- Method: Baking
- Cuisine: American
- Diet: Vegetarian
Ingredients
- 100g active sourdough starter
- 350g bread flour
- 50g cocoa powder
- 7g salt
- 300ml water
- 50g granulated sugar
- 50g unsalted butter, softened
Instructions
- 1. Mix sourdough starter, water, and sugar in a large bowl.
- 2. Add flour and cocoa powder. Mix until just combined.
- 3. Cover and let rest for 30 minutes.
- 4. Add salt and butter. Knead for 5-7 minutes until dough is smooth and elastic.
- 5. Place dough in a lightly oiled bowl, cover, and let rise for 4-6 hours, or until doubled in size.
- 6. Shape the dough into a loaf.
- 7. Place the loaf in a proofing basket, cover, and refrigerate overnight.
- 8. Preheat oven to 450°F (230°C) with a Dutch oven inside.
- 9. Score the top of the dough and place it in the preheated Dutch oven.
- 10. Bake for 20 minutes, then remove the lid and bake for another 15-20 minutes until golden brown and hollow sounding when tapped.
- 11. Let cool completely before slicing.
Notes
- Ensure your sourdough starter is active and bubbly for best results.
- Adjust water content slightly if your starter is very wet or dry.
- This bread is delicious toasted with butter or jam.
Nutrition
- Serving Size: 1 slice
- Calories: 200
- Sugar: 8g
- Sodium: 300mg
- Fat: 5g
- Saturated Fat: 3g
- Unsaturated Fat: 2g
- Trans Fat: 0g
- Carbohydrates: 35g
- Fiber: 3g
- Protein: 6g
- Cholesterol: 15mg
