

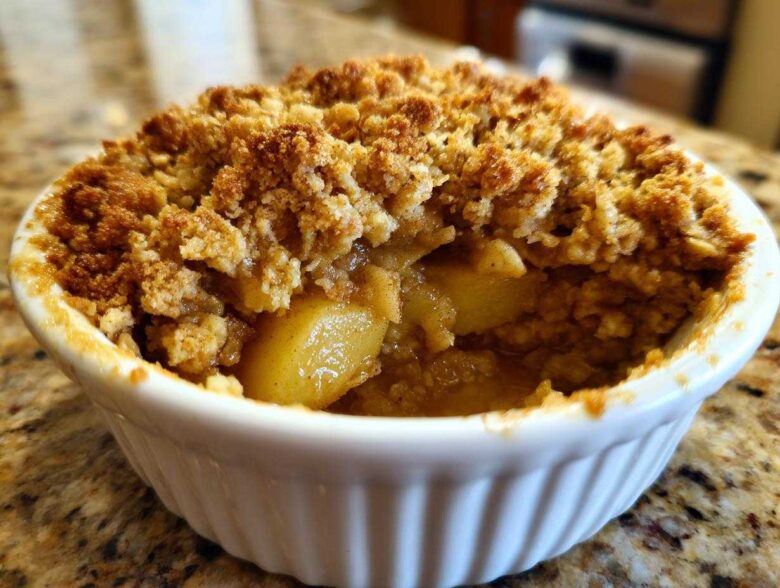
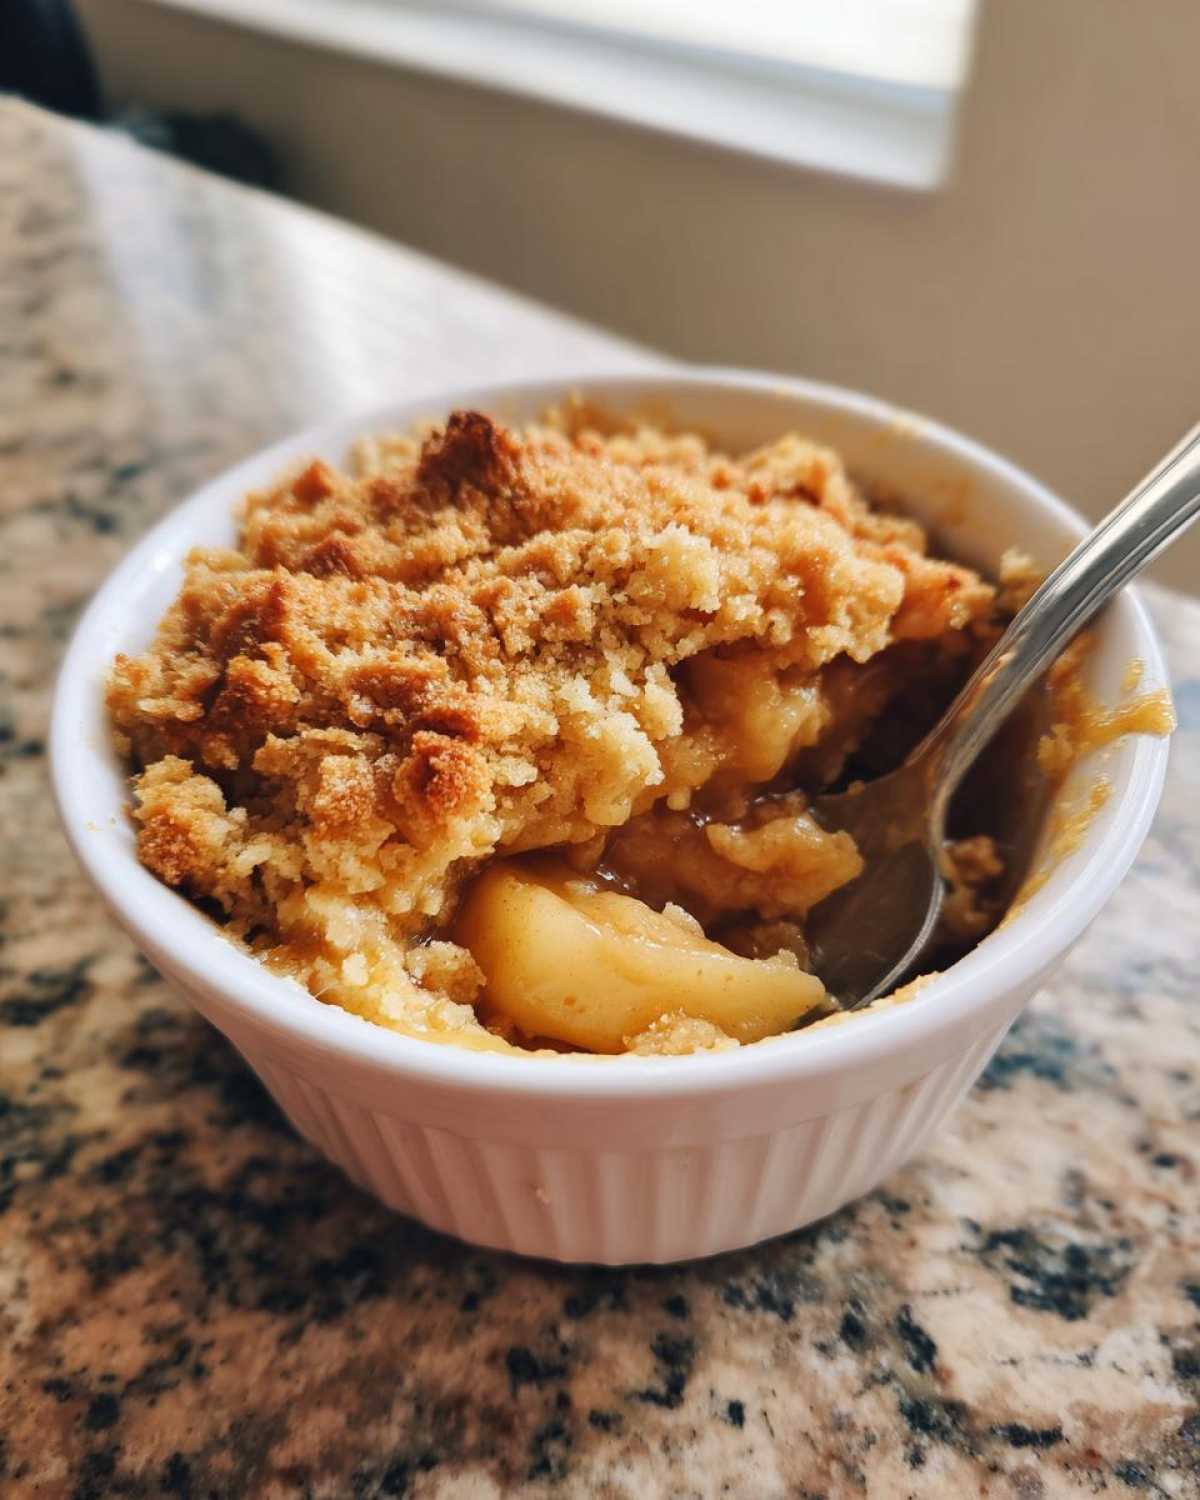
Oh, honey, when the air gets a little crisp and you just crave that deep hug-in-a-bowl feeling, nothing beats a truly stellar apple crumble. Forget those fussy, complicated layered cakes for a minute! This, my friends, is my tried-and-true, ridiculously easy **classic apple crumble** recipe. Seriously, it’s my secret weapon for last-minute company or when I need a genuine dose of comfort after a chaotic Tuesday.
The magic isn’t just in the soft, cinnamon-spiced apples; nope! It’s about that topping—that glorious, uneven, buttery, crisp crunch that contrasts perfectly with the warm fruit underneath. My family demands this dessert, especially when we gather for autumn weekends. It’s simple, it’s traditional, and trust me, it’s perfect every single time. You can find more of my simple, family-approved techniques over on the main blog page!
Why This Classic Apple Crumble is Your New Favorite Fall Baking Recipe
You’re going to want to bookmark this one for every chilly evening. Why is this the recipe you should trust? Well, it checks all the right boxes for a truly cozy dessert:
- It’s incredibly quick—we’re talking under an hour from start to finish!
- The texture is unbeatable: jammy, spiced apples layered under that golden, buttery topping.
- It requires ingredients you almost always have on hand, making it a perfect ‘quick apple dessert.’
- This **apple crumble** proves that simple comfort food is always the best food.
If you love the easy crumb approach, you might also adore my easy apple cobbler recipe for a change of pace!
Ingredients Needed for the Best Apple Crumble
Okay, look at this ingredient list! It’s so short, which is what makes this such a reliable, go-to recipe time after time. We aren’t hiding flavor behind twenty different things; we are celebrating the apple and a perfect, rustic topping. Remember, using those firm, tart apples means our filling stays chunky, not mushy, which is key for any great **delicious apple dessert**.
For the fruit base, you’ll need:
- 6 medium cooking apples (Granny Smith or Honeycrisp are my favorites—they hold up beautifully!)
- 1/4 cup granulated sugar (just to help the apples release their juices)
- 1 heaping teaspoon ground cinnamon
- 1 tablespoon fresh lemon juice (gotta stop those apples from turning brown!)
And for the star of the show—the buttery crumble topping:
- 1 cup all-purpose flour
- 1/2 cup cold unsalted butter, cut into little cubes—this is important!
- 1/2 cup packed light brown sugar (for that deep molasses flavor)
- 1/4 cup rolled oats (I toss these in for extra crunch, but feel free to skip if you want the absolute most *traditional* look!)
You can see more simple steps for preparing cooked apples on my tender baked apple page if you want to give those a try sometime!
How to Make This Easy Apple Crumble Step-by-Step
Putting this together is half the fun, and honestly, it’s so fast you’ll wonder why you ever bought a bagged dessert. First things first: get your oven preheated to 375°F (190°C) and make sure you’ve greased up your 8×8 inch baking dish. We want zero sticking drama later!
Preparing the Spiced Apple Filling for Your Apple Crumble
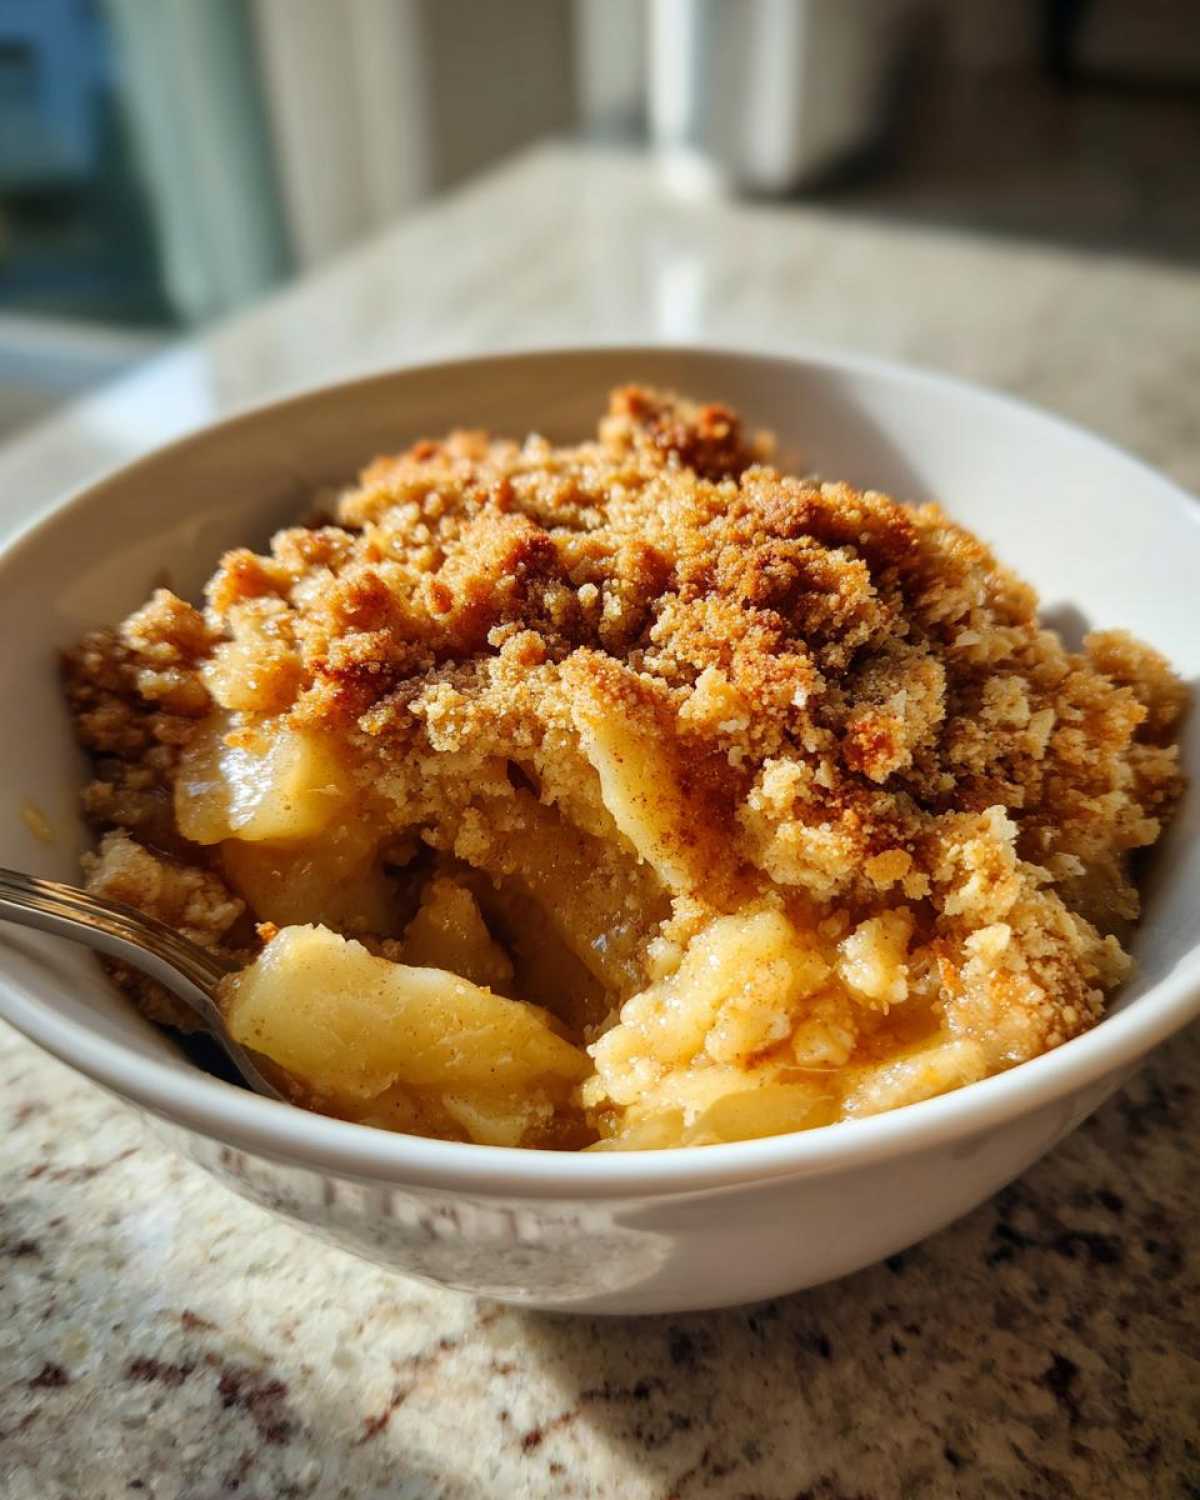
Grab those apples, peel, core, and slice ‘em up right to about a half-inch thick. Toss those beauties in a bowl with the white sugar, that warm cinnamon, and the lemon juice. The lemon is our secret weapon here; it keeps the apples looking bright and fresh while they bake. Once everything is coated nicely, spread that spiced layer evenly across the bottom of your prepared dish. They should look invitingly layered, ready for their crunchy blanket!
Creating the Buttery Crumble Topping
Now for the best part! In a totally separate bowl, whisk together the flour and the brown sugar. Then, toss in those cold butter cubes. This is where you need your fingers! Rub the butter into the dry mix. Seriously, use your fingertips—you want to squish and pinch until it looks like coarse sand, maybe a few pebble-sized pieces left over. If you’re adding those oats, stir them in right now. Don’t think too hard about it; the messier the topping looks, the crispier it will be!
Baking and Cooling the Apple Crumble
Evenly scatter that chunky crumble mixture right over the apples until they’re completely covered. Pop the whole thing into that hot oven for about 35 to 45 minutes. You’re looking for two things: the topping should be deep golden brown, and you should see the apple filling bubbling up thick and hot around the edges. This tells you it’s done! But hold on—you absolutely must let it rest for at least 15 minutes once it comes out. Those precious few minutes let the saucy apple filling set up just right. My tips for keeping things from going soggy are over on the mayo recipe page, which might seem random but baking science is baking science!
Tips for Achieving the Crispiest Buttery Crumble Topping
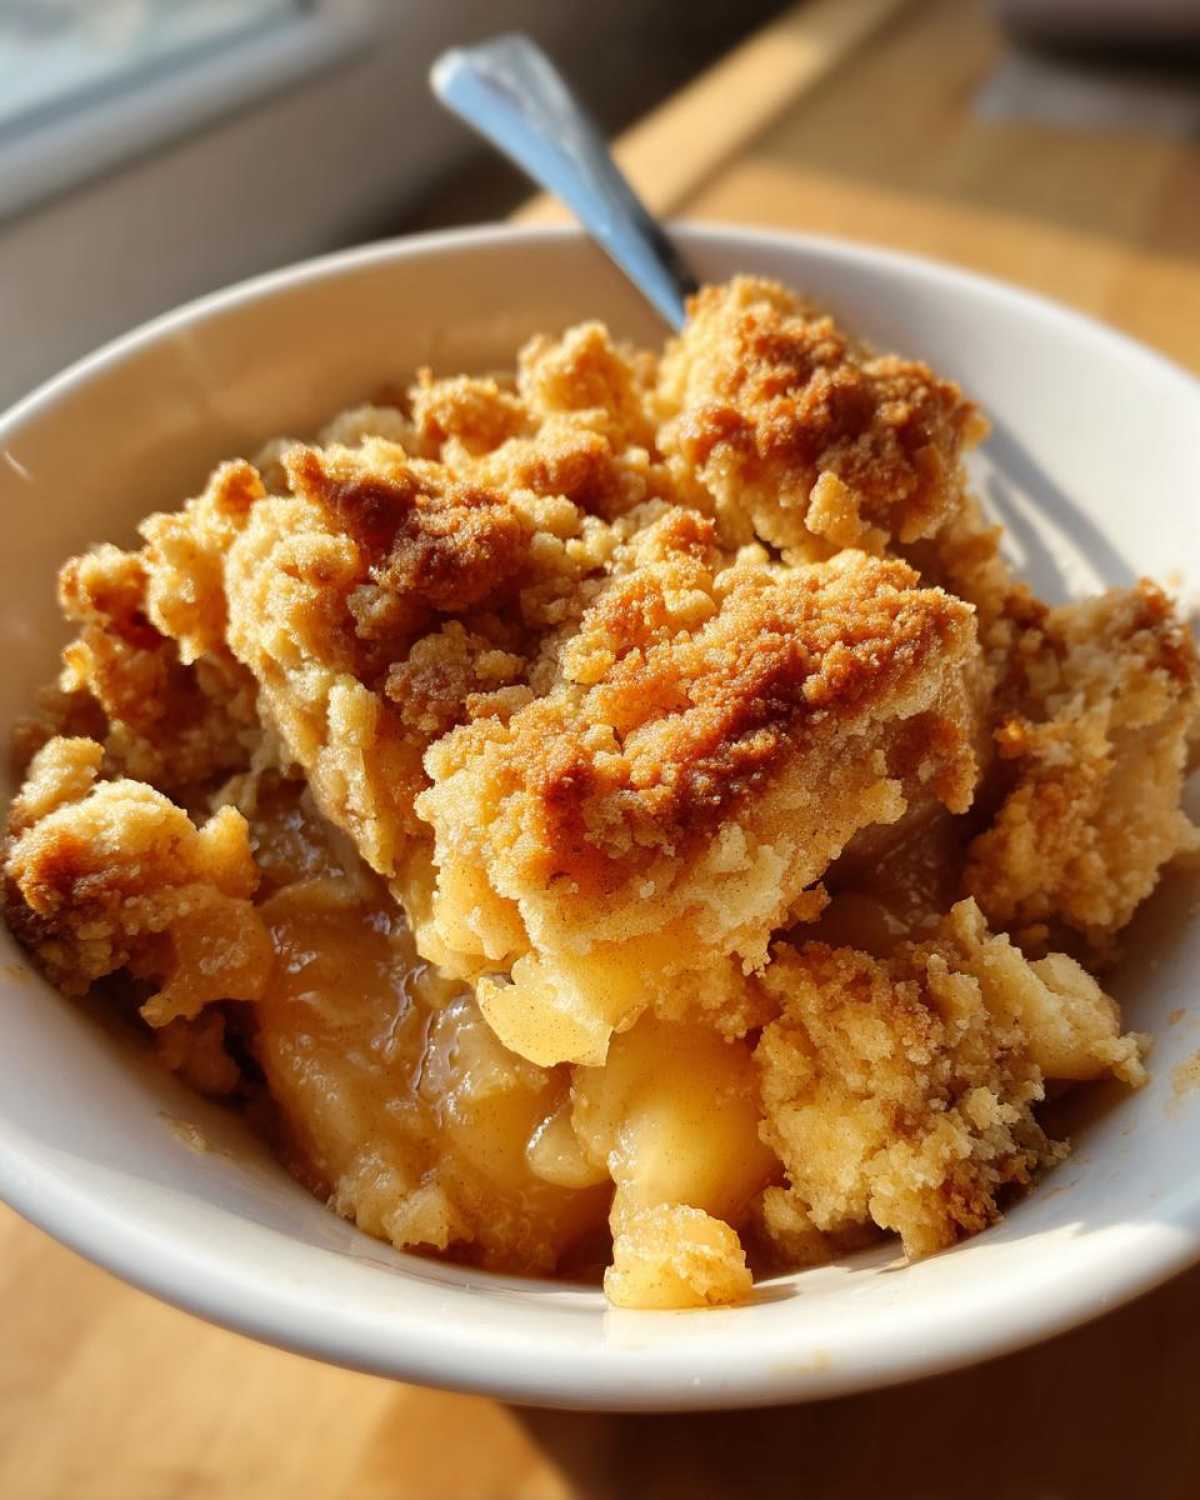
Okay, this is the make-or-break moment for any fantastic **apple crumble**. Lots of people end up with a topping that’s just a little bit soggy or just turns into a solid, hard lid, and that’s because of two very simple things we need to control: temperature and handling!
Rule number one, which you saw in the recipe: your butter MUST be icy cold. And I mean straight-from-the-fridge cold, cut into those little cubes. When the cold butter hits the warm oven air, it creates steam pockets. Those steam pockets are what lift the flour and sugar mixture up, giving you that beautiful, irregular, crunchy texture we are obsessed with.
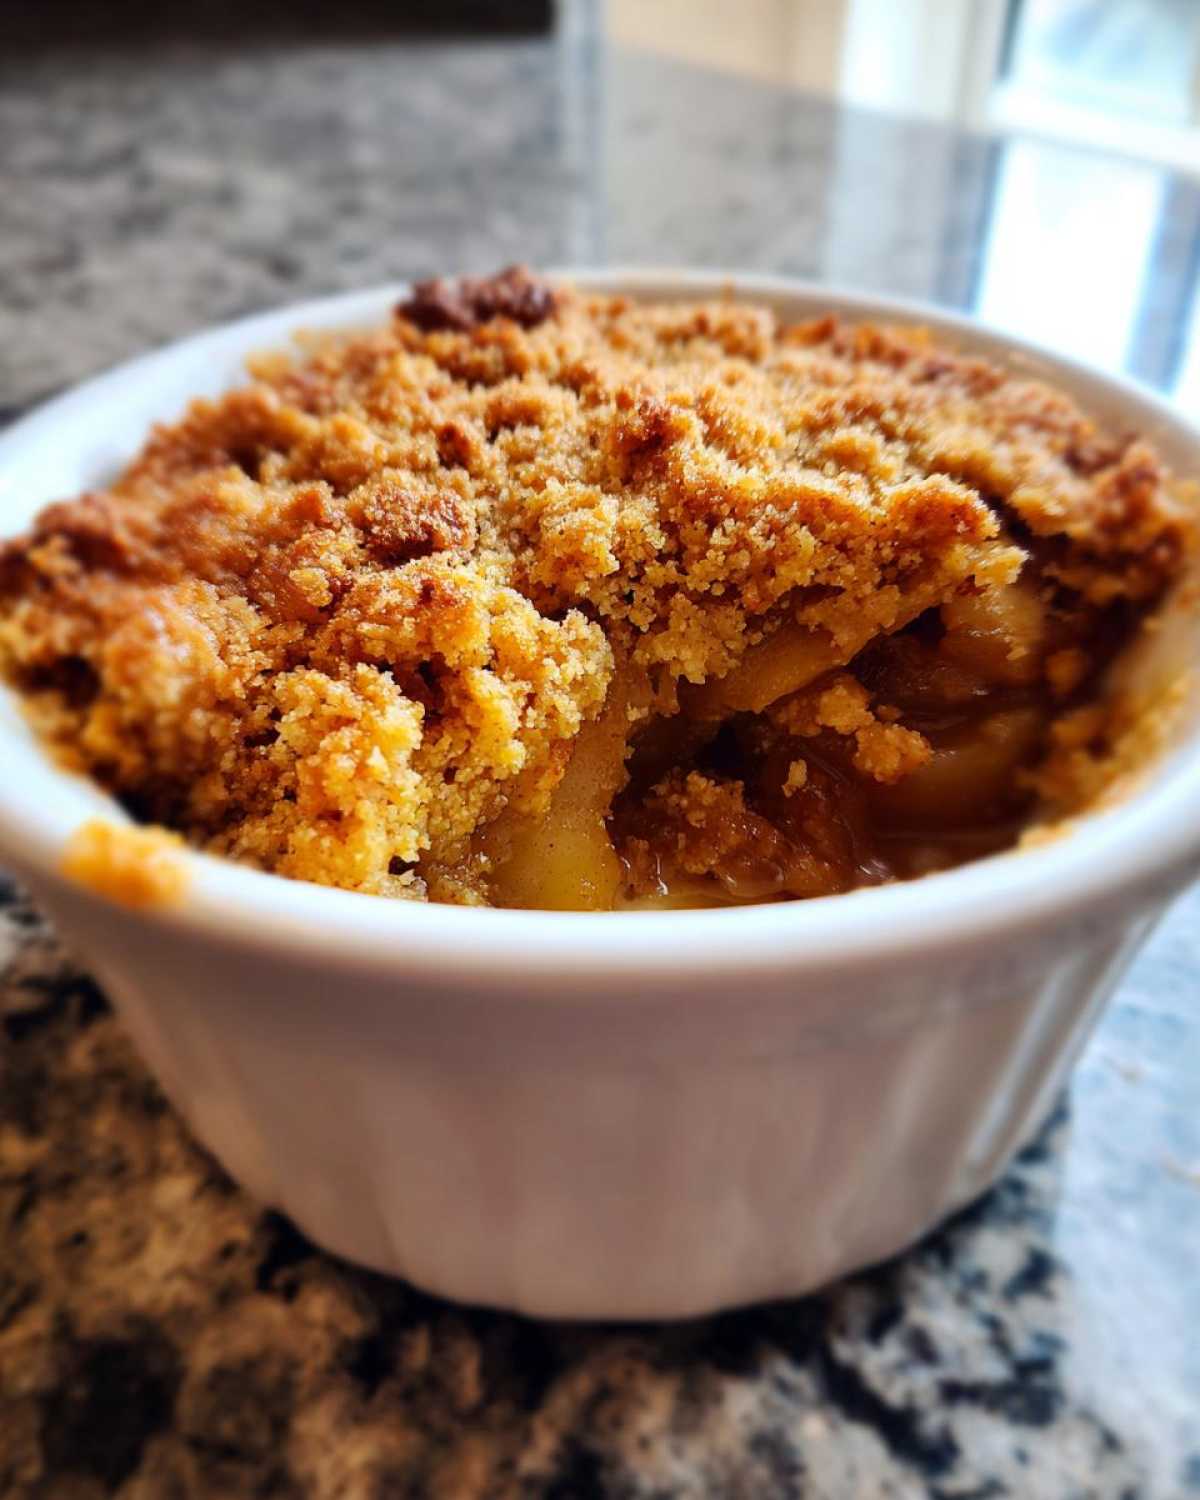
Rule number two is that you absolutely cannot overwork this mixture once the butter is in there. Resist the urge to mix it until it’s smooth! You’re looking for coarse crumbs, like slightly damp sand with some pea-sized chunks still visible. If you mix until it’s uniform, you’ve essentially made hard butter cookies instead of crispy crumble.
If you keep that butter cold and don’t overmix, you’ll get that incredible contrast we talked about. If you want even *more* texture hints, I’ve got a great post on my garlic butter recipe where I talk about emulsification, which is kind of the reverse of what we are doing here, but the “keep it cold” rule stays the same!
Apple Crumble vs. Apple Crisp: Understanding the Difference
I get asked this all the time, especially when people are looking for the perfect *fall baking recipes*! It’s easy to mix up an **apple crumble** and an apple crisp, but there’s one main, simple difference that separates them. If you look at my recipe above, you’ll see I included oats as an optional addition—that’s where the distinction lies!
A true, traditional **classic apple crumble**, like the **delicious apple dessert** I shared, relies only on that mixture of flour, sugar, and butter piled on top. It’s rustic, it’s simple, and it gives you that pure buttery crunch.
An apple *crisp*, however, always includes oats (and sometimes nuts!) in the topping. That combination gives the crisp a nuttier flavor and a slightly rougher, crunchier texture overall. So, if you skip the oats, you have a pure **homemade apple crumble**! If you toss them in, you slip right over into crisp territory. Either way, it’s a fantastic **spiced apple dessert**! If you want to try the crisp version, I’ve got that recipe waiting for you over here: Apple Crisp Recipe.
Serving Suggestions for Your Warm Apple Crumble
What’s almost as good as the warm, spiced apples cooling slightly beneath that crunchy topping? Whatever you smother it in next! This is where your **comfort food dessert** really shines. The absolute classic pairing—the one that everyone expects—is a big scoop of really good vanilla ice cream melting slowly over the top. That hot-cold contrast is glorious!
But if you’re feeling a touch more traditional, a drizzle of cold heavy cream works perfectly, letting that sweetness soak right into the crumble. For a little extra wow factor, try serving it with my creamy honey butter—a tiny dollop melts beautifully and adds a surprising sweetness to the tart apples. Enjoy it right out of the dish; it’s truly best when it’s served bubbling hot!
Storage and Reheating Instructions for Homemade Apple Crumble
Now, this **homemade apple crumble** is so good, you might have leftovers—gasp! Don’t fret about leftovers; they are just tomorrow’s easy lunch! Cover the dish tightly with foil or plastic wrap. If you’re eating it the next day, the fridge is best, especially since we have all that butter in the topping. It generally keeps well for about three or four days.
The crucial thing is reheating. Please, please—do not stick this in the microwave! The microwave will turn that perfect, crisp topping into a sad, soggy blanket. The best way to revive it and get that wonderful crunch back is to pop it into a slightly preheated oven at 325°F for about 10 minutes, or use your air fryer for 4-5 minutes. It heats the apples evenly and crisps up the topping beautifully.
If you want to see how to get leftover baked apples firm and perfectly spiced again, check out my tips for easy baked apples; the reheating concepts are similar!
Frequently Asked Questions About Making Apple Crumble
It’s funny how something so simple, like an **easy apple crumble**, can still bring up a few questions! Cooking is all about solving little puzzles, and I’m happy to share what I’ve learned over the years to make sure your dessert is absolutely perfect.
What is the best type of apple to use for apple crumble?
You absolutely need an apple that holds its shape when it bakes so you get those lovely chunks of fruit instead of apple mush! My go-to choices are Granny Smith because they are tart and firm, or Honeycrisp if you prefer something a little sweeter but still structurally sound. If you mix varieties, you get a lovely flavor complexity, too. Basically, stick to firm, slightly tart cooking apples for the best result in your **spiced apple dessert**!
Can I make this apple crumble ahead of time?
You certainly can assemble this ahead of time, which is great for busy days! I assemble the whole thing—apples layered, topping scattered—and then cover it tightly in the fridge for up to 12 hours. When you’re ready to bake, just add about 5 to 10 minutes onto the total cooking time since the dish will be cold going into the preheated oven. It’s the perfect make-ahead strategy!
How do I prevent the crumble topping from burning before the apples are soft?
This is a classic issue, especially if your apples were particularly chunky! If you notice the topping is getting dark brown—like, really dark—way before the sides look bubbly, just grab a small sheet of aluminum foil and loosely tent it over the dish. The foil shields the topping from direct heat while letting the heat wrap around and soften those apples. Take the foil off for the last five minutes if you need a bit more browning.
If you’ve made this and had success, check out my **awesome 30-minute spaghetti pie comfort** recipe next—it’s another quick win for feeding the family! You can find more of my comforting recipes right here: awesome 30-minute spaghetti pie comfort.
Nutritional Estimates for this Classic Apple Crumble
Now, I know my grandmother wasn’t weighing out ingredients on a little digital scale back in the day—she cooked with her heart! But for those of you who like to keep track, I ran the numbers for this recipe to give you a rough idea of what you’re digging into. Remember, this is based on using standard ingredients and yields 6 generous servings.
Here are the ballpark figures for one serving of this amazing **classic apple crumble**:
- Calories: About 350
- Total Fat: Around 18g (A lot of that is that glorious cold butter, which is worth every bite!)
- Carbohydrates: Roughly 48g
- Sugar: About 30g (A mix of brown and white sugar, plus the apples, of course)
- Protein: About 4g
See? It’s really not terrible for a rich, warm baked dessert. If you’re looking for more savory comfort foods that pack a punch of flavor without too much fuss, you might enjoy my easy creamy beer cheese dip recipe! Just don’t forget that this crumble pairs perfectly with a nice scoop of homemade ice cream!
PrintClassic Easy Apple Crumble

Make a traditional apple crumble with tender, spiced apples and a buttery, crisp topping. This recipe is simple and perfect for a comforting dessert.
- Prep Time: 15 min
- Cook Time: 40 min
- Total Time: 55 min
- Yield: 6 servings
- Category: Dessert
- Method: Baking
- Cuisine: British
- Diet: Vegetarian
Ingredients
- 6 medium cooking apples (like Granny Smith or Honeycrisp)
- 1/4 cup granulated sugar (for apples)
- 1 teaspoon ground cinnamon
- 1 tablespoon lemon juice
- 1 cup all-purpose flour
- 1/2 cup cold unsalted butter, cut into cubes
- 1/2 cup packed light brown sugar (for topping)
- 1/4 cup rolled oats (optional, for extra crunch)
Instructions
- Preheat your oven to 375°F (190°C). Lightly grease an 8×8 inch baking dish.
- Peel, core, and slice the apples into half-inch pieces. Place them in a large bowl.
- Toss the apples with the 1/4 cup granulated sugar, cinnamon, and lemon juice. Spread the mixture evenly into the prepared baking dish.
- Prepare the crumble topping: In a separate bowl, combine the flour and 1/2 cup brown sugar.
- Add the cold butter cubes to the flour mixture. Use your fingertips or a pastry blender to cut the butter into the dry ingredients until the mixture resembles coarse crumbs. If using oats, mix them in now.
- Sprinkle the crumble topping evenly over the apples, covering them completely.
- Bake for 35 to 45 minutes, or until the topping is golden brown and the apple filling is bubbling thickly around the edges.
- Let the crumble cool for at least 15 minutes before serving warm.
Notes
- For the crispiest topping, keep the butter very cold when mixing. Do not overwork the topping mixture.
- Serve this warm dessert with vanilla ice cream or heavy cream.
- If your apples are very tart, increase the granulated sugar in the apple layer by one tablespoon.
Nutrition
- Serving Size: 1 serving
- Calories: 350
- Sugar: 30g
- Sodium: 50mg
- Fat: 18g
- Saturated Fat: 11g
- Unsaturated Fat: 7g
- Trans Fat: 0g
- Carbohydrates: 48g
- Fiber: 4g
- Protein: 4g
- Cholesterol: 45mg
