

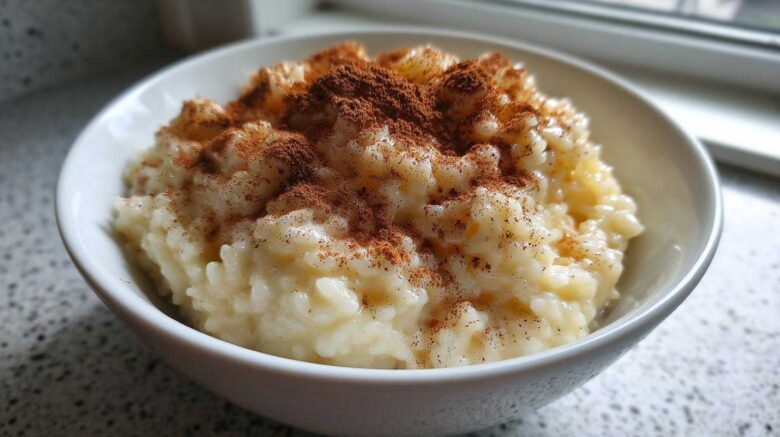
The Ultimate Creamy Old-Fashioned Stovetop Rice Pudding
This is the dish that reminds me of those late nights at Savory Skies. We’re making the ultimate creamy, old-fashioned stovetop rice pudding. It’s pure comfort food. Chef Tariq showed us this method years ago. It proves simple ingredients make the best meals. It’s perfect warm or cold.
Why This Creamy Rice Pudding Recipe Works
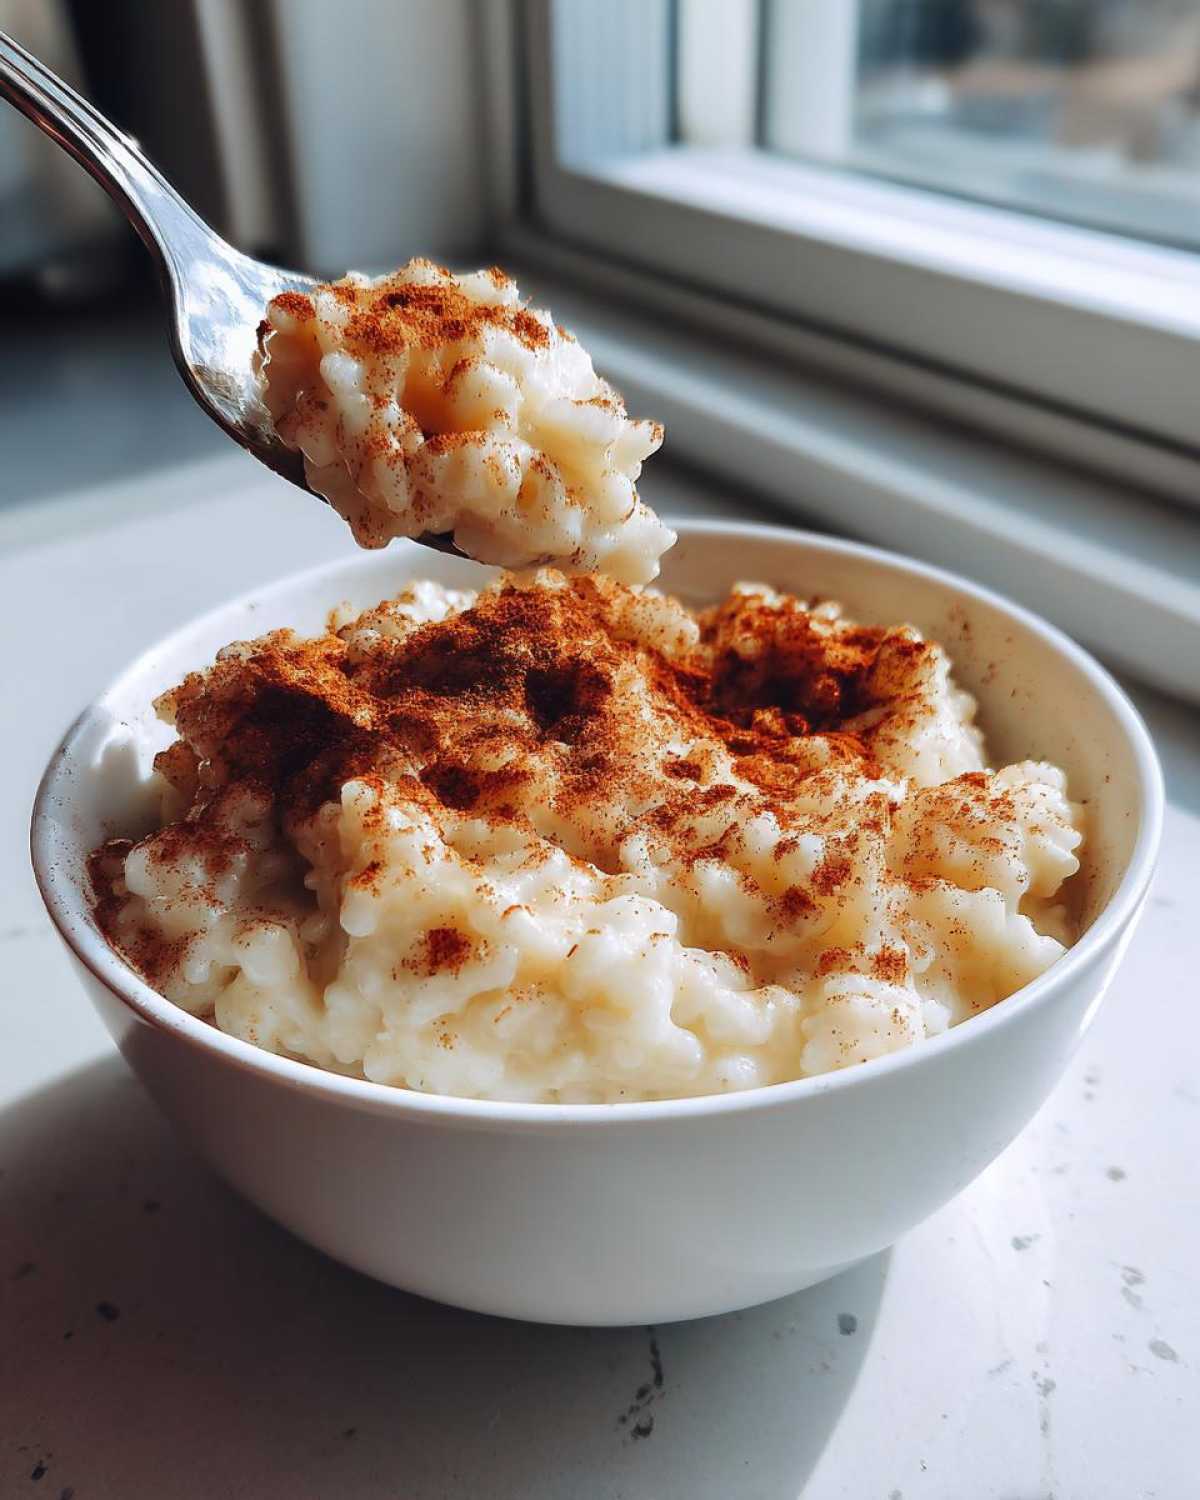
Chef Tariq’s wisdom guides this recipe. He insists on using short-grain white rice. That rice releases starch slowly. This is the secret to true creaminess. We cook it slowly on the stovetop. This long, slow simmer breaks down the grains perfectly. It creates that luxurious, thick texture you crave. It’s technique over speed, every time.
Quick Facts About This Old-Fashioned Rice Pudding
Here are the key details you need up front. This recipe is simple but needs patience.
- Prep Time: 5 minutes
- Cook Time: 65 minutes
- Total Time: 70 minutes
- Yield: 4 servings
- Category: Dessert
- Method: Stovetop
Gathering Your Ingredients for Classic Rice Pudding
To make this incredible stovetop pudding, you need just a few simple things. Don’t let the short ingredient list fool you. Each item plays a huge role. Getting these right means your classic rice pudding will be a success. I always lay everything out first. This habit saves so much stress later on.
Ingredient Clarity and Preparation
We need quality ingredients for that old-fashioned taste. Remember, Amara always says good ingredients sing the loudest.
- 1 cup short-grain white rice. Chef Tariq insists on this!
- 4 cups whole milk. Use the whole milk for richness.
- 1/2 cup granulated sugar. This sweetens it just right.
- 1 large egg, beaten. Make sure it’s fully whisked up.
- 1 teaspoon vanilla extract. Use real vanilla if you can.
- Pinch of salt. This brightens all the other flavors.
- Ground cinnamon, for topping. Save this for the very end.
Equipment Needed for Perfect Stovetop Rice Pudding
You don’t need fancy gadgets for this dish. Good tools make cooking easier. Having the right pots prevents sticking. This helps create the best rice pudding possible. Let’s look at what you need ready to go.
Essential Tools for Success
These items are crucial for our stovetop method. They help manage the slow cooking.
- A heavy-bottomed saucepan. This is non-negotiable for even heat.
- A whisk. You need this for tempering the egg later.
- Measuring cups and spoons. Precision matters for the right consistency.
- A sturdy wooden spoon. Great for frequent stirring.
Step-by-Step Instructions for Your Old-Fashioned Rice Pudding
Now for the fun part. We turn simple ingredients into magic. Follow these steps closely. You are making amazing rice pudding right now. Patience is your best friend here.
Starting the Base
Grab your heavy-bottomed saucepan now. Add the rice, whole milk, and salt. Put this on medium heat gently. Bring the mixture to a slow simmer. Stir often while heating this up. This constant stirring stops rice sticking. Scorching the bottom ruins the whole dish. We want smooth cooking always.
The Slow Cook for Creaminess
Once it simmers gently, lower the heat. Keep it on low heat now. Cook this uncovered for about an hour. That means 45 to 60 minutes total. Stir the pot every five to ten minutes. This slow process builds the creamy texture. The pudding will thicken a lot. You will see the rice swell up nicely.
Tempering the Egg Safely
This step needs your full focus, friend. Take the pot off the heat source. Now, slowly temper your beaten egg. Whisk a tiny bit of hot pudding into the egg first. Do this very slowly while whisking the egg hard. Then, pour that tempered egg back into the main pot. Stir everything together well for one minute. Do not return the mixture to a boil after adding the egg. This prevents scrambling the egg.
Finishing and Resting the Rice Pudding
Stir in your vanilla extract now. Mix it through the whole batch. Let the pudding stand for five minutes off the heat. It will thicken up even more as it rests. This resting time locks in the flavor. Enjoy that wonderful aroma filling your kitchen.
Tips for the Best Creamy Rice Pudding Texture
We’ve come so far making this wonderful dessert. Getting that ultimate creamy rice pudding takes a little finesse. Chef Tariq shared a few golden rules with us. Follow these tips closely. They separate good pudding from truly great pudding. I learned these the hard way, believe me!
Chef Tariq’s Secrets for Smooth Results
These small details make a huge difference in the final outcome. Keep these points close when you cook.
- Always pick short-grain rice. It holds the moisture better. This gives you that signature velvety feel.
- Stir frequently during the simmer time. This is not optional, folks. It creates silkiness.
- If it gets too thick after cooling, don’t panic. Just stir in a splash of cold milk. It loosens right up.
- Never rush the low-heat cooking phase. That slow reduction is where the magic happens. Trust the process here.
Serving Suggestions for Your Comfort Dessert
This creamy rice pudding is wonderful no matter how you serve it. It truly is flexible comfort food. I love how it changes character based on temperature. Do you prefer a cozy hug or a cool treat? We have ideas for both ways to enjoy this classic dessert.
Warm vs. Chilled Presentation
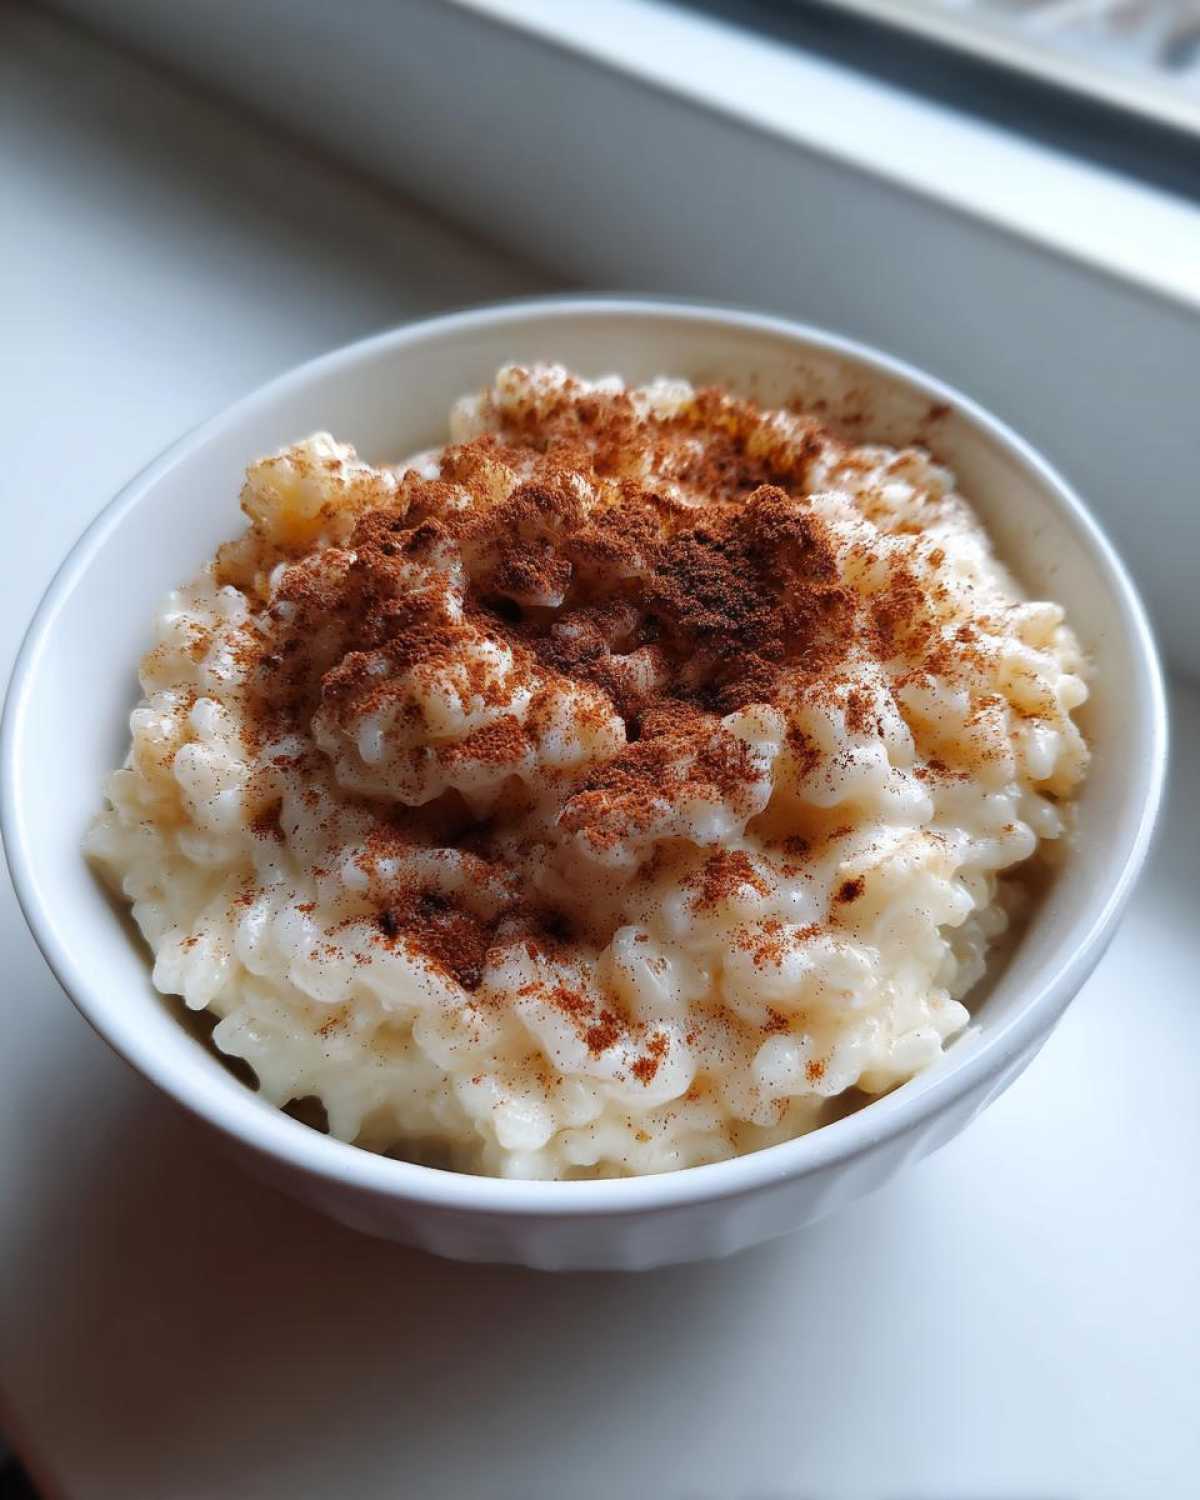
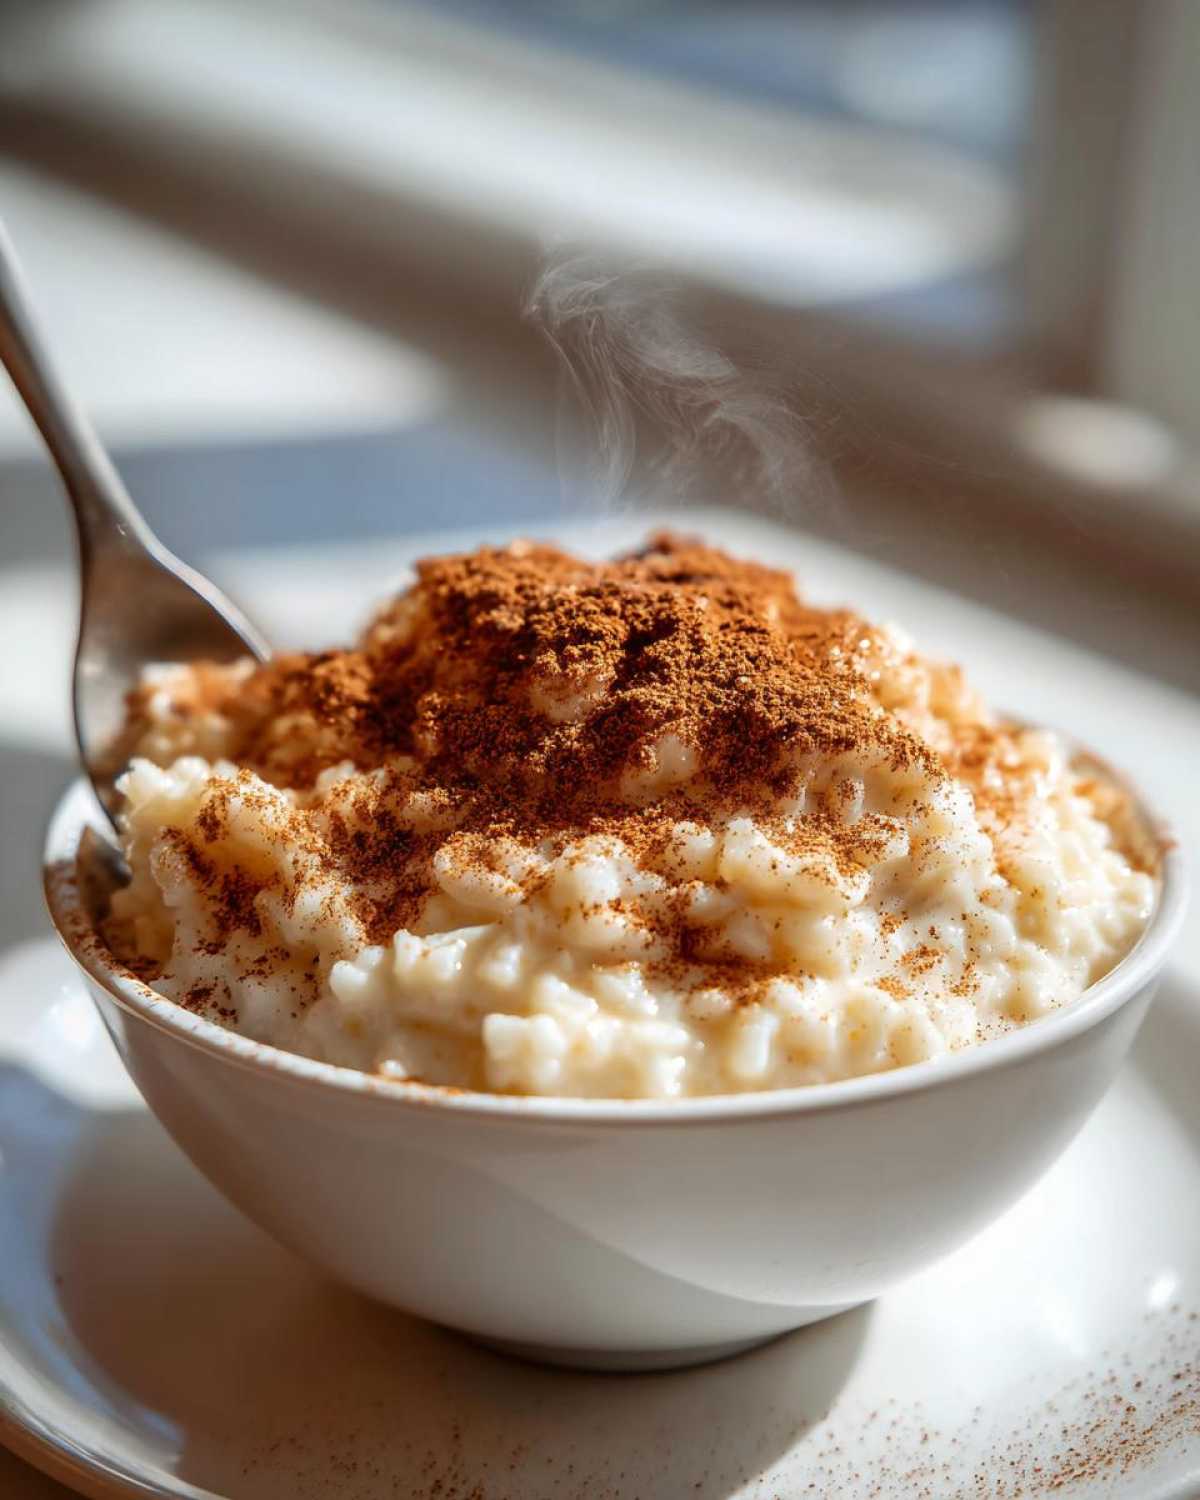
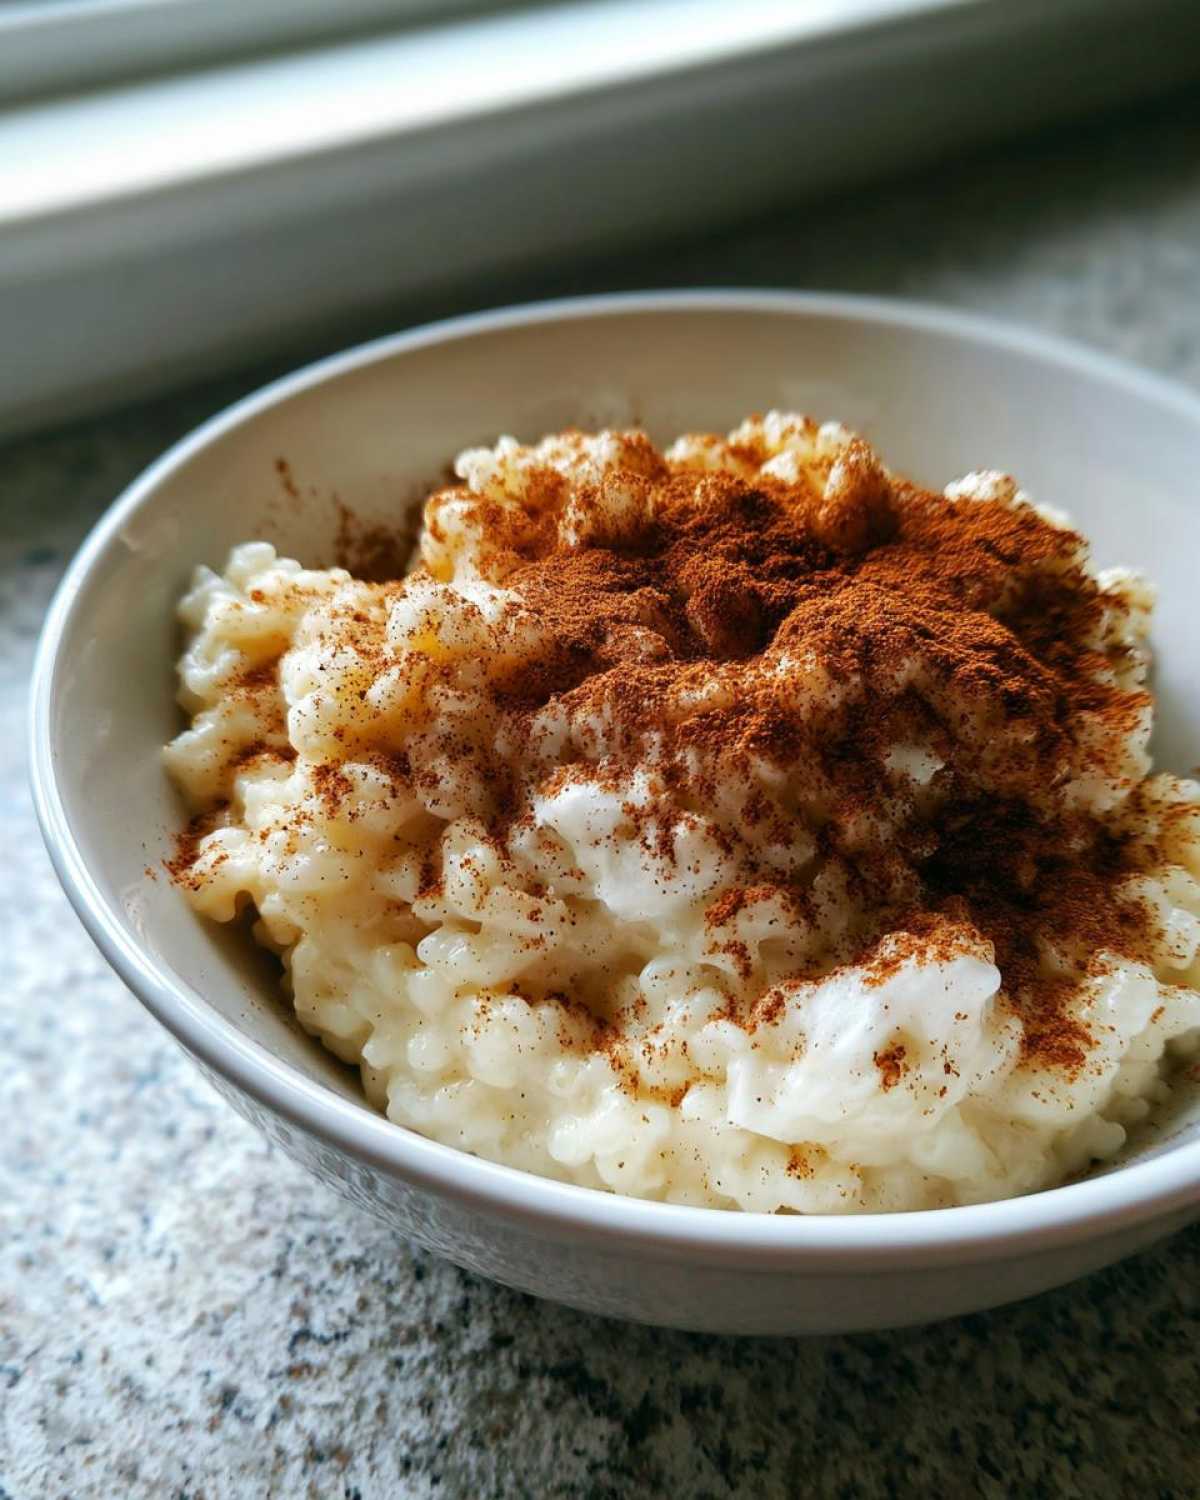
Serving it warm straight from the stove is pure nostalgia. That warm scent fills the house immediately. Sprinkle a generous layer of ground cinnamon right on top. The steam releases the spice aroma beautifully. If you chill it, the pudding firms up nicely. It becomes almost like a dense custard. A chilled serving is perfect for a hot evening.
Flavor Variations
While the classic flavor is perfect, feel free to play a little. I always encourage that spark of curiosity Leo brings! Try adding a tiny bit of freshly grated nutmeg. Nutmeg pairs wonderfully with the vanilla. Lemon zest offers a bright, unexpected lift. Just a small amount brightens the whole dish. Remember, this homemade rice pudding belongs to you now.
Frequently Asked Questions About Rice Pudding
I know you might have a few lingering thoughts. Cooking is all about practice. Asking questions is how we learn best. Let’s clear up some common confusion about this classic rice pudding.
Common Questions Answered
Here are the answers to things I hear most often.
Can I use long-grain rice instead?
I strongly advise against it for this recipe. Long-grain rice won’t release enough starch. You won’t get that truly creamy rice pudding texture. Stick to short-grain or arborio rice for best results. Arborio rice is often used in risotto, which shares similar starch release properties.
How long does this stovetop pudding keep?
Store leftovers in an airtight container in your fridge. It stays good for about four days. Remember to stir in a little milk before reheating if it gets stiff.
Can I reduce the sugar amount?
Yes, you absolutely can reduce the sugar. Start by cutting it to 1/3 cup. Taste it before serving. You can always add more later. I wouldn’t go lower than that, though.
My pudding seems too thin when I take it off the heat. What gives?
Don’t worry at all! This is normal for stovetop pudding. It thickens significantly as it cools down. Let it rest fully. It sets up beautifully as it loses heat.
Nutritional Overview
We love that this recipe brings comfort. But sometimes we need to know what we are eating. Here is an estimated breakdown for our classic rice pudding. Please remember these numbers are just a guide. Cooking times and exact ingredient amounts change things slightly. This data reflects one serving size from the total yield.
Estimated Nutritional Data
This is based on the ingredients listed above. Enjoy this delicious treat responsibly!
- Serving Size: 1/4 of recipe
- Calories: Approx. 350
- Carbohydrates: Approx. 58g
- Protein: Approx. 11g
- Fat: Approx. 8g
5 Brilliant Old-Fashioned Rice Pudding Secrets

You will create the ultimate creamy, old-fashioned stovetop rice pudding, just like Chef Tariq taught us. This recipe delivers pure comfort using simple ingredients. Serve it warm for a nostalgic treat or chilled for a cool dessert.
- Prep Time: 5 minutes
- Cook Time: 65 minutes
- Total Time: 70 minutes
- Yield: 4 servings
- Category: Dessert
- Method: Stovetop
- Cuisine: American/Classic
- Diet: Vegetarian
Ingredients
- 1 cup short-grain white rice
- 4 cups whole milk
- 1/2 cup granulated sugar
- 1 large egg, beaten
- 1 teaspoon vanilla extract
- Pinch of salt
- Ground cinnamon, for topping
Instructions
- Combine the rice, milk, and salt in a heavy-bottomed saucepan.
- Bring the mixture to a gentle simmer over medium heat, stirring often to prevent scorching the bottom.
- Reduce the heat to low. Cook uncovered for 45 to 60 minutes, stirring every 5 to 10 minutes, until the rice is tender and the pudding has thickened considerably.
- Remove the saucepan from the heat. Slowly temper the beaten egg by whisking a small amount of the hot pudding mixture into the egg.
- Pour the tempered egg mixture back into the saucepan, stirring constantly for one minute. Do not return the mixture to a boil after adding the egg.
- Stir in the vanilla extract.
- Let the pudding stand for 5 minutes to cool slightly. It will thicken more as it cools.
- Serve warm, sprinkled generously with ground cinnamon, or chill completely before serving.
Notes
- Chef Tariq insists on short-grain rice for the best, creamiest texture.
- Stirring frequently is key to achieving a smooth, non-stick bottom result.
- If the pudding becomes too thick upon cooling, stir in a splash of milk to reach your desired consistency.
Nutrition
- Serving Size: 1/4 of recipe
- Calories: Approx. 350
- Sugar: Approx. 25g
- Sodium: Approx. 150mg
- Fat: Approx. 8g
- Saturated Fat: Approx. 4.5g
- Unsaturated Fat: Approx. 3.5g
- Trans Fat: 0g
- Carbohydrates: Approx. 58g
- Fiber: Approx. 1g
- Protein: Approx. 11g
- Cholesterol: Approx. 75mg
