

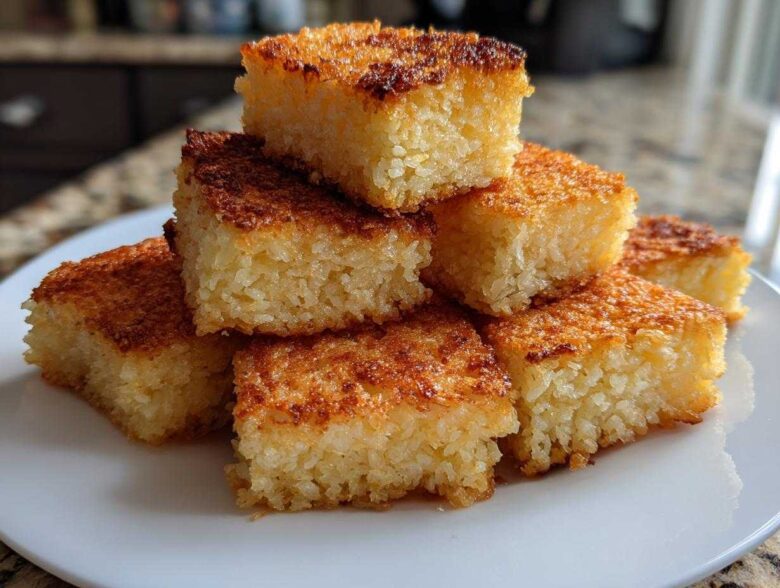
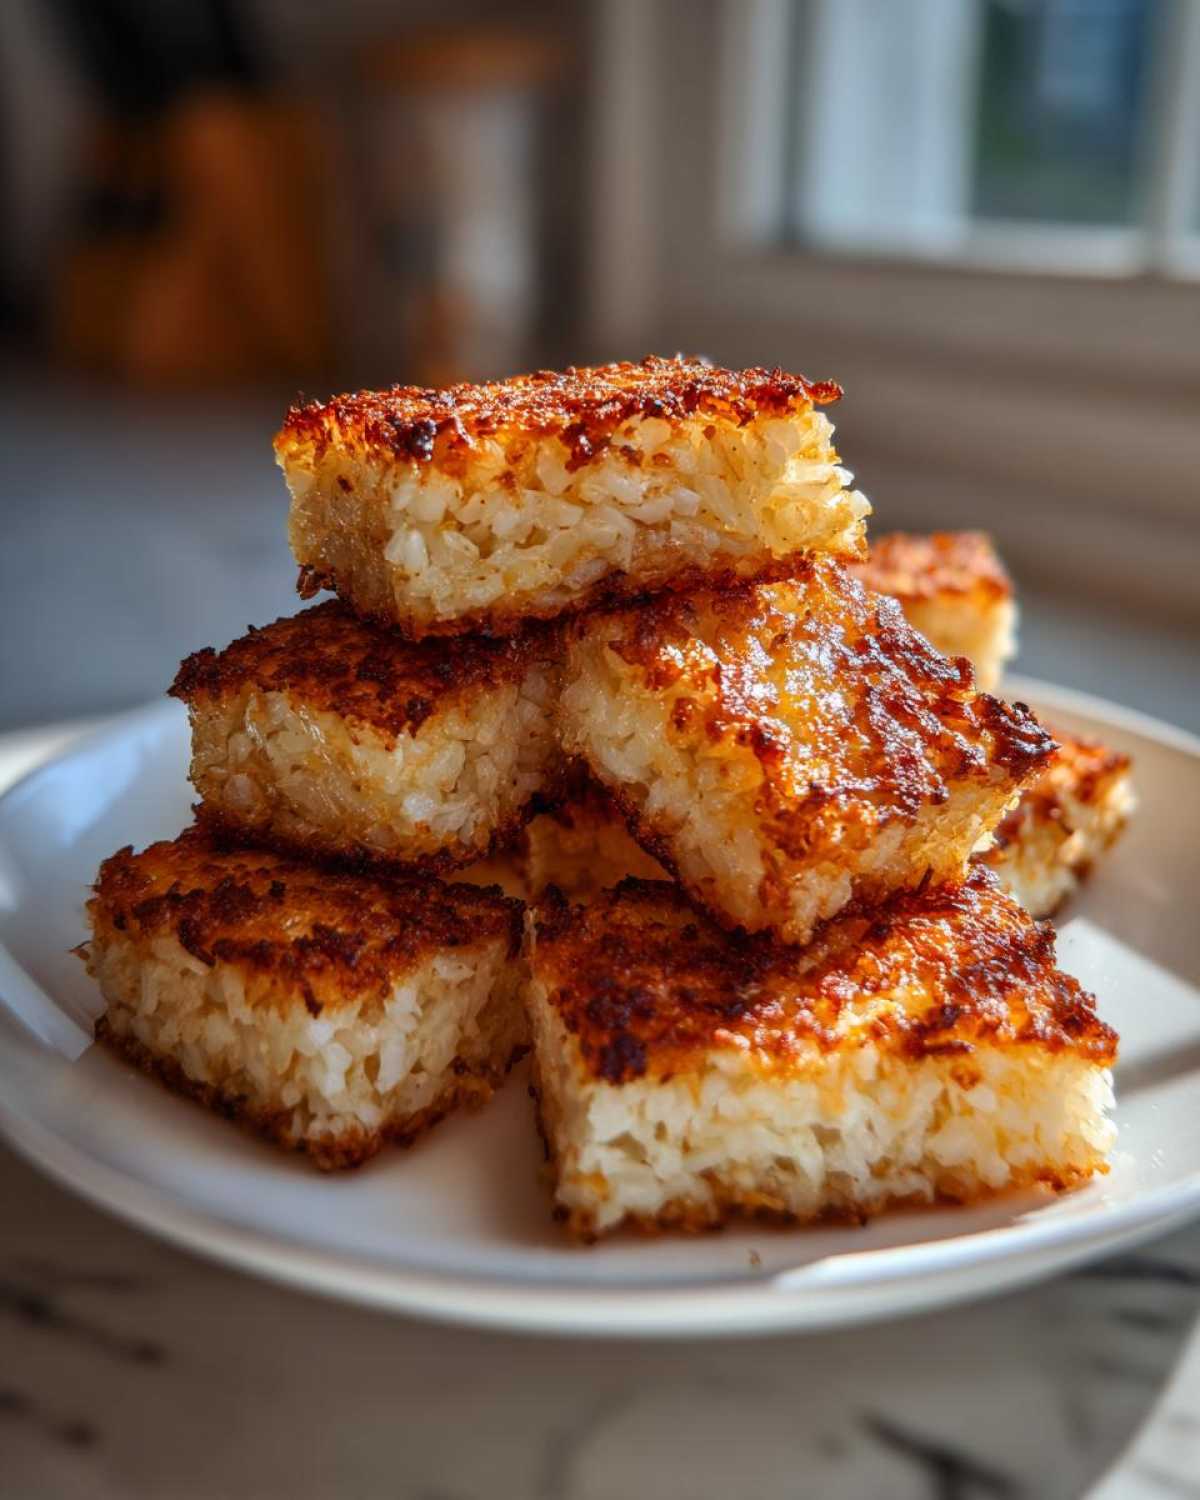
Oh my gosh, stop what you’re doing right now because we need to talk about texture. I mean, that perfect contrast—the sound of a genuine shattering crunch giving way to a soft, pillowy interior? It’s my absolute culinary obsession. If you’re hunting down that elusive, satisfying sound, you’ve come to the right place! I have cracked the code on making the most unbelievably perfect **crispy rice** squares, and I’m sharing every single technique that finally made mine work every time.
Forget those sad, floppy rice squares you might have tried before. This isn’t just *a* recipe; this is the definitive, foolproof guide to crispy rice perfection. We’re covering the essential chilling time (don’t skip it!), the right way to cut them—and yes, we are even going to dive into the secrets behind that famous Bobby Flay crispy rice tutorial that everyone is obsessing over online. Trust me, once you nail this basic pan-fried rice patty, your appetizer game changes forever!
Why This Method Guarantees Perfect Crispy Rice Every Time
This isn’t just about tossing some rice into a hot pan, oh no! If you try to fry sticky rice straight out of the pot, it’ll just turn into a gooey mess, and nobody has time for that disappointment. The real magic that separates my technique from the rest lies in two non-negotiable steps: the type of rice and the commitment to the full chill time. These things create the perfect internal structure you need. When you get this right, that crispy rice exterior fries up beautifully, golden brown and ready to hold any topping you throw on it.
If you manage the chilling step correctly, the rice compression locks everything in place, making the final frying stage shockingly easy. It’s all about preparation leading to that satisfying crunch.
The Best Rice for Crispy Rice Texture
You absolutely have to use short-grain sushi rice for this. Forget Basmati or Jasmine—they just don’t have the right starch content. We need that stickiness! When sushi rice cools down, those starches firm up and glue the grains together, giving you a solid block instead of a pile of loose seeds. Long-grain rice just crumbles away when you try to cut it, and that’s a tragedy we want to avoid in the kitchen!
Achieving the Ideal Crispy Rice Snack Density
This is where you earn your crust! Once the seasoned rice is in the lined pan, grab a measuring cup or a spatula and press down hard. I mean *press* like you mean it. You need serious compression to get that high density, which ensures you get that satisfying crunch rice when you bite into it later. If you think you’ve pressed it enough, press it another time. That hard block is what allows you to cut pristine squares that won’t fall apart in the hot oil.
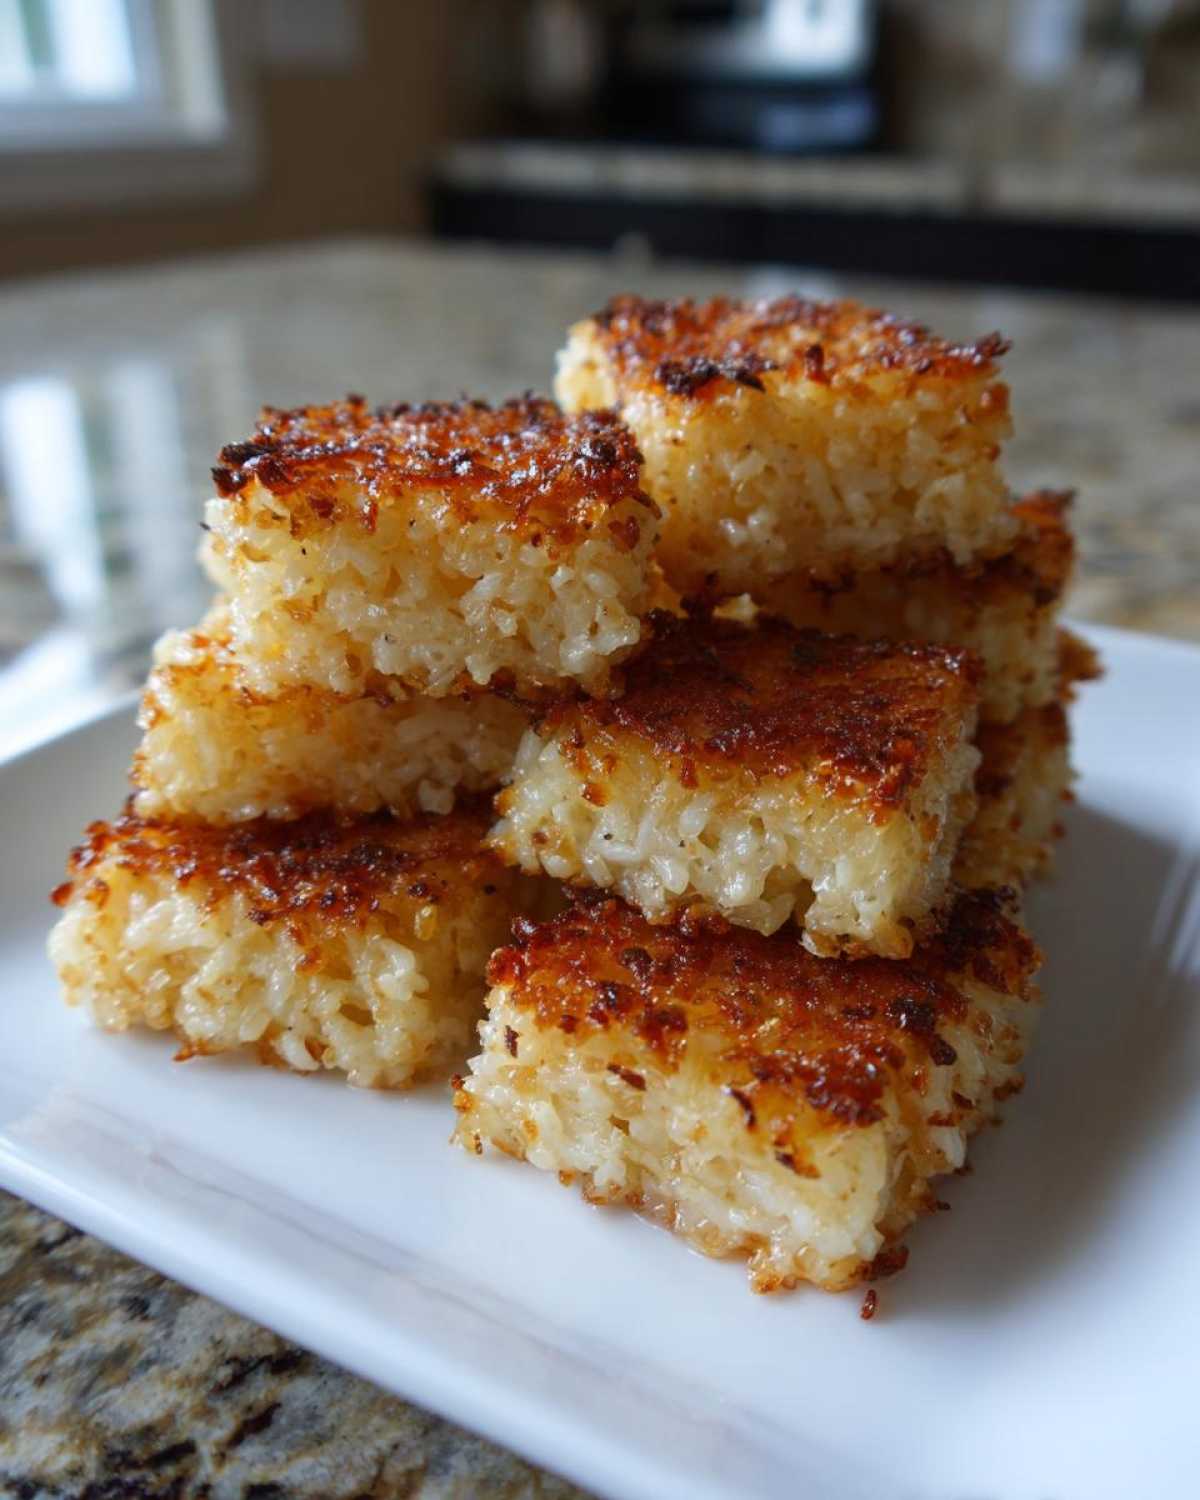
Essential Ingredients for Flavorful Crispy Rice
Okay, let’s talk about what you need before you even turn on the stove. Shopping for this is super straightforward, which I love, because complicated ingredient lists are the enemy of a satisfying snack! Remember, the final outcome really hinges on the quality and preparation of these basics.
You’ll need the cooked rice to be completely cooled down before we start the seasoning process. You also need a neutral oil—don’t get fancy here, we aren’t trying to flavor the crust right now, just crisp it! For the seasoning mix, we are building flavor fast, so make sure your sugar and salt are ready to dissolve right into that vinegar.
- 3 cups cooked short-grain sushi rice, cooled completely
- 1/4 cup rice vinegar
- 1 tablespoon sugar
- 1 teaspoon salt
- 1/4 cup neutral oil, like canola or vegetable, for frying
The best part about this list is that it’s all stuff most of us already have hanging out in the pantry! Just make sure your rice is the right kind—remember what I said about that starch content? It’s everything!
Step-by-Step Guide: How to Make Crispy Rice
Alright, buckle up because this is where we turn cool rice into gold! Learning how to make crispy rice is all about following the rhythm of the steps perfectly. We start with seasoning, move into the firm press, and finish with that glorious, sputtering fry. Don’t rush the chilling phase; seriously, that’s the secret handshake for success here. Once you get the hang of the timing, you’ll be cranking these out faster than you can say “satisfying crunch!”
Seasoning and Setting the Crispy Rice Base
First things first, grab your cooled rice. We need to season it evenly before it solidifies. In a tiny bowl, I whisk my rice vinegar, sugar, and salt together first—it helps the sugar dissolve completely so you don’t get crunchy pockets of undissolved sugar later on. Pour that mixture right over the rice and use a spatula to gently fold everything together. Don’t stir it like you’re aggressively mixing a curry; folding keeps the grains relatively intact but ensures every single grain gets that tangy, slightly sweet coating.
Next, line your 8×8 dish. I use plastic wrap—make sure you leave big flaps hanging over the sides so you can lift the whole thing out later! Press that seasoned rice into the bottom layer. I use the flat bottom of a measuring cup to make sure it’s perfectly flat and packed in tight. Cover it up and tuck that pan into the fridge. You need it to chill for a bare minimum of four hours, but honestly? Overnignt is way better for a super firm block. Patience pays off!
Frying for the Golden Brown Rice Recipe Finish
Once your rice block is rock solid, use those plastic wrap handles to lift it out onto a cutting board. Carefully slice it into uniform squares, about two inches wide. Now for the fun part! Get a big skillet on the stove over medium-high heat and pour in your neutral oil—you want a nice, shimmering layer, maybe covering the pan bottom almost like thin crepe batter. When test piece of rice sizzles immediately when it hits, the oil is ready.
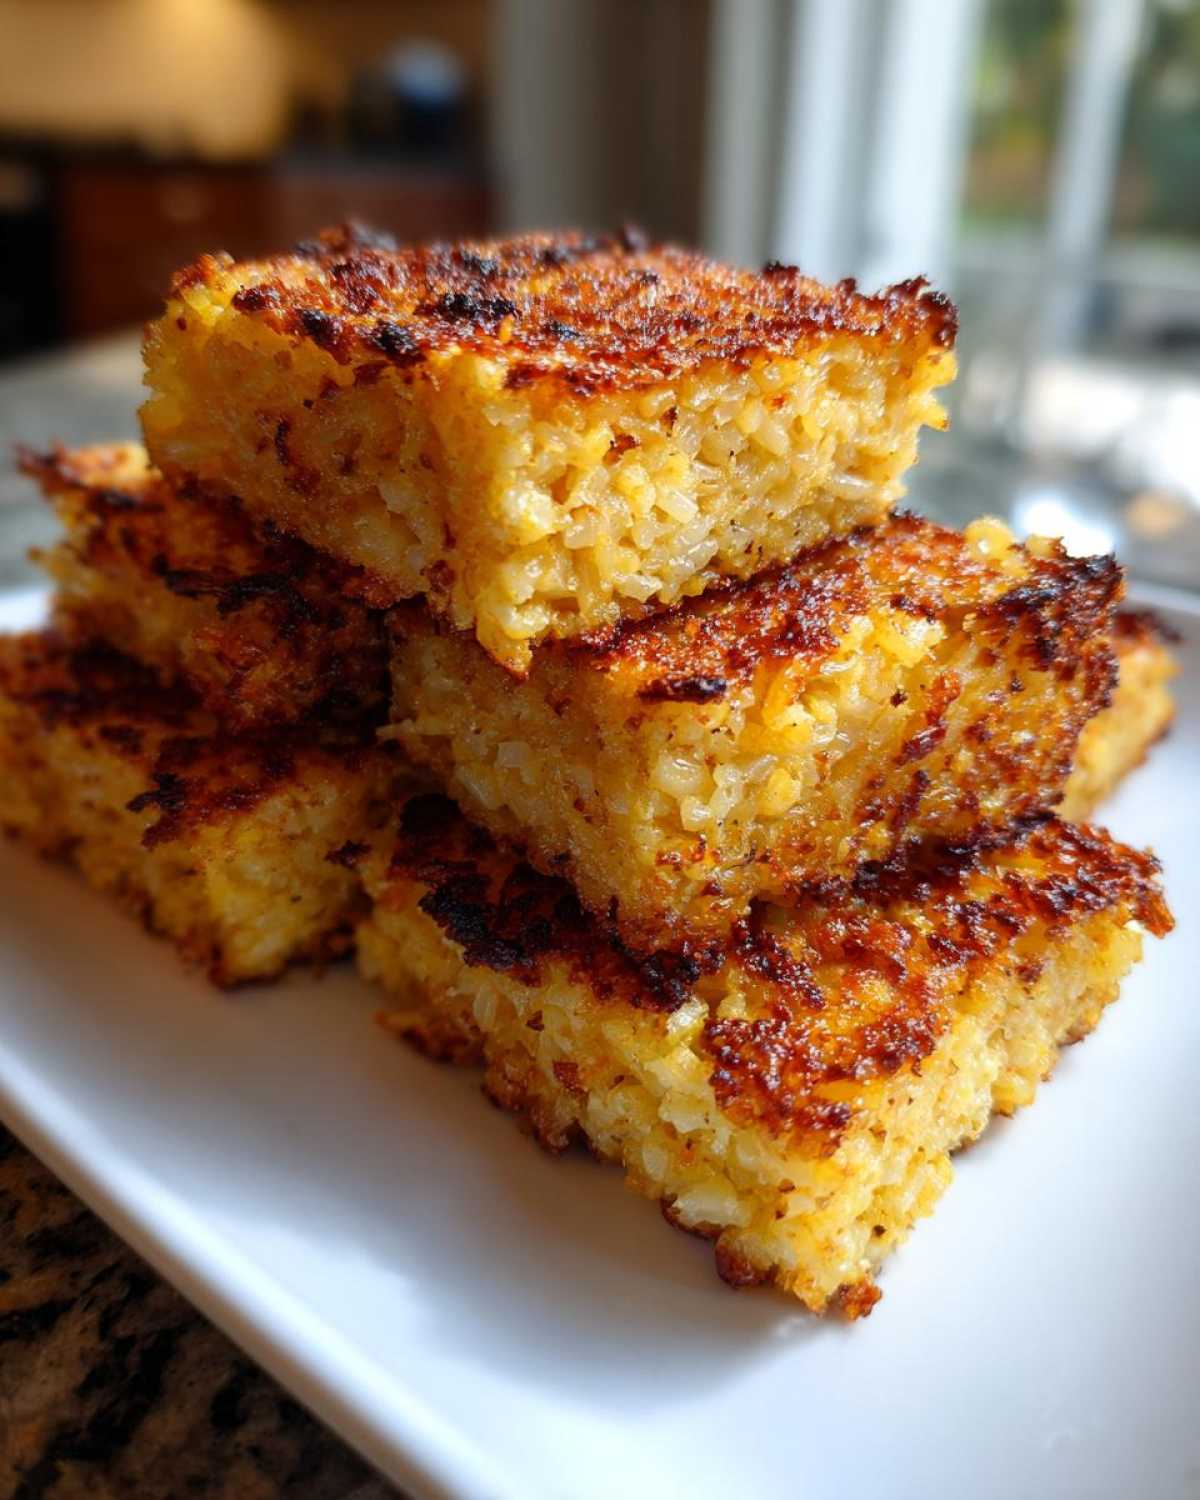
Gently place your rice squares in the pan, making sure they aren’t touching each other. If you try to squeeze too many in, the temperature drops instantly, and you’ll end up steaming the rice instead of frying it! Seriously, work in batches if you have to. Let them fry undisturbed for about 4 to 6 minutes per side until they hit that deep, gorgeous color—that perfect golden brown rice recipe finish. They should sound hollow when you tap them with your spatula. A quick drain on paper towels, and boom, you’re ready for toppings!
If you need a break from frying, check out how I make my garlic butter rice when I want a simpler side dish!
Mastering the Viral Crispy Rice Hack: The Bobby Flay Crispy Rice Tutorial
I have to admit, when the craze for that specific crispy rice preparation started taking over my feeds, I thought, “How much different can it really be?” Well, it turns out that the way Chef Flay sets up his version—which is essentially the gold standard for the pan-fried square—is all about maximum commitment to that crunchy crust.
The main difference I took away from studying the bobby flay crispy rice tutorial style is that his method insists on an incredibly hot oil bath, meaning you can’t skimp on those first frying minutes. It requires almost violent sizzling when you drop the rice in! This dedication ensures every single surface of your prepared rice cooks perfectly. It takes that lovely texture we achieved during chilling and locks it in hard. When you’re aiming for restaurant-quality crispy rice that can handle spicy tuna or avocado topping without wilting, you need that deep, even fry that their technique emphasizes over everything else.
Honestly, I use their instruction on oil temperature as my benchmark now. It’s truly the best method for getting that rich, almost shattering exterior. It’s my go-to approach when I’m making this as a substantial crispy rice appetizer rather than just a light side dish.
Tips for Success with Your Crispy Rice Appetizer
Making this is simple, but I’ve learned a few things the hard way over the years! When I first started, I had a batch of rice squares melt into a spicy, salty puddle in the skillet. It was a disaster, but it taught me the absolute essentials for preventing failure when making your crispy rice appetizer.
Here are my top three lifesaver tips to ensure your next batch of crispy rice is perfect:
- Don’t Be Shy with the Oil Temperature: This is the biggest mistake people make. If your oil isn’t hot enough—and I mean really hot, shimmering hot—the rice will soak up the oil before it has a chance to crisp, resulting in greasy squares. When I first started, I used to drop them in when the oil was barely warm. Huge mistake! Now, I wait until the oil just barely starts to send up little wisps of smoke, then I drop the rice in away from me. That initial sizzle is your guarantee of a crunchy crust!
- Work in Small Batches Only: I learned this the hard way when I tried to fit all sixteen squares into one pan. You absolutely must not overcrowd the skillet! Adding too much cold rice drastically lowers the oil temperature, and suddenly you are boiling the rice instead of frying it. It’s crucial to leave space between each piece so the heat circulates and browns them evenly on all sides.
- Don’t Move Them Initially: Once that rice square hits the hot oil, your biggest job is to leave it completely alone for those initial four minutes. If you poke it, prod it, or try to flip it early, you are asking for it to break apart. Let that crust form an iron shell first. Once it’s golden, it will release easily from the pan.
Remember that chili recipe I have? My easy black bean chili makes an amazing, hearty topping for these squares when you want something a little more substantial than traditional tuna. Just make sure those squares are perfectly crisp underneath all that topping!
Creative Variations: Beyond Simple Rice Patties Recipe
So, you’ve mastered the slicing and frying, and now you’re looking to jazz things up? That’s my favorite part! While the basic pan-fried rice patties recipe is fantastic for soaking up some spicy tuna—and I have some amazing topping ideas over here—you don’t have to stop there. The rice block is just a canvas waiting for your creative flair.
You can totally infuse your rice before it even goes into the fridge to create something truly special. Think about adding a pinch of furikake seasoning right into the vinegar mix, or maybe some finely chopped scallions or a dash of sesame oil when you fold the seasoning in. That instantly elevates it from a standard base to a genuinely flavorful crispy rice appetizer that surprises people!
Easy Crispy Rice at Home: Oven Baked Crispy Rice Option
I totally get it; sometimes you don’t want to deal with that much oil when you’re just whipping up a quick snack. If you want to skip the deep-fryer situation, I have you covered with the broiler method mentioned in the notes! This is my go-to for an oven baked crispy rice alternative that saves on cleanup without sacrificing all the crunch.
All you do is bake those pre-cut squares on a parchment-lined baking sheet at 400°F (200°C) for about 15 minutes. That gets them drier and nicely set. But here’s the key to making it truly crispy: turn on the broiler for the last two or three minutes. Watch it like a hawk, though! You want that gorgeous golden-brown color, but the broiler works fast, and burnt rice is just sad. Pull them out right when they look beautifully toasted. They won’t get *exactly* the same deep-fried texture, of course, but they still provide that fantastic crispy-to-soft ratio with way less fuss!
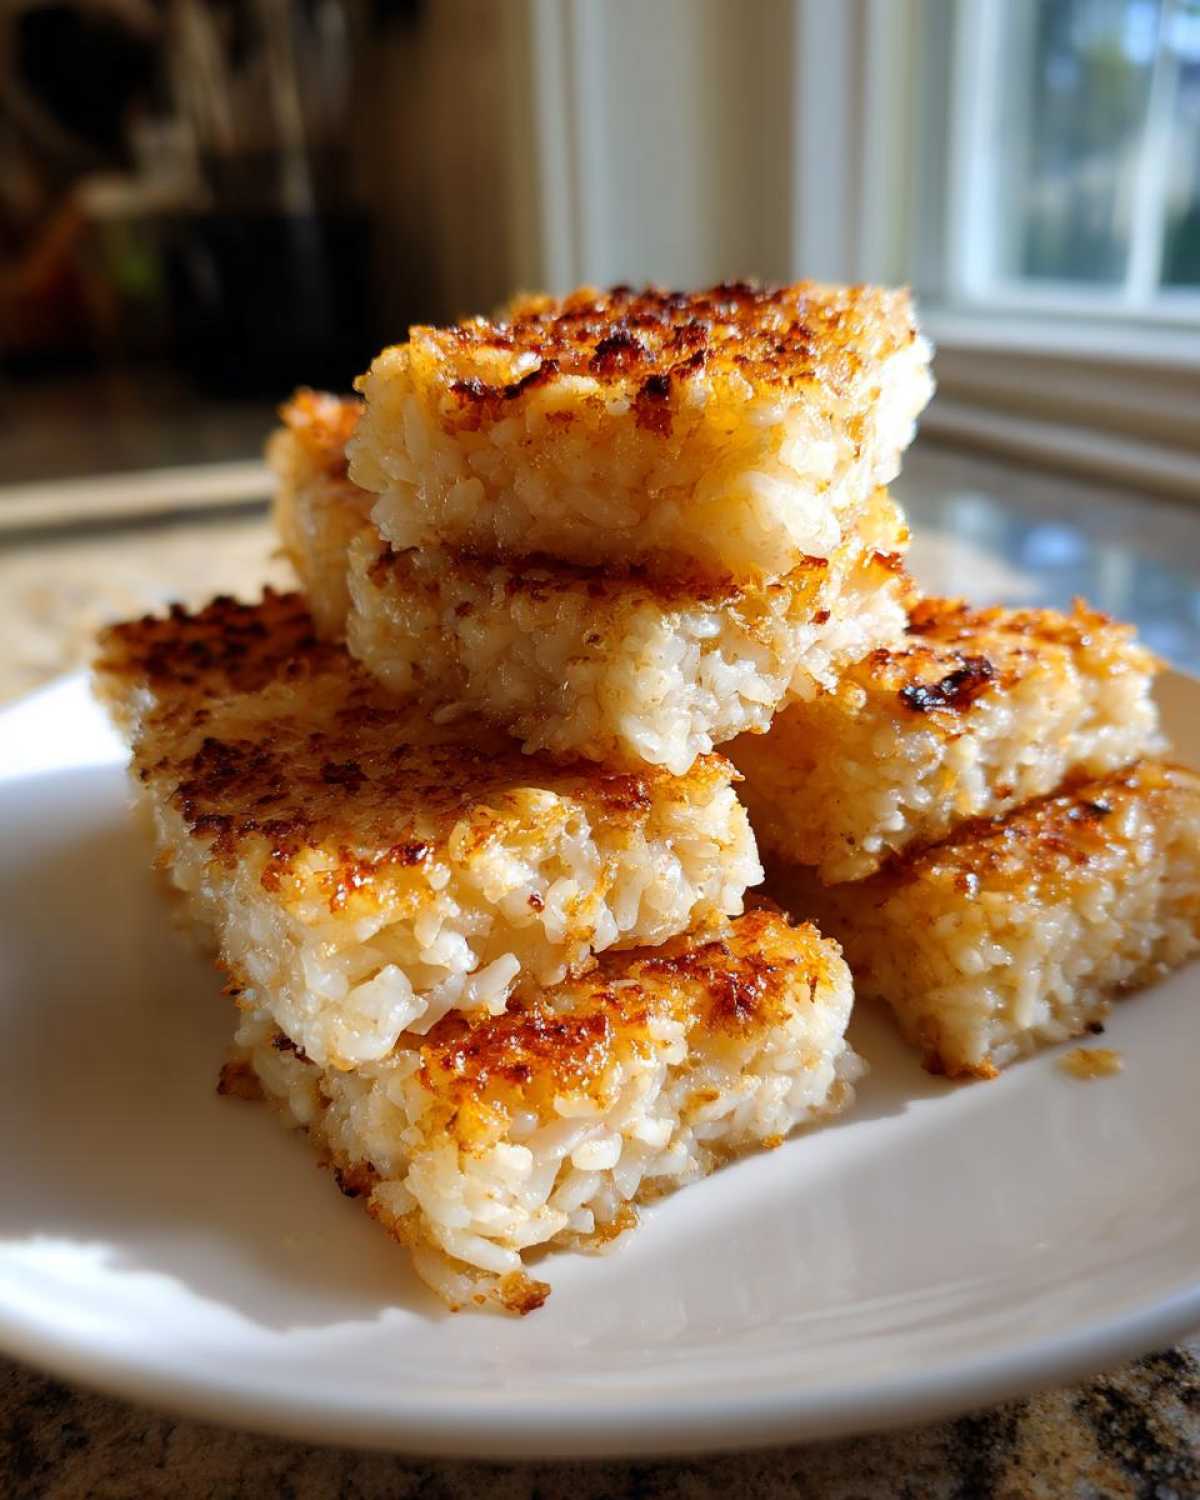
Serving Suggestions: Crispy Rice Salad Topping and More
Now that you have these perfectly crunchy bites, the real fun begins! We’ve already talked about using them as a standalone appetizer with crispy rice, but they are so versatile. Seriously, don’t just stop at the simple seasoning; these golden squares are practically begging for toppings. I treat them like the crouton kings of the rice world!
The main thing you want to focus on is textural contrast. If you’re making a salad, you want something creamy or soft piled high on top of that crunchy base. It makes every forkful an exciting event! You know I love adding seasonal flair to things, and I think these crisp squares would be amazing on a nice, hearty fall harvest salad. Just picture it!
Ideas for Spicy Tuna Crispy Rice Applications
This is probably the most famous way people use this recipe, and for good reason! When you make the spicy tuna version, you’re basically using the crispy rice square as a delivery vehicle for pure flavor. You’ll take your beautifully fried, still-warm squares and, while they’re cooling slightly, layer on the topping. We’re talking creamy avocado slices first, followed by a generous mound of spicy tuna mix—that’s usually just chopped raw tuna mixed with sriracha mayo and maybe some finely chopped scallions.
The contrast between the cool, creamy, spicy topping and that perfectly hot, crunchy base is what makes it! Don’t forget a little drizzle of unagi sauce or a tiny sprinkle of black sesame seeds right on top for that professional look. They are best eaten immediately after assembly, while that crunch is still at its absolute peak!
If you’re looking for a great way to incorporate creamy elements, check out my tips for a great salad base that would complement this appetizer perfectly!
Storage and Reheating Instructions for Crispy Rice
Okay, what if you actually have leftovers? This rarely happens in my house because they disappear near-instantly, but hypothetically, you might make a huge batch! If you want to save some of your precious **crispy rice** for snacking later, you have to treat it right. The enemy here is moisture! As soon as the rice cools down and absorbs any ambient humidity from the air, that gorgeous crunch starts to weaken. So, airtight is your best friend.
Store the cooled, unfrosted pieces in a truly sealed, airtight container at room temperature for about a day, or in the fridge for up to three days. Do not store them assembled with toppings—that topping moisture will ruin the base instantly. It’s best to keep toppings separate and fry the rice fresh right before serving if you plan on keeping it more than 24 hours.
Now, about reheating—this is critical for restoring that satisfying texture! If you try the microwave, I guarantee you’ll end up with hot, chewy mush, and we simply cannot allow that. You need dry heat to wake those crusty bits back up.
The absolute best way is a quick pan revival. Get a clean, dry skillet scorching hot over medium heat. Place the pieces in the dry pan (no oil needed!) and let them sit for maybe 60 seconds per side. This flash-heats the starches and drives off surface moisture. If you have an air fryer, that works like a charm too—just a few minutes at about 350°F until they feel firm again. For some other great tips on preserving crunchiness elsewhere, check out my guide on refrigerator pickles—we love crunching things around here!
Frequently Asked Questions About Making Crispy Rice
Okay, you’ve made it to the end, which means you are serious about your crunch game! I know everyone has a few last little worries before diving in. Do not hesitate to reach out if you have more questions—you can always find my contact info right here—but I’ve answered the three biggest ones I always hear folks ask about when they are ready to make their first batch of **crispy rice**.
Can I use day-old rice instead of freshly cooked rice for this crispy rice recipe?
This is a super common question, and the answer is yes, but you need to be careful! The recipe calls for freshly cooked rice that you then *cool down* completely before seasoning. Day-old rice is already drier and firmer, which is actually helpful! If you use rice that’s been sitting in the fridge, just make sure it’s not rock hard or crumbling when you season it. If it seems too dry, you might need to add just a tiny splash more of the vinegar mixture to get it to stick together when you press it. But generally, day-old rice works wonderfully because it’s already lost that excessive surface moisture!
What is the best oil to use for pan fried rice squares?
When we are frying, we are aiming for high heat without the smoke or flavor interference, which is why I always recommend a neutral oil with a high smoke point. Think canola, vegetable, or even peanut oil if you have that on hand. Anything like olive oil or butter breaks down way too fast for the temperature we need to achieve that signature golden-brown crust! You want the oil hot enough to instantly start crisping the outside upon contact, not slowly soak into the rice. High heat = maximum crunch factor!
How long does the rice need to chill before cutting?
If you are in a massive hurry, you can get away with chilling the pressed rice for about four hours in the fridge. However, I am going to be very honest with you: four hours is the absolute bare minimum to get it solid enough to cut cleanly into those perfect **pan fried rice squares**. If you want the superior, no-fail texture that lets you handle them without fear, you must chill it overnight! Leaving it overnight lets those starches fully set and tighten up, making cutting a breeze and ensuring absolutely zero crumbling when they hit the hot oil. Seriously, plan ahead; the overnight chill is the ticket to success!
PrintThe Ultimate Guide to Perfect Crispy Rice

Learn the simple method to achieve perfectly crispy rice with a crunchy exterior and soft interior, suitable for appetizers or salad toppings.
- Prep Time: 20 min
- Cook Time: 15 min
- Total Time: 35 min
- Yield: 16 pieces
- Category: Appetizer
- Method: Pan Frying
- Cuisine: Japanese Inspired
- Diet: Vegetarian
Ingredients
- 3 cups cooked short-grain sushi rice, cooled
- 1/4 cup rice vinegar
- 1 tablespoon sugar
- 1 teaspoon salt
- 1/4 cup neutral oil (for frying)
Instructions
- Combine the cooled sushi rice in a bowl.
- In a small bowl, mix the rice vinegar, sugar, and salt until dissolved. Pour this mixture over the rice and gently fold it in to season the rice evenly.
- Line an 8×8 inch baking dish with plastic wrap, leaving overhang. Press the seasoned rice firmly and evenly into the dish, creating a compact layer about 1 inch thick.
- Cover the rice with the plastic wrap overhang and refrigerate for at least 4 hours, or preferably overnight, until the rice is very firm.
- Remove the rice block from the dish using the plastic wrap and place it on a cutting board. Cut the block into desired shapes, such as 2×2 inch squares or small rectangles.
- Heat the neutral oil in a large skillet over medium-high heat until shimmering.
- Carefully place the rice pieces into the hot oil, ensuring not to overcrowd the pan. Fry for 4 to 6 minutes per side, until the rice is deep golden brown and very crunchy.
- Remove the crispy rice pieces and place them on a paper towel-lined plate to drain excess oil. Serve immediately with your preferred toppings.
Notes
- For the best texture, use high-starch sushi rice.
- Pressing the rice firmly is key to preventing it from falling apart during frying.
- If you prefer a less oily method, you can bake the rice squares at 400°F (200°C) for 15 minutes, then broil for 2-3 minutes until golden brown.
Nutrition
- Serving Size: 4 squares
- Calories: 320
- Sugar: 4
- Sodium: 280
- Fat: 10
- Saturated Fat: 1.5
- Unsaturated Fat: 8.5
- Trans Fat: 0
- Carbohydrates: 52
- Fiber: 1
- Protein: 5
- Cholesterol: 0
