


The Ultimate Easy Homemade Naan Bread (Soft, Chewy, Stovetop Method)
Welcome to Savory Skies, friends! I’m Leo, and I’m thrilled to share this recipe. Forget takeout menus. We’re making incredible naan bread today. I remember watching Chef Tariq make this. He made it look simple. It truly is restaurant quality. You won’t need a fiery tandoor oven for this. We’re using just a simple skillet. This method gives you that perfect chew. It’s the centerpiece for any great Indian meal we make.
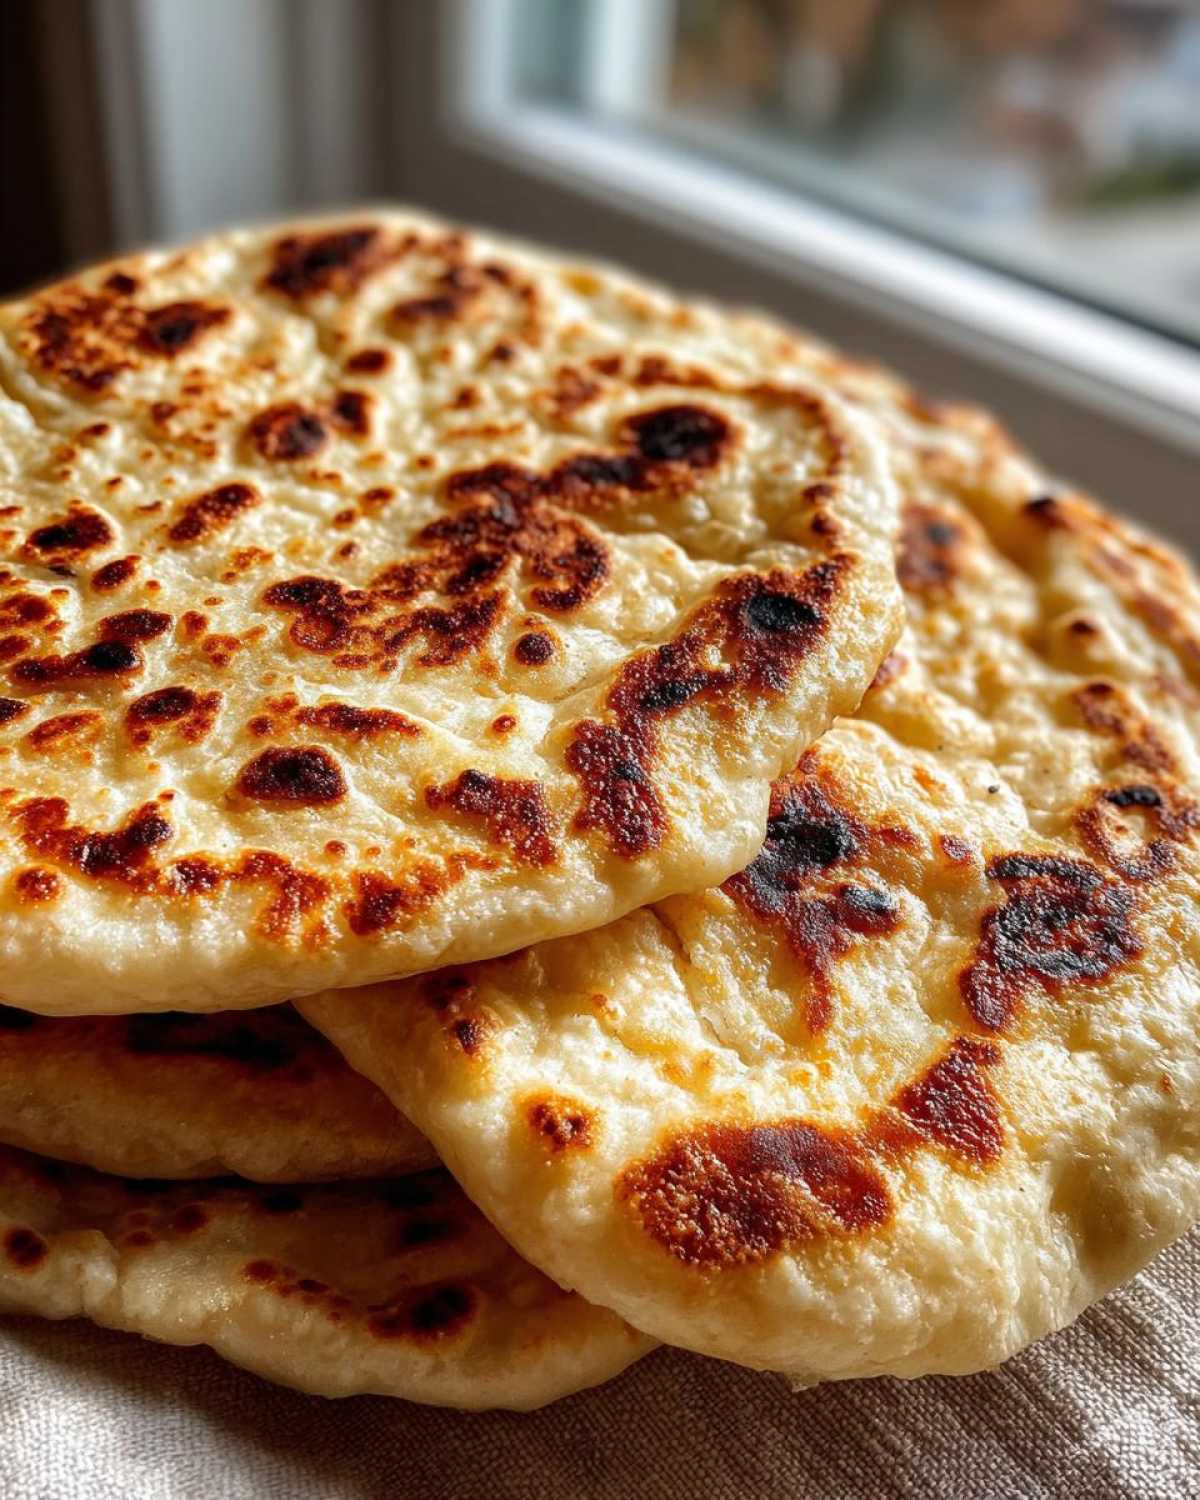
Why You’ll Love This Naan Bread Recipe
This easy naan bread recipe changed my weeknight dinners. It’s fast, too. Seriously, you’ll be dipping in no time. Here’s why you’ll adore it:
- Achieves that wonderful, soft naan texture.
- No specialized or fancy cooking gear required.
- Perfectly chewy with those classic charred spots.
- Uses simple ingredients you probably have now.
Equipment Needed for Perfect Naan Bread
Building authority means using the right tools. You don’t need much, thankfully. These basics make all the difference for your naan bread:
- Large mixing bowl.
- Heavy-bottomed cast-iron skillet.
- Rolling pin.
- Plastic wrap or clean kitchen towel.
- Tongs for flipping (be careful!).
Ingredients for Soft and Chewy Naan Bread
Gathering your components is the first step to success. Making great naan bread starts with fresh yeast. Pay attention to the water temperature, please. These simple items create that amazing dough structure.
Dry Ingredients Breakdown
We need the basics here. Three cups of all-purpose flour work great. Don’t forget the salt for flavor balance.
Wet Ingredients and Dairy Components
Yogurt adds incredible tenderness to the bread. Warm water wakes up the yeast nicely. Oil helps keep the dough workable.
Expert Steps to Prepare Your Naan Bread Dough
Now we get our hands dirty. This stage builds the foundation. Good kneading makes all the difference here. Properly mixed dough yields soft naan bread texture. Amara always says this part is the soul of the bread.
Activating the Yeast
First, grab a large bowl. Mix your warm water right in there. Add the sugar and then the yeast. Stir it gently. Cover it loosely. Wait about ten minutes, okay? You want foam on top. That foamy layer tells me the yeast is happy. Happy yeast means fluffy naan bread later.
Mixing and Kneading the Naan Bread Dough
Once bubbly, add the flour and salt. Pour in the yogurt and the oil too. Mix this until it looks like a shaggy mess. Don’t worry about perfection yet. Turn that shaggy dough onto your counter. Flour your surface lightly first. Now, knead it firmly for seven minutes. Push, fold, and turn the dough over. This develops gluten structure. Elasticity is what we are chasing. It should feel smooth, not sticky. This kneading step is key for chewy results.
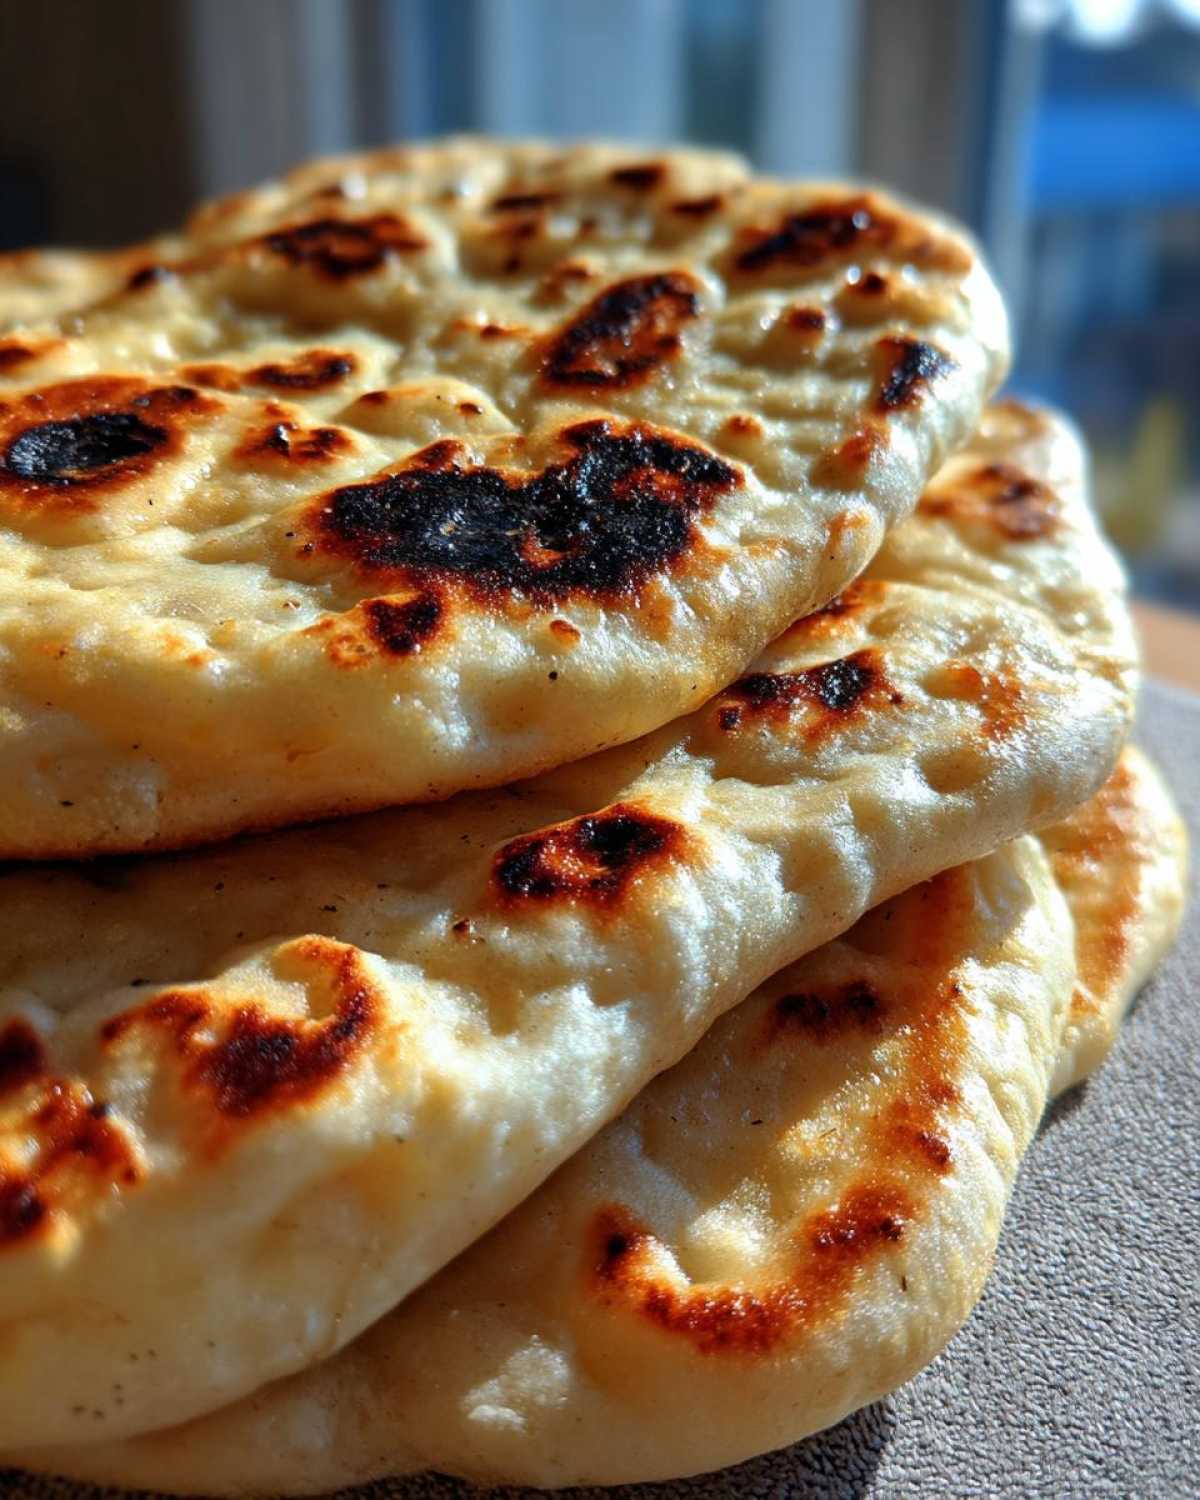
The Crucial Rise Time for Fluffy Naan Bread
This next step is where patience pays off big time. We need to let that dough rest and grow. This rising period develops flavor and texture. A good, long rise is essential for soft naan bread.
Find a nice, warm spot in your kitchen. A sunny windowsill works wonders sometimes. Lightly grease your original mixing bowl. Place the kneaded dough inside it now. Give it a gentle turn. This stops the dough from sticking badly.
Cover the bowl well. A damp towel works better than plastic wrap, in my opinion. The dough needs to double in size completely. This usually takes between one hour to ninety minutes. Why the wait, you ask? The yeast is busy creating tiny air pockets. These pockets are what make your naan bread light. They give it that wonderful, pillowy interior we crave. Rushing this step makes the bread dense. Trust the process here; it’s worth the extra time.
Shaping the Naan Bread for Stovetop Cooking
Our dough has risen beautifully. It smells earthy and slightly sweet now. Time to get those lovely shapes ready. We need eight equal pieces for this batch. Use a bench scraper or a knife for neat division. Try to be as accurate as possible here.
Roll each dough piece into a small ball first. This evens out the texture for rolling later. Place these little dough balls on a lightly floured tray. Cover them gently with that damp towel again. They need a short break now. Ten minutes is plenty of rest time.
This resting period relaxes the gluten we just built up. It makes rolling much easier, believe me. When you roll them out, aim for an oval shape. Some folks prefer a teardrop shape for their naan bread. Keep the thickness even, about an eighth of an inch thick.
Don’t roll them too thin, or they might dry out quickly. If the dough springs back, just let it rest another minute. This shaping is important for even cooking on the skillet. Prepare your workspace for the next hot stage.
Stovetop Instructions: Cooking Your Naan Bread
We’ve reached the fun part, haven’t we? This is where the magic happens fast. Cooking on a dry, super-hot skillet creates the texture. It mimics the tandoor’s intense heat, sort of. This high heat is crucial for that signature chewiness. Get ready to watch your naan bread puff up.
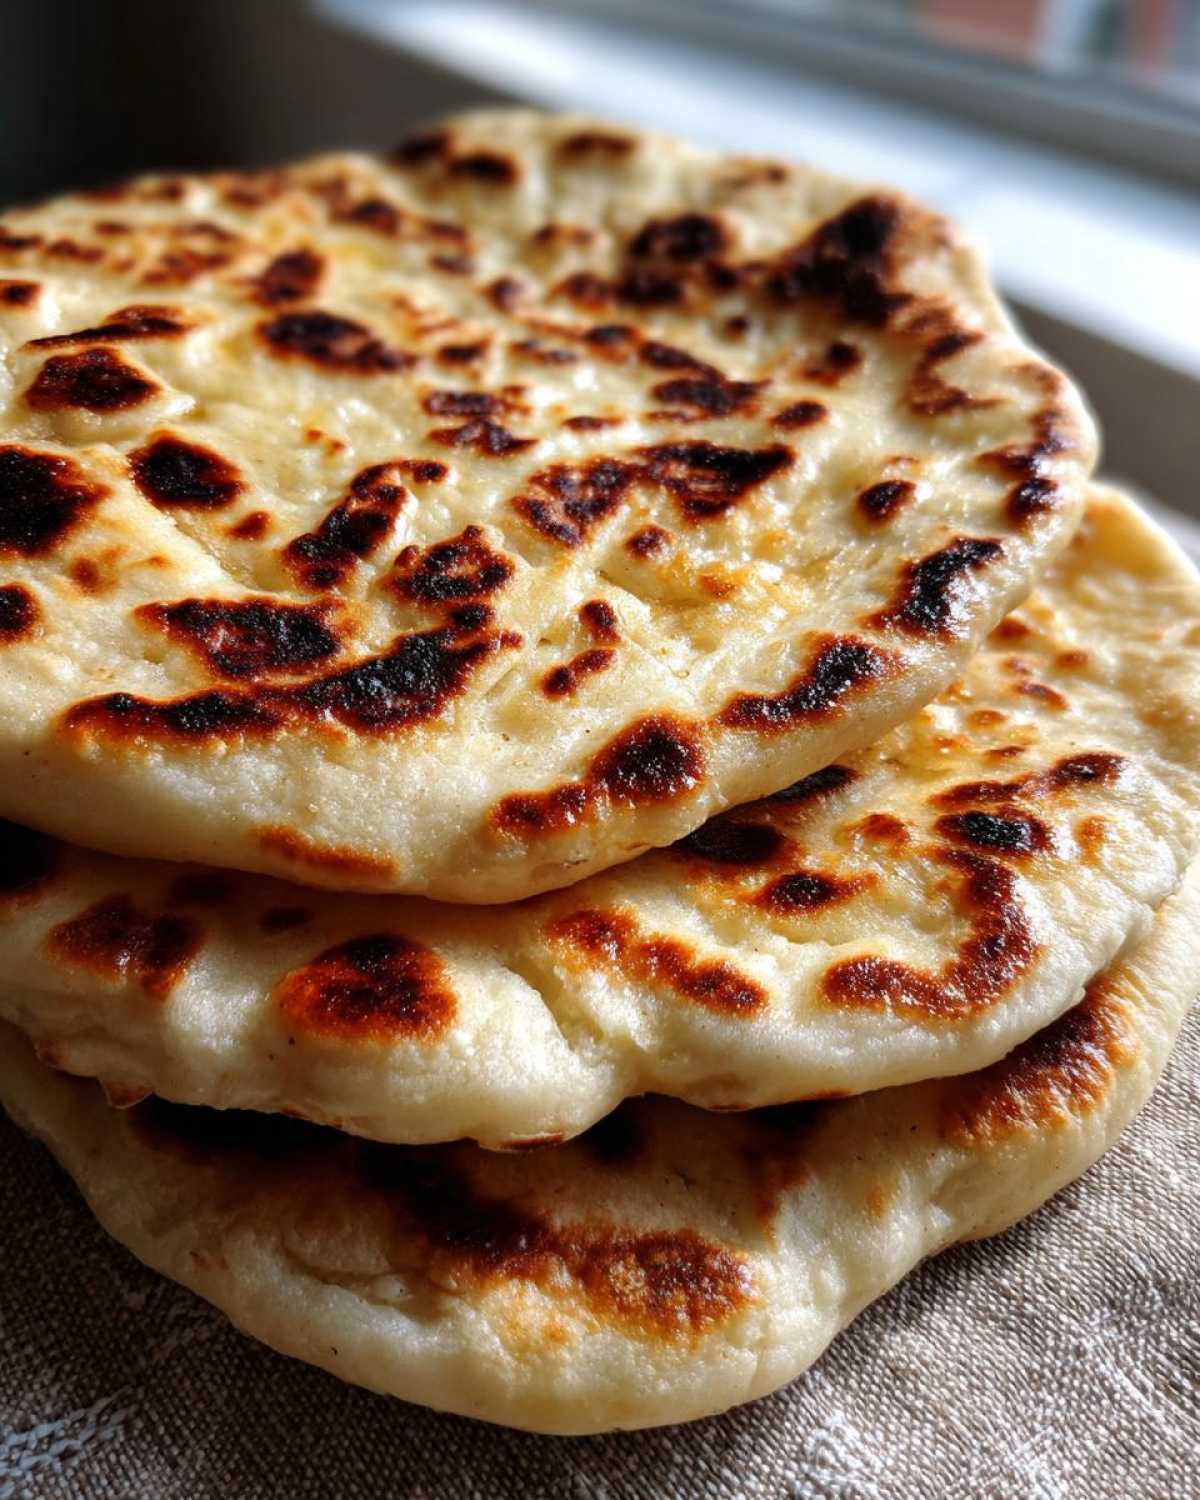
Getting the Skillet Temperature Right
You must preheat your cast-iron skillet well. Use medium-high heat for this process. Let the pan get screaming hot, truly hot. Do not add any oil to this pan, understand? A dry, hot surface is what we need. This intense heat shocks the dough surface. It creates those beautiful brown spots quickly.
Cooking Technique for Classic Naan Bread Puffs
Carefully place one rolled naan onto the dry skillet. Watch it closely for about one to two minutes. Bubbles will start forming all over the top surface. That is your visual cue to flip it over. Cook the second side for just one minute more. Look for those lovely browned patches appearing.
Now for the big puff! If you have a gas stove, use tongs. Hold the naan briefly over the direct flame. It should balloon up like a pillow instantly. Be very careful with this step, please. If you don’t use a flame, use your spatula instead. Press down gently on the bubbles on the skillet. This pushes the steam trapped inside to inflate the bread. Remove the cooked naan bread immediately. We don’t want it getting tough or dry!
Finishing Touches for Restaurant-Quality Naan Bread
The moment that naan bread leaves the heat, it needs love. This step locks in moisture. It keeps the bread wonderfully soft and pliable. Don’t wait even a second to do this part.
Have your melted butter or ghee ready nearby. This fat is your secret weapon now. Use a pastry brush or even the back of a spoon. Brush the top surface generously right away. The heat melts the butter deep into the surface. This process stops the bread from drying out too fast.
That brushed layer adds richness too. It gives the bread that lovely, inviting sheen. It smells amazing when the hot butter hits the cooked dough. This simple act separates homemade bread from the truly special kind. It’s the final step for perfect naan bread.
Stack the finished pieces as you go. The residual heat steams them slightly. This steaming keeps the whole batch soft. Serve these beauties while they are piping hot. They are incredible right off the skillet.

Tips for Making Amazing Homemade Naan Bread
Even the best recipes need a little intuition. I’ve learned a few tricks over the years. These tips help you avoid common pitfalls. They ensure you get that perfect soft naan bread every single time. Don’t sweat small mistakes; cooking is about learning.
Troubleshooting Common Naan Bread Issues
Did your dough refuse to rise properly? Check your water temperature first. Yeast dies if the water is too hot. If it’s too cold, the yeast just sleeps. Also, make sure your kitchen isn’t too chilly. Cold stops the rising action quickly.
Is your bread tough instead of chewy? You likely over-kneaded it. Or maybe you cooked it too long on the stove. Remember, it cooks very fast on high heat. Don’t walk away from the skillet, seriously!
If the dough sticks when rolling, use more flour. But use it sparingly on the final product. Too much flour on the outside burns in the pan. A little stickiness is normal when working with wet dough.
Flavor Variations for Your Naan Bread
Once you master the basic naan bread, you can play around. My favorite twist is Garlic Naan, hands down. It elevates everything.
To make Garlic Naan, simply mix two cloves of minced garlic. Combine that with two tablespoons of melted butter. Brush this savory mixture onto the bread right after it comes off the heat. The aroma is incredible, trust me.
If you need a super quick fix, try the No-Yeast option. Skip the rising time entirely. Just add baking soda and baking powder to your dry ingredients. This skips the wait. It makes a decent flatbread substitute. But it won’t be quite as fluffy as this yeasted naan bread recipe.
Storing and Reheating Your Leftover Naan Bread
It’s rare we have leftovers here. But if you do, storing them right keeps them fresh. Nobody likes stale bread, right? We want that soft naan texture back.
Let the cooked naan bread cool completely first. Heat trapped inside causes sogginess later. Store the cooled flatbreads in an airtight container. A large zip-top bag works perfectly fine too. Keep them at room temperature for up to two days.
Do not refrigerate your naan bread for long periods. Refrigeration dries them out fast. I learned this the hard way once. For longer storage, you can freeze them instead. Wrap them tightly in plastic wrap first. Then place them in a freezer bag.
Reheating is super simple, thankfully. You want to revive that fresh-from-the-skillet feel. Microwave them briefly, maybe ten seconds. Then, quickly crisp them up on a dry, hot skillet. Just thirty seconds per side should do the trick. The skillet brings back the chewiness.
This reheating method works best. It avoids making your amazing naan bread rubbery. Enjoy those leftovers the next day with some leftover curry sauce!
Frequently Asked Questions About Naan Bread
I always get questions after sharing this recipe. Home cooks have great curiosity! Let’s clear up a few common points about making fantastic naan bread.
These answers should help you nail the texture every time. We are aiming for that perfect, pillowy soft naan.
Can I make this naan bread recipe without yeast?
Yes, you absolutely can make a quicker version. This recipe relies on yeast for the best rise. But you can skip it if you’re short on time. Swap the yeast out entirely for this bread.
Instead, mix one teaspoon of baking powder. Add one teaspoon of baking soda with your dry flour. Skip the sugar too, since the yeast isn’t there. You can skip the long rising time completely. This version cooks up faster. It will be a bit flatter, though. It is still tasty for dipping.
How do I get my naan bread extra soft?
Softness comes from two main areas. First, use good quality, full-fat yogurt. Greek yogurt works wonders here. The fat content adds richness and tenderness to the dough. Don’t skimp on that ingredient.
Second, timing on the skillet is everything. Never overcook your naan bread. Once it puffs and gets those brown spots, pull it off. Too much time on the heat dries it out. Brush it with butter immediately after cooking. That steam and fat keep the final product soft.
Sharing Your Savory Skies Naan Bread Experience
Well, friends, that’s it for our stovetop naan bread adventure! I hope you had fun making this dough. I know I always do. Smelling that buttered bread baking is pure comfort for me. It brings me right back to those late nights with Amara and Tariq.
Now, the kitchen is yours. Did this recipe work for you? Did you try making the Garlic Naan variation?
I truly want to hear all about your results. Did you get those beautiful big puffs on the stove? Please leave a rating for this recipe below. Tell us how your homemade naan bread turned out.
Your feedback helps our Savory Skies family grow stronger. We read every single comment, honestly. Happy cooking to all of you. Come back soon for more simple, delicious food!
PrintAmazing 8-Minute Soft Naan Bread

Make soft, chewy, restaurant-quality Naan Bread right on your stovetop. This recipe requires no special tandoor oven. You will achieve a wonderfully fluffy texture with beautiful charred spots. It is simple to make and perfect for dipping or serving alongside your favorite curries.
- Prep Time: 20 minutes
- Cook Time: 25 minutes
- Total Time: 1 hour 45 minutes (includes rising time)
- Yield: 8 Naan Breads
- Category: Bread
- Method: Stovetop Skillet
- Cuisine: Indian
- Diet: Vegetarian
Ingredients
- 1 ½ cups warm water (about 110F)
- 1 tablespoon active dry yeast
- 1 teaspoon sugar
- 3 cups all-purpose flour, plus more for dusting
- 1 teaspoon salt
- 2 tablespoons plain yogurt or full-fat Greek yogurt
- 2 tablespoons oil (like vegetable or canola)
- 2 tablespoons melted butter or ghee, for brushing
Instructions
- In a large bowl, mix the warm water, yeast, and sugar. Let it sit for 5 to 10 minutes until foamy. This shows your yeast is active.
- Add the flour, salt, yogurt, and oil to the yeast mixture. Mix until a shaggy dough forms.
- Turn the dough out onto a lightly floured surface. Knead for 5 to 7 minutes until the dough is smooth and elastic.
- Lightly grease the bowl you used earlier. Place the dough inside, turning it to coat. Cover the bowl with plastic wrap or a damp towel.
- Let the dough rise in a warm spot for 1 to 1.5 hours, or until it has doubled in size.
- Gently punch down the risen dough. Divide it into 8 equal pieces. Roll each piece into a ball.
- Let the dough balls rest, covered, for 10 minutes.
- Working with one ball at a time, roll it out into an oval or teardrop shape, about 1/8-inch thick.
- Heat a cast-iron skillet or heavy-bottomed pan over medium-high heat until very hot. Do not add oil to the pan.
- Place one rolled naan onto the hot, dry skillet. Cook for about 1 to 2 minutes until bubbles form on the top surface.
- Flip the naan. Cook the second side for about 1 minute until it develops brown spots.
- For extra puffiness, carefully use tongs to hold the naan directly over an open gas flame (if you have one) for a few seconds until it puffs up completely. Alternatively, press lightly on the bubbles with a spatula on the skillet.
- Remove the cooked naan from the pan. Immediately brush the top generously with melted butter or ghee.
- Repeat with the remaining dough pieces. Serve your homemade Naan Bread warm.
Notes
- For Garlic Naan, mix 2 cloves of minced garlic with 2 tablespoons of melted butter before brushing the cooked bread.
- If you prefer a tangier flavor, use Greek yogurt instead of plain yogurt.
- If you want a quicker dough, you can try a ‘No Yeast’ variation by adding 1 teaspoon of baking powder and 1 teaspoon of baking soda with the dry ingredients, skipping the rising time.
Nutrition
- Serving Size: 1 Naan
- Calories: 220
- Sugar: 2g
- Sodium: 300mg
- Fat: 6g
- Saturated Fat: 3g
- Unsaturated Fat: 3g
- Trans Fat: 0g
- Carbohydrates: 37g
- Fiber: 2g
- Protein: 7g
- Cholesterol: 10mg
