

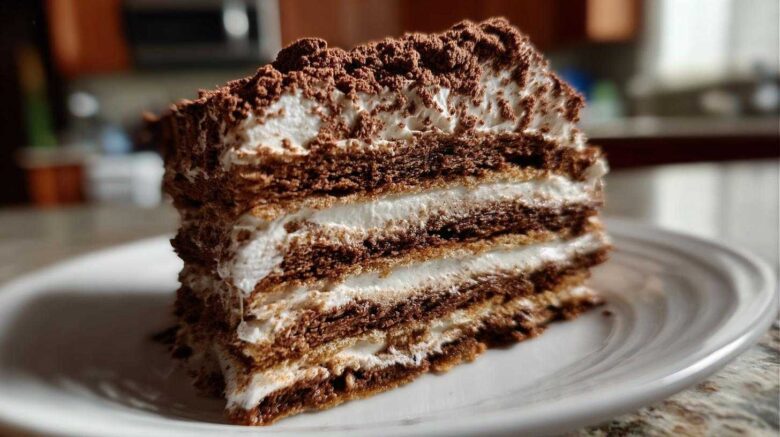
Life’s too short for complicated desserts, right? I get it. That’s why I’m so excited to share this incredible Mocha Icebox Cake (No Oven, Big Flavor) with you. It’s pure magic in cake form, requiring zero oven time and delivering a seriously satisfying punch of rich, coffee-kissed chocolate. This isn’t just a dessert; it’s a shortcut to happy sighs and satisfied smiles, perfect for those “I need something sweet, like, yesterday” moments or for making any day feel a little bit special. Trust me, your kitchen (and your taste buds) will thank you for this one.
Why You’ll Love This Mocha Icebox Cake (No Oven, Big Flavor)
Get ready to fall head over heels for this treat. Here’s why it’s a winner:
- It’s completely no-bake. Seriously, your oven can take a well-deserved break!
- Minimal effort means maximum enjoyment. It’s surprisingly simple to whip up.
- Big, bold mocha flavor that’s utterly irresistible.
- Perfect for any occasion, from casual weeknights to impromptu gatherings.
Meet the Makers: Our Culinary Journey
Here at Savory Skies, this cake is a reflection of our journey. I’m Leo, and alongside Amara and our mentor, Chef Tariq, we’ve poured years of kitchen experience into every recipe. Chef Tariq, with over three decades in the culinary world, is our grounding force, ensuring classic techniques are honored. Amara, with her artistic flair, brings heart and beauty to every dish, remembering the comfort food of her grandmother. I’m the curious one, always asking “what if?” to push flavors just a little further. We met in the fast-paced restaurant world, but found our true passion in creating food that connects people. This mocha icebox cake is a perfect example of that blend—simple, delicious, and made with love, just like everything we share with you.
Gathering Your Mocha Icebox Cake Ingredients
Let’s get our kitchen ready for some no-bake magic! Gathering the right ingredients is the first step to creating this delightful mocha icebox cake. Don’t worry, it’s a pretty straightforward list, and you might even have most of it already.
Core Components for Your Mocha Icebox Cake
These are the stars of our show, creating those lovely layers of cookie and rich chocolate goodness.
- Chocolate Wafer Cookies: You’ll need one package, about 14 ounces. These are key for our cake’s structure.
- Unsalted Butter: Half a cup, melted. This binds our chocolatey layer together.
- Granulated Sugar: Just a quarter cup for a touch of sweetness in the chocolate mixture.
- Unsweetened Cocoa Powder: A quarter cup brings that deep chocolate flavor.
- Instant Espresso Powder: Half a teaspoon is all you need to really make the mocha sing!
- Salt: A quarter teaspoon balances all the sweetness and chocolate.
- Heavy Cream: One and a half cups are essential for our fluffy topping.
- Vanilla Extract: One teaspoon adds a warm aroma to the cream.
- Powdered Sugar: A quarter cup sweetens our whipped cream perfectly.
Optional Enhancements for Your Mocha Icebox Cake
Want to add a little extra flair? These are totally optional but highly recommended for that perfect finishing touch!
- Chocolate Shavings: For a beautiful, textured topping.
- Whipped Cream: Extra dollops for serving make it extra decadent.
Crafting Your Easy No Bake Mocha Icebox Cake
Now for the fun part! Bringing this delicious mocha icebox cake to life is surprisingly simple. We’ll layer, mix, and chill our way to dessert perfection. No oven required, just a little bit of love and patience.
Preparing the Base Layers
First things first, grab an 8×8 inch baking dish. Line it with plastic wrap, making sure there’s some overhang on all sides. This makes lifting the cake out later a breeze. Now, arrange a single layer of your chocolate wafer cookies on the bottom. Don’t worry if you need to break some to fill in gaps; we want a solid base.
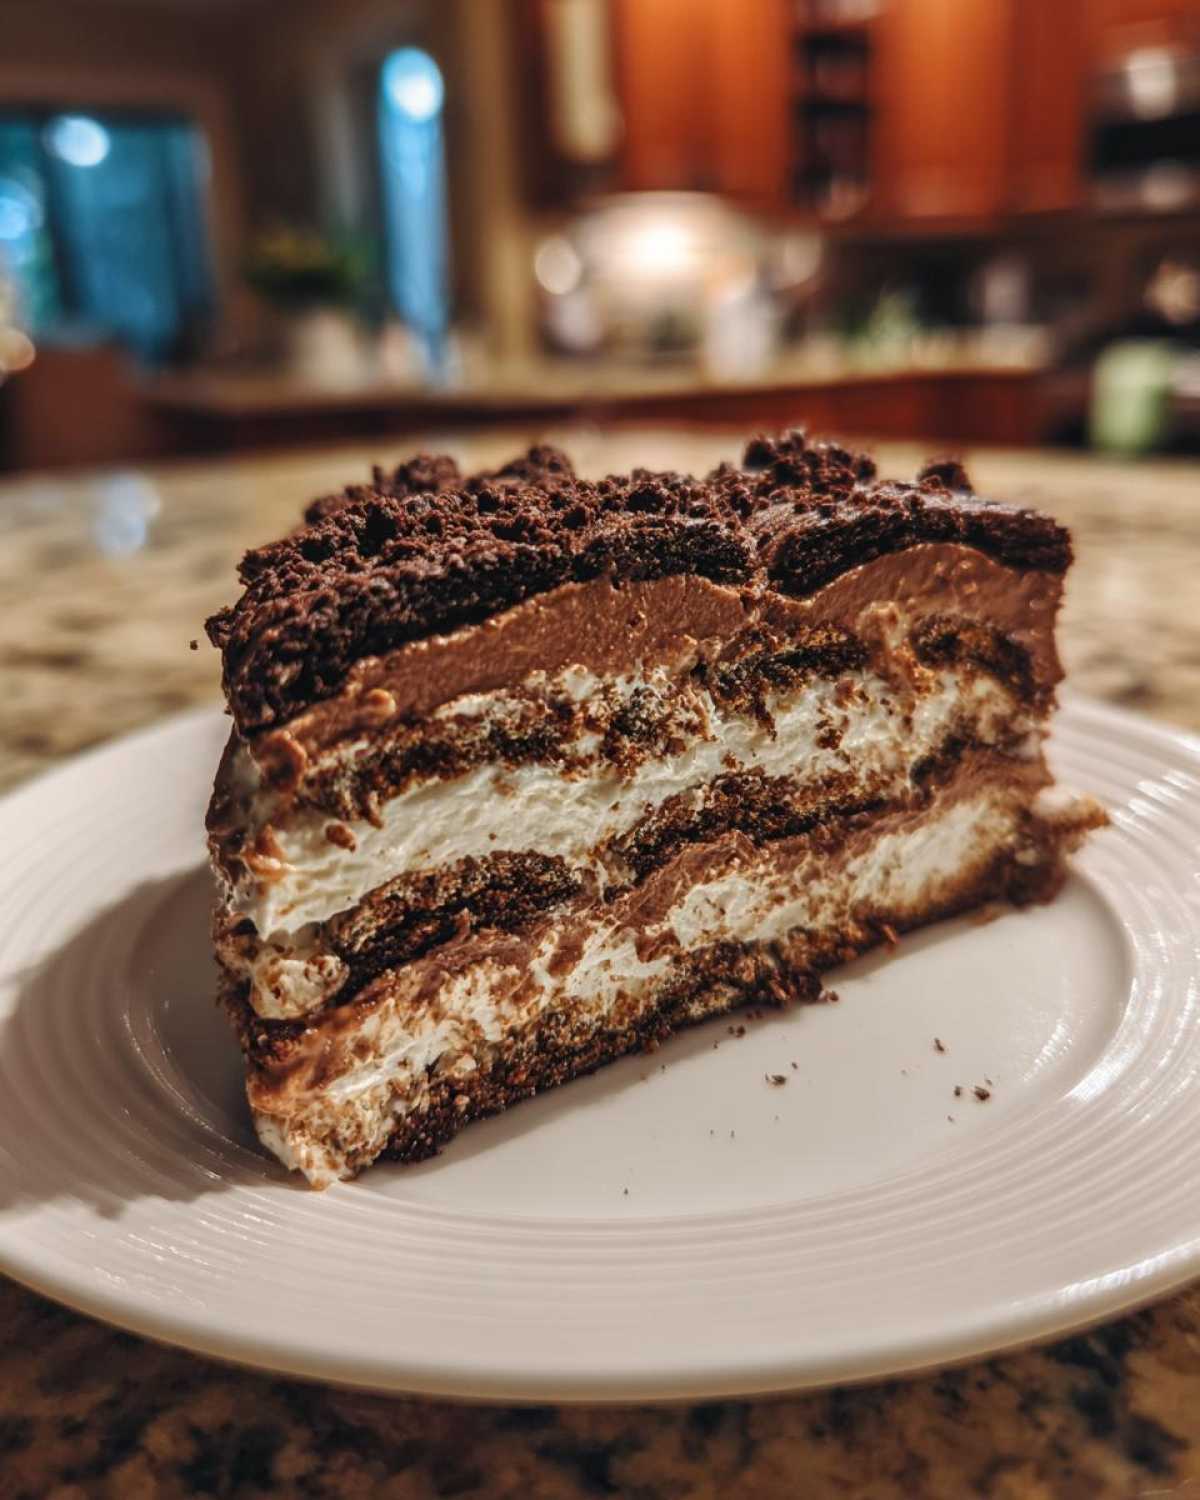
In a medium bowl, let’s mix up that rich chocolatey goodness. Whisk together the melted butter, granulated sugar, cocoa powder, espresso powder, and salt. It should form a nice, smooth paste. Spread half of this chocolate mixture evenly over the cookie layer. It’s okay if it’s not perfectly smooth.
Add another layer of cookies right on top of that chocolate. Then, spread the remaining chocolate mixture over this second cookie layer. Top it all off with one final layer of cookies. You’ve got the makings of something special right here!
Creating the Luscious Whipped Cream
Time for our fluffy cloud topping! In a separate, clean bowl, pour in your cold heavy cream. Grab your electric mixer and start whipping. You’re looking for soft peaks to form. This means when you lift the beaters, the cream forms a soft, droopy peak.
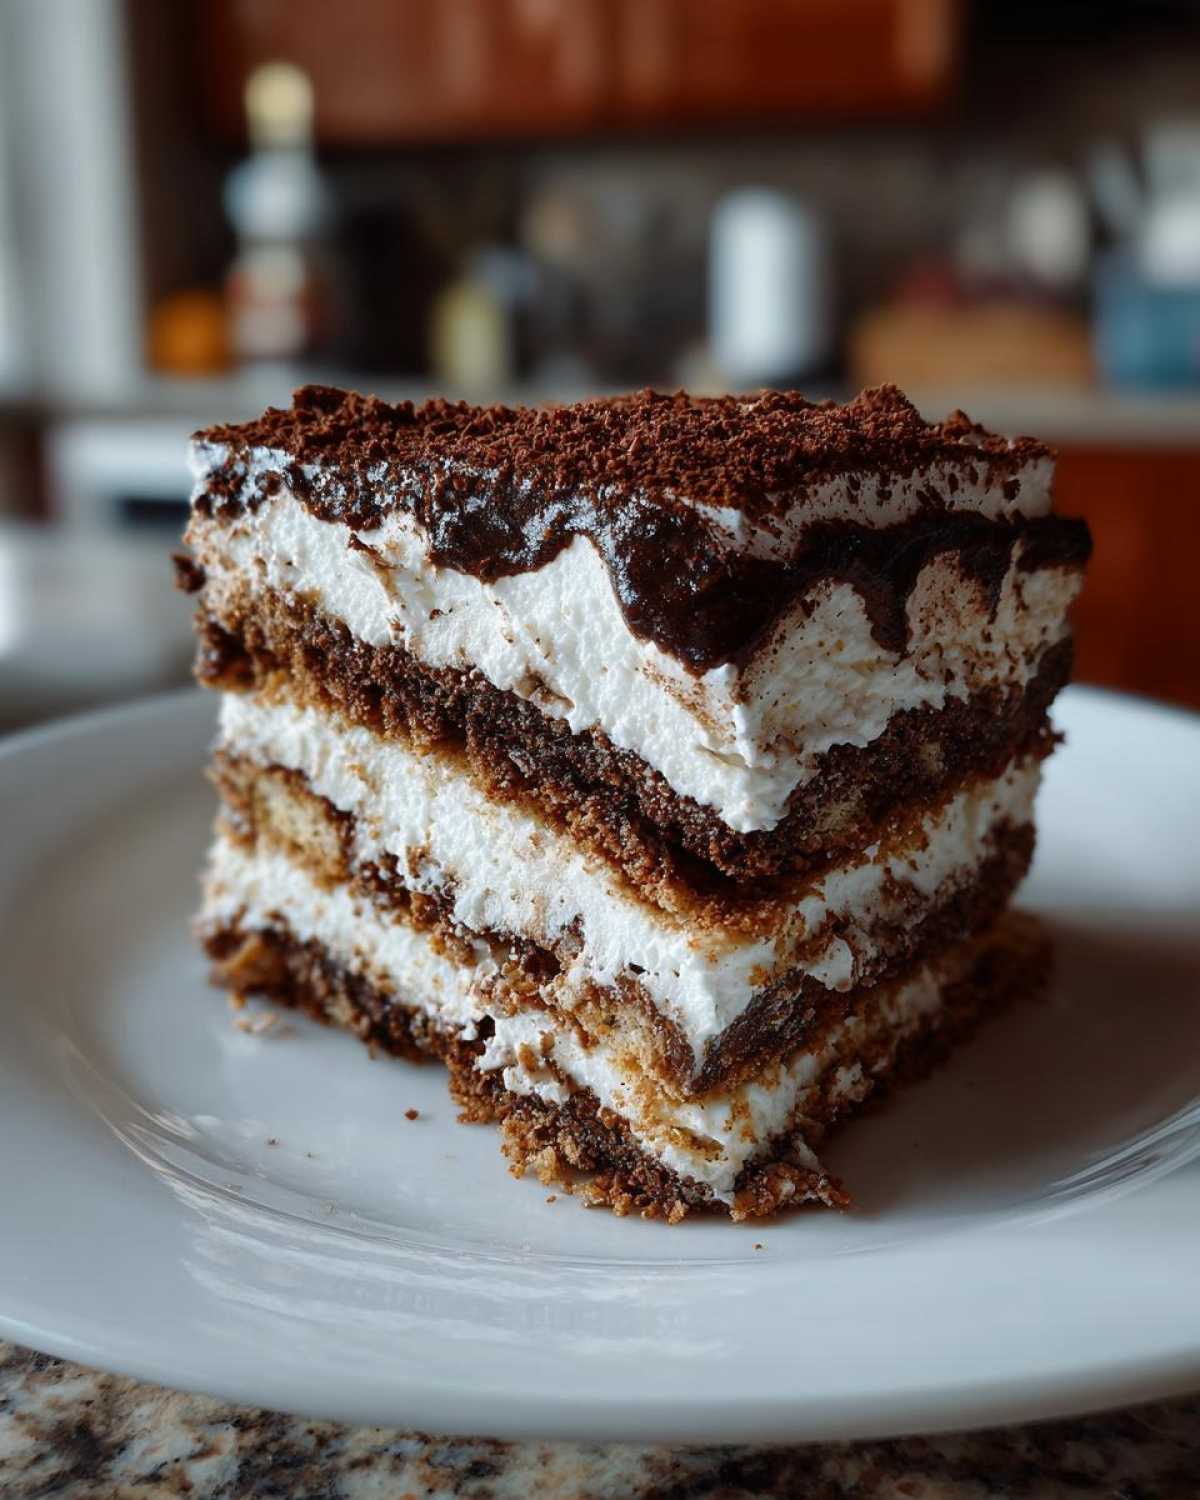
Now, let’s add the sweetness and flavor. Sprinkle in the powdered sugar and add the vanilla extract. Continue whipping the cream. Keep going until stiff peaks form. This means when you lift the beaters, the cream stands straight up, holding its shape firmly. This is the perfect consistency for our topping.
Assembling and Chilling Your Mocha Icebox Cake
Gently spread the whipped cream evenly over that top layer of cookies. Make it nice and smooth. This is the beautiful crown of our cake. Now, carefully pull the overhanging plastic wrap to cover the entire dish. This keeps our cake fresh and prevents any freezer smells from creeping in.
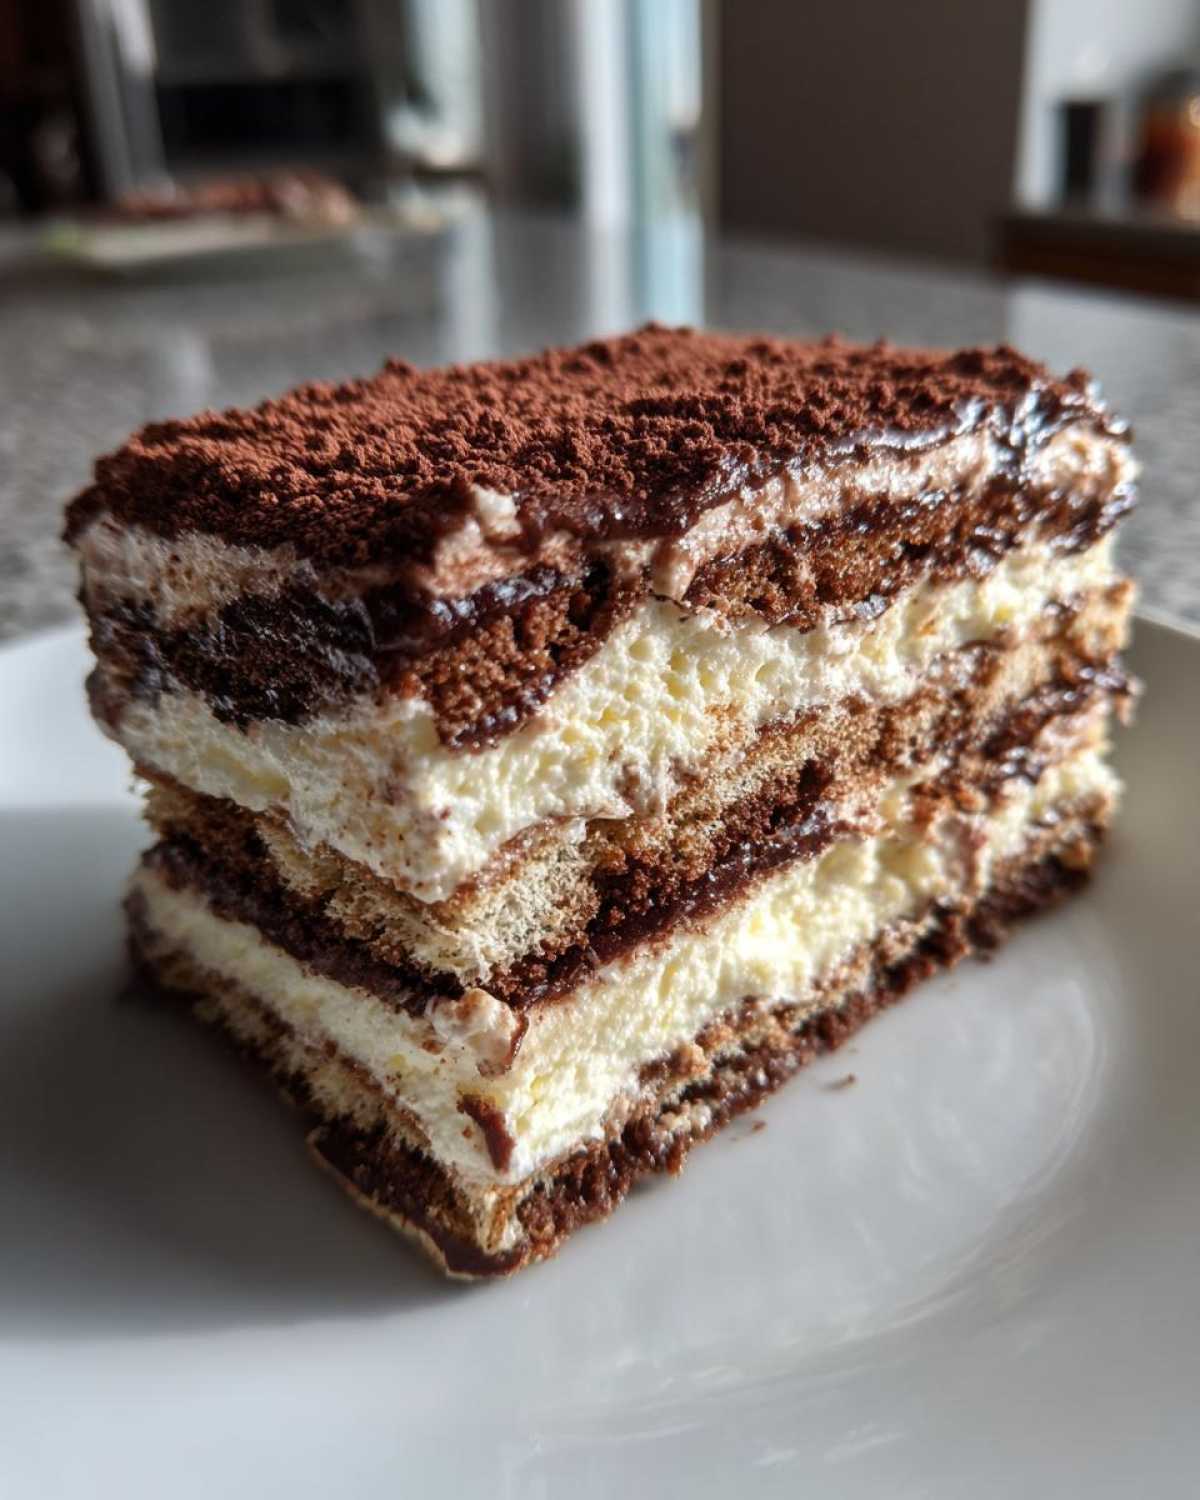
This is the hardest part: waiting! Pop the covered dish into the refrigerator. You need to chill it for at least 6 hours. Honestly, letting it chill overnight is even better. This chilling time is crucial. It allows the cookies to soften and meld with the chocolate, creating that signature icebox cake texture. It also lets all those yummy flavors deepen.
Finishing Touches for Your Mocha Icebox Cake
The wait is over! When your cake is thoroughly chilled and ready to serve, it’s time for the grand reveal. Carefully invert the icebox cake onto a serving platter. Use the plastic wrap overhang to help you lift and flip it. Once it’s on the platter, gently peel off the plastic wrap. It should come away cleanly.
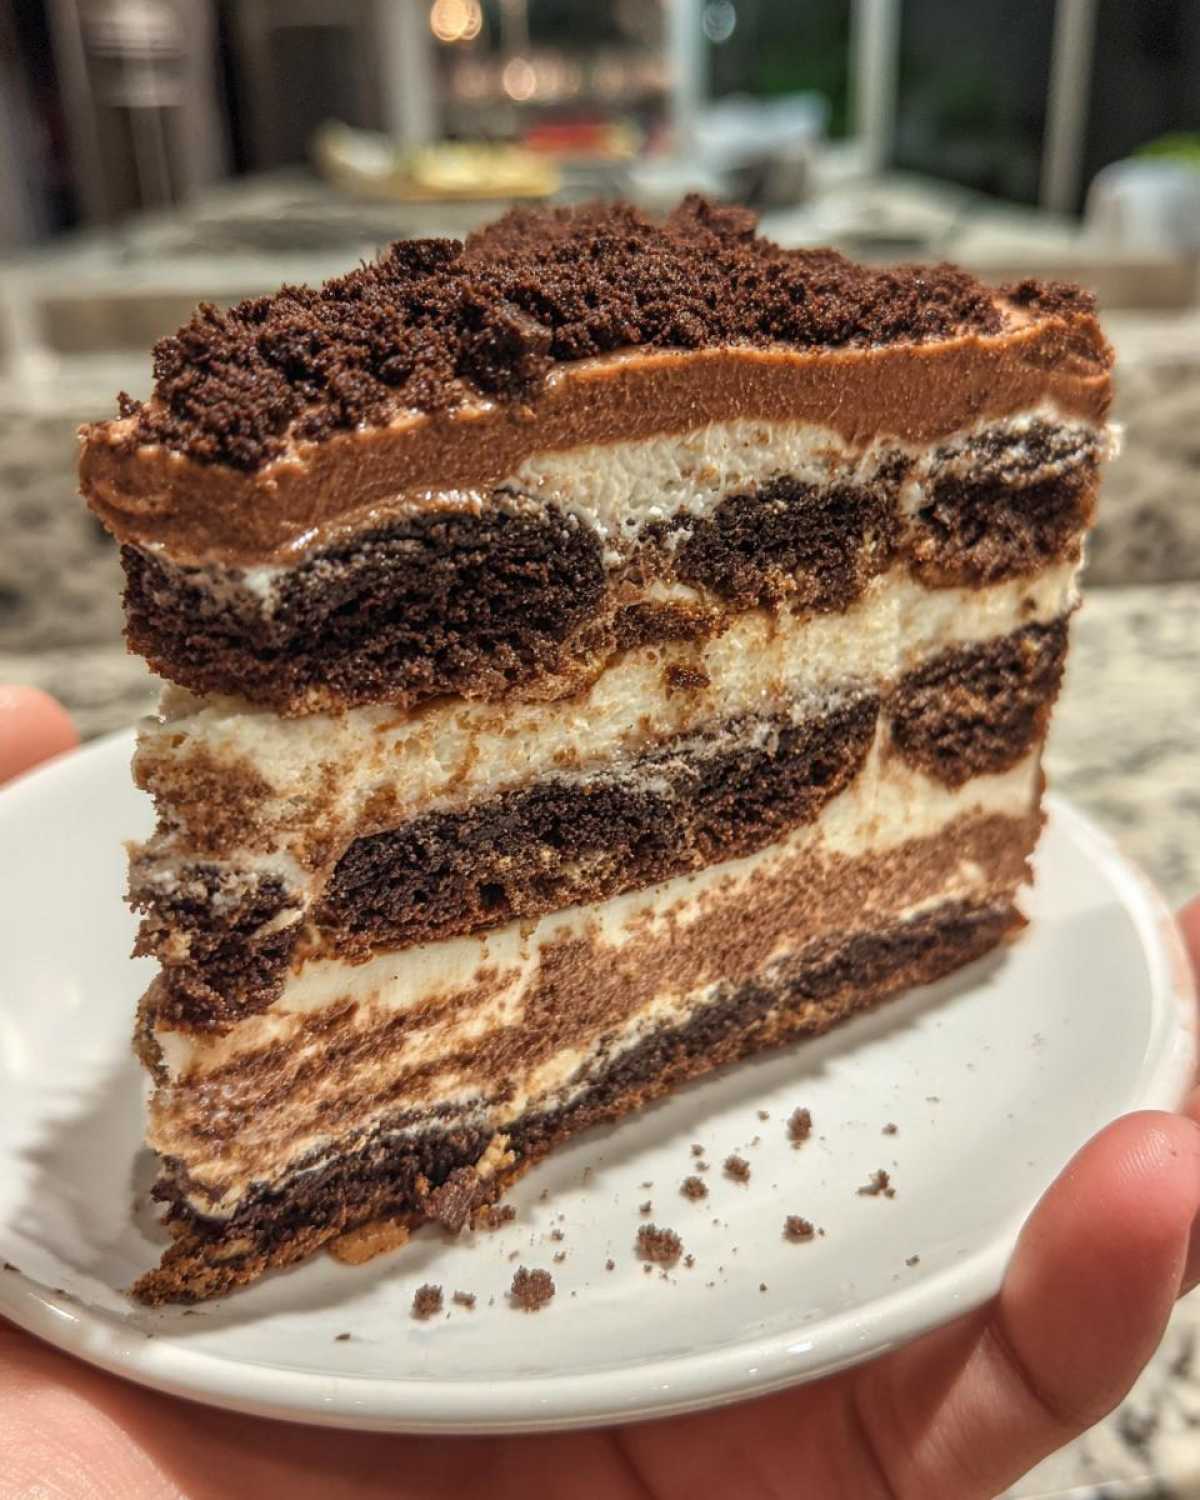
Now, you can add those optional garnishes. Sprinkle on some chocolate shavings for a bit of texture and visual appeal. Or, add some extra dollops of whipped cream on top. Slice it up with a sharp knife and serve immediately. Enjoy this effortless, flavorful dessert!
Tips for Perfecting Your Mocha Icebox Cake
Making this mocha icebox cake is pretty foolproof, but a few little tricks can make it even better. I’ve learned a thing or two over the years, and I’m happy to share them with you!
Ensuring a Delicious Mocha Icebox Cake Every Time
For the creamiest, fluffiest topping, make sure your heavy cream is really cold. Cold cream whips up much better and faster. If you’re struggling to get stiff peaks, try chilling your mixing bowl and beaters in the freezer for about 15 minutes beforehand. It really makes a difference!
Don’t skimp on the chilling time. I know it’s tempting to dig in early, but letting your mocha icebox cake rest in the fridge for at least 6 hours, or ideally overnight, is key. This allows the cookies to soften and absorb the flavors, creating that wonderful, cake-like texture. Rushing this step will result in a firmer, less integrated dessert.
When it’s time to slice, use a sharp knife and wipe it clean between cuts. This helps you get those neat, clean slices that make the cake look as good as it tastes. A warm knife can also help, but be careful not to melt the whipped cream too much.
Frequently Asked Questions About Mocha Icebox Cake (No Oven, Big Flavor)
Got questions about whipping up this delightful no-bake mocha treat? I’ve got answers! Making this cake is super easy, but it’s always good to know a few things beforehand.
Common Questions About Making Your Mocha Icebox Cake
Can I make this mocha icebox cake ahead of time?
Absolutely! In fact, I highly recommend it. Making this cake ahead is the secret to its amazing texture. Chilling it overnight allows the cookies to soften beautifully, creating that perfect cake-like consistency. It’s a fantastic make-ahead dessert for parties.
What if I don’t have chocolate wafer cookies? Can I use something else?
Yes, you can! While chocolate wafers are traditional and work wonderfully, graham crackers are a great substitute. You could also try chocolate chip cookies, though they might add a bit more sweetness and a different texture. Just aim for thin, crisp cookies that will soften well.
How long does this no-bake mocha cake last in the refrigerator?
This easy dessert stays fresh in the fridge for about 3 to 4 days. Just make sure it’s tightly covered with plastic wrap to prevent it from drying out or picking up other odors. The texture is best within the first couple of days, as the cookies continue to soften over time.
Can I make this recipe without espresso powder?
You can, but it won’t quite be a *mocha* icebox cake! The espresso powder is what gives it that lovely coffee note that complements the chocolate so well. If you absolutely can’t use it, you can omit it, but you’ll just have a rich chocolate icebox cake.
Nutritional Estimate for Your Mocha Icebox Cake
Please keep in mind that the nutritional information for this mocha icebox cake is an estimate. Exact values can vary quite a bit depending on the specific brands and types of ingredients you use. This is just a general guide to give you an idea of what you’re enjoying!
PrintMocha Icebox Cake: 1 Unbelievable No Bake Treat
Enjoy a rich, no-bake mocha icebox cake that’s surprisingly easy to make. This recipe delivers big flavor with minimal effort, perfect for any occasion.
- Prep Time: 20 minutes
- Cook Time: 0 minutes
- Total Time: 6 hours 20 minutes
- Yield: 8 servings
- Category: Dessert
- Method: No-Bake
- Cuisine: American
- Diet: Vegetarian
Ingredients
- 1 package (about 14 ounces) chocolate wafer cookies
- 1/2 cup unsalted butter, melted
- 1/4 cup granulated sugar
- 1/4 cup unsweetened cocoa powder
- 1/2 teaspoon instant espresso powder
- 1/4 teaspoon salt
- 1 1/2 cups heavy cream
- 1 teaspoon vanilla extract
- 1/4 cup powdered sugar
- Optional: Chocolate shavings or whipped cream for garnish
Instructions
- Line an 8×8 inch baking dish with plastic wrap, leaving an overhang on all sides.
- Arrange a single layer of chocolate wafer cookies in the bottom of the prepared dish, breaking them as needed to fit.
- In a medium bowl, whisk together the melted butter, granulated sugar, cocoa powder, espresso powder, and salt until well combined.
- Spread half of the chocolate mixture evenly over the cookie layer.
- Add another layer of cookies over the chocolate mixture.
- Spread the remaining chocolate mixture over the second cookie layer.
- Top with a final layer of cookies.
- In a separate large bowl, whip the heavy cream with an electric mixer until soft peaks form.
- Add the powdered sugar and vanilla extract to the whipped cream and continue to whip until stiff peaks form.
- Spread the whipped cream evenly over the top layer of cookies, creating a smooth surface.
- Cover the dish with the overhanging plastic wrap and refrigerate for at least 6 hours, or preferably overnight, to allow the cake to set and the flavors to meld.
- Before serving, carefully invert the icebox cake onto a serving platter using the plastic wrap. Remove the plastic wrap.
- Garnish with chocolate shavings or whipped cream, if desired. Slice and serve immediately.
Notes
- For a stronger mocha flavor, you can add an extra 1/2 teaspoon of espresso powder to the chocolate mixture.
- If you don’t have chocolate wafer cookies, graham crackers or chocolate chip cookies can be substituted.
- Ensure the cake is well chilled before slicing for cleaner cuts.
Nutrition
- Serving Size: 1 slice
- Calories: Approximately 350-400 calories (will vary based on specific ingredients)
- Sugar: Approximately 30-35g
- Sodium: Approximately 100-150mg
- Fat: Approximately 20-25g
- Saturated Fat: Approximately 12-15g
- Unsaturated Fat: Approximately 8-10g
- Trans Fat: 0g
- Carbohydrates: Approximately 35-40g
- Fiber: Approximately 2-3g
- Protein: Approximately 3-4g
- Cholesterol: Approximately 60-70mg
