

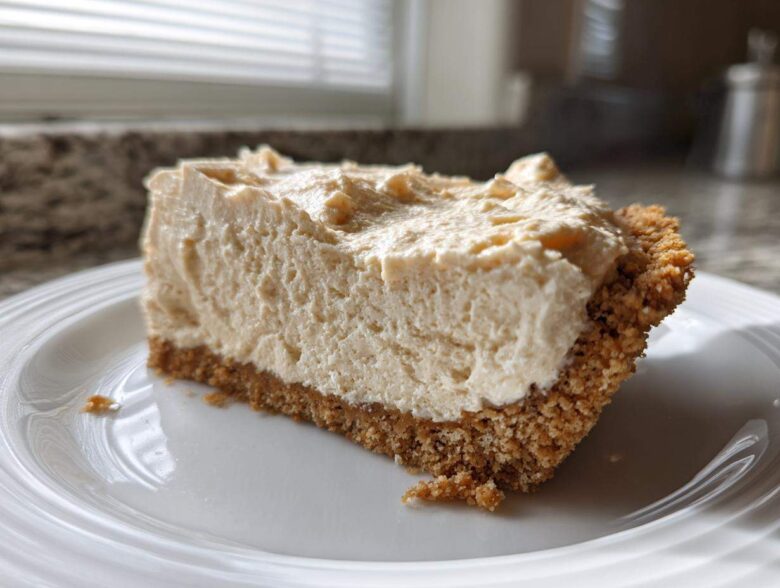
Oh, listen up, because sometimes the best desserts are the ones that let you skip the oven entirely. We’re talking about rich, creamy, show-stopping flavor without breaking a sweat. Seriously, if you need something that screams decadence but whispers “I made this in 20 minutes,” you’ve landed in the right spot. This No-Bake Creamy Peanut Butter Pie is, without exaggeration, the best in the game, and it’s my go-to when I need a big dessert for a crowd. Chef Tariq always taught us that real impact doesn’t require 12 complex steps; it just needs fantastic ingredients handled with confidence. This simple peanut butter pie proves his wisdom every single time. Get ready to be amazed!
Why This No Bake Peanut Butter Pie Recipe is a Crowd Pleaser Dessert
This is the definition of a **Quick Peanut Butter Dessert** that delivers maximum impact for minimal effort. Because it’s no-bake, you keep the kitchen cool, and your active prep time is just about 20 minutes. That’s insane for something this indulgent!
It’s truly a **Crowd Pleaser Dessert**. Whether it’s a huge summer BBQ or you’re tackling the holiday menu—yes, I mean Thanksgiving—this pie is reliable. Chef Tariq always respected recipes that were simple but never sacrificed flavor, and this one gets his silent nod of approval every time. It sets up perfectly firm and every slice looks gorgeous.
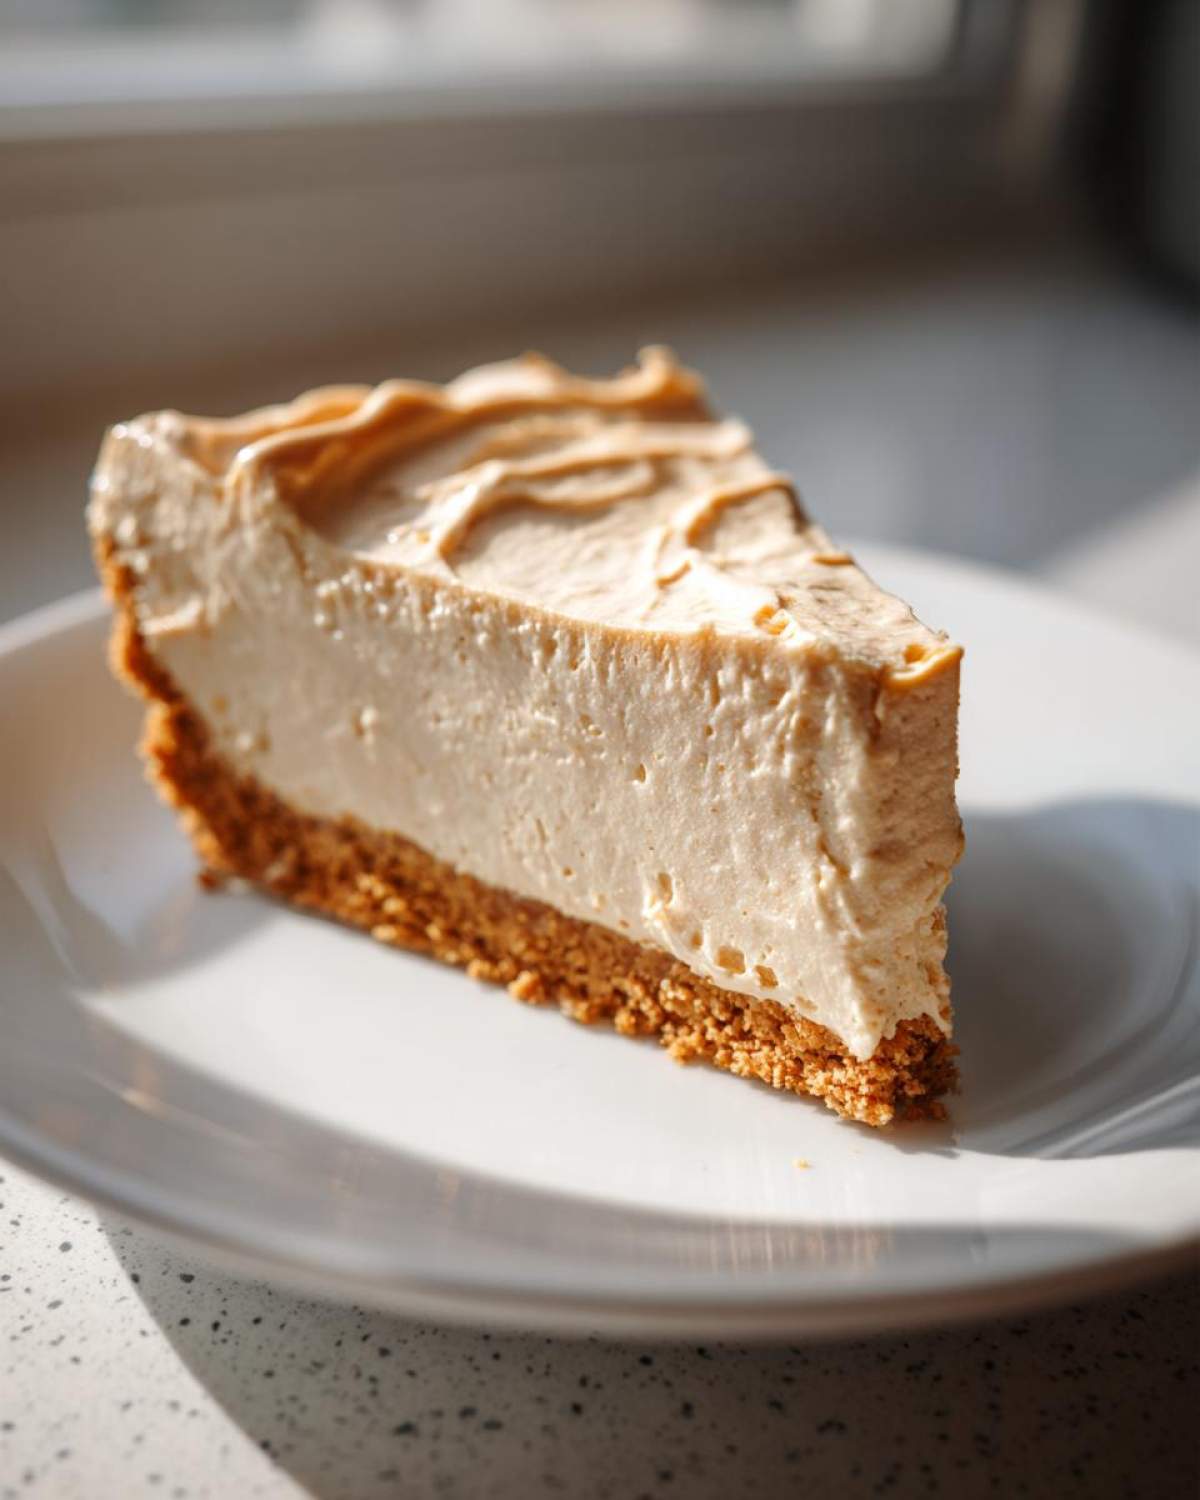
If you’re looking for great Simple Thanksgiving Desserts that don’t require taking up oven space, this is your answer!
Ingredients for Your Creamy Peanut Butter Pie
Let’s get straight to what you need, because you’re not going to believe how few things we’re using for such a rich result. Trust me, the quality of these simple components is what makes this **Creamy Peanut Butter Pie** so spectacular.
Make sure your cream cheese is fully softened—that’s really important for beating out those lumps! And stick to creamy peanut butter here; we need that smooth texture for the filling to set right.
- 1 1/2 cups graham cracker crumbs (for that classic **Graham Cracker Crust Pie**)
- 1/4 cup granulated sugar
- 6 tablespoons unsalted butter, melted
- 1 (8 ounce) package cream cheese, softened
- 1 cup creamy peanut butter
- 1 (14 ounce) can sweetened condensed milk
- 1 teaspoon vanilla extract
- 1 (8 ounce) container frozen whipped topping, thawed
- Optional topping: Chocolate syrup or mini peanut butter cups
How to Make the Best Peanut Butter Pie: Step-by-Step Instructions
Alright, this is where the magic happens! Even though we aren’t baking, we need precision to make sure this **peanut butter pie** sets up like a dream. You mix, chill, and boom—instant stunning dessert. You’ll be surprised how fast this comes together. Are you ready? Let’s walk through it together so you get that perfect slice every time.
Creating the Graham Cracker Crust Pie Base
First thing is dealing with those crumbs! Mix your graham cracker crumbs and the sugar right in your 9-inch pie plate—you can save on dishes that way! Pour in that melted butter and mash it all together until it looks uniformly sandy. Remember, the firmer you press this into the bottom and up the sides, the sturdier your **Graham Cracker Crust Pie** will be. Pop that plate straight into the freezer while you whip up the filling!
Assembling the Rich Dessert Pie Filling
Grab your big bowl and beat that softened cream cheese first. Seriously, take your time here until it’s totally smooth; no one wants a cheesecake chunk in their **Creamy Peanut Butter Pie**! Then, beat in the peanut butter, followed by the sweetened condensed milk and vanilla. That’s your sweet, salty base! Now, here’s Amara’s famous tip: take that thawed whipped topping and gently *fold* it into the mixture. Don’t use the mixer here—we want to keep all those lovely little air bubbles she worked so hard to incorporate!
Chilling and Serving Your Peanut Butter Pie
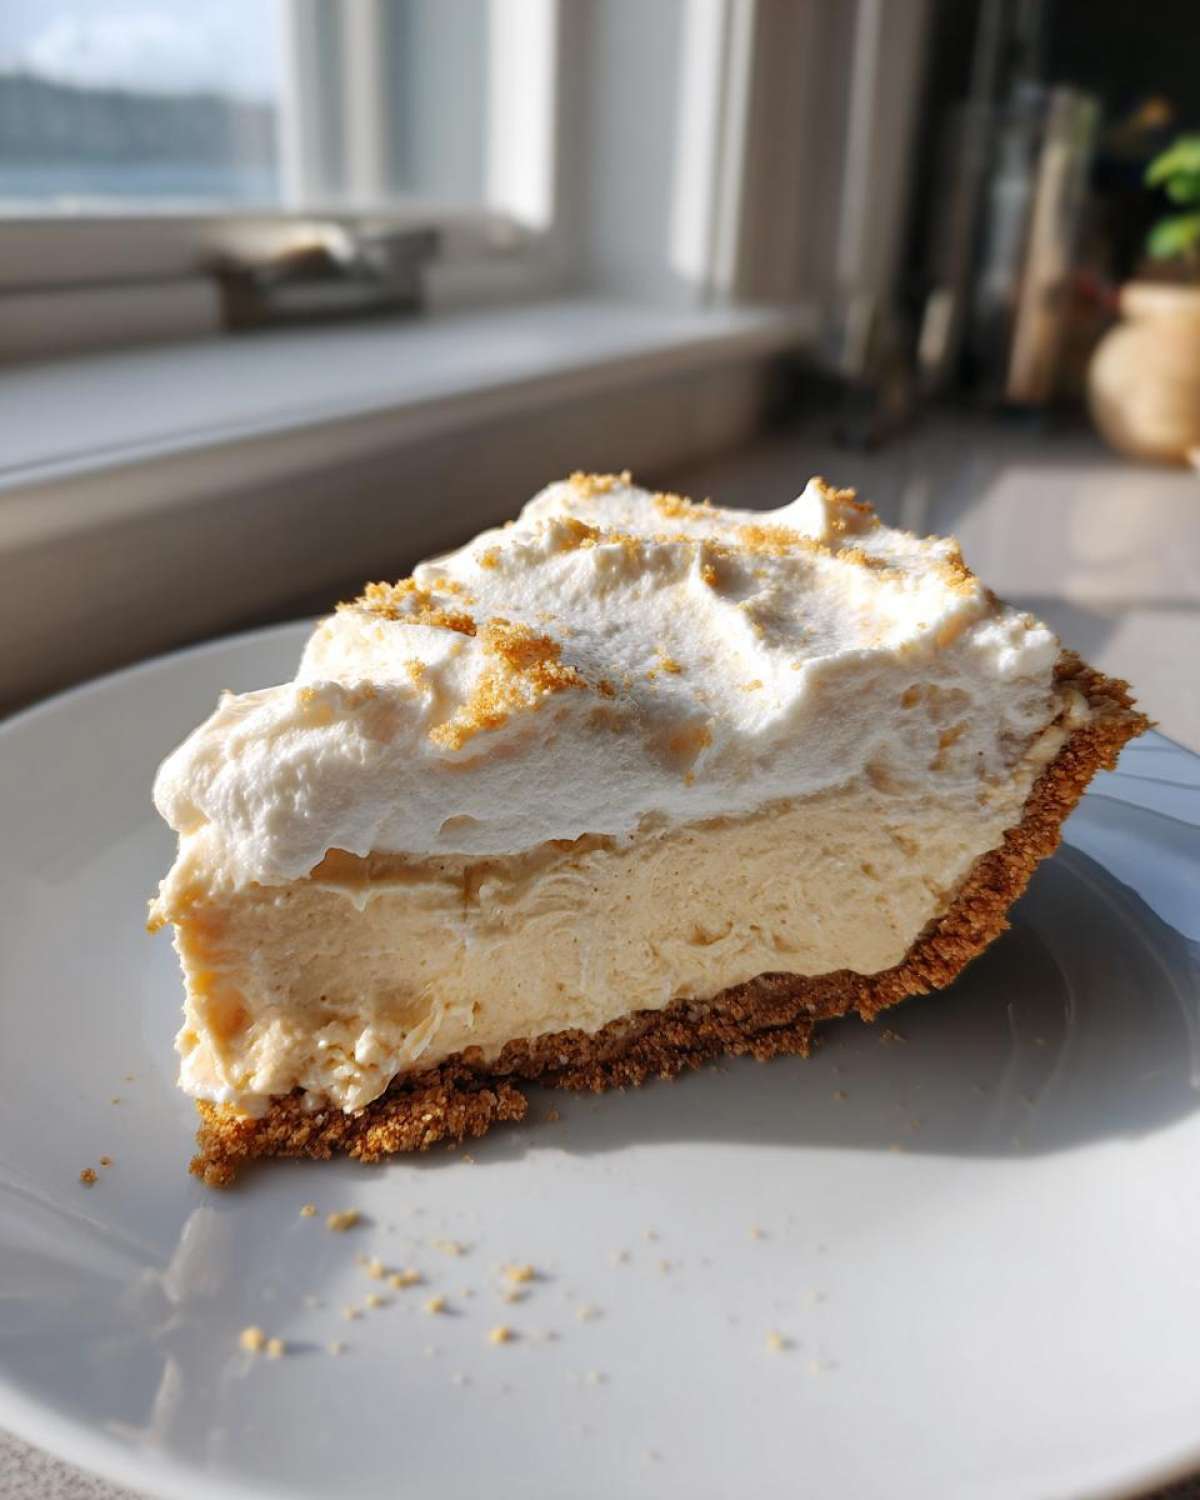
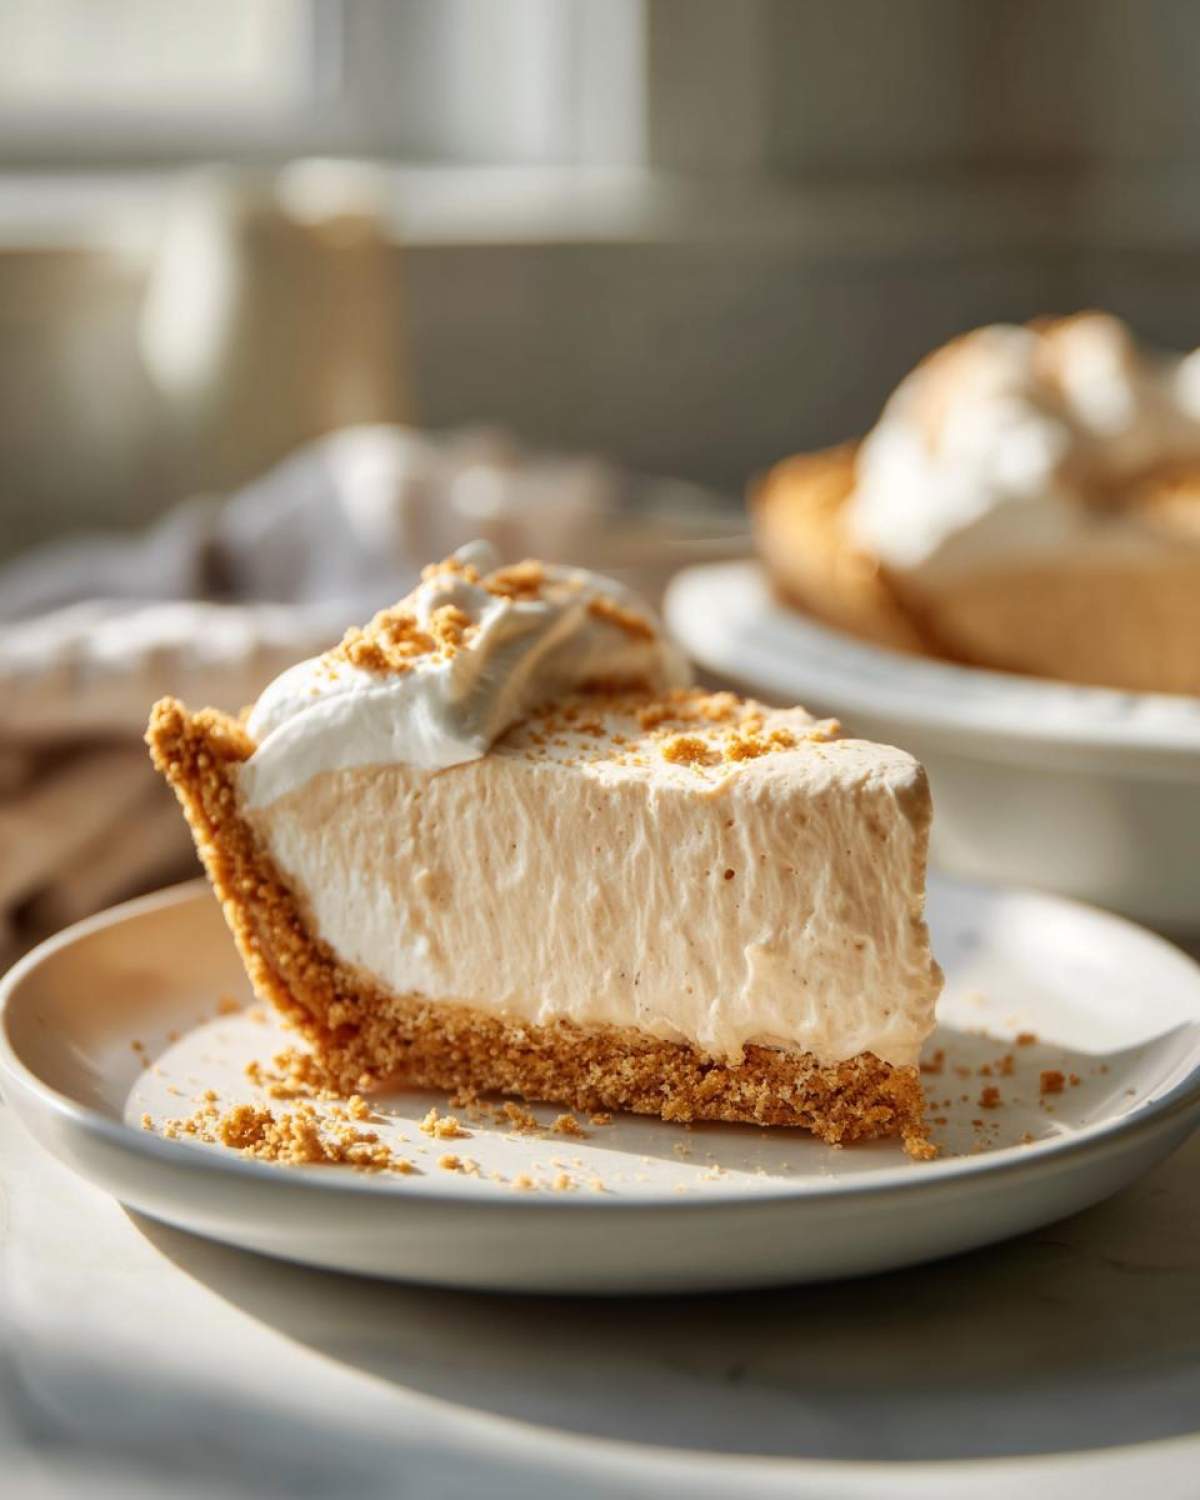
Spoon that glorious filling evenly into your chilled crust. Then, spread the rest of the whipped topping over the top for a nice, neat finish. Cover it loosely so the plastic wrap doesn’t stick—we never want to ruin that perfect top layer!
Here’s the hard part: patience. This needs a solid four hours in the fridge, minimum, to firm up properly. Once it’s set, you can drizzle it silly with chocolate—or whatever inspires you!
If you need more pointers on mixing techniques, check out this guide on easy mixing tips that apply everywhere in the kitchen.
Ingredient Notes and Substitutions for Your Peanut Butter Pie
I know you might be looking at that ingredient list and thinking, “What if I don’t have graham crackers?” Don’t panic! This is where we adapt while keeping the flavor top-notch. Since this recipe is so simple, ingredient choice matters a huge amount, which Chef Tariq always hammered home.
If you want to skip the traditional base, you can easily swap out the graham cracker crumbs for about two cups of finely crushed Oreo cookies—including the filling! That gives you a chocolate crust, which is just divine with the sweet peanut flavor. That’s how you transition this into an even more **Indulgent Peanut Butter Dessert**.
A quick note on the PB: I highly recommend standard, jarred creamy peanut butter for this **No Bake Peanut Butter Pie**. The natural stuff tends to separate when mixed with the milk and cream cheese, which can mess up that perfectly smooth texture we’re trying to achieve. If you want to check out some other crowd-pleasing spreads, I wrote about a great dip recipe that uses cream cheese too!
Tips for Success with This Easy Peanut Butter Pie Recipe
Since this is an **Easy Peanut Butter Pie Recipe**, success comes down to a couple of tiny details. Like I mentioned before, I’m Leo, and I’m the guy who likes to sneak in contrasting flavors! If you want that extra little ‘pop’ that makes people pause and ask what’s in it, use a slightly salted peanut butter instead of the super-sweet variety. It really elevates the whole experience, turning it into a fantastic **Sweet and Salty Pie**.
You’ll be happy to know that leftovers store beautifully. Keep your **Homemade Peanut Butter Pie** covered tightly in the fridge—I usually use plastic wrap pressed gently against the top layer of whipped topping. It stays wonderfully creamy for about three or four days, making leftovers just as amazing as the fresh slice. I archive all my favorite simple finds over on the main blog if you need more inspiration!
Peanut Butter Pie Toppings and Variations
Okay, you’ve made the incredible filling and you’ve chilled it just right. Now for the fun part: making it look like you worked way too hard! The basic chocolate drizzle is divine, sure, but we can do better.
Try scattering some finely crushed peanuts over the top for crunch, or if you’re feeling extra decadent, chop up a few mini Reese’s cups and let them melt slightly into that cool whipped topping. It makes this **Peanut Butter Dessert** just sing!
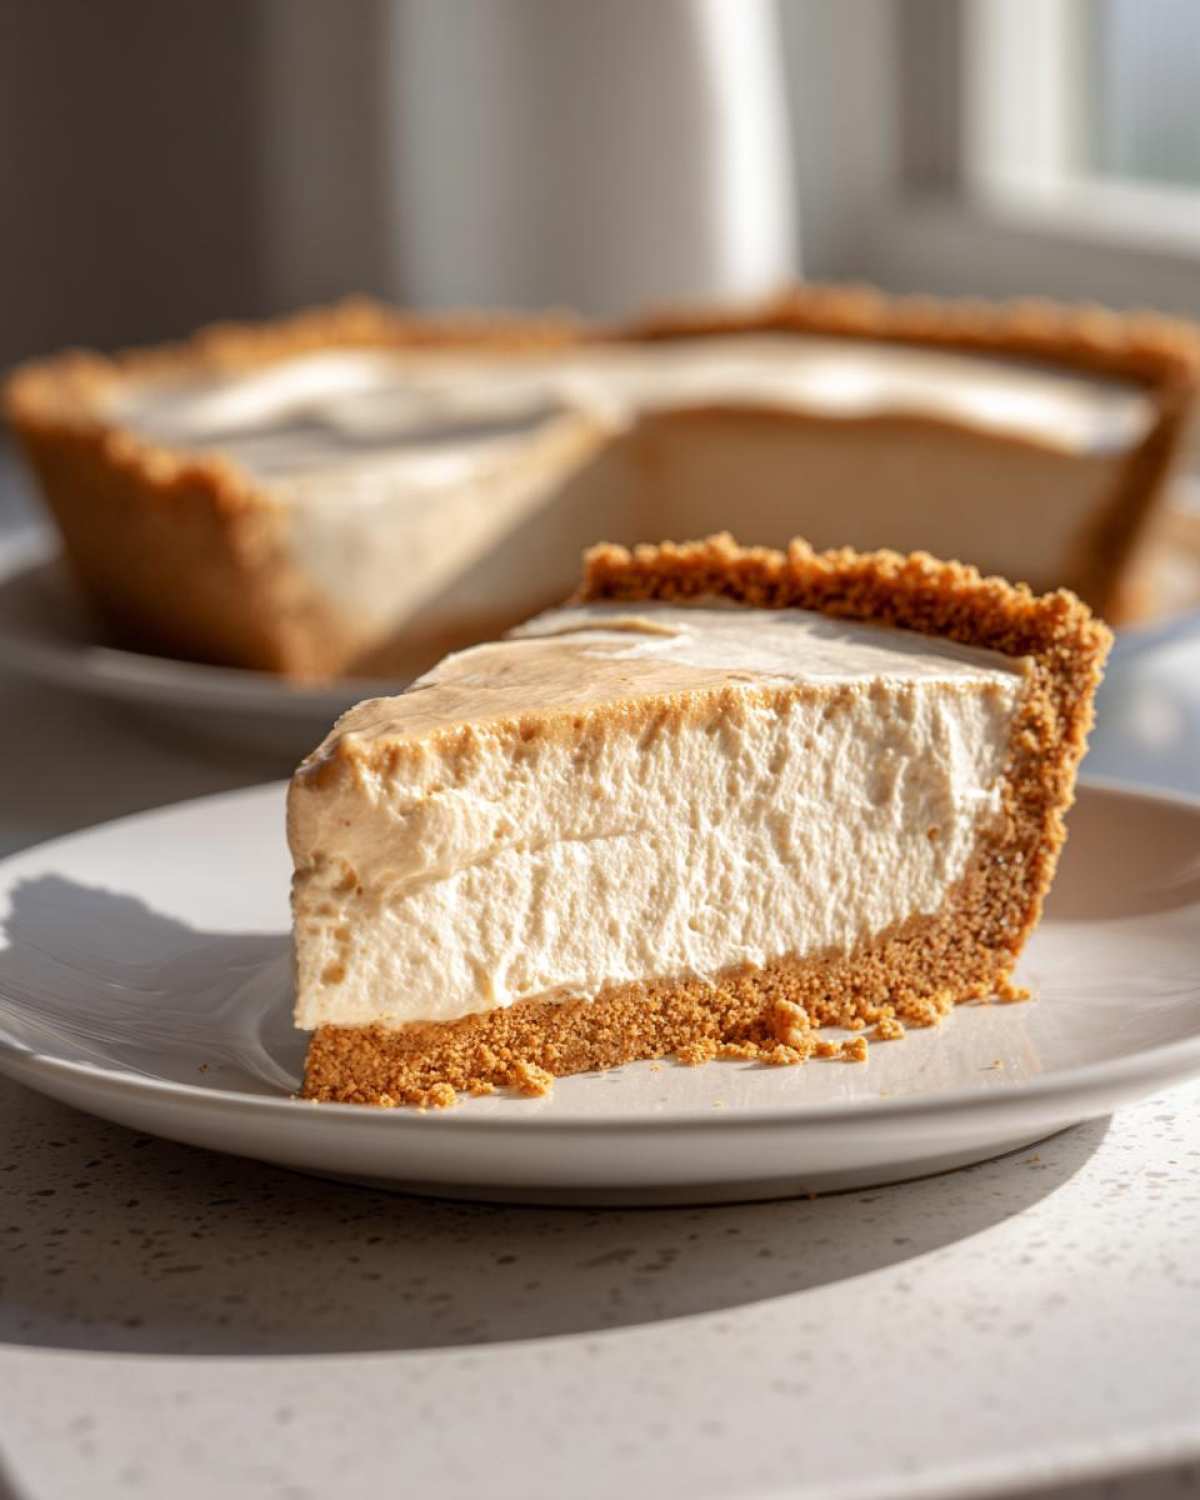
If you’re feeling adventurous and want to try an **Oreo Crust Peanut Butter Pie** next time, remember that swapping the graham crackers for crushed Oreos gives the whole pie a rich chocolate base that pairs perfectly with the peanut butter. I have a great recipe for Peanut Butter Cup Cookies, and these toppings often overlap!
Frequently Asked Questions About Making a Peanut Butter Pie
It’s totally normal to have questions, especially when you’re relying on a **No Bake Peanut Butter Pie** recipe! We want this to be foolproof so you can save time and still serve the **Best Peanut Butter Pie** on the block. Here are a few things I hear all the time in the kitchen.
Can I use natural peanut butter for this Easy Peanut Butter Pie Recipe?
Honest answer? I wouldn’t really recommend it for this specific filling. Natural peanut butter—you know, the kind where the oil separates on top—doesn’t combine as smoothly with the cream cheese and condensed milk. You end up with a slightly grainy texture, which ruins that dreamy, **Creamy Peanut Butter Pie** feel we’re aiming for. Stick to the standard, conventional creamy peanut butter for the best results, especially since this is such a **Quick Peanut Butter Dessert**!
How long does the pie need to set to be sliceable?
The chilling time is non-negotiable, my friends, but it’s worth it! The recipe calls for at least four hours in the fridge to firm up enough for slicing. If you rush it, the filling will just ooze right out when you try to cut that first piece of your **Rich Dessert Pie**. I always recommend setting this up the day before using it. It fits perfectly into my collection of Make Ahead Dessert Recipes and actually tastes better the next day!
Can I freeze this No Bake Peanut Butter Pie?
Yes, you absolutely can freeze this! Since it’s a **No Oven Dessert**, it handles the freezer surprisingly well. Make sure it’s completely chilled first, then wrap it tightly in plastic wrap followed by a layer of foil to prevent freezer burn. It should last about a month. When you want to serve it, just move it to the fridge overnight to thaw slowly. It comes out just as creamy!
What happens if my crust doesn’t stay put in the pan?
If your **Graham Cracker Crust Pie** keeps crumbling when you slice it, you probably didn’t press hard enough, or your butter wasn’t quite melted enough. Next time, use the bottom of a flat measuring cup to really compact those crumbs firmly into the plate *before* you freeze it. You want that base to be almost rock hard when it goes into the freezer!
Storage and Make Ahead Dessert Recipes for Your Peanut Butter Pie
One of the big wins for this **peanut butter pie** is how fantastic it is as a **Make Ahead Dessert Recipe**! Since there’s no baking involved, you just need time for chilling, which is perfect for busy days. You can safely store this pie covered tightly in the fridge for about three to four days. It stays wonderfully rich and creamy the whole time.
If you really need to prep far ahead, freezing works like a charm! Just wrap it well so it doesn’t pick up any freezer smells, and move it to the fridge the night before you plan to serve it. Honestly, the flavor might even deepen overnight—that’s how you know it’s a winner. We keep all our slow-cook recipes over on the make ahead section, but this pie beats them all for simple scheduling!
Estimated Nutritional Data for This Rich Dessert Pie
Now, I know we aren’t here to count every single calorie when we’re dealing with something this heavenly, but for those of you who like to keep track, here are the estimates for one slice of this amazing **Rich Dessert Pie**. Remember, these numbers are based on using standard ingredients and the optional toppings aren’t included here.
Because we love transparency here at Savory Skies, you can always check out our full nutritional disclaimer, but here is the general breakdown we calculated:
- Calories: 450
- Fat: 28g (with 10g saturated fat)
- Carbohydrates: 45g
- Sugar: 35g
- Protein: 9g
Easy No-Bake Creamy Peanut Butter Pie
You can make this rich, creamy peanut butter pie without turning on your oven. It uses a simple graham cracker crust and comes together quickly, making it a perfect crowd pleaser for any gathering.
- Prep Time: 20 min
- Cook Time: 0 min
- Total Time: 4 hr 20 min
- Yield: 8 servings
- Category: Dessert
- Method: No-Bake
- Cuisine: American
- Diet: Vegetarian
Ingredients
- 1 1/2 cups graham cracker crumbs
- 1/4 cup granulated sugar
- 6 tablespoons unsalted butter, melted
- 1 (8 ounce) package cream cheese, softened
- 1 cup creamy peanut butter
- 1 (14 ounce) can sweetened condensed milk
- 1 teaspoon vanilla extract
- 1 (8 ounce) container frozen whipped topping, thawed
- Optional topping: Chocolate syrup or mini peanut butter cups
Instructions
- Prepare the crust: Mix the graham cracker crumbs and 1/4 cup sugar in a medium bowl. Pour in the melted butter and stir until the crumbs are evenly moistened. Press the mixture firmly into the bottom and up the sides of a 9-inch pie plate. Place the crust in the freezer while you prepare the filling.
- Make the filling base: In a large bowl, beat the softened cream cheese with an electric mixer until it is smooth and fluffy. Add the peanut butter and beat until fully combined.
- Add the liquid: Gradually beat in the sweetened condensed milk until the mixture is smooth. Mix in the vanilla extract.
- Fold in the topping: Gently fold in half of the thawed whipped topping until just combined. Do not overmix.
- Assemble the pie: Spoon the peanut butter filling evenly into the chilled graham cracker crust. Spread the remaining half of the whipped topping over the filling.
- Chill: Cover the pie loosely with plastic wrap and refrigerate for at least 4 hours, or until the pie is firm.
- Serve: Before serving, drizzle with chocolate syrup or top with chopped peanut butter cups if desired. Slice and enjoy this indulgent peanut butter dessert.
Notes
- For an Oreo crust, substitute 2 cups of finely crushed Oreo cookies (filling included) for the graham cracker crumbs.
- You can make this pie a day ahead of time, which makes it a great make ahead dessert recipe for holidays like Thanksgiving.
- If you prefer a sweeter crust, add an extra tablespoon of sugar to the graham cracker mixture.
Nutrition
- Serving Size: 1 slice
- Calories: 450
- Sugar: 35g
- Sodium: 320mg
- Fat: 28g
- Saturated Fat: 10g
- Unsaturated Fat: 18g
- Trans Fat: 0g
- Carbohydrates: 45g
- Fiber: 1g
- Protein: 9g
- Cholesterol: 35mg
