


Okay, listen up, because I’m about to let you in on my biggest kitchen secret: you absolutely do not need a fiery, expensive tandoor oven to make glorious, chewy naan bread. Seriously! For years, I thought that soft, slightly charred texture belonged only in specialty restaurants, but I figured out the trick using just a good cast-iron pan. This Easy Skillet Naan Bread recipe changed my weeknight dinners forever. It’s ridiculously simple, uses pantry staples, and guarantees a fluffy, pillowy flatbread every single time. Trust me, once you nail this simple technique, you’ll never look at store-bought bread again!
Why This Easy Naan Recipe Delivers Soft and Fluffy Bread
Tough, chewy naan that cracks when you fold it? We don’t know her! That’s the major pain point when making Indian bread recipes at home, but this specific formula fixes all that. We rely on two things working perfectly together: the dough composition and the cooking surface. It’s fool-proof, I promise!
- The yogurt keeps the gluten strands relaxed, ensuring the final product is soft, like a pillow.
- The final cooking step requires absolute, blistering heat so the bread puffs up instantly.
The Secret Ingredient: Yogurt Flatbread Magic
Look, you can try making flatbread with just water, but you’ll get something closer to a slightly sad tortilla. The full-fat plain yogurt is non-negotiable for a great **Yogurt Flatbread**. The lactic acid in the yogurt actually works like a natural tenderizer on the flour. This small addition makes the difference between decent bread and absolute perfection!
Achieving Restaurant Style Naan At Home Without a Tandoor
Forget specialized equipment! The real secret to that beautiful char and cloud-like puff is getting your cast-iron skillet screaming hot—I mean, seriously hot. We are replicating the intense radiant heat of the tandoor using just the stovetop. Cook your **Skillet Naan Bread** on a completely dry pan over medium-high heat. Don’t walk away, because those bubbles form fast! This technique gets you that authentic char every time, fulfilling all your **No Tandoor Recipes** dreams.

Ingredients for Perfect Skillet Naan Bread
You won’t believe how short this shopping list is! I almost always have everything I need on hand, making this an amazing **Pantry Staple Bread**. We need the basics to build that structure, plus the magic component that makes it worth bragging about. Remember, precision matters here, especially with the yogurt! If you’re also whipping up some drinks, check out my favorite lemonade recipe.
Here’s what you’ll need for about 8 pieces of perfect **naan bread**:
- 2 cups all-purpose flour (the standard stuff works wonders!)
- 1 teaspoon instant dry yeast
- 1 teaspoon sugar
- 1 teaspoon salt
- 1 cup plain yogurt—and seriously, go for the full fat, it matters!
- 1/2 cup warm water (plus a little extra later if your dough is grumpy)
- 2 tablespoons melted butter or ghee (ghee adds a beautiful nutty flavor)
- 1 clove garlic, minced (Totally optional if you’re making plain naan, but if you want **Garlic Naan Bread**, you gotta have it!)
Ingredient Notes and Substitutions for Your Naan Bread
A little extra note here on quality. Using melted butter, or even better, ghee, when brushing the final bread is important for that decadent texture. If you want to make a richer **Butter Naan Recipe**, just use ghee instead of butter; it browns beautifully on the hot bread. And please, resist the urge to substitute the full-fat yogurt with anything low-fat if you can help it—the fat content is crucial for keeping this **naan bread** from getting stiff.
Step-by-Step Instructions for Making Naan Bread From Scratch
Making **naan bread from scratch** sounds intimidating, right? But I promise, once you see how the dough comes together, you’ll realize this is just a very patient, very delicious yeast bread. We are going to work the dough until it’s super happy, let it nap, and then hit it with some serious heat. If you’ve ever struggled with stiff doughs before, check out my other article on how to handle that initial mixing stage!
Mixing and Proofing the Soft and Fluffy Bread Dough
First step: whisk the dryness together—flour, yeast, sugar, and salt. Then, make a well and introduce the wet stuff: the full-fat yogurt and warm water. Mix it all up until you get what I call ‘shaggy dough.’ It looks messy, don’t panic! Now, turn it out onto the counter. Knead for about 5 to 7 minutes until it stops fighting you and becomes smooth and elastic. If it’s sticking everywhere, add the tiniest bit of flour only as needed. Once smooth, oil a bowl, plop that dough in, cover it tight, and put it somewhere warm for 1 to 1.5 hours. You are looking for it to double—that’s your cue to move on!
Cooking the Skillet Naan Bread to Perfection
This is where the magic happens! Get your cast-iron skillet going over medium-high heat until it’s smoking hot—no oil in the pan, remember? While that’s heating up, punch down your risen dough and slice it into 8 equal balls. Roll each one out thin, about 1/8 inch thick, into that classic teardrop shape. Toss one piece onto the dry, hot surface. Wait! You want to see big bubbles form quickly, maybe a minute or two. Flip it, cook the other side until you see those delicious brown spots, and immediately brush it with butter or ghee. This quick, high-heat blast is what creates the perfect **Skillet Naan Bread** texture.
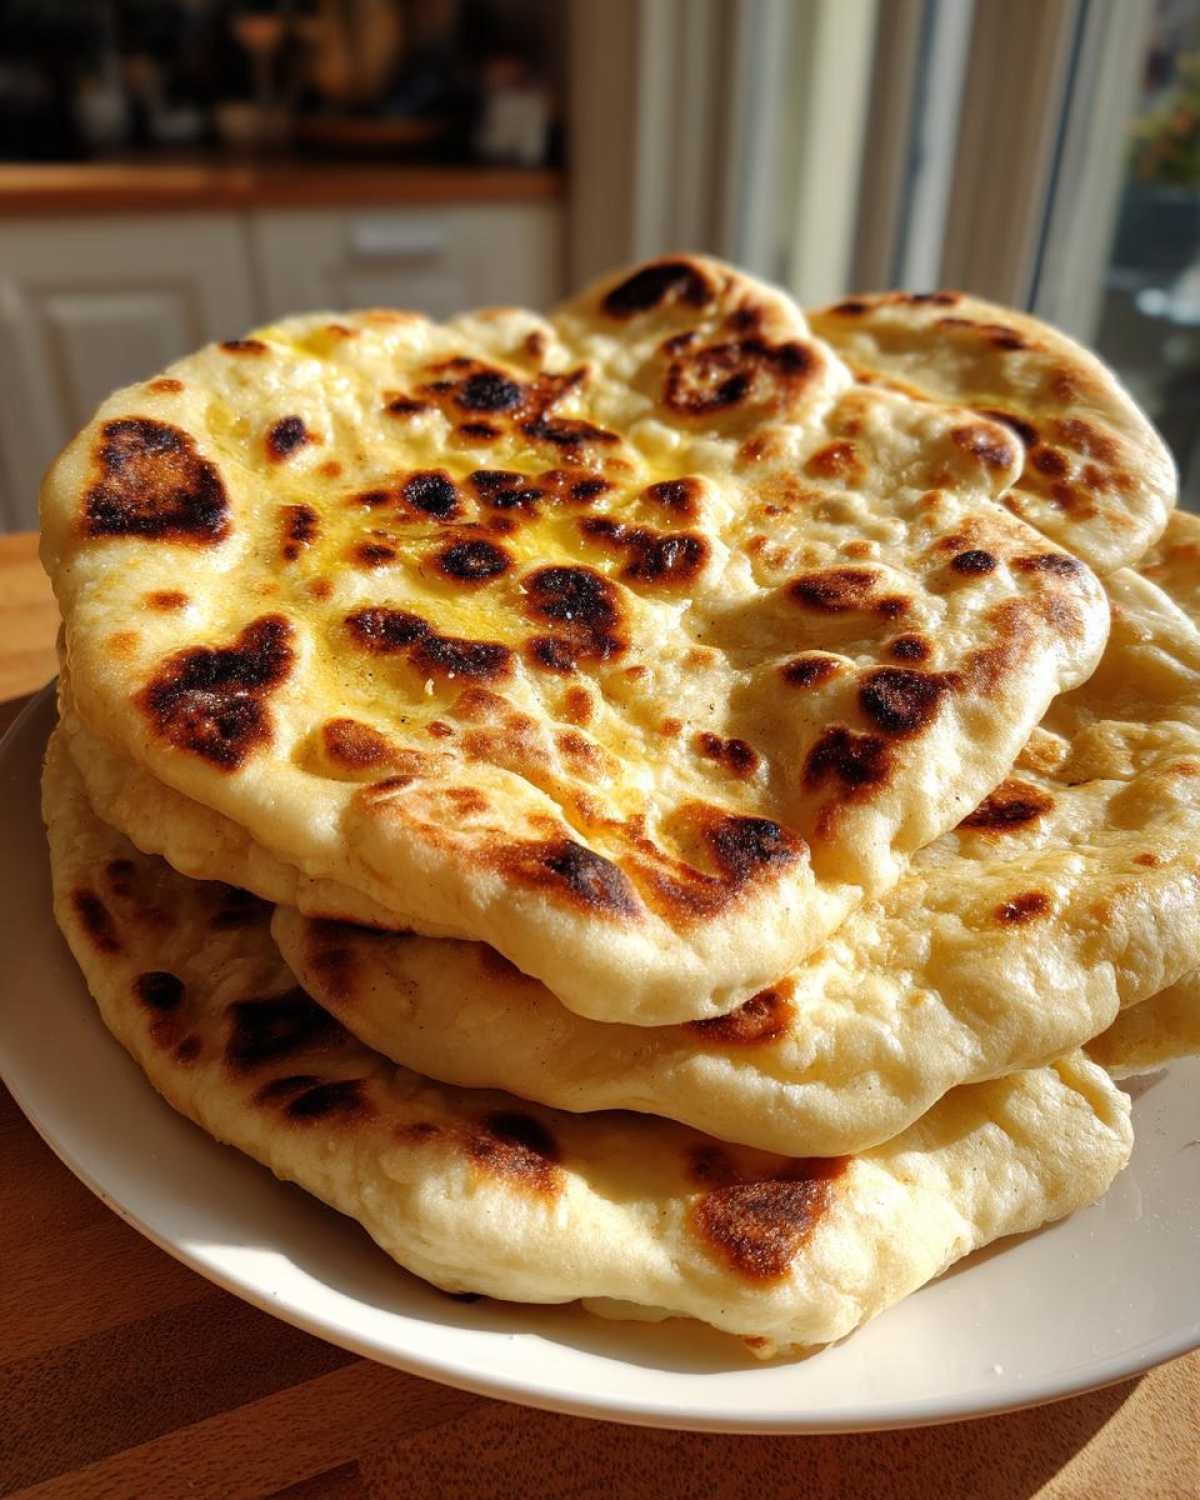
Variations: Making Garlic Naan Bread or Butter Naan Recipe
Once you’ve mastered the base **naan bread**, you immediately unlock the secret to those flavor bombs they sell at the restaurants! It’s honestly embarrassingly easy. If you want to elevate this **Bread for Curry** immediately, you just adjust what you brush on the hot bread right when it comes out of the skillet.
For the incredible **Garlic Naan Bread**, just melt your butter—or better yet, use some of that amazing garlic butter you can whip up with my garlic butter recipe—and toss in that minced garlic while the skillet is cooking the next piece. Brush that fragrant goodness all over the hot surface. The heat releases the garlic flavor instantly!
If you’re feeling extra decadent and want a rich **Butter Naan Recipe**, swap out the regular melted butter for ghee. Ghee has a much higher smoke point and a warm, nutty flavor that just sings with the soft texture of this flatbread. A generous slather of pure ghee makes these taste truly special without adding any extra complexity to the dough itself!
Serving Suggestions for Your Homemade Flatbread
So you’ve got your stack of warm, pillowy **naan bread** sitting on the counter. What now? Honestly, you’ve just created the ultimate **Easy Side Dish**! Forget the fancy stuff; this bread was truly born to soak up sauce.
The absolute classic pairing, of course, is any rich Indian dish. Think creamy Palak Paneer, hearty Chana Masala, or a beautiful spicy Dal. You’ll be scooping up every last bit of gravy—that’s why we made it! If you need some inspiration for what to pair it with, I have some great pointers on the best bread for curry pairings on the site.

But don’t stop there! This **Indian Bread Recipe** is super versatile. Roll up some grilled chicken and veggies in it for a quick lunch wrap. Or just serve it hot with a dollop of chutney or plain yogurt. Honestly, it’s fantastic just torn into pieces and dipped in melted butter. I love having this **Homemade Flatbread** on hand!
Storage and Reheating Instructions for Naan Bread
Okay, you’ve made a huge batch of this amazing **naan bread**, and now you need to keep it soft for the next day—which, let’s be honest, is the real challenge, right?
The trick is trapping that steam. As soon as the naan comes off the hot skillet, stack them up and immediately wrap the whole pile tightly in a clean kitchen towel. Once cooled slightly, transfer them to an airtight container or a heavy-duty zip-top bag. They’ll stay surprisingly soft for about two days like that.
When you’re ready for leftovers, skip the microwave! It just makes them chewy in a bad way. The best way to revive that fresh-out-of-the-pan texture is back on the hot, dry skillet for about 30 seconds per side. Quick blast of heat, and they puff right up again. Trust me on this reheating trick!
Troubleshooting Common Naan Bread Issues
I’m going to let you in on something: even my best batches of **naan bread** sometimes flop initially! If you run into a snag, don’t throw the dough against the wall—it happens to everyone. Most issues are simple fixes related to temperature or kneading, and once you know the cause, you’ll never have the problem again. Let’s troubleshoot!
My Dough Isn’t Rising—What’s Wrong?
If your dough looks exactly the same after an hour and a half, it’s usually because your kitchen is too cold, or the water you used was too hot and killed your yeast! Yeast is fussy, just like my sourdough starter. If your warm water felt hot to your wrist, it was too hot for the yeast. If the room is chilly, try putting the dough bowl inside your oven (turned OFF!) with just the *light* on. That little bit of ambient heat is usually enough to wake up a sleepy batch of dough.
Why Is My Naan Bread Tough or Hard?
This almost always boils down to two things: over-kneading or under-fat. If you kneaded the dough for 10 minutes straight instead of the suggested 5 to 7, you developed too much gluten, leading to tough bread. The other culprit is skipping a wet ingredient, like not using full-fat yogurt. If it comes out tough, try kneading a spoonful of softened butter right into the tough lump, let it rest 15 minutes, and try rolling it again. It sometimes works wonders!
My Naan Is Sticking to My Hot Skillet!
This is the most common mistake, since this is a **Skillet Naan Bread** recipe! Remember, we are cooking it on a **dry** skillet—no oil, no butter in the pan itself. If it sticks, your pan either wasn’t hot enough yet, or you didn’t roll the dough thin enough. If the dough is stuck, gently scrape it off, check the heat, and ensure you roll the next piece thinner. Also, make sure you flour your surface well when rolling out; that little bit of flour on the bottom acts as a release agent against the metal.
Frequently Asked Questions About This Indian Bread Recipe
I get so many great questions about this **Indian Bread Recipe**! Honestly, people are usually trying to speed things up or make substitutions, and I totally get it—sometimes you need that **Quick Homemade Bread** right now. Here are the questions I get asked the most about making the best **naan bread** on the stovetop. If you’re looking for the fastest way to get results, check out my article on quick homemade bread for other time-saving ideas!
Can I skip the yeast if I’m in a hurry? Can I make a Yeast Free Naan?
That’s a tough one! The yeast is what gives this bread those gorgeous air pockets and that characteristic chewy lift. If you skip it, you are essentially making a different, flatter type of bread—more like a simple unleavened flatbread. While you absolutely can make a **Yeast Free Naan**, you’ll need to swap the yeast for baking powder and rely heavily on the yogurt and baking soda reaction for lift. It won’t have the exact same texture, but it will still be delicious and fast!
Can I make the dough ahead of time and is this a good ‘make ahead’ meal?
You totally can make the initial dough ahead! After kneading, cover the dough well and pop it in the fridge for up to three days. The cold slows the yeast way down. Just pull it out about an hour before you want to cook so it can warm up a little and becomes easier to roll. It’s great for prepping for a dinner party!
Why do I need to use warm water instead of cold water?
Warm water is crucial because it wakes up the yeast! Think of it like a comfy bed for the yeast organisms. If the water is too cold, the yeast basically sleeps through the entire rising process, and you end up with dense dough. If the water is too hot, you actually cook the yeast, which kills it dead, so you get no rise at all. Make sure it feels just warm to the touch!
How do I keep my naan bread soft if I make a big batch?
This is where that kitchen towel comes in handy! As soon as each piece of **naan bread** comes off the hot skillet, brush it with butter and immediately stack it on a clean plate, covering the entire stack with a thick, clean kitchen towel. The trapped steam keeps them moist and pliable. If you’re planning on leftovers, store them airtight, and reheat quickly on a dry, hot pan later using my tips above!
Nutritional Snapshot of Your Skillet Naan Bread
Okay, so while we focus on the flavor and that incredible chewiness, I know some of you are curious about the numbers. Here is a quick breakdown of what you can generally expect from one piece of this fantastic **naan bread** when made according to this recipe. Remember, this is just an estimate based on the ingredients listed! For the full official breakdown, you can always check out my site disclaimer for sourcing specifics.
- Calories: Approximately 220
- Fat: Around 5g
- Carbohydrates: About 40g
- Protein: Roughly 6g
- Sugar: Low, usually only 2g
Because we aren’t deep-frying these beauties and we use yogurt for tenderness instead of tons of oil, they come out surprisingly reasonable! Enjoy them guilt-free!
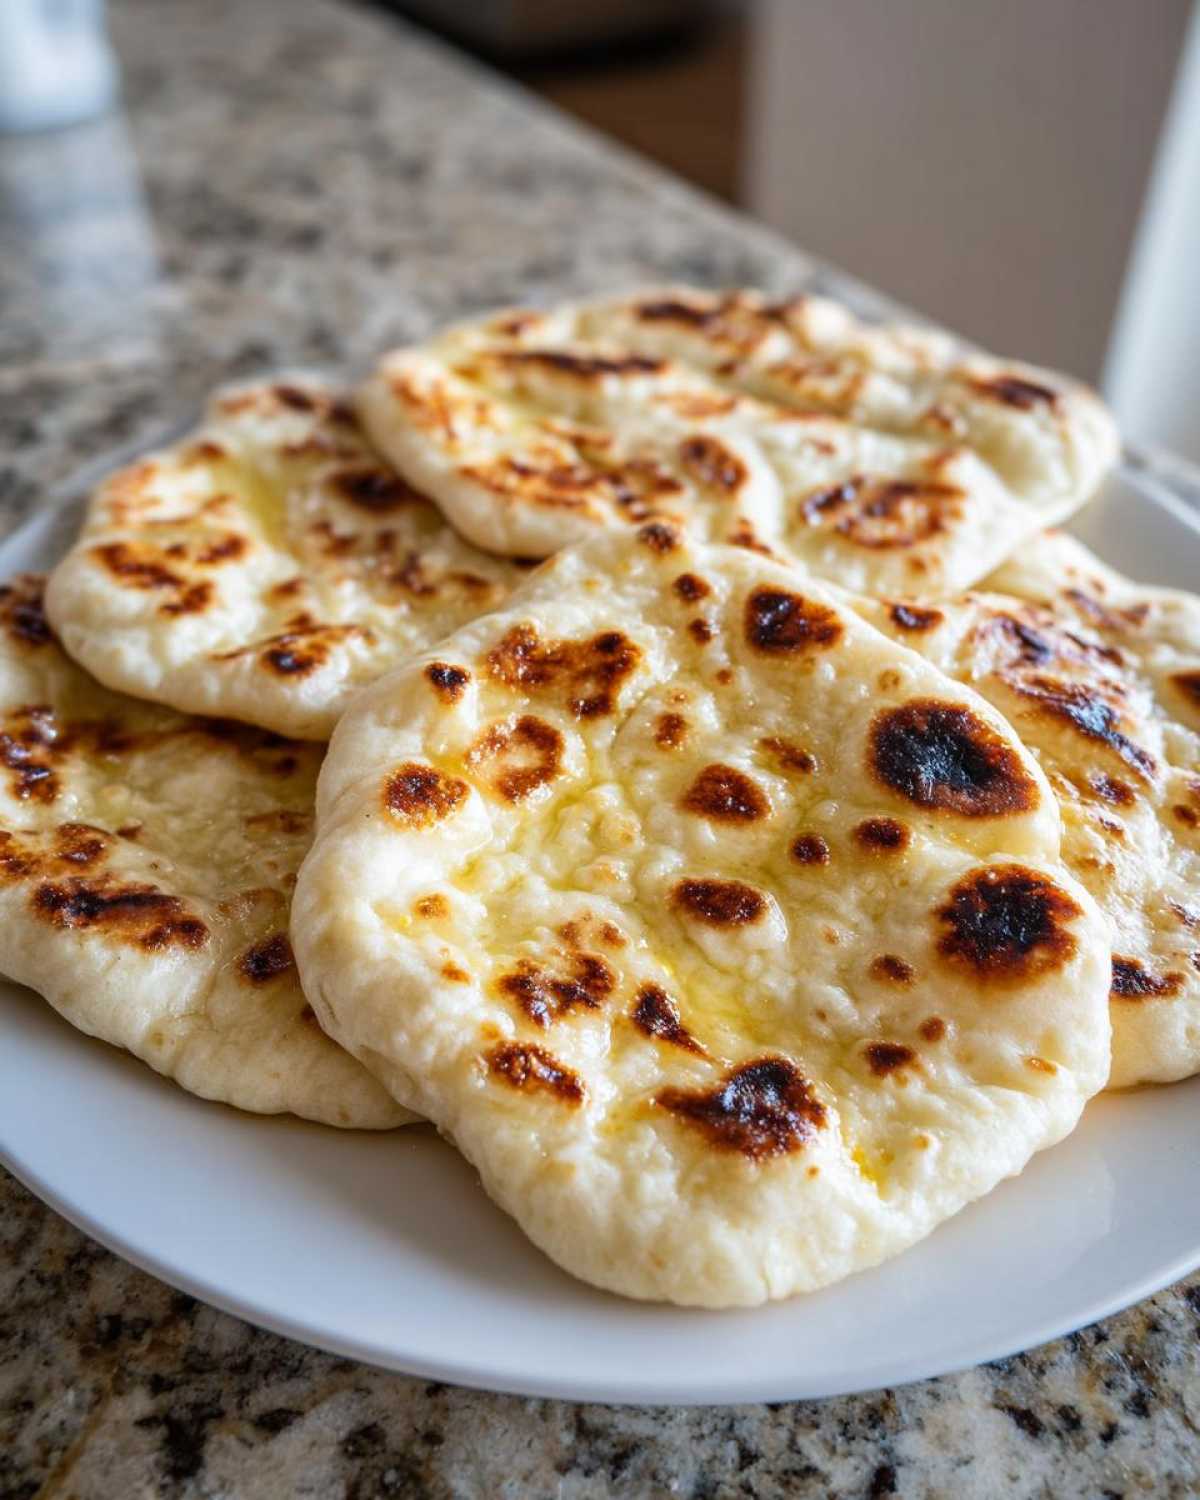
Easy Skillet Naan Bread with Yogurt

Make soft, chewy naan bread at home using a skillet. This recipe requires no tandoor and uses simple ingredients for restaurant-style results.
- Prep Time: 20 min
- Cook Time: 15 min
- Total Time: 1 hour 45 min
- Yield: 8 servings
- Category: Side Dish
- Method: Stovetop Cooking
- Cuisine: Indian
- Diet: Vegetarian
Ingredients
- 2 cups all-purpose flour
- 1 teaspoon instant dry yeast
- 1 teaspoon sugar
- 1 teaspoon salt
- 1 cup plain yogurt, full fat
- 1/2 cup warm water, plus more if needed
- 2 tablespoons melted butter or ghee, for brushing
- 1 clove garlic, minced (optional, for garlic naan)
Instructions
- In a large bowl, whisk together the flour, yeast, sugar, and salt.
- Add the yogurt and warm water to the dry ingredients. Mix until a shaggy dough forms.
- Turn the dough out onto a lightly floured surface. Knead for 5 to 7 minutes until the dough is smooth and elastic. If the dough is too sticky, add a small amount of flour.
- Place the dough in a lightly oiled bowl, cover it with plastic wrap, and let it rest in a warm place for 1 to 1.5 hours, or until doubled in size.
- Gently punch down the risen dough and divide it into 8 equal pieces. Roll each piece into a ball.
- On a floured surface, roll each ball into an oval or teardrop shape, about 1/8 inch thick.
- Heat a dry cast-iron skillet or heavy-bottomed pan over medium-high heat until very hot. Do not add oil to the pan.
- Place one rolled naan into the hot skillet. Cook for about 1 to 2 minutes until large bubbles form on the surface.
- Flip the naan and cook the second side for another 1 to 2 minutes until brown spots appear. The bread should puff up slightly.
- Remove the naan from the skillet and immediately brush the top with melted butter or ghee. If making garlic naan, mix the minced garlic into the melted butter before brushing.
- Repeat with the remaining dough pieces, stacking the cooked naan and covering them with a clean kitchen towel to keep them warm and soft.
Notes
- For softer naan, use full-fat yogurt.
- If you prefer a quicker rise, place the dough in an oven that has been briefly warmed to 200°F and then turned off.
- If the dough resists rolling, let it rest for 10 minutes before trying again.
Nutrition
- Serving Size: 1 piece
- Calories: 220
- Sugar: 2
- Sodium: 350
- Fat: 5
- Saturated Fat: 3
- Unsaturated Fat: 2
- Trans Fat: 0
- Carbohydrates: 40
- Fiber: 2
- Protein: 6
- Cholesterol: 15
