

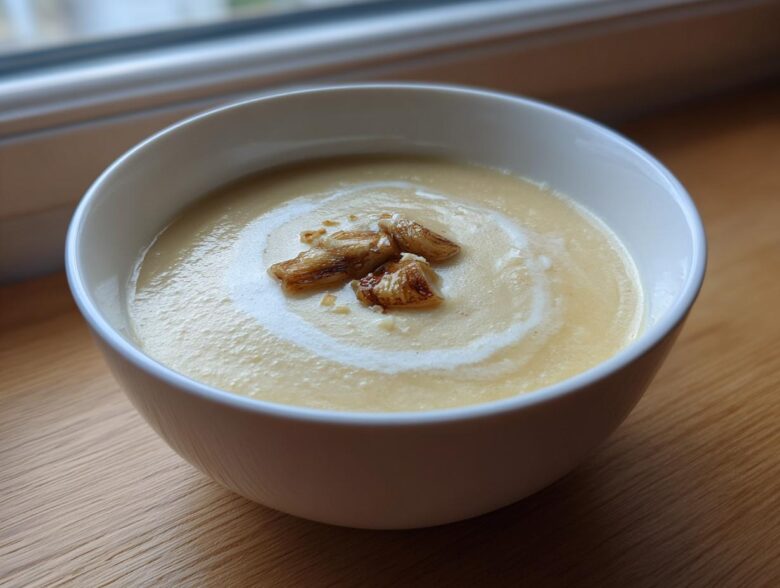
Okay, ditch the idea that garlic soup has to punch you in the face! I used to think garlic was only good when minced and sautéed until golden, but that sharp bite never quite settled right for me. Then, I discovered the secret weapon: roasting the entire bulb until it’s soft as butter. This changes everything for our recipe for Garlic Soup with Roasted Bulb. When you roast it slow and low, the garlic caramelizes, losing all that harshness and turning into this unbelievably sweet, savory paste.
Seriously, once you squeeze those jammy cloves into the pot, you’ll understand why this method rules. We’re making a soup so deeply flavored and comforting, you’ll want to crawl into a bowl of it on a cold night. Trust me, this isn’t just ‘garlic soup’—it’s magic in a bowl.
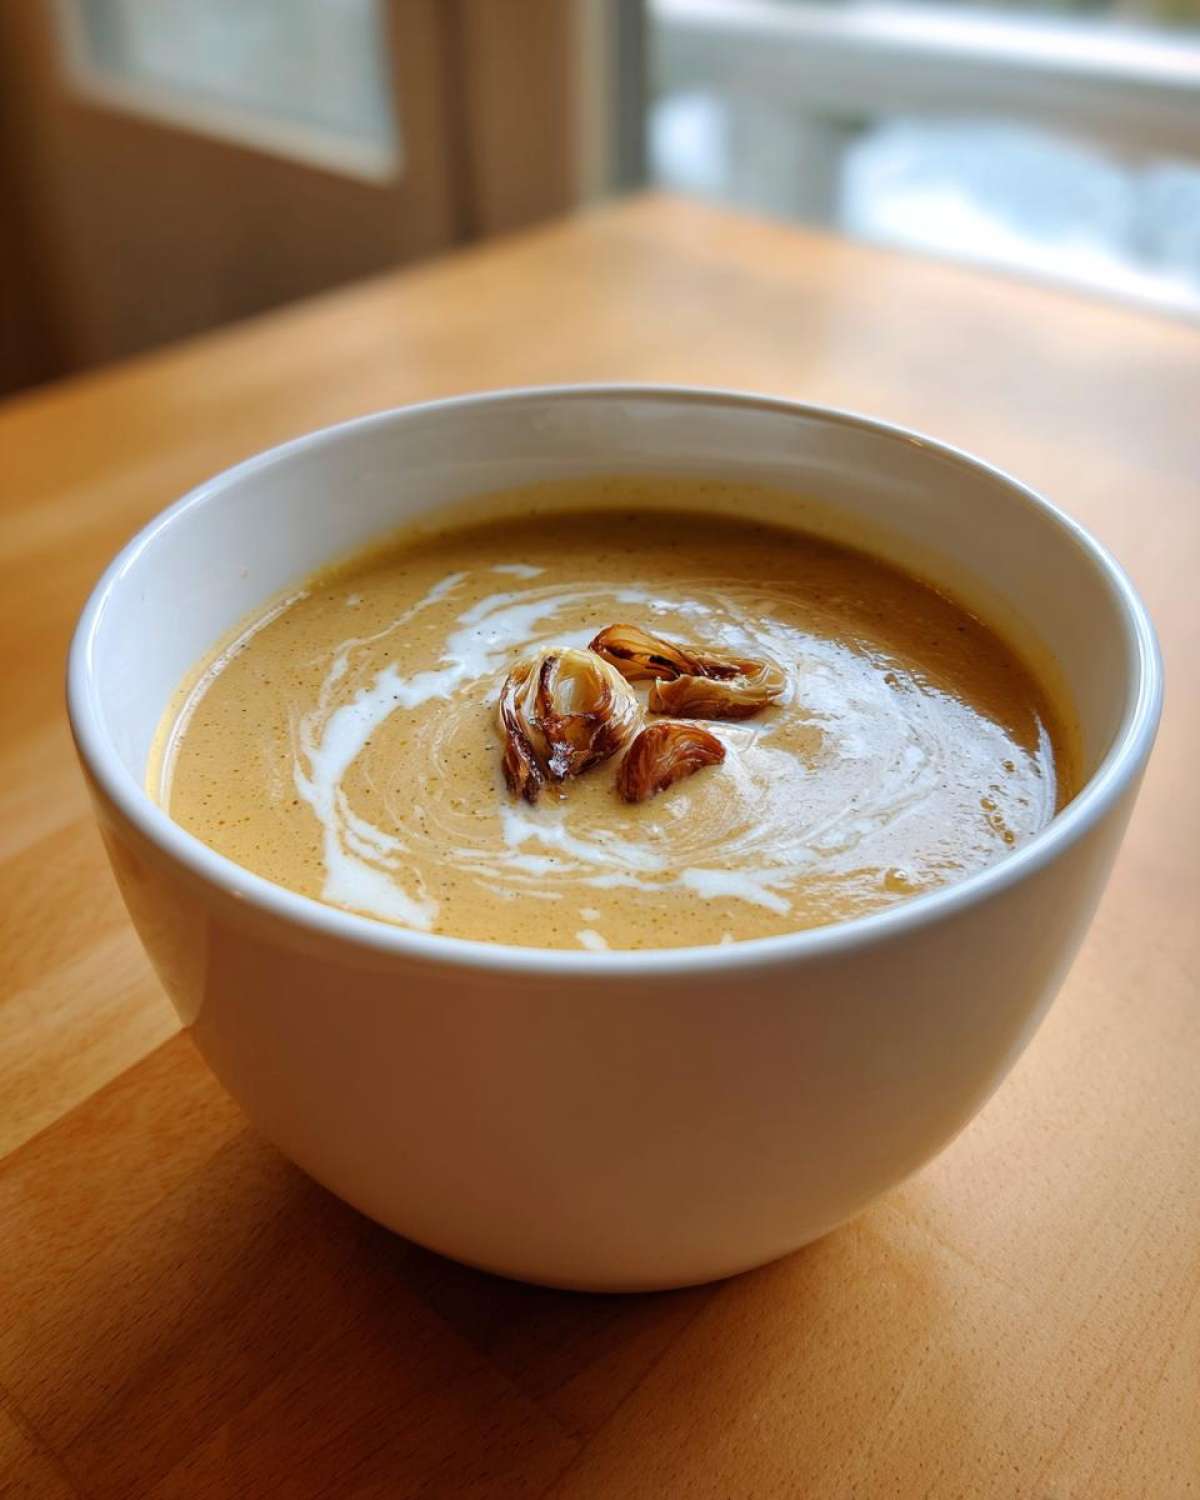
Why This Garlic Soup with Roasted Bulb is a Must-Try Comfort Food Soup
This isn’t just soup; it’s the ultimate hug in a bowl. Roasting the whole garlic bulb transforms the experience entirely. Here’s why you need to try this Garlic Soup with Roasted Bulb immediately. If you love healing foods, you should also check out my Italian comfort soup recipe too!
- It delivers an intensely smooth, **Deeply Flavored Soup** without any painful bite.
- The texture, once blended, is luxuriously silky. It’s pure **Comfort Food Soup**.
- Honestly, the roasting sounds fancy, but the cleanup is shockingly easy!
Gathering Ingredients for Your Garlic Bulb Soup Recipe
For this recipe, make sure you grab two big, beautiful heads of garlic—they are seriously the stars of the show here. Don’t skimp! We need about medium prep for the rest: one chopped yellow onion, two carrots, and two celery stalks.
- You’ll need 6 cups of stock; I toss between chicken and veggie depending on what I have.
- 1 tablespoon of olive oil for sautéing and a drizzle for roasting.
- Don’t forget the dried thyme, and half a cup of heavy cream if you want that ultra-rich finish.
If you’re looking for more ways to use these kitchen workhorses, you should check out my garlic parmesan chicken recipe next!
Step 1: Mastering the Art of Roasting the Garlic Bulb
This part is where the magic happens, so pay attention! We are aiming for super sweet, totally soft, **Caramelized Garlic Soup** goodness, not burnt garlic. Preheat your oven to 400 degrees Fahrenheit. Take those two garlic heads and use a sharp knife to slice off just about a quarter-inch from the very top. This exposes all those beautiful little cloves underneath.
Drizzle about a tablespoon of olive oil right over those exposed tops. Then, wrap each head up snugly in aluminum foil—think of it like a little foil tent. They need 40 to 50 minutes in the oven. The test isn’t timed perfectly; it’s about feel! When they are done, the cloves should be deeply golden and squishy soft when you gently poke them. If they feel hard at all, give them another five minutes. If you have leftover roasted garlic later, check out my guide on making roasted garlic for other uses!
Step 2: Building the Flavor Base for Slow Roasted Garlic Soup
While those gorgeous garlic heads are roasting, we get the rest of our soup foundation going. Grab your biggest pot—a Dutch oven works perfectly—and heat up that remaining tablespoon of olive oil over medium heat. Toss in your chopped onion, carrots, and celery. We want these aromatic vegetables to soften up nicely and start tasting sweet, which usually takes about eight minutes. Don’t rush this part; we’re building layers of simple flavor here. If you like deep vegetable flavors, you absolutely have to check out my roasted butternut squash soup soon!
Now for the best part! Once the garlic is cool enough to handle—don’t burn yourself—you just need to squeeze the bottom of the bulb, and those sweet, soft roasted cloves will pop right out. Toss the empty skins right into the compost. Add all those soft, golden cloves into the pot with your veggies. That’s how you create the base for a truly **Slow Roasted Garlic Soup**! Seriously, the smell right now is incredible.
Step 3: Simmering and Blending Your Creamy Garlic Soup with Roasted Bulb
Okay, everything is in the pot now—those sweet roasted cloves mingling with the softened veggies. It’s time to pour in your 6 cups of broth. I usually use chicken stock for a richer flavor, but vegetable stock works wonderfully too if you want that vegetarian route. Toss in your teaspoon of dried thyme now and give it all a good stir.
Bring this whole glorious mixture up to a simmer over medium heat. Once it starts bubbling gently, turn the heat down low, pop a lid on it, and let it hang out for about 15 minutes. That simmering time is crucial because it really lets the roasted garlic infuse deep into that stock base.
When 15 minutes pass, we blend! This is the part where you need to be super careful. If you’re using a regular blender, fill it only halfway full with the hot soup mixture, put the top on tight, and cover the lid with a kitchen towel—steam builds up fast! Blend until it’s perfectly smooth. If you’ve got one of those stick blenders—the immersion blender—you are golden! You can blend right in the pot! That saves so much scraping and mess. We’re aiming for that beautiful, velvety texture for our **Creamy Garlic Soup with Roasted Bulb**. Once smooth, stir in that optional heavy cream if you want extra richness, heat it through gently—never, ever boil the cream—and taste it for salt and pepper. If you loved this creamy texture, you might also try my creamy roasted butternut squash soup!
Tips for Success When Making Garlic Soup with Roasted Bulb
Listen, this **Garlic Soup with Roasted Bulb** is sturdy, but a few little habits make it legendary. Rule number one: don’t cheap out on your stock! Since garlic is the absolute champion flavor here, using a really good quality chicken or vegetable stock makes a massive difference. It’s the canvas for our masterpiece, so make sure it tastes great on its own.
If you tasted your soup before blending and thought, “Hmm, I want this thicker, maybe more like a meal,” I have a great trick. Just toss one small, peeled potato in when you add the broth and thyme. It blends right in and gives you a naturally creamy texture without needing extra dairy. If you’re looking for another way to use garlic like a champion, check out my creamy garlic mashed potatoes!
Serving Suggestions for This Savory Garlic Soup
When this gorgeous **Savory Garlic Soup** comes out of the blender, it’s begging for the perfect finish! A drizzle of really good, fruity olive oil right on top just before serving wakes up all those roasted flavors. I always keep a bowl of homemade croutons handy—they soak up the soup beautifully. If you’re feeling ambitious, my no-knead artisan bread is the absolute perfect dipping companion!
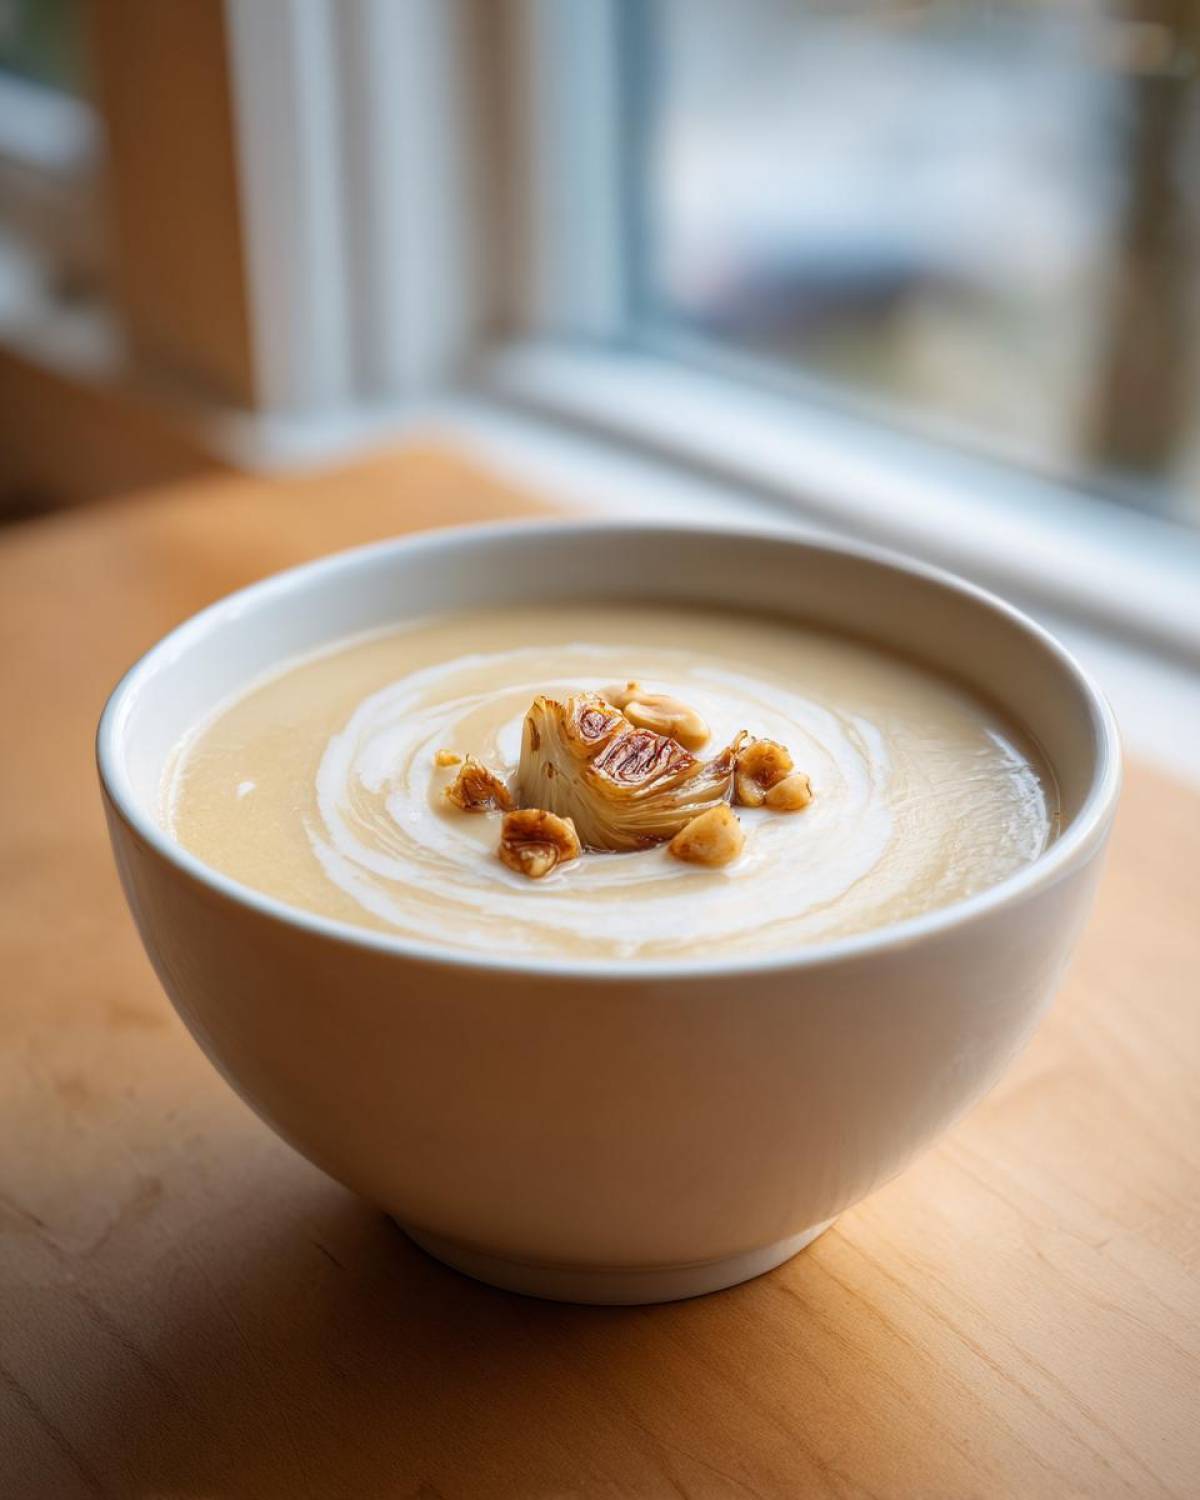
Don’t forget a sprinkle of fresh parsley; the bright green color is just as important as the taste. A little fresh cracked pepper elevates everything, too!
Storage and Reheating Your Garlic Soup with Roasted Bulb
I always make way too much of this incredible **Garlic Soup with Roasted Bulb** because leftovers are even better the next day! You can keep it sealed tight in the fridge for up to four days. If you’re worried about running out, it freezes beautifully too—just make sure you leave some headspace in the container for expansion.
When reheating, I always go low and slow on the stovetop. Transfer the soup to a pot, add a tiny splash of extra stock or water if it seems thick from chilling, and warm it gently. Please, whatever you do, don’t let it boil vigorously; a gentle simmer is all you need to keep that creamy texture perfect. If you want to see another great make-ahead soup, check out my recipe for slow cooker ham and bean soup for comparison!
Frequently Asked Questions About Roasted Garlic Soup
Can I skip roasting the garlic and use raw garlic instead?
Oh goodness, please don’t! If you use raw garlic, it won’t be this sweet, luscious soup we spent all this time perfecting. Raw garlic is sharp and intense—it’s going to taste aggressive! Roasting is the whole payoff here; it cooks out that harshness and unlocks tons of natural sweetness. If you skip that step, you’re making, well, raw garlic water, not my lovely **Roasted Garlic Soup Recipe**!
What stock is best for this Garlic Bulb Soup Recipe?
This is a fantastic question because the stock really dictates the final depth. Since garlic is the undisputed star, you have to go with the best stock you can find. If you’re aiming for deep, savory notes, chicken stock is unbeatable. But if you want to keep it vegetarian, a high-quality vegetable stock works wonders. The secret is quality; if the stock tastes bland on its own, your soup will, too. If you need inspiration for other great stocks, you can look at my turkey noodle soup notes, as they discuss stock quality too!
How do I make this Roasted Garlic Soup Recipe dairy-free?
That’s so easy to adjust! The heavy cream is totally optional—I only add it when I want that extra velvet touch. If you skip it, you get a fantastic, naturally smooth soup. If you still want that creamy mouthfeel but need it dairy-free, you can blend in a can of full-fat coconut cream instead, or even just use a little cashew cream if you have some soaking. It keeps the recipe fantastic!
PrintGarlic Soup with Roasted Bulb

Make a deeply flavored, comforting soup by roasting whole garlic bulbs until sweet and soft, then blending them into a rich broth.
- Prep Time: 20 min
- Cook Time: 65 min
- Total Time: 85 min
- Yield: 6 servings
- Category: Soup
- Method: Roasting and Simmering
- Cuisine: American
- Diet: Vegetarian
Ingredients
- 2 large heads of garlic
- 2 tablespoons olive oil, divided
- 1 medium yellow onion, chopped
- 2 carrots, peeled and chopped
- 2 celery stalks, chopped
- 6 cups chicken or vegetable stock
- 1/2 cup heavy cream (optional)
- 1 teaspoon dried thyme
- Salt and black pepper to taste
- Fresh parsley, chopped, for garnish
Instructions
- Preheat your oven to 400 degrees Fahrenheit (200 degrees Celsius).
- Slice about 1/4 inch off the top of each garlic head to expose the cloves. Drizzle the exposed tops with 1 tablespoon of olive oil, wrap each head loosely in aluminum foil, and roast for 40 to 50 minutes, or until the cloves are soft and golden brown.
- While the garlic roasts, heat the remaining 1 tablespoon of olive oil in a large pot or Dutch oven over medium heat. Add the chopped onion, carrots, and celery. Cook until the vegetables soften, about 8 minutes.
- Once the garlic is cool enough to handle, squeeze the soft, roasted cloves out of their skins directly into the pot with the vegetables. Discard the skins.
- Add the stock and dried thyme to the pot. Bring the mixture to a simmer, then reduce the heat and cook for 15 minutes to allow the flavors to meld.
- Carefully transfer the soup mixture to a blender, or use an immersion blender directly in the pot. Blend until completely smooth.
- Return the soup to the pot if necessary. Stir in the heavy cream, if using. Heat through gently; do not boil.
- Season the soup with salt and pepper to your taste.
- Ladle the soup into bowls and garnish with fresh parsley before serving.
Notes
- To easily peel the roasted garlic, simply squeeze the bottom of the bulb; the soft cloves will pop out.
- For a thicker soup, add 1 small peeled potato along with the carrots and celery.
- Use good quality stock, as it significantly impacts the final flavor of this simple soup.
Nutrition
- Serving Size: 1.5 cups
- Calories: 180
- Sugar: 6
- Sodium: 450
- Fat: 10
- Saturated Fat: 4
- Unsaturated Fat: 6
- Trans Fat: 0
- Carbohydrates: 18
- Fiber: 4
- Protein: 4
- Cholesterol: 15
