

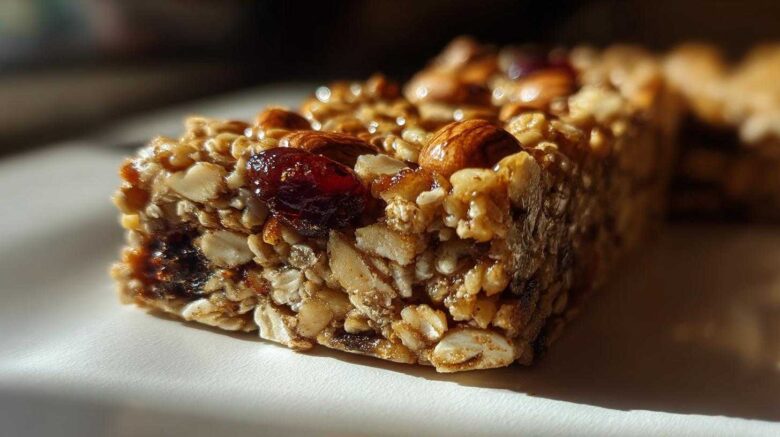
Discover the Best Homemade Granola Bars
Tired of vending machine snacks? I know I was! Back in the Savory Skies kitchen, we craved something wholesome. Something we could grab and go. Something that tasted amazing, too. That’s when I started tinkering. My goal? The perfect homemade granola bars. You know, the kind that’s chewy, packed with goodies, and way better for you than store-bought. It took a few tries, but we nailed it. These bars are a game-changer for busy days.
Why You’ll Love These Homemade Granola Bars
* Perfectly portable for any adventure.
* Endlessly customizable with your favorite add-ins.
* A much healthier, less sugary option.
* Incredibly delicious and satisfying.
* Surprisingly easy to whip up.
A Note from Leo: My Journey to Perfecting Homemade Granola Bars
I remember one afternoon, trying to make these bars for the first time for Amara and Chef Tariq. I got the measurements a *little* mixed up. Let’s just say the first batch was more like granola concrete! Chef Tariq just chuckled and said, “Leo, patience and precision, my boy.” That pushed me. I started thinking about the balance of sticky binders and dry ingredients. After a few more kitchen experiments, I finally landed on this recipe. These homemade granola bars are now a staple in my own home.
Essential Ingredients for Delicious Homemade Granola Bars
Let’s talk about what makes these homemade granola bars so special. It’s all about the quality ingredients we bring together. Think of it as building blocks for pure snack joy. We’re talking wholesome goodness that tastes amazing. You really can’t go wrong with this simple list. It’s a fantastic foundation for endless flavor combinations.
The Base: Rolled Oats and Their Role
For these homemade granola bars, we’re using rolled oats. They’re the perfect canvas. Rolled oats give us that satisfying chewy texture. They also help bind everything together beautifully. Don’t use instant oats here. They’ll make your bars too mushy. Stick with rolled oats for the best results.
Flavor Boosters: Nuts, Seeds, and Dried Fruits
This is where the fun begins! I love using a mix of chopped nuts like almonds, walnuts, or pecans. They add a lovely crunch. Seeds are great too – think chia seeds, flax seeds, or sunflower seeds. They bring extra nutrients. And don’t forget dried fruit! Raisins, cranberries, or chopped apricots add a burst of sweetness. Feel free to get creative with your favorite combinations for your homemade granola bars.
The Binder: Sweeteners and Nut Butter
To hold all these yummy bits together, we need a good binder. Nut butter, like peanut or almond butter, is key. It adds richness and helps the bars stick. We also use a touch of honey or maple syrup for sweetness. This combination ensures your homemade granola bars have that perfect chewy texture. Make sure your nut butter is smooth for easy mixing.
Step-by-Step Guide to Making Homemade Granola Bars
Now for the fun part! Putting these delicious homemade granola bars together is super easy. I’ve made them so many times, and each batch feels like a little victory. Just follow these simple steps, and you’ll have amazing bars in no time. It’s a straightforward process that yields fantastic results.
Preparing Your Baking Pan and Oven
First things first. Let’s get our oven ready. Preheat it to 300°F (150°C). While that warms up, grab an 8×8 inch baking pan. Line it with parchment paper. This little step is a lifesaver. It makes removing your perfectly set homemade granola bars so much easier later on. No sticking, no fuss.
Combining the Dry and Wet Ingredients
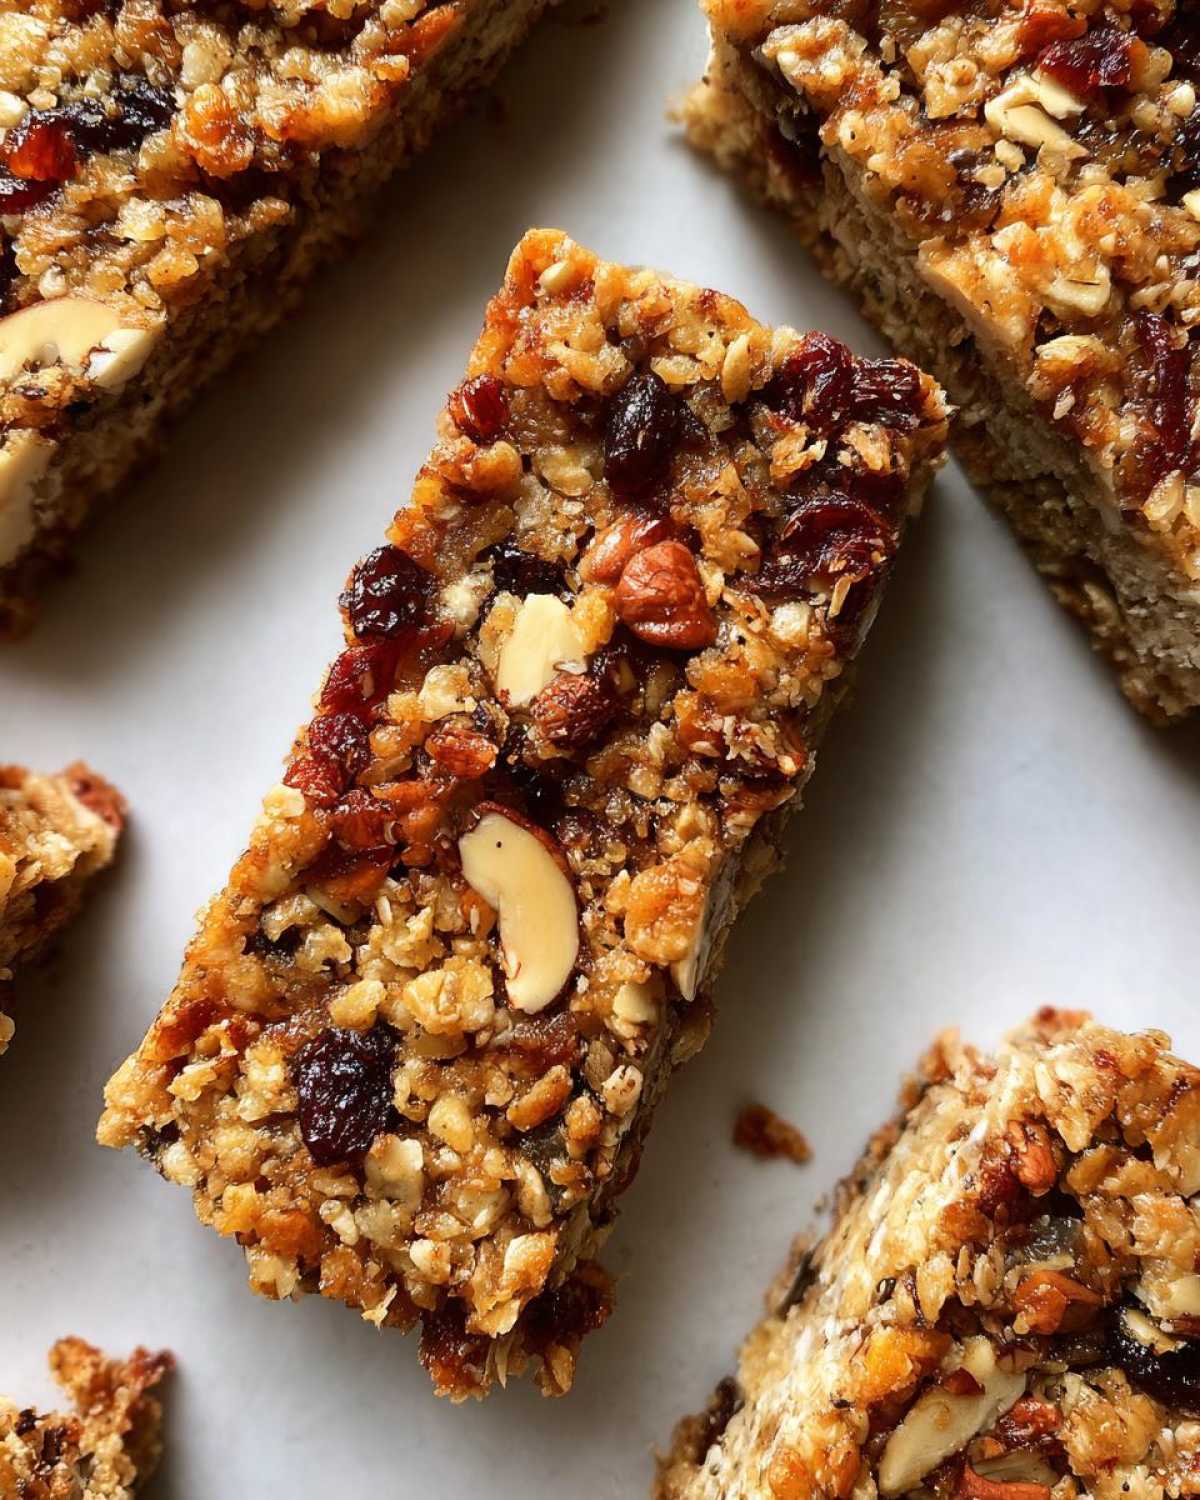
Grab a big bowl. Toss in your rolled oats, chopped nuts, seeds, and dried fruit. Give them a quick stir to mix. In a separate, smaller bowl, whisk together your nut butter, honey or maple syrup, vanilla extract, and that pinch of salt. You want this mixture to be nice and smooth. Then, pour the wet stuff over the dry stuff. Mix it all up really well. Make sure every single oat and nut is coated.
Pressing and Baking for Perfect Homemade Granola Bars
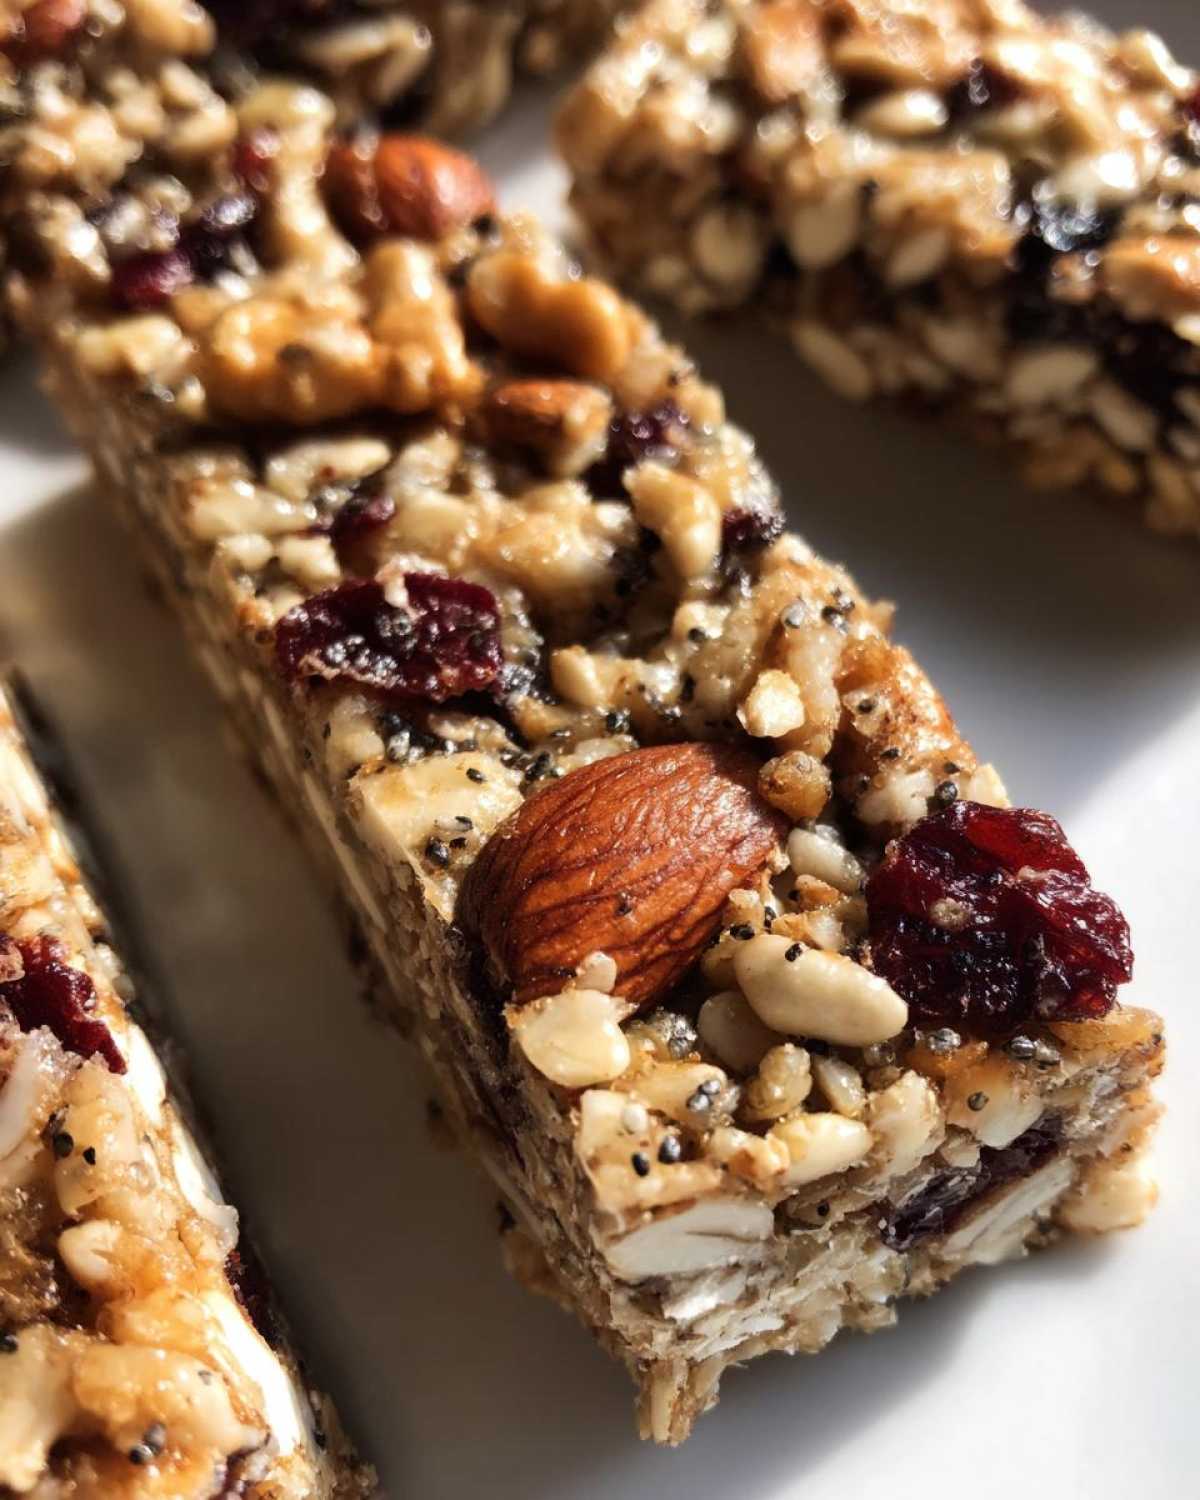
Time to get these into the pan. Spoon the mixture into your prepared baking pan. Now, this is important: press it down firmly. Use a spatula or even your hands. You want a nice, even layer. This helps the homemade granola bars hold their shape. Pop the pan into your preheated oven. Bake for about 20 to 25 minutes. Watch for the edges to turn a light golden brown.
The Crucial Cooling and Cutting Phase
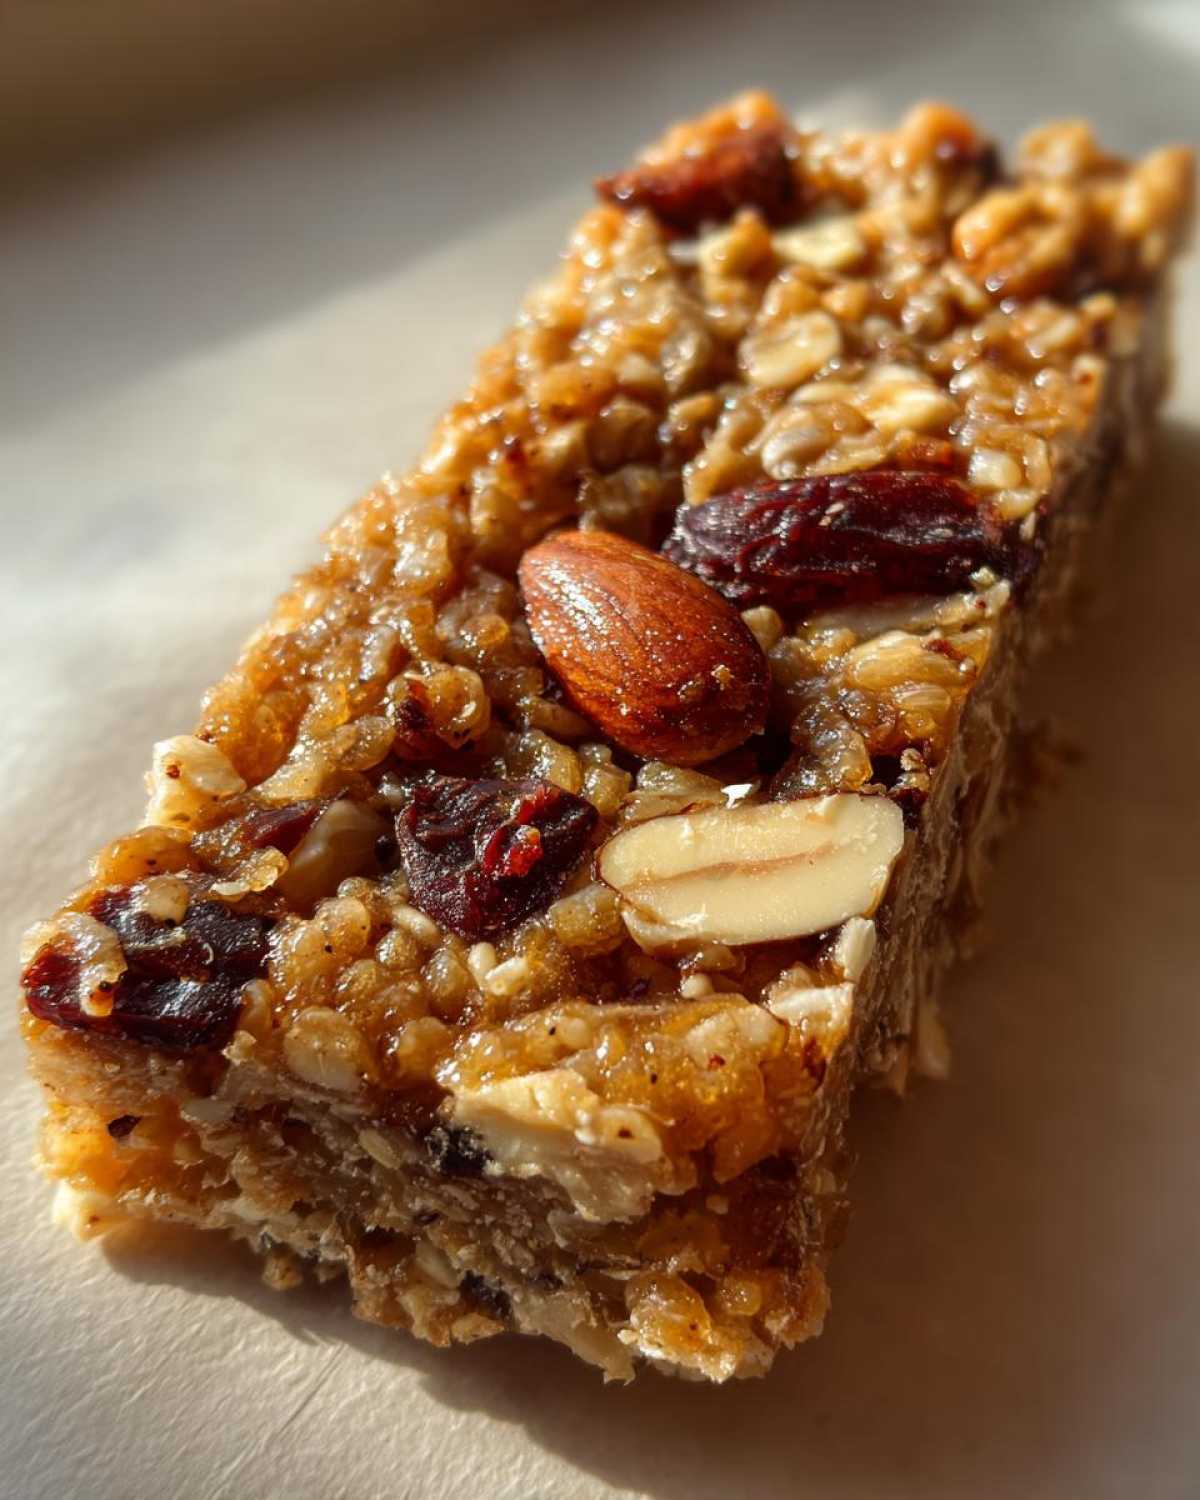
This is where patience really pays off. Once they’re out of the oven, resist the urge to cut them right away! Let the granola bar slab cool completely in the pan. Place it on a wire rack. This cooling time is essential for them to set up properly. If you cut them too soon, they might crumble. Once they are totally cool, gently lift the whole slab out using the parchment paper. Now you can cut them into your desired bar shapes. Enjoy your homemade granola bars!
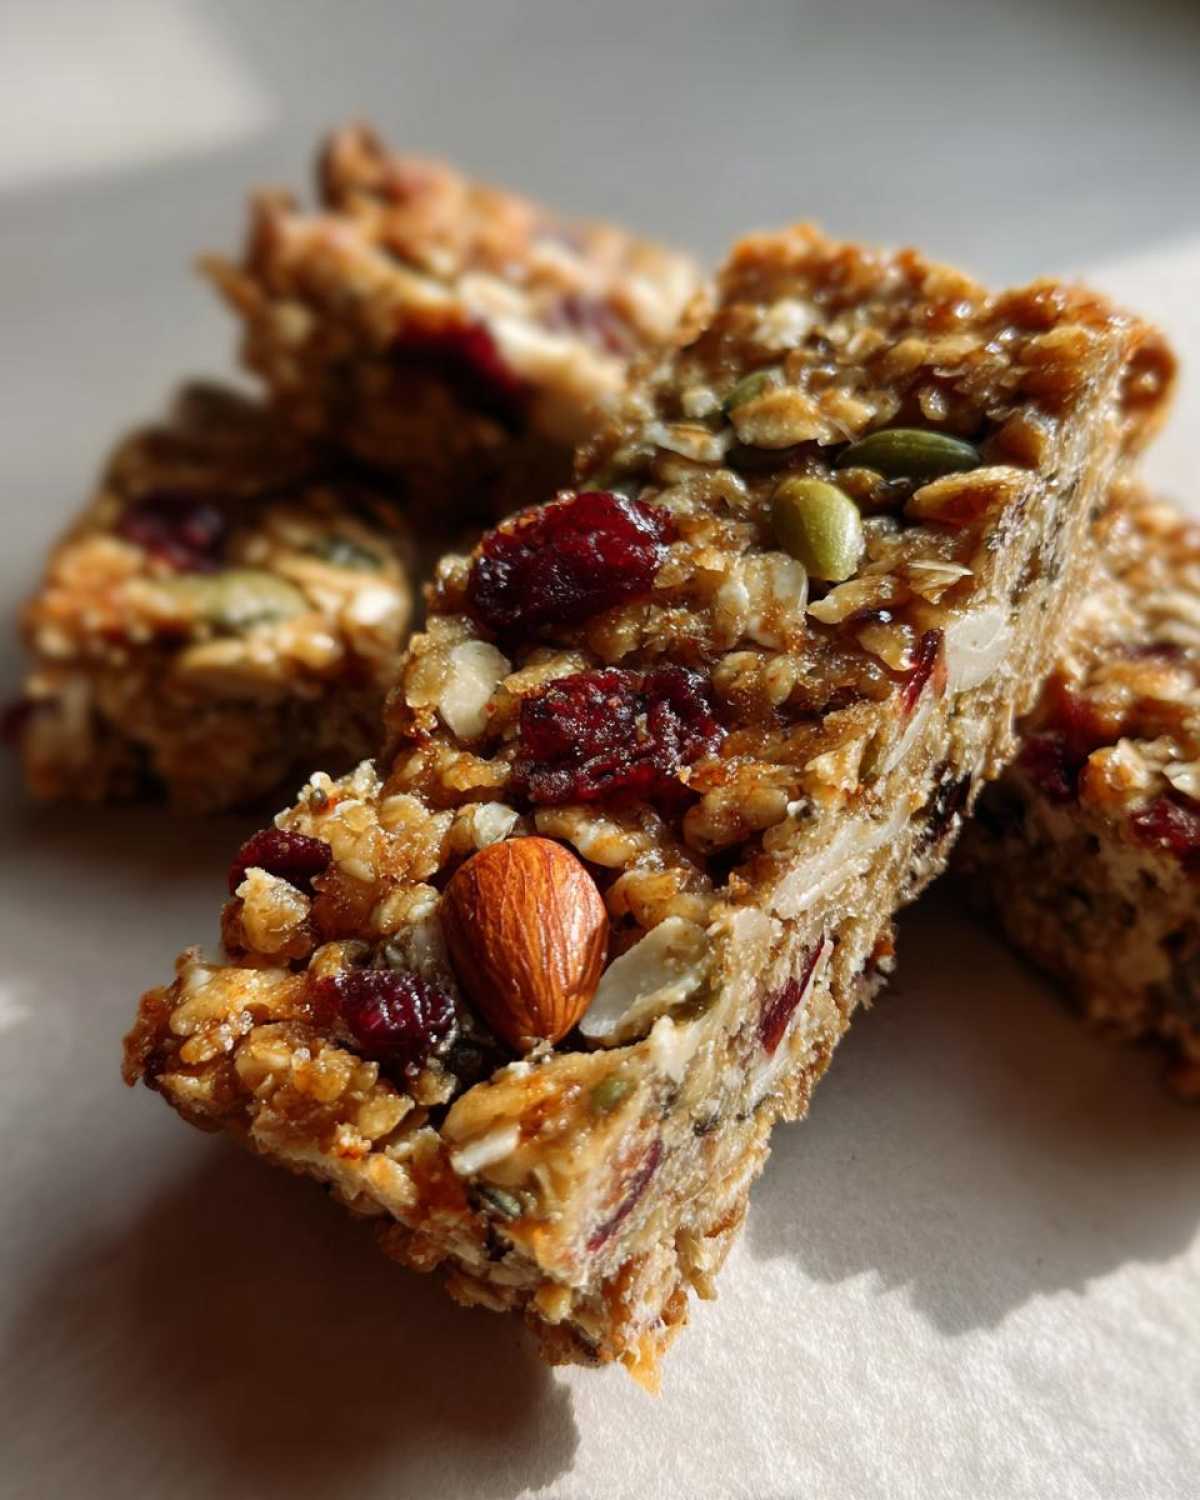
Tips for Achieving the Best Homemade Granola Bars
Making these homemade granola bars is a joy. I’ve learned a few tricks over the years. These tips will help you nail that perfect texture and flavor every time. Think of it as my kitchen secrets, shared with you! We want your homemade granola bars to be a consistent hit.
Customizing Your Homemade Granola Bars
This recipe is your playground! Don’t be afraid to experiment. I love adding a handful of mini chocolate chips after baking. They melt slightly into the warm bars. Shredded coconut is another winner for texture and tropical flavor. A dash of cinnamon or nutmeg adds a warm spice note. These additions make your homemade granola bars truly unique. Just remember to add any chocolate chips after baking so they don’t melt completely. You might also enjoy our no-bake chocolate chip granola bars for another quick treat.
Achieving the Perfect Texture in Homemade Granola Bars
The bake time is key for texture. For those super chewy homemade granola bars I adore, I sometimes pull them out a minute or two early. Just watch those edges; they should be lightly golden, not dark. If you prefer a crisper bite, bake them for a few minutes longer. Another trick for crispier bars is to leave them in the oven after you turn it off. Just crack the oven door slightly. This lets them dry out a bit more. For more baking tips, check out our blog.
Storing and Enjoying Your Homemade Granola Bars
Once your delicious homemade granola bars are cooled and cut, it’s time to store them. I usually keep mine in an airtight container right on the counter. They stay fresh for about a week that way. If you want them to last a little longer, you can pop them in the fridge. Some people even like to wrap each bar individually in parchment paper or plastic wrap. This makes them super easy to grab and go throughout the week. Enjoy your tasty, homemade granola bars!
Frequently Asked Questions About Homemade Granola Bars
Got questions about whipping up these delicious homemade granola bars? I get it! Cooking is all about learning and sometimes, you just need a little clarification. I’ve gathered a few common queries I get asked about these oat bars. Let’s dive in!
What if I don’t have rolled oats? Can I use another type of oat?
For the best chewy texture in your homemade granola bars, rolled oats are really the way to go. Instant oats tend to get too mushy. Steel-cut oats won’t soften enough during baking. Stick with rolled oats for that perfect bite.
Can I make these homemade granola bars vegan?
Absolutely! You can easily make these vegan. Just swap the honey for maple syrup or agave nectar. Ensure your nut butter is also vegan. This simple substitution keeps all the deliciousness intact for your vegan oat bars.
My homemade granola bars are too dry. What did I do wrong?
Dry bars usually mean not enough binder or too much baking time. Make sure you’re pressing the mixture down really firmly into the pan. This helps compact everything. Also, try reducing the baking time by a few minutes next time. Chewy granola bars need that perfect balance.
Can I add protein powder to my homemade granola bars?
Yes, you can! If you want to boost the protein, add about 1/4 cup of your favorite protein powder to the dry ingredients. You might need a tiny bit more liquid binder, like a tablespoon of water or milk, to keep things from getting too dry. Enjoy your protein-packed oat bars!
Estimated Nutritional Information for Homemade Granola Bars
When you make these fantastic homemade granola bars, keep in mind that the exact nutrition will change with your mix-ins. I’ve estimated that each bar has about 150-200 calories. You’ll find roughly 8-12g of fat, 3-5g of protein, and 15-20g of carbohydrates. This is a general guide for your delicious homemade granola bars.
Share Your Homemade Granola Bar Creations!
I just love seeing what you create! Did you make these homemade granola bars? I’d be thrilled if you shared your experience. Let me know how they turned out. A quick rating or a comment below helps a lot! Tag us on social media with your amazing photos. We love seeing your kitchen adventures with these oat bars!
PrintPerfect Homemade Granola Bars: 20 Minute Chew
Create delicious and chewy homemade granola bars, perfect for a portable snack. Customize them with your favorite mix-ins and enjoy a healthier, less sugary alternative to store-bought options.
- Prep Time: 10 minutes
- Cook Time: 25 minutes
- Total Time: 35 minutes plus cooling time
- Yield: 12 bars
- Category: Snacks
- Method: Baking
- Cuisine: American
- Diet: Vegetarian
Ingredients
- 1 cup rolled oats
- 1/2 cup chopped nuts (almonds, walnuts, pecans)
- 1/4 cup seeds (chia seeds, flax seeds, sunflower seeds)
- 1/4 cup dried fruit (raisins, cranberries, chopped apricots)
- 1/4 cup nut butter (peanut butter, almond butter)
- 1/4 cup honey or maple syrup
- 1 teaspoon vanilla extract
- Pinch of salt
Instructions
- Preheat your oven to 300°F (150°C). Line an 8×8 inch baking pan with parchment paper.
- In a large bowl, combine the rolled oats, chopped nuts, seeds, and dried fruit.
- In a separate small bowl, whisk together the nut butter, honey or maple syrup, vanilla extract, and salt until smooth.
- Pour the wet ingredients over the dry ingredients and mix until everything is well combined and coated.
- Transfer the mixture to the prepared baking pan. Press it down firmly and evenly using a spatula or your hands.
- Bake for 20-25 minutes, or until the edges are lightly golden brown.
- Let the granola bars cool completely in the pan on a wire rack. This is important for them to set properly.
- Once cooled, lift the parchment paper to remove the granola bar slab from the pan. Cut into bars.
Notes
- For chewier bars, reduce the baking time slightly.
- For crisper bars, bake for a few minutes longer and let cool completely in the oven with the door slightly ajar.
- Feel free to add chocolate chips, shredded coconut, or cinnamon to the mix.
- Store the bars in an airtight container at room temperature for up to a week.
Nutrition
- Serving Size: 1 bar
- Calories: Approx. 150-200 (will vary based on mix-ins)
- Sugar: Approx. 8-12g
- Sodium: Approx. 50mg
- Fat: Approx. 8-12g
- Saturated Fat: Approx. 1-3g
- Unsaturated Fat: Approx. 7-9g
- Trans Fat: 0g
- Carbohydrates: Approx. 15-20g
- Fiber: Approx. 2-3g
- Protein: Approx. 3-5g
- Cholesterol: 0mg
