

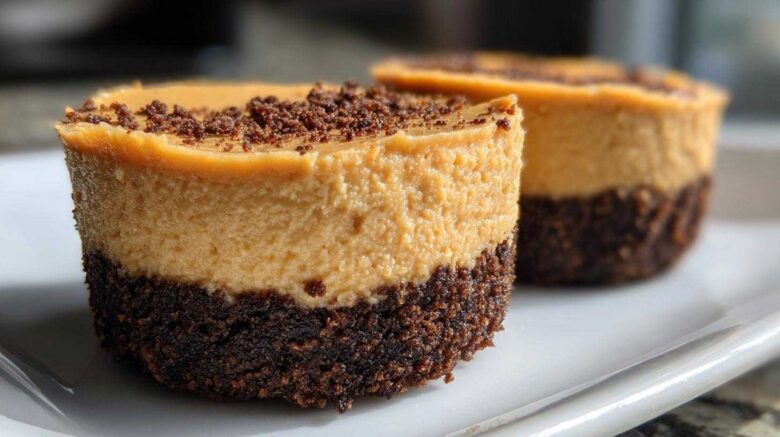
Making Satisfying Mini Peanut Butter Cheesecakes for Your Sweet Protein Dessert
Are you craving something rich?
Something creamy but still protein-packed?
I get it. That’s why I’m thrilled to share these Mini Peanut Butter Cheesecakes.
They are truly the perfect sweet protein dessert.
Back when Amara and I were working those long restaurant hours, we needed treats.
We dreamed up something like this.
These little bites give you that decadent feel.
They hit the sweet spot perfectly.
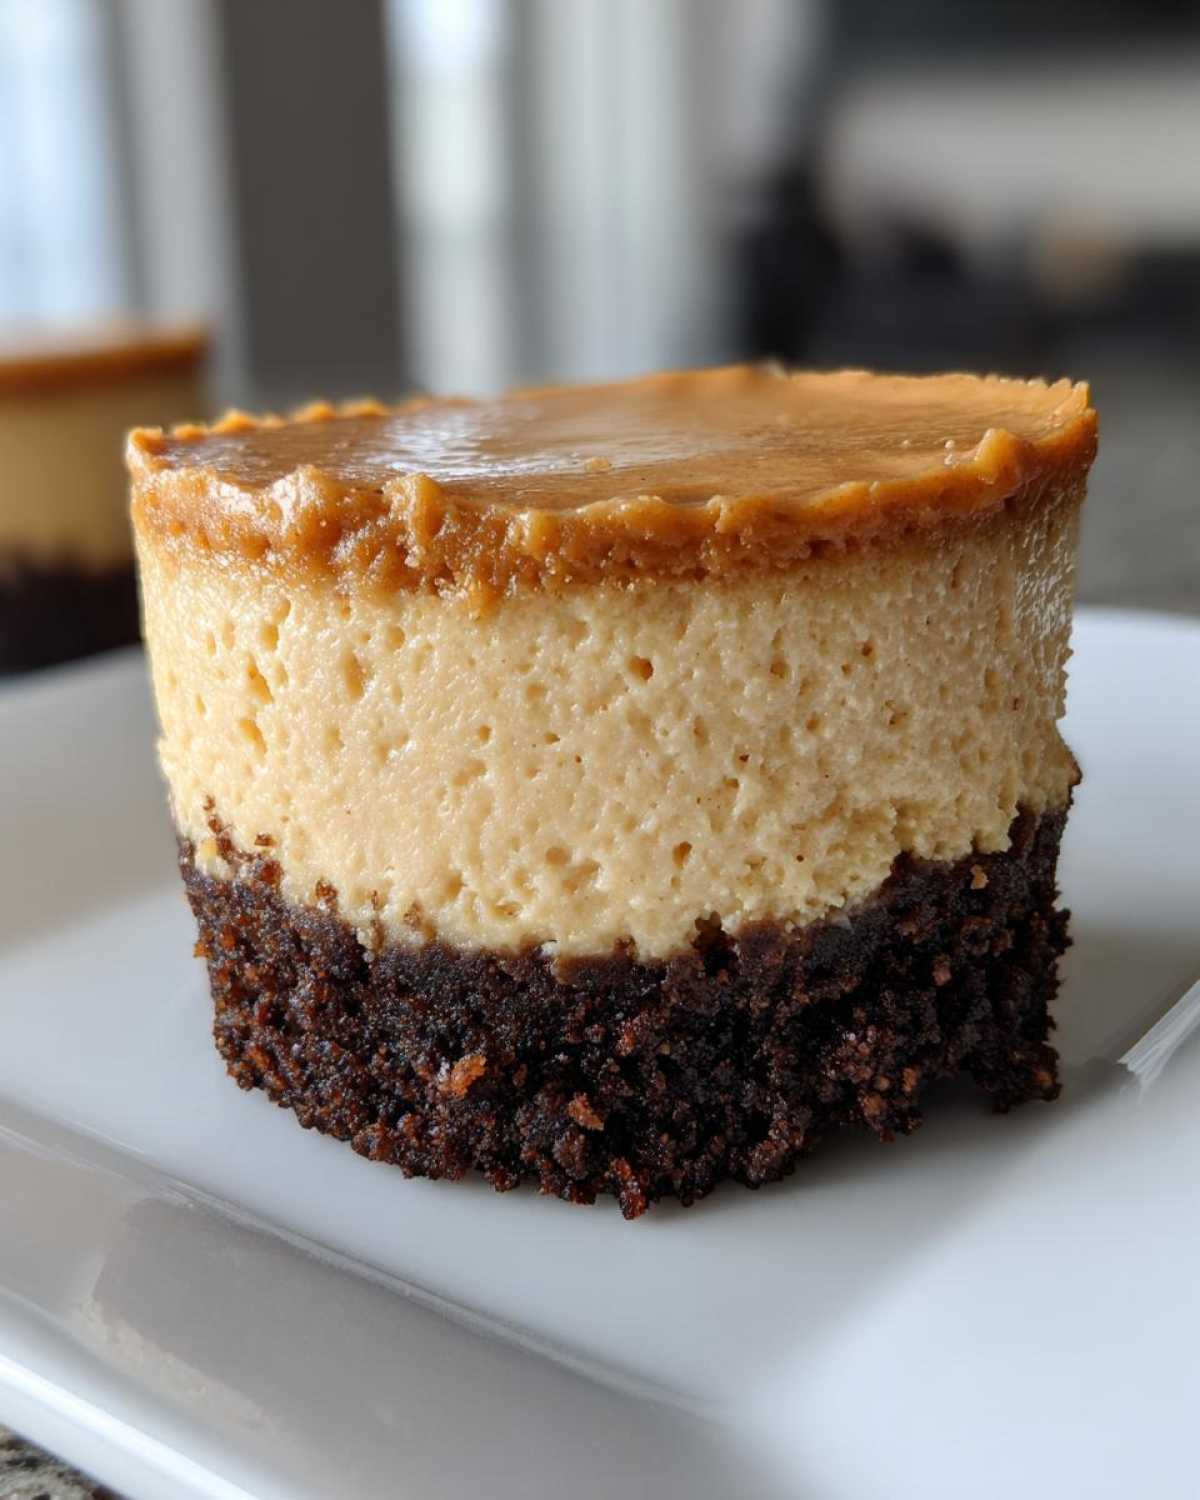
Why This Recipe for Mini Peanut Butter Cheesecakes Stands Out
My time with Chef Tariq taught me balance.
This recipe shows that expertise in action.
We balance the richness of cheesecake.
We boost the protein content smartly.
Using Greek yogurt keeps them light, yet satisfying.
This method ensures great flavor and texture.
You get that professional quality at home.
Gather Your Ingredients for Mini Peanut Butter Cheesecakes
Let’s get everything ready first.
Gathering your supplies makes cooking fun.
It keeps the process smooth, trust me.
This ensures we nail the texture right away.
We need simple things for these treats.
Make sure your cream cheese is truly soft.
Crust Components for Your Individual Cheesecake Bites
The base needs to hold up well.
You’ll need 1 cup of crumbs.
Use graham cracker crumbs or protein cookie crumbs.
Mix these with 3 tablespoons of melted butter.
Coconut oil works great too, if you prefer.
The Creamy Filling for Your Mini Peanut Butter Cheesecakes
For the filling, softening the cream cheese is key.
Use 8 ounces of softened cream cheese.
We need 1/2 cup of your favorite peanut butter.
Full-fat plain Greek yogurt is a must.
Use 1/4 cup of that thick yogurt.
Finally, grab your sweetener, about 1/4 cup.
Don’t forget the vanilla extract, just 1 teaspoon.
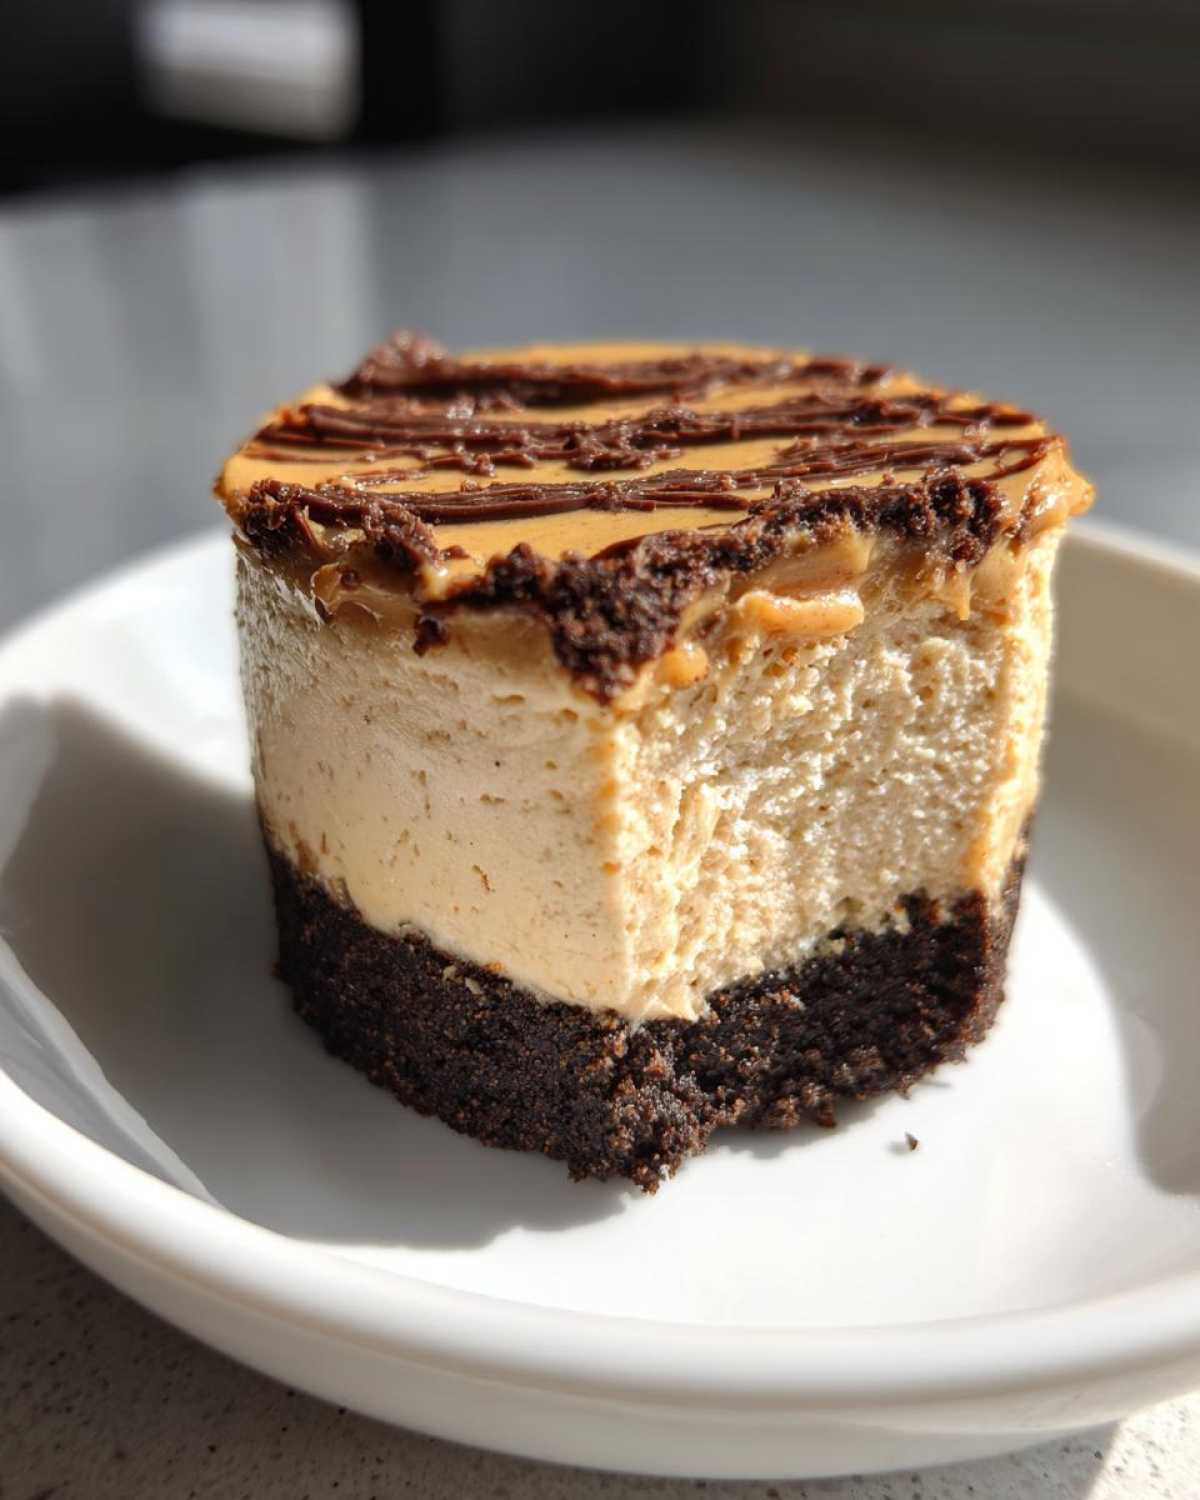
Essential Equipment for Perfect Mini Peanut Butter Cheesecakes
You don’t need fancy gadgets here.
Just a few basics will get you started.
Grab your standard muffin tin first.
Paper liners make cleanup easy.
A hand mixer works great for the filling.
You’ll also need mixing bowls, of course.
Step-by-Step Instructions for Baked Mini Peanut Butter Cheesecakes
Let’s get these baked beauties made!
Follow these steps closely for success.
First, get your oven warming up right now.
Preheat it to 325 degrees Fahrenheit.
Line your muffin tin with liners or grease it well.
This preparation keeps things tidy later.
Preparing and Pre-Baking the Crust
Now mix your crumbs and melted fat.
Press about one tablespoon firmly down.
Make sure the base is packed tight in each cup.
This creates a solid foundation for the filling.
Bake these crusts for exactly five minutes.
Then, pull them out to cool briefly.
Mixing the High-Protein Cheesecake Filling
Beat your softened cream cheese until smooth.
It should look light and fluffy, like a cloud.
Next, mix in the peanut butter slowly.
Add the yogurt, sweetener, and vanilla too.
Mix only until everything is just combined.
This part is very important for texture.
Beat in the two eggs one by one.
Stop mixing right after the egg disappears.
Overmixing eggs causes tough cheesecake later.
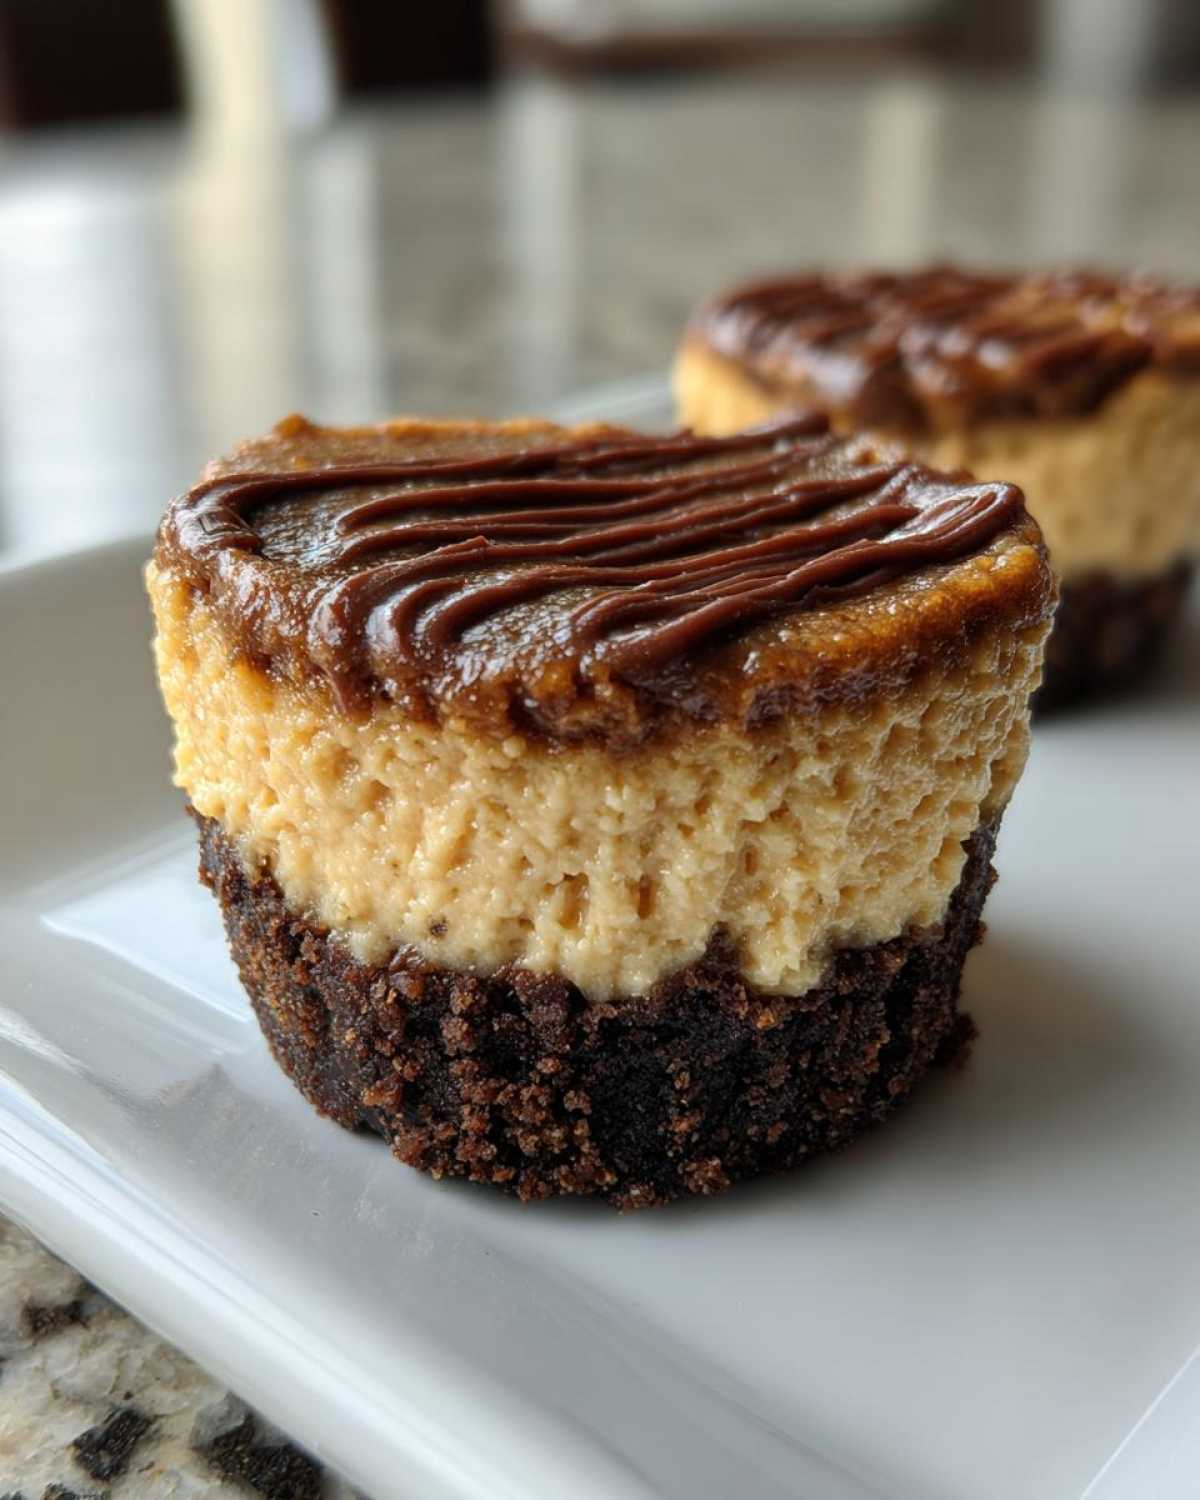
Baking and Crucial Cooling Process for Your Mini Peanut Butter Cheesecakes
Spoon the filling over your cooled crusts.
The batter should look even in every cup.
Bake these for about fifteen to eighteen minutes.
The edges must look firm when done baking.
Centers should still have a slight wobble, though.
Turn the oven off right away then.
Crack the door open just a tiny bit.
Let them cool inside for thirty minutes.
This slow cooling stops them from cracking badly.
Take them out fully after that time passes.
Chill them for two hours minimum before eating.
Tips for Achieving Expert-Level Mini Peanut Butter Cheesecakes
Getting these little bites perfect takes a few tricks.
I learned so much watching Chef Tariq work.
He always stressed respecting the ingredients’ roles.
For these, texture and flavor refinement matter a lot.
Follow these small adjustments for better results.
You’ll see the difference right away, I promise.
Ingredient Notes and Protein Boost Substitutions
Remember that chilling time is non-negotiable.
It sets the structure perfectly for serving.
If you want more protein, try this hack.
Mix a scoop of unflavored powder into the crust.
Using natural, unsweetened peanut butter deepens flavor.
It gives a richer, less sugary profile overall.
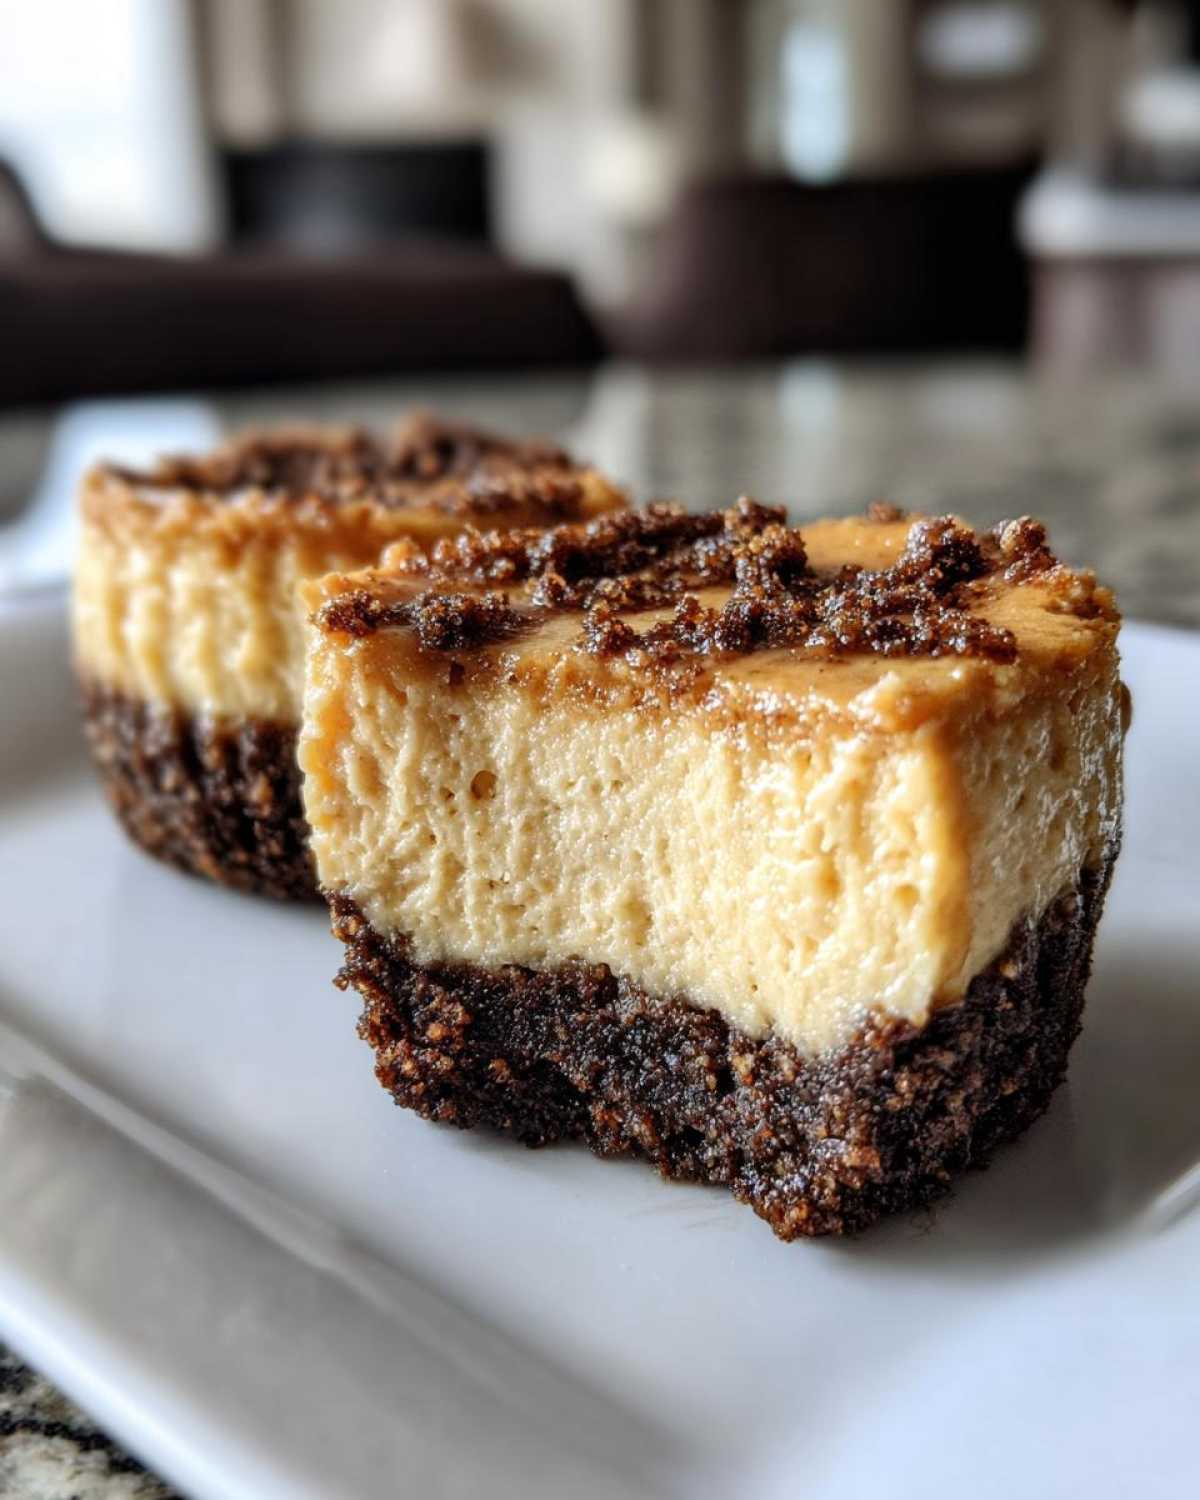
A final drizzle of melted peanut butter looks great.
Frequently Asked Questions About Mini Peanut Butter Cheesecakes
I know you might have some lingering questions.
Baking can feel tricky sometimes, right?
We want your experience making this protein dessert easy.
Here are a few things folks ask me often.
These tips should clear up any confusion.
Let’s make sure your low sugar cheesecake goal works.
Can I Make These Mini Peanut Butter Cheesecakes Ahead of Time?
Absolutely, yes, you can make them early.
I often make a batch a day before parties.
They taste even better after a long chill.
Store them covered in the fridge tightly.
They keep well for up to four days there.
How Do I Ensure My Baked Cheesecake Bites Don’t Crack?
This is my favorite pro tip from Tariq.
The key is cooling them very slowly first.
Do not rush them straight from the heat.
Turn the oven off after the bake time.
Leave the door cracked for thirty minutes.
This gentle temperature change stops cracks.
Serving Suggestions for Your Sweet Protein Dessert
Now for the fun part, how to enjoy these!
These individual cheesecake bites look lovely plain.
But presentation makes them extra special.
Try topping one with a single dark chocolate shaving.
This adds a nice bitter contrast to the richness.
A small dollop of fresh whipped cream works too.
Pair them with strong black coffee for a perfect afternoon treat.
Storing Leftover Mini Peanut Butter Cheesecakes
What if you actually have leftovers?
That sounds like a wonderful problem to have!
These baked cheesecake bites store quite well.
Refrigeration is the only way to go here.
Keep them in an airtight container always.
This stops them from drying out quickly.
They last about four days in the fridge.
I find the texture is best when cold.
Serving them straight from the refrigerator is ideal.
They firm up nicely after sitting longer.
There is no need to reheat these at all.
They are meant to be a cool, creamy delight.
Share Your Experience Baking These Mini Peanut Butter Cheesecakes
I truly hope you loved making these.
These Mini Peanut Butter Cheesecakes are special.
They represent joy from our kitchen to yours.
Did they turn out perfectly for you?
I’d love to hear all about your results.
Tell me how your crust held up.
Did you add any fun toppings?
Please leave a rating down below for others.
Your feedback really helps our small team here.
Sharing your success stories means the world to us.
Tag us if you post pictures online.
Show off your amazing sweet protein dessert creations!
Nutrition Disclaimer for Your Protein-Focused Recipe
Let’s talk quickly about the nutrition info here.
The numbers I shared are just estimates.
They are calculated using standard pantry items.
Your final count will change based on choices.
For example, the sweetener really matters a lot.
Using crunchy versus smooth peanut butter shifts things.
The protein content is generally high, though.
This is thanks to the Greek yogurt we use.
If you add extra protein powder, expect a jump.
Always measure carefully for accuracy.
This recipe helps with a sweet protein dessert goal.
It is not a substitute for medical advice.
PrintAstonishing 8 Mini Peanut Butter Cheesecakes Secrets
Whip up these delightful Mini Peanut Butter Cheesecakes! They are perfect for a sweet protein dessert that satisfies your cravings with a rich, creamy texture in a perfect single-serving size. You will love making these little bites of heaven.
- Prep Time: 15 minutes
- Cook Time: 18 minutes
- Total Time: 2 hours 33 minutes
- Yield: 12 mini cheesecakes
- Category: Dessert
- Method: Baking
- Cuisine: American
- Diet: Vegetarian
Ingredients
- Cream Cheese, softened: 8 oz
- Peanut Butter (smooth or crunchy): 1/2 cup
- Greek Yogurt (plain, full-fat): 1/4 cup
- Sweetener (like erythritol or stevia blend): 1/4 cup
- Vanilla Extract: 1 teaspoon
- Eggs: 2 large
- Crust: Graham cracker crumbs or protein cookie crumbs: 1 cup
- Melted Butter or Coconut Oil (for crust): 3 tablespoons
Instructions
- Preheat your oven to 325°F (160°C). Line a standard muffin tin with paper liners or grease well.
- Prepare the crust: Mix the crumbs with the melted butter or coconut oil. Press about 1 tablespoon of the mixture firmly into the bottom of each muffin cup.
- Bake the crusts for 5 minutes. Remove from the oven and let them cool slightly while you prepare the filling.
- In a large bowl, beat the softened cream cheese until smooth.
- Add the peanut butter, Greek yogurt, sweetener, and vanilla extract. Mix until just combined. Do not overmix.
- Beat in the eggs one at a time, mixing only until each egg is incorporated.
- Spoon the filling evenly over the cooled crusts in the muffin tin.
- Bake for 15 to 18 minutes. The edges should look set, but the centers will still have a slight jiggle.
- Turn off the oven, crack the door open slightly, and let the cheesecakes cool in the oven for 30 minutes. This prevents cracking.
- Remove from the oven completely. Cool to room temperature, then chill in the refrigerator for at least 2 hours before serving.
Notes
- For an extra protein boost, use a protein powder mixed into the crust base.
- If you prefer a richer flavor, use natural, unsweetened peanut butter.
- Chilling time is crucial for the best texture. Plan ahead!
- Garnish with a drizzle of melted peanut butter or a sprinkle of chopped nuts before serving.
Nutrition
- Serving Size: 1 mini cheesecake
- Calories: Approx. 180-220 (Varies based on sweetener and peanut butter used)
- Sugar: Low (Dependent on sweetener choice)
- Sodium: Moderate
- Fat: High
- Saturated Fat: Moderate to High
- Unsaturated Fat: Moderate
- Trans Fat: Negligible
- Carbohydrates: Low to Moderate
- Fiber: Low
- Protein: High (due to Greek yogurt and potential protein powder in crust)
- Cholesterol: Moderate
