

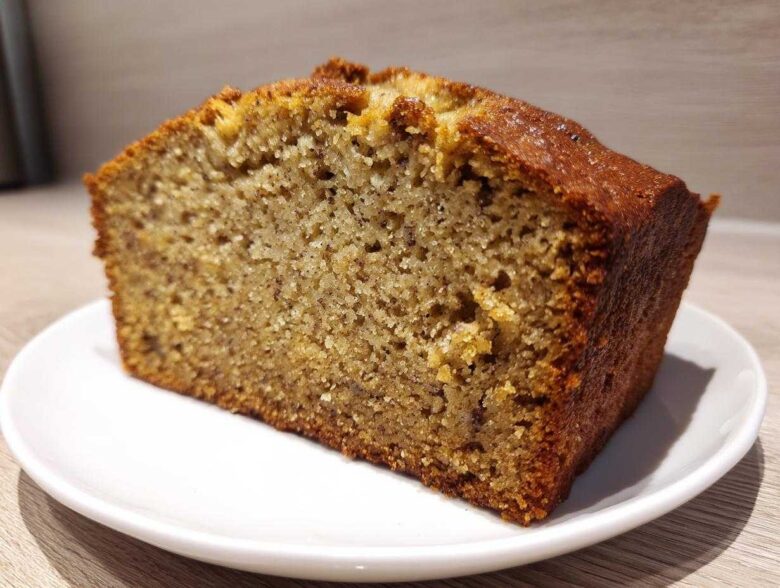
There is just nothing that says ‘home’ quite like a perfectly baked quick bread loaf cooling on the rack. I swear, the smell alone fixes just about anything that’s gone wrong in the week! For years, I tried recipes that promised the world but delivered a dry, crumbly mess. Not anymore! After years of tinkering, I finally perfected what I call the Classic Moist Banana Bread with Brown Butter recipe.
Seriously, forget everything you thought you knew about standard Banana Bread. We aren’t just mashing up fruit here; we are building flavor! The absolute game-changer is taking the time to brown the butter first. I know, it sounds like an extra step, but trust me, that nutty, toffee-like depth elevates this loaf from good to absolutely unforgettable. This is the technique that guarantees you a wonderfully moist loaf every single time, and I can’t wait for you to try it!
Why This Classic Moist Banana Bread Technique Works
There are a million recipes out there, but what sets this one apart is that it masters the moist banana bread technique right from the start. It’s all about deep flavor and texture insurance. We use two main players here: brown butter and bananas that look like they belong in the compost bin rather than your loaf pan.
When you get these two elements right, you don’t have to worry about dry edges or flat centers. This recipe guarantees a rich, tender crumb that stays perfect for days. That’s what separates a good loaf from a truly great Banana Bread!
The Secret to Flavor: Browning the Butter for Your Banana Bread
We’re talking about the Maillard reaction here, friends! When you gently cook the butter until the little milk solids toast up, you unlock this incredible nutty, caramel flavor that you just can’t get from melted or soft butter. It totally changes the background note of the whole loaf. You can read more about the power of brown butter in my brown butter chocolate chip cookies; the magic is the same!
Choosing Perfectly Ripe Bananas in Baking
Hear me out: if your bananas aren’t looking spotty—I mean *really* spotted—then they aren’t ready for this job. Truly perfectly ripe bananas in baking are mostly black on the outside. Those dark spots mean the starches have turned to sugar, which is what gives your loaf unmatched sweetness and incredible moisture. Don’t mash a yellow banana into this recipe; you’ll regret it!
Gathering Ingredients for the Best Banana Bread Recipe
Okay, now that you know the flavor secrets, let’s get serious about what goes into the bowl. Getting the ingredients right is crucial for the best banana bread recipe you’ll ever try. My big rule here, especially with the eggs, is that they need to be at room temperature. Cold eggs don’t blend nearly as smoothly with that gorgeous brown butter!
We aren’t skimping on quality here, but happily, this recipe uses mostly pantry staples we all have lying around. Just make sure that butter gets browned first—that’s the only real prep work required!
Ingredient Clarity for Your Banana Bread Loaf
Here is the exact list I use to make sure this loaf comes out perfectly sturdy and moist every time we bake this banana bread. Don’t eyeball the brown sugar; packing it makes a big difference in moisture!
- 1 cup (226g) unsalted butter (which we will brown!)
- 1 3/4 cups (210g) all-purpose flour
- 1 teaspoon baking soda
- 1/2 teaspoon salt
- 1/2 teaspoon ground cinnamon
- 3 large eggs, room temperature
- 3/4 cup (150g) granulated sugar
- 1/4 cup (50g) packed light brown sugar
- 1 teaspoon vanilla extract
- 1 1/2 cups (about 4 medium) very ripe mashed bananas
Step-by-Step Instructions: How to Make Banana Bread
Alright, deep breath! This is the part where we pull it all together to create the best Banana Bread you’ve ever tasted. Following these steps exactly is the key to nailing the texture. Remember, this is a slightly unconventional method because of that brown butter, so pay close attention to the timing, especially after the butter is done sizzling!
Preparing the Pan and Browning the Butter for Banana Bread
First things first, get your oven warmed up to 350°F (175°C). Grease and flour your 9×5 inch loaf pan really well; banana bread can sometimes be stubborn! Now for the main event: put your butter in a light-colored saucepan over medium heat. Watch it closely—it will melt, then start to foam up. Swirl it gently! When the foaming calms down and those little milk solids at the bottom turn a beautiful golden brown and the whole kitchen smells like hazelnuts, yank it off the heat immediately! Seriously, move it fast. Pour that gorgeous liquid into a heatproof bowl and let it sit for about 10 minutes to cool down just a hair before moving on. I talk a lot about my baking tricks over at the main blog, but this specific brown butter step is non-negotiable for maximum flavor!
Mixing the Wet and Dry Components of Your Banana Bread
While that butter is taking a tiny breather, whisk your flour, baking soda, salt, and cinnamon together in a separate bowl. In your big mixing bowl, whisk those room-temperature eggs until they’re pale, then whisk in both the granulated and brown sugars. Now, slowly drizzle in that warm (but not scorching hot!) brown butter and whisk until everything looks creamy. Next, gently fold in your mashed, overripe bananas. When you add the dry ingredients, only mix until you *just* see the flour disappear. Trust me, stop mixing right there! Overmixing a quick bread loaf is how you get a tough, sad texture.
Baking and Cooling the Ultimate Banana Bread
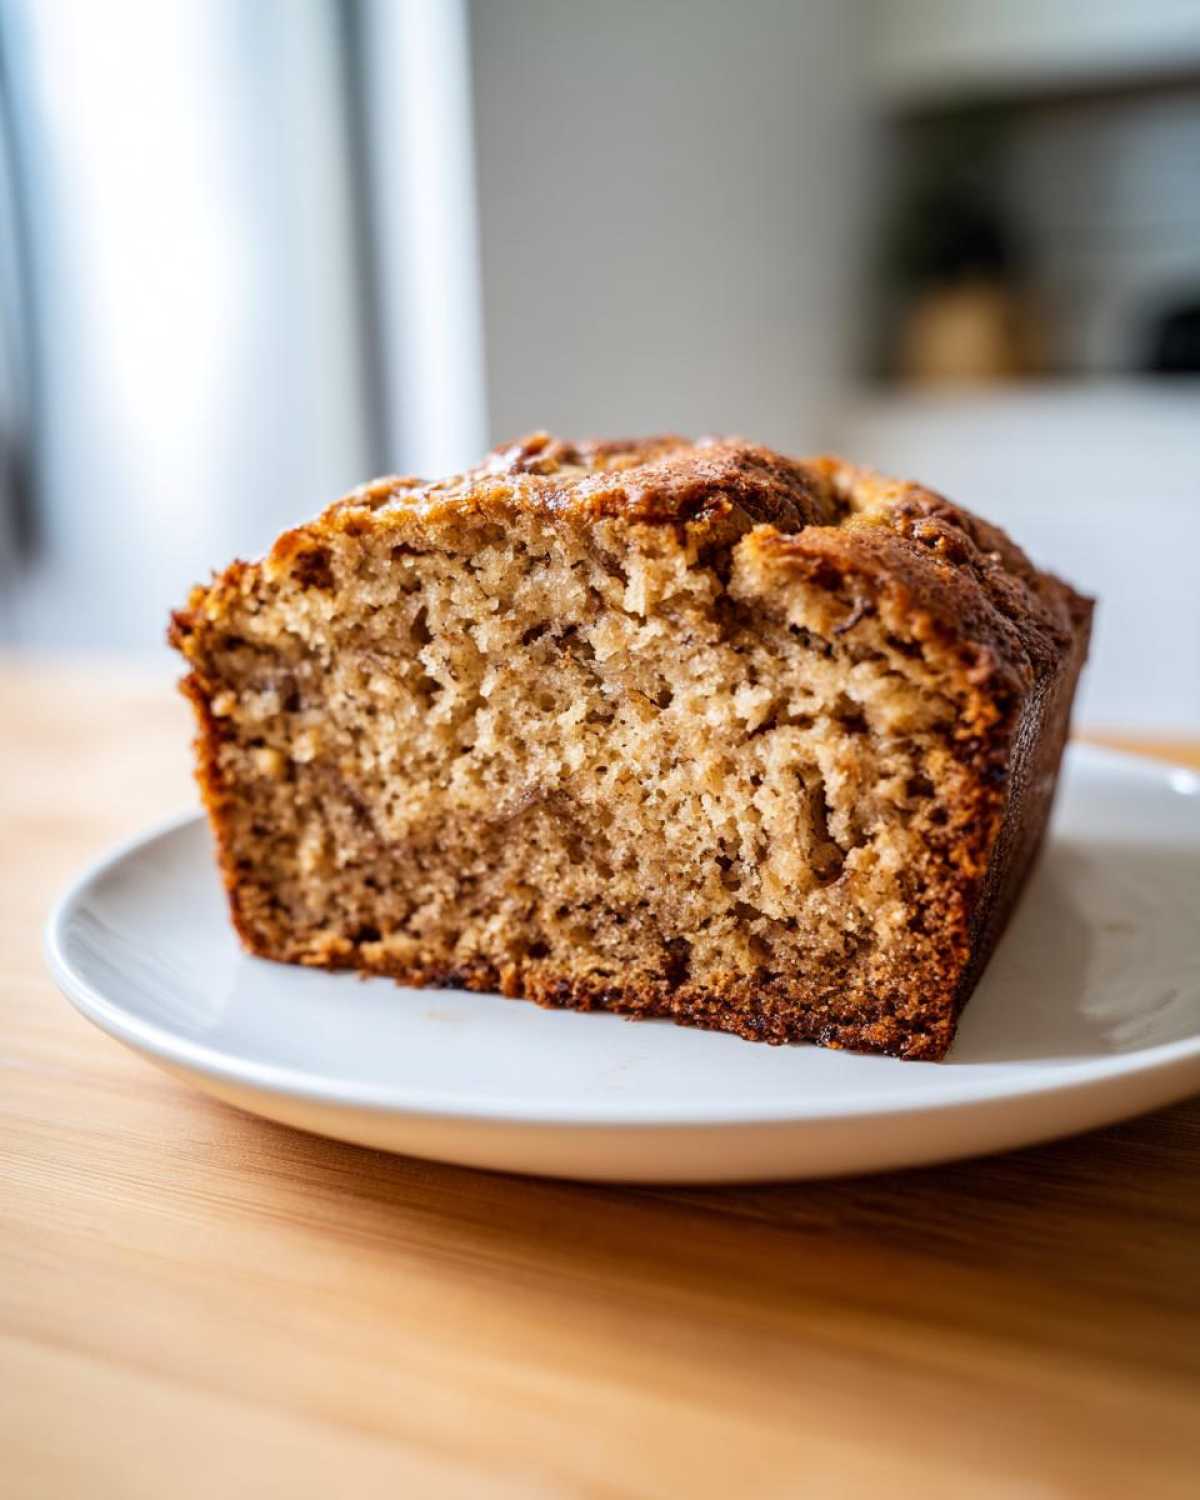
Pour that beautiful batter into your prepared pan. It should go into the oven for about 55 to 65 minutes. You’re making the ultimate banana bread here, so test it with a wooden skewer stabbed right in the middle. If it comes out clean, it’s done! If you see wet batter, give it five more minutes and check again before you panic (we don’t want dry bread!). Let it cool in the pan for a full 15 minutes—this lets it firm up—then invert it onto a wire rack to cool completely. Patience pays off, promise!
Banana Bread Baking Tips for Perfect Results
We all aim for that perfect result, right? A loaf that slices beautifully without crumbling everywhere. These little banana bread baking tips come straight from my years of trial and error, helping you avoid common pitfalls, especially regarding timing.
Never pull the loaf out early just because the top looks done! The center needs that extra push to be truly perfect. I’ve found that sometimes, no matter how good your thermometer is, the center just seems slightly behind.
Adjusting Doneness in Your Banana Bread
When you test your loaf for doneness, if that wooden skewer comes out with wet batter clinging to it, don’t stress! This is one of my favorite banana bread baking tips. Instead of throwing it back in for ten minutes and risking the edges drying out, just pop it back in the oven for 5 more minutes and test again. That small window is usually all you need to get those beautiful moist crumbs without turning your loaf into a cracker. It’s all about gentle persistence!
If you want to brush up on making other quick, perfect items, check out my guide on easy homemade lemonade—sometimes the best simple recipes are the ones you use over and over!
Exploring Banana Bread Variations
Once you’ve mastered this ultimate brown butter base, that’s when the real fun begins! This recipe is fantastic on its own, but it’s also a phenomenal starting point for endless banana bread variations. My kitchen always has at least three different mix-in options going at once because everyone wants something slightly different.
It’s all about being flexible! We already talked about the importance of the mash, but now we get to customize the texture and crunch. If you’ve mastered this loaf, you might want to check out my recipe for moist applesauce cake for another twist on loaf baking!
Adding Mix-ins to Your Banana Bread
Chocolate and banana are soulmates, period. For a rich chocolate chip banana bread, I usually fold in about one cup of good quality chips right after the mashed bananas go in. This means they get coated in the wet batter and don’t all sink to the bottom while baking! Walnuts or pecans are also great for that satisfying crunch against the soft loaf. Just chop them roughly and toss them in with the bananas, too.
Dietary Banana Bread Options
I know a lot of you are experimenting with dietary changes, and that’s wonderful! When tackling gluten free banana bread ideas, swapping your AP flour for a good 1:1 blend usually works fine, but you might need an extra splash of milk since GF flours can absorb more liquid. For vegan banana bread options, the hardest swap is the eggs, but flax eggs usually work beautifully here since the brown butter already provides so much richness!
Storage and Reheating Instructions for Banana Bread
The best part about a great Banana Bread? It tastes even better the next day! This loaf is so moist that it holds up wonderfully, making it perfect for those busy mornings. If you are looking for great recipes for make ahead breakfast breads, this one should definitely be on top of your list. Wrap the cooled loaf tightly in plastic wrap, foil, or just pop the whole thing into an airtight container.
It will stay fresh on the counter for about three days. If you want it to last longer, it freezes like a dream! Pop slices in a freezer bag, and when you want a snack, just pop one in the microwave for 20 seconds. Instant warm perfection!
Serving Suggestions for This Quick Bread Loaves
Once your glorious brown butter Banana Bread has cooled down—and I know that’s the hardest part—it’s ready to serve! Because the brown butter adds such a deep, almost caramel flavor, you really don’t need a thick frosting. A simple swipe of high-quality salted butter while the slice is still slightly warm is heaven. A drizzle of honey or maple syrup also compliments the flavor profile of these quick bread loaves beautifully. If you’re looking for another simple thing to pair with this, check out my recipe for quick and creamy avocado toast for a great contrasting breakfast!
Frequently Asked Questions About Banana Bread
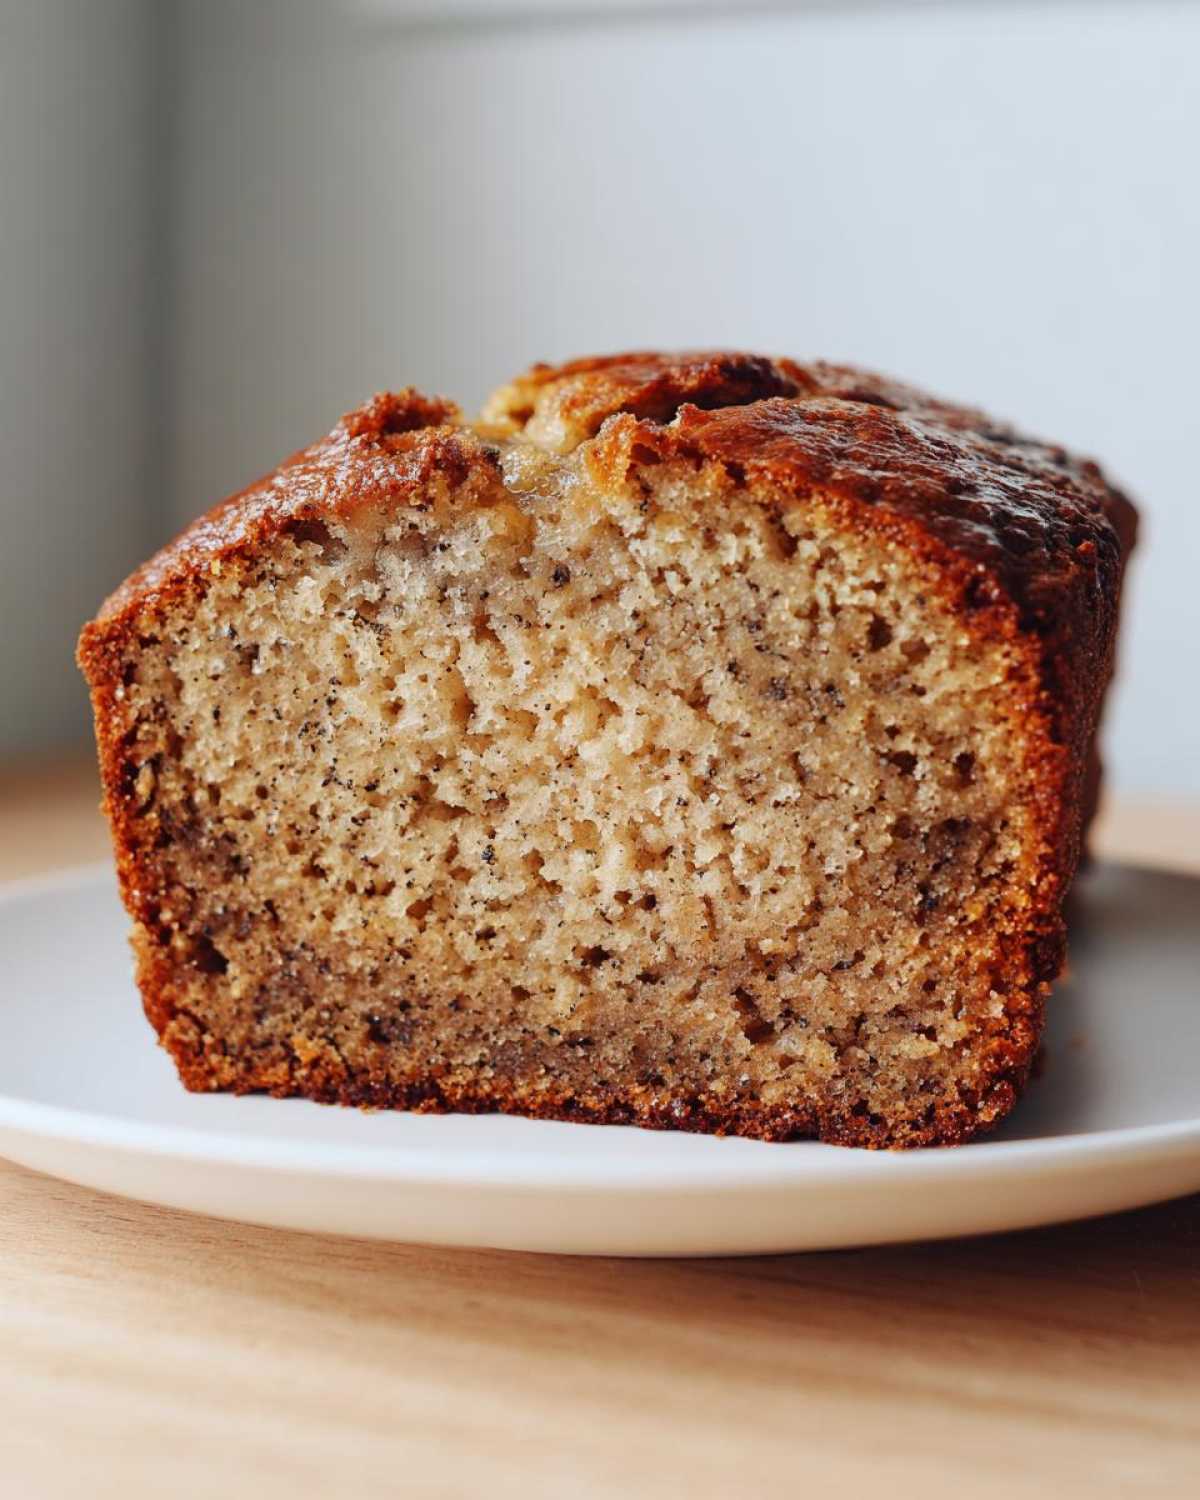
Even with the best tips, sometimes strange things happen in the oven, or you just have a quick question about substitutions. I’ve gathered the top things people ask me when they’re aiming to make the absolute best loaf. We want zero guesswork when baking Banana Bread!
If you’re looking for more advanced baking answers, I cover tons of troubleshooting over on my chocolate meringue pie secrets post, but these are the specifics for our loaf!
Why did my Banana Bread sink in the middle?
Oh, the dreaded sunken center! It usually boils down to one of three things. Most often, it means the loaf wasn’t quite baked through when you pulled it out; the structure hadn’t set! Also, opening the oven door too early lets a rush of cool air kill the rise before the structure firms up. Less common, but it happens: too much baking soda or powder will cause it to rise fast and then dramatically collapse. Stick to the time given, and remember my tip about testing it a second time!
Can I use yellow or green bananas for this recipe?
Honestly, please don’t! While they might *technically* work in a pinch, you’ll lose so much of the magic in this specific recipe. We rely on the intense natural sugar and moisture content from those heavily spotted or nearly black bananas. Using anything less ripe means you have to add extra sugar or fat, and then it’s not really *this* recipe anymore. For this one, perfectly ripe means deeply spotted!
What is the difference between Banana Bread and a loaf cake?
That’s a great question because they look so similar sitting on the cooling rack! Generally, the difference is in the mixing method and the fat content. A true quick bread loaf, like our recipe, tends to be mixed just until combined, relying on chemical leaveners (baking soda/powder) and often using oil or melted butter, giving it a slightly denser, heartier structure perfect for breakfast. A true cake usually involves creaming butter and sugar for more aeration, yielding that lighter, fluffier crumb we associate with dessert cakes. Our brown butter recipe sits in that perfectly delicious middle ground!
Nutritional Estimates for Classic Moist Banana Bread
Since we are dealing with butter, sugar, and loads of delicious bananas, I always get asked about the nutrition in this loaf! I want to be super clear: these numbers are just estimates based on the ingredients listed here, so they can change a bit depending on exactly what brand of flour or how much sugar you use in your final batch.
But for a rough idea of fueling your morning, here’s what one generously sized slice of this Banana Bread usually comes out to be. If you’re trying to cut back on anything, you can always explore some of the healthier variations we talked about earlier, like the no sugar added banana bread option, which will dramatically change these figures!
For reference, check out the estimates based on a 10-slice yield. If you cut it smaller, these numbers drop, of course! I’ve got a great recipe for veggie-packed egg muffin cups if you’re looking for a lower-carb breakfast option, but this loaf is definitely pure comfort food!
- Serving Size: 1 slice
- Calories: 320
- Sugar: 22g
- Sodium: 180mg
- Fat: 18g
- Saturated Fat: 11g
- Carbohydrates: 38g
- Protein: 4g
Classic Moist Banana Bread with Brown Butter
This recipe yields a very moist banana bread loaf using the technique of browning the butter for added depth of flavor.
- Prep Time: 15 min
- Cook Time: 60 min
- Total Time: 75 min
- Yield: 1 loaf (about 10 slices)
- Category: Dessert
- Method: Baking
- Cuisine: American
- Diet: Vegetarian
Ingredients
- 1 cup (226g) unsalted butter
- 1 3/4 cups (210g) all-purpose flour
- 1 teaspoon baking soda
- 1/2 teaspoon salt
- 1/2 teaspoon ground cinnamon
- 3 large eggs, room temperature
- 3/4 cup (150g) granulated sugar
- 1/4 cup (50g) packed light brown sugar
- 1 teaspoon vanilla extract
- 1 1/2 cups (about 4 medium) very ripe mashed bananas
Instructions
- Preheat your oven to 350°F (175°C). Grease and flour a 9×5 inch loaf pan.
- Place the butter in a light-colored saucepan over medium heat. Cook, swirling often, until the butter foams, then the milk solids turn golden brown and smell nutty. Immediately remove from heat and pour into a heatproof bowl. Let cool for 10 minutes.
- In a medium bowl, whisk together the flour, baking soda, salt, and cinnamon. Set aside.
- In a large bowl, whisk the eggs until blended. Whisk in the granulated sugar and brown sugar until combined. Whisk in the vanilla extract.
- Pour the slightly cooled brown butter into the sugar mixture and whisk until smooth.
- Gently fold the mashed bananas into the wet ingredients.
- Add the dry ingredients to the wet ingredients. Mix only until just combined; do not overmix.
- Pour the batter into the prepared loaf pan.
- Bake for 55 to 65 minutes, or until a wooden skewer inserted into the center comes out clean.
- Let the bread cool in the pan for 15 minutes before inverting it onto a wire rack to cool completely.
Notes
- Use bananas that are heavily spotted or almost black for the best moisture and flavor.
- If you prefer a less intense brown butter flavor, let the butter cool completely before mixing it with the sugars.
- To check for doneness without overbaking, test the center; if it is slightly wet, bake for 5 more minutes and test again.
Nutrition
- Serving Size: 1 slice
- Calories: 320
- Sugar: 22
- Sodium: 180
- Fat: 18
- Saturated Fat: 11
- Unsaturated Fat: 7
- Trans Fat: 0
- Carbohydrates: 38
- Fiber: 1
- Protein: 4
- Cholesterol: 85
